diy halloween wreath ideas
Nothing announces Halloween like a handmade wreath on the front door — and making your own beats anything shop-bought for personality, price, and sheer fun. Whether you want genuinely spooky, elegantly gothic, or kid-friendly cute, a DIY Halloween wreath can be assembled in an afternoon with supplies from the craft store, the pound shop, or even your garden. This guide walks you through twenty ideas, from the classic black-and-orange showstopper to witch hat, bat swarm, and Day of the Dead designs, plus the practical know-how every wreath maker needs: choosing bases, wiring techniques, weatherproofing for outdoor doors, and storing your creations so they last for years. Grab your glue gun and let’s get crafting.
Picking the Right Wreath Base for Your Design
Every great wreath starts with the right foundation. Grapevine bases — those tangled, twiggy rings — are the most versatile: their natural gaps give you endless anchor points for wiring in decorations, and their rustic texture suits spooky themes perfectly. Foam rings, wrapped in ribbon or fabric, give a smooth, full look ideal for tulle or yarn-wrapped designs. Wire frames are the skeleton of choice for shaped wreaths like witch hats or bats, letting you build dimension with mesh and garlands. Straw bases are inexpensive and grip hot glue well, making them perfect for heavy items like mini pumpkins. Choose your size thoughtfully: a 30 cm ring suits a standard door, while 45 cm makes a grander statement on double doors. Whatever base you pick, check it is sturdy enough to carry your planned decorations without sagging.

Tools and Supplies Checklist
Assemble your kit before you start and the crafting flows smoothly. Essentials: a hot glue gun with plenty of sticks, floral wire in green and black, wire cutters, and sharp scissors. A glue gun with a precision nozzle is worth the small extra cost — it keeps glue exactly where you want it on fiddly pieces. Stock up on black and orange ribbon in various widths, plus one wired ribbon, which holds its shape for bows. Pipe cleaners (chenille stems) are brilliant for attaching lightweight items and making spider legs. Keep a roll of black tulle or deco mesh for volume, and a bag of Spanish moss or black shredded paper to fill gaps. Finally, protect your worktop with newspaper or a silicone mat, because hot glue on a dining table is a mistake you only make once.

The Classic Black and Orange Wreath
Start with the timeless combination that never fails. Wrap a 30 cm foam ring tightly in black satin ribbon, securing the ends with hot glue. Next, wind orange deco mesh around the ring in loose loops, pinching and wiring it every 10 cm to create full, ruffled volume. Tuck in black glitter spiders, small plastic pumpkins, and sprigs of artificial autumn leaves, distributing colours evenly so no single quadrant looks bare. Finish with a large bow made from wired black-and-orange ribbon at the top, letting the tails drape down the front. The trick to a professional look is working in odd numbers — three pumpkins, five spiders — and stepping back every few minutes to check the balance. This design takes about an hour and costs under £15 in pound shop supplies.

Spooky Grapevine Wreath With Mini Pumpkins
For a rustic, harvest-meets-haunted look, begin with a natural grapevine base and leave much of its twiggy texture visible. Wire in clusters of mini faux pumpkins and gourds in orange, white, and deep green, nestling them into the vine’s crevices so they look naturally caught. Weave in sprigs of dried wheat, eucalyptus, or faux autumn foliage for fullness, then drape a length of tattered black cheesecloth through the arrangement like cobwebs. Add a few black crows or a small raven perched near the top — pound shops stock these every October. A wooden “Beware” or “Enter If You Dare” sign wired to the centre completes the effect. Because the grapevine shows through, this wreath looks artful rather than cluttered, and it transitions beautifully from Halloween to Thanksgiving with the spooky bits removed.

Gothic Black Rose Wreath
Elegant rather than scary, the gothic black rose wreath suits sophisticated Halloween styling. Cover a foam ring completely with black velvet ribbon or fabric for a plush base. Attach artificial black roses — available from craft stores or online — in a dense, overlapping layer using hot glue, working all the way around with no gaps. Intersperse deep red roses sparingly for a vampiric accent, and tuck in sprigs of black glitter eucalyptus or dark feathers between blooms. A small skull nestled among the flowers at the lower right adds macabre charm without cheapening the look. Hang it with a length of black velvet ribbon rather than a standard hook. This wreath photographs beautifully and pairs perfectly with candlelit interiors, black taper candles, and dark table linens for a cohesive haunted-manor aesthetic.

Witch Hat Wreath From a Wire Frame
This showstopper uses a cone-shaped wire frame — sold as a witch hat form — to build a three-dimensional hat bursting from a wreath base. Wrap the cone in black deco mesh, gathering and wiring it in sections to create ruffled texture, then attach the wide end to a grapevine or foam ring with floral wire. Decorate the hat with a purple and orange ribbon band, a glittery buckle cut from craft foam, and a few faux autumn leaves tucked around the brim. Add dangling spiders on thread from the hat’s tip for movement in the breeze. Because this wreath is top-heavy, reinforce the hanging point with extra wire and use a sturdy over-door hook rated for at least 2 kg. It takes a little longer — about 90 minutes — but the dimensional wow factor is unmatched.

Candy Corn Wreath (No Candy Wasted)
Love the candy corn look without sacrificing actual sweets? This clever design uses foam or wooden candy corn shapes, or DIY versions made from painted wooden discs in white, orange, and yellow bands. Glue them in overlapping rows around a foam ring, working from the outer edge inward, until the entire surface is covered in neat, radiating stripes. The repetitive pattern is meditative to assemble and looks incredibly striking from the street. Alternate the direction of the stripes in sections for a pinwheel effect, or keep them uniform for a classic look. Seal with a clear matte craft sealer so the paint survives October weather. Top with a burlap bow for rustic charm. Kids adore this one, and it doubles as cheerful autumn décor well into November.

Day of the Dead Marigold Wreath
Celebrate Día de los Muertos with a vibrant marigold wreath rich in colour and meaning. Start with a foam or straw base wrapped in deep magenta or purple ribbon. Cover it densely with artificial marigolds in orange, yellow, and red — the traditional flower of the holiday — hot-gluing each bloom so no base shows through. Weave in small decorative sugar skulls, colourful papel picado mini banners, and sprigs of faux greenery for contrast. A small framed photo or remembrance card wired to the centre honours the tradition’s true purpose: welcoming back loved ones. This wreath is a joyful explosion of colour that stands out beautifully among darker Halloween décor. Approach it respectfully as a cultural celebration, and it becomes one of the most meaningful pieces on your door.

Harvest Fall Wreath With a Halloween Twist
The smartest wreath is two decorations in one. Build a lush autumn harvest wreath — grapevine base, faux maple leaves, wheat sheaves, mini pumpkins, pinecones, and berries — that looks perfect all season. Then create a separate small bundle of Halloween additions: black glitter spiders, a tiny skeleton, bat cutouts on wire picks, and a “Spooky” sign. Wire these extras in for October, and simply remove them on 1 November to reveal a Thanksgiving-ready harvest wreath underneath. Use floral wire rather than glue for the Halloween elements so removal is clean and damage-free. This approach saves money, storage space, and crafting time, and the base wreath’s quality materials will last for years. Choose neutral, high-quality foliage and the harvest base will never look dated.

Ghostly White Tulle Wreath
For a soft, ethereal take on Halloween, wrap a wire frame entirely in white and ivory tulle, gathering it into full, cloud-like puffs. The all-white palette reads as ghostly without a single plastic skeleton. Add subtle spookiness with a few sheer grey ribbon streamers, small white pumpkins, and delicate silver glitter branches tucked into the folds. A pair of simple black felt eyes glued onto one section creates a charming ghost face that children love. Hang it against a dark-coloured door for maximum contrast — the white practically glows. This design is wonderfully inexpensive, using just a few metres of tulle from the fabric store, and it suits minimalist or Scandinavian-style homes where traditional orange-and-black would clash. Finish with fairy lights woven through for a magical evening glow.

Bat Swarm Wreath
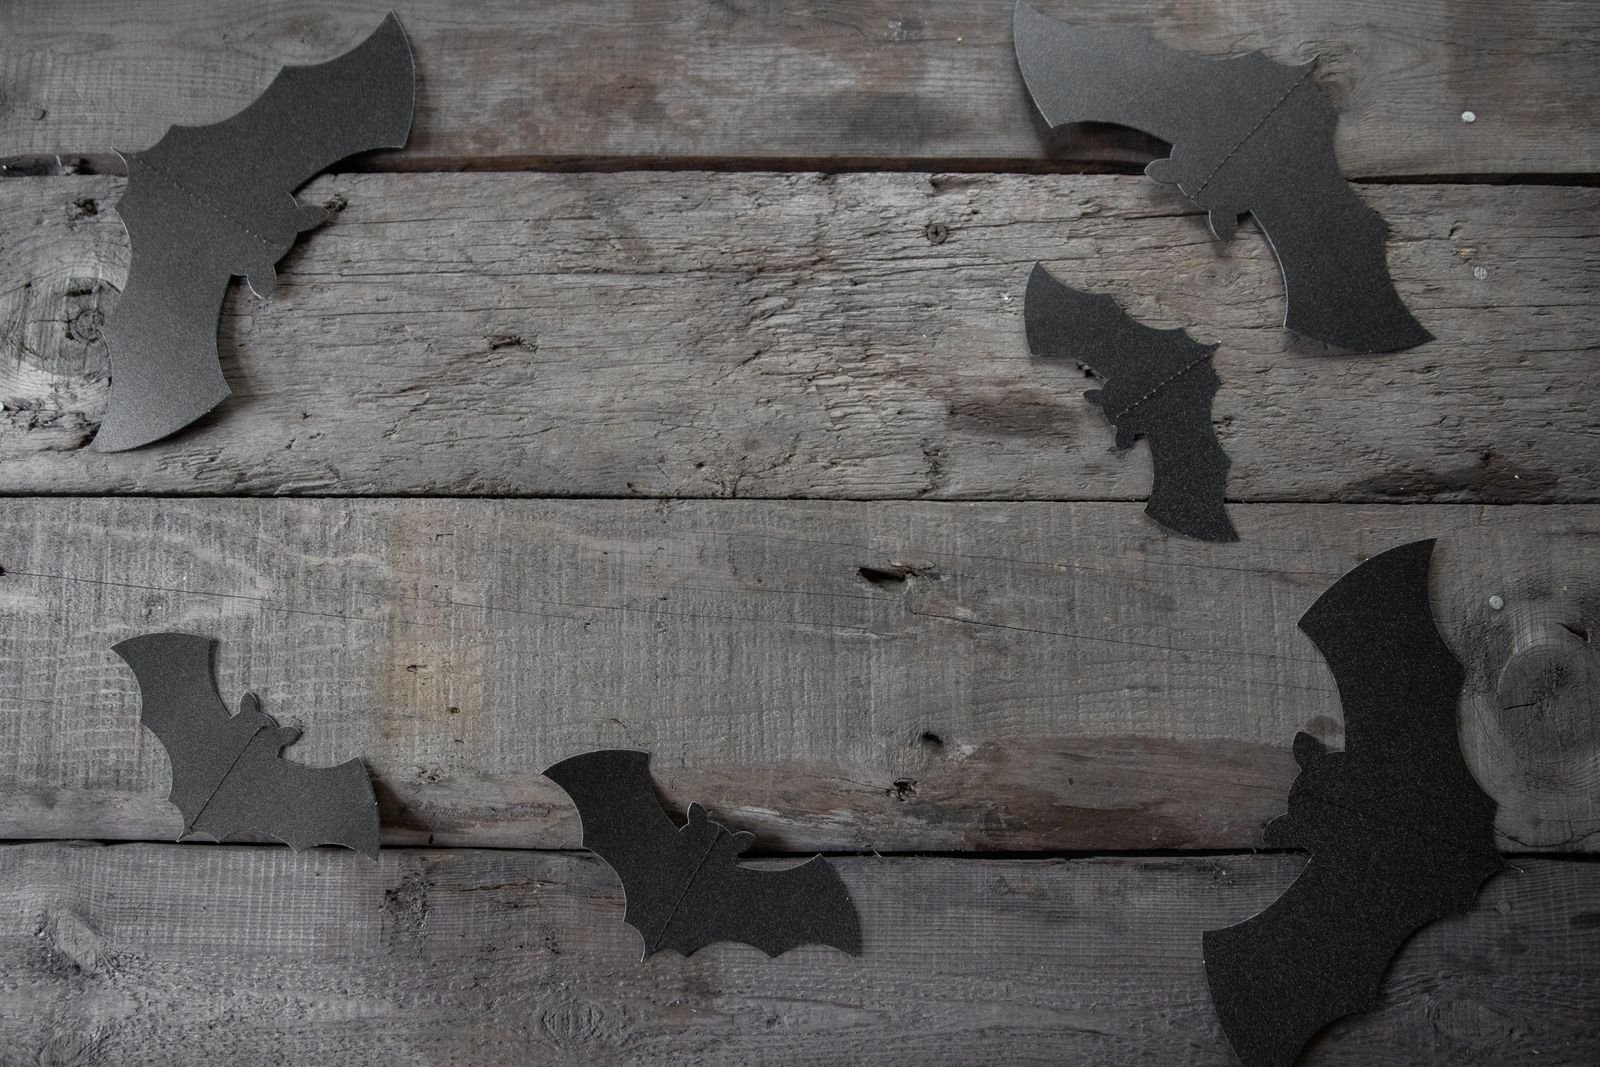
Nothing says Halloween like a flurry of bats taking flight. Cut bat silhouettes in three sizes from black craft foam or heavy cardstock — you will need 15 to 20 for a full effect. Attach the largest bats directly to a black-wrapped foam ring with hot glue, then mount the smaller ones on short lengths of floral wire so they hover above the surface at varying heights, creating genuine dimension. Angle them as if swooping in the same direction for a sense of movement. Add a full moon backdrop by wiring a pale yellow circle of card behind the top section, and scatter a few glitter stars. This wreath is lightweight, cheap, and incredibly striking silhouetted against a porch light. For outdoor use, seal the cardstock bats with clear sealer or cut them from craft foam, which shrugs off rain.

Spider Web Yarn Wreath
This graphic, modern design starts with a black foam ring wrapped in black yarn for a neat finish. To weave the web, anchor white or silver yarn at the top of the ring and stretch it across to the opposite side, repeating to create eight spokes like a bicycle wheel. Then spiral the yarn round and round, looping it over each spoke, working from the centre outward to form the classic web pattern. It takes patience but no special skill — about 30 minutes of meditative wrapping. Add one large, fuzzy faux spider positioned off-centre, with a few tiny spiders scattered on the web. The high-contrast black and white looks stunning on any door colour. For a glam variation, use metallic gold yarn on a black base and add crystal spiders from the craft store.

Haunted House Silhouette Wreath
Turn your wreath into a miniature haunted scene. Paint a grapevine or black foam base matte black, then create a silhouette skyline: cut a haunted house shape — complete with crooked chimneys, broken windows, and a dead tree — from black cardstock or thin craft foam. Mount it across the lower half of the ring so it rises from the bottom like a horizon. Behind it, glue a circle of orange or blood-red tissue paper as a glowing moon, backlit beautifully if you weave in battery fairy lights. Add tiny bat cutouts flying above the house and a wisp of grey tulle as fog along the bottom. This wreath tells a story and fascinates children, who will spot new details each time. Keep the silhouette bold and simple — intricate cuts get lost at door-viewing distance.
Pumpkin Patch Burlap Wreath
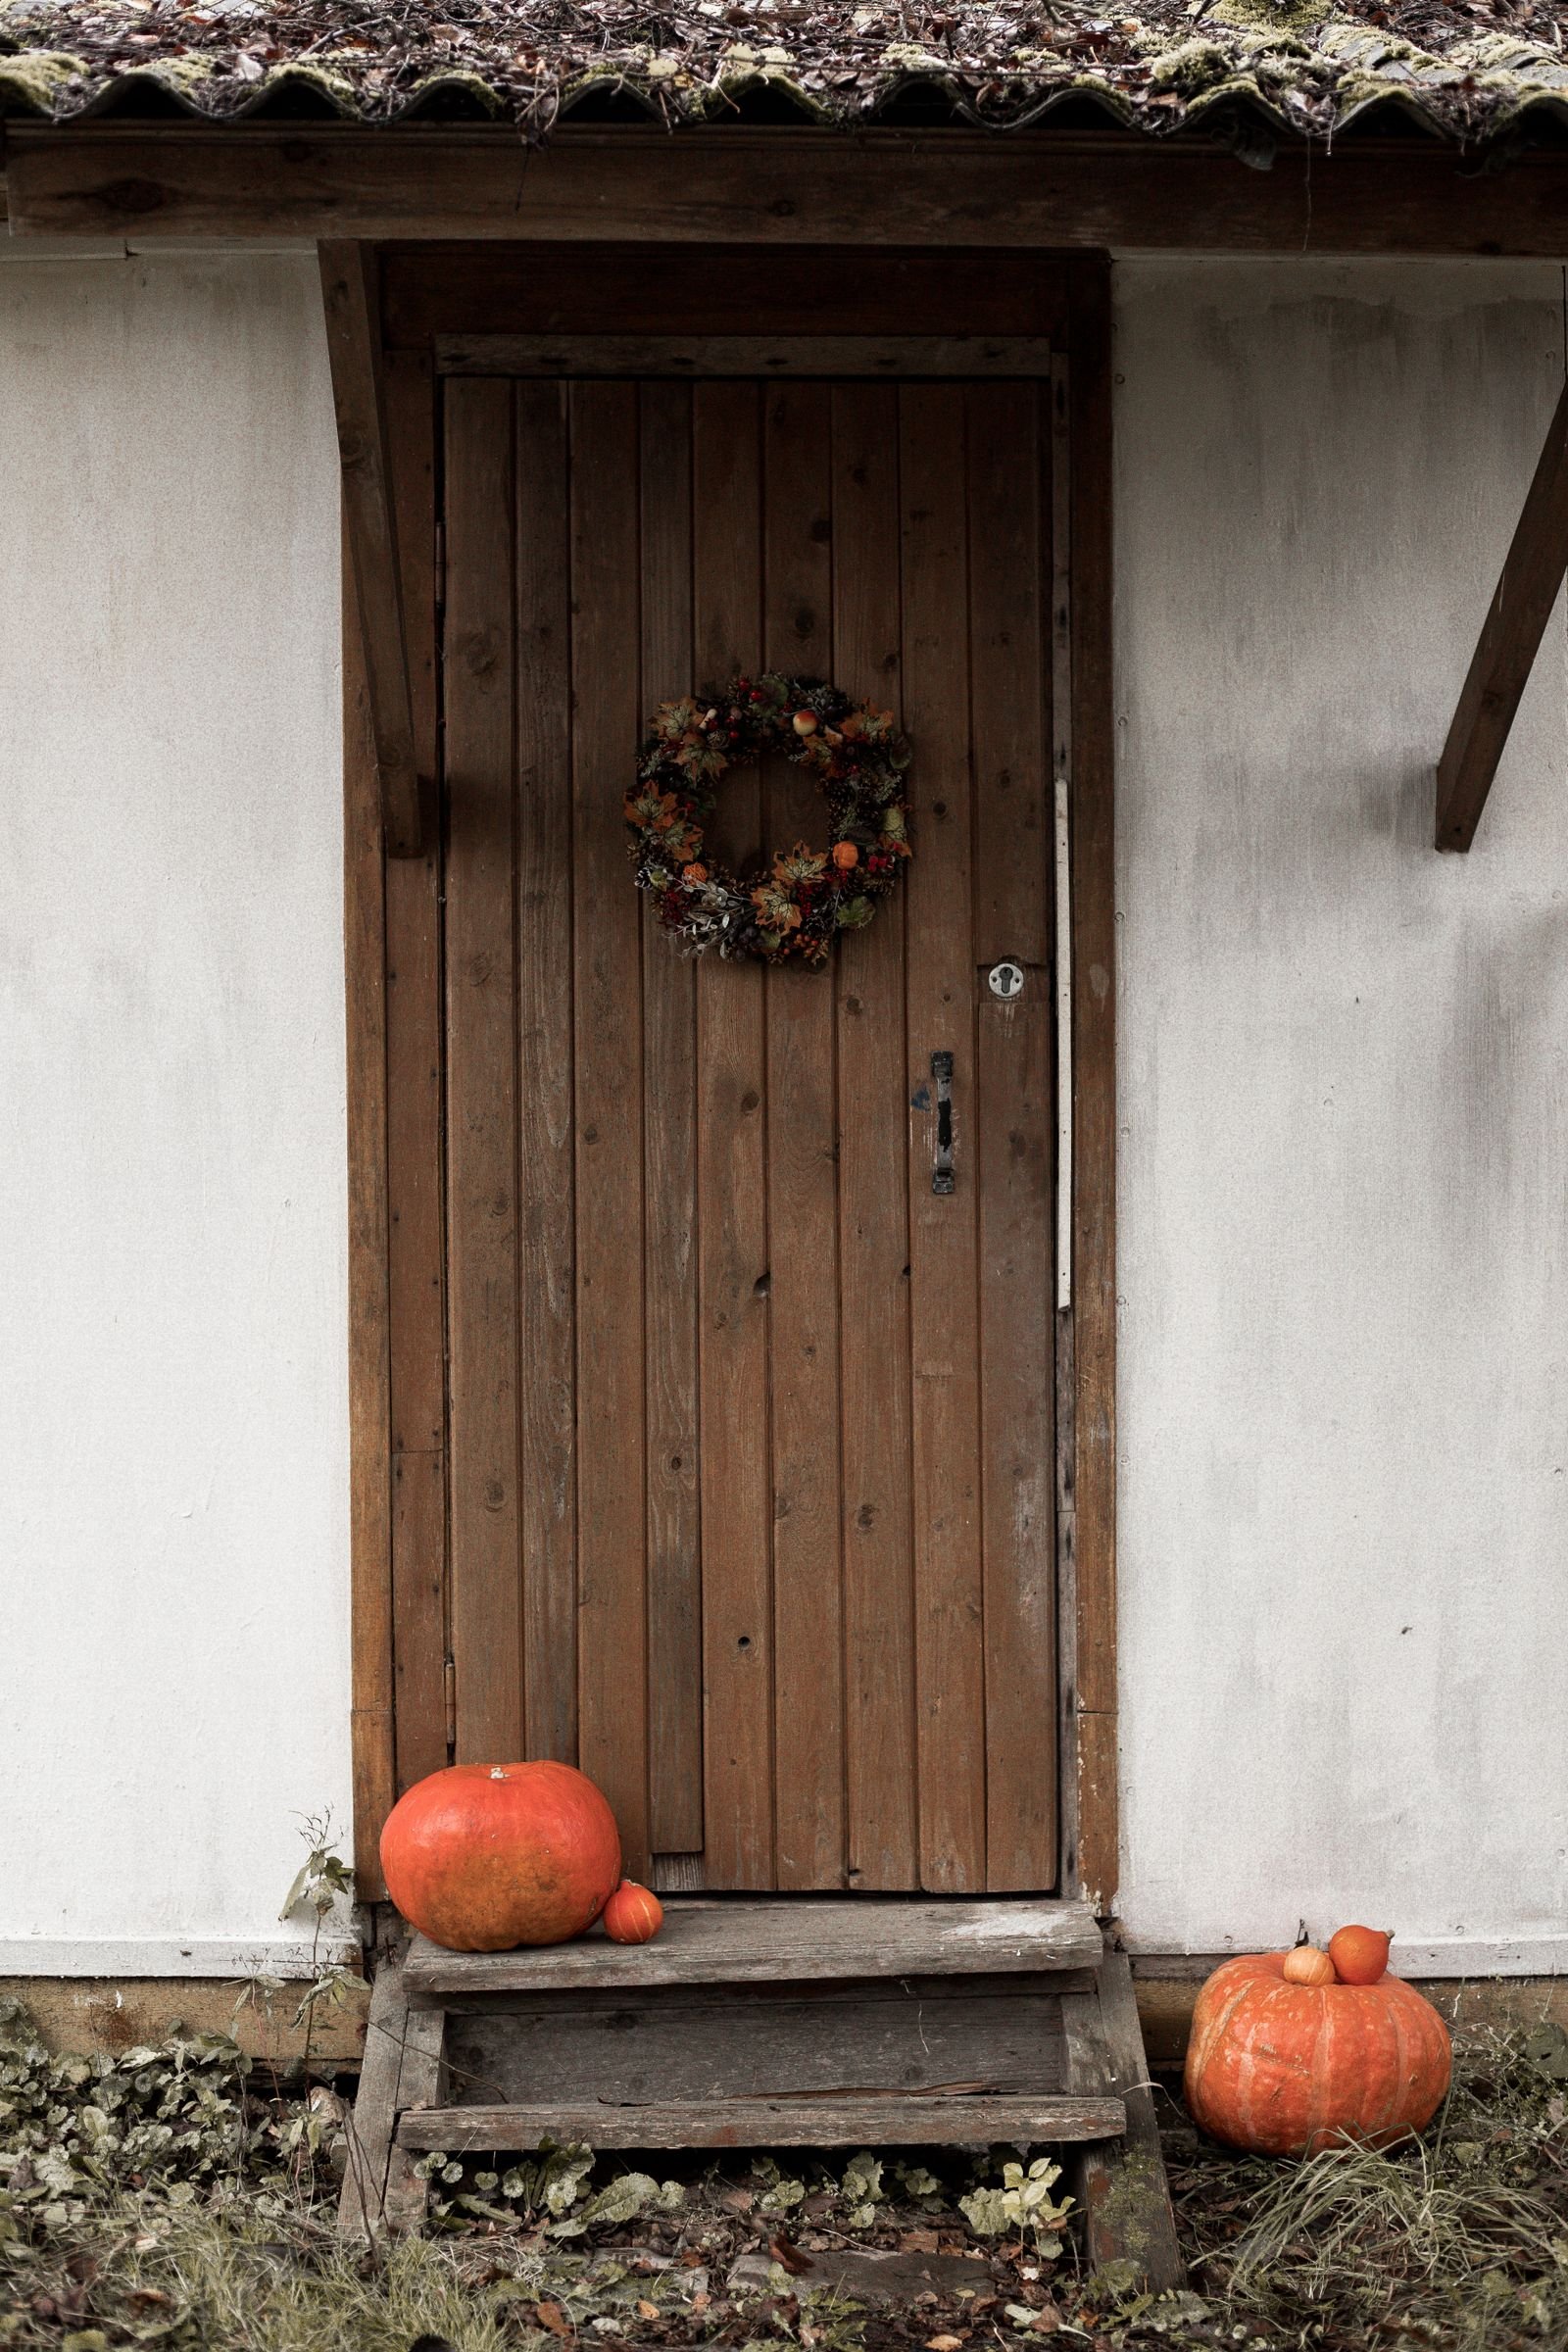
Rustic and charming, this wreath celebrates the pumpkin patch. Wrap a foam ring in wide natural burlap ribbon, letting the texture show. Hot-glue mini faux pumpkins in orange, white, and green around the ring in a dense cluster, filling gaps with dried moss, small pinecones, and sprigs of faux eucalyptus. Weave a length of green gingham or orange ribbon through the arrangement, finishing with a big farmhouse bow at the top. A small wooden sign reading “Pumpkin Patch” or “Happy Fall” wired to the centre adds the finishing touch. The natural materials and neutral palette make this wreath work from September through Thanksgiving — simply lift off any Halloween-specific extras. Burlap frays, so seal cut ribbon ends with a dab of clear glue or a quick pass of a lighter flame.
Skeleton and Bone Wreath
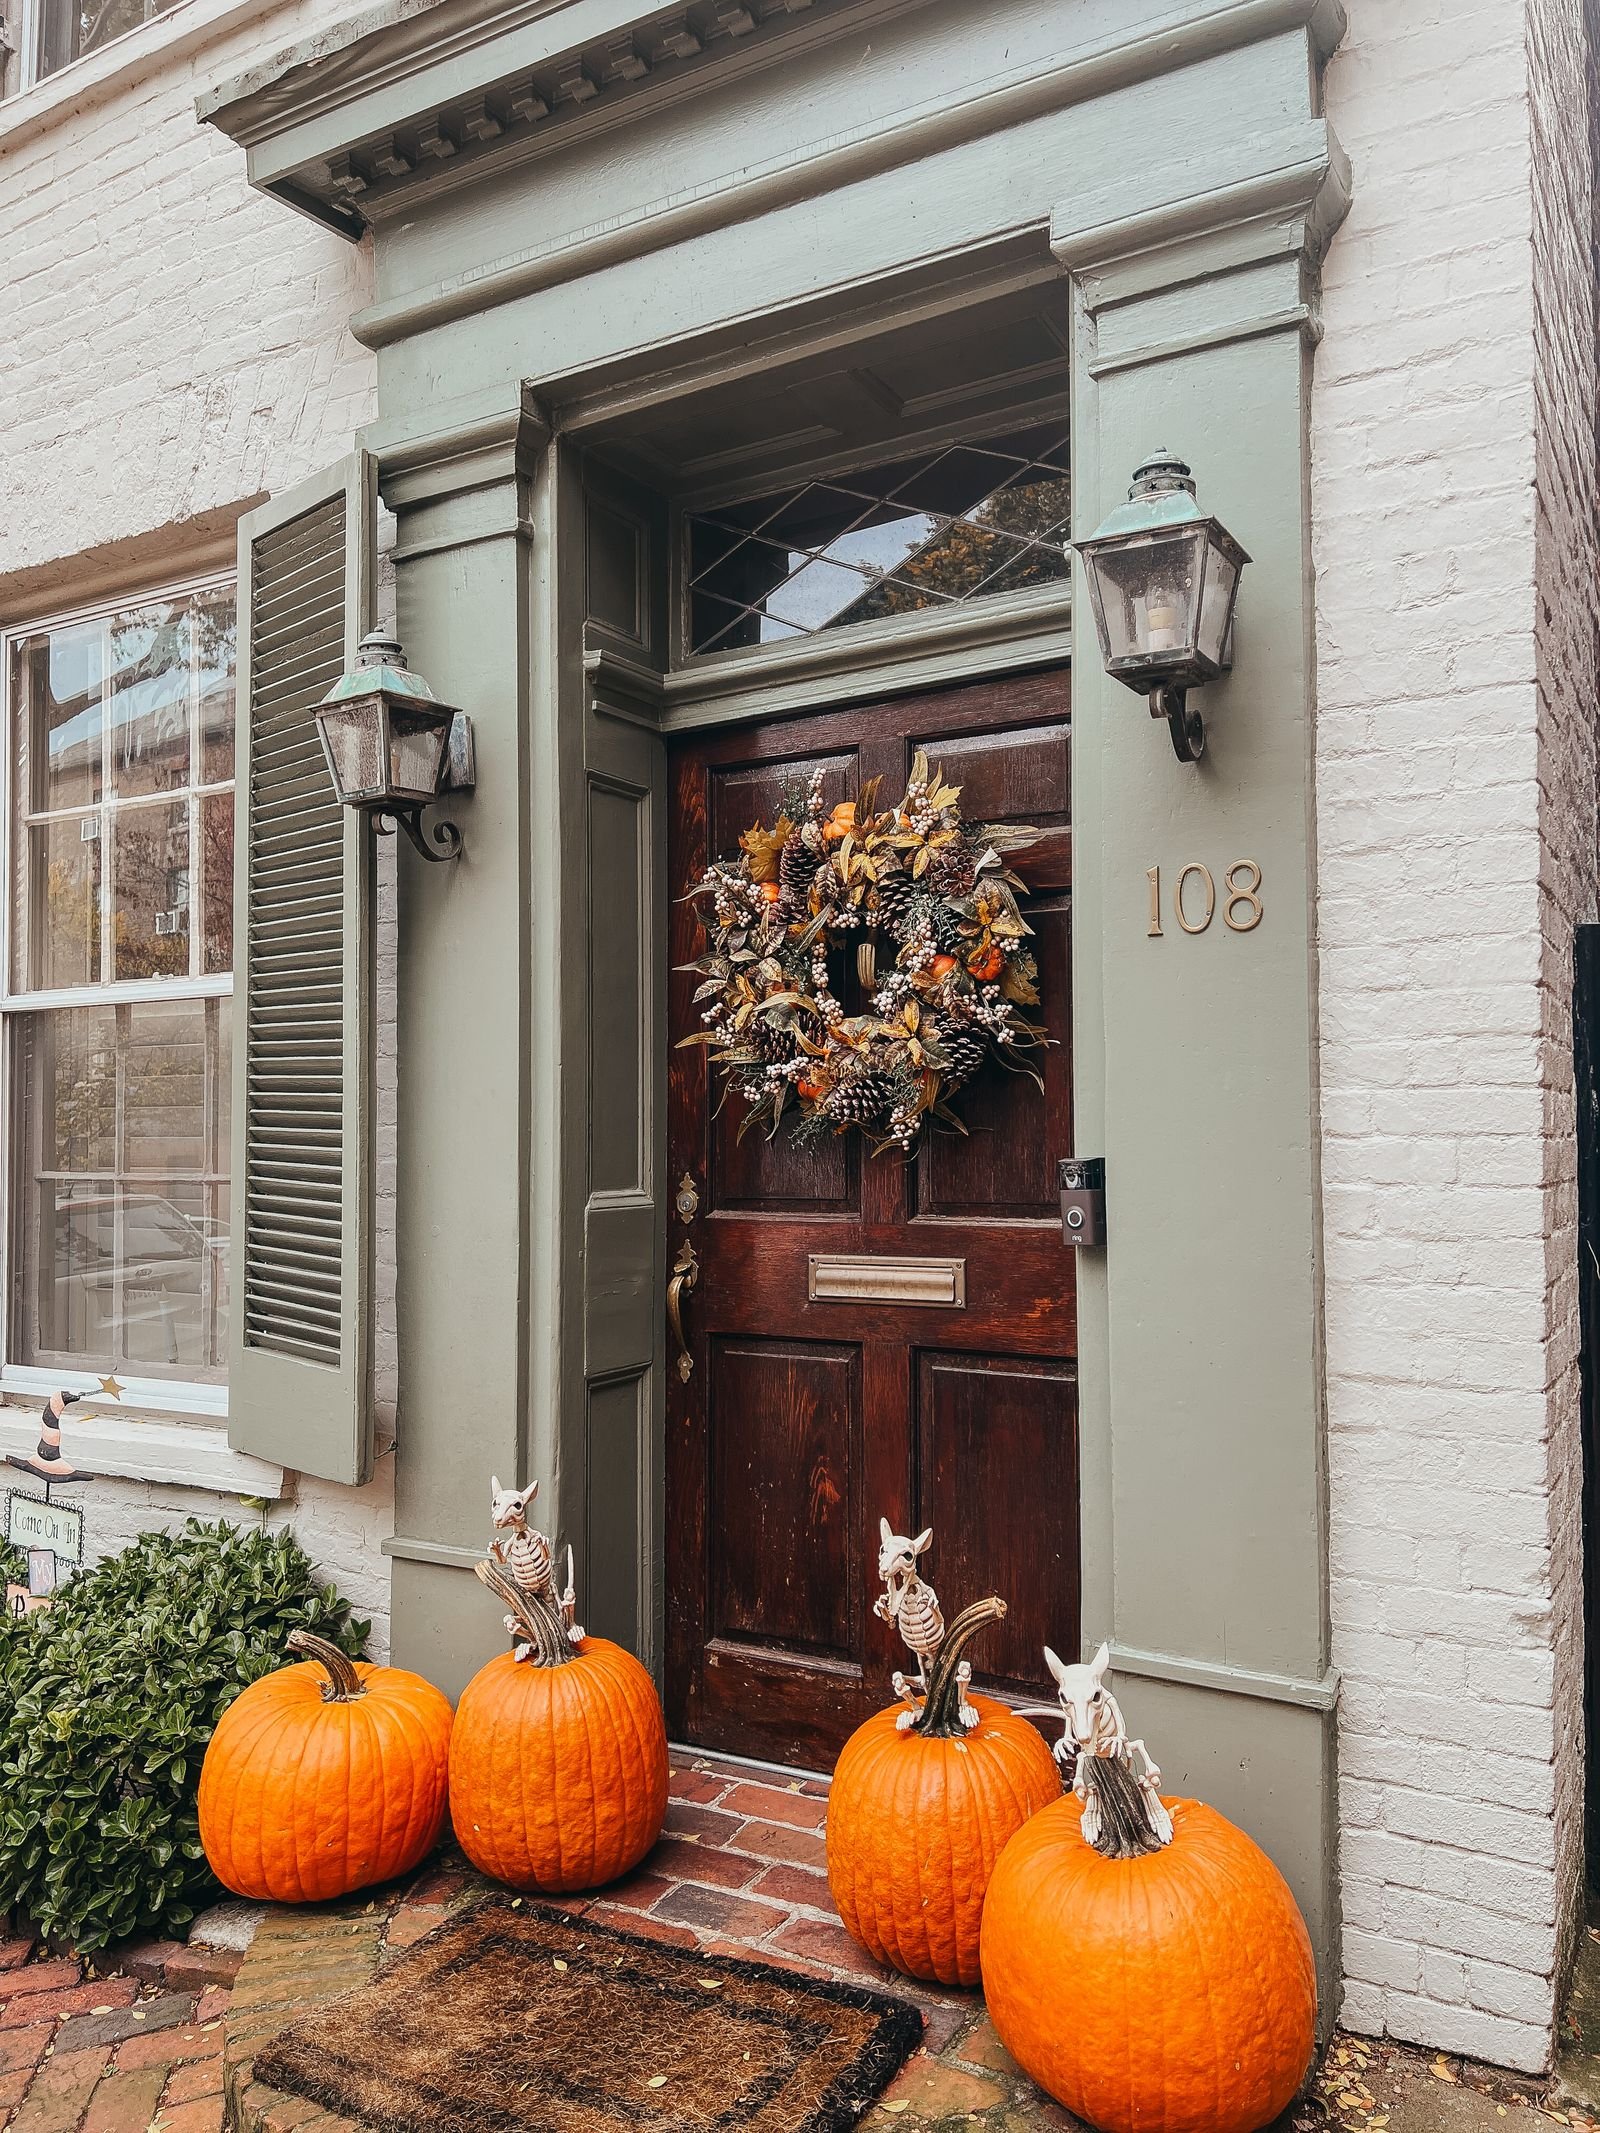
For maximum spook factor on a budget, build a wreath entirely from plastic skeletons and bones. Buy several small poseable skeletons from the pound shop and arrange them climbing around a black grapevine base, wiring their limbs in place so they appear to be scrambling over the ring. Fill the gaps with strings of mini skull garlands, black roses, and tattered cheesecloth. Pose one skeleton lounging across the top as if surveying its domain — this playful touch gets laughs from trick-or-treaters. Spray everything with a light coat of matte black or bone-white paint for a unified, professional finish that hides the cheap plastic look. At night, position a small spotlight or porch light to cast dramatic skeleton shadows on your door. Delightfully creepy, endlessly customisable, and guaranteed to be remembered.

Kid Friendly Paper Plate Wreath
Little crafters deserve their own project, and this one needs no hot glue. Give each child a paper plate with the centre cut out to form a ring. Let them paint it orange, purple, or black with washable poster paint, then go wild with stickers: foam pumpkins, glitter bats, googly eyes, and Halloween foam shapes all stick with a glue stick. Add a handprint ghost — white paint handprints with drawn-on faces — for a keepsake element parents treasure. Punch a hole at the top, thread through yarn, and hang on bedroom doors. The whole project takes 30 minutes plus drying time, costs almost nothing, and keeps children happily occupied on a rainy October afternoon. Display them proudly alongside your own sophisticated wreath — the contrast is part of the charm.

Dollar Store Halloween Wreath on a Budget
A stunning wreath need not cost more than a tenner. Start with a pound shop foam or vine ring, then raid the Halloween aisle: tinsel garlands, plastic spiders, mini pumpkins, skull picks, and ribbon. The secret to making cheap supplies look expensive is density and a limited palette — choose just two or three colours (black, orange, and purple, say) and pack decorations tightly so no base shows. Wrap the ring in ribbon first for a neat foundation, then layer: garland first for volume, larger items next, and small fillers last to hide glue spots. A £1 bag of Spanish moss covers a multitude of sins. Finish with a bow from wired ribbon, which always looks pricier than it is. Nobody will guess the total cost.

Hanging and Displaying Your Wreath Safely
A beautiful wreath deserves secure hanging. For most doors, an over-door wreath hanger is the simplest solution — choose one with padding or a slim profile so it does not scratch the paint or prevent the door closing. Suction cup hooks work on glass panels but check the weight rating; a decorated wreath can easily reach 1.5 kg. For heavy designs like the witch hat, use two hooks or a hanger rated for at least 3 kg. Command-style adhesive hooks are excellent for rented homes since they remove cleanly. Hang the wreath at eye level — roughly 150 cm from the ground — and step back to check it sits straight. If your door gets direct sun, rotate the wreath weekly so colours fade evenly, and bring delicate designs indoors during storms.

Weatherproofing for Outdoor Doors
October weather is unpredictable, so protect your handiwork. Choose artificial flowers and foliage rated for outdoor use, and avoid paper or untreated cardstock unless sealed with two coats of clear matte craft sealer. Hot glue softens in rain and heat — reinforce heavy items with floral wire as well as glue. Fabric elements like burlap and cheesecloth survive dampness but can mildew; bring the wreath under cover during prolonged downpours. Battery-operated fairy lights should be explicitly outdoor-rated, with the battery pack tucked into a small zip-lock bag. A light misting of UV-protective sealer over the finished wreath slows colour fading dramatically. With these precautions, your wreath will look fresh from early October right through to November.
Storing Your Wreath for Next Year
Proper storage means your wreath emerges next October looking as good as new. Never squash wreaths into bags — invest in a wreath storage box or hang each one on a sturdy hanger inside a garment bag in a cool, dry loft or cupboard. Stuff the centre with acid-free tissue paper to help it hold its shape. Remove battery packs from any lights to prevent corrosion, and tuck silica gel sachets into the box to absorb moisture. Label each box with the design and year so you can rotate displays. Inspect stored wreaths each September: re-glue any loose pieces, touch up paint, and replace faded ribbon. A well-made, well-stored wreath easily lasts five or more Halloweens, making your afternoon of crafting an investment that pays off year after year.
From gothic black roses to kid-friendly paper plates, these DIY Halloween wreath ideas prove that the best front door décor is the kind you make yourself. Pick the design that matches your style and skill level, gather your supplies, and give yourself an afternoon to create something no shop can replicate. Hang it proudly, light the porch, and enjoy the compliments from every trick-or-treater who knocks.

I am Talha Sikandar, a professional writer with a passion for general blogging. With years of experience in content writing and research, I founded Meaniingly.com to deliver well-researched, informative, and user-friendly articles on diverse topics.