baked apple cider doughnut recipe
There is no flavour that says autumn quite like a warm apple cider doughnut, its tender crumb fragrant with reduced cider and cinnamon, its crackled shell rolled in sparkling sugar. This baked apple cider doughnut recipe captures everything you love about the orchard stand classic without the deep fryer, the splattering oil, or the lingering smell of frying in your kitchen. Instead, you get pillowy, cake-style doughnuts with a deeply apple-y crumb and a buttery cinnamon sugar crust, ready in about 30 minutes from start to finish. Below you will find the complete method, from reducing the cider for maximum flavour to troubleshooting dense bakes, plus gluten free and dairy free adaptations, storage tips, and clever ways to serve them at autumn gatherings.
Why Baking Beats Frying for Apple Cider Doughnuts
Baked apple cider doughnuts are lighter, faster, and far less fiddly than their fried cousins. There is no thermometer babysitting, no litres of oil to dispose of, and no greasy residue on your fingers or worktops. A good baked doughnut pan produces evenly cooked rings with a soft, cake-like interior that soaks up the reduced cider beautifully. Because the batter is leavened with baking powder rather than yeast, you skip the long proving times entirely — the whole batch goes from bowl to cooling rack in roughly 30 minutes. You also gain precise portion control and a crumb that stays tender for longer. While frying gives a crisper shell, a quick brush of melted butter before the cinnamon sugar coating gives baked doughnuts a crackle that is remarkably close, with a fraction of the fat and effort.
The Ingredients You Need (and Why Each Matters)
This recipe uses everyday store cupboard ingredients, each with a job to do. Plain flour gives structure; for the most tender crumb, spoon it into the cup and level it off rather than scooping from the bag. Granulated sugar and light brown sugar combine for sweetness with a hint of molasses depth. Baking powder and bicarbonate of soda provide the lift, while a pinch of salt sharpens every other flavour. Ground cinnamon and nutmeg deliver the warm spice backbone — use fresh spices if yours have sat in the cupboard for over a year. Reduced apple cider is the star, concentrating the fruit flavour. Whole milk or buttermilk adds moisture and tenderness, eggs bind the batter, and melted butter (or neutral oil) enriches the crumb. Finally, vanilla extract rounds everything out with a mellow sweetness.

Choosing the Right Apple Cider
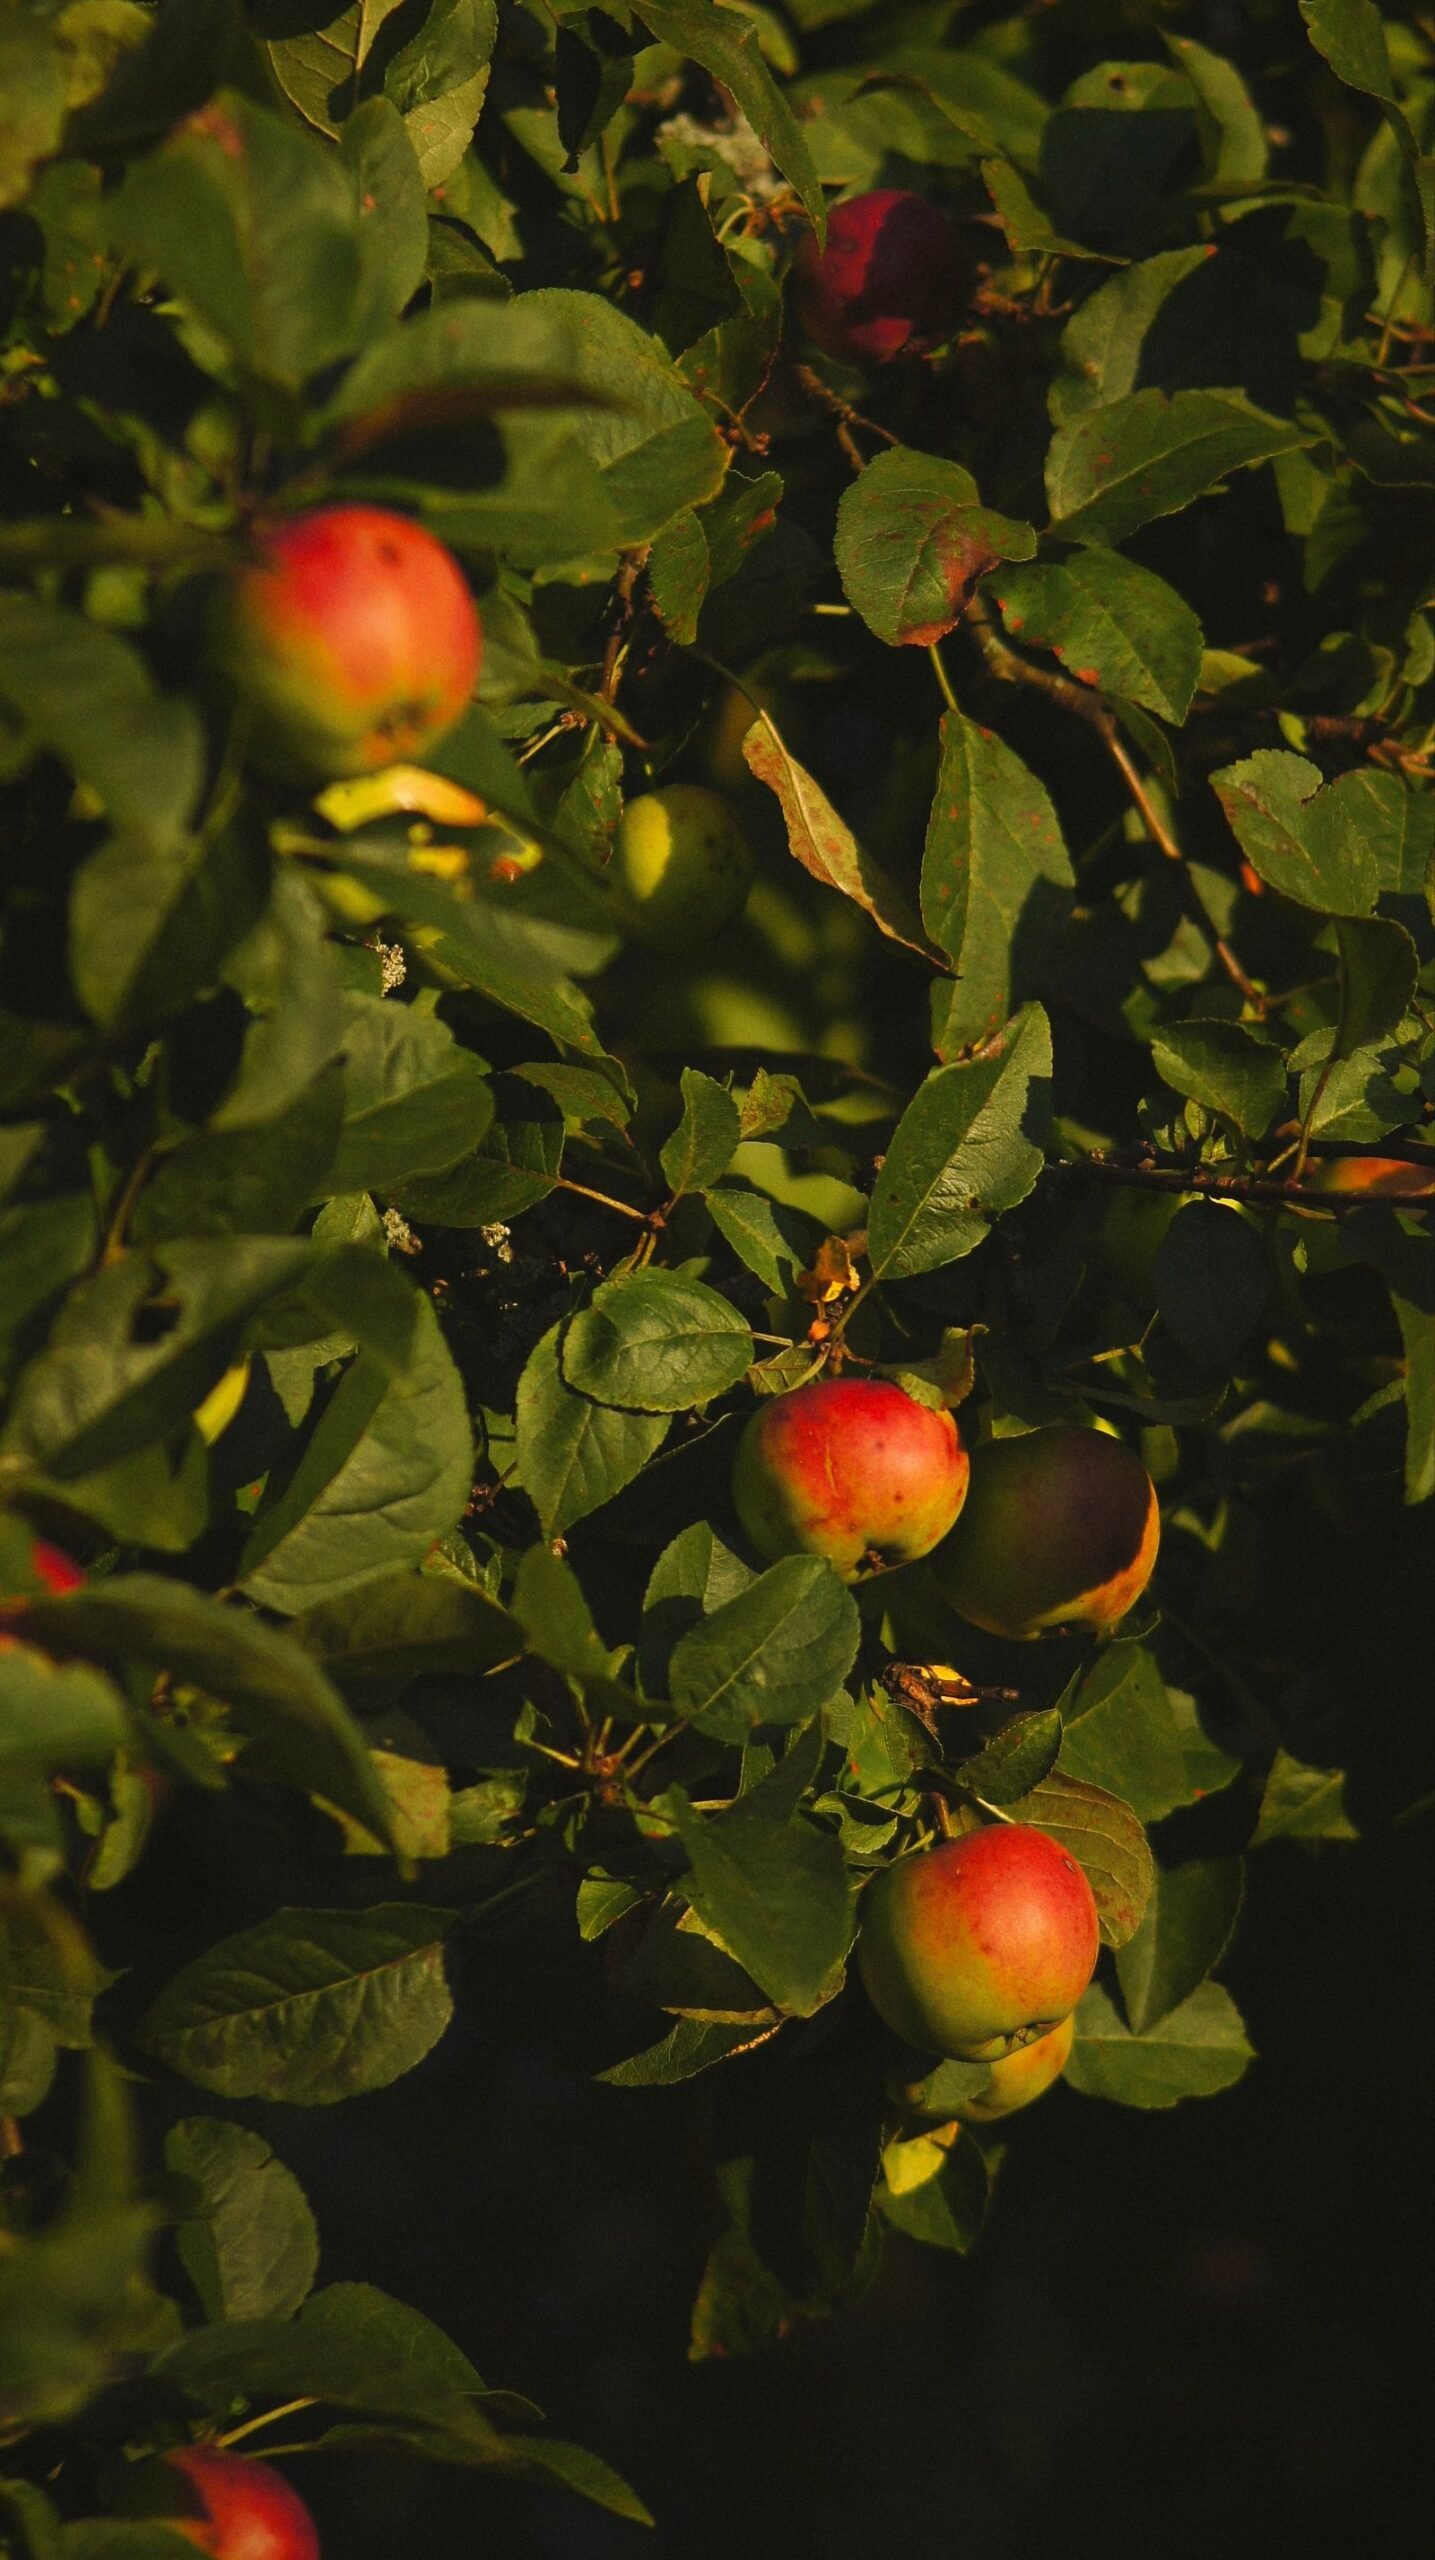
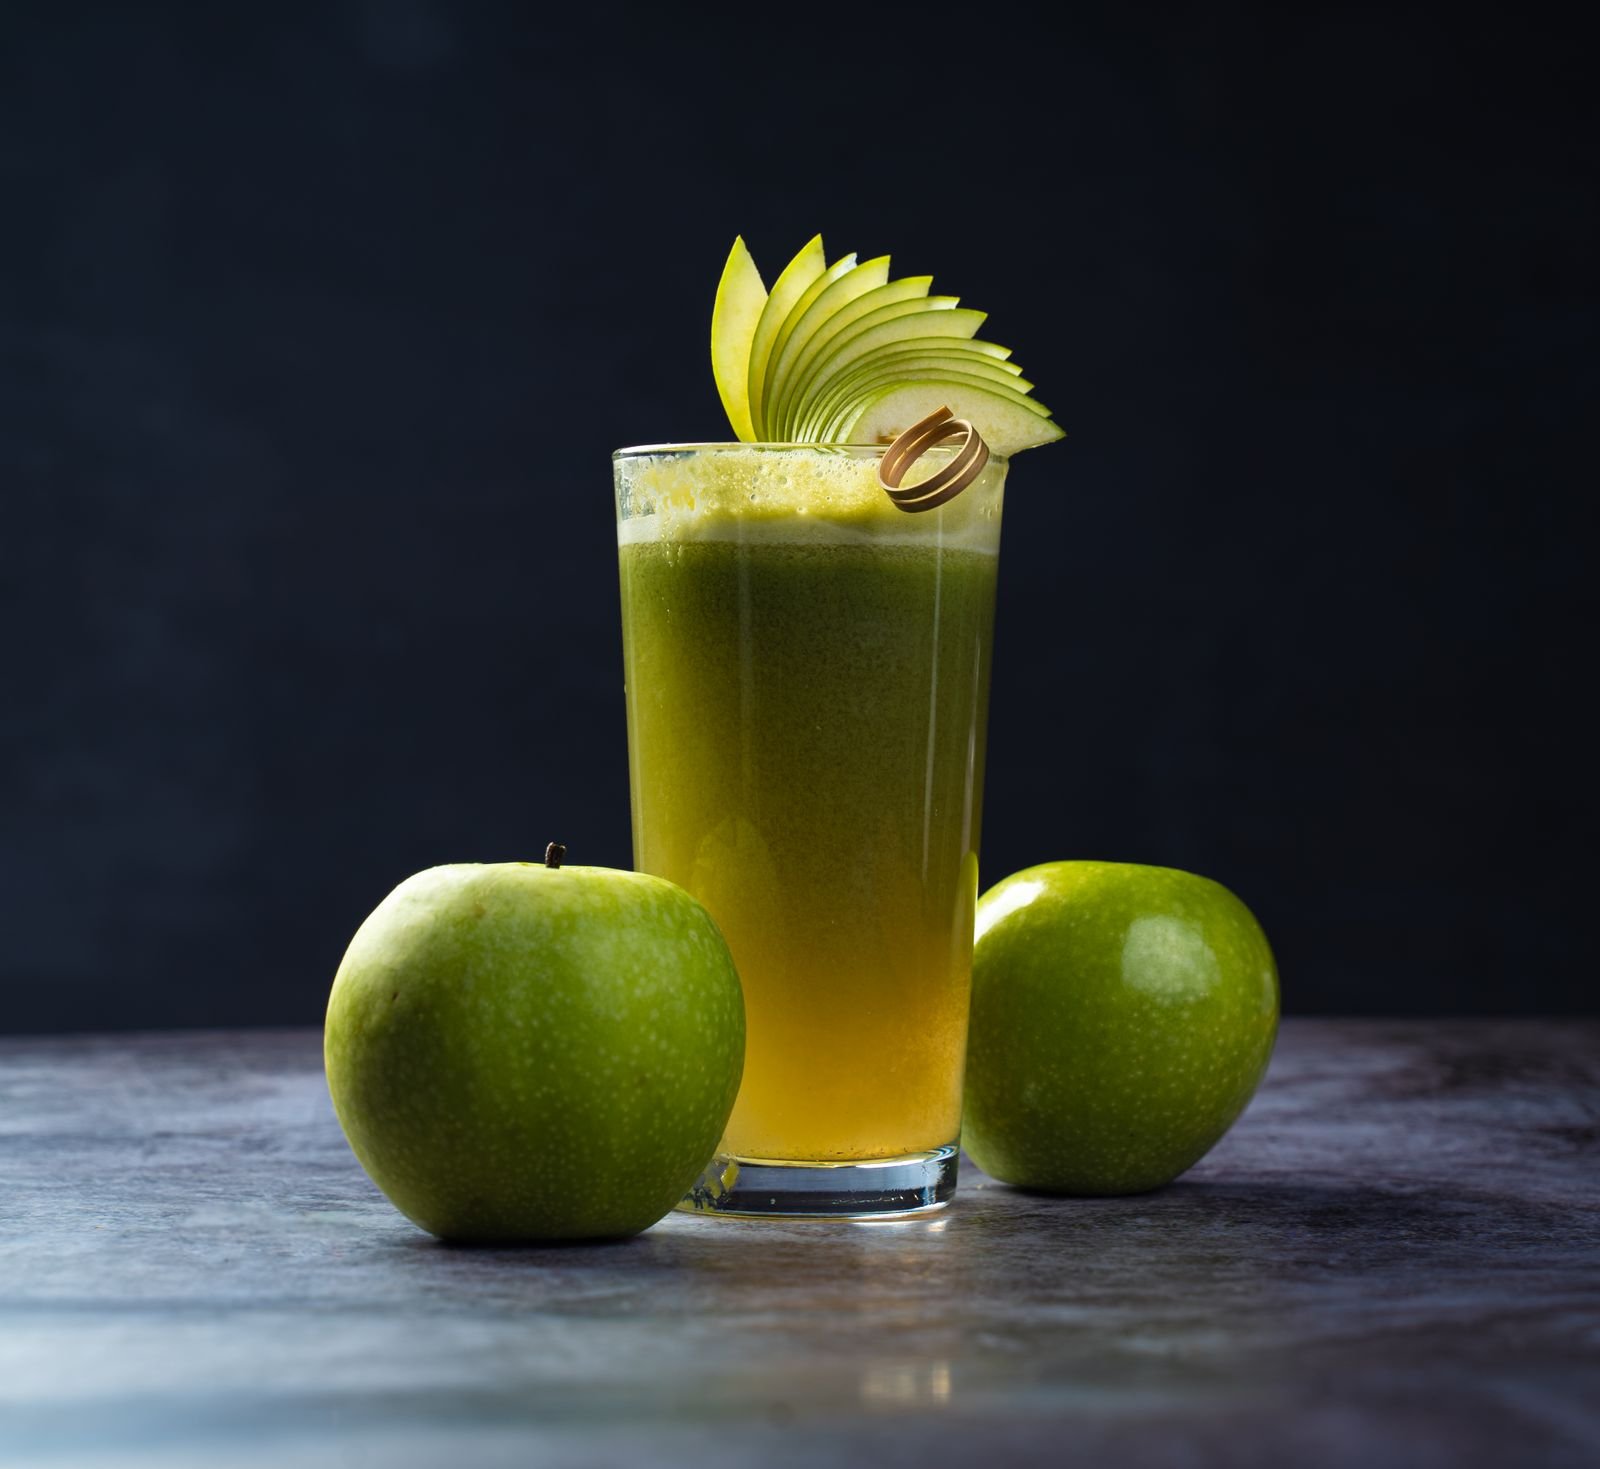
Not all cider is created equal when it comes to baking. Look for fresh, unfiltered apple cider — the cloudy kind sold in the refrigerated section during autumn — rather than clear, shelf-stable apple juice. Unfiltered cider carries more apple solids and a tangier, more complex flavour that survives baking. Avoid anything labelled “apple cider vinegar,” which is far too acidic for this recipe and would ruin the crumb. Hard cider is also unsuitable, as the alcohol and carbonation interfere with the batter’s chemistry. If fresh cider is out of season, a good-quality cloudy apple juice makes an acceptable stand-in; simply reduce it a little further to concentrate the flavour. Whatever you choose, taste it first: if the cider is bland from the glass, your doughnuts will be bland too.

Equipment: Doughnut Pans and Essential Tools
A standard six-cavity doughnut pan is the one non-negotiable piece of equipment. Non-stick pans with a light-coloured finish give the most even browning; dark pans can over-brown the bottoms before the centres are done. If you only own one pan, simply bake in two batches — the batter holds fine at room temperature for 15 minutes. A piping bag, or a large zip-lock bag with the corner snipped off, makes filling the cavities neat and fast without a spoon dripping batter everywhere. You will also want a wire cooling rack, a pastry brush for the butter, and a shallow bowl for the cinnamon sugar coating. A small saucepan is needed for reducing the cider. Silicone doughnut moulds work as an alternative, though they tend to produce paler, softer rings that need an extra minute or two in the oven.

How to Reduce Apple Cider for Maximum Flavour
Reduction is the single most important step in this recipe, and the one most bakers skip. Pour 240 ml of fresh apple cider into a small saucepan and simmer it gently over medium heat until it reduces to about 80 ml — roughly a third of its original volume. This takes 8 to 12 minutes and intensifies the apple flavour enormously, turning mild cider into a syrupy, almost caramel-like concentrate. Let it cool for at least 10 minutes before adding it to the batter; hot liquid can melt the butter prematurely and scramble the eggs. Watch the pan in the final minutes, as the sugars can catch and burn quickly once most of the water has evaporated. You can reduce a larger batch and refrigerate the extra in a jar for up to two weeks — it is brilliant stirred into porridge or glazes.

Mixing the Batter Without Overworking It
Cake doughnuts turn tough the moment you overmix, so treat this batter gently. Whisk the dry ingredients — flour, sugars, leavening, salt, and spices — in a large bowl until evenly combined. In a separate jug, whisk the wet ingredients: the cooled reduced cider, milk, eggs, melted butter, and vanilla. Pour the wet into the dry and fold with a spatula just until no streaks of flour remain; a few small lumps are perfectly fine. The whole mixing process should take under a minute. Overmixing develops gluten, which gives you chewy, bready rings instead of the tender, cakey crumb you want. If you notice the batter looking smooth and elastic, you have gone too far — stop immediately. Rest the batter for five minutes while the oven preheats; this hydrates the flour and gives a slightly more even rise.

Filling the Doughnut Pan Like a Pro
Neat filling is the difference between picture-perfect rings and a batter-splattered mess. Grease each cavity of the doughnut pan thoroughly with butter or baking spray, even if the pan claims to be non-stick — the high sugar content makes these prone to sticking. Transfer the batter to a piping bag or zip-lock bag, snip a 2 cm opening, and pipe each cavity about two-thirds full. This leaves room for the rise without the centres closing over. If you do not have a piping bag, two teaspoons work, though the results will be a little more rustic. Wipe any drips from the centre posts with a damp cloth so the holes stay open during baking. Tap the filled pan gently on the worktop once to release large air bubbles that could cause lopsided tops.
Bake Times and Temperatures That Actually Work
Preheat your oven to 180°C (160°C fan) and position a rack in the centre. Bake the doughnuts for 10 to 12 minutes, until the tops spring back when lightly pressed and a toothpick inserted into the thickest part comes out clean or with a few moist crumbs. Start checking at nine minutes, because every oven runs slightly differently and these go from perfect to dry fast. The doughnuts should be pale golden with lightly browned edges — deep browning means they have overbaked. Cool them in the pan for exactly five minutes, then turn them out onto a wire rack. Leaving them in the hot pan longer causes the bottoms to steam and turn soggy. Do not attempt the butter and sugar coating until the doughnuts are just warm to the touch; too hot and the sugar melts into a glaze, too cool and it will not stick.
The Cinnamon Sugar Coating, Done Right
The coating is half the experience, so do not skimp on it. While the doughnuts bake, stir together 100 g of granulated sugar with two teaspoons of ground cinnamon in a shallow bowl wide enough to fit a doughnut. For extra sparkle, substitute half the sugar with coarse sanding sugar. Melt 60 g of butter in a separate shallow dish. Working one doughnut at a time, brush the entire surface lightly with melted butter — top, sides, and bottom — then roll it firmly in the cinnamon sugar, pressing gently so an even layer adheres. The butter layer must be thin; too much and the sugar slides off in clumps. Coat each doughnut twice for a bakery-style crust. If you prefer a less sweet finish, dust with cinnamon sugar using a sieve instead of rolling, which gives a delicate, even dusting.
Adding a Butter Bath for a Crisp Shell
Here is the trick that closes the gap between baked and fried: the butter bath. Instead of brushing, dip each warm doughnut fully into a bowl of melted butter for two seconds, letting the excess drip off for a moment before rolling in cinnamon sugar. The full coating of butter fries the sugar slightly as the doughnut cools, creating a thin, crisp, crackled shell that mimics the fried original. Use unsalted butter so you control the salt level, and keep the butter warm but not hot — overheated butter makes the sugar melt rather than crystallise. This method uses about 80 g of butter for a full batch of 12. The result is worth it for special occasions, though the lighter brushed version is perfectly delicious for everyday baking and saves roughly 40 calories per doughnut.
Spiced Glaze Variations to Try
If you fancy a change from cinnamon sugar, a glaze opens up delicious possibilities. For a classic apple cider glaze, whisk 120 g of icing sugar with two tablespoons of reduced cider and a pinch of cinnamon until smooth, then dip the tops of the cooled doughnuts and let the glaze set for 20 minutes. A maple glaze — icing sugar, a tablespoon of maple syrup, and a splash of milk — pairs beautifully with the apple spice base. For a salted caramel drizzle, warm shop-bought caramel sauce and zigzag it over glazed doughnuts, finishing with flaky sea salt. A brown butter glaze adds nutty depth: brown 60 g of butter until it smells toasty, then whisk into icing sugar with a little milk. Glazed doughnuts look stunning on a platter but are best eaten within hours, as the glaze softens over time.
Making Them Gluten Free
These doughnuts adapt well to gluten free baking with a few adjustments. Swap the plain flour for a good-quality gluten free blend that contains xanthan gum, using the same weight — about 250 g for a batch of 12. Cup-for-cup style blends designed for cakes give the closest texture. Add half a teaspoon of extra baking powder to compensate for the slightly weaker rise of gluten free flours. The batter will look a little thicker than the wheat version; this is normal, so resist adding extra milk. Bake for the same time, but check doneness with a toothpick rather than the spring-back test, since gluten free doughnuts firm up differently. The texture is marginally denser but still tender, and the cinnamon sugar coating disguises any difference completely. Cool fully on the rack to avoid gumminess.

Dairy Free and Vegan Adaptations
A few simple swaps make this recipe fully plant-based without sacrificing flavour. Replace the milk with an equal amount of unsweetened oat milk, which has the body to keep the crumb tender, or soy milk for extra protein. Swap the melted butter in the batter for refined coconut oil or a neutral vegetable oil, and use melted vegan butter for the coating step. For the eggs, whisk two tablespoons of ground flaxseed with six tablespoons of water and rest for five minutes until gel-like — this “flax egg” binds the batter reliably in cake-style recipes. Choose a vegan-friendly granulated sugar, as some white sugars are processed with bone char. The finished vegan doughnuts are just as soft and spiced; the flax adds no discernible flavour beneath the cinnamon and cider.
Storing and Freezing Your Doughnuts
Freshly coated doughnuts are at their peak on day one, but they keep well with proper storage. Once completely cool, store them in an airtight container at room temperature for up to two days, layering baking parchment between them so the sugar coating does not rub off. Do not refrigerate — the cold dries out the crumb and makes the sugar weep. For longer keeping, freeze uncoated doughnuts: cool completely, wrap each in cling film, and place in a freezer bag for up to three months. Freezing before the butter and sugar step keeps the coating crisp when you refresh them later. Thaw at room temperature for an hour, warm in a low oven, then do the butter and cinnamon sugar coating fresh. Label the bag with the date so you rotate your stock sensibly.

Reheating Without Losing the Crunch
A quick refresh brings day-old doughnuts remarkably close to fresh-baked. Warm them in a 150°C oven for five to seven minutes on a baking tray — the gentle heat re-crisps the cinnamon sugar shell and softens the crumb. Avoid the microwave, which turns the coating soggy and the interior rubbery within seconds. If you want an extra-fresh finish, brush very lightly with melted butter and re-roll in cinnamon sugar after warming; the heat helps a new layer adhere beautifully. For frozen doughnuts, thaw first at room temperature, then warm as above before coating. From frozen to table takes about 20 minutes total, making these a brilliant make-ahead option for brunch guests. Serve warm with the centre still slightly steamy for the full orchard-stand effect.

Troubleshooting: Dense, Dry or Rubbery Doughnuts
Most doughnut failures trace back to a handful of fixable causes. Dense, heavy rings almost always mean overmixed batter or overfilled cavities — fold gently and fill only two-thirds full. A rubbery texture points to too much gluten development, again from overmixing, or from using bread flour instead of plain. If the holes closed over during baking, the cavities were overfilled or the pan was not tapped to release air. Doughnuts sticking to the pan need more thorough greasing, plus the full five-minute cooling period before turning out — inverting too early tears them, too late steams them. Keep notes on your oven’s quirks and your times will be perfect by the second batch.

Pairing Ideas: Cider, Coffee and Autumn Spreads
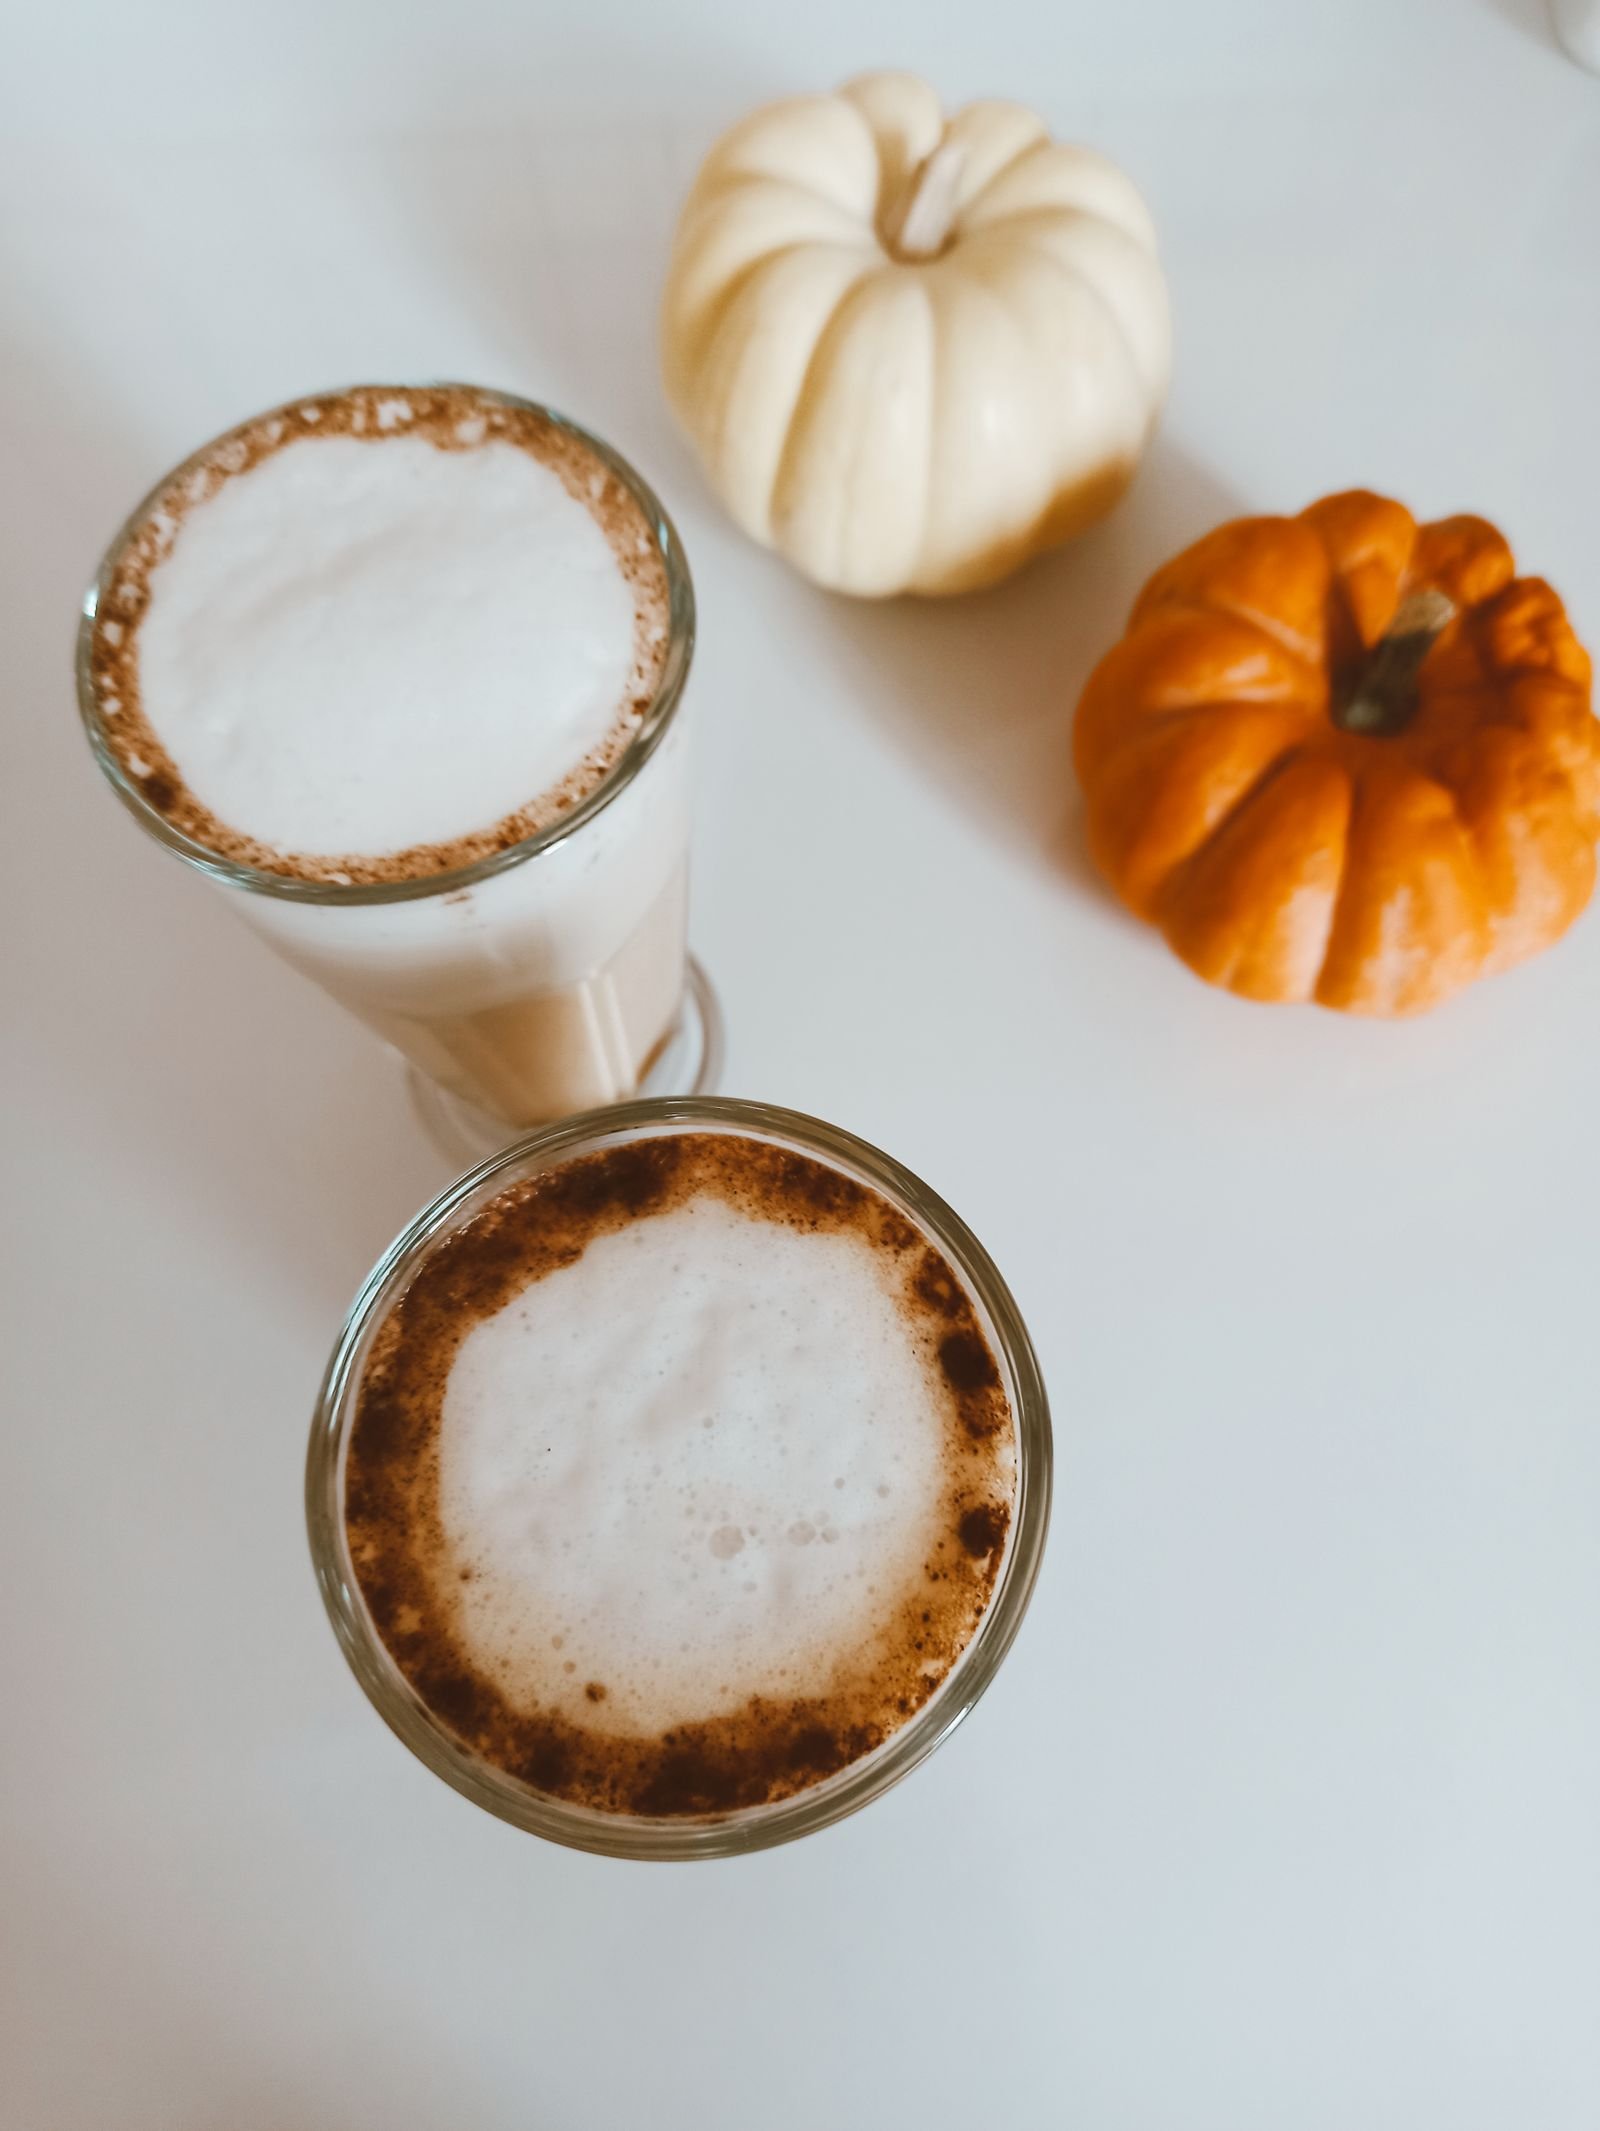
Serve these doughnuts as the centrepiece of an autumn spread and they disappear fast. Hot mulled apple cider is the natural partner — its spices echo the doughnut coating and the warmth is pure comfort. For a brunch table, pair with strong coffee or a chai latte; the bitterness balances the sugar beautifully. A cheese board with sharp cheddar and crisp apple slices turns the doughnuts into part of a harvest grazing table. For dessert, split a warm doughnut and sandwich a scoop of vanilla ice cream inside for an instant apple cider ice cream sandwich. At Halloween or bonfire parties, stack them on a tiered stand with mini pumpkins and dried orange slices for a centrepiece that doubles as pudding. However you serve them, make a double batch — twelve never lasts long.

Turning the Recipe Into Muffins or Doughnut Holes
No doughnut pan? The batter is wonderfully versatile. For muffins, divide it among 12 lined muffin cases, filling each two-thirds full, and bake at 180°C for 16 to 18 minutes. Brush the warm tops with butter and dip in cinnamon sugar for a doughnut-muffin hybrid. For doughnut holes, use a mini muffin tin: fill each cup half full and bake for 8 to 10 minutes, then butter and roll in cinnamon sugar while warm. A 24-cup mini muffin pan yields bite-sized treats perfect for parties and lunchboxes. You can also bake the batter in a greased 20 cm cake tin for 20 to 25 minutes to make an apple cider snack cake — dust generously with cinnamon sugar and slice into squares. The flavour profile works in every format, so choose whichever suits the occasion.

Kid Friendly Baking Tips
This is an ideal recipe for baking with children because every step is hands-on and safe. Let little ones whisk the dry ingredients, pour the pre-measured wet ingredients, and do the gentle folding — narrate the “no overmixing” rule as a game of stopping at the right moment. Older children can pipe the batter into the pan with supervision, and everyone loves the rolling-in-cinnamon-sugar finale, which is gloriously messy in the best way. Set up a coating station with aprons and a tray underneath to catch spills. The 10-minute bake is short enough to hold a child’s attention, and decorating with sprinkles on a glazed version adds creative fun. Keep a damp cloth nearby for sticky fingers, and let each child claim “their” doughnuts by adding a different coloured sprinkle on top.

Make Ahead and Gift Wrapping Ideas
These doughnuts make wonderful edible gifts with a little planning. Bake them a day ahead, store uncoated in an airtight container, and do the butter and cinnamon sugar coating on the morning of gifting for maximum freshness. Stack four to six in a clear cellophane bag tied with raffia and a sprig of dried wheat for a farmhouse look, or nestle them in a kraft bakery box lined with parchment. Include a handwritten tag with the flavour and a “best eaten today” note. For teacher gifts or party favours, wrap pairs in small bags with a cinnamon stick tucked in — the scent is irresistible. A batch of the reduced cider syrup in a small jar alongside makes a thoughtful extra, with a tag suggesting it for porridge or pancakes.
With their tender spiced crumb, crackling cinnamon shell, and deep apple flavour from properly reduced cider, these baked doughnuts earn a permanent place in your autumn baking rotation. The method is forgiving, the ingredient list is simple, and the whole project takes about half an hour — yet the results taste like a trip to the orchard. Bake a batch this weekend, share them warm with people you love, and keep the cider reduction trick in your pocket for muffins, glazes, and everything else the season brings.

I am Talha Sikandar, a professional writer with a passion for general blogging. With years of experience in content writing and research, I founded Meaniingly.com to deliver well-researched, informative, and user-friendly articles on diverse topics.