Candle making tutorial
There is something deeply satisfying about lighting a candle you made yourself — choosing the scent, the vessel, the exact color, and then watching it burn cleanly because you built it right. Candle making looks technical from the outside, but the fundamentals are straightforward: melt wax, add fragrance, secure a wick, pour, and wait. The difference between a candle that tunnels, smokes, or smells like nothing and one that burns beautifully comes down to a handful of details — wax temperature, wick sizing, fragrance load, and curing time. This tutorial covers all of them. You will learn which wax and wicks to buy, how to pour your first container candle step by step, and how to fix the problems every beginner hits: tunneling, sinkholes, wet spots, and weak scent throw.
Why Make Your Own Candles
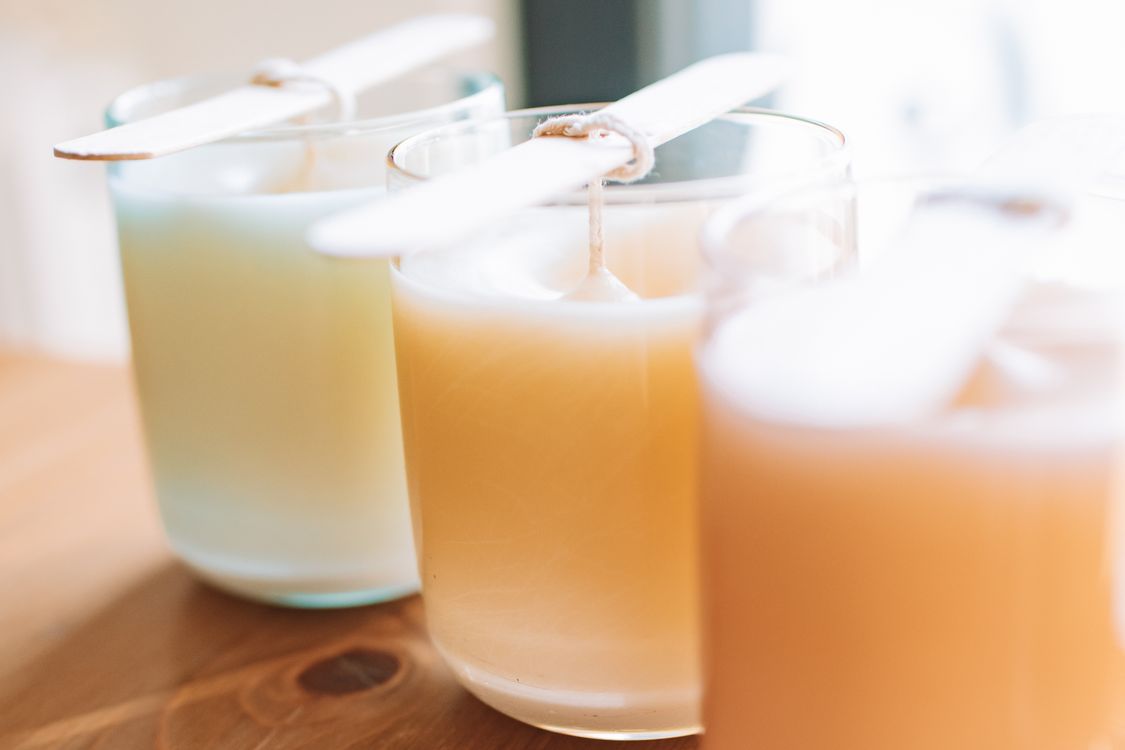
People start making candles for different reasons, and all of them are valid. Cost is a big one: a luxury candle that retails for forty dollars costs roughly five to eight dollars in materials to replicate at home. Customization is another — you can create scents no brand sells, match your home’s exact color palette, and pour into vintage teacups, mason jars, or thrifted glassware. Gifts are the third driver: a hand-poured candle in a beautiful vessel with a thoughtful label is a genuinely impressive present that costs little. Then there is the craft itself. Candle making is meditative without being boring — there is enough technique to stay interesting, and the results are immediately usable.
Candle Making Supplies: The Complete Checklist
Your first shopping list: wax (start with one to two pounds of soy wax — details below), wicks sized for your containers, fragrance oil, containers (heat-safe glass jars, tins, or ceramic), a pouring pitcher (stainless steel with a spout), a thermometer (a candy thermometer works), a kitchen scale, wick holders or clothespins to keep wicks centered, and wick stickers or hot glue to anchor wicks. Optional but useful: a double boiler setup (a large pot with your pouring pitcher inside, or a dedicated wax melter), dye chips if you want color, and a heat gun for fixing tops. Buy a beginner kit if decision fatigue threatens — reputable suppliers sell kits with pre-matched wax, wicks, and fragrance that remove the guesswork. Expect to spend thirty to fifty dollars for enough supplies to make eight to ten candles. After that, refills of wax and fragrance are inexpensive, and your per-candle cost drops dramatically.
Choosing the Right Wax (Soy, Beeswax, Paraffin, Coconut)
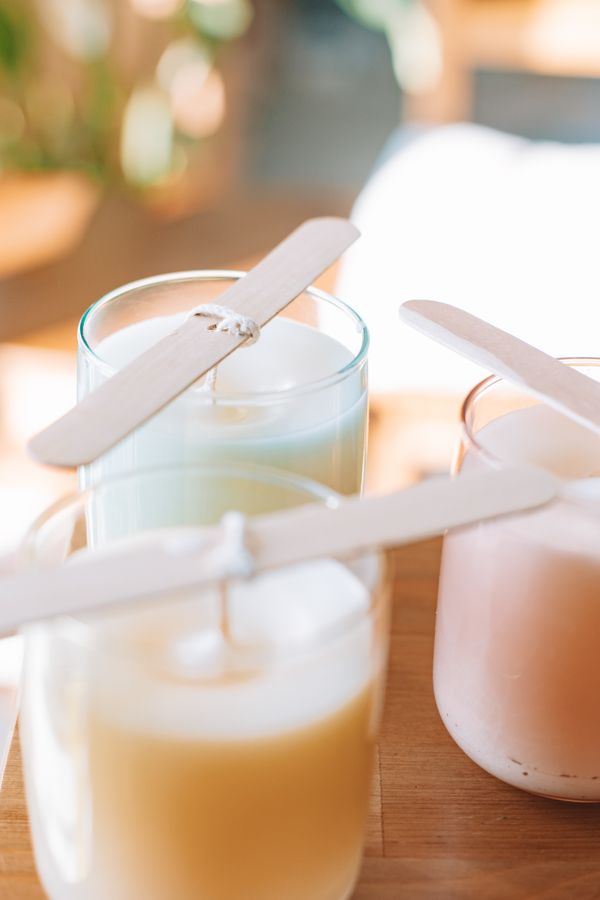
Soy wax is the best starting point for beginners: it is affordable, easy to work with, cleans up with soap and water, and holds fragrance well. Its creamy, opaque finish suits container candles perfectly. Beeswax is natural and burns beautifully with a subtle honey scent, but it is expensive, trickier to scent (its own aroma competes with fragrance), and better suited to pillars and tapers than containers. Paraffin holds the most fragrance and gives the strongest scent throw — which is why commercial candles love it — but it is petroleum-derived, sootier, and harder to clean up; many hobbyists avoid it on principle. For your first candles, buy a container-specific soy wax (often labeled “container soy” or by product numbers like 464) — wax formulated for containers adheres to glass properly, while pillar wax shrinks too much and pulls away.
Understanding Wick Types and Sizing
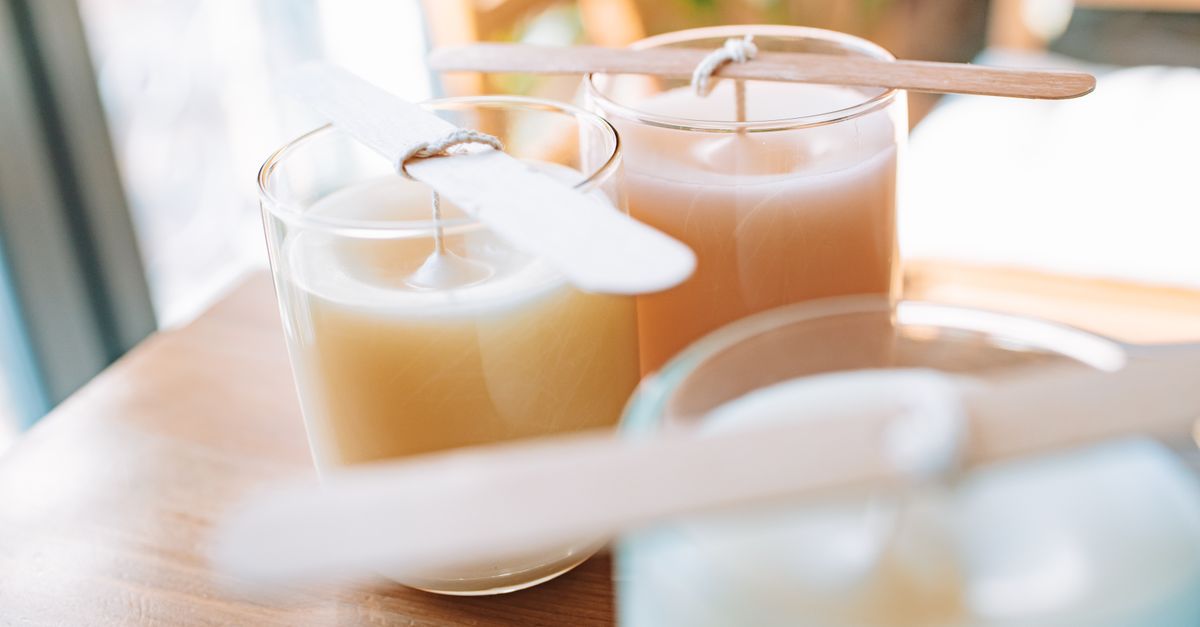
Wick sizing is the single most technical part of candle making — and the most important. Too small a wick and the candle tunnels (burns a narrow hole and drowns); too large and it smokes, soots, and burns too hot. Cotton wicks (flat braid) are the standard for soy containers. Wooden wicks crackle appealingly and suit wide containers but need specific sizing and can be finicky. Start with a supplier’s wick guide: match your container’s diameter to their recommended wick series and size. A three-inch-diameter jar typically needs a CD 8 or ECO 10, but treat guides as starting points — always test-burn. Buy a wick sampler pack with several sizes; testing three sizes in identical candles is the fastest education in wick behavior. Trim every wick to a quarter inch before each burn, including the first — an untrimmed wick mushrooms, smokes, and soots regardless of how well you sized it.
Fragrance Oils vs. Essential Oils

Fragrance oils — synthetic blends designed for candles — are what professionals use, and for good reason. They are formulated to survive hot wax, bind properly, and throw scent strongly; they come in thousands of options from “rain” to “leather library.” Use them at six to ten percent of your wax weight (a supplier’s recommended load is printed on each bottle). Essential oils seem appealing but perform poorly in candles: most evaporate or degrade at wax temperatures, giving weak scent, and some are unsafe to burn. A few (like cedarwood and lemongrass) work in blends, but as a beginner, stick with candle-specific fragrance oils. Buy from candle suppliers rather than craft stores when possible — supplier oils are tested for candle performance, while generic “fragrance oils” may be intended for diffusers or soap. Always check a fragrance’s flash point and follow the supplier’s recommended pour temperature for adding it.
The Right Pouring Temperature for Each Wax
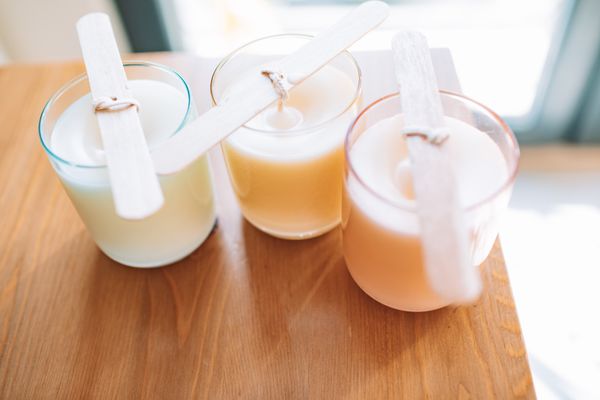
Temperature control separates decent candles from great ones. For container soy wax: melt to 75-80°C (170-180°F), add fragrance oil and stir gently for two full minutes, then cool to 55-60°C (130-140°F) before pouring. Adding fragrance to wax that is too hot burns off the volatile top notes; pouring too hot causes sinkholes and poor glass adhesion. Beeswax pours hotter, around 65-70°C (150-160°F). Paraffin pours around 70-75°C. These numbers vary by specific wax, so check your supplier’s data sheet — it is the most underused document in candle making. A ten-dollar thermometer is non-negotiable equipment; guessing temperatures is the root cause of most beginner problems. Cool the wax slowly and do not stir aggressively while cooling (which introduces air bubbles). Patience with temperature is the cheapest quality upgrade in the entire craft.
Step-by-Step: Your First Container Candle
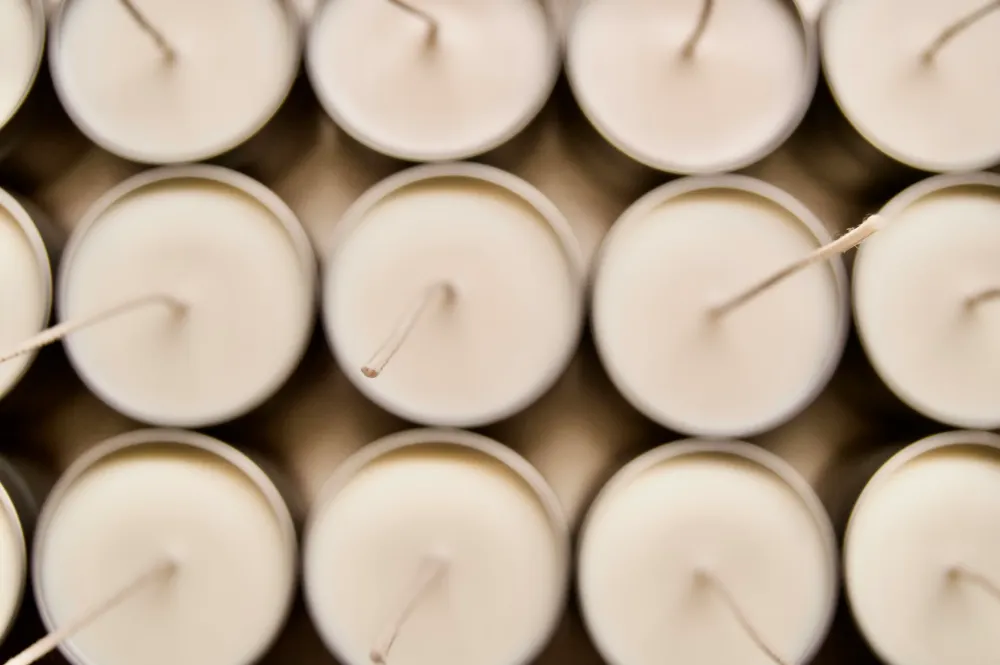
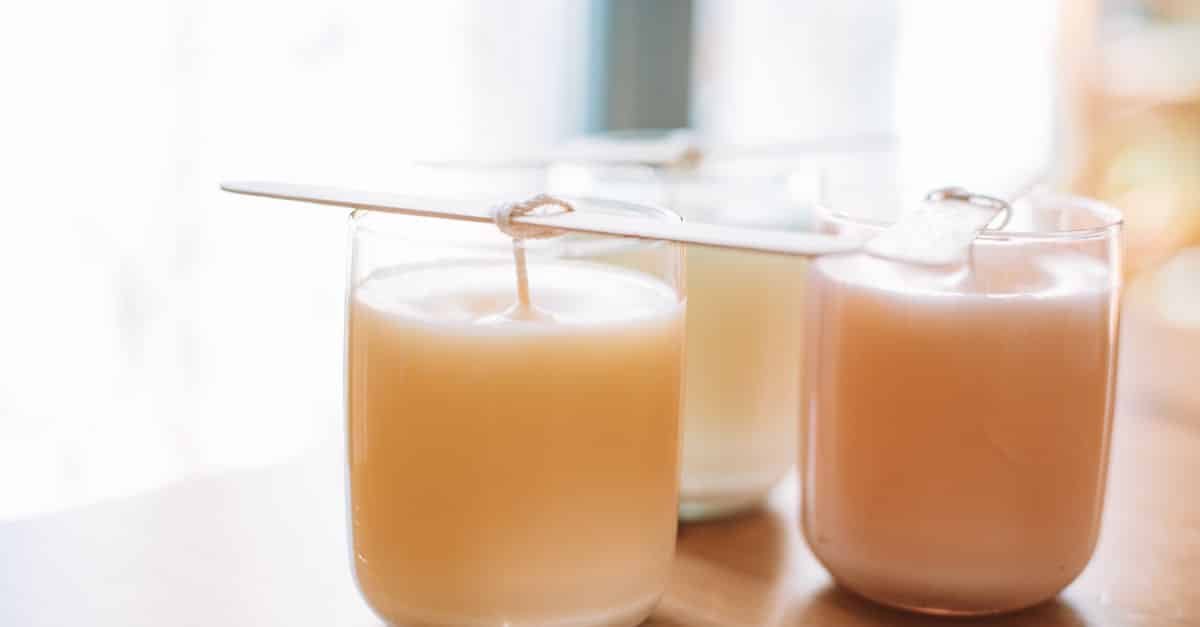
Here is the full process. Weigh your wax — for an 8-ounce jar, you need about 200 grams. Melt it in your pouring pitcher set in a water bath, monitoring with the thermometer. While it melts, anchor your wick: stick a wick sticker to the wick’s metal tab, press it firmly to the center of the jar’s bottom, and secure the top with a wick holder or clothespin so it stays centered and upright. When the wax hits 77°C (170°F), remove from heat, add fragrance oil at your chosen load (say, 8 percent — 16 grams for 200 grams of wax), and stir gently for two minutes. Let it cool to 57°C (135°F), then pour slowly and steadily into the jar, leaving about a centimeter of headspace. Do not move the candle while it cools — vibrations cause sinkholes. Let it set undisturbed for 24 hours at room temperature, away from drafts. Trim the wick to a quarter inch. You just made a candle.
How to Wick a Container Properly
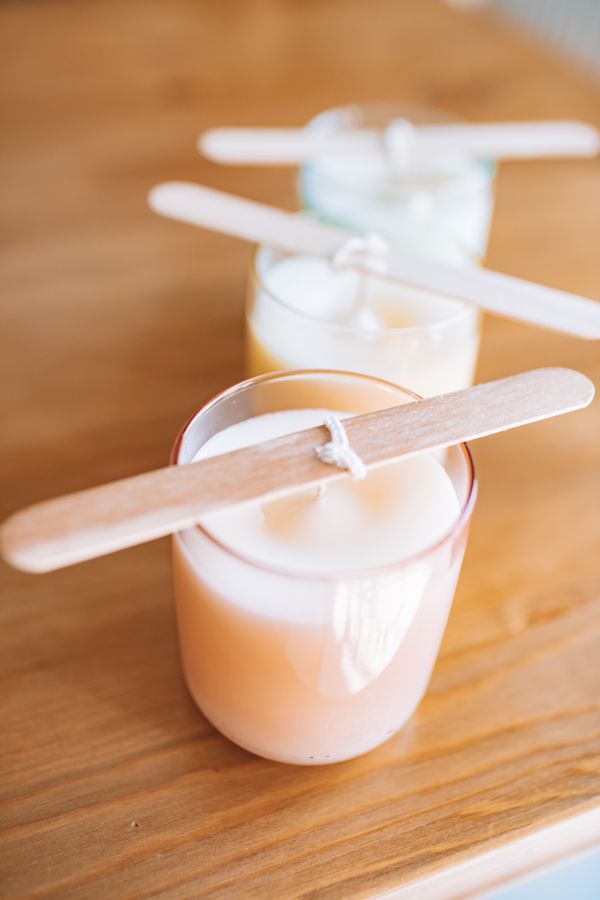
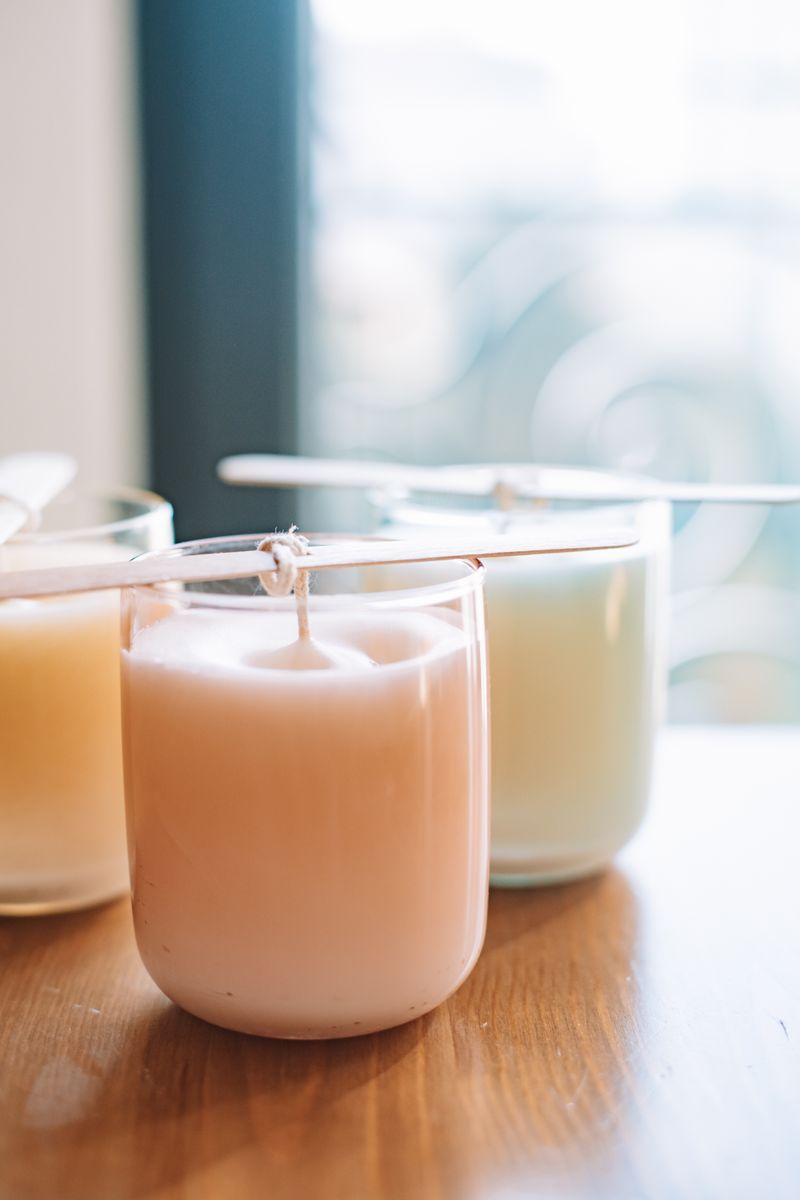
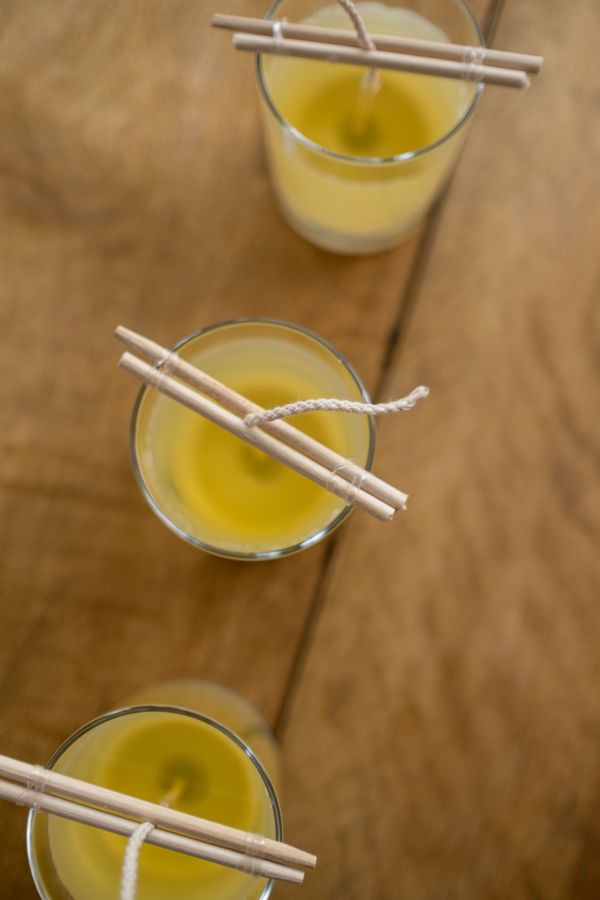
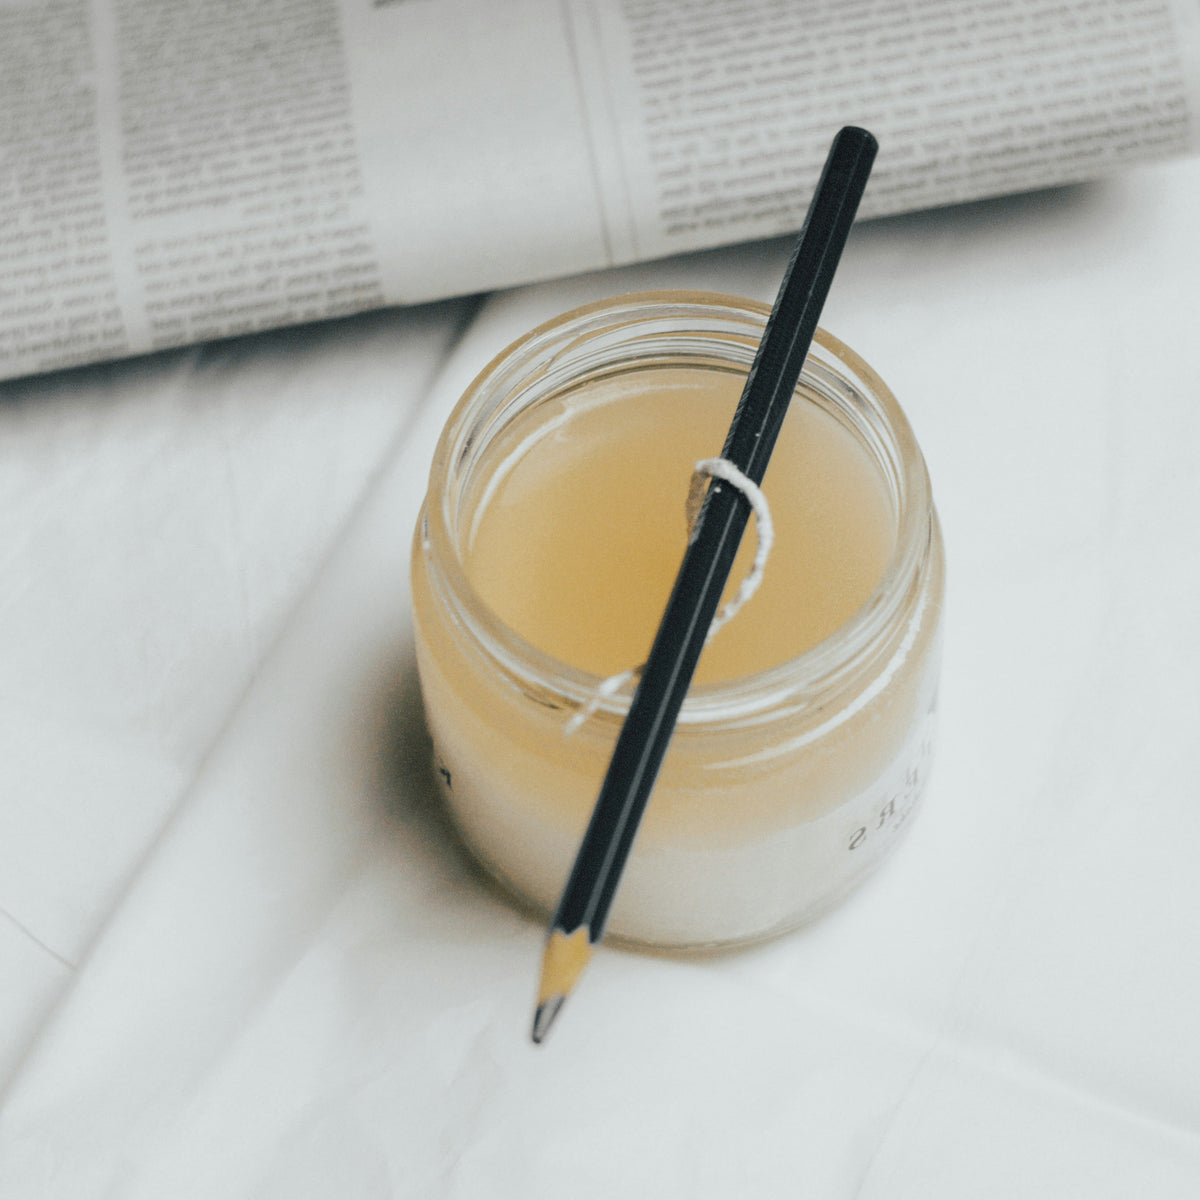
A centered, secure wick is structural — everything else depends on it. After sticking the wick tab to the jar bottom, check centering from above; even a few millimeters off-center causes uneven burning and one-sided tunneling. Wick holders (metal bars with a hole) are the most reliable centering tool; in a pinch, a clothespin laid across the jar mouth or two pencils taped together works. The wick must also be perfectly vertical — a leaning wick burns one side of the jar preferentially. For wide containers (over 10 centimeters), consider double-wicking: two smaller wicks spaced evenly create a full melt pool where one large wick would overheat the center. Space them so each sits roughly one-third of the diameter from the edge. After pouring, do not touch the wick until the candle is fully set — nudging a wick in soft wax is the most common way to ruin centering. Check alignment once more before the wax hardens completely.
Adding Color: Dyes and Natural Alternatives
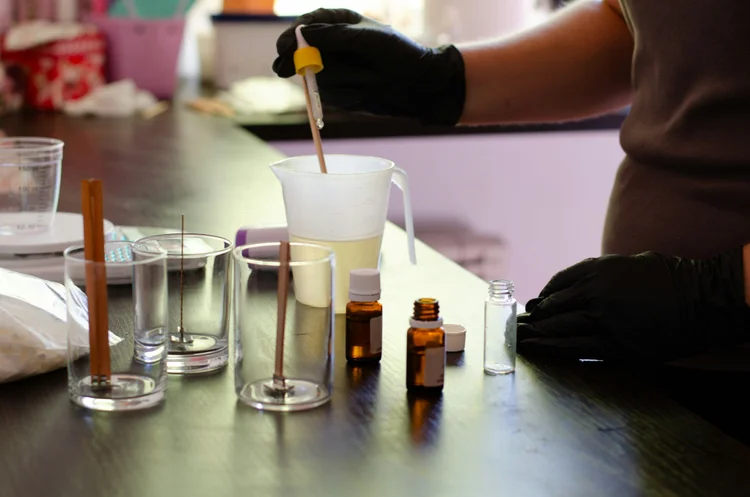
Color is optional — many beautiful candles are uncolored — but when you want it, use the right materials. Candle dye chips or liquid candle dyes are formulated to dissolve in wax and burn cleanly; add them to the hot wax before fragrance and stir until fully dissolved. Start with tiny amounts — a single chip colors an entire batch more than you expect, and you can always add more. Crayons are the classic beginner mistake: they contain pigments and binders not meant for burning, clog wicks, and produce sooty, poor-burning candles. For natural color, a small amount of turmeric gives warm gold, cocoa powder gives brown (strain well to avoid clogging), and beet powder gives pink — but natural colorants can affect burn quality, so test before gifting. Remember that soy wax is naturally creamy-white, so colors come out pastel and muted; for vivid color, paraffin takes dye more intensely. Always test-burn colored candles, since some dyes affect wick performance.
Creating Layered and Marbled Candles
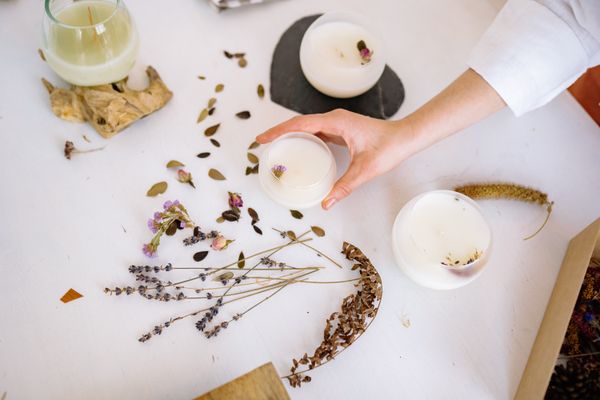
Layered candles look impressive and require only patience. Pour your first color (or scent) and let it cool until firm but still slightly warm to the touch — about one to two hours. Poke a few relief holes around the wick with a skewer so the next layer bonds. Pour the second layer at a slightly cooler temperature than usual (around 50°C/125°F for soy) so it does not melt the layer below. Repeat for as many layers as you like, varying colors, scents, or both — a gradient of one color from dark to light is elegant, while contrasting holiday colors are festive. For marbling, pour two colors simultaneously from opposite sides of the jar, then swirl once with a skewer — one swirl only; more turns it muddy. Let each project cool completely undisturbed.
Making Pillar Candles Without a Mold Disaster
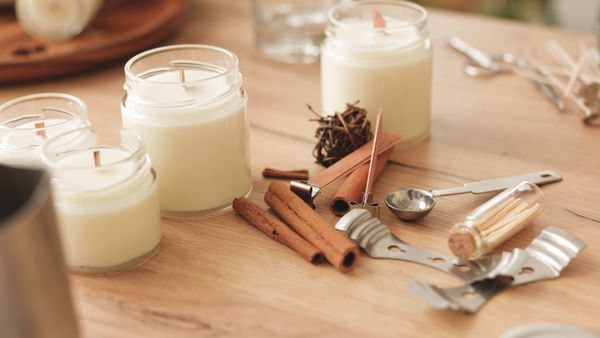
Pillars are a step up in difficulty but very doable. Use pillar-specific wax (harder, with more shrinkage for mold release) and a proper candle mold — silicone molds release easiest for beginners. Thread the wick through the mold’s wick hole, seal it with mold sealant putty or a wick screw, and secure the top with a wick bar. Pour the wax hot (around 75°C/170°F for most pillar waxes), then poke relief holes around the wick as it cools — pillars shrink significantly, and without relief holes you get deep sinkholes. Do a second “repour” to fill the shrinkage wells after the first pour sets. Cool slowly at room temperature; rapid cooling (fridge, cold garage) causes cracking and poor release. To unmold, the candle should slide out with gentle pressure — if it sticks, the mold was under-heated or the wax too soft. Trim the base flat with a warm knife so the pillar sits level. Pillars need longer curing than containers — two weeks for best burn quality.
Troubleshooting Tunneling
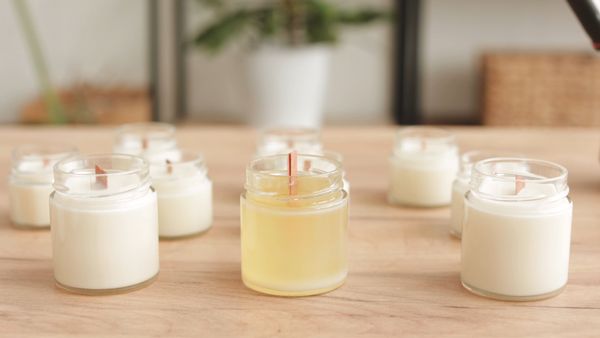
Tunneling — where the candle burns a narrow hole down the middle, leaving a wall of unmelted wax — is the most common beginner complaint, and it is almost always a wick or first-burn problem. The critical rule: on the first burn, let the candle burn long enough for the melt pool to reach the jar’s edge — roughly one hour per inch of container diameter. If you blow it out early, the candle “remembers” that narrow diameter forever. If tunneling has already happened, fix it by wrapping foil around the top of the jar (leaving a center opening) and burning for an hour — the foil reflects heat down and melts the walls. Persistent tunneling across multiple candles means your wick is too small; size up one step and test again. Also check for drafts, which push the flame to one side and cause uneven melting. Prevention beats cure: right wick, full first melt pool, no drafts.
Fixing Sinkholes and Wet Spots
Sinkholes (craters around the wick) happen when wax cools too fast on top while the interior is still liquid, then the interior contracts. Prevent them by pouring at the correct cooler temperature, cooling candles away from drafts and cold surfaces, and poking relief holes around the wick during cooling, then doing a small repour of reserved wax to fill them. If a sinkhole appears after the fact, a heat gun is the fix: warm the surface until it melts smooth, which usually takes under a minute. Wet spots — where the wax pulls away from the glass in patches — are cosmetic and extremely common with soy wax; they do not affect burning. They happen when the candle cools unevenly or the glass was cold at pouring. Warm your jars slightly before pouring (a few minutes in a warm oven, then cool to touchable) to minimize them.
Getting a Stronger Scent Throw
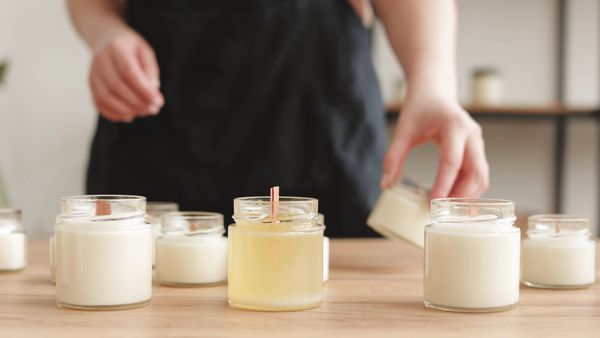
Weak scent throw has a short list of usual suspects. First, fragrance load: most beginners under-dose. Use the supplier’s recommended percentage (usually 8 to 10 percent for soy) and weigh it — eyeballing is wildly inaccurate. Second, pour temperature when adding fragrance: too hot burns off top notes, too cool prevents binding; follow the supplier’s spec, typically adding at 75-80°C and stirring two full minutes. Third, curing: soy candles need one to two weeks of curing before the scent fully develops — testing a three-day-old candle tells you nothing. Fourth, wick size: an undersized wick creates a small melt pool that cannot vaporize enough fragrance. Fifth, room size: one 8-ounce candle scents a bedroom, not an open-plan living area. And be honest about the fragrance oil itself — cheap or old oils fade. Buy from reputable candle suppliers, store oils cool and dark, and test each new scent in a single candle before committing to a batch.
Curing: Why Patience Makes Better Candles
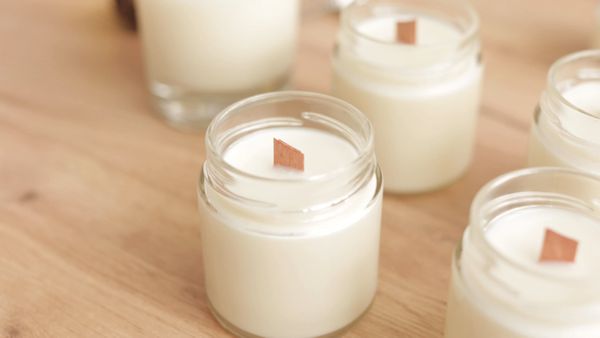
Curing is the hardest step because it requires doing nothing. After pouring, soy candles need a minimum of one week — two is better — before burning. During curing, the wax continues to crystallize and the fragrance oil binds fully with the wax matrix; a candle burned at three days will have noticeably weaker scent throw and a less stable burn than the same candle at fourteen days. Paraffin cures faster (three to five days), beeswax benefits from a full two weeks. Store curing candles at room temperature, out of direct sunlight, with lids on if your containers have them. Label each batch with the pour date so you are not guessing. The wait is the difference between a candle that merely smells nice and one that fills a room.
Candle Safety Every Maker Must Know

Candle making involves hot wax and open flame — respect both. Never leave melting wax unattended; wax flash fires are rare but real, and water makes them worse (smother with a lid or baking soda, never water). Use a thermometer and do not overheat wax past its flash point. When burning finished candles: trim wicks to a quarter inch every time, keep candles away from drafts, curtains, and pets, never burn more than four hours at a stretch, and stop using a container candle when half an inch of wax remains — burning to the bottom overheats the glass. Keep a metal lid or snuffer nearby rather than blowing (which spatters hot wax). If you sell candles, include a safety label and warning sticker on every one — it is legally required in many places and simply responsible everywhere. Test every new design with a full supervised burn before gifting or selling. Beautiful candles that are unsafe are failures, full stop.
Labeling and Gifting Your Candles

A good label elevates a homemade candle from craft project to gift. At minimum, include the candle’s name/scent, your name or brand, and a burn-time estimate. If selling, add legally required warning labels (available cheaply from candle suppliers) and list major allergens if your fragrance contains them. Design labels in free tools like Canva — kraft paper labels with simple typography look artisanal and cost little to print. For gifting, presentation matters: nestle the candle in tissue in a kraft box, tie with twine, and add a dried flower sprig or a handwritten scent description. Include a small care card (“trim wick to ¼ inch, first burn 2+ hours”) — recipients who burn candles correctly enjoy them more and associate the quality with you.
Cleaning Up Wax the Easy Way

Wax cleanup is easy if you never let wax meet your drains. Wipe pouring pitchers and thermometers with paper towels while the wax is still warm — it comes off cleanly. For hardened drips on counters, lay a brown paper bag over the spot and press with a warm iron; the wax melts into the paper. Wash soy wax tools with hot soapy water after wiping; for paraffin or beeswax residue, wipe with a paper towel dampened with a little vegetable oil first, then wash. Never pour melted wax down the sink — it solidifies in pipes and causes expensive clogs. Keep a dedicated “wax trash” bowl for waxy paper towels and wick trimmings. For fabric spills, freeze the item (wax becomes brittle), scrape off the excess, then treat the remaining stain with the paper-bag-and-iron method before washing.
Taking It Further: Advanced Techniques to Try
Once your basic candles burn perfectly, the craft opens up. Whipped wax tops (whipping cooled wax with a hand mixer into a frosting texture) create bakery-style dessert candles. Embeds — small wax shapes like flowers, coffee beans, or stars placed in the jar before the main pour — add visual depth. Geode and crystal candles use dyed wax chunks and glitter for a gemstone look. Botanical candles with dried flowers look gorgeous but require caution: keep botanicals away from the wick and flame, pressed against the glass where they cannot catch fire. Wooden wick mastery, multi-wick designs, and custom fragrance blending (mixing two or three oils into a signature scent) are all natural next steps. Each technique has its own learning curve, but they all rest on the same foundation: right wax, right wick, right temperature, patience. Master the basics in this tutorial and every advanced technique becomes an approachable variation.
FAQs About Candle Making

How much does it cost to start making candles? Thirty to fifty dollars for a starter kit or basic supplies, enough for eight to ten candles. After that, wax and fragrance refills bring the per-candle cost to roughly five to eight dollars.
Why is my candle tunneling? Almost always an undersized wick or a first burn that was too short. Let the first burn create a full melt pool (about one hour per inch of diameter), and size up your wick if tunneling persists.
How long should candles cure? Soy candles need one to two weeks, paraffin three to five days, beeswax about two weeks. Burning before curing gives weak scent throw.
Can I use essential oils instead of fragrance oils? Not recommended for beginners — most essential oils perform poorly in hot wax and give weak scent. Use candle-specific fragrance oils for reliable results.
Is candle making safe to do with kids? Older children can help with supervised steps like placing wicks and choosing scents, but hot wax pouring should be adults-only. Never leave melting wax unattended.

I am Talha Sikandar, a professional writer with a passion for general blogging. With years of experience in content writing and research, I founded Meaniingly.com to deliver well-researched, informative, and user-friendly articles on diverse topics.