Butterfinger balls recipe
Butterfinger balls are the ultimate no-bake treat: crunchy, peanut buttery, sweet, and coated in smooth chocolate. They taste remarkably like the famous candy bar, but they are made at home with just a few simple ingredients and no oven required. The secret is the combination of creamy peanut butter, crushed candy pieces, and powdered sugar, rolled into balls and dipped in melted chocolate. The result is a bite-sized dessert that is crisp on the outside, rich on the inside, and dangerously easy to eat. They are perfect for holidays, bake sales, lunchboxes, and last-minute dessert cravings.
In this recipe, you will learn how to make Butterfinger balls step by step, including how to get the perfect crunchy texture, how to dip them neatly in chocolate, and how to store them so they stay fresh. You will also find variations, troubleshooting tips, and fun ways to serve and gift these irresistible treats.
What Are Butterfinger Balls?

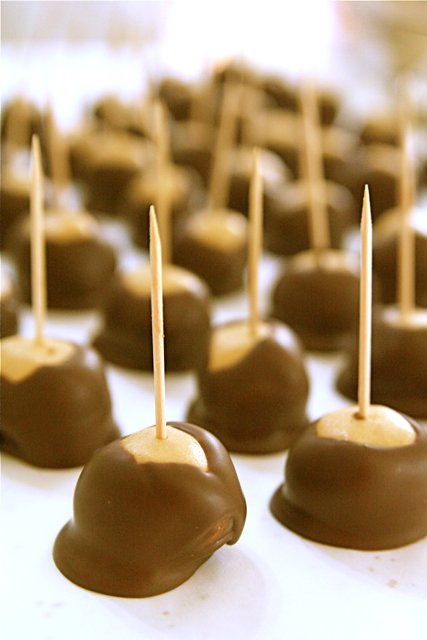
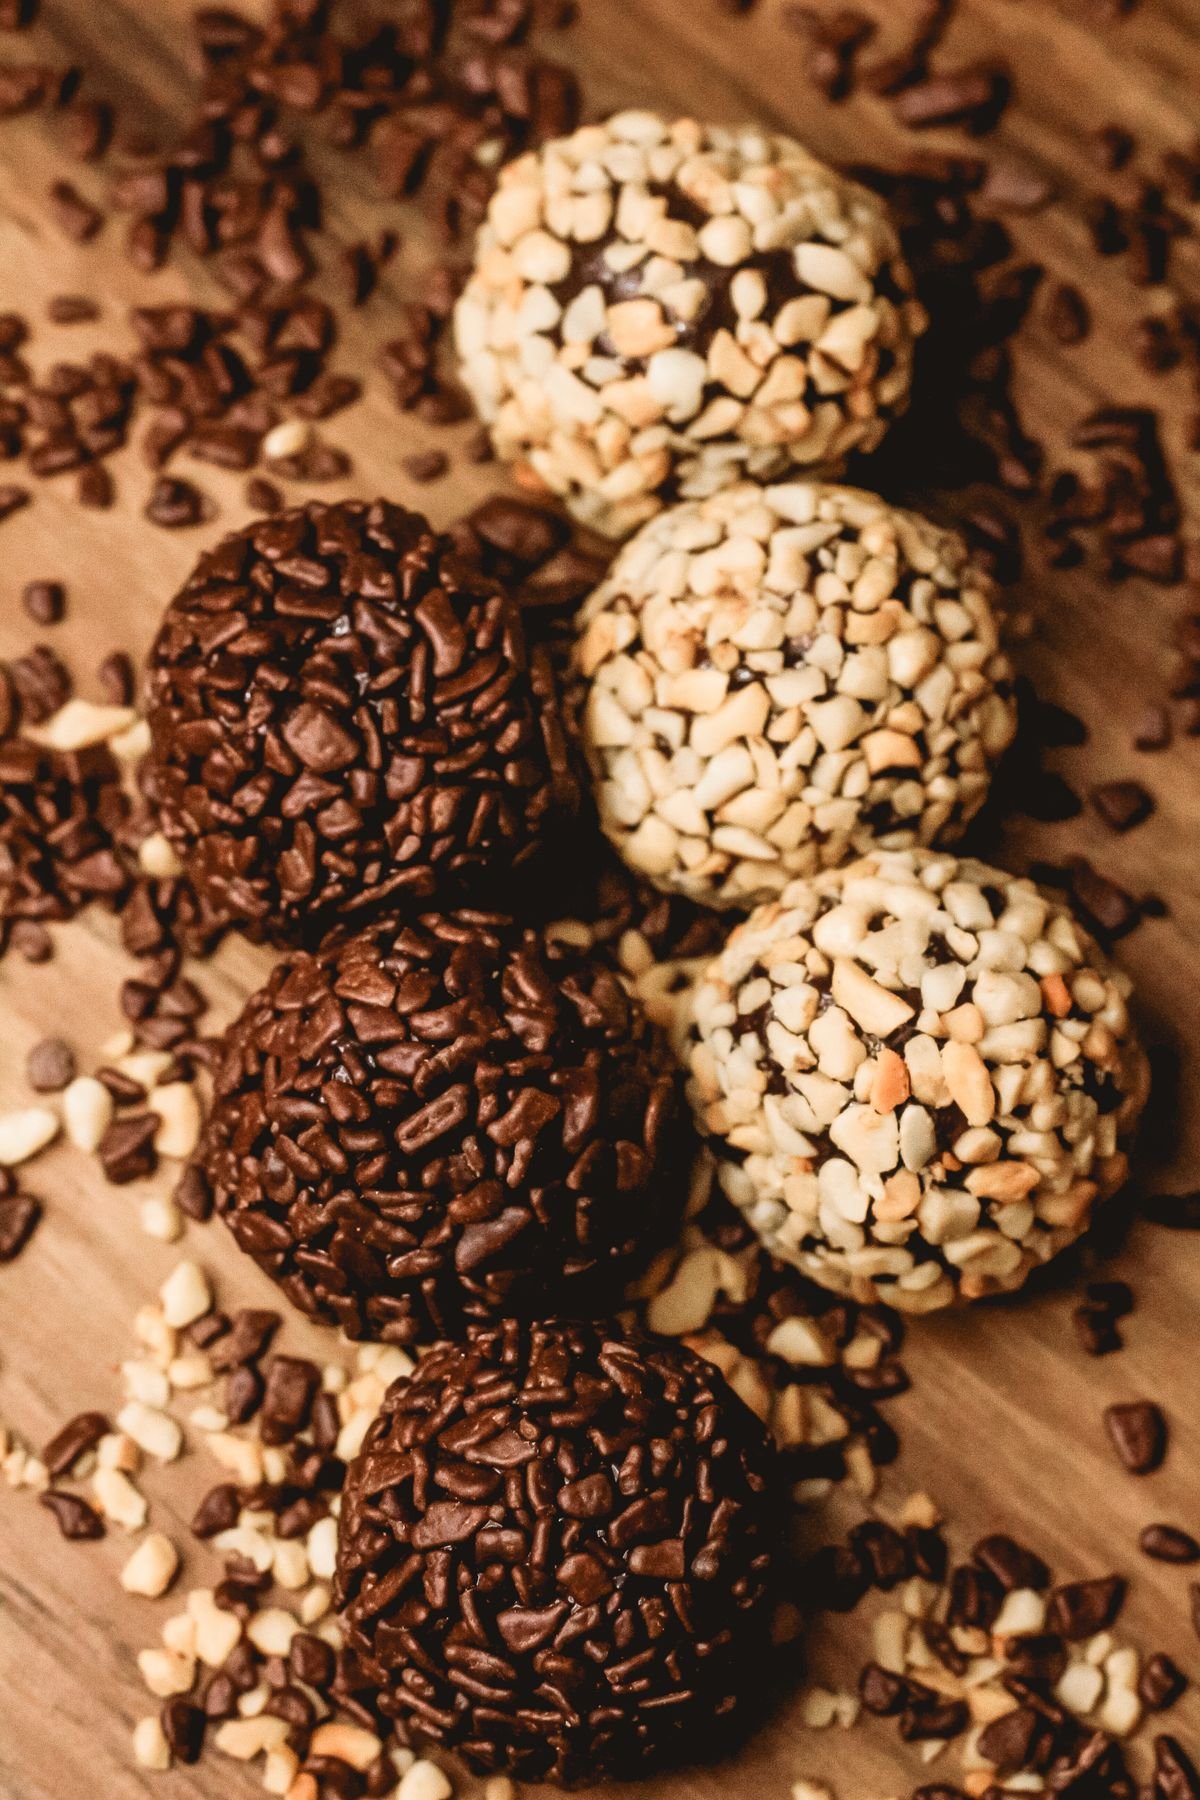
Butterfinger balls are no-bake peanut butter truffles inspired by the Butterfinger candy bar. The filling combines peanut butter, butter, powdered sugar, graham cracker crumbs, and crushed Butterfinger candy bars, creating a sweet, crunchy centre. Each ball is dipped in melted chocolate and allowed to set until firm. Unlike traditional truffles, which are soft and creamy, Butterfinger balls have a satisfying crunch from candy pieces and graham crumbs. They are small, portable, and easy to share, making them a favourite for parties, cookie exchanges, and holiday treat boxes. Best of all, they require no baking and come together in under an hour.
Ingredients for Perfect Butterfinger Balls
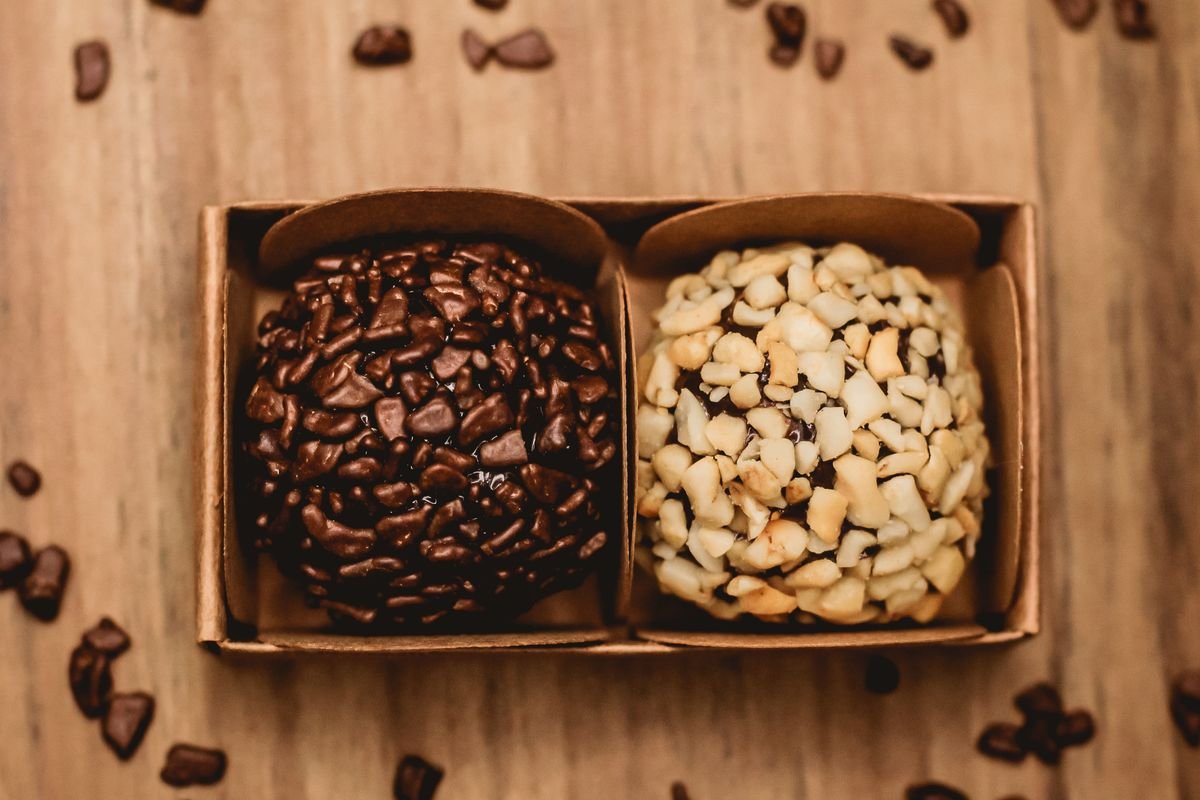
You will need creamy peanut butter, unsalted butter, powdered sugar, graham cracker crumbs, crushed Butterfinger candy bars, vanilla extract, and chocolate for coating. Use regular creamy peanut butter rather than natural peanut butter, because natural peanut butter can separate and make the mixture too oily or too dry. Semi-sweet chocolate chips or melting wafers work best for dipping, because they melt smoothly and set firmly. If you prefer milk chocolate, use it for a sweeter coating. Crush the candy bars in a sealed bag with a rolling pin, leaving some small chunks for texture rather than pulverising them into powder. Measure ingredients carefully for the best consistency.
Choosing the Best Chocolate for Dipping

The chocolate coating makes or breaks Butterfinger balls. Melting wafers are the easiest choice because they melt smoothly, set quickly, and do not require tempering. Chocolate chips also work, but adding a teaspoon of coconut oil or shortening per cup helps them melt thinner and set with a nicer shine. Avoid chocolate that seizes from water contact, so keep bowls and utensils completely dry. Melt chocolate in short bursts in the microwave, stirring between each burst, or use a double boiler over simmering water. Stir until smooth and glossy, then let it cool slightly so it coats thickly without melting the peanut butter balls.
Mixing the Peanut Butter Filling
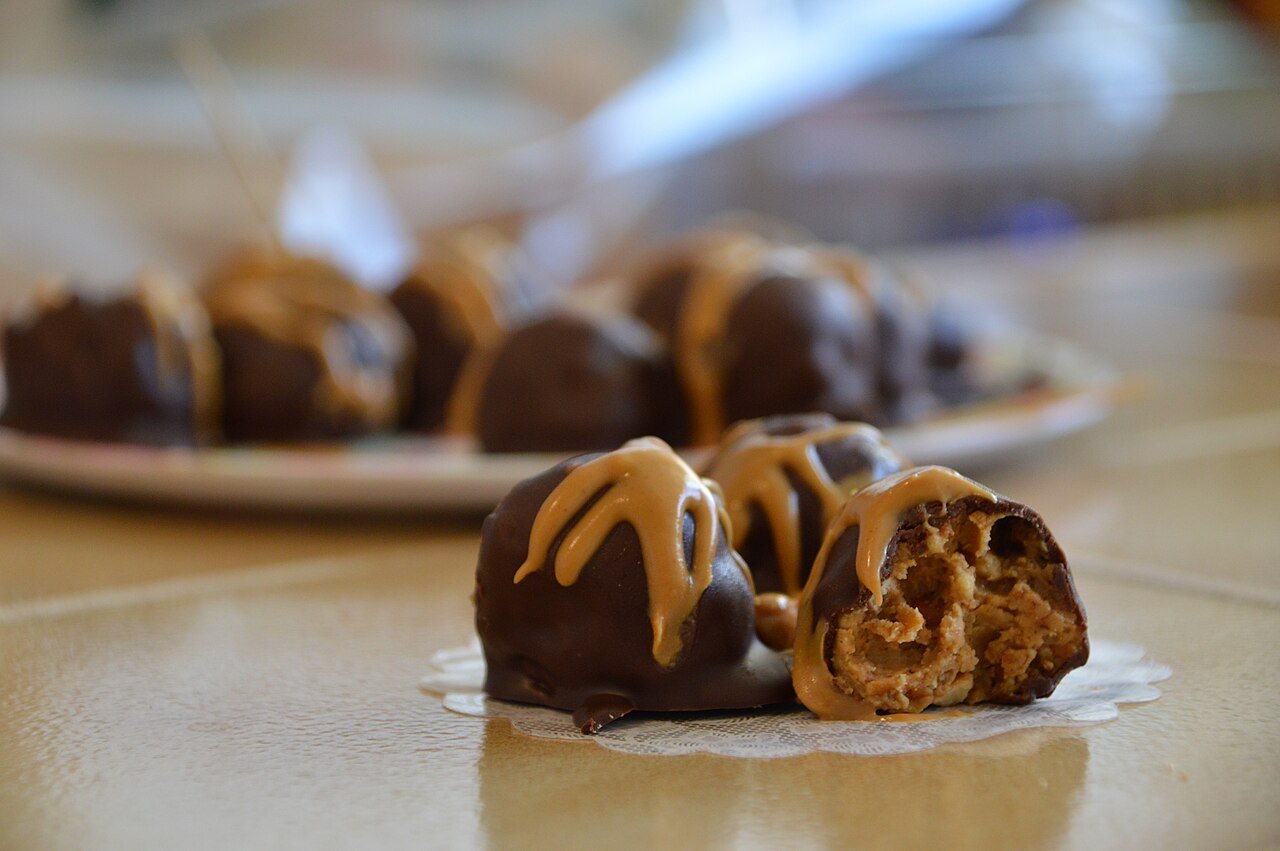
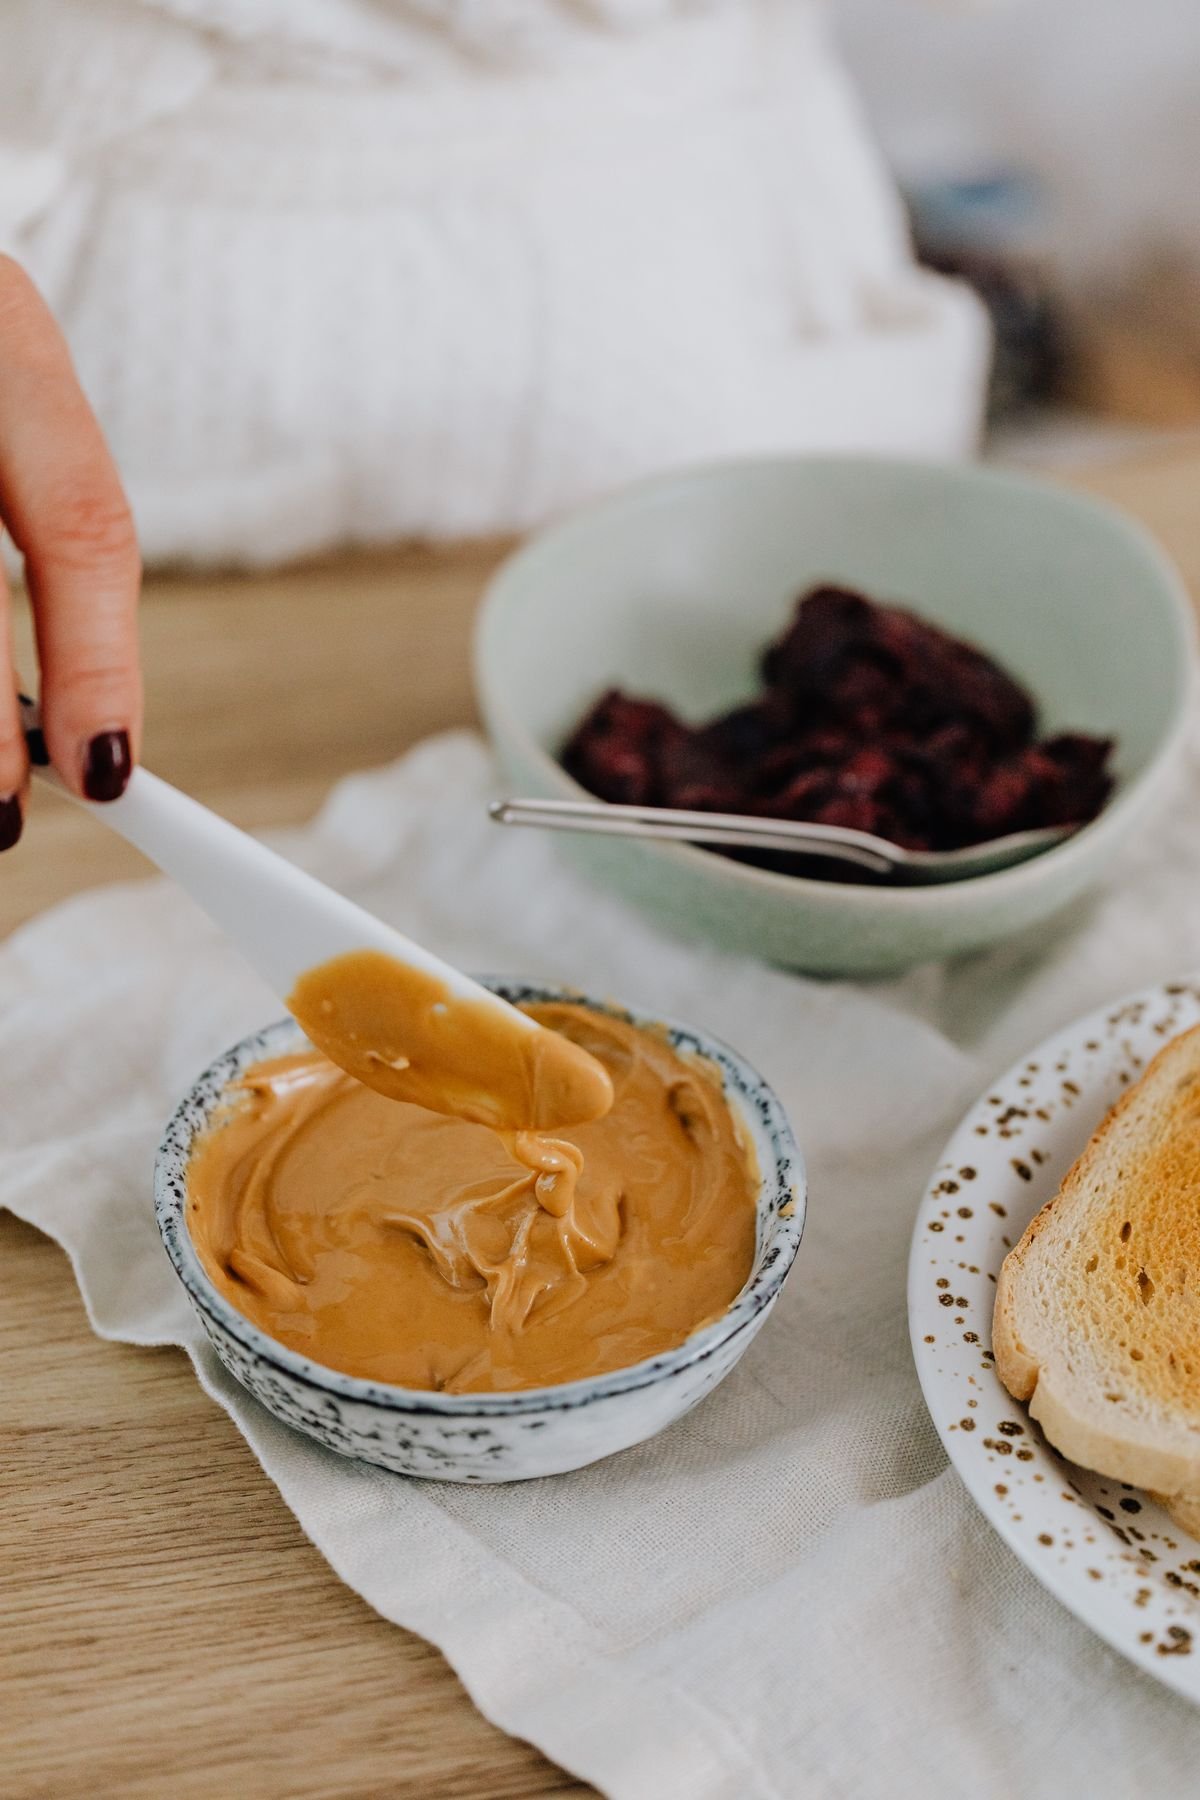
Beat softened butter and peanut butter together until smooth and creamy, then add vanilla extract. Gradually mix in powdered sugar until a thick dough forms, then fold in graham cracker crumbs and crushed Butterfinger pieces. The mixture should hold together when squeezed but not feel sticky or greasy. If it is too soft, add a little more powdered sugar or graham crumbs; if too dry, add a teaspoon of peanut butter at a time. Taste the filling before rolling, because this is your chance to adjust sweetness or crunch. A well-mixed filling rolls easily, holds its shape, and delivers candy crunch in every bite.
Rolling Smooth, Even Balls
Use a small cookie scoop or tablespoon to portion the filling evenly, then roll each portion between your palms into a smooth ball about one inch wide. If the mixture sticks to your hands, chill it for fifteen minutes or lightly dust your palms with powdered sugar. Place rolled balls on a parchment-lined baking sheet, leaving a little space between them. For perfectly round balls, roll gently and avoid pressing too hard, which can crack the surface. Freeze the balls for twenty to thirty minutes before dipping, because firm balls dip more neatly and keep their shape in warm chocolate. This chilling step is worth the wait.
Dipping Balls in Chocolate Neatly
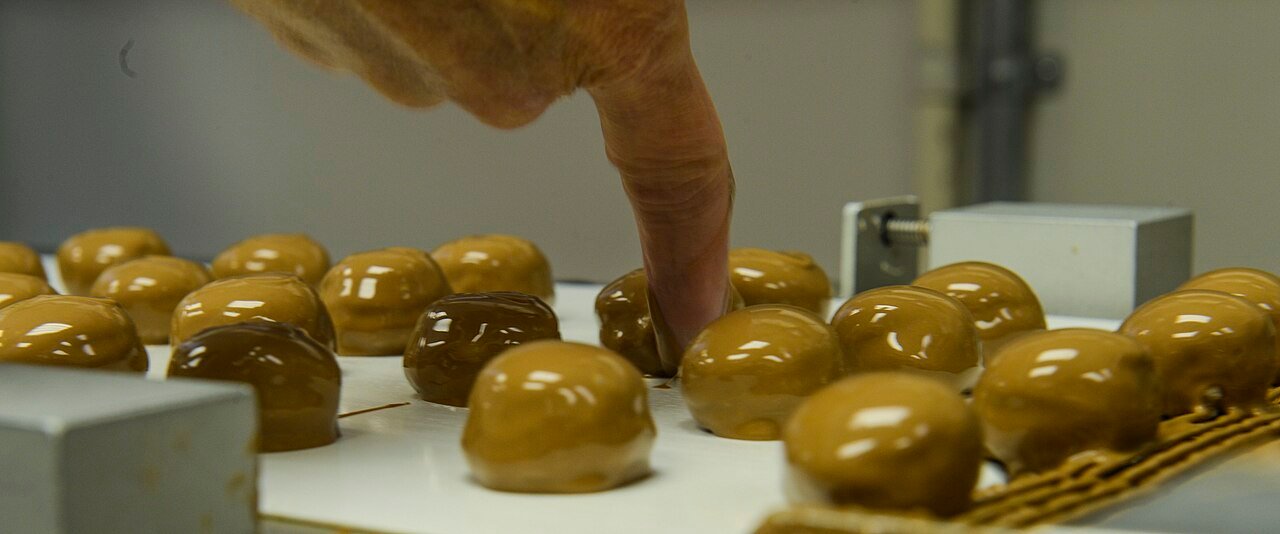
To dip, drop a chilled ball into melted chocolate and use a fork to roll it gently until fully coated. Lift it out, tap the fork lightly on the bowl edge to remove excess chocolate, then slide the ball onto parchment paper using a toothpick. Work with a few balls at a time, keeping the rest in the freezer so they stay firm. If chocolate thickens, rewarm it briefly in the microwave. Do not rush this step, because neat dipping gives professional-looking results. A thin, even coating sets faster and looks better than a thick, drippy layer. Practice makes perfect, and even imperfect balls taste wonderful.
Adding Toppings and Decorative Drizzles
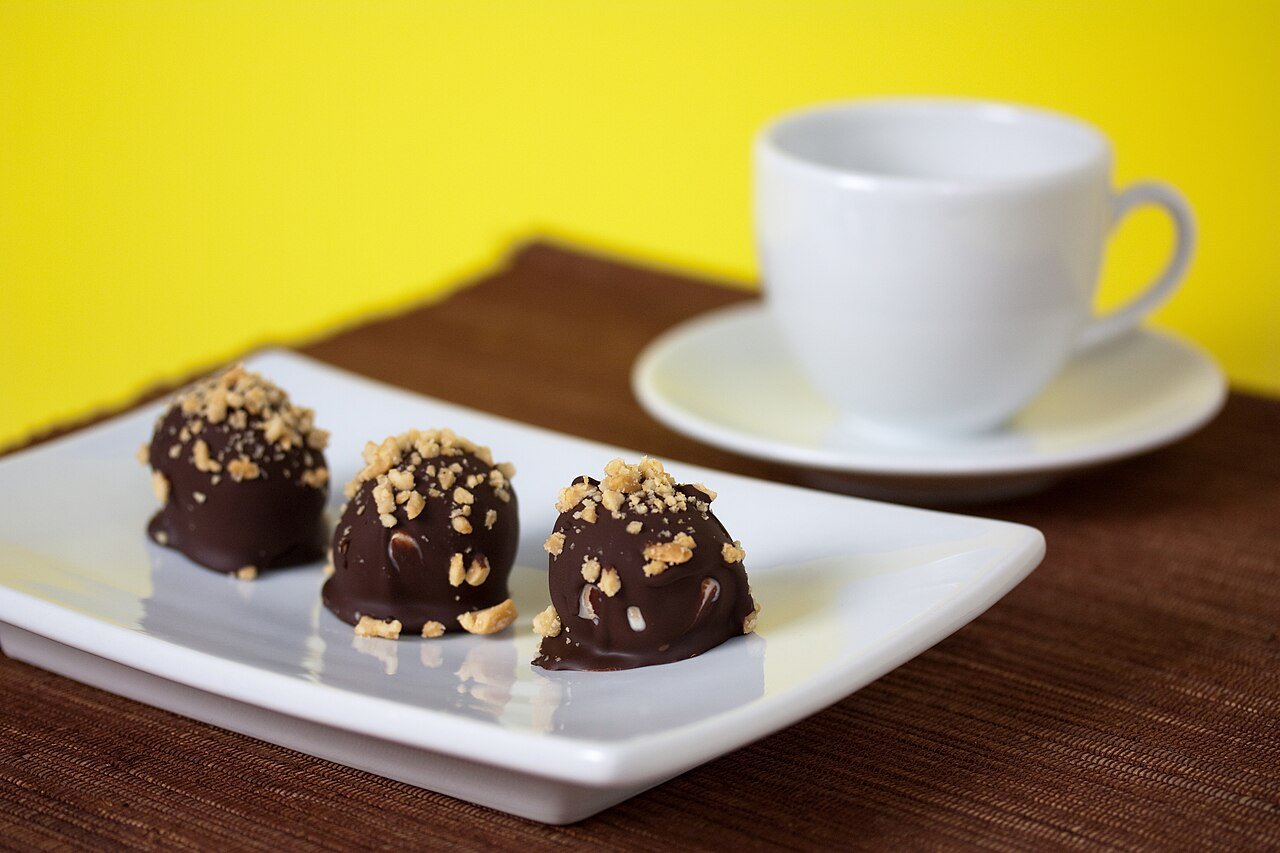
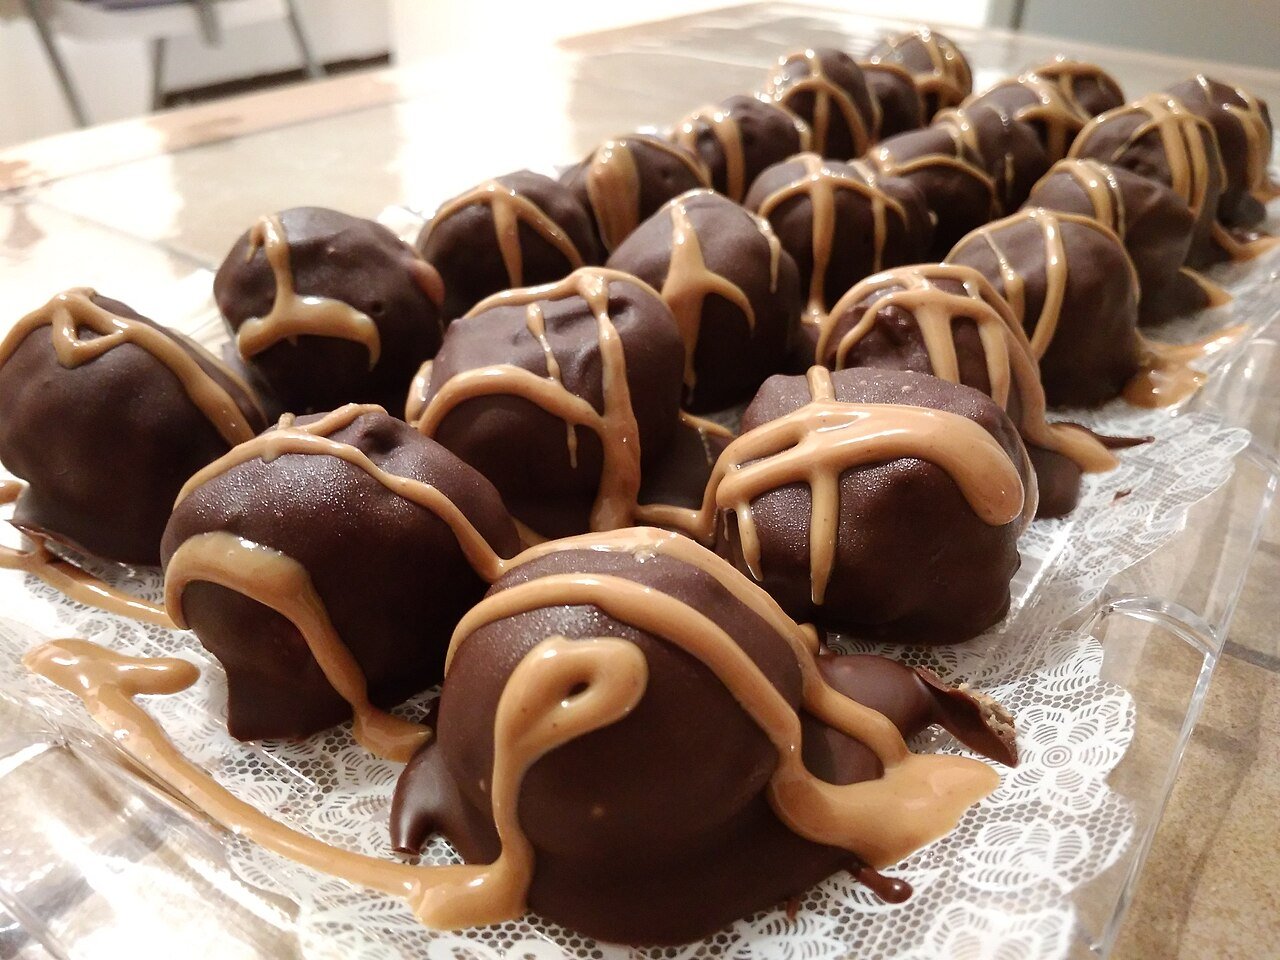
While the chocolate coating is still wet, sprinkle balls with crushed Butterfinger pieces, chopped peanuts, or flaky sea salt for extra crunch and flavour. For a bakery look, let the coating set, then drizzle with contrasting chocolate, such as white chocolate over dark chocolate, using a fork or piping bag. You can also roll balls in crushed graham crumbs or cocoa powder before the chocolate sets. Keep decorations simple and consistent, especially if you are gifting them, so the box looks polished. Decorative touches take only a few extra minutes but make Butterfinger balls look as special as they taste.
Setting and Chilling the Finished Balls
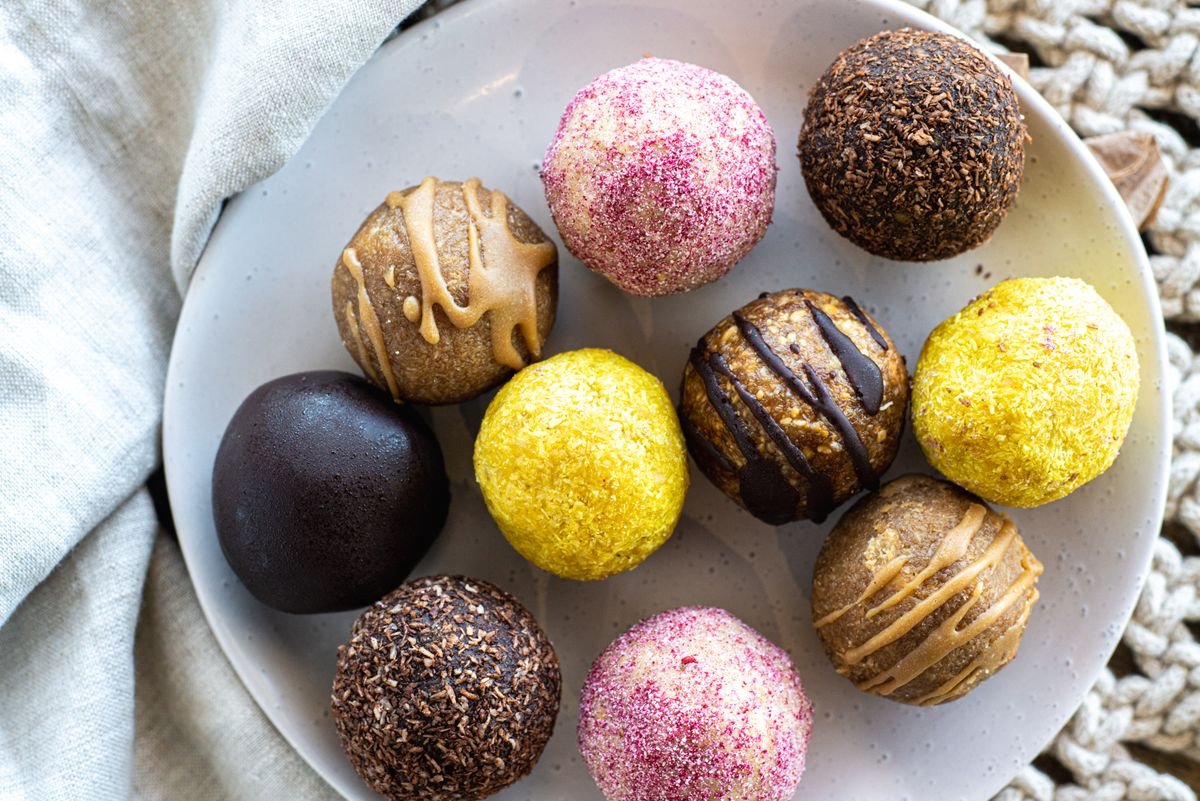
Let dipped balls set at room temperature for about thirty minutes, or refrigerate them for fifteen minutes to speed up the process. Do not stack balls until the chocolate is completely firm, or coatings will stick and crack. Once set, transfer them to an airtight container, layering with parchment paper between layers. If the chocolate looks dull after refrigeration, that is normal condensation and does not affect taste. Bring refrigerated balls to room temperature for ten minutes before serving so the filling softens slightly. Proper setting ensures a crisp snap when you bite into each ball, which is part of their appeal.
How to Store Butterfinger Balls
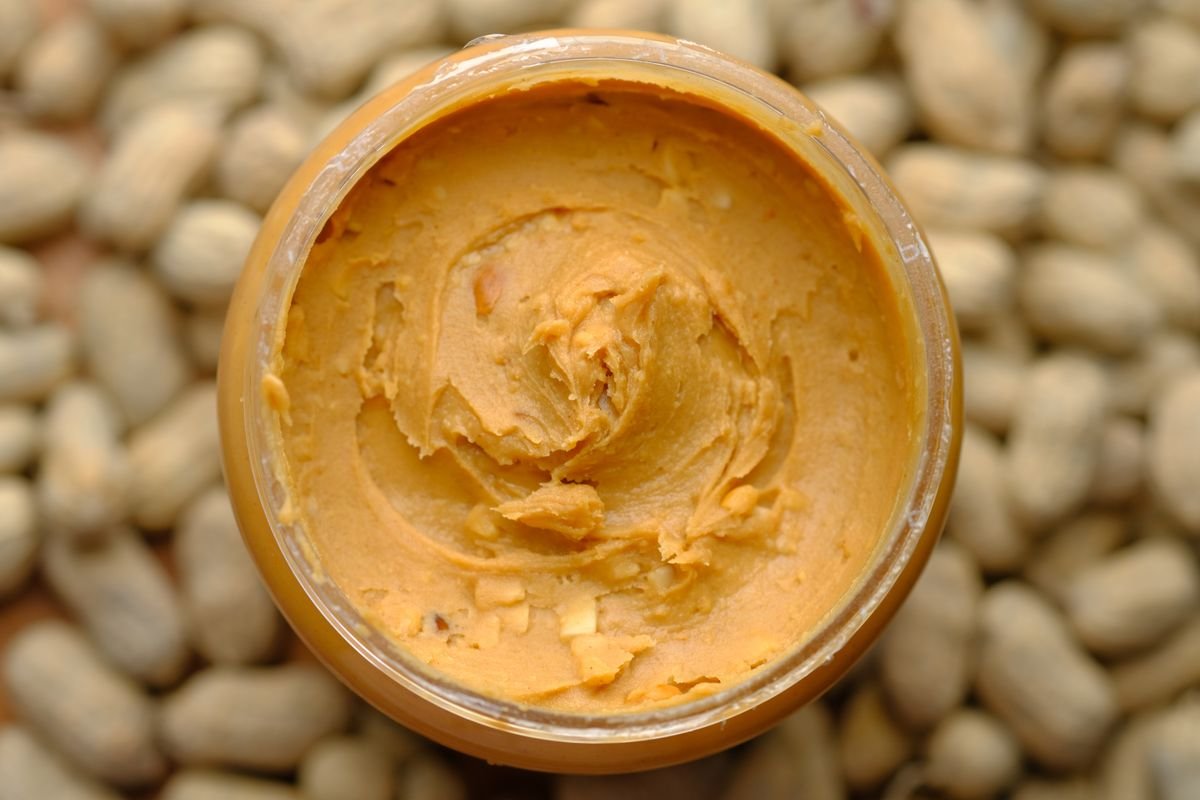
Store Butterfinger balls in an airtight container in the refrigerator for up to two weeks, or at cool room temperature for up to five days. In warm weather, refrigeration is safer to prevent chocolate melting. For longer storage, freeze balls in a single layer on a baking sheet until firm, then transfer to a freezer bag for up to three months. Thaw frozen balls in the refrigerator overnight, then bring to room temperature before serving. Avoid storing them near strong-smelling foods, because chocolate absorbs odours easily. Label containers with the date so you know when they were made, especially for holiday gifting.
Serving Ideas for Parties and Holidays
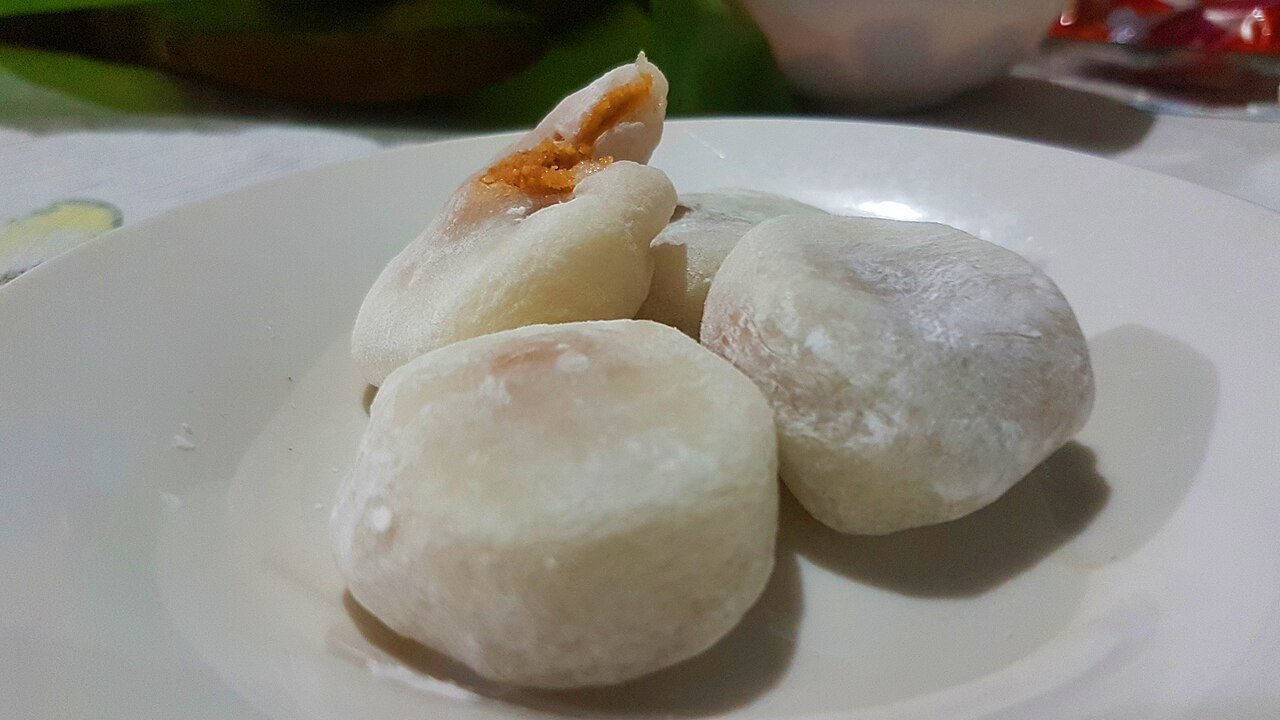
Serve Butterfinger balls on a pretty platter lined with parchment or in mini cupcake liners for easy grabbing. They pair beautifully with other no-bake treats, cookies, and brownies on a dessert table. For parties, arrange them in tiers or on a cake stand to add height and visual interest. They also make excellent additions to cookie exchange boxes, teacher gifts, and holiday treat bags. Serve them slightly cool rather than ice-cold for the best texture, and provide small napkins because chocolate can melt on warm fingers. Guests will appreciate a bite-sized treat they can enjoy while chatting.
Butterfinger Balls for Bake Sales and Gifting

Butterfinger balls are ideal for bake sales and gifts because they look professional, travel well, and appeal to almost everyone. Pack them in small boxes or bags lined with parchment, adding a ribbon and a handwritten label with ingredients for allergy awareness. Make a double batch if you plan to gift several boxes, because they disappear quickly. For bake sales, pack four to six balls per bag and price them affordably. Include a note that they contain peanuts, which is important for safety. Thoughtful packaging turns a simple homemade treat into a memorable gift that recipients will remember.
Fun Variations to Try
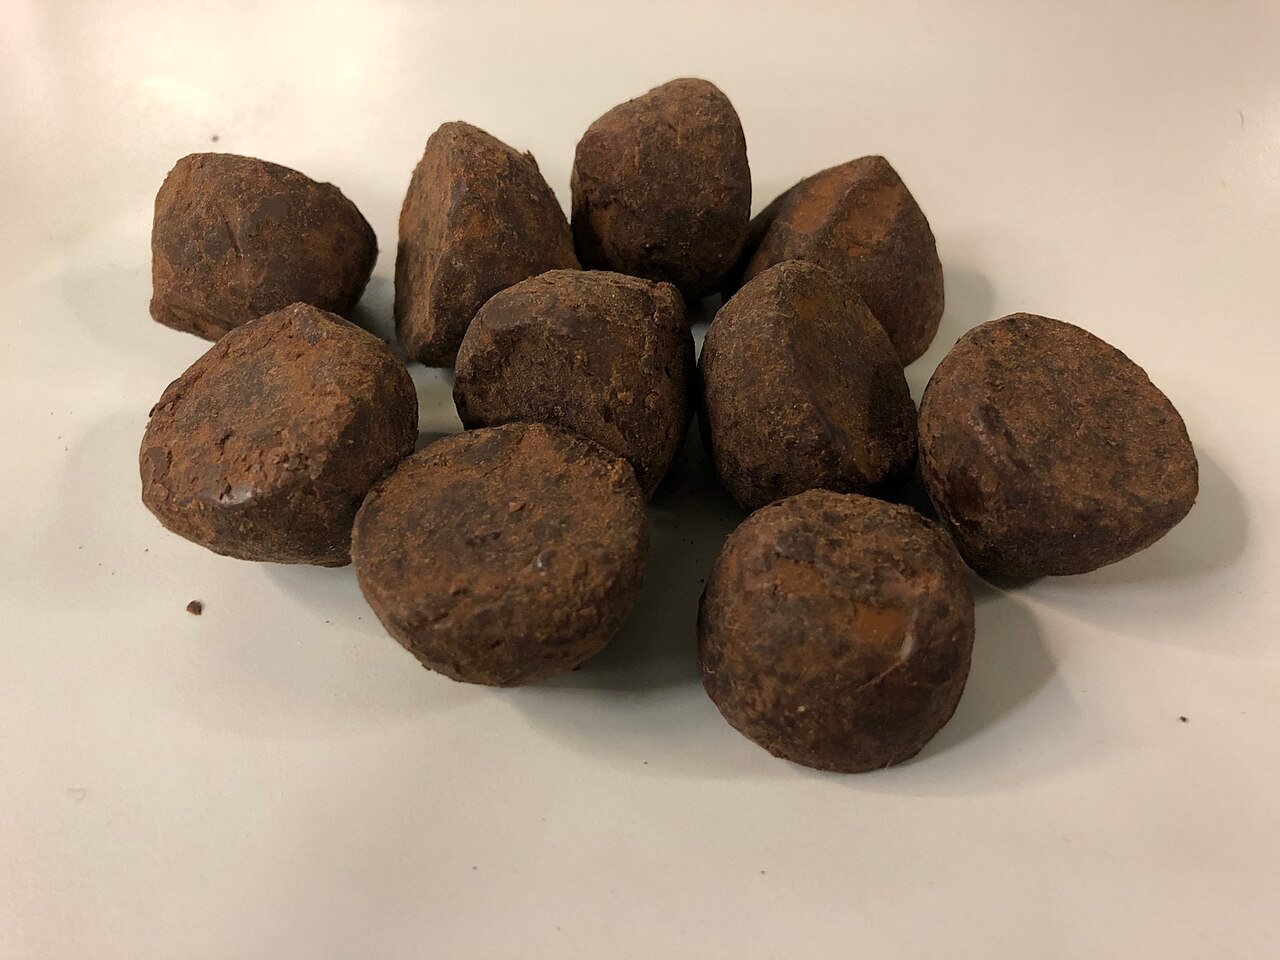
Try exciting variations once you master the classic recipe. Use white chocolate coating for a sweeter, creamier version, or dark chocolate for a richer, less sweet treat. Add a pinch of sea salt to the filling for a salted peanut butter version, or stir in mini chocolate chips for extra chocolate. For a crunchier ball, add crushed pretzels or Rice Krispies to the filling. You can also shape the mixture into bars instead of balls for a candy-bar look. Seasonal variations include orange-tinted white chocolate for Halloween or red and green sprinkles for Christmas. Each variation keeps the core flavour while adding something new.
Peanut-Free and Allergy-Friendly Alternatives
For peanut allergies, you cannot safely make true Butterfinger balls, because the candy itself contains peanuts. However, you can make a similar treat using sunflower seed butter, crushed allergy-friendly toffee candy, and graham crumbs. Always check labels carefully, because many candies are made in facilities that process peanuts. If serving to guests with allergies, make the alternative batch separately, use clean utensils, and label it clearly. Never guess about allergies, and ask guests about their needs in advance. A thoughtful alternative ensures everyone can enjoy a sweet treat safely, even if it is not exactly the same recipe.
Troubleshooting Common Problems
If your filling is too soft to roll, chill it longer or add more powdered sugar and graham crumbs. If balls crack while rolling, the mixture may be too dry, so add a little peanut butter. If chocolate is too thick, add a teaspoon of coconut oil and stir well. If chocolate seizes and becomes grainy, it has contacted water; unfortunately, seized chocolate cannot be fixed for dipping, so start with a fresh batch and dry utensils. If coatings crack after setting, the balls may have been too cold when dipped; let them warm for five minutes before dipping next time. Most problems are easy to fix with patience.
Making Butterfinger Balls With Kids

Butterfinger balls are a wonderful recipe to make with children because there is no hot oven and lots of hands-on fun. Let kids crush candy bars in a sealed bag, stir the filling, and roll balls with clean hands. Adults should handle chocolate melting and dipping, but kids can sprinkle toppings and decorate finished balls. Keep the workspace covered with parchment for easy cleanup, and let children taste-test a small amount of filling. Making treats together creates happy memories and teaches basic kitchen skills. Just remember to supervise closely, especially around chocolate and small candy pieces for younger children.
Scaling the Recipe for Large Crowds
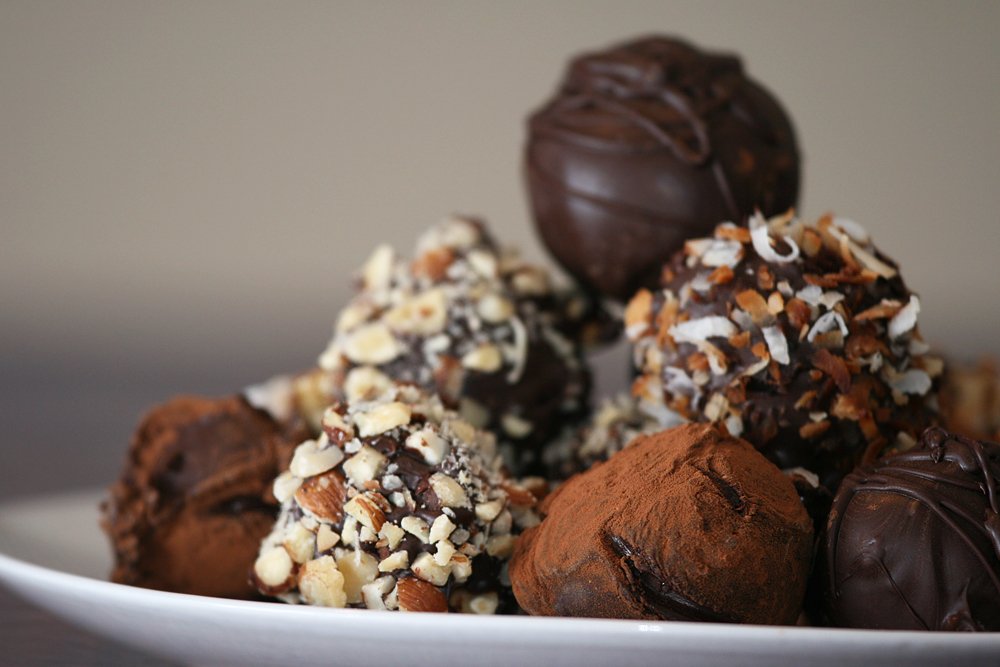
To make Butterfinger balls for a large crowd, simply double or triple the recipe, working in batches to keep the mixture manageable. Use a stand mixer for large amounts of filling, and chill balls in batches so dipping stays efficient. You will need extra baking sheets lined with parchment, and plenty of chocolate for dipping. Enlist help for rolling and dipping if you are making hundreds of balls, because the process goes much faster with two people. Store finished balls in large airtight containers with parchment layers. Scaling up is straightforward, and this recipe is forgiving even in large quantities.
Nutritional Information and Portion Tips
Butterfinger balls are a sweet indulgence, so enjoy them in moderation. Each ball is small, which makes portion control easier than with a large slice of cake. One or two balls satisfy a sweet craving without overdoing sugar. Peanut butter provides protein and healthy fats, but candy and chocolate add sugar, so balance is key. If you want a lighter version, use less powdered sugar, choose dark chocolate, and make smaller balls. Serve them alongside fruit or nuts to round out a dessert plate. Enjoying treats mindfully is part of a balanced approach to food, especially during holidays.
Frequently Asked Questions
Can I use natural peanut butter? It is not recommended, because it can make the filling oily or crumbly. Do I need to refrigerate Butterfinger balls? Refrigeration extends freshness, but they can stay at cool room temperature for a few days. Can I freeze them? Yes, freeze for up to three months in an airtight container. Why is my chocolate lumpy? It may have seized from water or overheated; melt gently in short bursts and keep utensils dry. Can I make them ahead? Yes, they are perfect make-ahead treats and actually taste better after chilling overnight as flavours meld.
Why This Recipe Works Every Time

This recipe works because it balances sweetness, salt, crunch, and chocolate in every bite. Creamy peanut butter binds the filling, graham crumbs add structure, crushed candy provides crunch, and chocolate seals everything together. Chilling before dipping ensures neat coatings, and using melting wafers or chocolate with a little oil guarantees smooth results. The recipe is forgiving, adaptable, and tested for home kitchens. Once you make it once, you will feel confident making it again for any occasion. It is the kind of reliable recipe that becomes a permanent part of your dessert repertoire.
Final Tips for Irresistible Butterfinger Balls
For the best Butterfinger balls, use fresh candy, chill your balls before dipping, and work patiently with melted chocolate. Do not skip the graham crumbs, because they give structure and prevent an overly sweet, sticky filling. Decorate simply, store properly, and share generously. Whether you make them for a holiday, a party, or just because, these little treats bring big smiles. Keep a batch in the refrigerator for unexpected guests, and keep the recipe handy because someone will always ask for it. Happy no-bake baking, and enjoy every crunchy, chocolatey bite.
Understanding a little about chocolate will improve your dipping results. Chocolate chips contain stabilisers that help them hold their shape in baking, which is why they can be thicker when melted than melting wafers. Adding a small amount of coconut oil, shortening, or paramount crystals thins the chocolate and helps it set with a smooth finish. Avoid overheating chocolate, because it scorches easily and becomes grainy; melt it in short microwave bursts and stir often. If you want a glossy, professional snap, use melting wafers, which are designed for dipping and do not need tempering. Good chocolate handling is the difference between messy balls and bakery-quality treats.
When you gift Butterfinger balls, clear labelling is both thoughtful and important. List the main ingredients, especially peanuts, milk, soy, and wheat, so recipients with allergies can decide safely. Include a note about storage, such as keep refrigerated and bring to room temperature before eating, so the treats taste their best. In warm weather, pack balls in an insulated bag with a small ice pack for transport, and avoid leaving them in a hot car. A simple handwritten card with the recipe name and date made adds a personal touch. Thoughtful packaging shows care, and it protects both the treats and the people enjoying them.
A freezer timeline makes holiday treat-making much easier. You can roll and freeze undipped balls up to a month ahead, storing them in a sealed container with parchment between layers. Dip them a week or two before you need them, then refrigerate until serving or gifting. If you dip them too far ahead, the chocolate can develop a white bloom from temperature changes, although it remains safe and tasty. Thaw frozen dipped balls overnight in the refrigerator rather than at room temperature, which prevents condensation from dulling the coating. Planning ahead means you can enjoy the holidays instead of rushing in the kitchen.
Butterfinger balls pair surprisingly well with drinks and other desserts. Serve them with cold milk, hot coffee, or a creamy hot chocolate for a comforting combination, or pair them with a glass of cold brew for a more grown-up treat. On a dessert table, they balance softer desserts such as brownies, blondies, and frosted cookies, because their crunch adds contrast. For a fun twist, chop a few balls and sprinkle them over ice cream, yogurt parfaits, or milkshakes. Their small size makes them perfect for tasting menus and dessert buffets, where guests want to try a little of everything without committing to a large slice.
Cleanup after making Butterfinger balls is simple if you plan for it. Line baking sheets with parchment before you start, and keep a damp cloth nearby for chocolate drips. Wash chocolate bowls with warm water before the chocolate hardens, because dried chocolate is much harder to remove. Store leftover crushed candy and graham crumbs in sealed bags for your next batch, and label them clearly. If peanut butter gets on clothing, treat it promptly with dish soap and warm water. A tidy kitchen at the end makes the whole experience more enjoyable, and you will be more likely to make these treats again soon.
If your kitchen is warm, work in small batches and keep undipped balls in the freezer, taking out only six or eight at a time for dipping. Warm peanut butter balls soften quickly, which makes chocolate coating messy and uneven, while cold balls dip cleanly and set faster. If chocolate starts to thicken, warm it gently for ten seconds and stir well before continuing. A cool kitchen, a chilled baking sheet, and patience are your best tools for neat, professional-looking Butterfinger balls, even on a hot day or in a busy holiday kitchen.
For a truly polished gift box, arrange Butterfinger balls in neat rows in mini paper cups, add a layer of tissue paper, and finish with a ribbon and a small tag listing ingredients and the date made. A tidy box protects chocolate coatings during transport, prevents balls from sticking together, and makes a homemade treat look like a professional gift. Recipients often keep the box or reuse the cups, so thoughtful presentation adds lasting value beyond the delicious treats inside, and it shows the care you put into every step.

I am Talha Sikandar, a professional writer with a passion for general blogging. With years of experience in content writing and research, I founded Meaniingly.com to deliver well-researched, informative, and user-friendly articles on diverse topics.