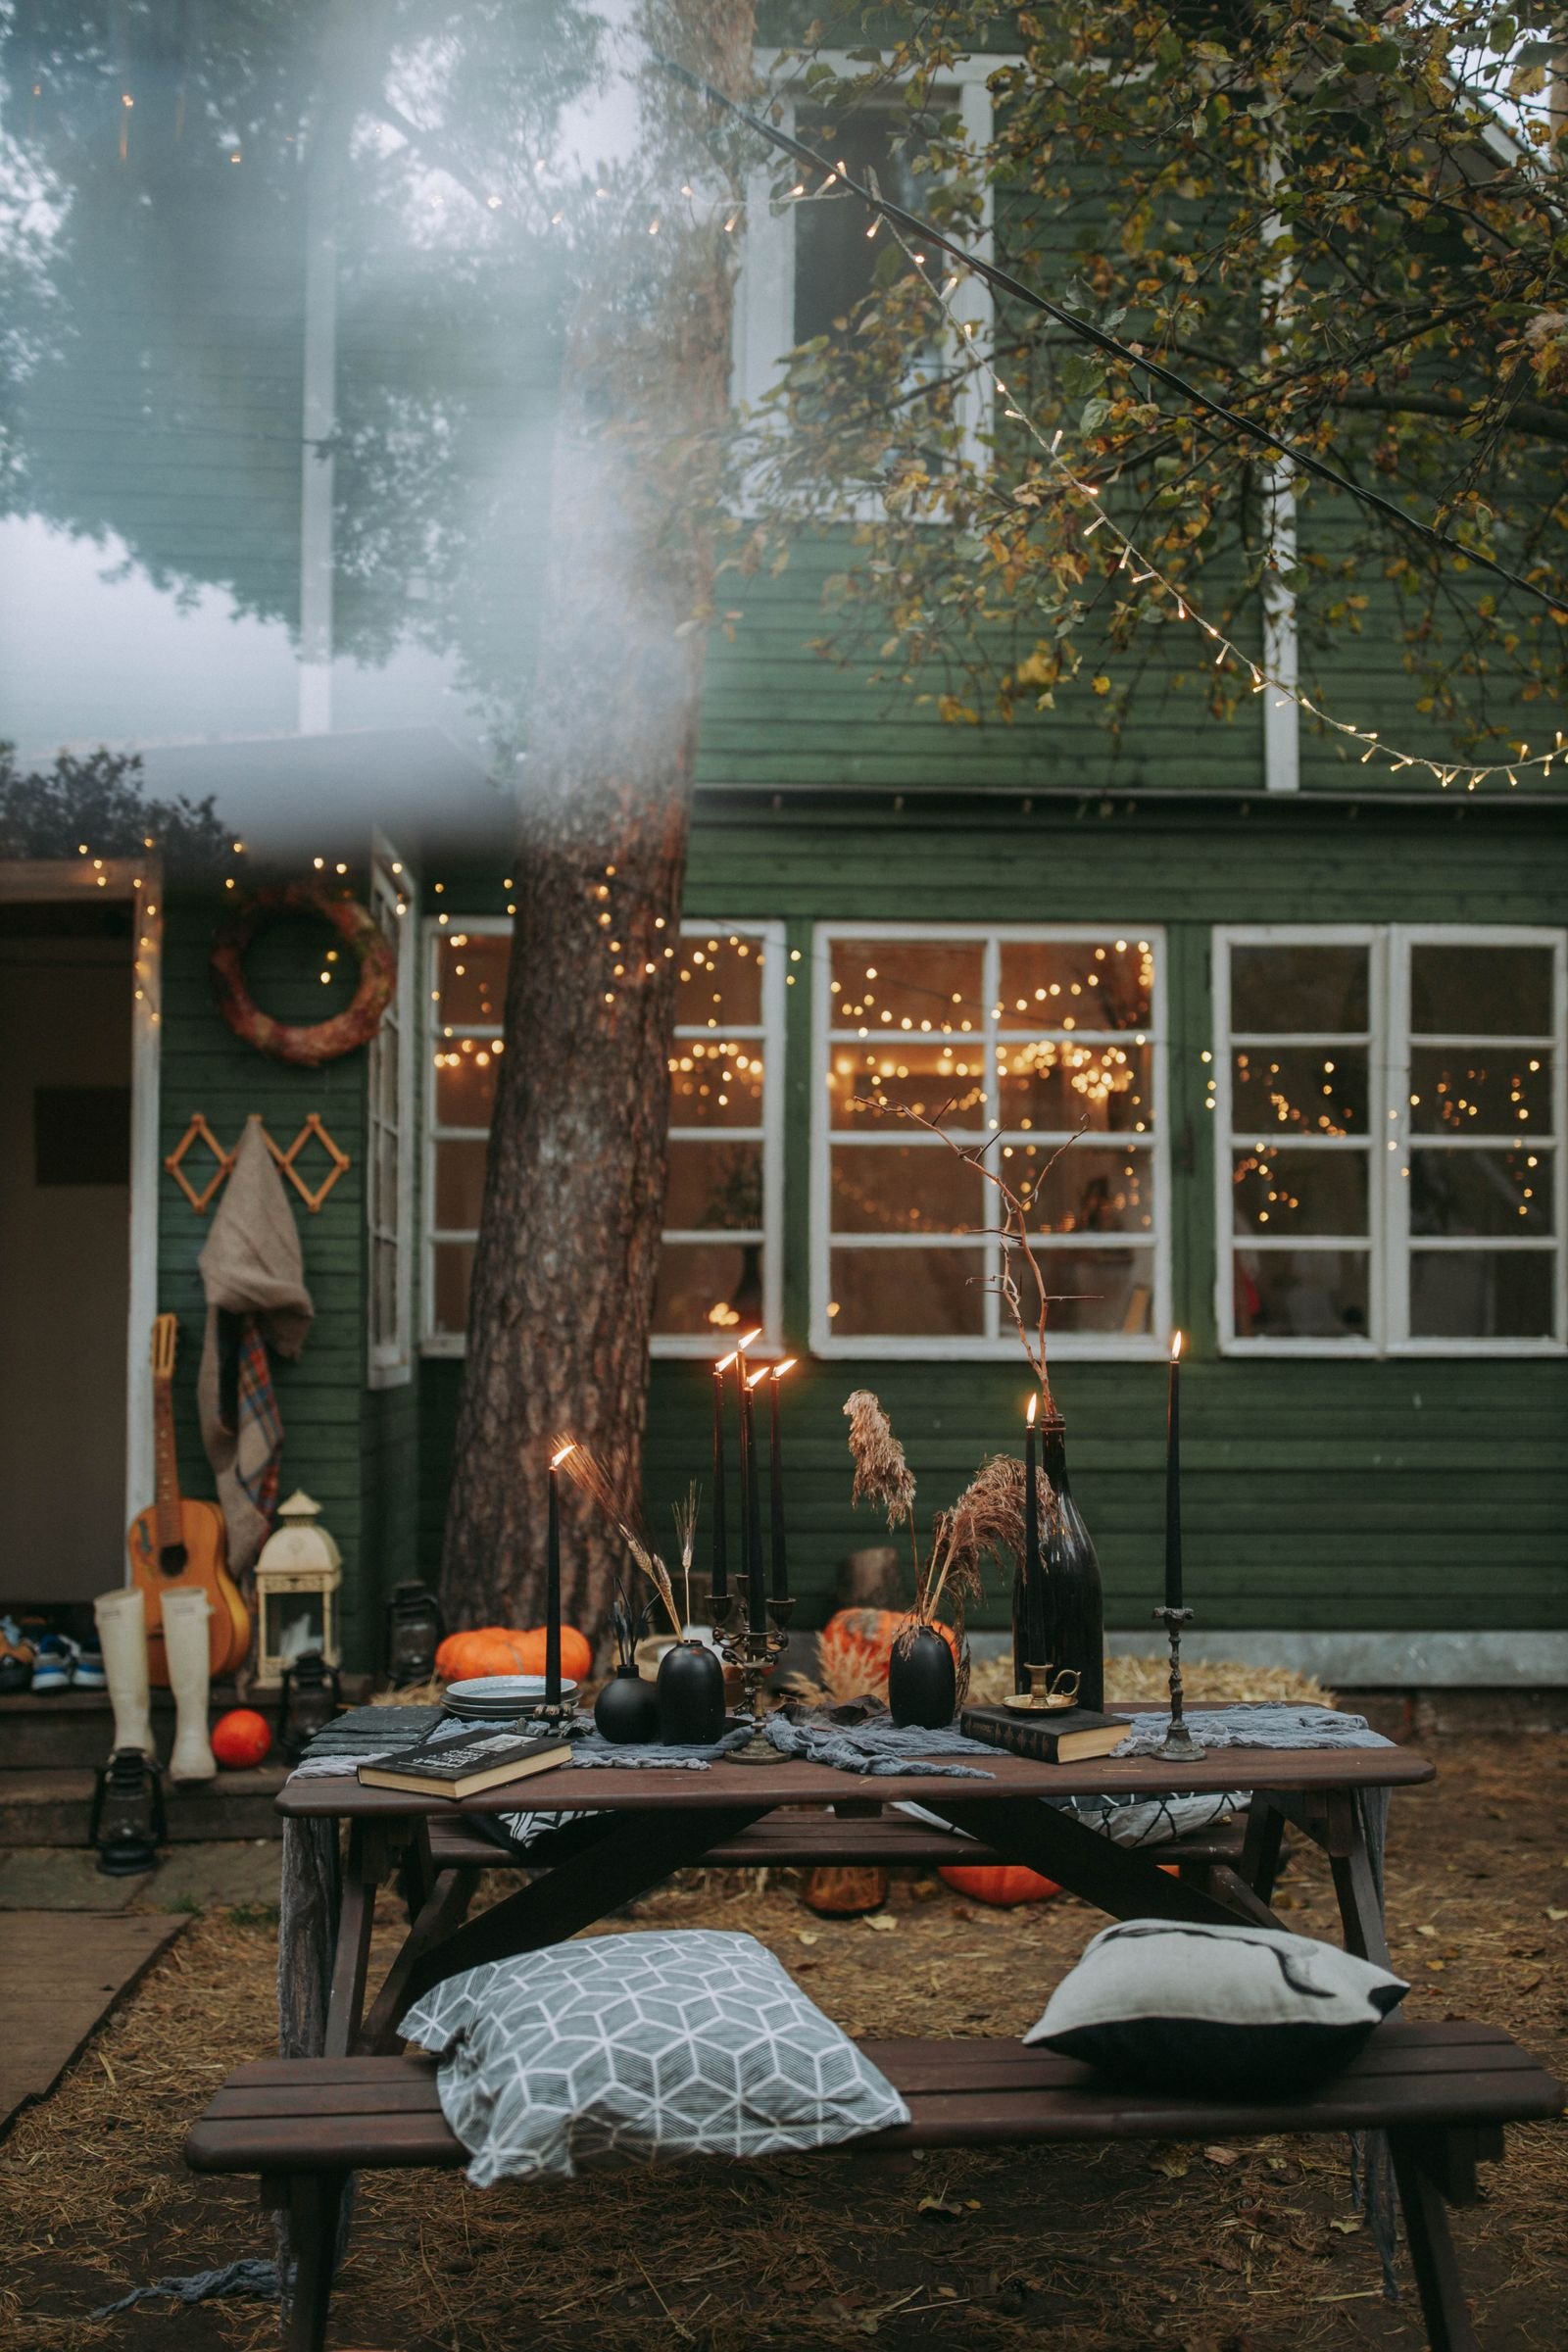
witch apothecary halloween decor ideas
A witch apothecary theme turns Halloween decorating into pure storytelling: shelves of labelled potion bottles, dried herbs hanging in bundles, flickering candles, and jars of mysterious ingredients that invite guests to lean in and read every single label. It is spooky without being gory, magical without being childish, and endlessly customisable — equally at home in a farmhouse kitchen, a moody living room, or a full-scale Halloween party. Unlike horror themes that age out or alienate, the apothecary enchants every generation, from children brewing glitter potions to adults admiring your hand-lettered labels. This guide offers twenty ideas for building your own witch apothecary, from sourcing bottles and writing potion labels to styling shelves, creating DIY ingredients, lighting the scene, and hosting a potion-themed party your guests will never forget.
What Is Witch Apothecary Décor?
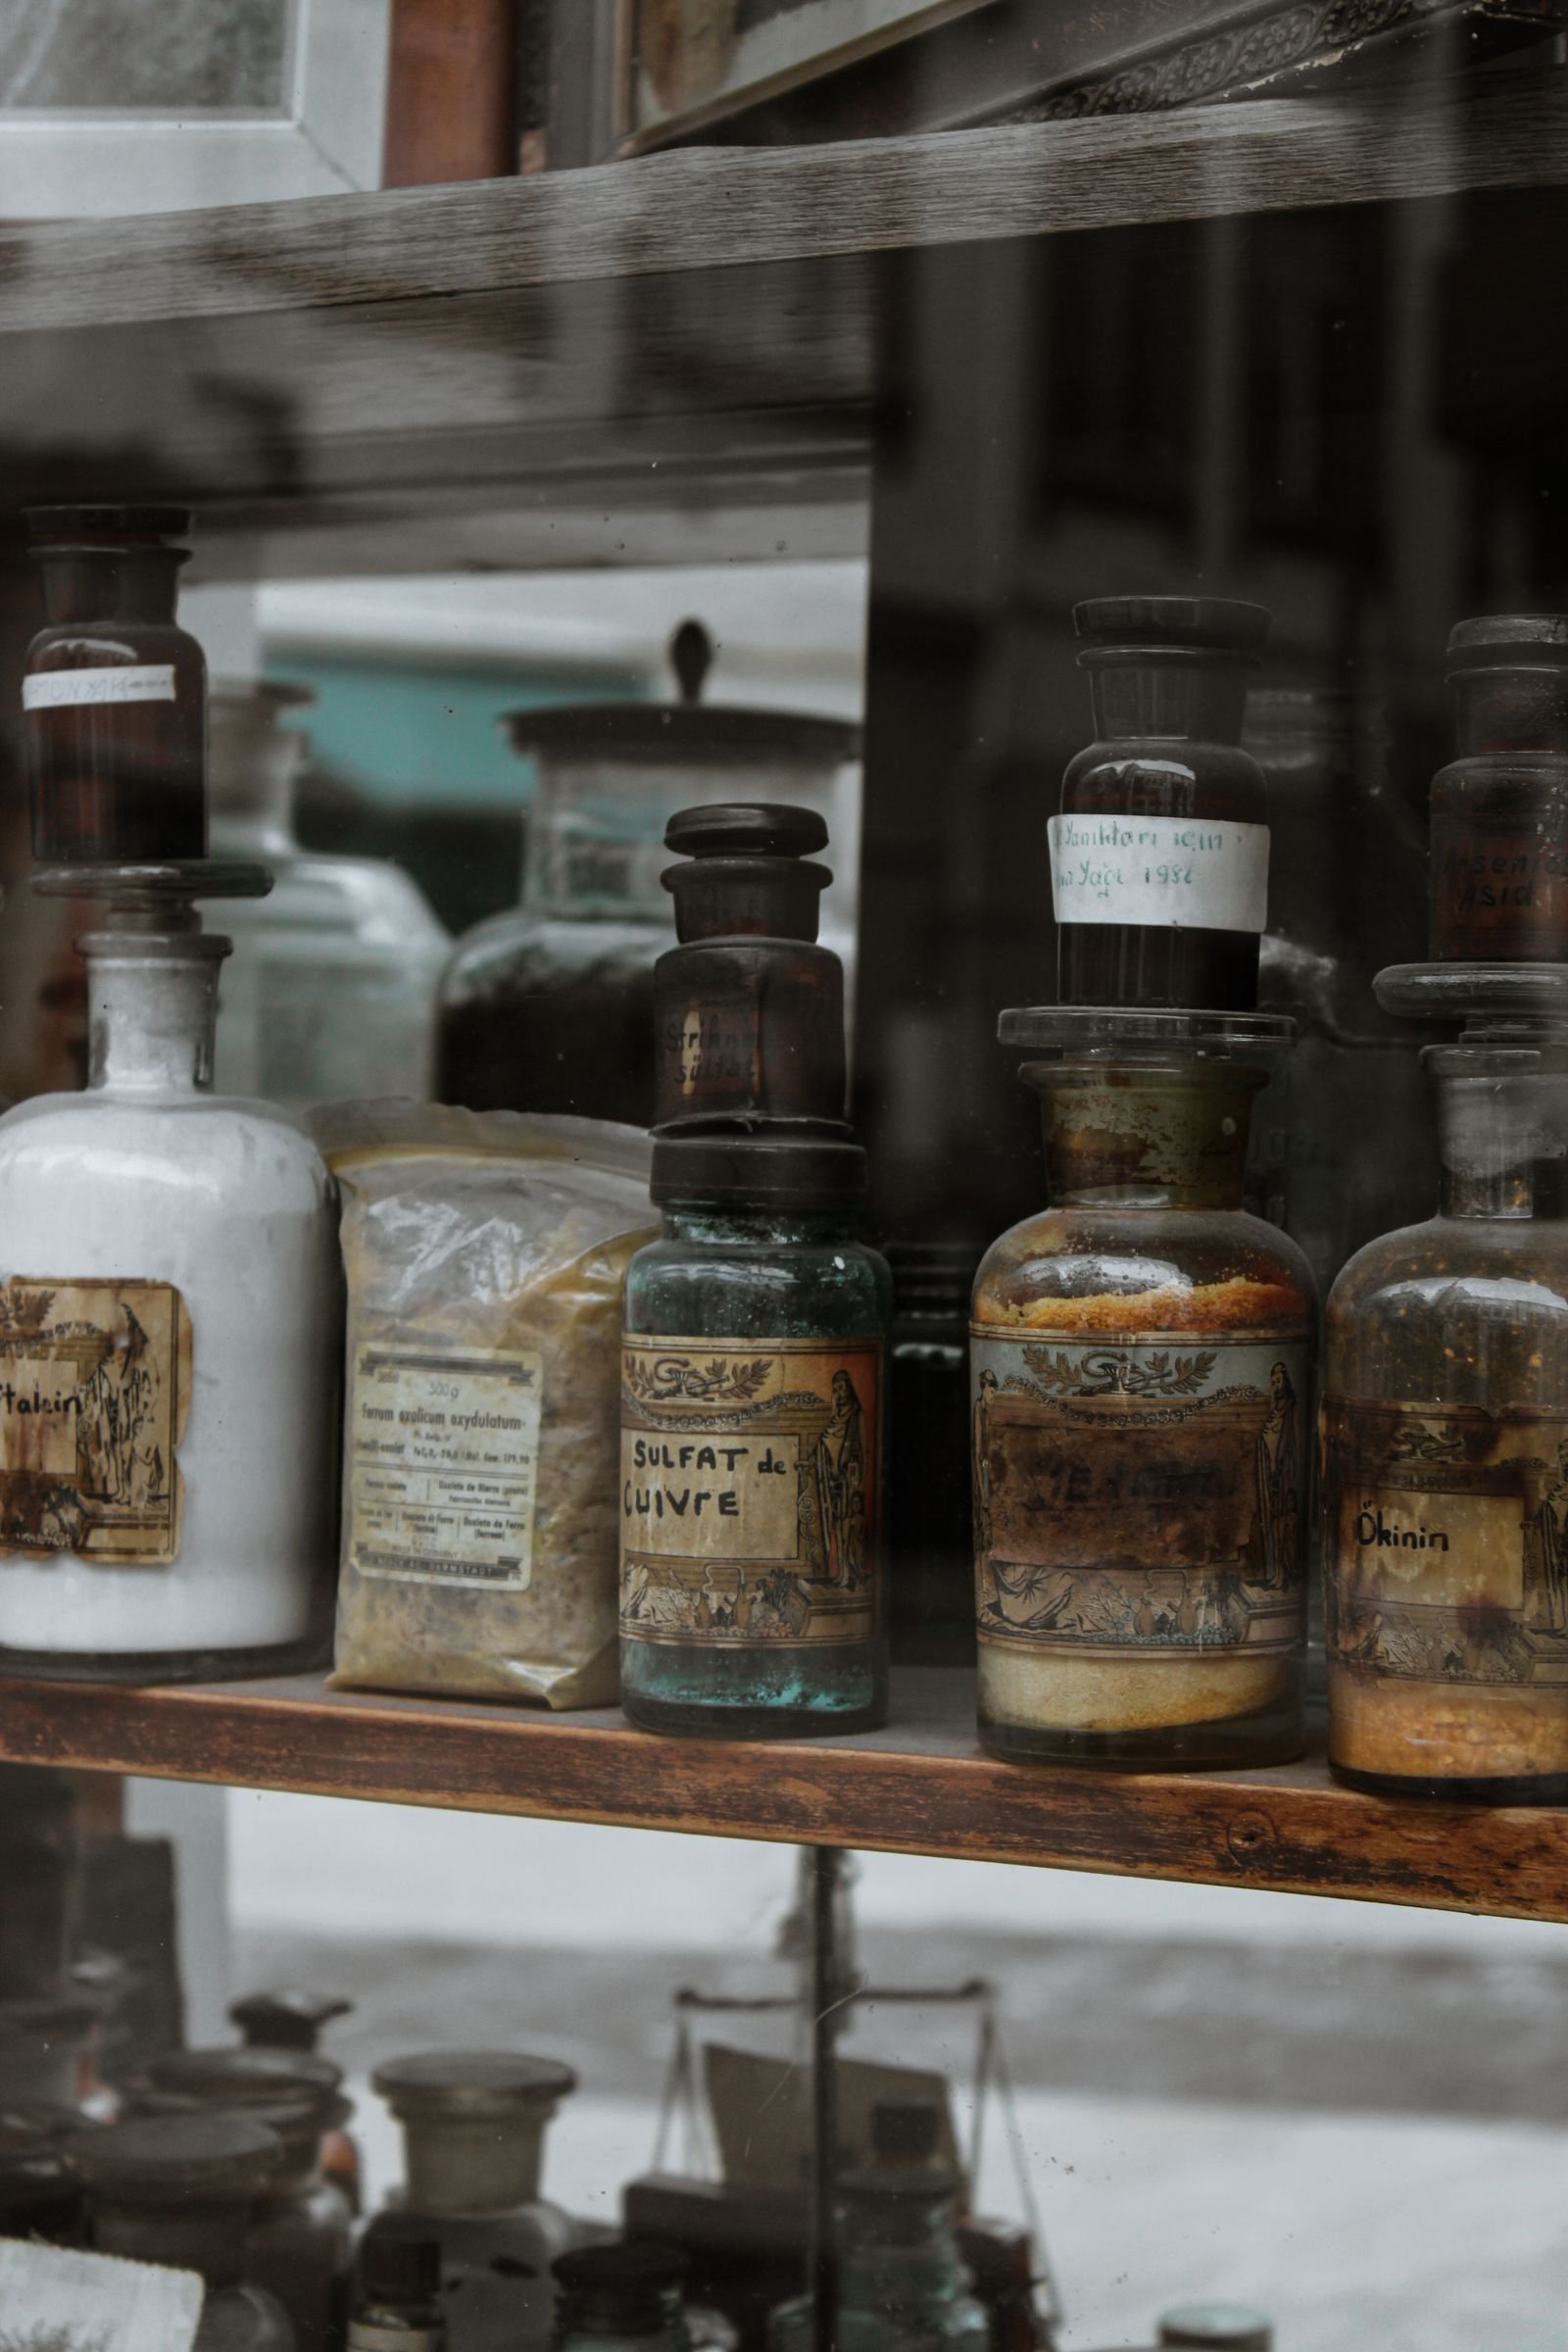
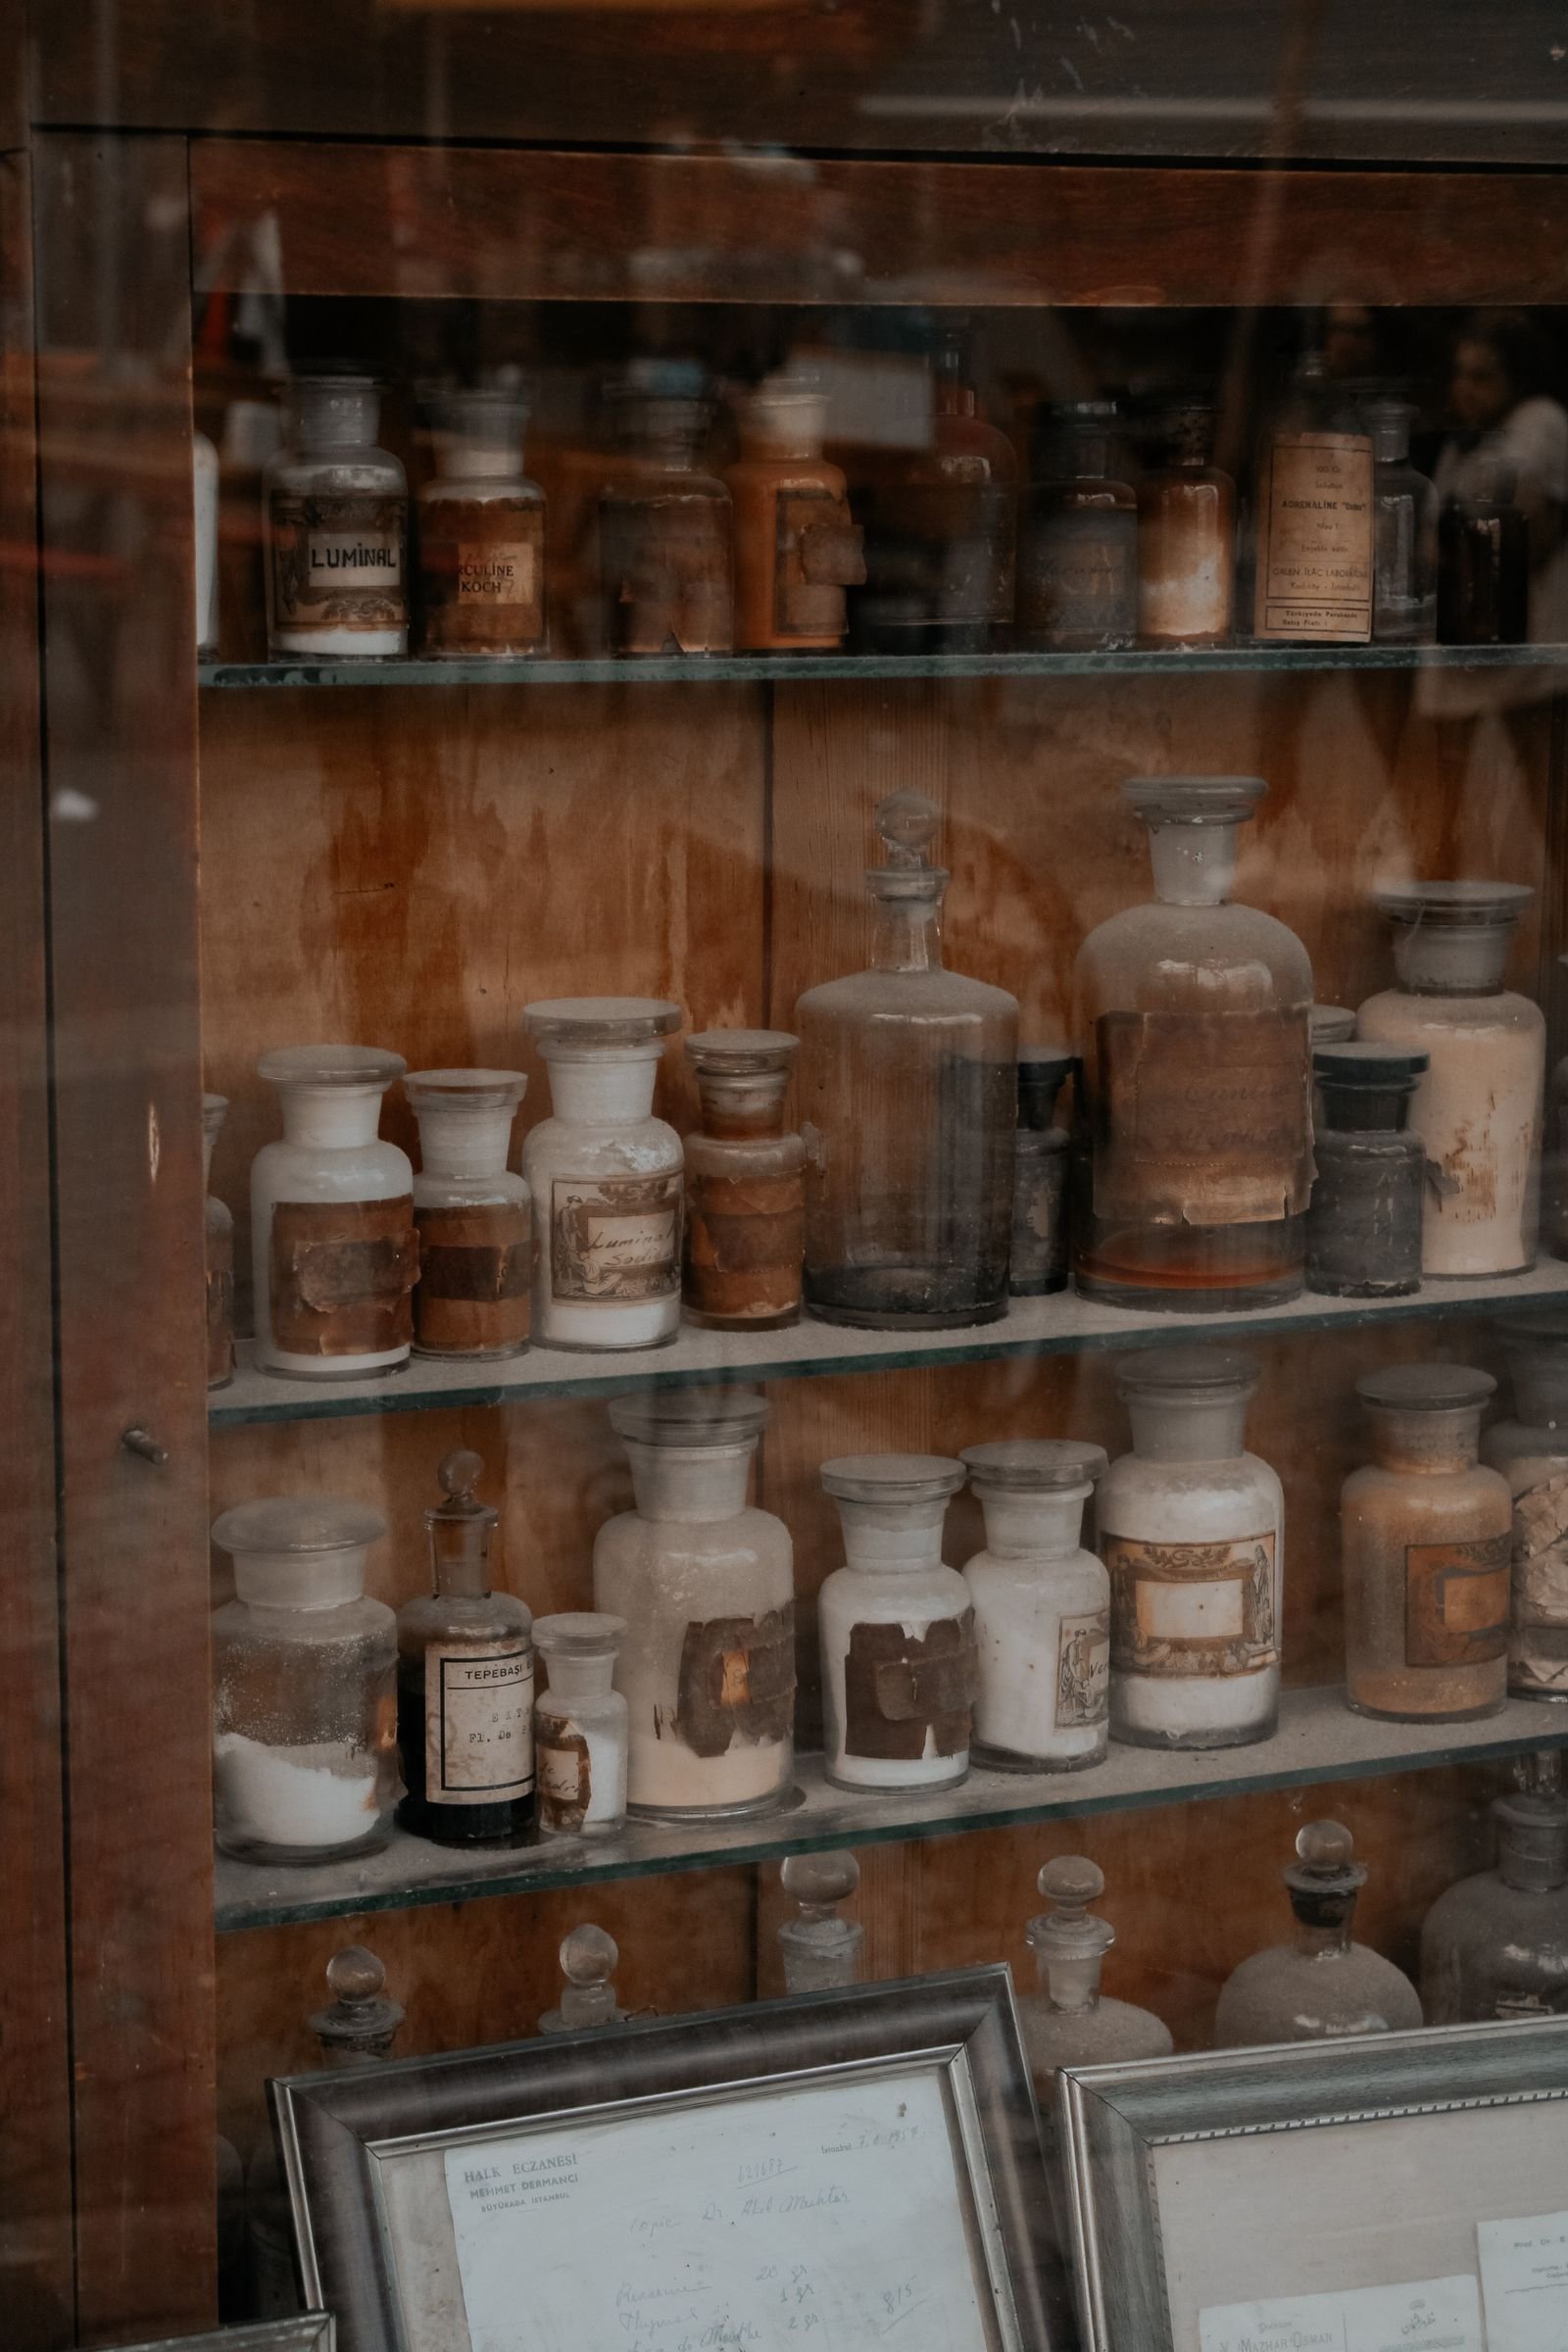
Witch apothecary décor recreates the workshop of a storybook witch: rows of glass bottles and jars filled with colourful liquids, dried botanicals, and curious specimens, each bearing a hand-lettered label with names like “Dragon’s Blood” or “Moonwater.” The aesthetic draws on Victorian apothecaries, old pharmacies, and folk magic — dark wood, aged glass, brass, parchment, and candlelight. Unlike horror-themed Halloween décor, it is atmospheric rather than frightening, which makes it perfect for households with mixed ages and for hosts who prefer enchanting over terrifying. The beauty of the theme is its depth: every bottle tells a story, and guests will spend ages reading labels and peering into jars.
The theme’s strength is its scalability; a single styled shelf enchants a hallway, while a whole house becomes an immersive experience.

Sourcing Bottles and Jars
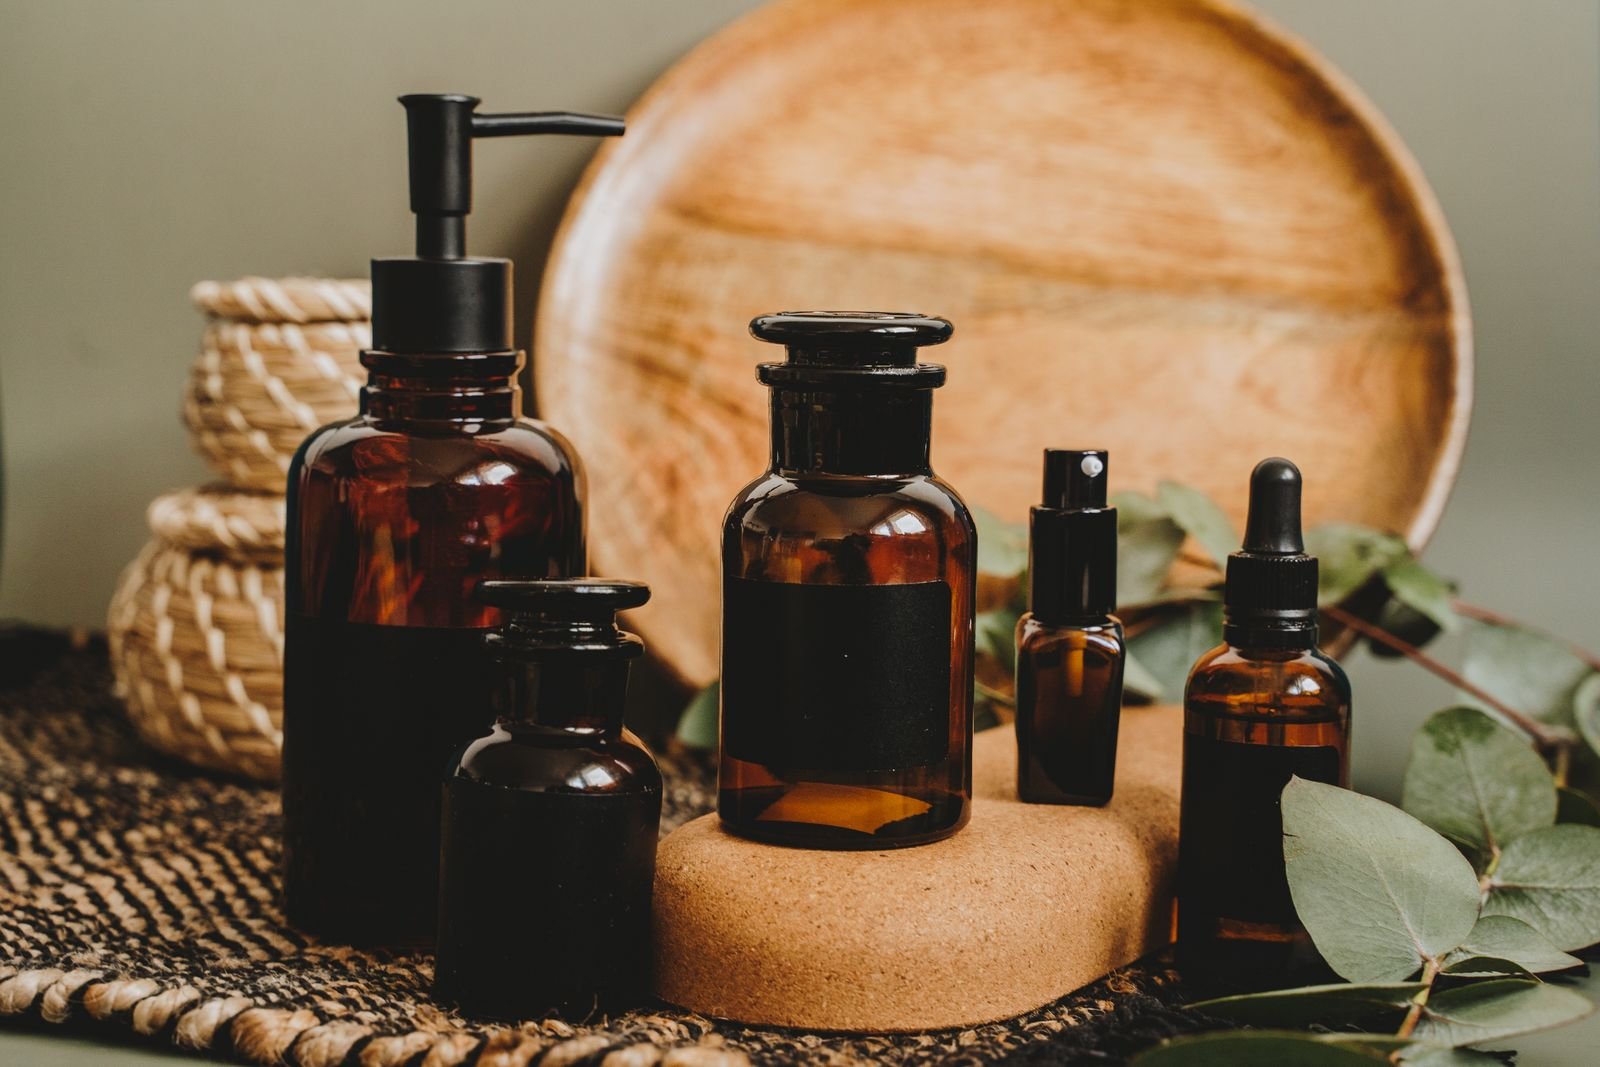
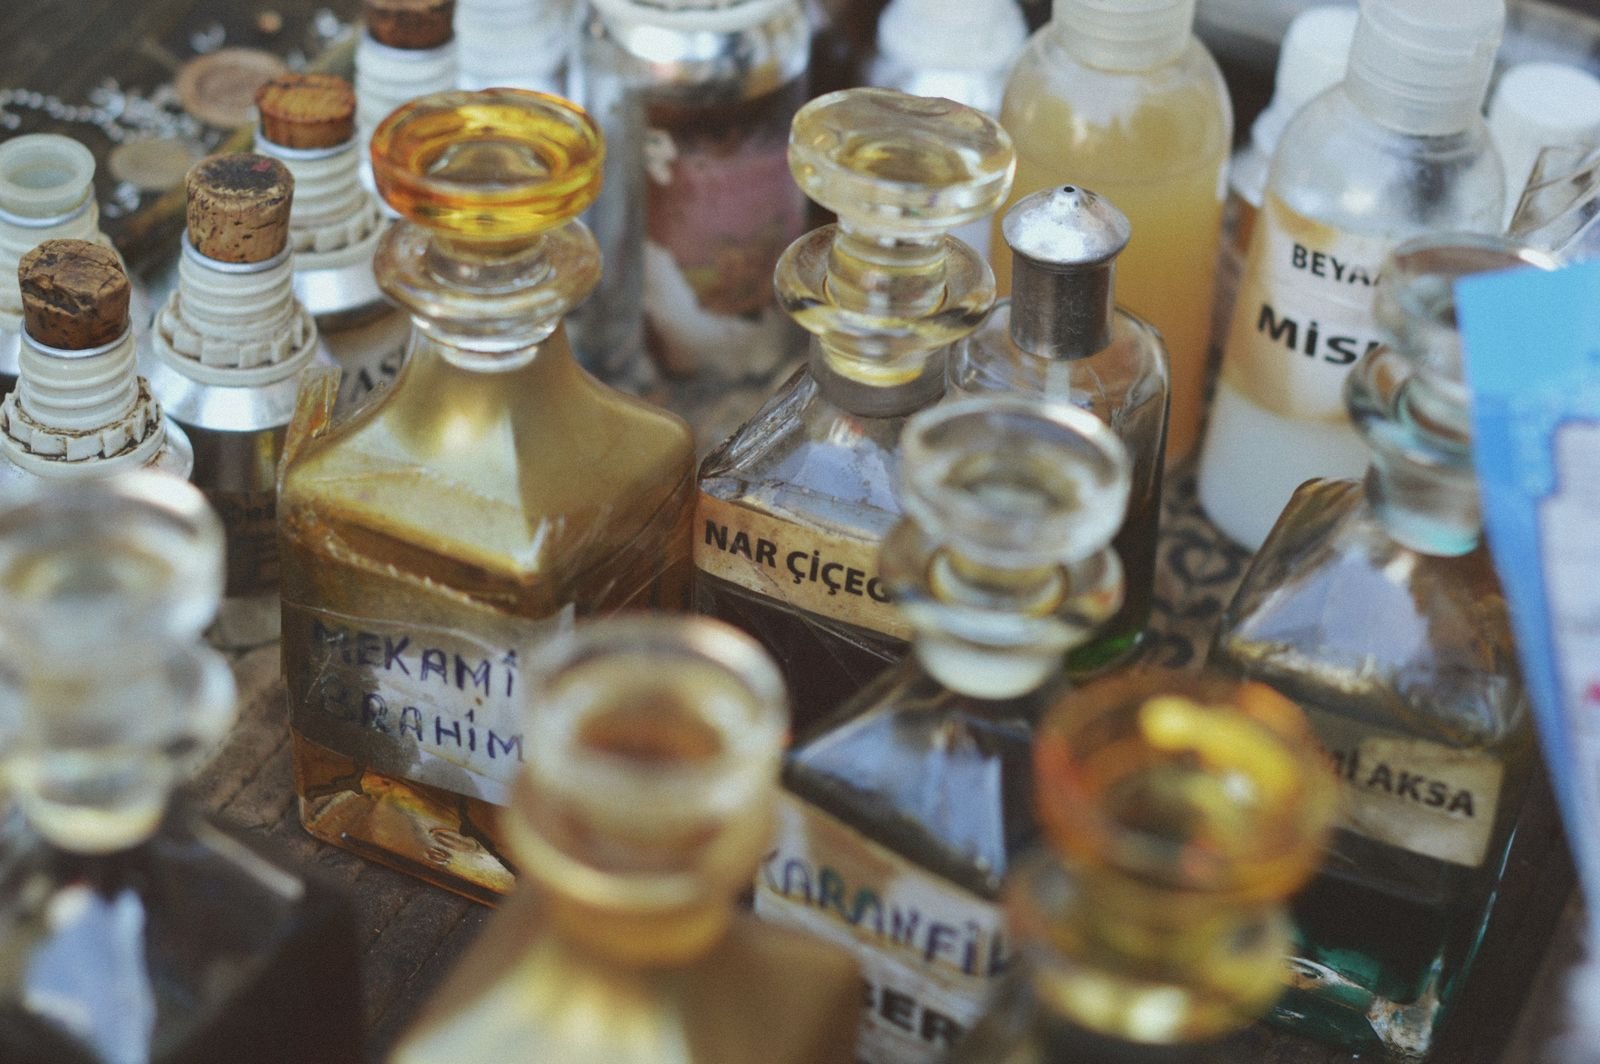
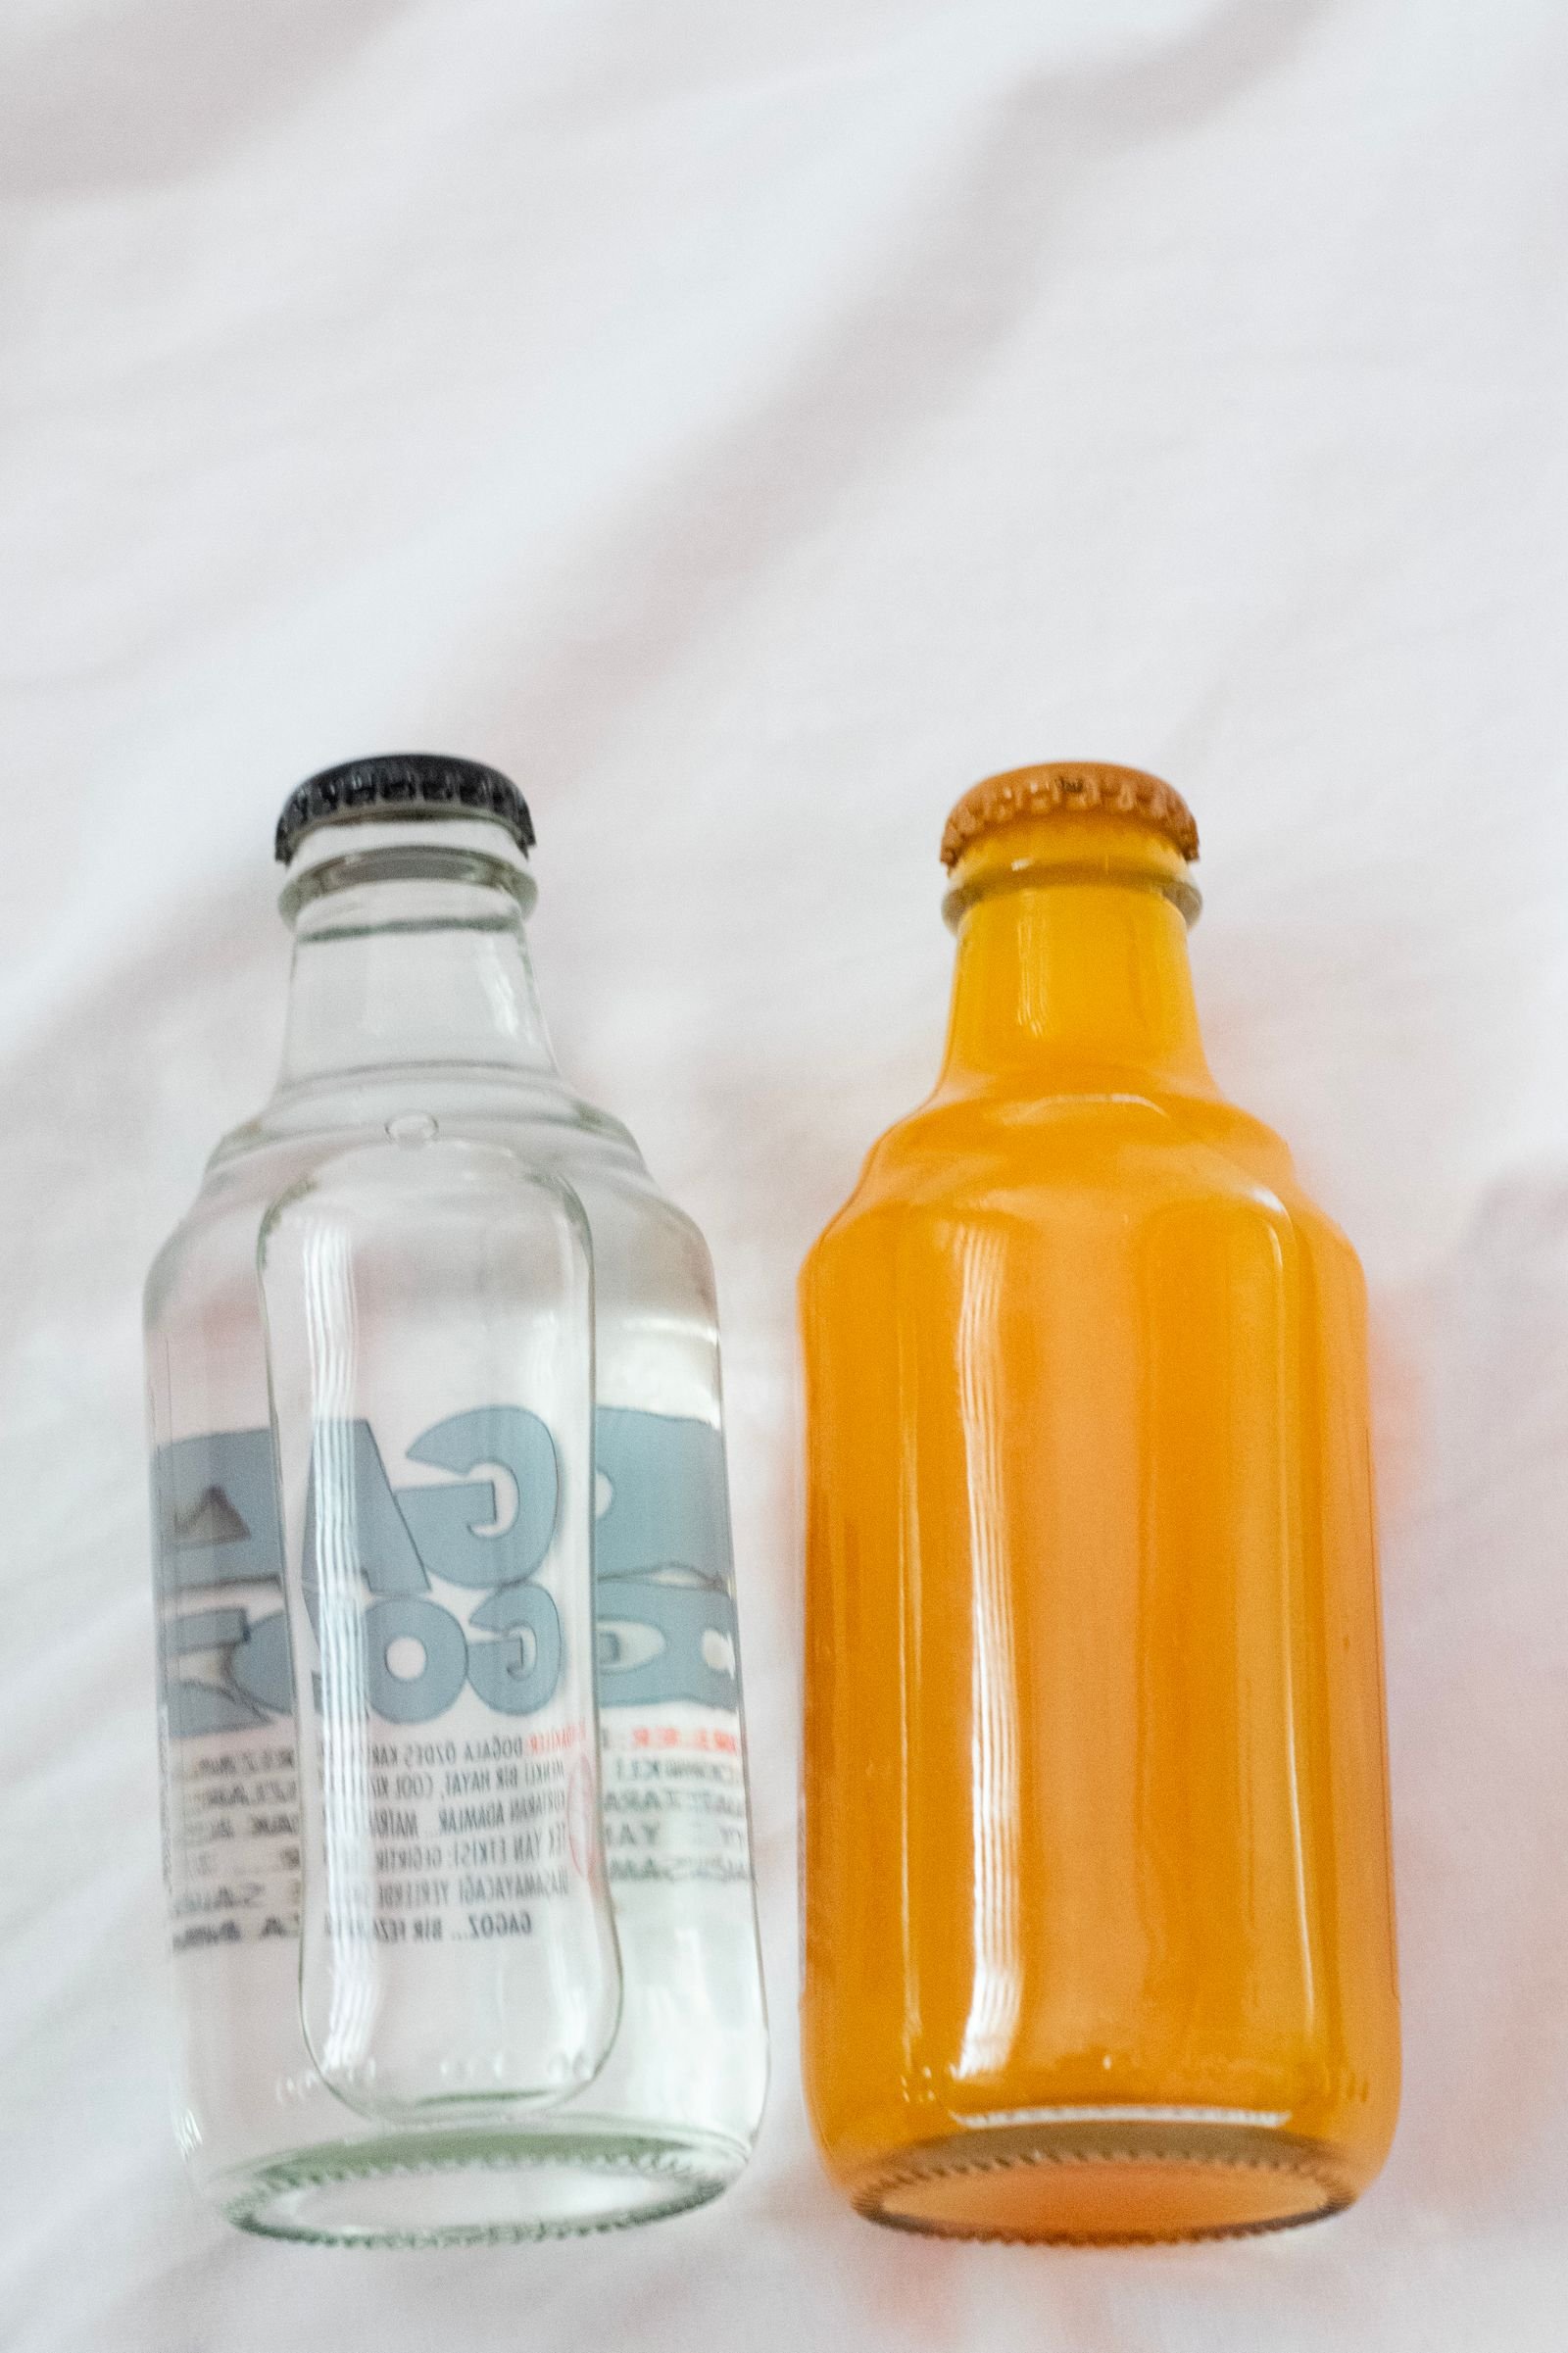
The foundation of any apothecary is the vessel collection. Thrift stores, charity shops, and flea markets are treasure troves for interesting glass: old medicine bottles, decanters, mason jars, and perfume bottles in unusual shapes. Ask friends and family to save distinctive empties — hot sauce bottles, apothecary-style jam jars, and vintage-style spirit bottles all work. For new purchases, craft stores sell affordable apothecary jar sets, and online marketplaces offer bulk lots of vintage-style bottles. Aim for variety in height, shape, and glass colour: amber, cobalt, green, and clear glass together create visual richness. Wash everything thoroughly and remove labels with hot soapy water and a little oil for stubborn adhesive.
Estate sales and flea markets often yield the most characterful bottles; arrive early, as interesting glassware sells within the first hour.
Writing Potion Labels That Delight
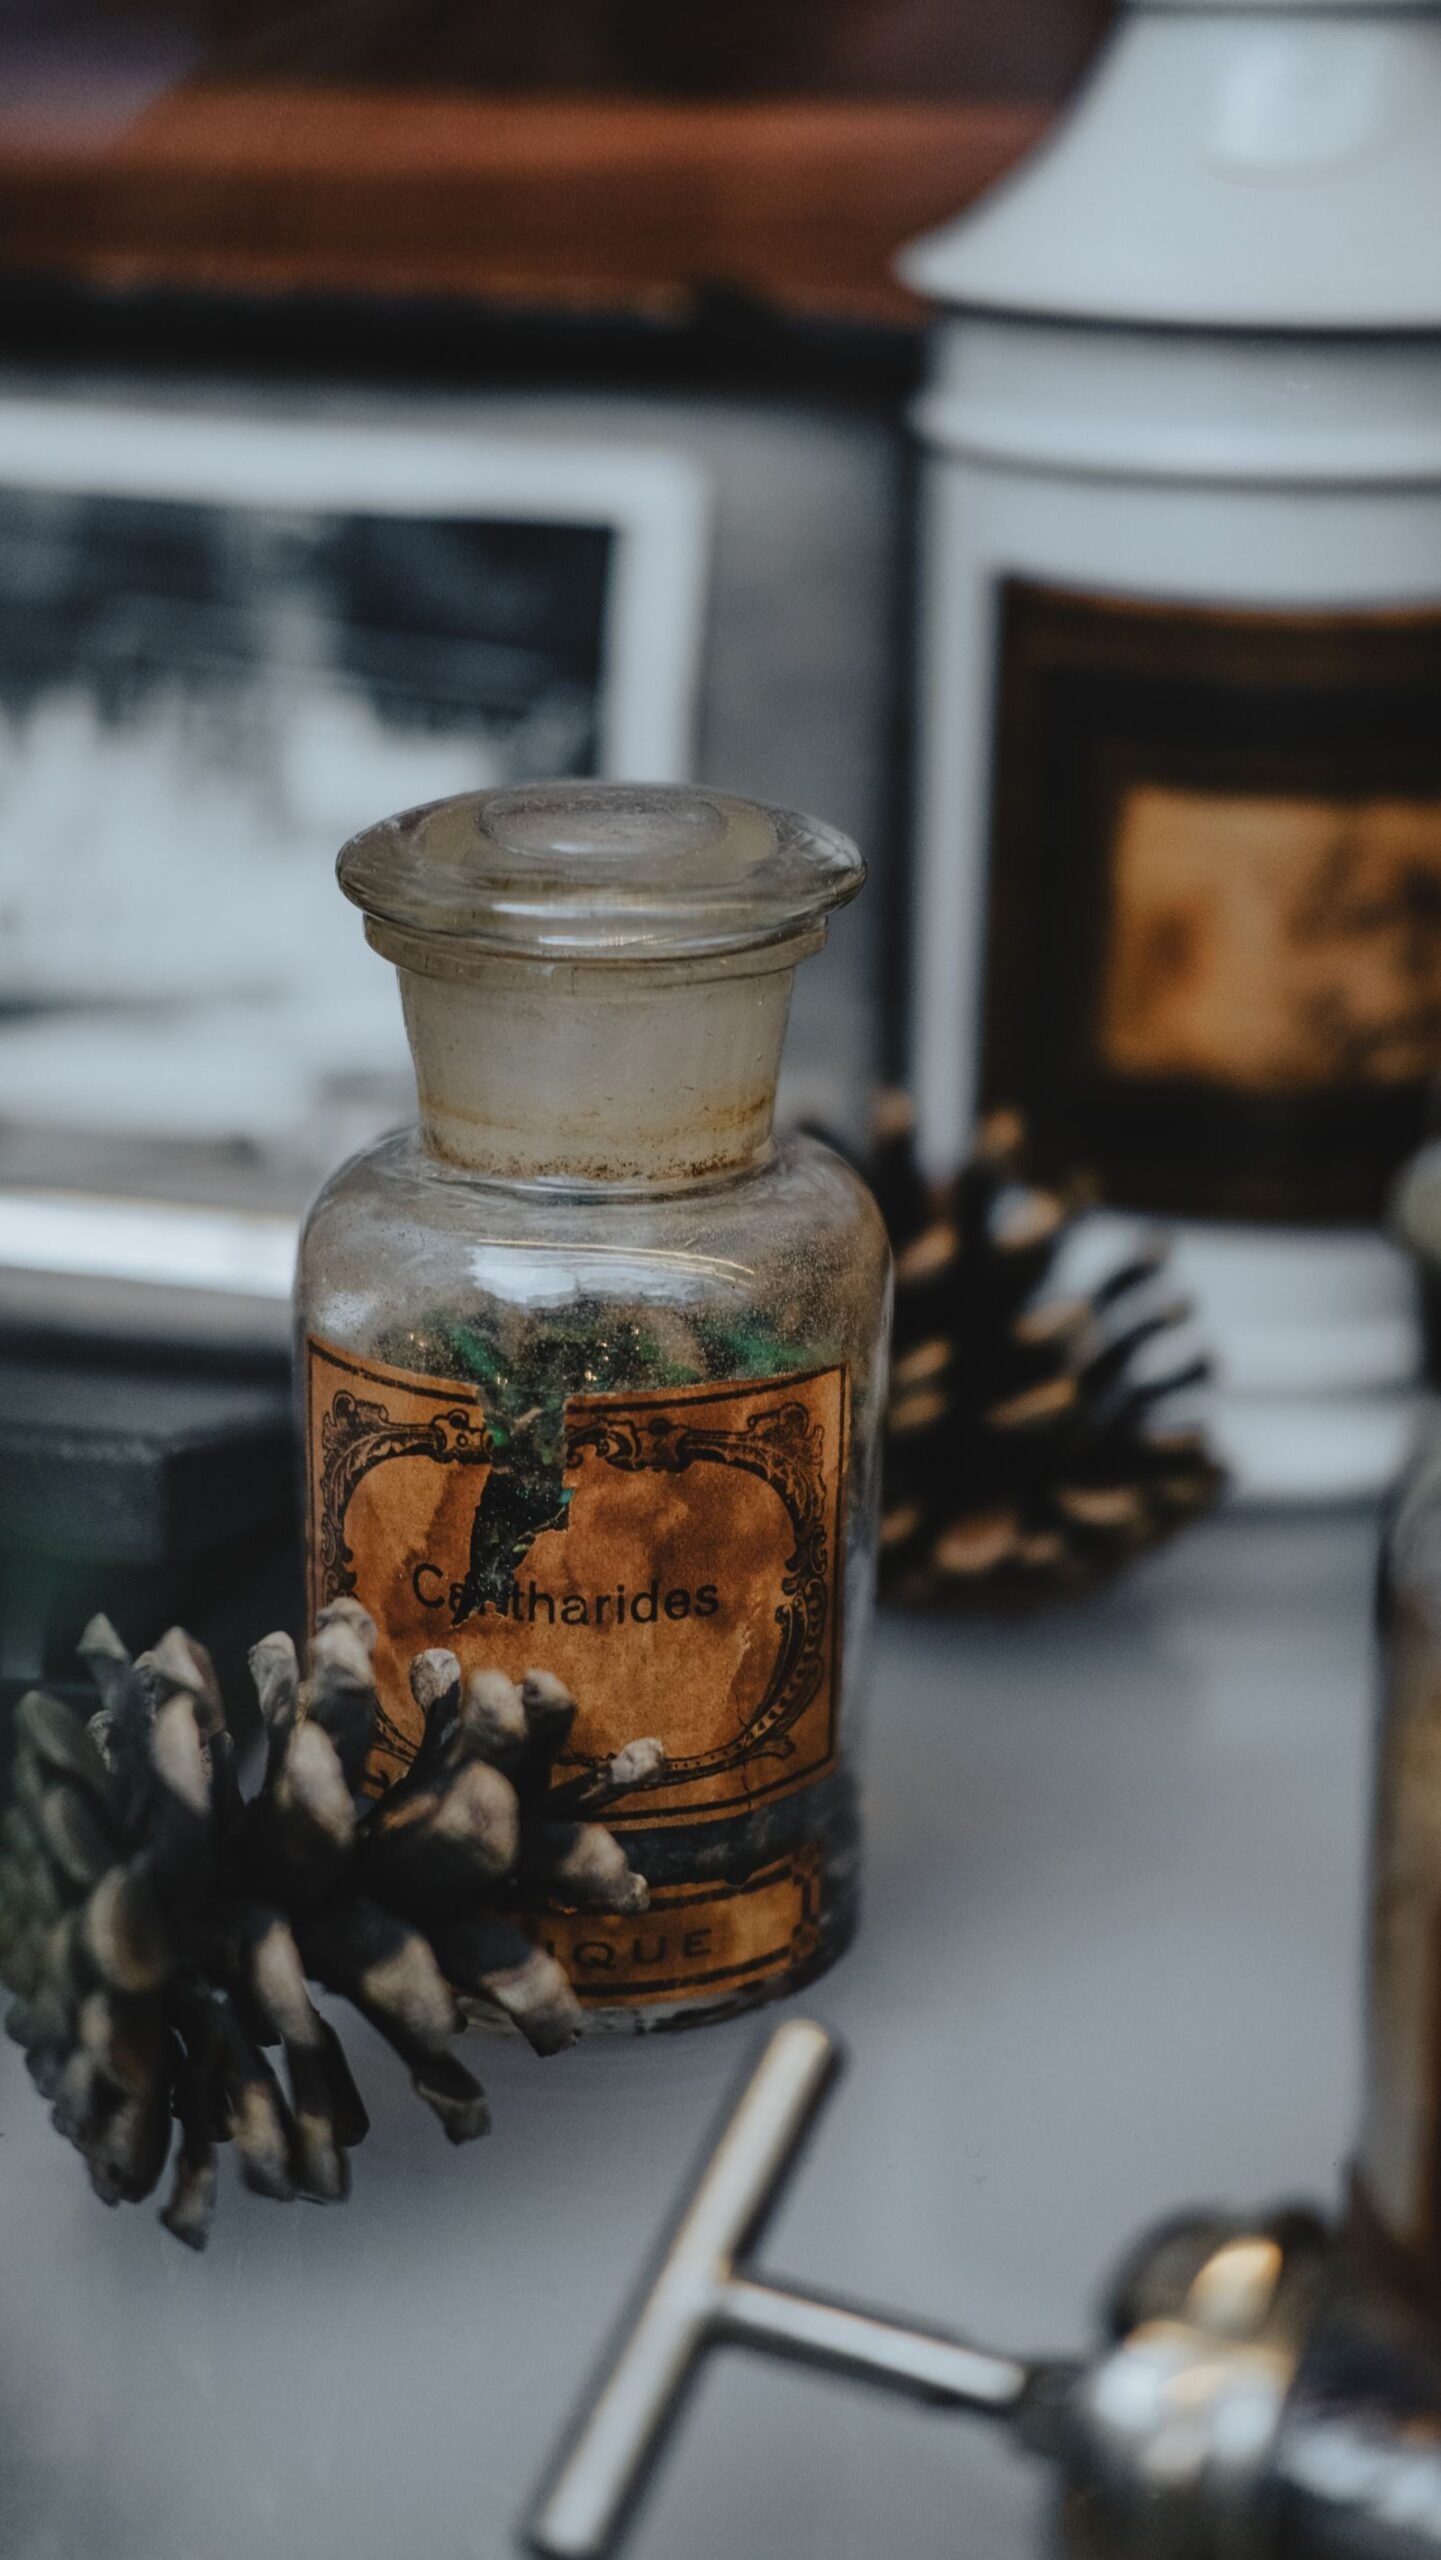
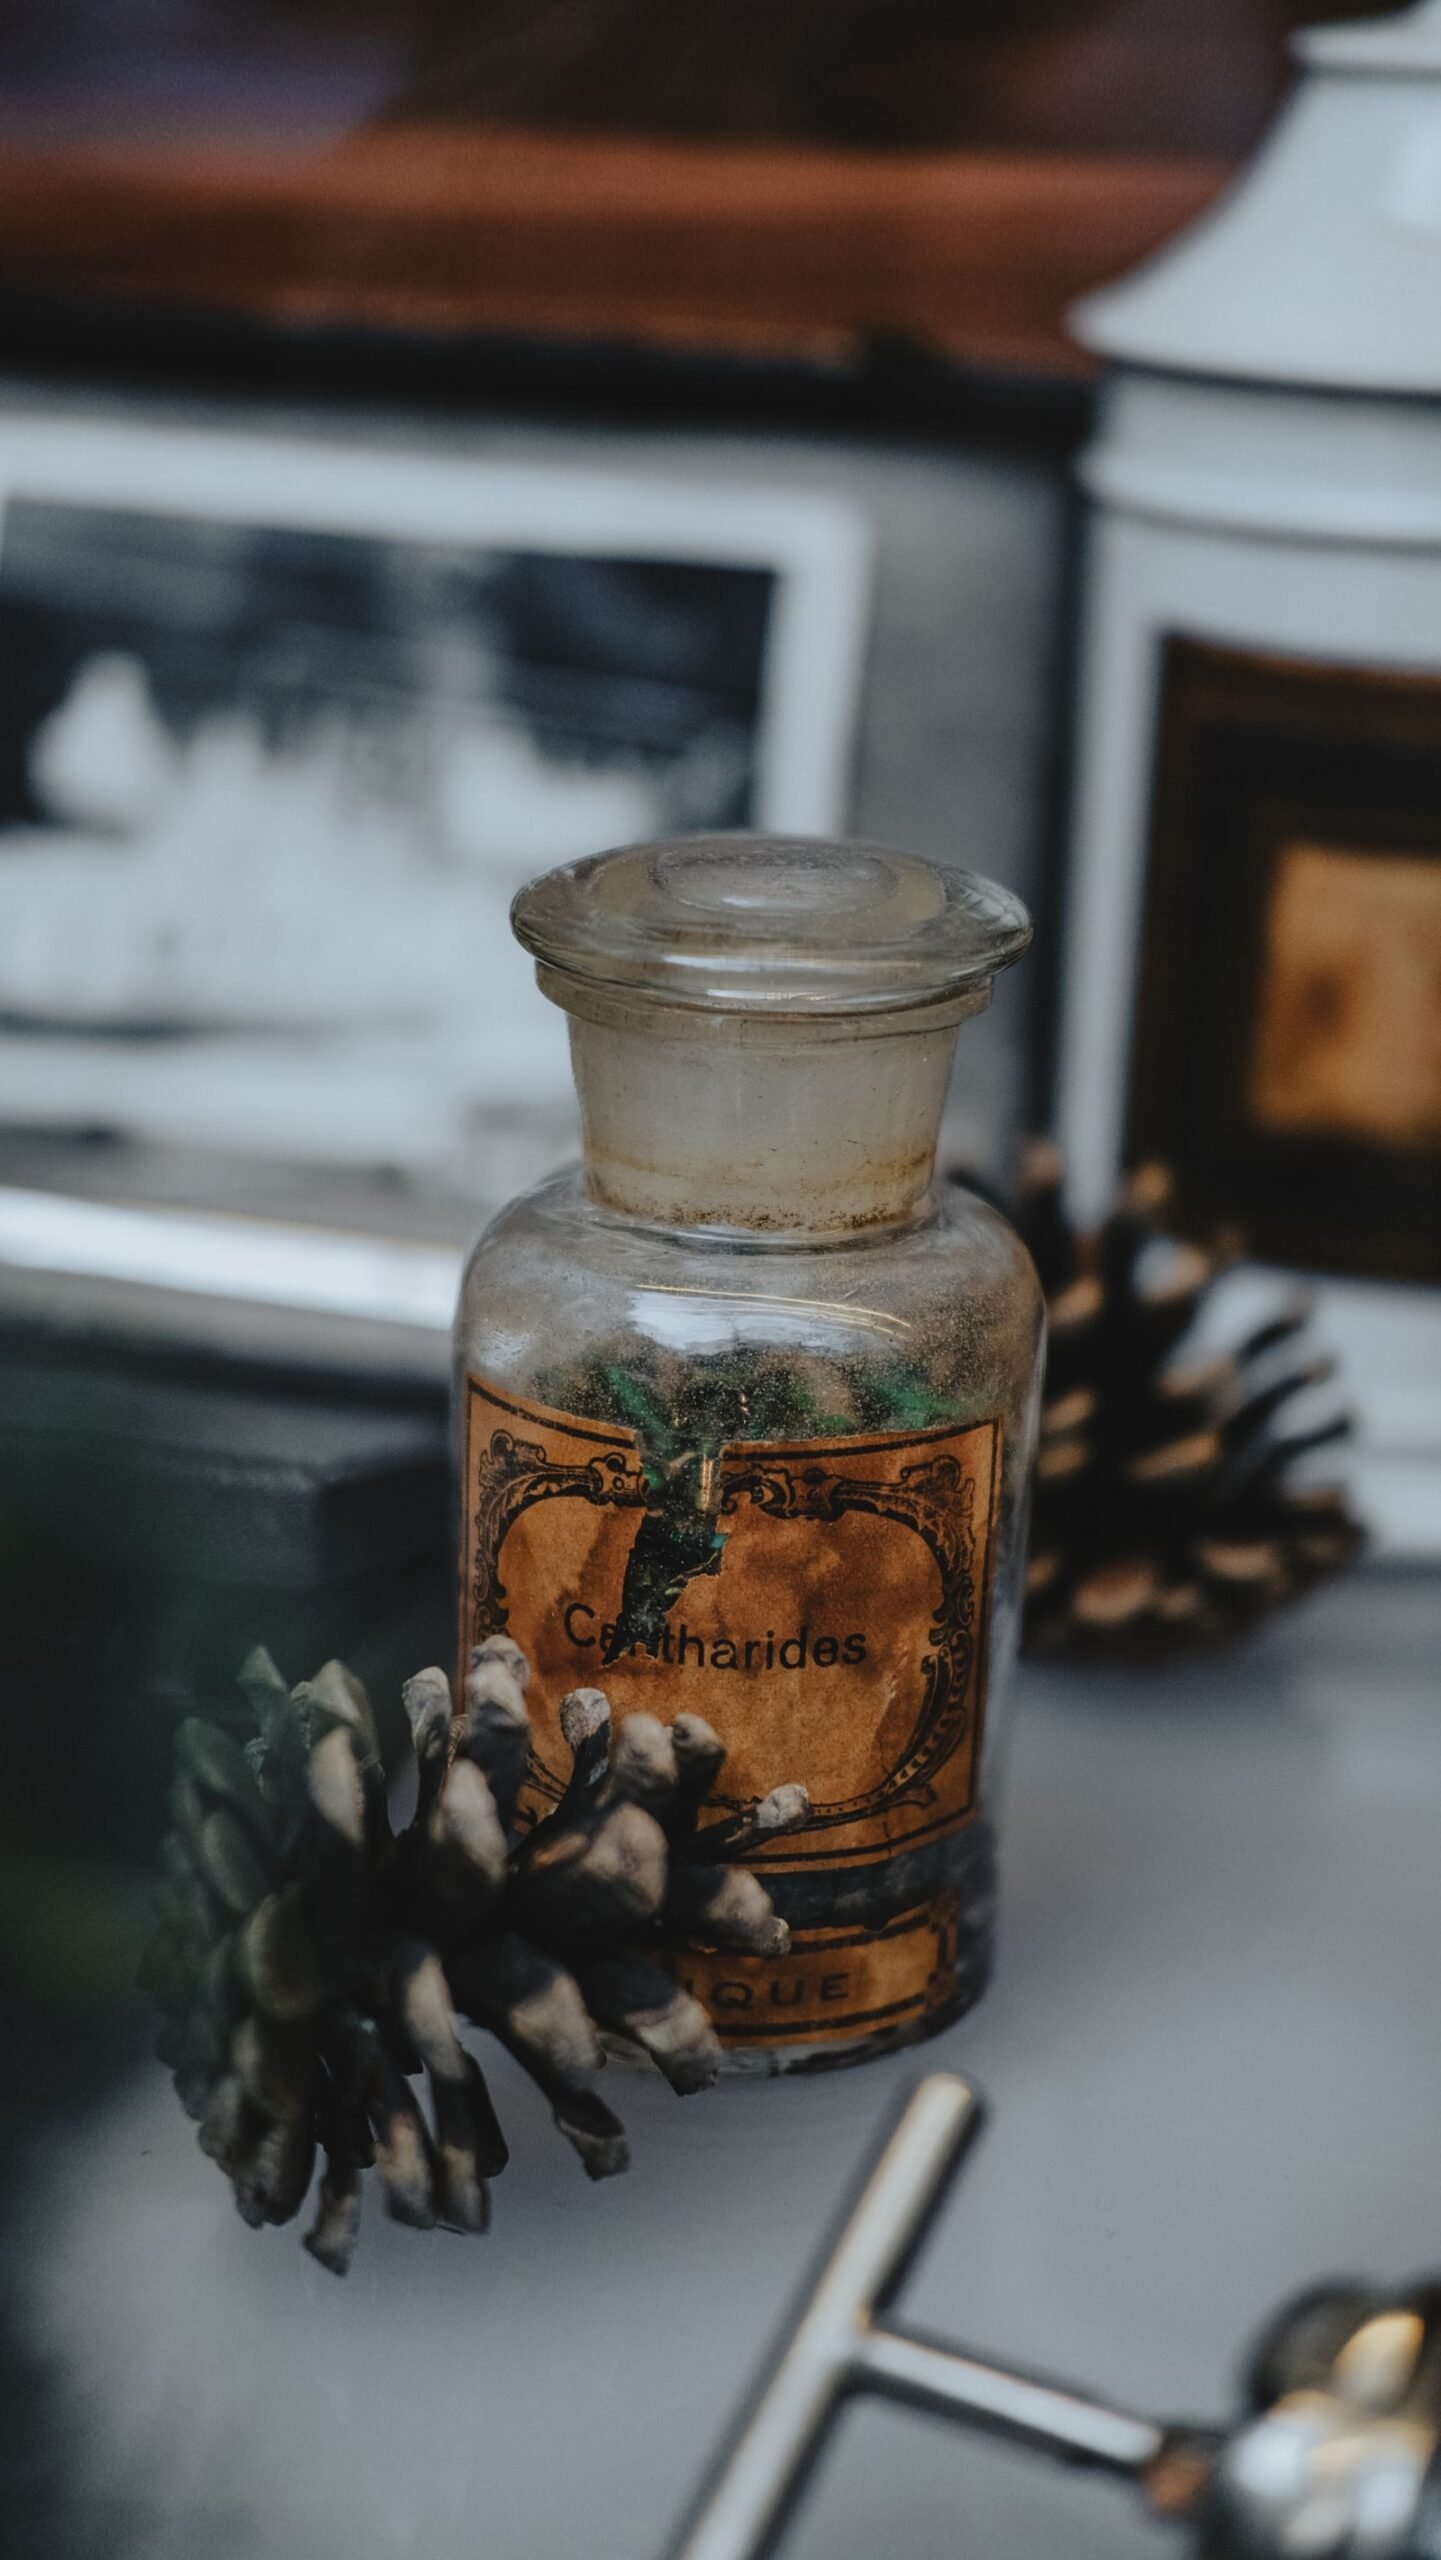
Labels are where the magic lives. Use kraft paper or aged parchment tags tied with twine, or print labels on cream card with a vintage typeface. The names are the fun part: “Witch Hazel Toner,” “Eye of Newt,” “Liquid Moonlight,” “Bottled Nightmares,” “Mandrake Root,” “Phoenix Tears.” Add faux Latin, dosage instructions (“Take one drop at midnight”), and skull-and-crossbones warnings for authenticity. Age paper labels by staining with strong tea and singeing the edges carefully. For a cohesive look, use the same label style across all bottles but vary the names wildly. Guests will photograph these, so make them legible and witty — the labels are the difference between “nice jars” and “incredible apothecary.”
Print a master list of your potion names before labelling; consistency across the collection looks far more professional than improvised spelling.

DIY Potion Fillings
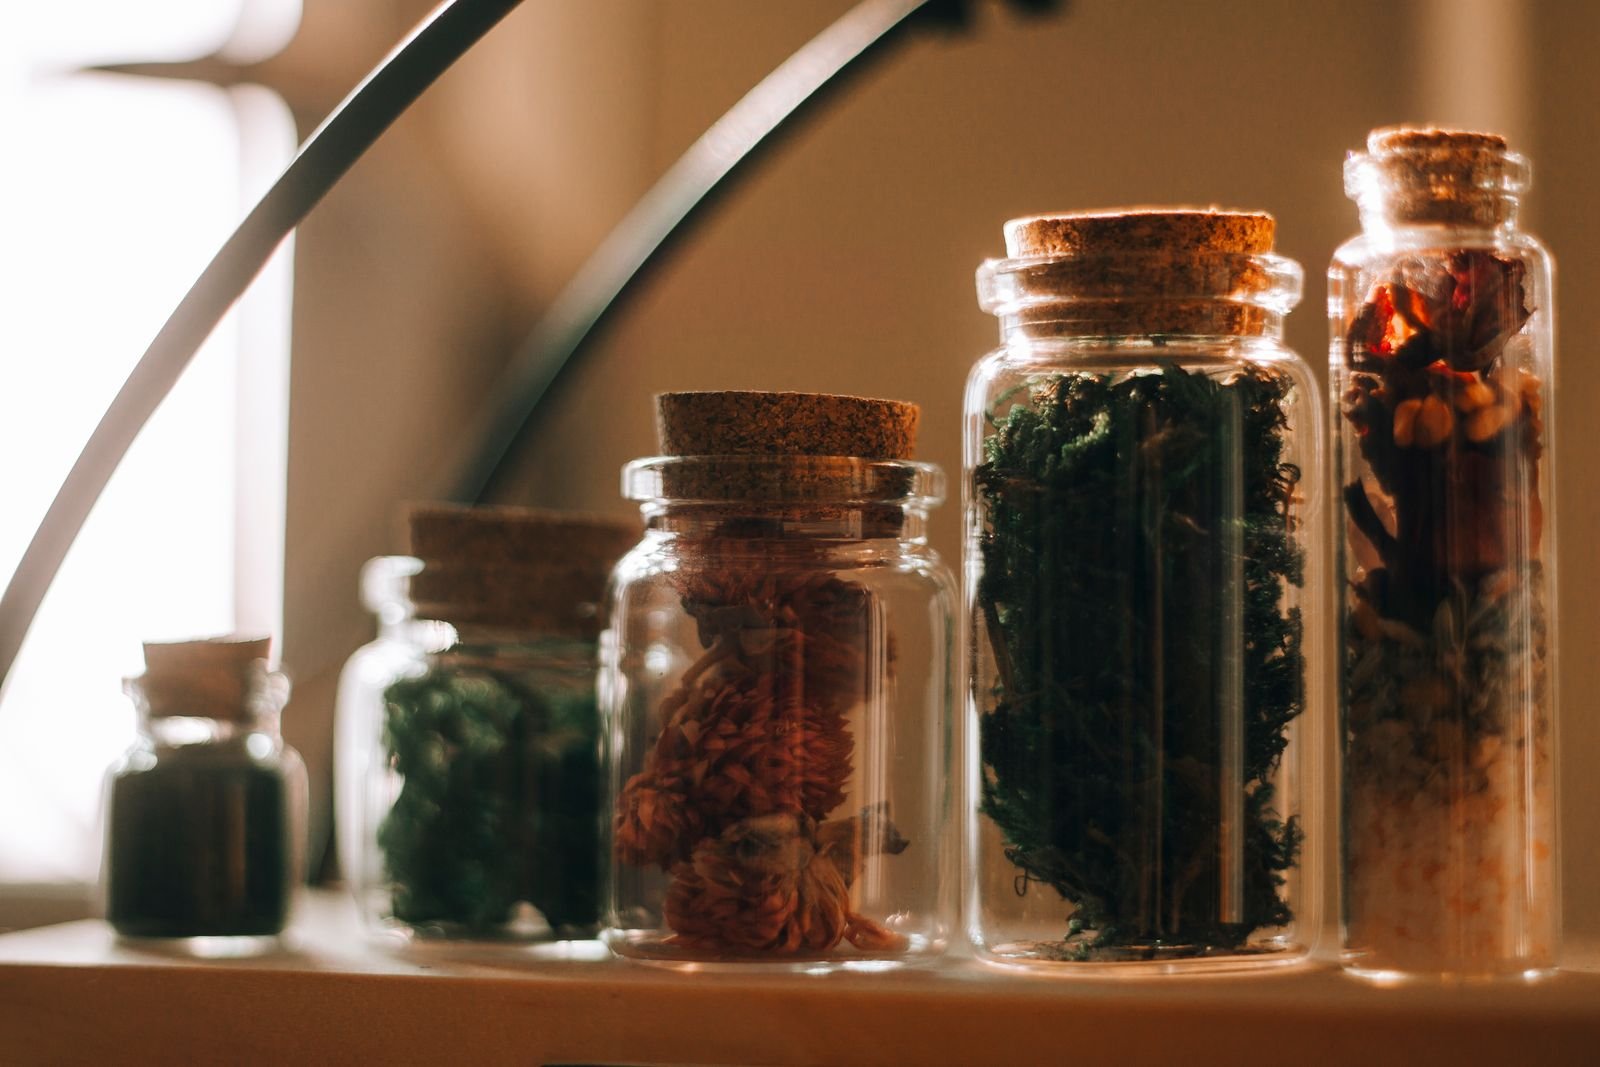
Fill bottles with layered, colourful contents that look mysterious. Coloured water with a drop of food colouring creates jewel-toned “potions” — layer different densities for gradient effects. Dried ingredients add authenticity: lavender buds, rosehips, star anise, dried orange slices, moss, twigs, and faux specimens. For “specimen jars,” suspend plastic insects, rubber snakes, or eyeball ping-pong balls in tinted water or hair gel. Dried beans, lentils, and coloured sand make convincing “powders and spell components” in open jars. Add a little glycerine to water for a slow, syrupy movement when bottles are tilted. Seal corked bottles with dripped candle wax for an aged, tamper-proof look.
Test coloured liquids in the actual bottles first; narrow necks and thick glass change how colours read, so check before committing.
Styling the Apothecary Shelf
Arrange your collection like a real apothecary: group bottles by height, tallest at the back, on a dark wooden shelf, vintage cabinet, or bar cart. Layer in dried herb bundles, old books, candles, a mortar and pestle, and brass scales for authenticity. Leave some breathing room — a crammed shelf reads as clutter, while a curated one invites inspection. Vary the contents’ colours for visual rhythm: amber beside green beside deep red. Add small chalkboard signs naming shelf sections (“Elixirs,” “Dried Botanicals,” “Specimens”). Backlighting transforms the display: a string of warm fairy lights behind the bottles makes every liquid glow. This shelf becomes the gravitational centre of your Halloween décor.
A bar cart makes an excellent mobile apothecary; style it once and wheel it wherever the party’s energy is strongest.

The Potion-Making Station
Turn guests into apprentice witches with an interactive potion station. Set out empty bottles, funnels, droppers, and an array of colourful “ingredients” — fruit juices, edible glitter, gummy creatures, dried fruit, and herbs. Provide recipe cards with playful instructions (“Add three drops of moonwater, stir widdershins”). This works brilliantly for both children’s parties (with safe, edible ingredients) and adult gatherings (add spirits for grown-up potions). Cover the table with a dark cloth, scatter star confetti, and label everything. Guests take their creations home as favours. The station doubles as entertainment and décor — a bubbling, colourful focal point that keeps everyone engaged.
For children’s parties, use only food-safe ingredients at the potion station and label the adult table clearly if spirits are involved.

Candles, Lighting and Atmosphere
Apothecary magic demands low, flickering light. Cluster pillar candles of varying heights among the bottles — real wax with drips looks best, but LED candles are safer around dried botanicals. Use candlesticks in black, brass, and aged silver for variety. Drape fairy lights behind shelving for a glow that makes liquids luminous. A faux fireplace or a cluster of lanterns adds warmth. For extra atmosphere, add a small ultrasonic mister to a cauldron or wide bowl for drifting “fog” — safe, cheap, and wonderfully eerie. Scent matters too: simmer cinnamon, clove, and orange, or burn incense in earthy scents like patchouli and sandalwood. Dim the overheads and let the candles rule.
Cluster candles in groups of three at varying heights; the arrangement looks intentional and the combined glow is far more atmospheric.
Dried Herbs and Botanical Bundles
Hanging dried herbs is the fastest way to make any room feel like a witch’s workshop. Bundle lavender, rosemary, eucalyptus, wheat, and dried flowers with twine and hang upside down from a rack, shelf edge, or curtain rod. Beyond looks, they perfume the room naturally. Create “spell ingredient” bundles tied with labelled tags. Dried wreaths of herbs on doors extend the theme. Forage responsibly or buy from dried flower suppliers — a little goes a long way. Combine with hanging glass terrariums containing moss and crystals. The vertical element of hanging herbs adds dimension to your décor, drawing the eye up and making the apothecary feel like a living, working space rather than a static display.
Tie herb bundles with strips of muslin as well as twine; the soft fabric adds a cottage layer that twine alone cannot provide.

Spell Books and Parchment Details
Every apothecary needs its grimoire. Age a notebook by staining pages with tea, then fill it with handwritten “spells,” pressed leaves, and sketches — it becomes both décor and a conversation piece. Stack old hardcover books (thrifted, covers removed or painted) as risers for bottle displays. Scatter parchment scrolls tied with ribbon, quills in inkwells, and wax-sealed envelopes around the scene. Print vintage botanical illustrations and pin them to walls like a witch’s reference charts. A large open book on a lectern or stand, pages filled with your invented spells, invites guests to read. These paper details add the scholarly, arcane layer that elevates the theme from “Halloween jars” to “witch’s study.”
Leave your grimoire open on a stand with a quill beside it; guests will flip through it all evening and add their own entries.

Themed Food and Drink
Extend the apothecary to the table. Serve drinks in labelled bottles — “Polyjuice Punch,” “Witch’s Brew” — with dry ice for smoking effects (handle safely, never ingest). A “potion bar” with mixers and garnishes lets guests concoct drinks. Food gets the treatment too: label dishes as spell components — “Mandrake Mash,” “Bat Wing Bites,” “Eye of Newt Olives.” Black-charcoal lemonade, beet hummus “blood dip,” and herb-flecked breads all fit the palette. Display food on dark wood boards and slate with handwritten labels. A cauldron punch bowl is the centrepiece. The key is committing to the bit: when every dish has a magical name and every drink smokes, the party becomes an experience.
Dry ice effects thrill guests but demand respect; always handle with tongs and never let it touch skin or sit in sealed containers.
Costumes and Character for Hosts
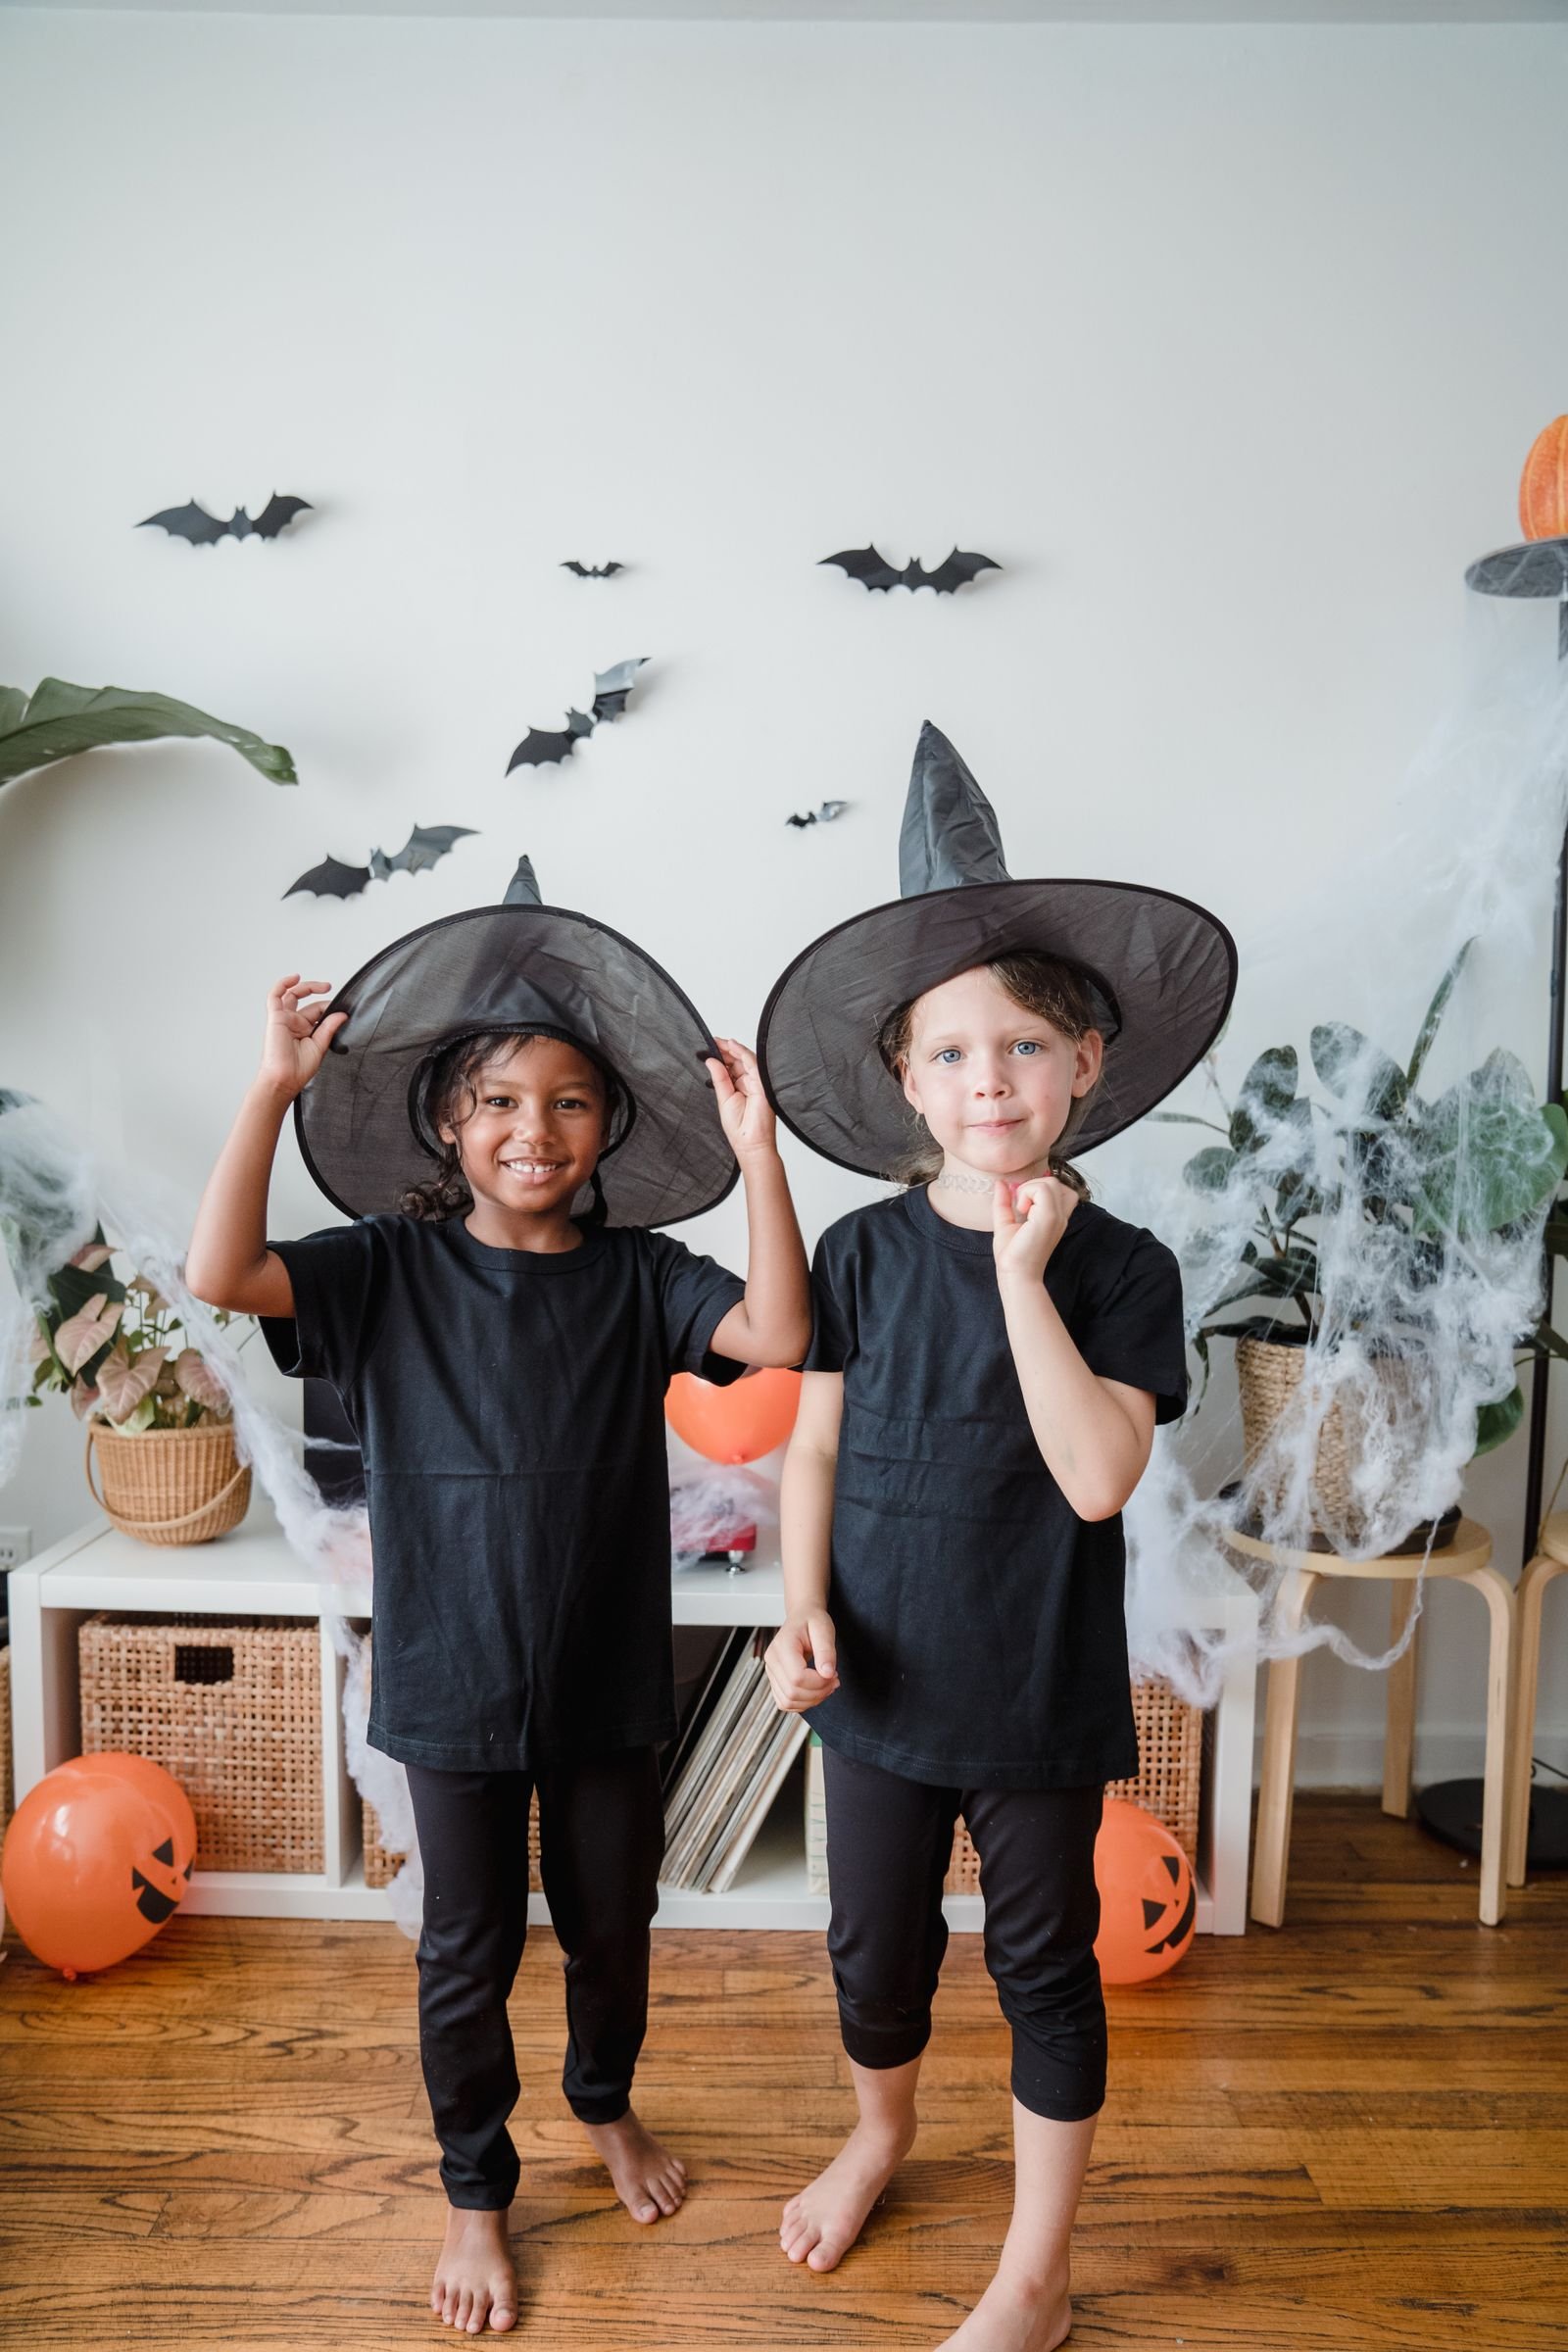
Hosts in character complete the illusion. A long dark dress or cloak, a wide-brimmed hat, layered necklaces with crystal pendants, and smoky eye makeup create the apothecary witch without veering into costume-shop cliché. Add practical accessories that double as props: an apron with pockets for “ingredients,” a basket of herbs, a wooden spoon “wand.” Encourage guests to dress as witches, wizards, herbalists, or Victorian apothecaries with a dress code note on the invitation. Provide a “costume apothecary” corner with spare hats, cloaks, and temporary tattoos for guests who arrive unprepared. When hosts and guests alike inhabit the theme, the party transcends decoration and becomes theatre.
Lend spare costume pieces freely; a guest transformed by a borrowed cloak enjoys the party twice as much as one who feels underdressed.

Outdoor and Entryway Magic
Begin the spell at the front door. Line the path with lanterns and LED candles in jars. Hang a herb-and-twig wreath on the door with a wooden sign reading “The Witch Is In” or “Apothecary — Enter If You Dare.” Place a cauldron (real or plastic) by the entrance, filled with dry-ice fog or wrapped fairy lights, with a ladle for effect. Stack pumpkins and gourds around the step, some carved with moons and stars rather than faces. A broomstick leaning by the door and a pair of “witch boots” complete the scene. If you have a porch, create a mini apothecary vignette there — a small table with bottles and candles — so the magic starts before guests even knock.
Solar-powered lanterns along the path charge all day and switch on automatically; they are the lowest-maintenance magical lighting available.

Kid-Friendly Apothecary Ideas
The apothecary theme adapts beautifully for children — mysterious rather than scary. Focus the potion station on safe, edible ingredients: coloured juices, sprinkles, gummy worms, and fruit. Label everything with silly names and let kids “brew” their own drinks. Replace spooky specimens with friendly ones: jars of “fairy dust” (glitter), “dragon scales” (sequins), “unicorn food” (cereal). A scavenger hunt for hidden “ingredients” around the house adds adventure. Face paint or temporary tattoos of moons and stars instead of scary makeup. Keep lighting warm and skip the horror sounds. Children adore the sense of magic and making — an apothecary party gives them agency, wonder, and a bottle of their own potion to take home.
Involve children in labelling and filling; their invented potion names are invariably better than anything adults devise.

Budget Breakdown: Thrift to Splurge
A convincing apothecary can cost very little. Thrifted bottles, foraged botanicals, tea-stained labels, and food-colouring potions build the core for under £30. Mid-range additions — a proper wooden shelf, quality candles, a mortar and pestle, dried flower bundles — bring it to £60–£100. Splurge selectively on hero pieces: a vintage apothecary cabinet, an antique scale, or professional-looking labels printed on quality stock. The highest-impact spend is lighting — fairy lights and candles transform cheap bottles into glowing magic. Almost everything is reusable year after year: glass bottles, dried botanicals (stored dry), and labels keep well. View it as building a Halloween collection, not a one-night expense.
Photograph the full arrangement before the party starts; once guests arrive, the pristine version exists only in pictures.
Storage and Reuse Year After Year
Design your apothecary for longevity. Empty and wash bottles after the season; store them nested in tissue in sturdy boxes, labelled by size. Keep dried botanicals in paper bags in a dry place — they last multiple seasons. Save your labels as digital files so reprinting is trivial. Coil fairy lights loosely to avoid tangles. Photograph your shelf arrangement before dismantling so next year’s setup takes minutes. Each year, add five to ten new bottles or a new label set to keep the display evolving. A well-maintained apothecary collection becomes a beloved tradition — the box labelled “witch stuff” that the whole household looks forward to opening every October.
Keep a small notebook of label ideas on your phone year-round; inspiration strikes at odd moments, and the best potion names deserve to be captured.
Scent, Sound and the Full Sensory Spell
The best apothecaries engage every sense. Scent: simmer pots of clove, orange, and cinnamon; beeswax candles; dried lavender bundles. Sound: a playlist of atmospheric folk, crackling fireplace recordings, or distant thunder soundscapes at low volume — never horror-movie screaming, which breaks the enchanting spell. Touch: interesting textures guests can handle — smooth stones, rough bark, velvet pouches of “ingredients.” Taste: spiced cider, herbal teas, themed treats. Sight is covered by the visual display. When all five senses whisper “magic,” guests stop seeing decorations and start feeling transported. This sensory layering is what separates a good theme from an unforgettable one.
Shoot your apothecary at dusk with all candles lit; the blue hour outside windows contrasts beautifully with warm interior glow.
Photography: Capturing Your Apothecary
Document your creation properly. Shoot in low light with candles lit — the glow through coloured liquids is the money shot. Use a tripod or stable surface for sharp images in dim conditions. Photograph details: individual labels, liquid layers, the shelf as a whole, and guests interacting with the potion station. Backlight bottles by placing a fairy light or candle behind them for luminous effect. These photos serve triple duty: memories, social sharing, and next year’s setup reference. If you run a blog or sell crafts, styled apothecary shots are evergreen content. Take “before” photos of your plain shelf too — the transformation is always satisfying to share.
Resist buying every novelty potion prop you see; a curated collection of twenty good bottles beats sixty mediocre ones every time.

Common Mistakes to Avoid
Avoid the pitfalls that cheapen the effect. Too few bottles — a sparse shelf looks like clutter, not an apothecary; commit to abundance. Illegible or lazy labels — “poison” scrawled in marker breaks the spell; invest effort in the lettering. Mixing modern plastic visibly — hide or decant anything with a barcode. Overdoing gore — the apothecary’s power is mystery, not shock; keep it enchanting. Neglecting lighting — bright overheads kill the mood instantly; dim them and let candles lead. And forgetting the smell — a visually perfect apothecary in a room smelling of nothing (or worse, cleaning products) feels hollow. Layer scent deliberately. Get these right and the magic holds.
Keep the apothecary shelf through November with relabelled bottles; the cost-per-month of your effort drops dramatically with extended display.
Extending the Theme Through November
Your apothecary need not vanish on November 1st. Remove the explicitly Halloween elements — plastic skulls, “poison” warnings — and the core display transitions beautifully into autumn and winter décor. Dried herbs, amber bottles, candles, and botanical prints suit the whole dark season. Re-label a few bottles with cosy names — “Winter Remedy,” “Fireside Tonic” — and the shelf becomes a hygge apothecary. The potion station converts to a hot chocolate or mulled wine bar. This extended life justifies the effort and investment, and keeps your home feeling magical through the year’s darkest months. The witch’s workshop, it turns out, is a year-round aesthetic.

Shopping List: Everything You Need
Your starter checklist: 15–25 glass bottles and jars in varied shapes; kraft tags and twine; food colouring in red, green, purple, and amber; dried botanicals (lavender, rosehips, star anise, moss); tea for ageing paper; candles and LED tea lights; fairy lights; a dark cloth or runner; chalkboard labels; funnels and droppers; plastic specimens for jars; an old wooden box or tray for display. Nice-to-haves: mortar and pestle, brass scales, a cauldron, dried herb bundles, an aged notebook grimoire. Source thrifts first, craft stores second, and online bulk lots for specific gaps. Tick items off over a few weeks and the project never feels overwhelming — or expensive.
Start collecting bottles in September; a relaxed six-week sourcing window beats a frantic final weekend every single time.
A witch apothecary Halloween is décor as storytelling — every bottle a chapter, every label a whispered secret, every flickering candle an invitation to believe. Start collecting glass now, write labels with love and wit, light everything with candles, and let your guests become part of the magic at the potion station. Whether it is a full party or a quiet shelf of curios, the apothecary brings Halloween’s most enchanting qualities — mystery, craft, and a touch of mischief — into your home. Now gather your bottles, stain your parchment, and open the workshop: the witching hour awaits.

I am Talha Sikandar, a professional writer with a passion for general blogging. With years of experience in content writing and research, I founded Meaniingly.com to deliver well-researched, informative, and user-friendly articles on diverse topics.