The soft wispy lashes makeup look is the beauty equivalent of a deep breath: fluttery, feathery lashes that open up the eyes without the heaviness of a full glam strip. Instead of dense, uniform falsies, this look relies on varied lash lengths, crisscrossed fibres, and deliberate gaps that mimic the irregular beauty of natural lashes — just better. The effect is romantic and wide-awake, the kind of lashes that make people ask if they are real. This aesthetic has exploded because it hits the sweet spot modern makeup lovers want: polished but not overdone, noticeable but not obvious. Soft wispy lashes pair with everything from bare-skin minimalism to soft glam, suiting daytime errands and wedding mornings alike. In this guide you will learn how to choose lashes for your eye shape, apply strips and clusters like a professional, curl and coat your natural lashes for maximum flutter, and build the rest of your makeup to support the look. Whether you are a falsies beginner or a seasoned wearer, these twenty sections will take your lash game from spidery and stiff to soft, wispy, and effortlessly beautiful.
What Is the Soft Wispy Lashes Look?
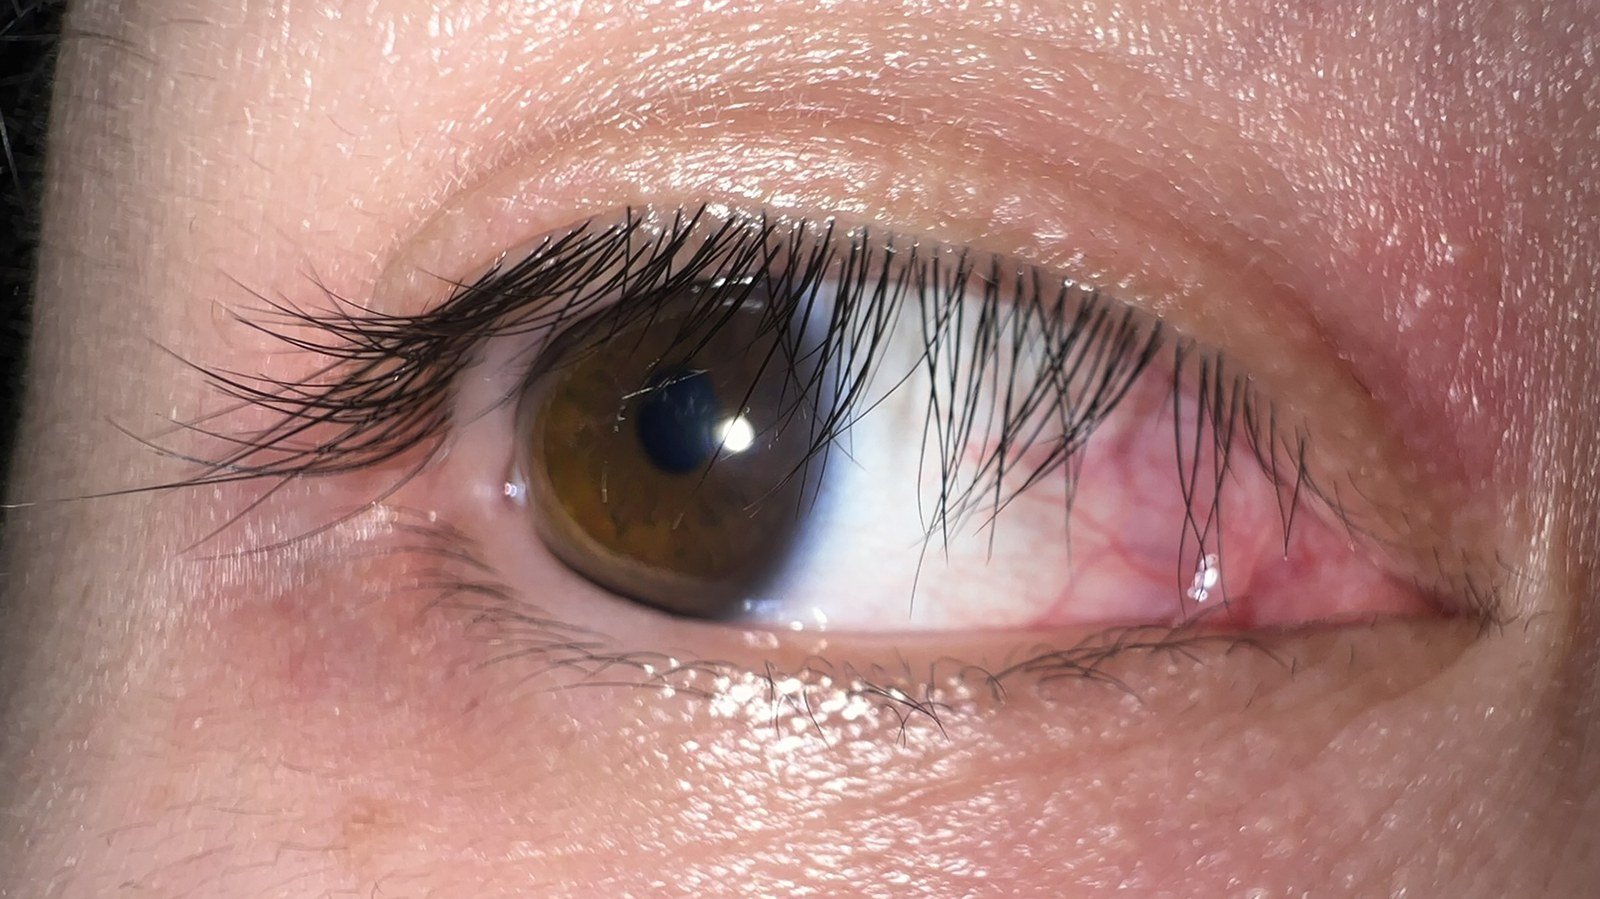
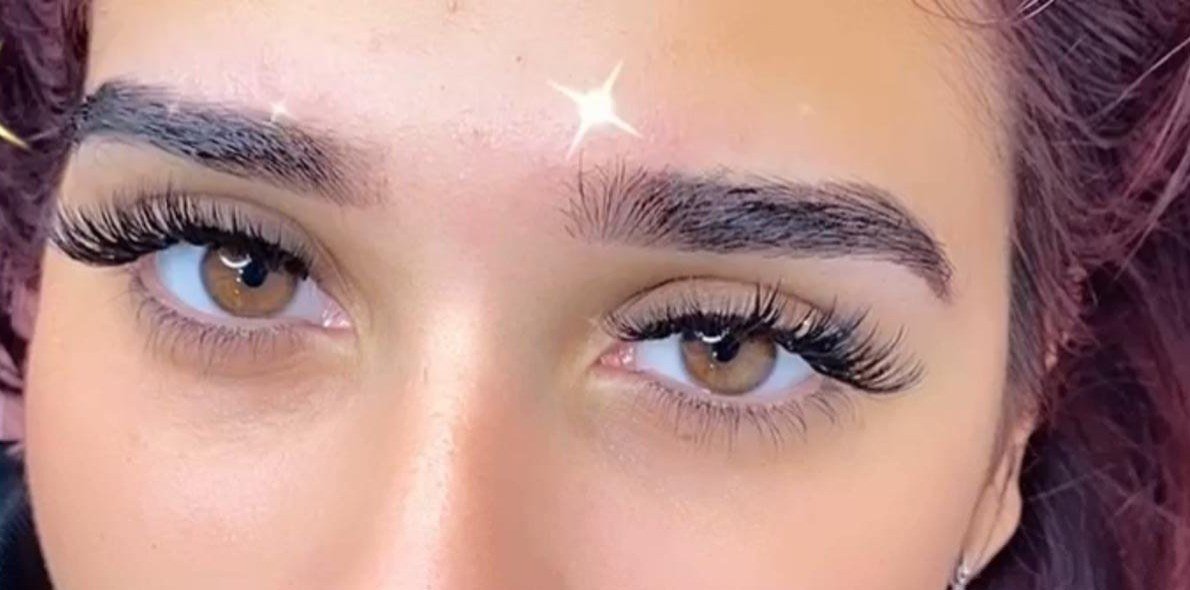
The soft wispy lashes look is defined by texture, not volume. Real lashes grow in varied lengths with natural gaps; wispy falsies replicate this with crisscrossed, staggered fibres that create a feathered, fluttery effect. The lash line looks full but airy, with longer tufts alternating with shorter ones so light passes through. From a distance the eyes simply look bigger, brighter, and more awake — the lashes themselves are not the obvious star.
This distinguishes the look from both natural “no-makeup” lashes and heavy glam strips. It is more than mascara alone, but far less than the dense, uniform falsies of full-glam makeup. The band is typically thin and flexible, often clear or transparent, so the lash line does not show a harsh dark strip. The overall impression is softness: lashes that move, catch light, and look touchable rather than painted on. It is the lash equivalent of whispering instead of shouting.

Why Wispy Lashes Are Trending
Wispy lashes are trending because beauty has moved decisively toward softness. The heavy, uniform glam lash that dominated the 2010s now reads as dated and harsh in an era of clean-girl minimalism, latte makeup, and soft glam. Wispy lashes deliver the eye-opening impact people still want, but in a texture that matches the diffused, skin-like aesthetic of current makeup.
They are also more forgiving and wearable. Dense strips can look costume-like in daylight and feel heavy on the lids; wispy styles are comfortable for all-day wear and photograph without the harsh lash-line shadow that dense bands create. The rise of individual and cluster lashes — which inherently produce a wispy, customised effect — has accelerated the trend, putting professional-looking flutter within reach of beginners. When a trend is both prettier and easier than what came before, it sticks.

Wispy vs Dramatic Lashes: Knowing the Difference
Understanding the difference helps you buy the right lashes. Dramatic lashes are dense, uniform, and opaque: thick fibres packed tightly along the band create a solid wall of lash that dramatically changes the eye’s appearance. They are designed for maximum impact — stage, photography, evening glam — and they look unmistakably like falsies, which is the point.
Wispy lashes use fewer, finer fibres arranged in staggered, crisscrossed patterns with visible variation in length. The effect is dimensional rather than dense. On the eye, dramatic lashes can close off the eye and cast shadows; wispy lashes open the eye up by creating the illusion of length and lift without bulk. Neither is better — they serve different purposes. For the soft wispy look, check product descriptions for words like “feathery,” “fluttery,” “natural volume,” or “crisscross,” and avoid anything labelled “dramatic,” “bold,” or “maximum volume.”
Choosing the Right False Lashes
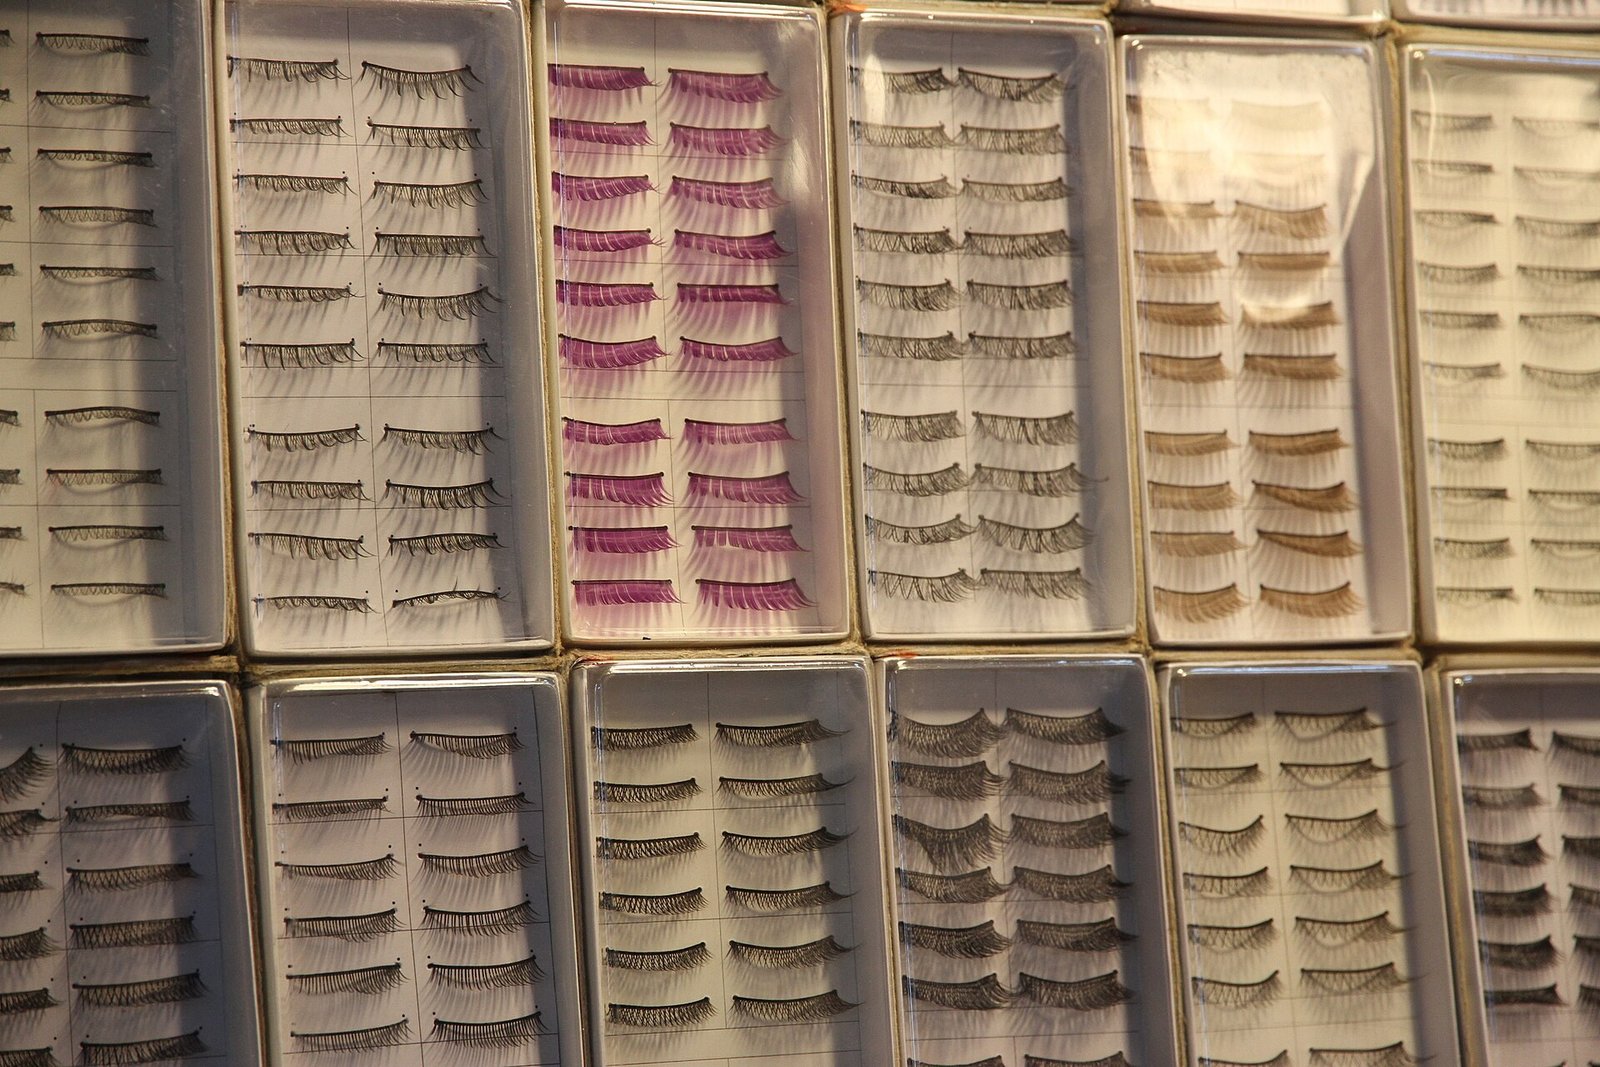
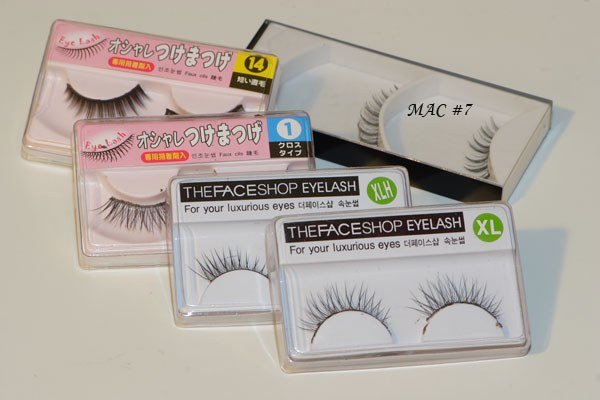
Start with the band: thin, flexible, preferably clear or transparent bands give the most natural, comfortable result for the wispy look. Thick black bands create a visible eyeliner-like line that contradicts the softness you are after. Next, check the fibre pattern — you want visibly varied lengths and a crisscrossed, feathered arrangement, not uniform rows.
Length matters enormously. For everyday softness, choose lashes where the longest fibres are only slightly longer than your natural lashes; overly long falsies look spidery rather than wispy. Consider the curl: a soft C-curl lifts without looking artificial. If you are between sizes, remember that most strips can be trimmed — always trim from the outer corner, never the inner, to preserve the natural taper. Buy two or three styles to compare; lashes are inexpensive, and finding your perfect pair is worth the experimentation.
Lash Styles for Your Eye Shape
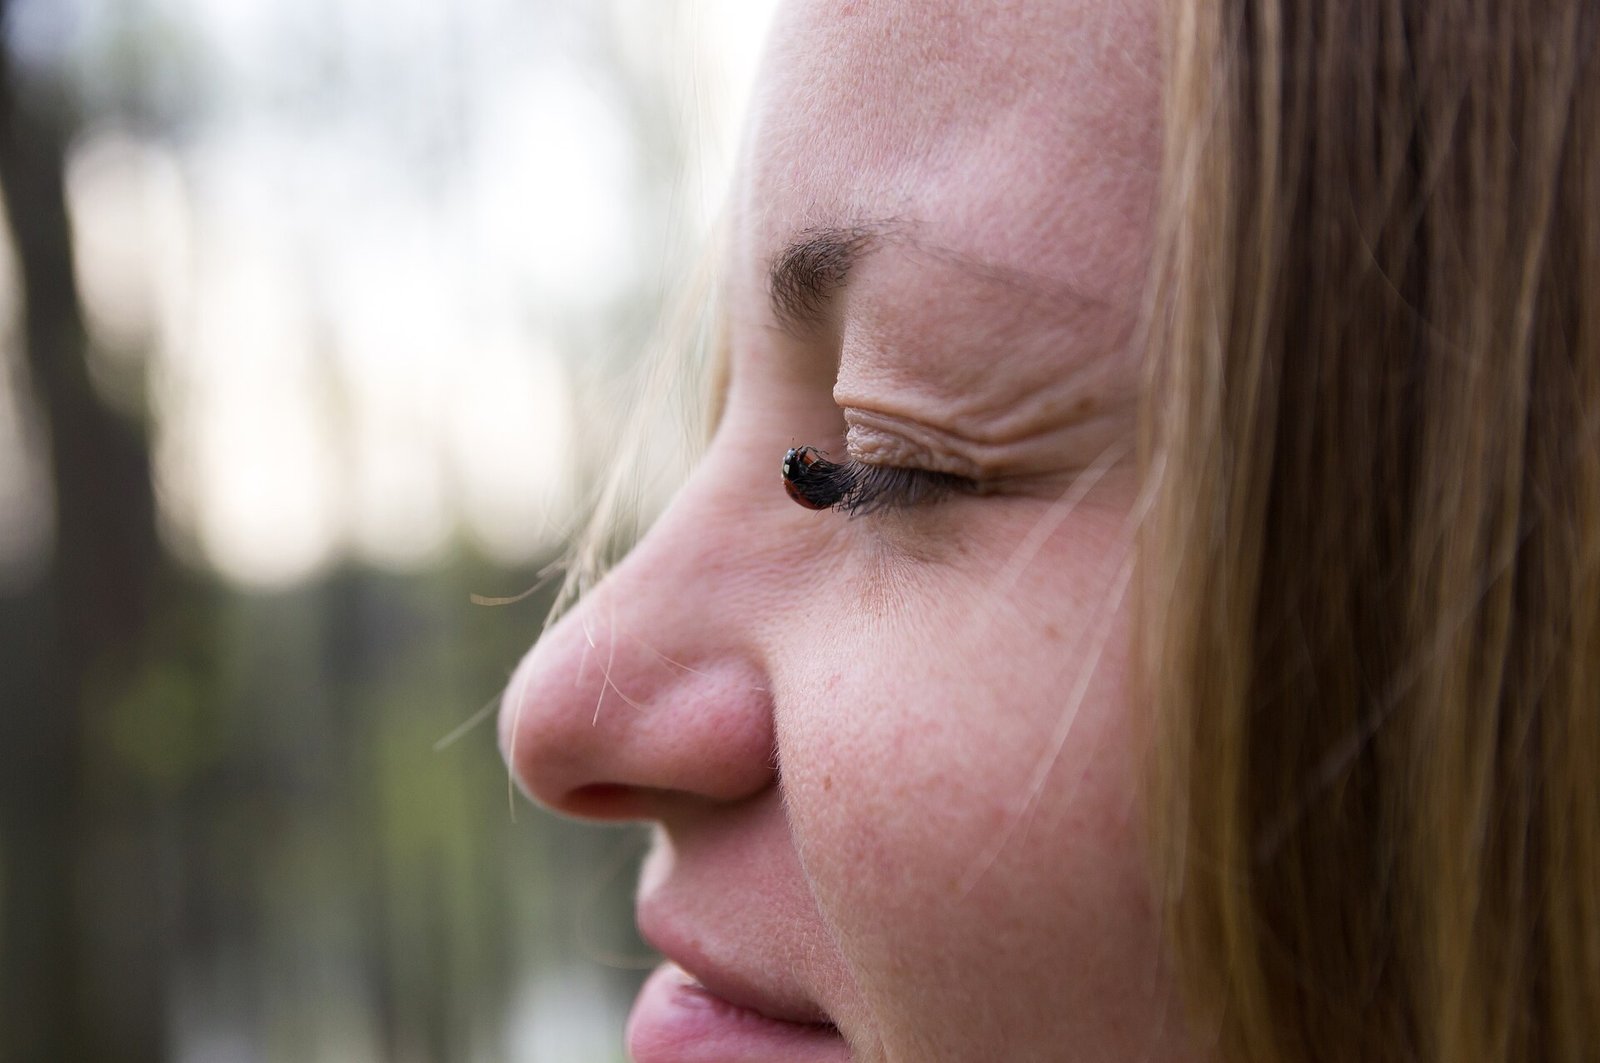
Eye shape determines which wispy style flatters most. Almond eyes — the most versatile shape — can wear almost any wispy lash, though cat-eye styles with longer outer corners enhance their natural lift. Round eyes benefit from winged, outer-corner-focused wispy lashes that elongate and add definition; avoid uniformly long styles that emphasise roundness.
Hooded eyes need lashes with strong curl and longer lengths in the centre to peek out from under the lid — the band should sit as close to the lash line as possible so it does not disappear. Downturned eyes love lifted, outer-corner-heavy wispy styles that counteract the downward slope. Close-set eyes should keep inner corners light and short, concentrating length outward; wide-set eyes can handle more even, centre-weighted fullness. When in doubt, a softly winged wispy lash with a thin band flatters nearly every eye shape.

Prepping Your Natural Lashes
Great falsies start with great prep. Begin with clean, dry lashes — remove all old mascara and oils with a gentle eye makeup remover, because residue prevents glue from bonding. Curl your natural lashes with a quality eyelash curler, pressing at the base, middle, and tips for a natural curve rather than a single harsh crimp. If your curler pinches, it needs replacing or repositioning.
Apply one light coat of mascara before the falsies go on — this gives your natural lashes the dark base they need to blend invisibly with the strip, and it provides texture for the glue to grip. Do not overdo it; clumpy mascara under falsies creates bulk that ruins the wispy effect. Let the mascara dry completely before applying lashes. Finally, measure the strip against your eye and trim as needed. Proper prep takes three minutes and is the difference between lashes that look stuck-on and lashes that look grown.

Applying Strip Lashes Step by Step
Apply a thin, even line of lash glue along the band and wait thirty to sixty seconds until it turns tacky — this is the step beginners skip, and it is why lashes slide around. Tacky glue grips instantly; wet glue slides everywhere. Using tweezers or a lash applicator, place the strip as close to your natural lash line as possible, starting with the centre, then securing the inner and outer corners.
Once placed, gently press the strip into your natural lashes along the full length, and use the back of the tweezers to pinch the falsies and your real lashes together so they blend into one. If the inner corner lifts, add a tiny dot of glue with a toothpick and hold for ten seconds. Finish by looking down into a mirror to check the band sits flush, and apply one final light coat of mascara to marry everything together — wiggle at the base only, to avoid clumping the delicate wispy tips.

Applying Individual and Cluster Lashes
Individuals and clusters are the insider secret to the most natural wispy look, because you control exactly where fullness goes. Working from the outer corner inward, apply a tiny dot of glue to each cluster’s base, wait until tacky, and place it just above your natural lash line — never on the waterline, and never on bare skin far from your real lashes. Vary the lengths: longer clusters at the outer two-thirds, shorter ones toward the inner corner.
The golden rule is gaps: leave tiny spaces between clusters rather than packing them edge to edge. Those gaps are what create the wispy, feathered texture — a solid row of clusters just looks like a strip. Use eight to ten clusters per eye for a soft everyday look. Individuals take more time than strips, roughly ten minutes per eye at first, but the result is so natural that even up close people cannot tell where your lashes end and the falsies begin.

Mascara Techniques for a Wispy Effect
You can fake the wispy look with mascara alone using the right technique. Choose a lengthening, defining formula over a volumising one — volumising mascaras build bulk that reads as clumpy rather than feathery. Wipe excess product off the wand first; most clumping comes from overloaded wands, not bad formulas.
Apply with a wiggling motion at the base, then pull straight through to the tips without pumping the wand, which pushes air into the tube and dries the formula. For extra wispiness, use the tip of the wand vertically to paint a few individual lashes longer than the rest, creating the varied lengths that define the look. A lash comb run through immediately after application separates fibres before they set. Two thin coats beat one thick coat every time — patience is the entire technique.
Lash Curling Secrets
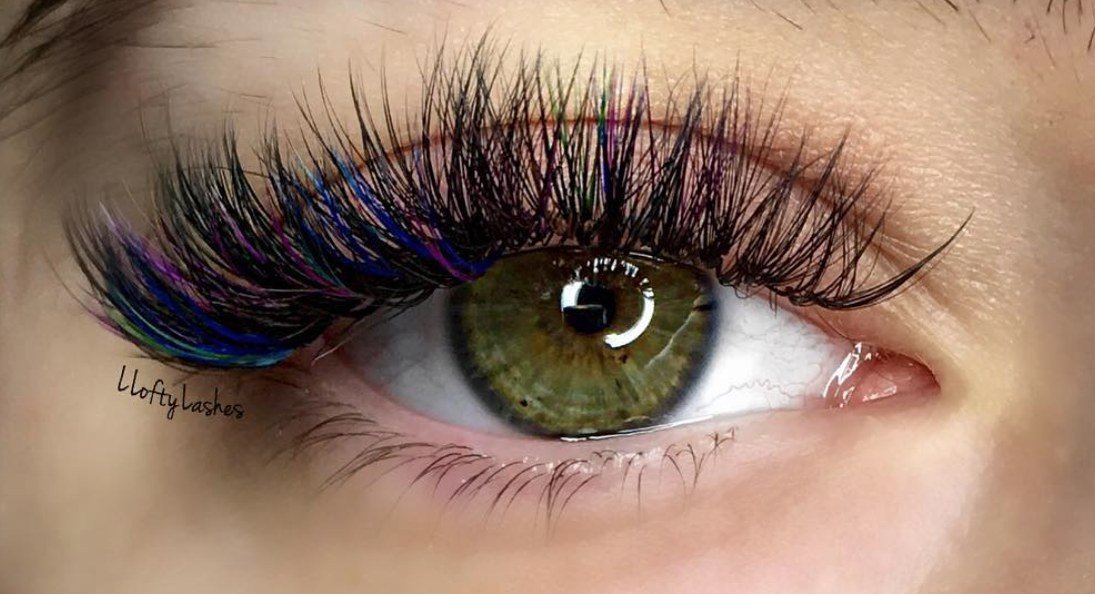
Curl is what makes lashes look wispy rather than straight and stubby. The professional secret is heating your curler slightly — run it under warm water or blast it with a hairdryer for five seconds, then test on your wrist. Warmth sets the curl like a curling iron sets hair, and the lift lasts all day instead of drooping by noon.
Curl in three stages: base, middle, and tips, holding each for five to ten seconds rather than one hard squeeze at the base, which creates an L-shaped crimp. For extra hold, apply a waterproof mascara as your base coat — its polymers lock the curl — then layer your regular mascara on top. If your lashes point straight down naturally, consider a lash lift: the semi-permanent treatment curls lashes from the base for six to eight weeks and makes every mascara and falsie look dramatically better.
The Rest of the Eye Makeup
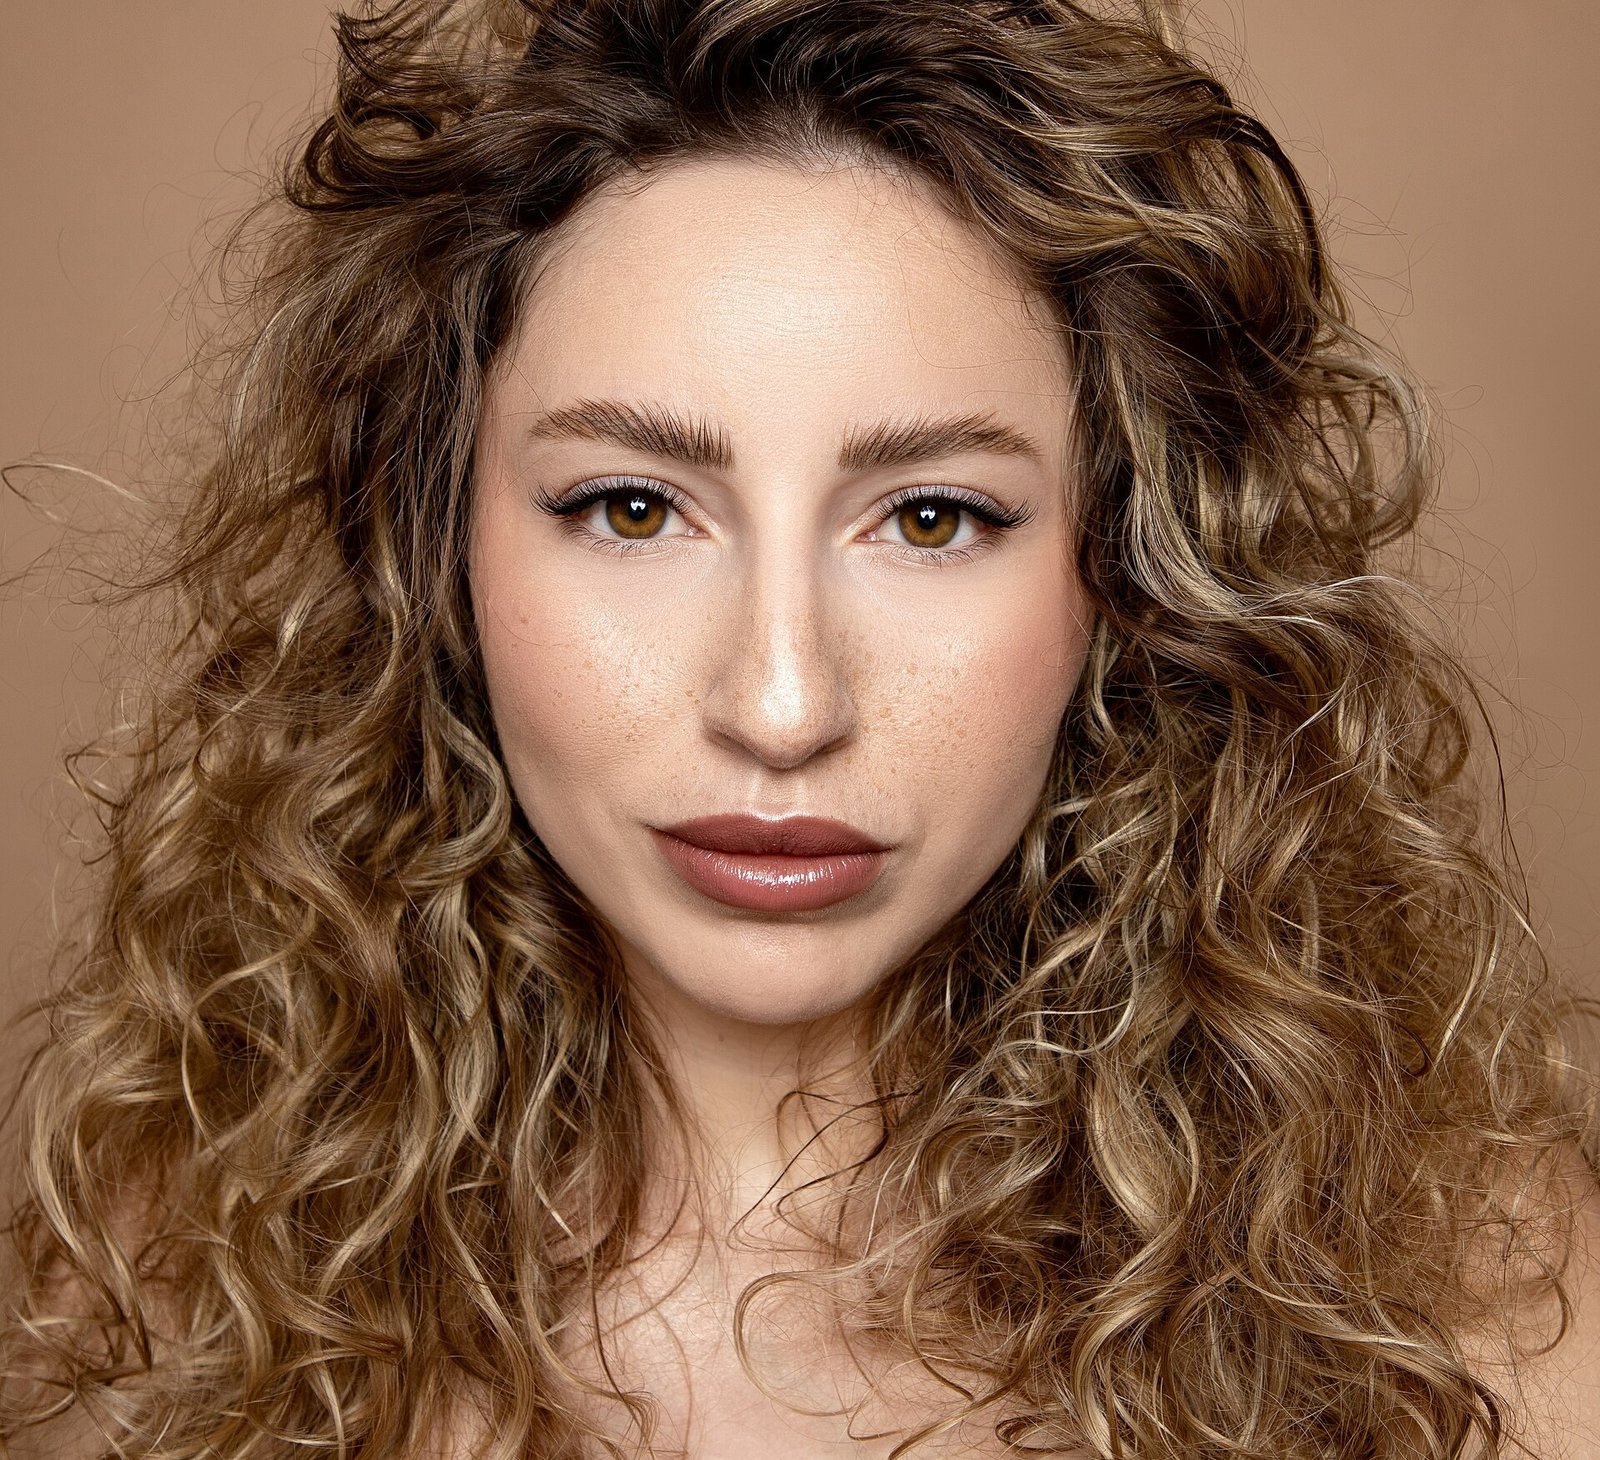
Wispy lashes need supporting eye makeup that enhances without competing. Keep eyeshadow soft and diffused: matte neutrals blended through the crease, a subtle shimmer on the lid, and a light inner-corner highlight to amplify the wide-awake effect. Harsh cut creases and heavy smoky eyes fight the delicacy of wispy lashes — save those for dramatic lash days.
Eyeliner should be minimal. A tightline — filling the upper waterline and the gaps between lash roots with dark pencil — defines the lash base invisibly and makes the wispy fibres look fuller at the root, which is exactly the support they need. Skip thick liquid wings for the true soft look, or keep the wing whisper-thin. Under-eye makeup matters too: brighten dark circles with a light-reflecting concealer, because nothing undermines fluttery lashes like shadowed, tired under-eyes.
Brows to Balance Wispy Lashes
Lashes and brows work as a pair, and wispy lashes need brows with enough presence to balance them. Overly thin or pale brows next to fluttery lashes look unbalanced — the eye area needs the brow’s frame to anchor the softness below. That does not mean heavy Instagram brows; it means defined, groomed brows with visible shape.
Fill sparse areas with fine, hair-like strokes using a brow pen or precise pencil, following your natural arch rather than drawing a new one. Set with a tinted brow gel for fullness and hold. The goal is soft definition: brows that read as naturally full, complementing the feathery lashes rather than competing with them. As a proportion guide, if your lashes are doing the talking, your brows should be the confident, quiet frame — present, shaped, but never louder than the lashes.

Base Makeup That Lets Lashes Shine
The soft wispy lashes look belongs to the skin-first makeup family, so your base should be luminous and light. A sheer-to-medium foundation or skin tint evens tone without masking texture; heavy full-coverage bases create a disconnect with the delicacy of the lashes. Spot-conceal where needed rather than layering everywhere.
Add life with cream blush on the apples of the cheeks and a soft highlighter on the high points — the glow echoes the airy quality of the lashes. Keep contour minimal or skip it; strong contour lines clash with the soft aesthetic. Set only the T-zone lightly with powder, leaving the cheeks dewy. The overall principle: everything below the eyes should look like beautiful skin, so the wispy lashes become the undeniable focal point of the face.

Soft Wispy Lashes for Daytime
For daytime, scale the wispy look back to its most natural setting. Choose the shortest, most delicate wispy strip you own — or just use the mascara-only technique — and keep the rest of the makeup minimal: tinted moisturiser, cream blush, groomed brows, and a nude or tinted lip balm. The lashes provide all the polish the look needs.
Daytime longevity matters more than drama. Use a tubing mascara or waterproof formula so humidity, tears, and long hours do not cause smudging or droop. If wearing strips, opt for the clearest, thinnest band you have and keep the style close to your natural lash length. The daytime test: your lashes should look amazing in harsh bathroom lighting and invisible as falsies to a colleague across a desk. When someone says “you look rested” rather than “nice lashes,” you have nailed the daytime version.

Evening and Event Versions
For evening, amplify the wispy look without abandoning its softness. Step up one lash size — longer fibres, slightly more density — and add a soft smoky wash of taupe or bronze shadow to give the eyes evening depth. A thin, smudged dark lash line (pencil smudged with a brush, not harsh liquid) adds definition that reads beautifully in low light.
Consider stacking: a delicate wispy strip over a few individual clusters at the outer corners creates custom, dimensional fullness that still looks feathery. Pair with a slightly deeper lip — a rosy nude or soft berry — to balance the stronger eye. For weddings and photography, remember that cameras flatten dimension, so go about twenty percent bolder than you think you need; what looks perfect in the mirror can disappear in photos. The evening version should still flutter when you blink — if the lashes look stiff, you have gone too far.
Lash Care and Reuse
Quality wispy lashes can be worn fifteen to twenty times with proper care, making them far more economical than they first appear. After each wear, gently peel off dried glue from the band with tweezers — never pull fibres. Soak the band briefly in micellar water on a cotton pad to dissolve residue, then comb the fibres gently with a clean spoolie to restore their feathered arrangement.
Store lashes in their original tray, which preserves the curl and shape; tossing them loose in a makeup bag crushes the delicate fibres permanently. Never apply mascara directly to expensive falsies if you want to reuse them — the product buildup ruins the wispy texture. Instead, apply mascara to your natural lashes first, then place the clean falsies over them. Replace lashes when the band loses flexibility, fibres start shedding, or the shape no longer matches your eye — worn-out lashes never look wispy, just tired.

Lash Serums and Natural Growth
If you want the wispy look from your own lashes, growth serums can genuinely help — with patience and realistic expectations. Peptide-based serums condition and strengthen lashes, reducing breakage so they reach their full natural length; prostaglandin-based formulas can actually stimulate growth but may cause irritation or pigment changes, so research carefully and patch-test.
Consistency is everything: apply nightly to clean lash lines for at least eight to twelve weeks before judging results. Even without dramatic growth, healthier lashes curl better, hold mascara better, and provide a stronger base for falsies. Complement serums with gentle habits — never rub your eyes aggressively, remove eye makeup with soft pressing motions rather than scrubbing, and give lashes occasional mascara-free days. The best wispy look is built on healthy natural lashes, whether or not you add falsies on top.
Common Mistakes to Avoid
The number one wispy-lash mistake is choosing lashes that are too long. Overly long falsies do not look wispy — they look spidery and drag the eye down. If the fibres extend far beyond your natural lashes, trim them or size down. The second classic error is a visible, gappy band: if the strip does not sit flush against your lash line, it reads as obviously fake. Tightlining and proper tacky-glue application solve this.
Other pitfalls: applying mascara over the falsies and clumping the delicate tips into spikes; using too much glue, which shows as white residue or causes the band to slide; placing strips too far from the lash line, creating a visible gap of bare lid; and pairing delicate wispy lashes with heavy, harsh eye makeup that overwhelms them. Finally, do not sleep in falsies — it damages both the lashes and your natural ones, and morning-after falsies never look soft or wispy.

Quick Fixes for Lash Emergencies
Lash lifting at the corner mid-day? Keep a mini tube of lash glue in your bag. Dab the tiniest amount on the lifted corner with a clean fingertip or toothpick, press for ten seconds, and it will hold for hours. Do not re-glue the whole strip in public — corner touch-ups are invisible, full reapplications are not.
One lash looks fuller than the other? Add a single cluster or a touch of mascara to the sparser eye rather than removing anything. Glue showing white? It will dry clear if you give it a minute — resist the urge to wipe it, which makes things worse. Lash poking your inner corner? Trim a millimetre off with small scissors on the spot; comfort matters more than perfection. And if a strip simply will not cooperate, remove both, clean up with micellar water, and go mascara-only — a confident bare-lash look beats a struggling falsie every time.

FAQs About Soft Wispy Lashes
Are wispy lashes suitable for beginners? Absolutely — they are the most forgiving style, because the irregular fibre pattern hides imperfect placement better than dense strips. How do I stop the corners lifting? Wait until glue is fully tacky before applying, press corners firmly for ten seconds, and consider a slightly narrower strip if your eye shape causes chronic lifting. Can I wear them with glasses? Yes — choose shorter, more curled styles so fibres do not brush the lenses.
Will falsies damage my natural lashes? Not if applied and removed gently; damage comes from ripping strips off or sleeping in them. How do I remove them? Soak a cotton pad in oil-based remover, hold over the closed eye for thirty seconds to dissolve the glue, then peel gently from the outer corner. Can I get the look without falsies? A lash lift plus lengthening mascara gives a genuinely wispy effect on natural lashes. With the right pair and a little practice, soft wispy lashes become a five-minute step that transforms your whole face.

I am Talha Sikandar, a professional writer with a passion for general blogging. With years of experience in content writing and research, I founded Meaniingly.com to deliver well-researched, informative, and user-friendly articles on diverse topics.