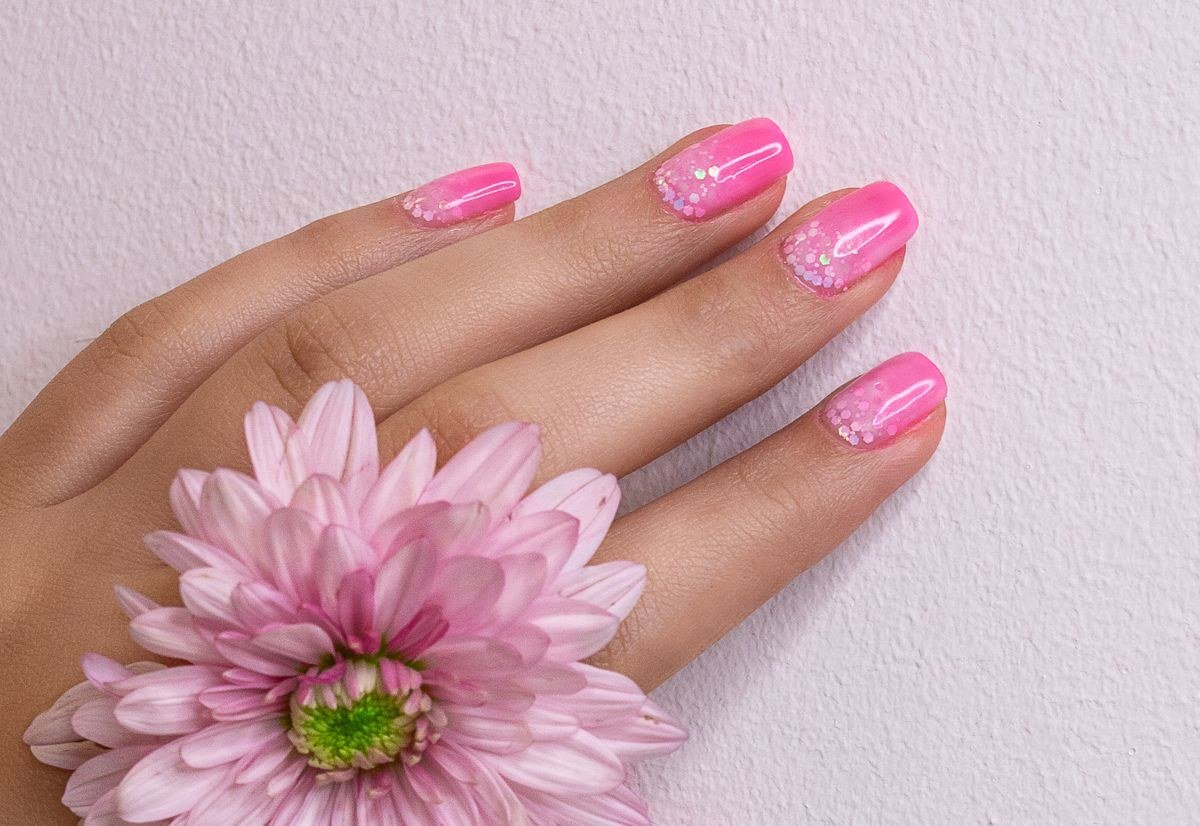
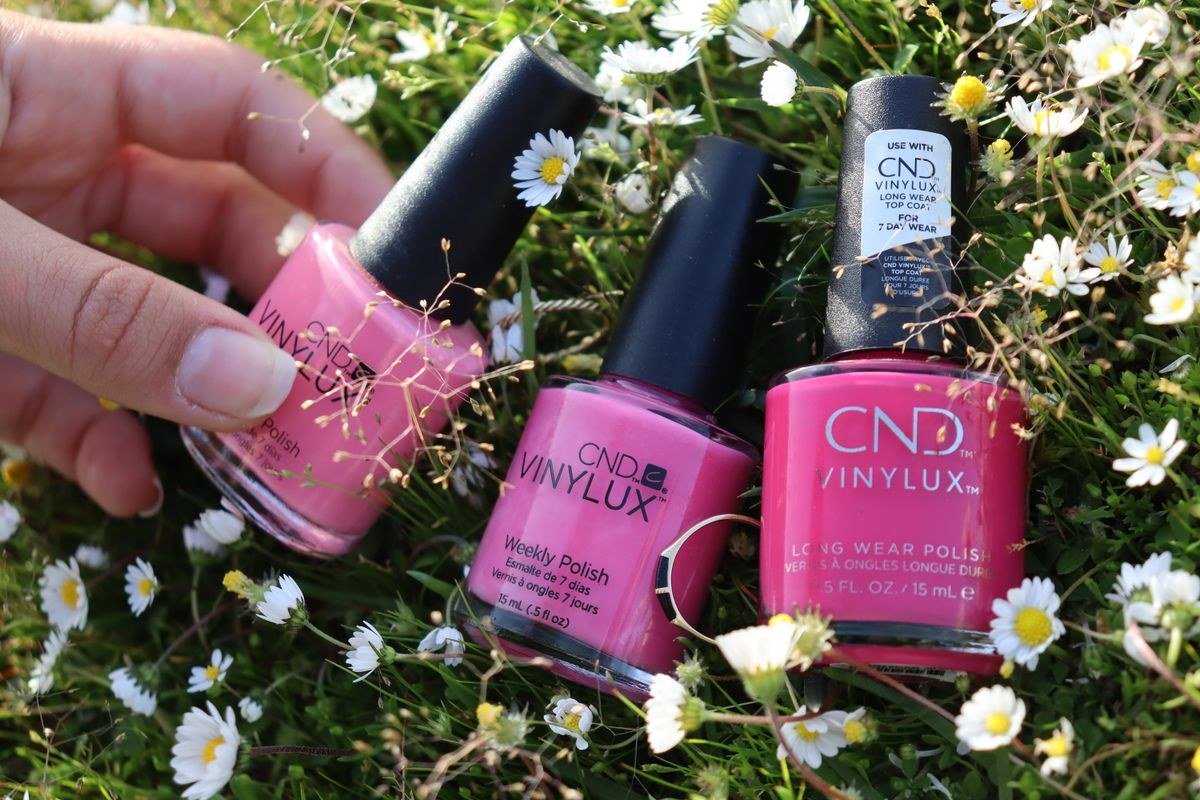
Raspberry jelly nails are the juicy, glass-like manicure that looks good enough to eat. This trend takes the beloved jelly nail — sheer, translucent, buildable color — and drenches it in the rich, vibrant pink-red of fresh raspberries. The result is nails with incredible depth: light passes through the translucent layers, creating a candy-like, syrupy glow that opaque polish simply cannot replicate. Playful yet sophisticated, raspberry jelly works for summer festivals and winter holidays alike, flattering every skin tone with its perfect balance of pink sweetness and red richness. This guide covers everything from the jelly technique to twenty luscious design ideas.
What Makes Raspberry Jelly Nails So Irresistible
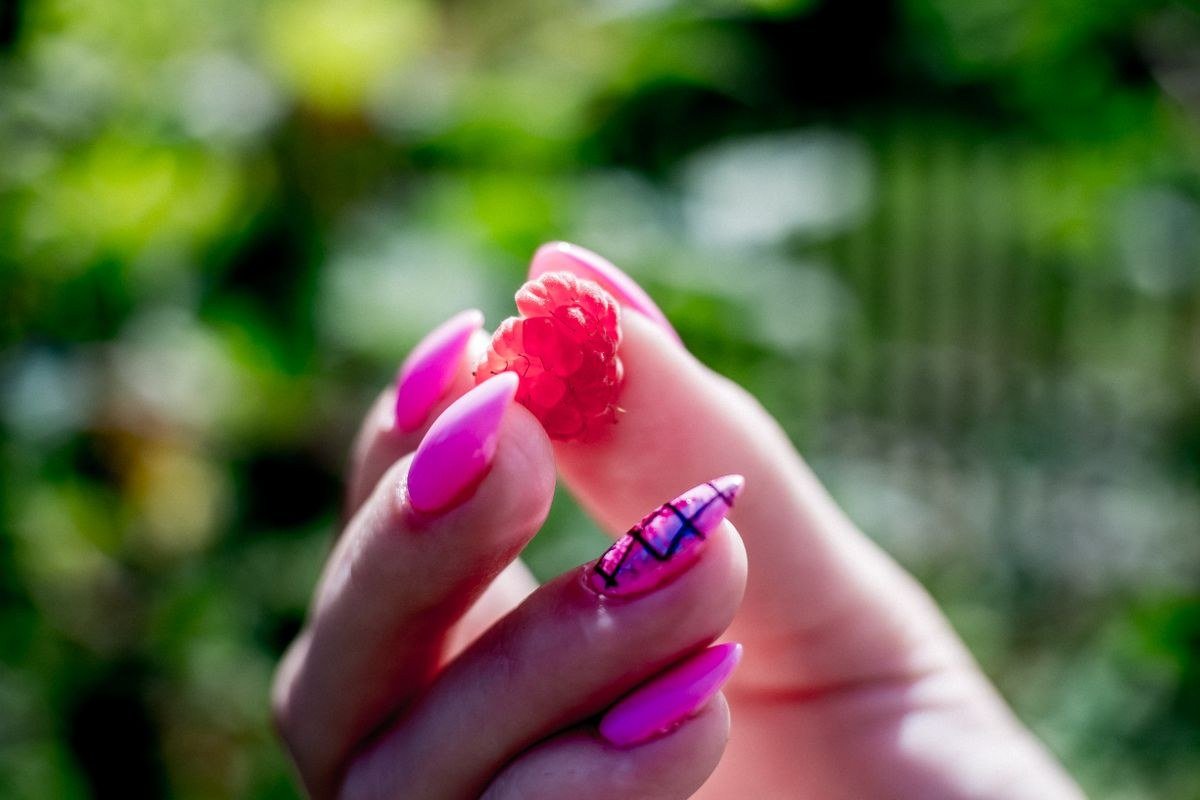
Jelly nails get their name from their translucent, jelly-like appearance — color you can almost see through, with a juicy depth reminiscent of stained glass or hard candy. Raspberry takes this effect to its most delicious extreme: the pink-red hue is vibrant enough to make a statement but sheer enough to stay elegant. Unlike opaque reds that can feel heavy, raspberry jelly looks light and fresh, with light refracting through the layers to create dimension. The shade is universally flattering — the pink keeps it playful on fair skin, while the red depth gives it richness on deeper tones. It is also nostalgic, recalling the jelly sandals and lip smackers of the nineties, reimagined with a grown-up, glossy sophistication.
Jelly Polish 101: Understanding the Formula
Jelly polishes are sheer by design — they contain less pigment than creams, allowing the natural nail (or layers beneath) to show through. This translucency is the whole point: each coat deepens the color while maintaining that glassy, see-through quality. Most jelly formulas are squishy and self-leveling, making them forgiving to apply. They come in both regular lacquer and gel versions; gels offer longer wear and a plumper, more dimensional finish. The key technique is building in thin layers — two to four coats depending on your desired intensity — curing or drying fully between each. Resist the urge to apply one thick coat, which looks goopy rather than glassy. True jelly finishes feel smooth and look wet even when dry.
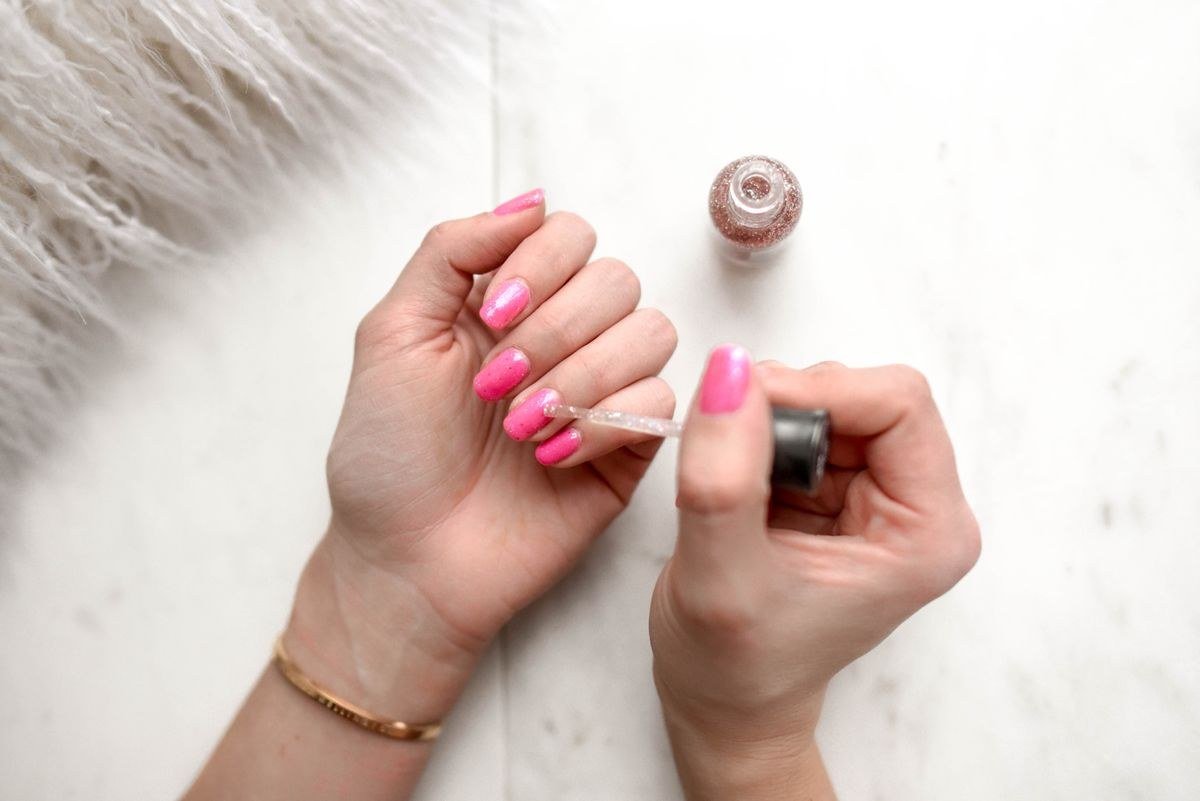
Pro tip: never shake jelly polish — rolling the bottle between your palms prevents the bubbles that ruin glass-like clarity. Patience with thin coats is the entire secret to professional-looking jelly nails.
The Classic Raspberry Jelly Manicure
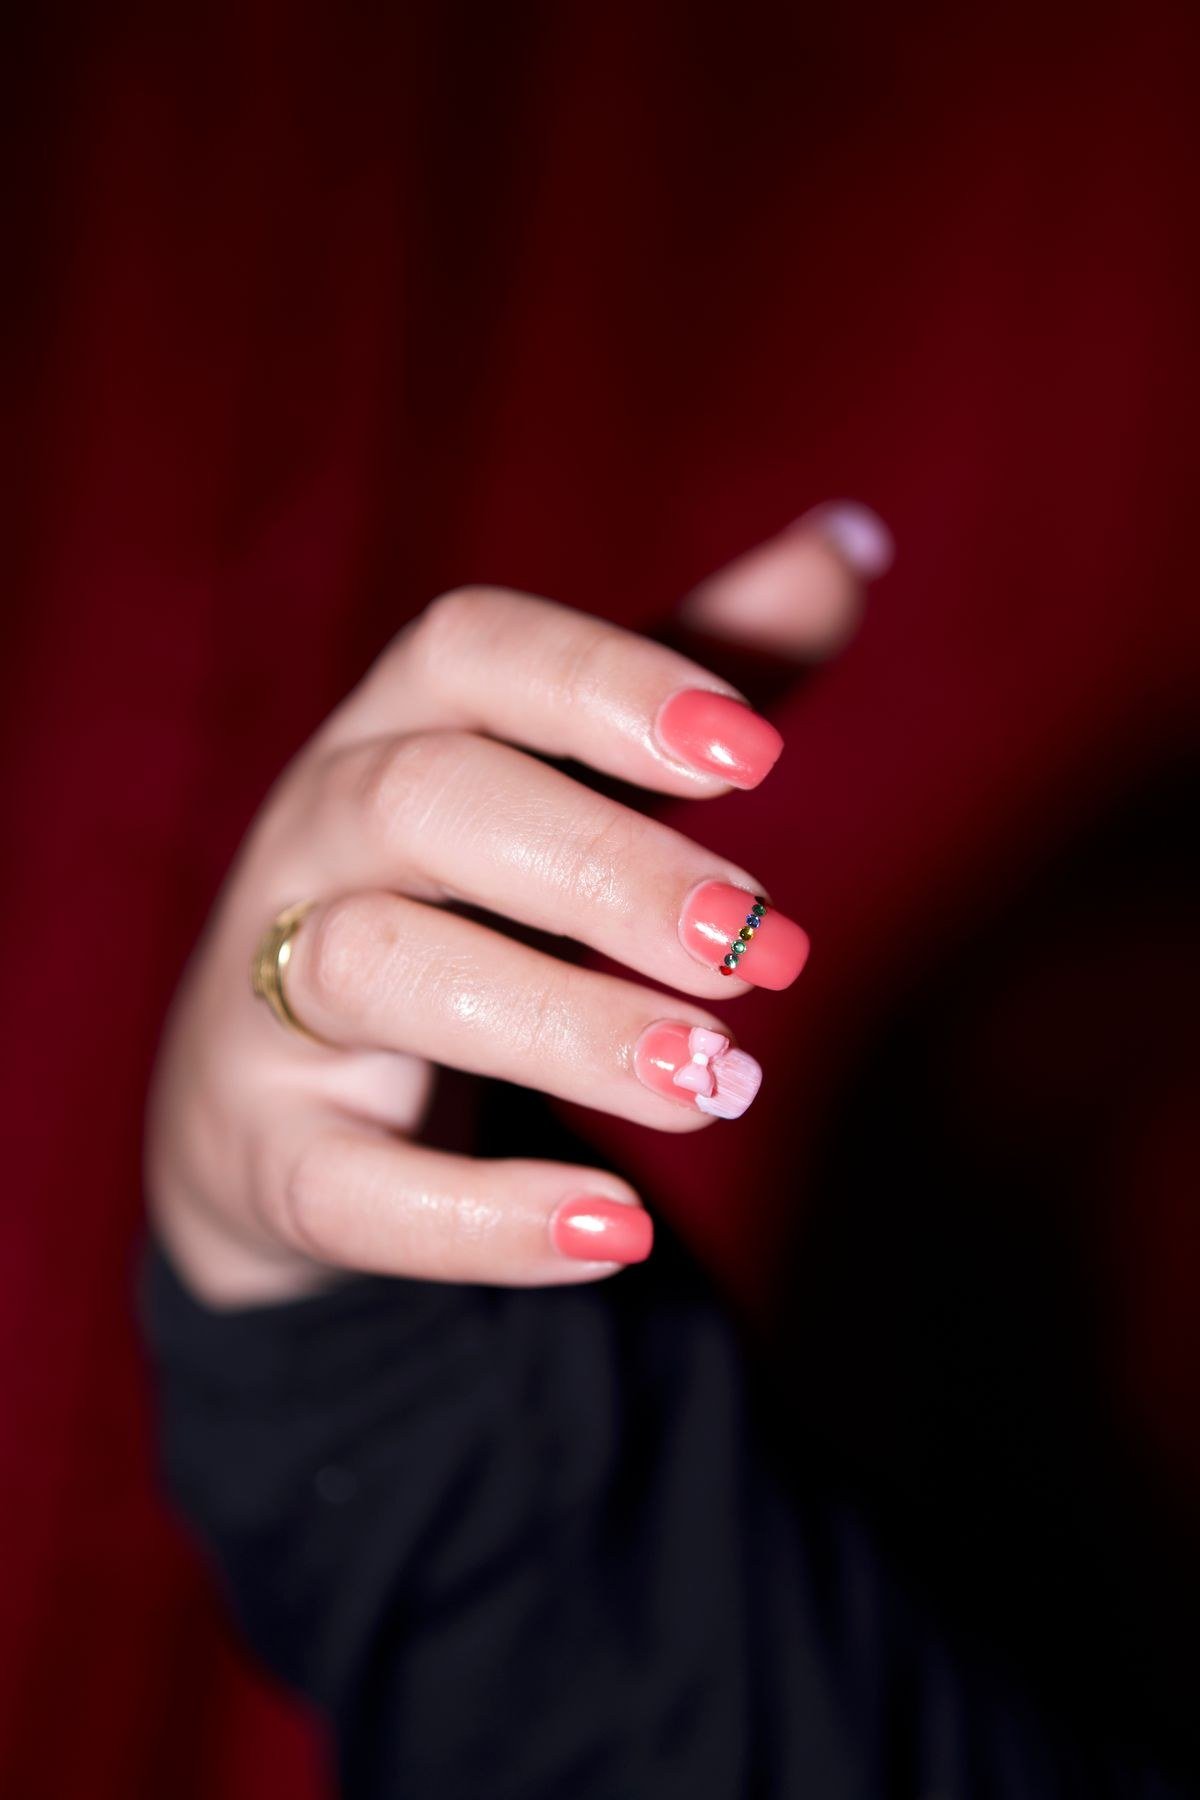
The purest version is beautifully simple: three thin coats of raspberry jelly over a clear base, finished with a high-shine top coat. The result is nails that look like raspberry hard candy — translucent, glossy, and dimensional. This classic style showcases the jelly effect at its best and suits every nail shape and length. On short nails it looks fresh and modern; on long almond or coffin shapes, the depth of color is positively mesmerizing. The application is straightforward, making it perfect for beginners, yet the finish looks far more expensive and intricate than the effort required. It is the ideal entry point into the jelly trend and a look you will return to whenever you want something effortlessly pretty.
Building Depth: Layering Techniques for Glass Nails
The secret to jaw-dropping jelly nails is strategic layering. Start with a clear or sheer pink base, then build your raspberry in thin, even coats — each layer adds richness while preserving translucency. For extra dimension, sandwich a layer of fine iridescent glitter or aurora flakes between jelly coats; the particles will appear suspended inside the color like fruit in gelatin. Another pro technique is the “jelly sandwich”: jelly color, then a sheer white or milky layer in the middle, then more jelly — this creates a cloudy depth that looks incredibly luxurious. Always cap the free edge with each coat to prevent shrinkage, and finish with two layers of top coat for that wet, plump glass effect that makes jelly nails so distinctive.
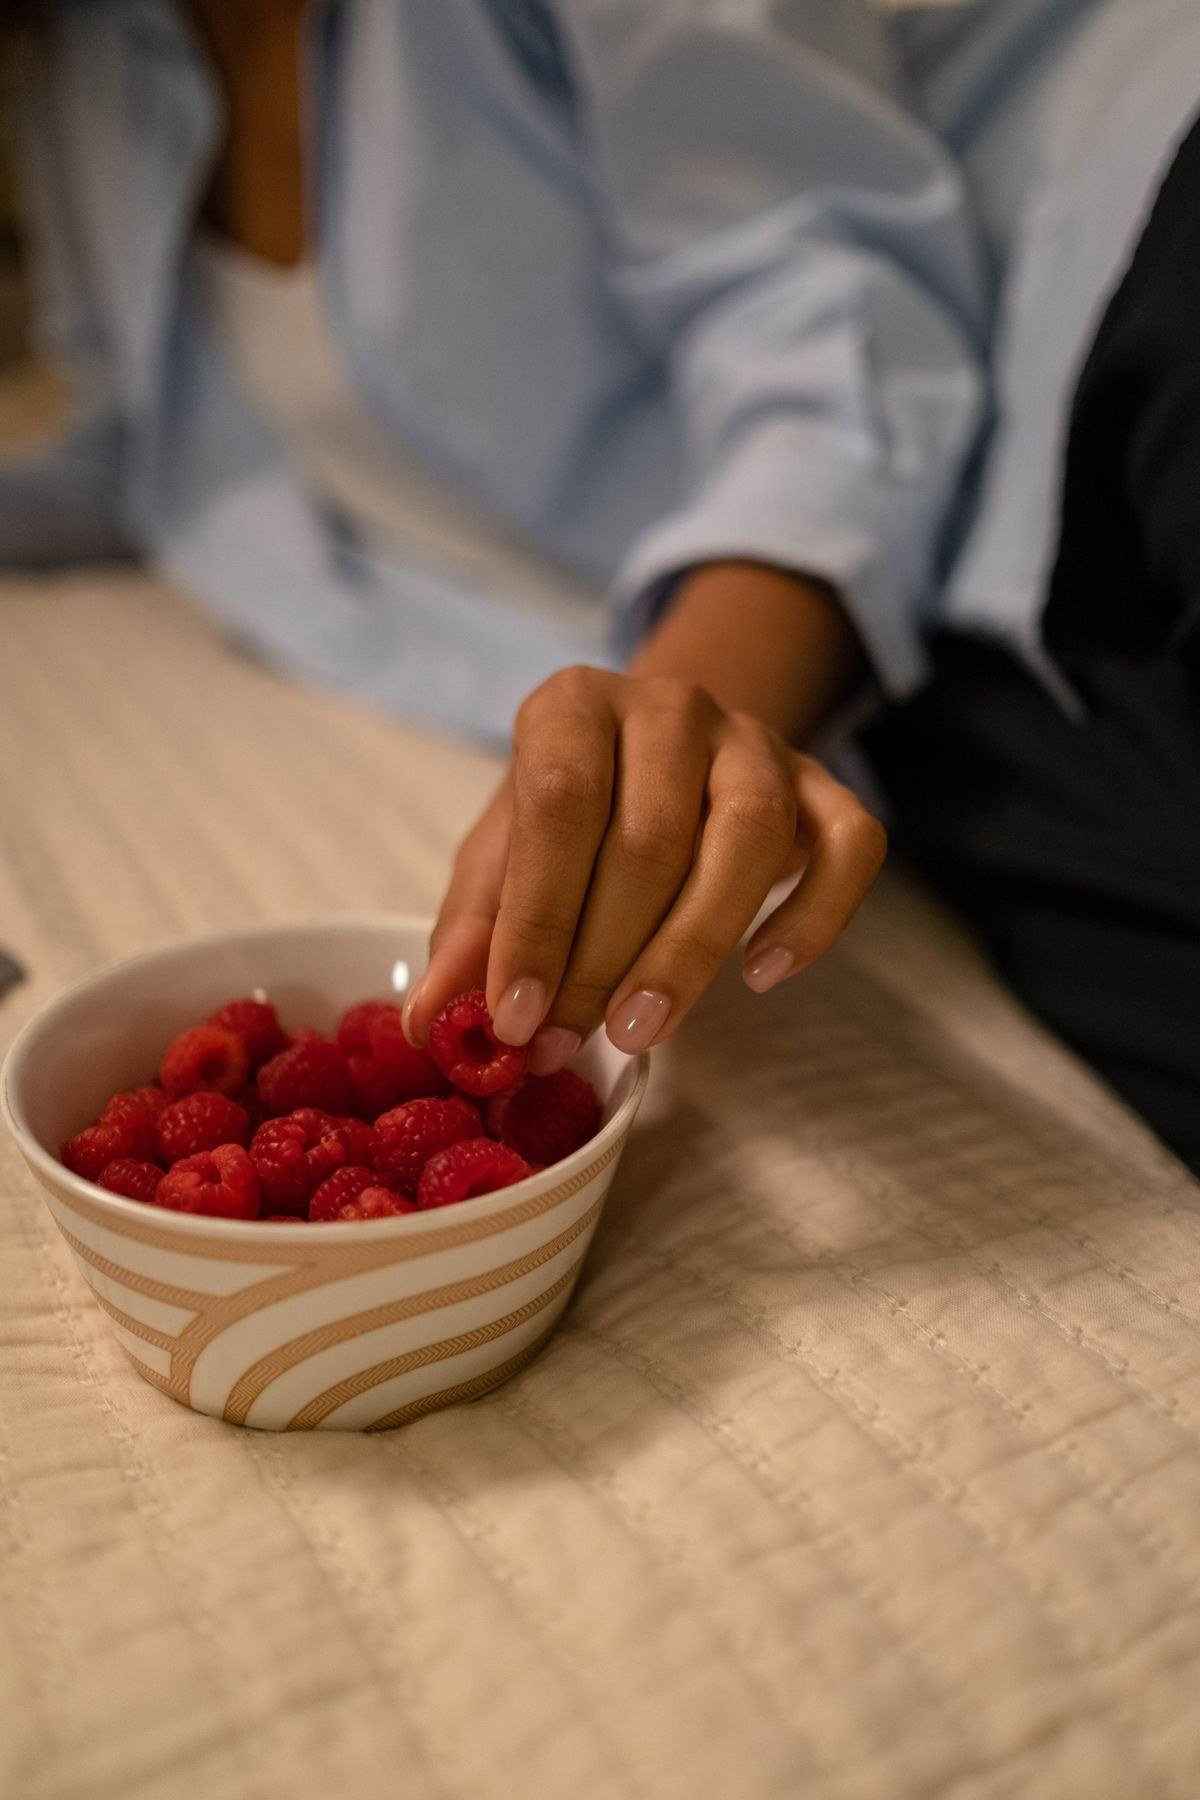
Pro tip: count your coats on each nail to keep color depth consistent across all ten. It is easy to lose track, and uneven layers are the most common reason jelly manicures look patchy in photos.
Raspberry Jelly on Different Nail Shapes
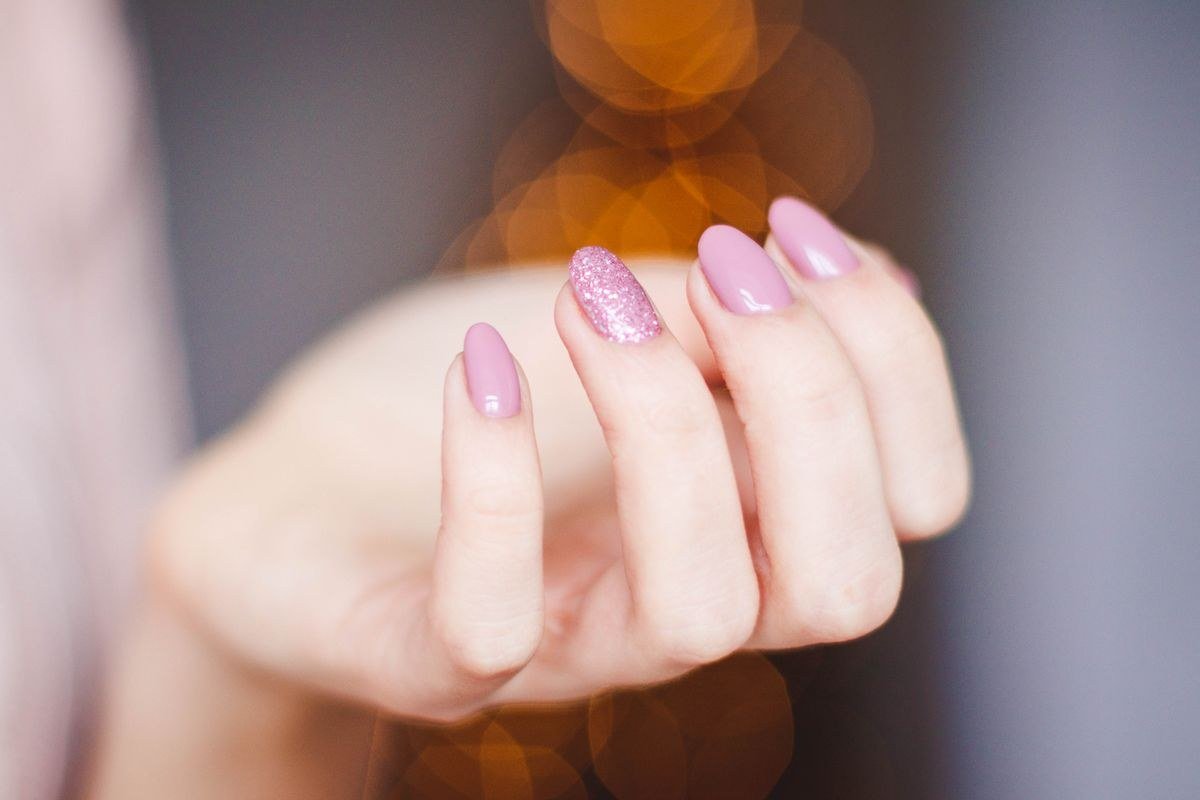
Jelly polish behaves differently across shapes, and each has its charm. Almond nails show off jelly depth beautifully — the tapered shape concentrates the color at the tip, creating a natural gradient darker at the point. Coffin and ballerina shapes give maximum surface area for the translucent layers to glow. Short squoval nails look fresh and juicy, like candy drops, and are the most practical everyday option. Stiletto nails turn raspberry jelly into a dramatic, vampiric statement — especially striking for evening. Oval shapes offer a soft, classic canvas that lets the color be the star. Whichever shape you choose, keep the jelly coats thin at the sidewalls to avoid a bulky look, and let the high-shine top coat do the talking.
Blush Jelly: The Sheerest Raspberry Wash
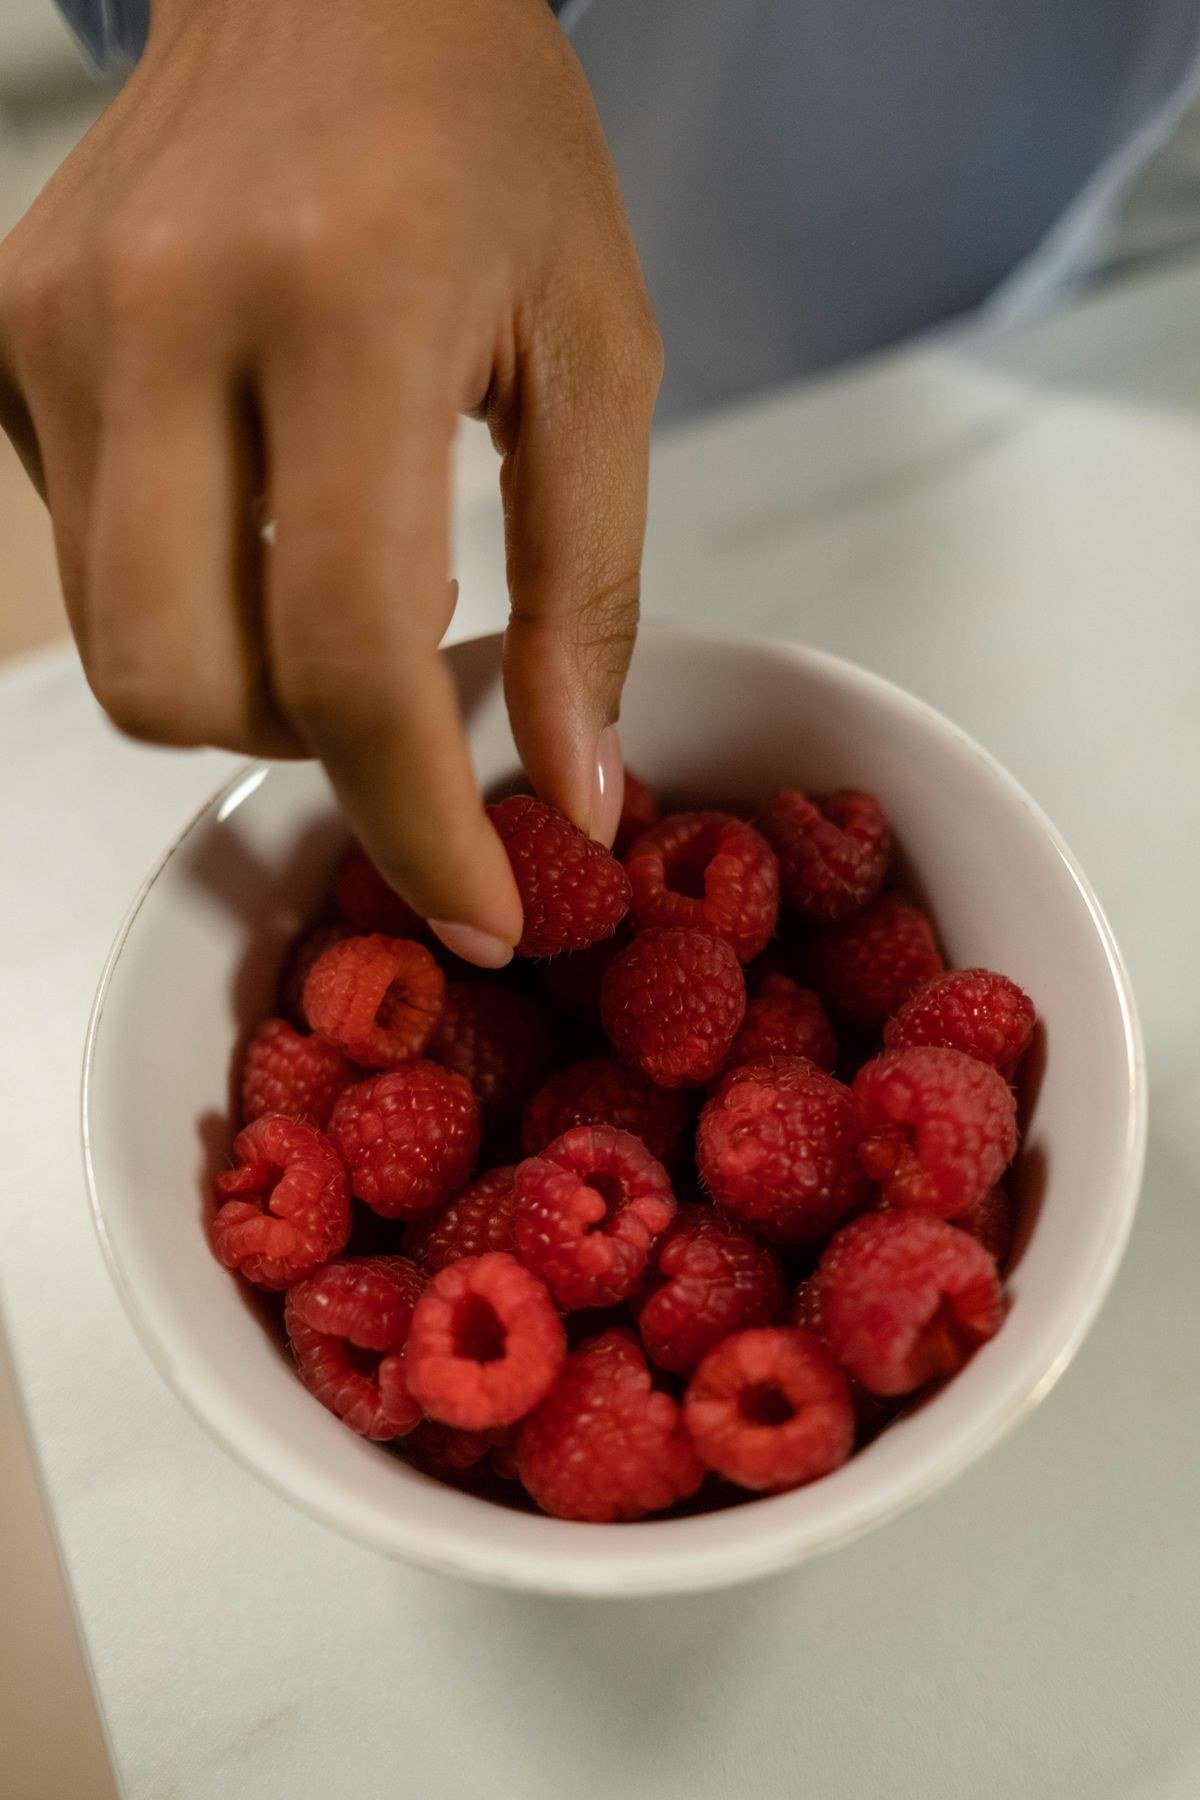
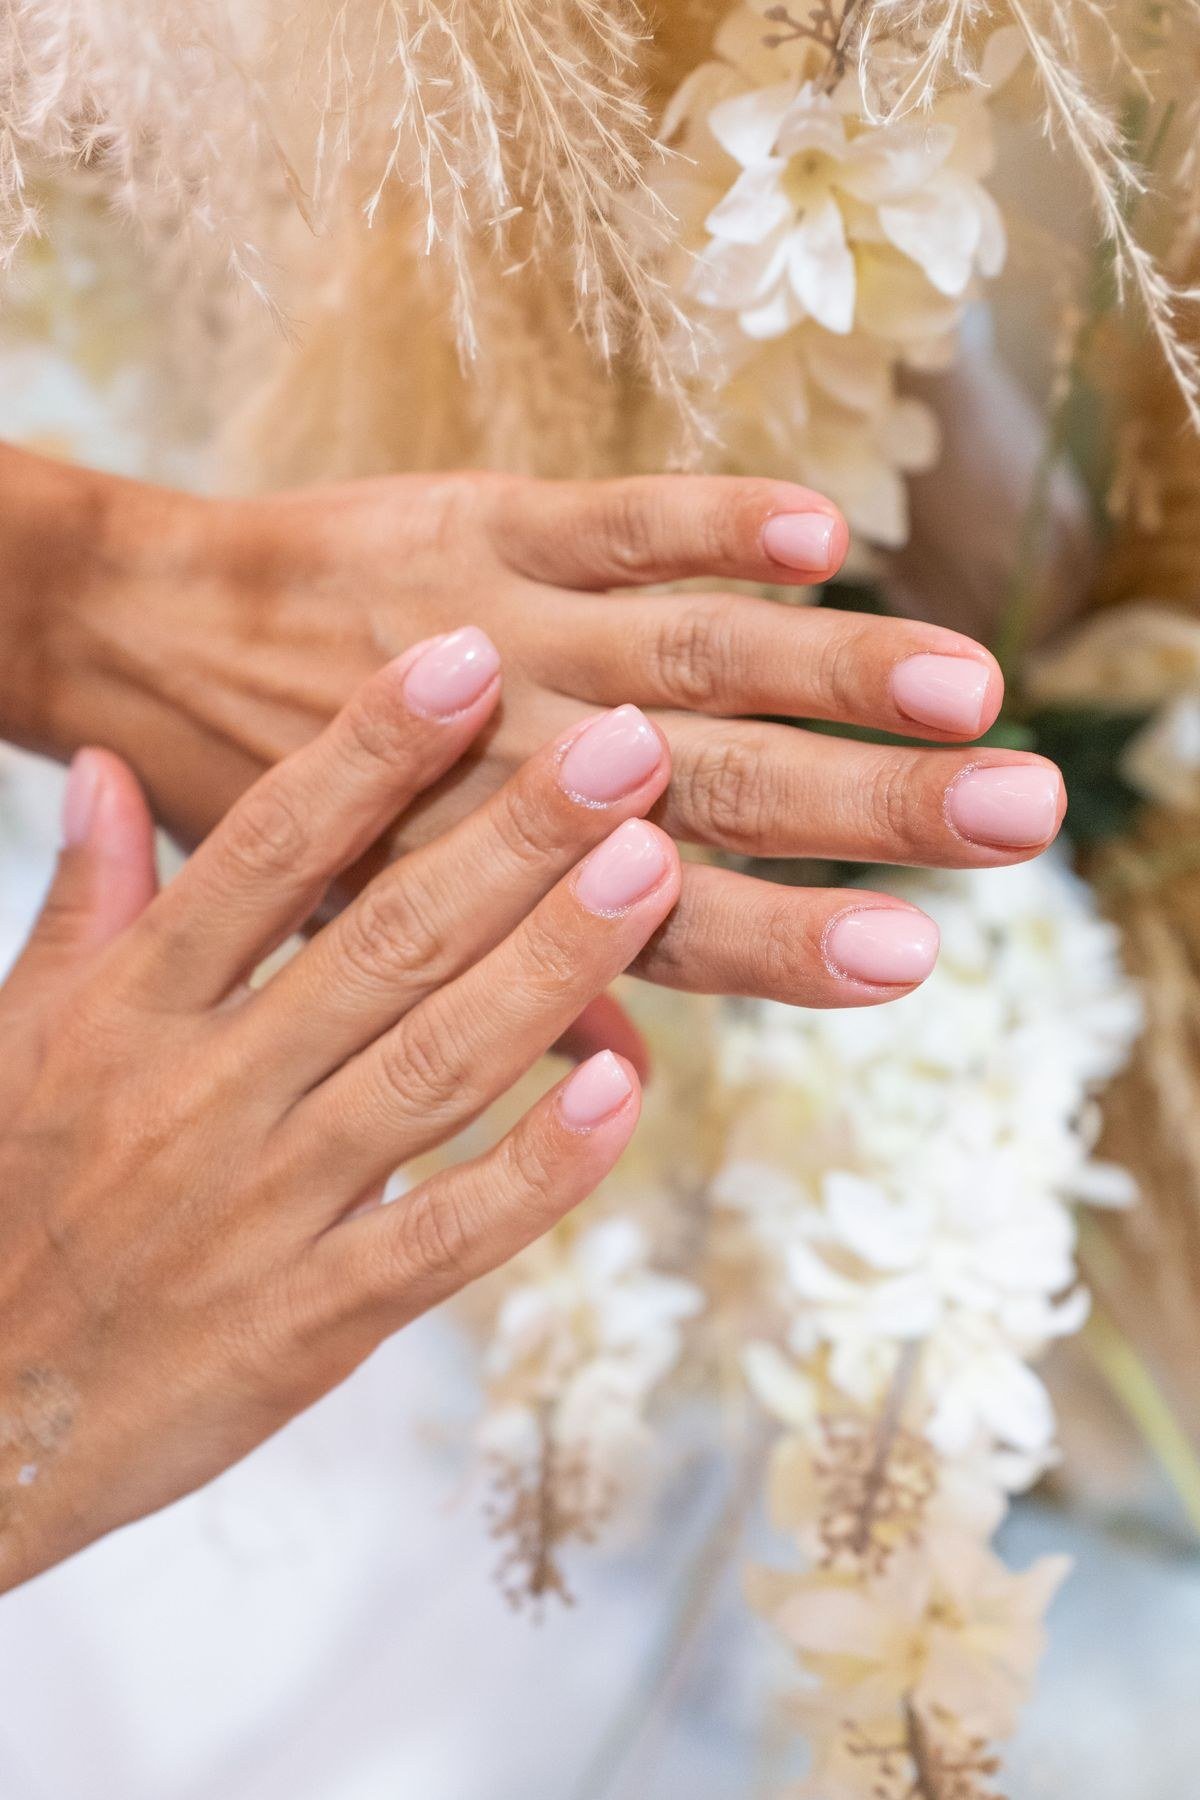
For those who love the idea of jelly but prefer subtlety, a blush wash uses just one or two coats of raspberry jelly for a barely-there tint. The result is like a lip stain for your nails — a healthy, rosy flush that enhances the natural nail rather than covering it. This is the perfect “no-manicure manicure” for professional settings, and it is incredibly forgiving to apply since sheer coats show no streaks. Layer a ridge-filling base underneath for a smooth canvas, and the single jelly coat will look like your nails naturally blush raspberry. It grows out invisibly, making it the lowest-maintenance version of the trend. Think of it as the nail equivalent of a sheer lip tint — effortless, fresh, and universally flattering.
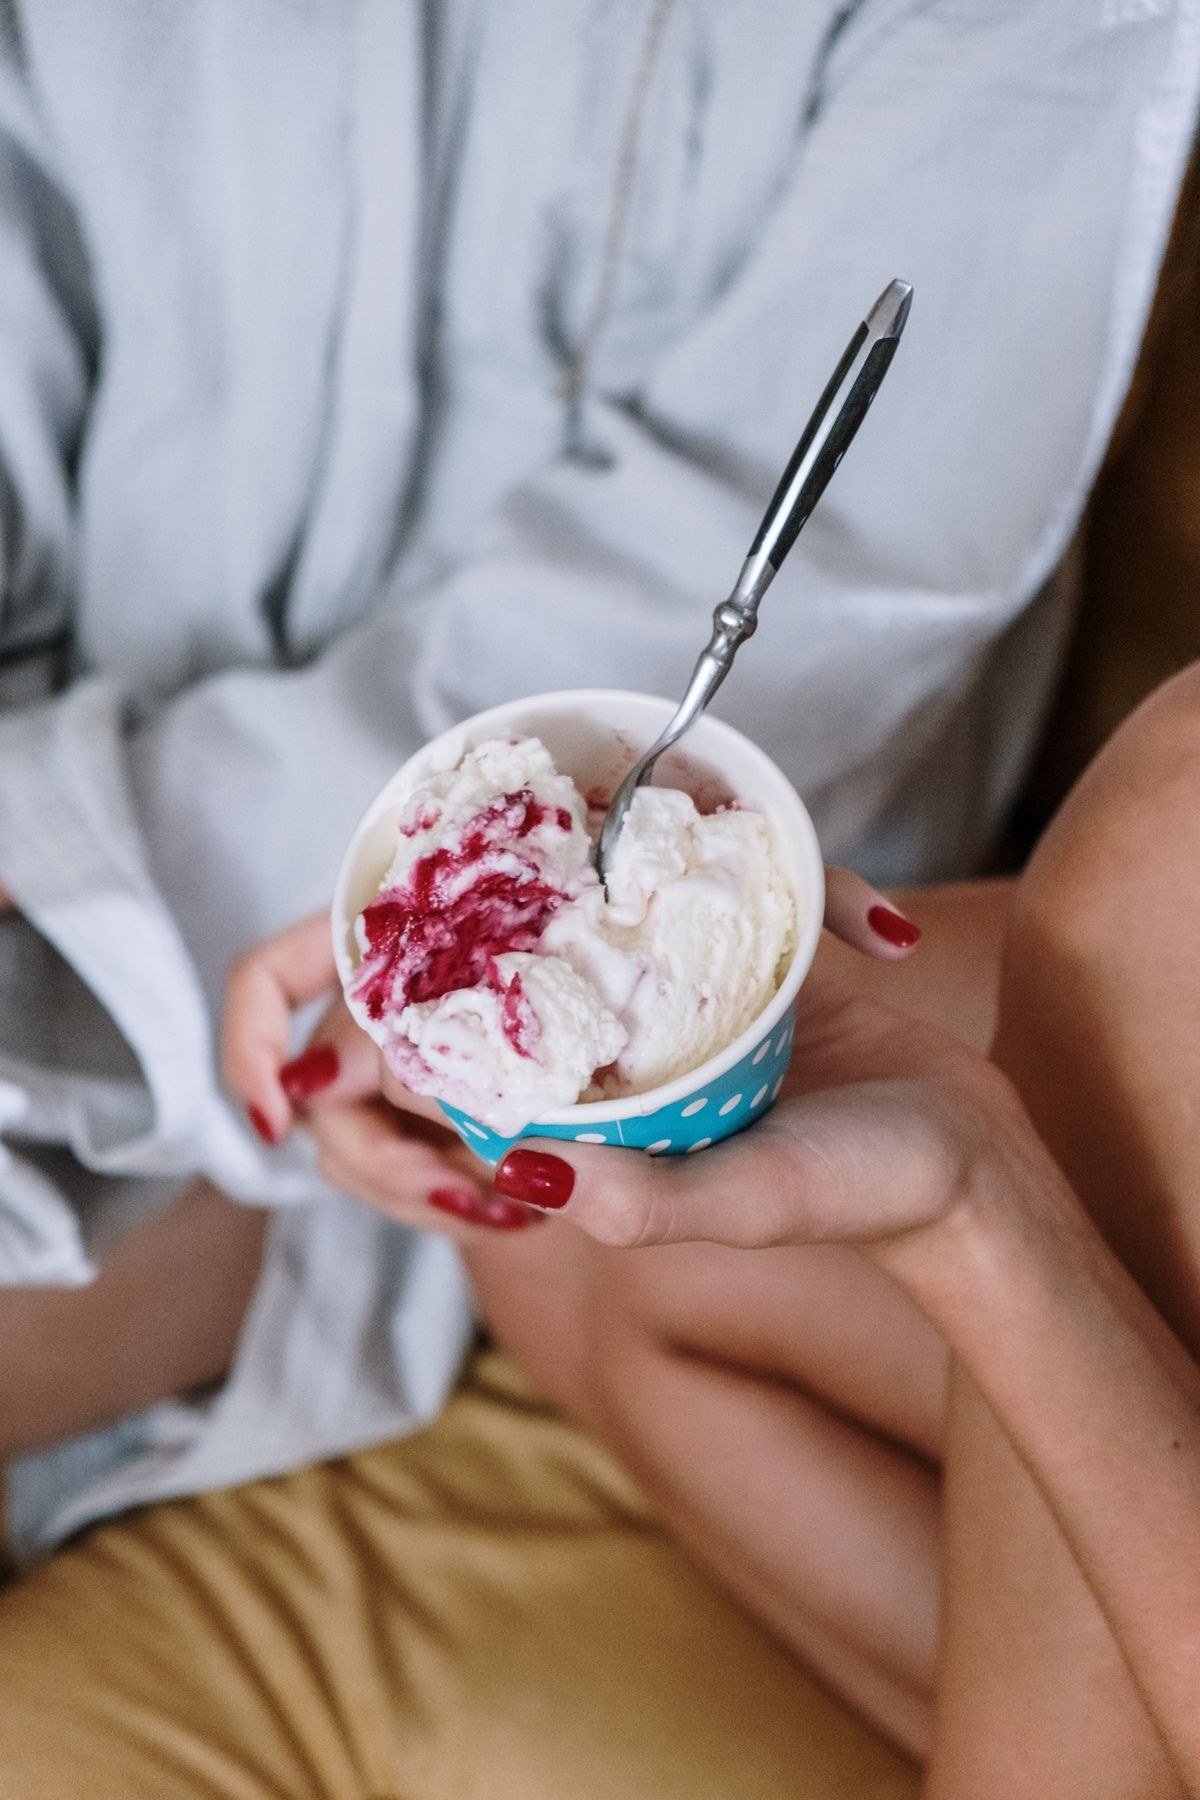
Pro tip: a ridge-filling base coat is non-negotiable under sheer jelly. The translucency reveals every ridge and imperfection, so a perfectly smooth foundation makes the difference between amateur and salon-quality.
Deep Raspberry: Maximum Drama Jelly
On the other end of the spectrum, building four or more coats of raspberry jelly creates a deep, wine-like intensity that rivals the drama of opaque polish while keeping jelly’s signature luminosity. The color becomes rich and sultry — think raspberry preserves in a glass jar held up to the light. This deeper version is stunning for fall and winter, pairing beautifully with cozy textures and evening looks. To keep the finish glassy rather than murky at full depth, use thin coats and cure each completely; rushing creates a cloudy rather than clear depth. A black or deep burgundy base underneath (the “jelly over dark” technique) intensifies the color even further while preserving translucency on top. The result is moody, magnetic, and unforgettable.
Raspberry Jelly French Tips
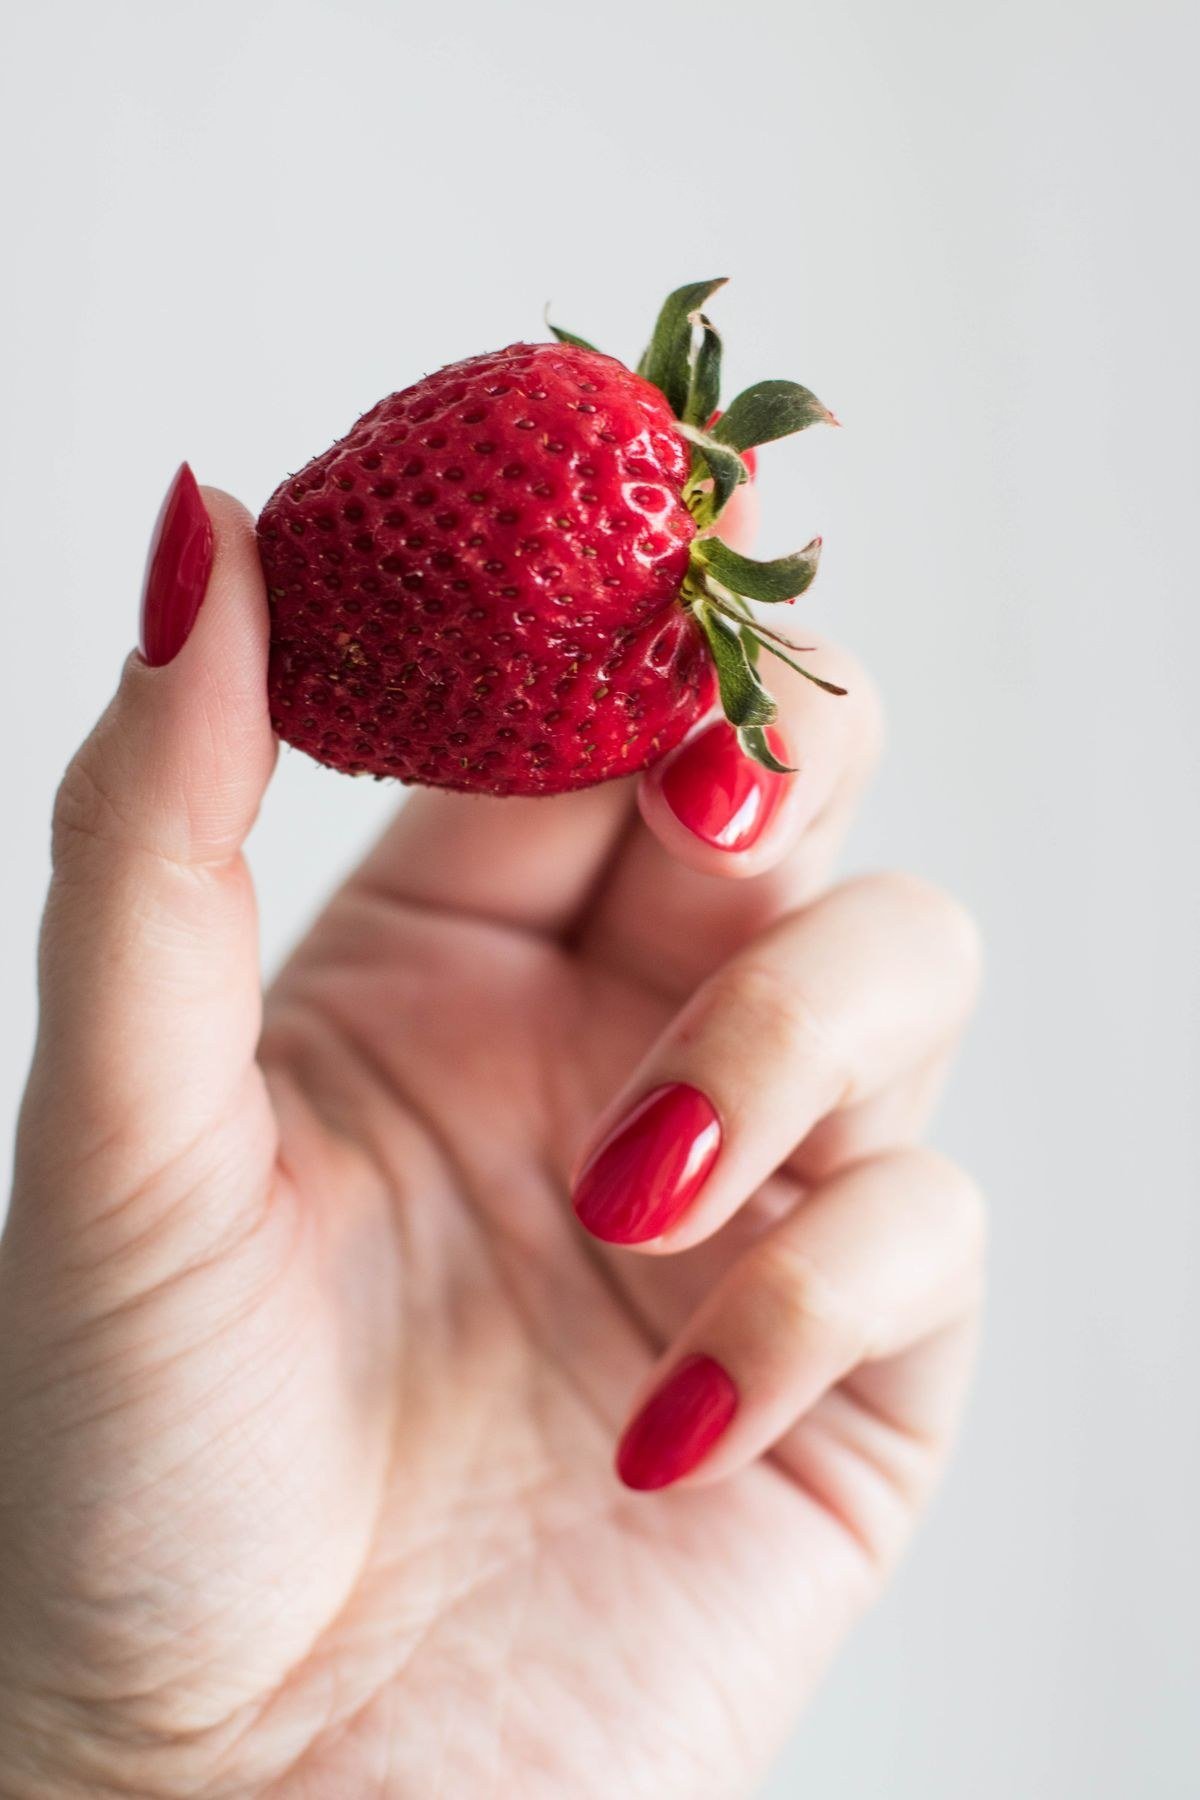
Jelly French tips offer a fresh take on the classic: sheer nude bases with smile lines painted in raspberry jelly. The translucent tip glows like stained glass against the natural nail, creating a French manicure that is playful rather than prim. For a reverse French, place the jelly crescent at the cuticle — like a healthy flush rising from the nail bed. Double French lines (a thin jelly stripe following the main smile line) add a modern, detailed touch. Because jelly is sheer, the smile line looks soft rather than stark, making this an excellent choice for anyone who finds traditional white French too severe. It is bridal-adjacent, office-friendly, and utterly charming.
Pro tip: paint jelly French tips slightly thicker at the smile line center. The extra product deepens the color exactly where the tip should be boldest, creating a natural, flattering gradient along the curve.
Glitter and Flakes Suspended in Raspberry Jelly
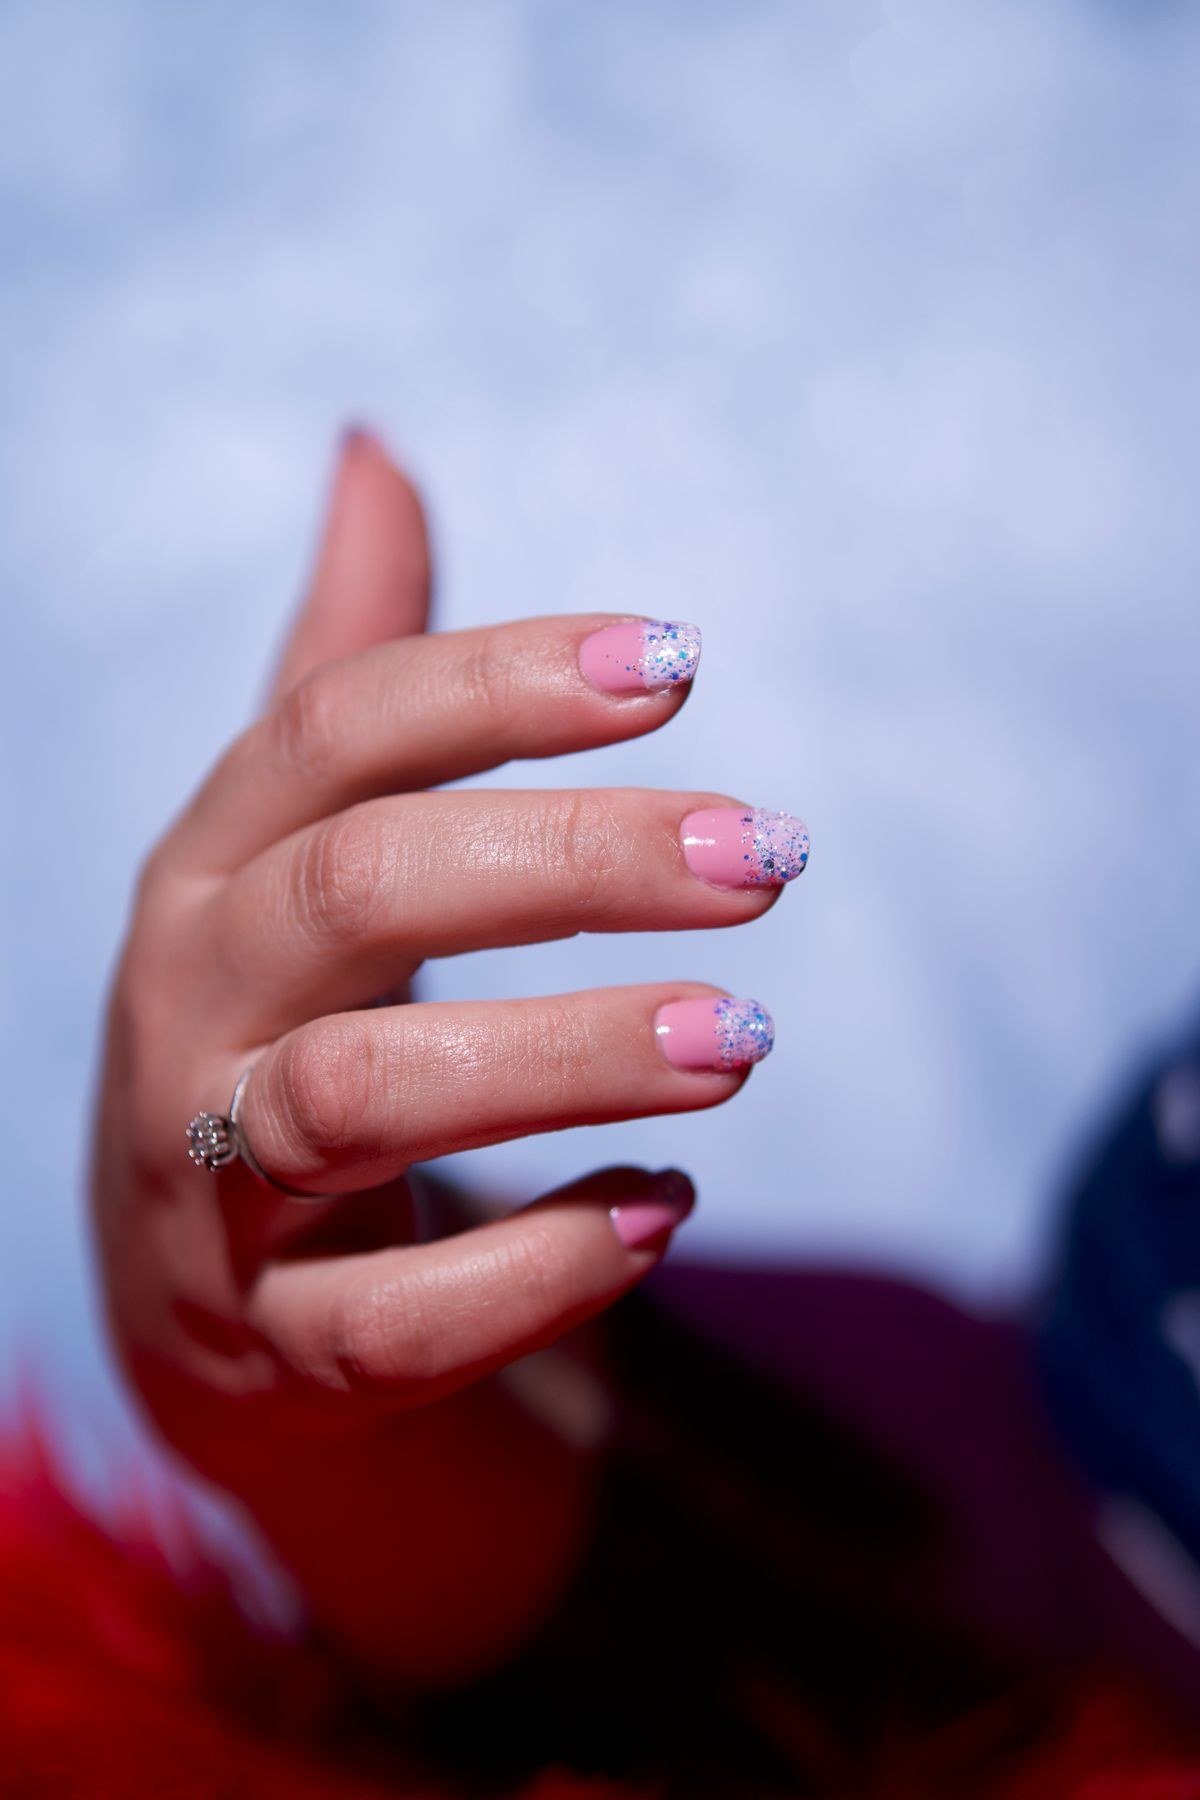
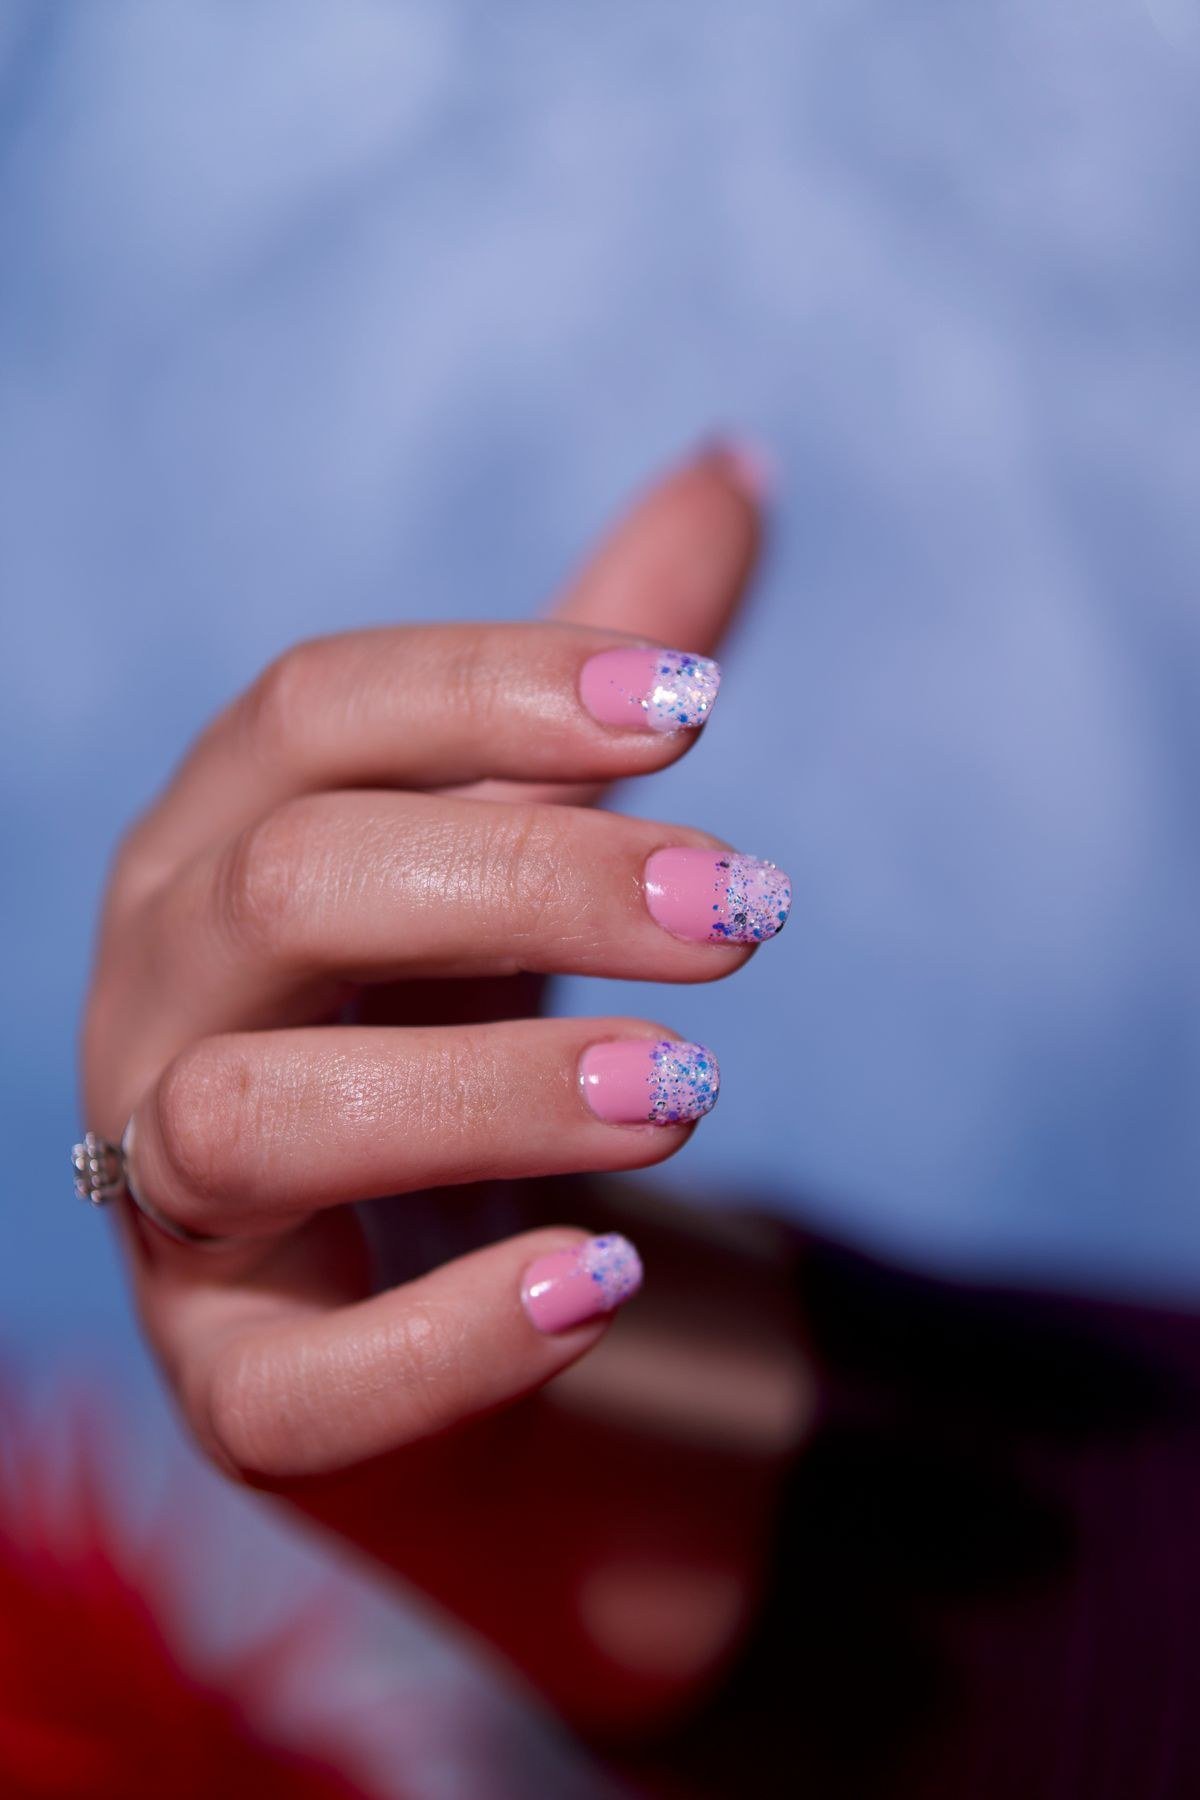
One of jelly’s greatest tricks is suspending decorations inside the color. Apply two coats of raspberry jelly, then place holographic glitter, iridescent flakes, or tiny dried flowers onto the tacky surface before sealing with two more jelly coats and top coat. The decorations appear to float within the translucent color, creating incredible depth — like a snow globe or resin art on your nails. Fine aurora flakes are particularly magical, shifting color beneath the raspberry tint. Keep the encapsulated elements small and flat so the final surface stays smooth. This technique turns a simple jelly manicure into wearable art, and because everything is sealed under jelly and top coat, the decorations are protected and the surface stays glassy.
Raspberry Chrome: Jelly Meets Mirror Shine
Combining raspberry jelly with chrome powder creates a showstopping hybrid: the juicy translucency of jelly with the reflective brilliance of chrome. Apply your jelly coats, then add a no-wipe top coat, buff raspberry or pink chrome powder over it, and seal. The chrome reflects through the jelly tint, producing a molten, liquid-metal raspberry that shifts as you move. Alternatively, apply chrome first and layer jelly over it — the sheer color tints the mirror finish, creating a glazed, futuristic effect. This combination is bold and eye-catching, perfect for parties and nights out. The technique requires gel products and a lamp, but the result is a truly unique finish that neither jelly nor chrome achieves alone.
Pro tip: when layering jelly over chrome, keep the jelly coats extra thin. Too much sheer color mutes the mirror reflection underneath, while whisper-thin layers tint the shine without hiding it.
Raspberry Jelly Aura Nails
Combine two juicy trends by creating a raspberry aura halo under jelly layers. Sponge a concentrated raspberry center onto a sheer nude base, then build jelly coats over it — the aura glows through the translucent layers like a sunset trapped in glass. The halo effect adds softness to raspberry’s vibrancy, creating a dreamy, diffused look. For extra dimension, use a deeper raspberry at the aura’s center fading to sheer at the edges before adding jelly coats. This design is artistic and eye-catching yet still wearable, perfect for those who love creative nail art. The layered translucency gives it a complexity that looks far more difficult than it is — sponging and jelly coats are both beginner-friendly techniques.
Matte Raspberry Jelly: A Modern Twist
A matte top coat over raspberry jelly creates a fascinating frosted-candy effect — like sea glass in raspberry tones. The matte finish mutes the shine but emphasizes the translucent depth, giving the nails a soft, velvety appearance. Try full matte for an editorial look, or mix finishes: matte jelly nails with glossy jelly tips, or glossy nails with a matte accent. The contrast between textures over the same translucent color is visually captivating. Matte jelly also shows off encapsulated glitter beautifully — the flakes glimmer softly under the frosted surface. Note that matte top coats can slightly cloud jelly’s clarity, so use a high-quality matte formula and apply it thinly for the best frosted-glass effect.
Pro tip: choose a high-quality matte top coat for the frosted jelly effect. Cheap matte formulas can cloud badly over translucent color, while premium ones preserve clarity with a beautiful soft-focus finish.
Raspberry Jelly on Toes: Matching Pedicures
Raspberry jelly makes a delightful pedicure — juicy, fun, and perfect for sandal season. The sheer formula is forgiving on toenails, where application can be trickier, and the glossy finish looks fresh and summery. A matching raspberry jelly mani-pedi is cohesive and playful, ideal for vacations and warm weather. For toenails, two to three jelly coats usually suffice since the smaller surface needs less depth. The translucent color is also practical for pedicures — regrowth and minor chips are less noticeable than with opaque shades. Finish with a durable top coat to protect against sandal friction. Your toes deserve the jelly treatment too — they will look like candy.
Seasonal Raspberry Jelly Ideas
Raspberry jelly transitions through seasons beautifully. Spring: pair it with tiny white daisy art for a fresh, garden-party feel. Summer: go full juicy with maximum gloss and maybe a watermelon-inspired accent nail. Fall: deepen the jelly to a blackberry-raspberry tone that echoes autumn berries. Winter holidays: add silver glitter or snowflake art over the jelly for festive sparkle — raspberry is a natural holiday shade. Valentine’s Day is raspberry jelly’s time to shine: add heart art or pair with pink accents for the most romantic manicure. The shade’s balance of pink and red makes it seasonless at its core, with small styling tweaks keeping it fresh year-round.
Raspberry Jelly With Gold Accents
Gold and raspberry jelly are a luxurious pairing — the warm metallic glows against the juicy pink-red like jewelry on silk. Add delicate gold foil flakes suspended in the jelly layers, or paint thin gold cuticle cuffs over the finished jelly. Gold micro-glitter concentrated at the cuticle creates a rich, regal gradient. For special occasions, add small gold charms or studs to accent nails. The combination feels expensive and celebratory, perfect for weddings, holidays, and evening events. Keep gold accents refined — the jelly’s translucency is the star, and gold should enhance rather than overwhelm it. This pairing photographs beautifully, with the gold catching light alongside the jelly’s glossy depth.
DIY Tips for Perfect Jelly Application
Perfect jelly nails come down to technique. Always start with a ridge-filling or smoothing base — jelly’s sheerness reveals every ridge. Apply thin coats; thick jelly looks goopy and takes forever to dry or cure. Let each coat dry or cure completely before adding the next — rushing causes cloudiness. Cap the free edge with each coat to prevent shrinkage and tip wear. If using regular lacquer jelly, a fast-dry top coat between layers can speed things up. For gel jelly, ensure your lamp is strong enough to cure through multiple layers. Clean up cuticles meticulously — jelly’s translucency makes flooded cuticles more visible. With these fundamentals in place, your DIY jelly manicure will look professionally done and impress everyone who sees it.
Pro tip: work in a well-lit area when applying jelly. Sheer formulas are harder to see than opaque polish, and good lighting helps you catch thin spots and cuticle flooding before you cure.
How Long Does Raspberry Jelly Last?
Longevity depends on the formula. Gel raspberry jelly manicures last two to three weeks with proper application — the multiple thin layers actually create a durable structure. Regular lacquer jelly lasts about five to seven days; the sheer formula is somewhat less chip-resistant than opaque lacquers, so be diligent with top coat. To maximize wear, cap edges with every coat, wear gloves for chores, and reapply top coat every two to three days. Jelly’s sheerness is forgiving of minor wear — small chips are less visible than on opaque polish. When you are ready for a change, removal is standard: acetone soak for gel, regular remover for lacquer. The temporary nature of jelly manicures is part of their fun — switch shades with your mood.
Troubleshooting Jelly Nail Problems
Cloudy jelly? Coats were applied too thickly or not fully dried/cured between layers — thin coats and patience fix this. Streaky application? The brush needs more polish; jelly formulas are sheer and need adequate product to self-level. Color too sheer? Build additional thin coats rather than one thick one — most jellies reach full richness at three to four coats. Bubbles? Do not shake the bottle; roll it gently and let coats settle. Jelly lifting at cuticles? Product flooded the cuticle — leave a hairline gap and clean up carefully. Uneven color depth across nails? Count your coats per nail to ensure consistency. Most jelly issues stem from rushing — slow down, use thin coats, and the glass-like finish will follow.
Raspberry Jelly vs. Other Jelly Shades
Raspberry sits in the sweet spot of the jelly spectrum. Compared to pink jelly, it has more depth and sophistication — less sweet, more rich. Compared to red jelly, it is fresher and more playful — less severe, more juicy. Cherry jelly is close but typically bluer and more opaque-feeling; raspberry’s pink-red balance is uniquely vibrant. Nude and brown jellies are subtler and more professional; raspberry makes more of a statement. Black cherry jelly is moodier and more dramatic for evening. Each jelly shade has its mood, but raspberry’s versatility — playful yet polished, vibrant yet wearable — makes it the most universally loved. If you try one jelly shade, make it raspberry.
Frequently Asked Questions About Raspberry Jelly Nails
How many coats do I need? Typically three to four thin coats for rich raspberry depth; one to two for a sheer wash. Can I use regular polish? Yes — jelly lacquers exist and work beautifully, though gel gives a plumper finish. Does jelly polish damage nails? No more than any polish; damage comes from improper removal, not the formula. Why do my jelly nails look cloudy? Coats too thick or insufficient drying/curing between layers. Can I do jelly on short nails? Absolutely — jelly looks adorable and juicy on short nails. How do I remove glitter from under jelly? Standard acetone soak for gel; for lacquer, the soak-off foil method works best on stubborn glitter.

I am Talha Sikandar, a professional writer with a passion for general blogging. With years of experience in content writing and research, I founded Meaniingly.com to deliver well-researched, informative, and user-friendly articles on diverse topics.