Jelly blush is the makeup trend that refuses to fade, and for good reason. Unlike powder blushes that sit on top of the skin, jelly blushes melt in to create a translucent, lit-from-within flush that looks like your skin is glowing from the inside out. The bouncy, gel-like formula delivers buildable color with a dewy finish, making it the perfect pick for the glass skin era. This jelly blush makeup tutorial walks you through every step, from choosing your shade to making the color last all day. Get ready for cheeks that look juicy, fresh, and effortlessly radiant.
What Is Jelly Blush and Why Is It Trending
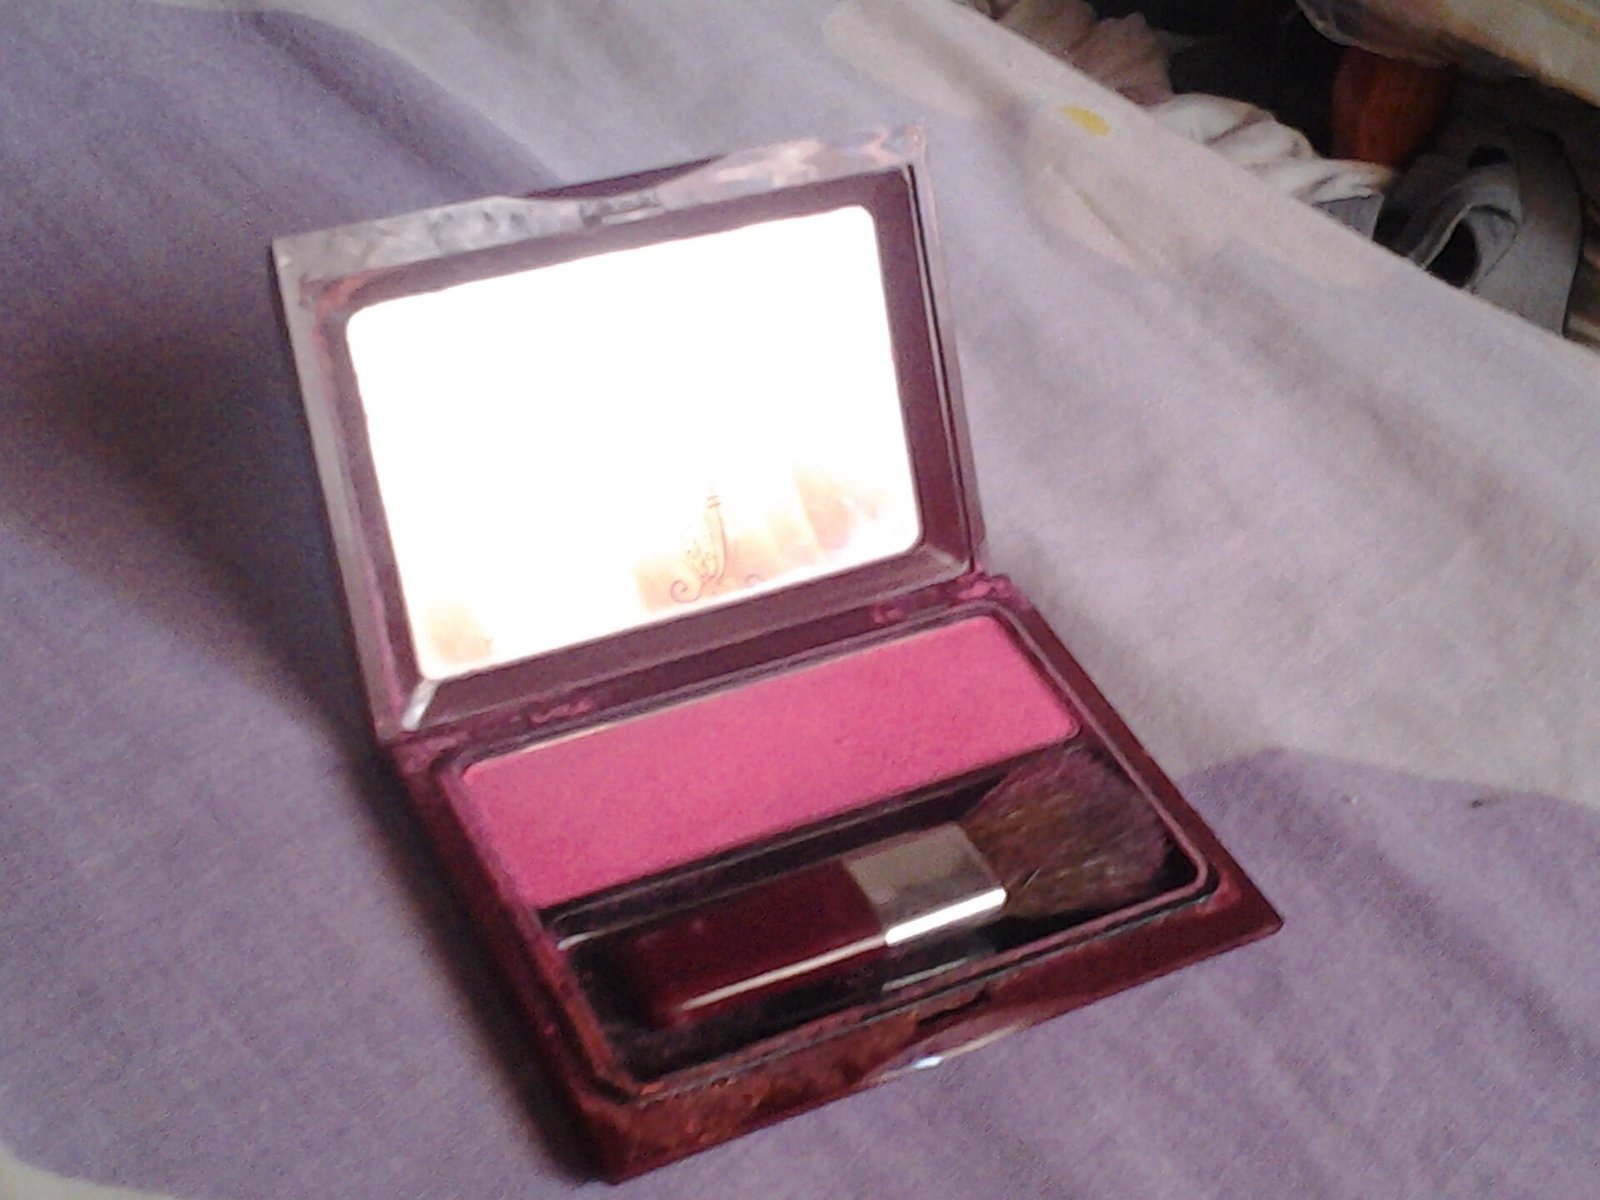
Jelly blush is a hybrid between a gel tint and a cream blush, with a springy, bouncy texture that feels cool and refreshing on contact. The formula is typically water-based, which is why it blends out so seamlessly and leaves a sheer, translucent wash of color rather than an opaque stripe. Search interest for jelly blush has surged because the finish hits every current beauty ideal at once: dewy skin, minimal makeup, and that just-pinched glow that reads as healthy rather than made-up.
The science behind the finish is simple. Pigments suspended in a gel base spread more evenly than powder particles, so the color diffuses at the edges and mimics the way blood naturally flushes the cheeks. Most formulas include hydrating ingredients like hyaluronic acid and glycerin, so the blush doubles as skincare.

Choosing the Right Jelly Blush Shade for Your Skin Tone
Shade selection makes or breaks a jelly blush look, and the sheer finish means your undertone matters more than you might think. Fair skin glows in soft pinks, baby peaches, and milky rose tones that read as a natural flush. Medium skin tones can carry richer shades like coral, warm apricot, and berry pinks that add depth without looking heavy. Deep skin tones look stunning in vibrant fuchsia, tangerine, and deep plum-jelly shades that show up beautifully against rich skin.
A simple trick is to match the blush to the color your cheeks turn when you exercise, because that is your natural flush. Test shades on the apples of your cheeks in natural daylight rather than on your wrist, since the gel formula can look different on the face.
The Best Tools for Applying Jelly Blush
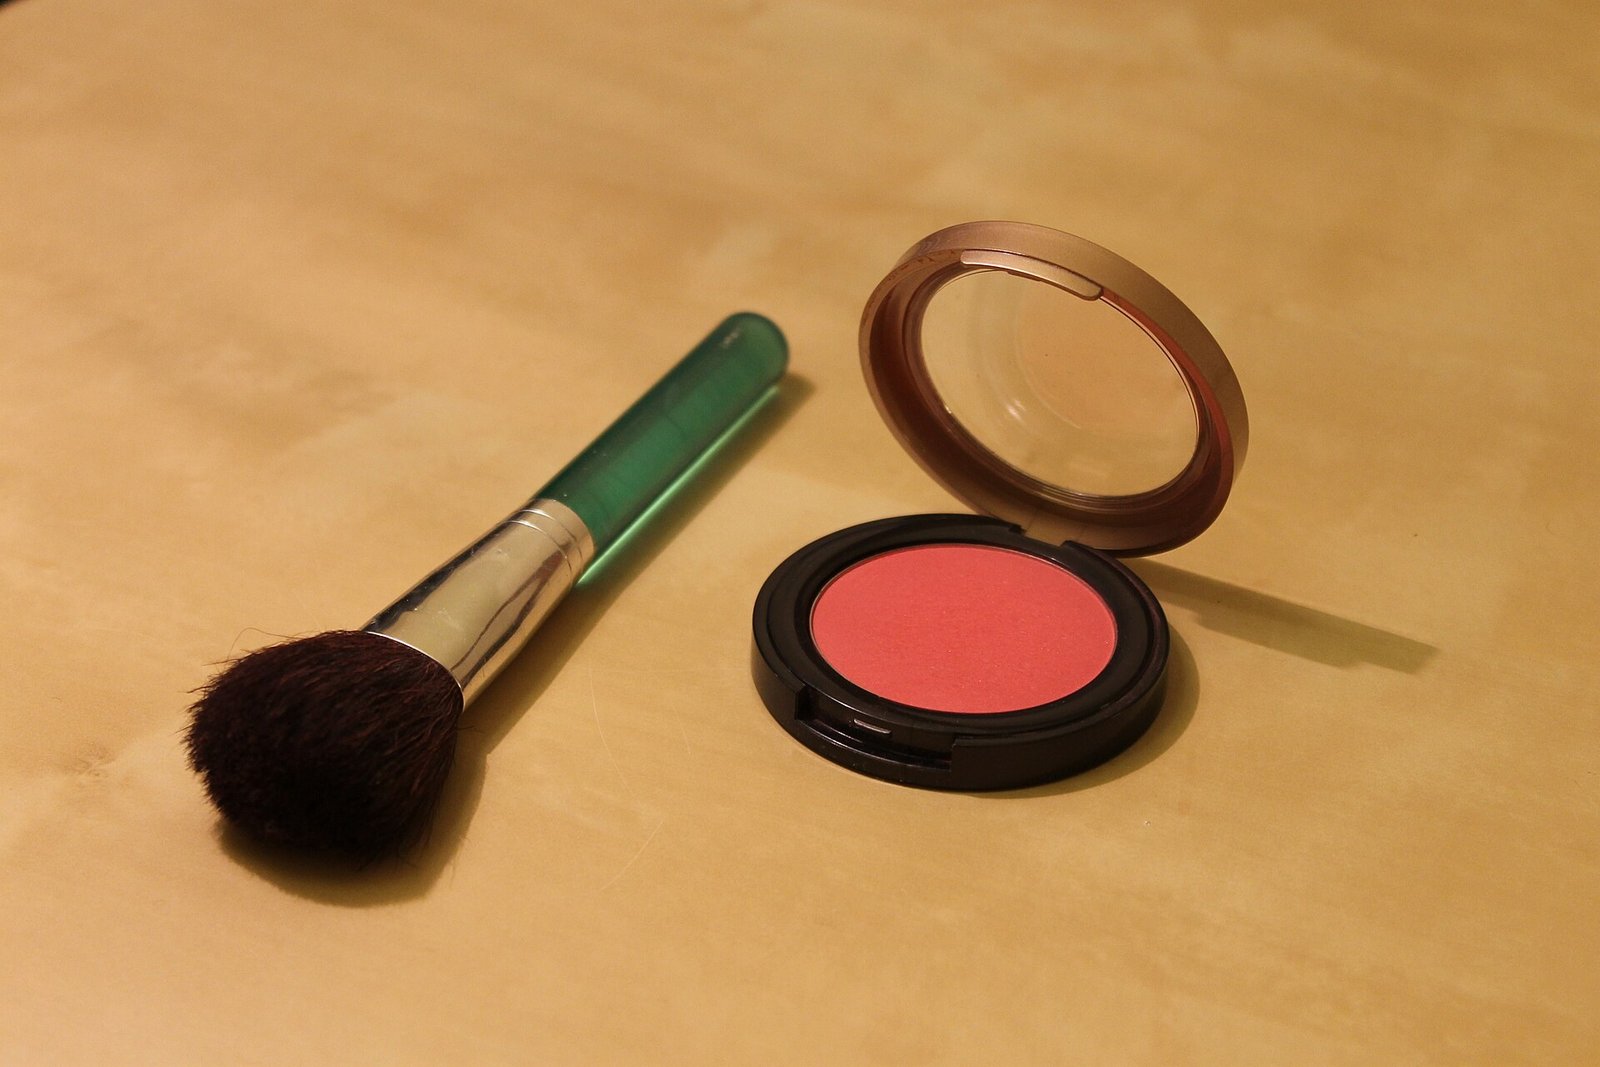
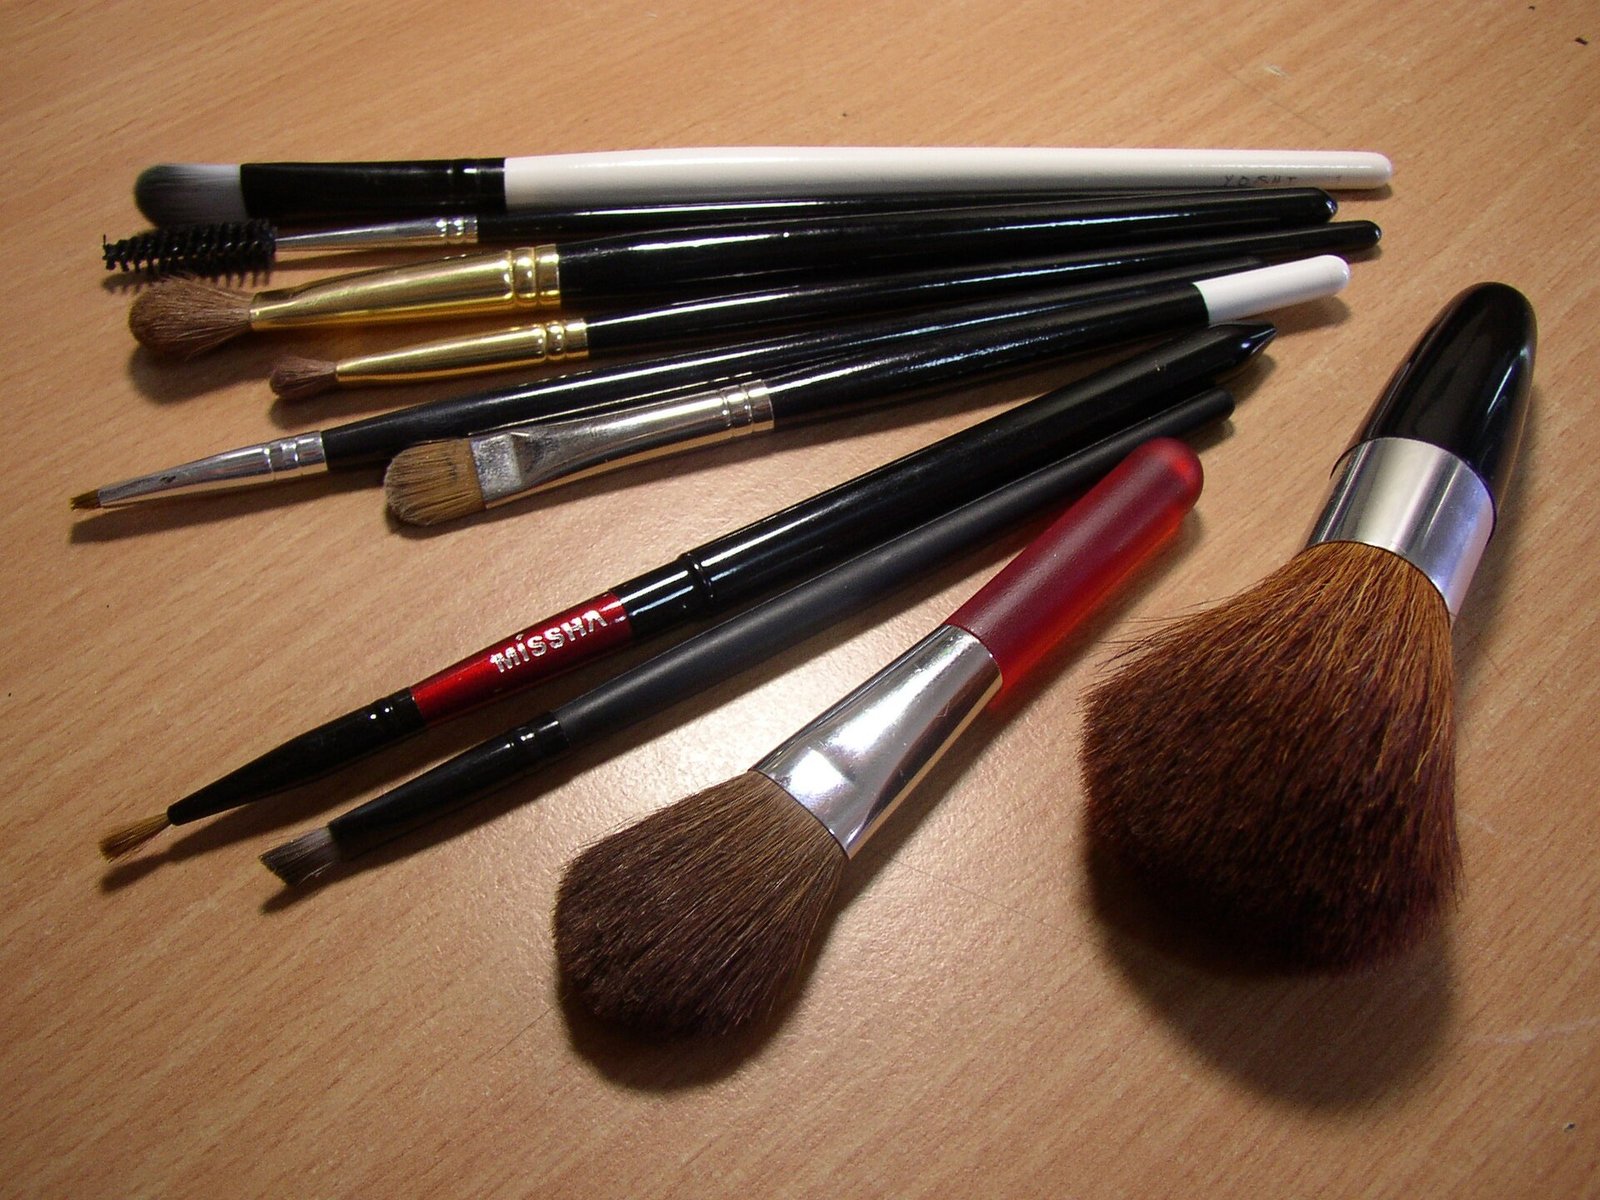
The beauty of jelly blush is that your fingers are genuinely the best tool. The warmth of your fingertips helps the gel formula melt and fuse with the skin, giving the most natural, skin-like finish. A clean ring finger works perfectly for tapping product onto the cheeks, and the pressing motion drives the pigment into the skin for better wear. If you prefer tools, a damp beauty sponge gives an airbrushed effect and is ideal for beginners who worry about over-applying.
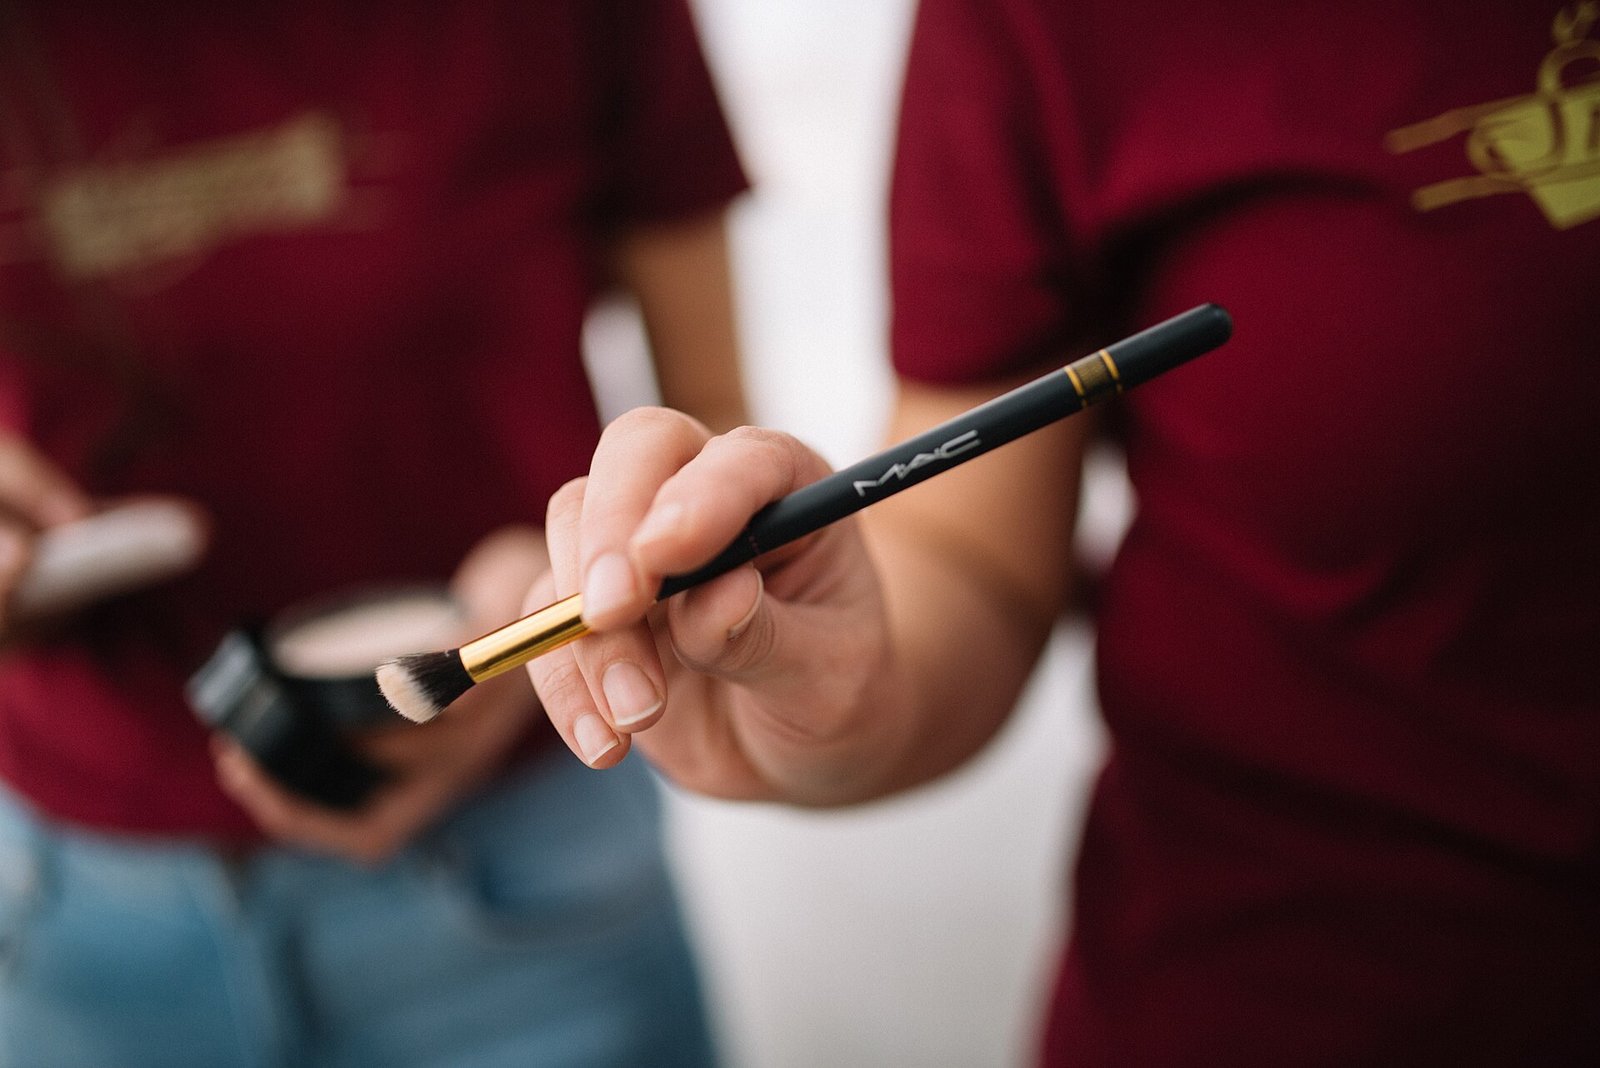
A stippling brush used with a bouncing motion rather than sweeping strokes gives lovely diffusion. Whatever tool you choose, the golden rule is to apply in thin layers and build gradually, because jelly blush is far easier to add than to remove.
Prepping Your Skin for a Flawless Jelly Blush Base
Jelly blush performs best on well-hydrated, smooth skin, so prep is the foundation of this tutorial. Start with your usual skincare routine, allowing moisturizer and SPF to absorb fully for at least two to three minutes. If there is a tacky layer of product left on the skin, the jelly blush can grab unevenly and create patchy spots. A hydrating primer or a light layer of a dewy setting spray creates the perfect slightly-damp canvas that gel formulas love.
Foundation choice matters more here than with powder blush. Lightweight, dewy foundations or tinted moisturizers pair beautifully with jelly blush because the finishes match. Heavy matte foundations can make jelly blush look like it is sitting on top of the skin rather than melting in. Apply your base as usual, but keep powder away from the cheek area for now.

Step One: Warming Up the Product
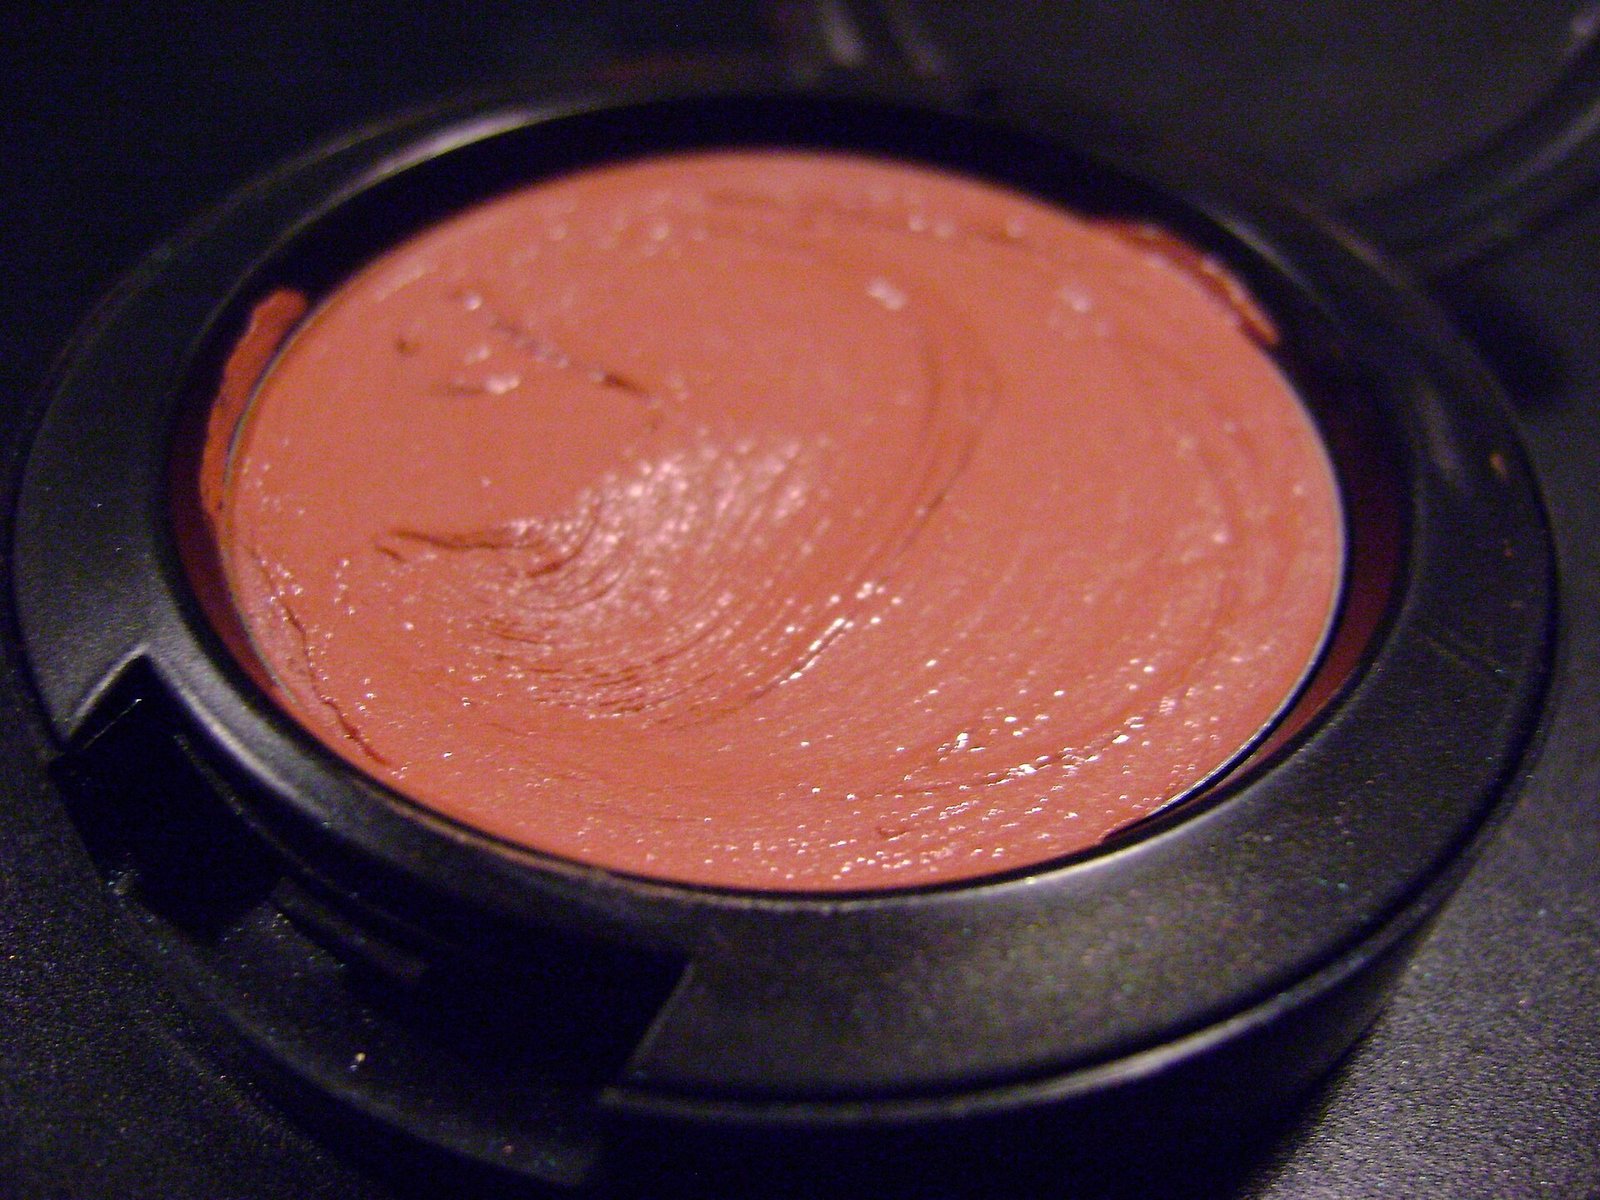
Every good jelly blush makeup tutorial starts with warming the product, and this step is non-negotiable for a smooth application. Swipe your fingertip lightly across the surface of the jelly blush to pick up a small amount, then rub it gently between your fingertips for a few seconds. The warmth breaks down the gel structure slightly, turning it from a firm jelly into a creamy, blendable tint that will glide across the cheek.
This warming step does two important things. First, it prevents the blush from dragging or skipping on the skin, which is the most common cause of patchiness with gel formulas. Second, it activates the pigments so they distribute evenly rather than depositing in one concentrated spot. Take your time here, because five seconds of warming saves you minutes of blending later. You want the product to feel silky and fluid, not stiff or tacky, before it touches your face.
Step Two: Finding the Right Placement
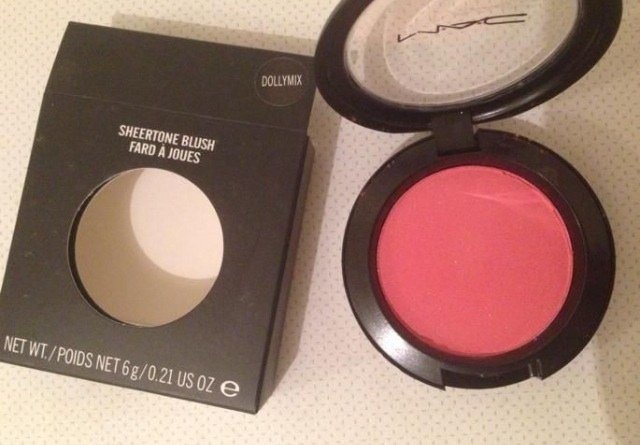
Placement is where jelly blush looks completely different from traditional powder blush, and getting it right transforms the whole face. For a youthful, fresh flush, smile lightly and place the product on the apples of your cheeks, then blend upward and outward toward the temples. This classic placement lifts the face and works for nearly every face shape. For a more modern, sun-kissed effect, sweep the blush slightly higher across the cheekbones and bridge of the nose, as if you have been out in the sun.
Face shape should guide your final placement. Round faces benefit from blush placed slightly higher and more toward the outer cheek to create the illusion of length. Long faces look best with blush kept on the apples and blended horizontally, which adds width. Heart-shaped faces can concentrate color on the outer apples to balance a narrower chin. Wherever you place it, keep the color in the upper two-thirds of the cheek and away from the nasolabial area, which ages the look.
Step Three: The Tapping and Blending Technique
The core technique of this jelly blush makeup tutorial is tapping, not swiping. Press the warmed product onto the cheek with your fingertip using a gentle patting motion, starting with less product than you think you need. Work from the center of the placement area outward, tapping to diffuse the edges. The patting motion pushes the gel into the skin and creates that melted, second-skin effect that makes jelly blush so distinctive.
Blend until you cannot see where the blush starts and ends. The edges should disappear completely into the surrounding skin, leaving only a soft wash of color. If you spot any harsh lines, tap over them with a clean fingertip or bounce a damp sponge over the area. Work quickly but without rushing, because most jelly formulas begin to set within thirty to sixty seconds. Once the formula sets, it becomes much harder to move, so finish your blending before it dries down.
Step Four: Building Intensity Gradually
One of the biggest mistakes in any jelly blush makeup tutorial is applying too much at once. Jelly blush is designed to be layered, so start with a sheer wash and assess before adding more. After your first layer sets for about thirty seconds, look at your face in natural light and decide whether you want more intensity. Most everyday looks need only one or two thin layers, while evening or photo looks might need three.
When building, apply each new layer only to the center of the placement area rather than re-covering the whole zone. This creates a natural gradient with the deepest color at the center fading softly outward, exactly like a real flush. Let each layer dry down briefly between applications so the gel does not pill or lift the layer beneath. A damp sponge or a dab of foundation over the top will sheer it back out without ruining your base.
The Draping Method for a Sculpted Flush
Draping is a retro technique that has come roaring back, and jelly blush is the ideal formula for it. Instead of confining blush to the apples, draping sweeps the color from the cheekbones up toward the temples and into the hairline, creating a lifted, sculpted effect. The translucent finish of jelly blush makes draping look soft and modern rather than harsh, because the color fades gradually instead of stopping in a line.
To drape with jelly blush, place a slightly deeper shade along the cheekbone and blend it upward in a C-shape toward the temple. Then add your brighter flush shade to the apples and melt the two together where they meet. The two-tone effect adds dimension that a single shade cannot achieve. Keep the rest of the face simple when draping, because the blush becomes the star of the look.
Pairing Jelly Blush with Your Lip Color
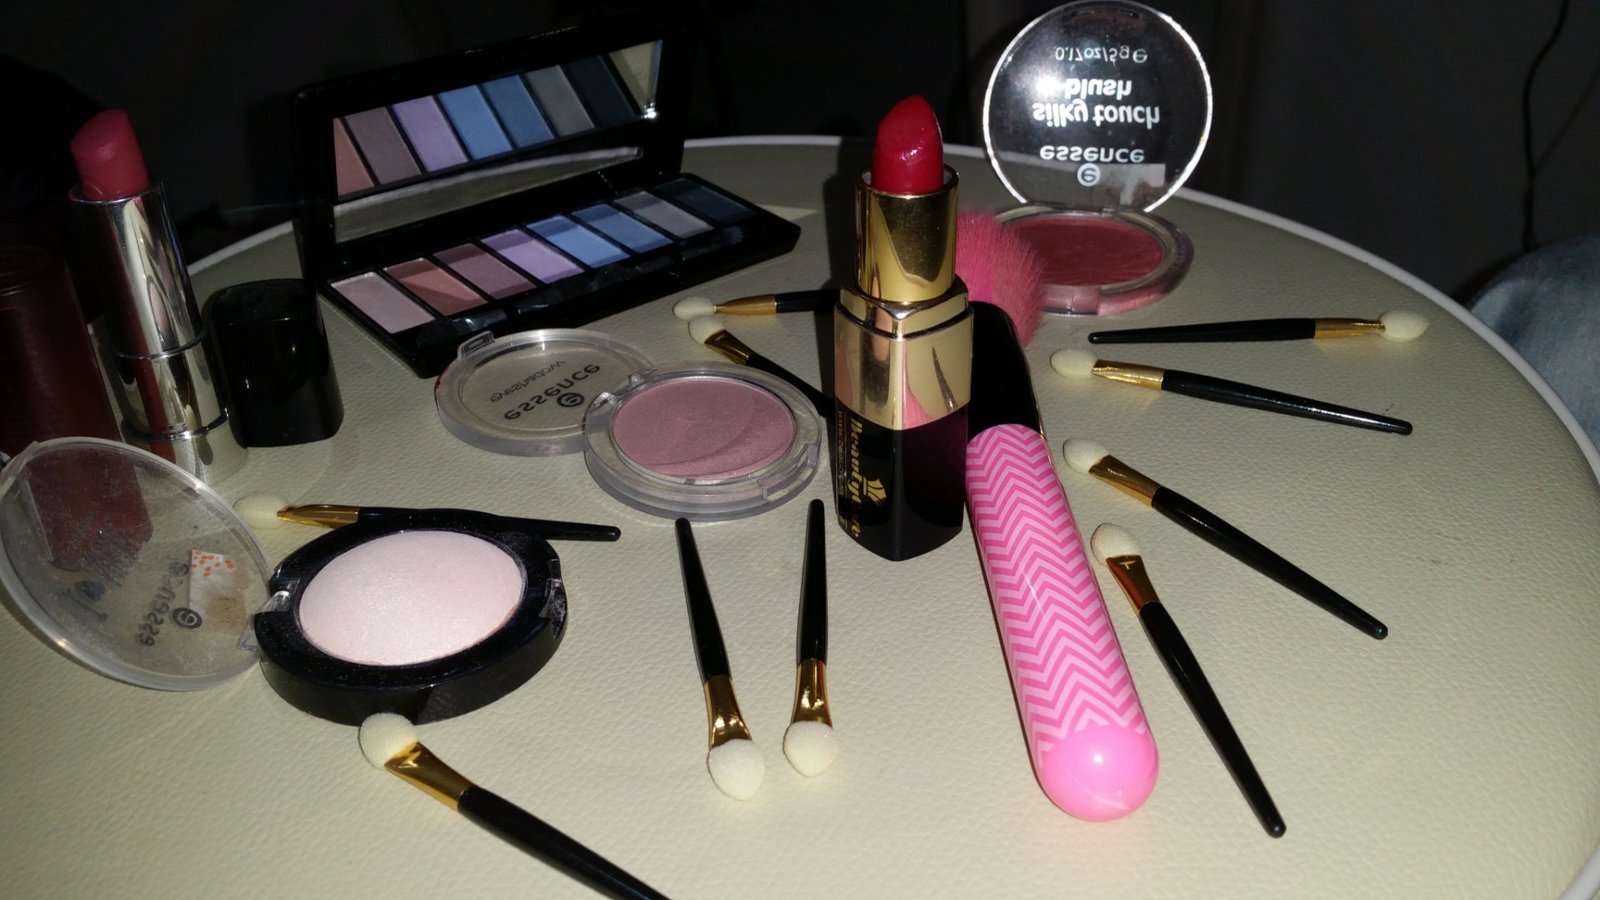
Cohesive makeup looks intentional, and matching your blush family to your lips is the easiest way to achieve it. The classic approach is to use the same jelly blush as a lip tint, dabbing a tiny amount onto the lips and blending with your finger for a perfectly matched monochromatic flush. Many jelly blushes are formulated to be lip-safe, but check the packaging first. This trick guarantees your cheeks and lips harmonize perfectly.
If you prefer a separate lip product, stay in the same color family and a similar depth. A coral jelly blush pairs beautifully with a coral or warm nude lip, while a berry jelly blush loves a berry-stained lip. Avoid pairing a cool pink blush with a warm orange lip, because clashing undertones make both products look off. When in doubt, a sheer gloss in a neutral tone lets the blush be the focus while keeping the lips polished and fresh.
Combining Jelly Blush with Highlighter
Jelly blush and highlighter are a match made in heaven, but the order of application determines the result. Apply your jelly blush first and let it set, then add highlighter on top of the high points of the cheekbones. A liquid or cream highlighter melts beautifully over jelly blush and amplifies the dewy finish.
For the most seamless glow, try mixing a drop of liquid highlighter with your jelly blush on the back of your hand before applying. This creates a custom luminous blush with light-reflecting particles built in. Alternatively, place highlighter only on the very tops of the cheekbones, just above where the blush sits, so the two products sit side by side rather than layered. Either approach gives that coveted lit-from-within radiance without looking glittery or overdone.
Making Jelly Blush Last All Day
Longevity is the most common concern with jelly blush, and a few smart steps make a dramatic difference. The single best trick is layering: apply your jelly blush first, then dust a matching powder blush very lightly over the top. The powder locks the gel in place and the combination wears for eight hours or more. Choose a powder blush in a similar shade so the finish stays cohesive, and use a light hand to preserve the dewy look underneath.
Setting spray is your second line of defense. A fine mist after your makeup is complete melts all the layers together and extends wear significantly. For oily skin, a mattifying setting spray on the T-zone combined with a dewy spray on the cheeks gives the best of both worlds. Blotting papers used gently on the cheeks midday remove excess oil without disturbing the blush. With these steps, your jelly flush will survive from morning application through evening plans.
Jelly Blush for Oily Skin Types
Oily skin and jelly blush can absolutely work together with the right adjustments. Start with a mattifying primer on the T-zone and a lightweight, oil-free moisturizer so the skin is hydrated but not slick. Apply your foundation, then lightly set the perimeter of your face with translucent powder while leaving the cheek area dewy. This targeted approach controls shine where you do not want it while letting the blush glow where you do.
Choose jelly blush formulas labeled long-wear or transfer-resistant, because standard gel formulas can break down faster on oily skin. The powder-blush layering trick is especially valuable here, as the powder absorbs oil throughout the day and keeps the color anchored. Carry blotting papers and press them gently onto the cheeks if shine builds up, rather than adding more powder, which can dull the finish. With these tweaks, oily skin gets the same juicy flush without the midday meltdown.
Jelly Blush for Dry Skin Types
Dry skin is where jelly blush truly shines, because the hydrating gel formula adds moisture instead of clinging to flakes the way powder can. Prep is everything: layer a hydrating serum and a rich moisturizer, and consider a facial oil pressed into the cheeks for extra nourishment. Let everything absorb for a few minutes so the surface is smooth but still slightly supple. A hydrating primer with glycerin creates the ideal base for the gel to grip.
Skip powder entirely on the cheek area, or use only the tiniest amount of finely milled setting powder pressed in with a sponge. The dewy finish of jelly blush is your friend, so lean into it rather than fighting it. Cream or liquid highlighter layered over the blush adds even more luminosity. If any dry patches appear during the day, a spritz of hydrating facial mist revives the finish instantly. Dry skin types often find jelly blush lasts beautifully because there is no excess oil to break it down.
Fixing Common Jelly Blush Mistakes
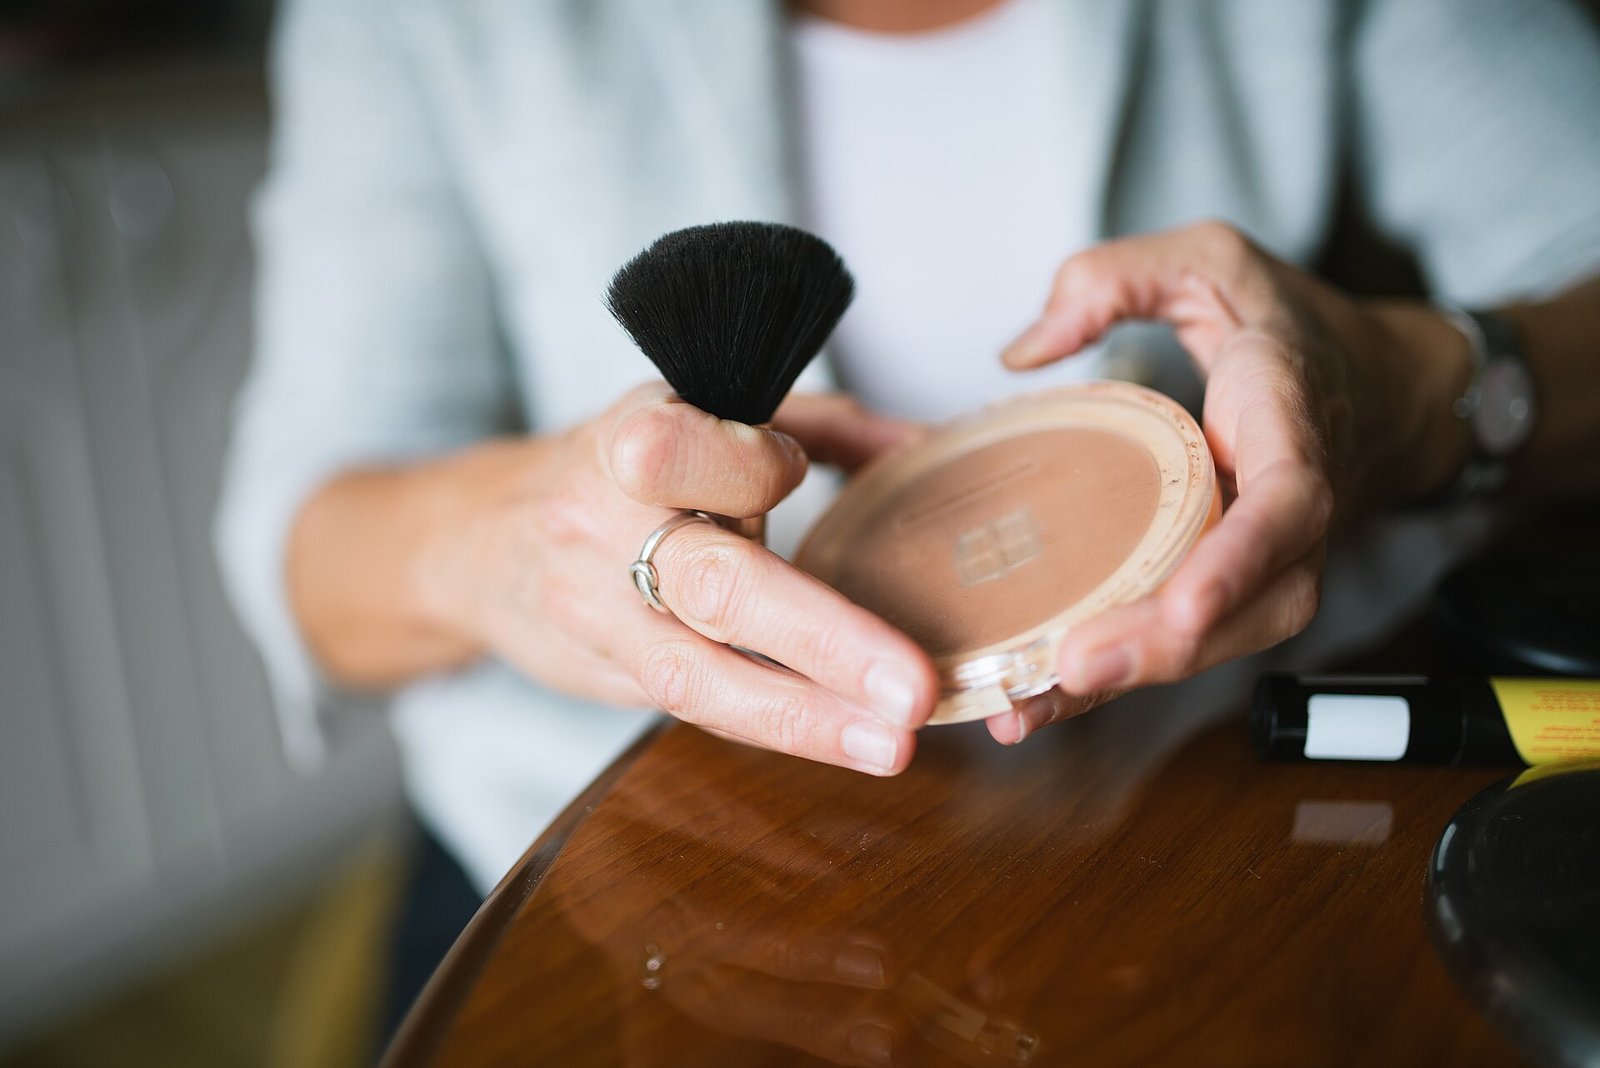
Patchiness is the number one jelly blush complaint, and it almost always comes from applying the product to skin that is too dry or too powdery. The fix is to mist the face lightly with setting spray and re-blend with a damp sponge, which reactivates the gel and evens it out. Applying blush over a fully set, powdered base is the root cause, so keep the cheek zone dewy from the start. Warming the product properly before application also prevents most patchiness.
Over-application is the second most common mistake. If your blush looks too intense, resist the urge to wipe it off, which disturbs your foundation. Instead, tap a small amount of foundation or concealer over the top with a sponge to sheer it out, or dust a touch of translucent powder to mute the color. Harsh edges can be diffused by tapping a clean fingertip around the perimeter. Remember that jelly blush looks stronger in indoor lighting and softer in daylight, so always do a final check near a window.
Jelly Blush Looks for Different Occasions
The versatility of jelly blush means one product can carry you from the office to a night out. For daytime and work, choose a soft neutral pink or peach, apply one sheer layer on the apples, and pair it with groomed brows and a tinted lip balm. The result is polished but effortless, the kind of makeup that looks like great skin. Keep the intensity low and the placement classic for professional settings.
For evening, deepen the look by layering a richer shade and extending the placement into a soft drape toward the temples. Add a touch of shimmer highlighter on the cheekbones and switch to a bolder lip in the same color family. For special events and photos, the powder-layering trick ensures the color reads on camera, since flash and bright lighting can wash out sheer blush. The same jelly blush, applied three different ways, gives you three completely different moods.
Drugstore vs Luxury Jelly Blush Formulas
The jelly blush category now spans every price point, and the good news is that excellent options exist at both ends. Drugstore jelly blushes have improved dramatically, offering bouncy textures, true-to-pan shades, and impressive wear for a fraction of luxury prices. They are perfect for experimenting with the trend or stocking multiple shades. Look for formulas with hyaluronic acid high on the ingredient list and packaging that keeps the gel hygienic.
Luxury jelly blushes typically offer more refined textures, more nuanced shade ranges, and elegant packaging, along with skincare-grade ingredients. The pigment dispersion in prestige formulas tends to be finer, which can mean even more seamless blending. That said, the performance gap has narrowed considerably, and many makeup artists reach for affordable jelly blushes in their kits. Buy the shade range you will actually wear rather than the prestige label, and invest the savings in a great setting spray.

Storing Your Jelly Blush Correctly
Jelly blush formulas need slightly different care than powder products to stay fresh and perform well. Always close the lid tightly after use, because the water-based gel can dry out and lose its bouncy texture if exposed to air. Store the product upright in a cool, dry place away from direct sunlight and heat, which can break down the gel structure and separate the formula. A makeup drawer or vanity organizer away from windows is ideal.
Use clean fingers or a clean spatula to pick up product, because introducing bacteria into a water-based formula shortens its life. If the surface develops a slight film, that is usually just dried product, and you can gently wipe it away with a clean tissue to reveal fresh gel underneath. Most jelly blushes last six to twelve months after opening. If the texture becomes grainy, the smell changes, or the color separates and will not remix, it is time to replace it.
Removing Jelly Blush at the End of the Day
Proper removal protects your skin and keeps the stain-like pigments in jelly blush from lingering. Start with an oil-based cleanser or cleansing balm, massaging it over the cheeks for a full sixty seconds. Oil dissolves the gel formula and its pigments far more effectively than water-based cleansers alone. You will see the color melt away as you massage, which is deeply satisfying and a sign the product is fully breaking down.
Follow with your regular water-based cleanser for a thorough double cleanse, making sure to work along the hairline and jawline where blush can migrate. If a faint tint remains, which can happen with deeper berry shades, a gentle exfoliating toner or a micellar water on a cotton pad will lift the last traces. Finish with your nighttime skincare routine. Never sleep in jelly blush, because the pigments and any fragrance in the formula can irritate skin overnight and stain your pillowcase.

Your Jelly Blush Routine: Putting It All Together
You now have every technique from this jelly blush makeup tutorial in your toolkit, so let us assemble the complete routine. Prep with skincare and a dewy primer, apply your base while keeping the cheeks powder-free, then warm the jelly blush between your fingertips. Tap it onto the apples of your cheeks, blend outward with no visible edges, and build in thin layers until you reach your desired intensity. Layer highlighter on the high points, set with a fine mist, and finish with a coordinating lip.
The real secret to mastering jelly blush is practice and observation. Try the technique a few times and notice how the color wears on your skin, how many layers give your ideal flush, and which placement flatters your face most. Take a photo in natural light to check your work objectively. Once you find your formula, this entire routine takes under five minutes and delivers that coveted juicy, lit-from-within glow every single time. Your cheeks will thank you.

I am Talha Sikandar, a professional writer with a passion for general blogging. With years of experience in content writing and research, I founded Meaniingly.com to deliver well-researched, informative, and user-friendly articles on diverse topics.