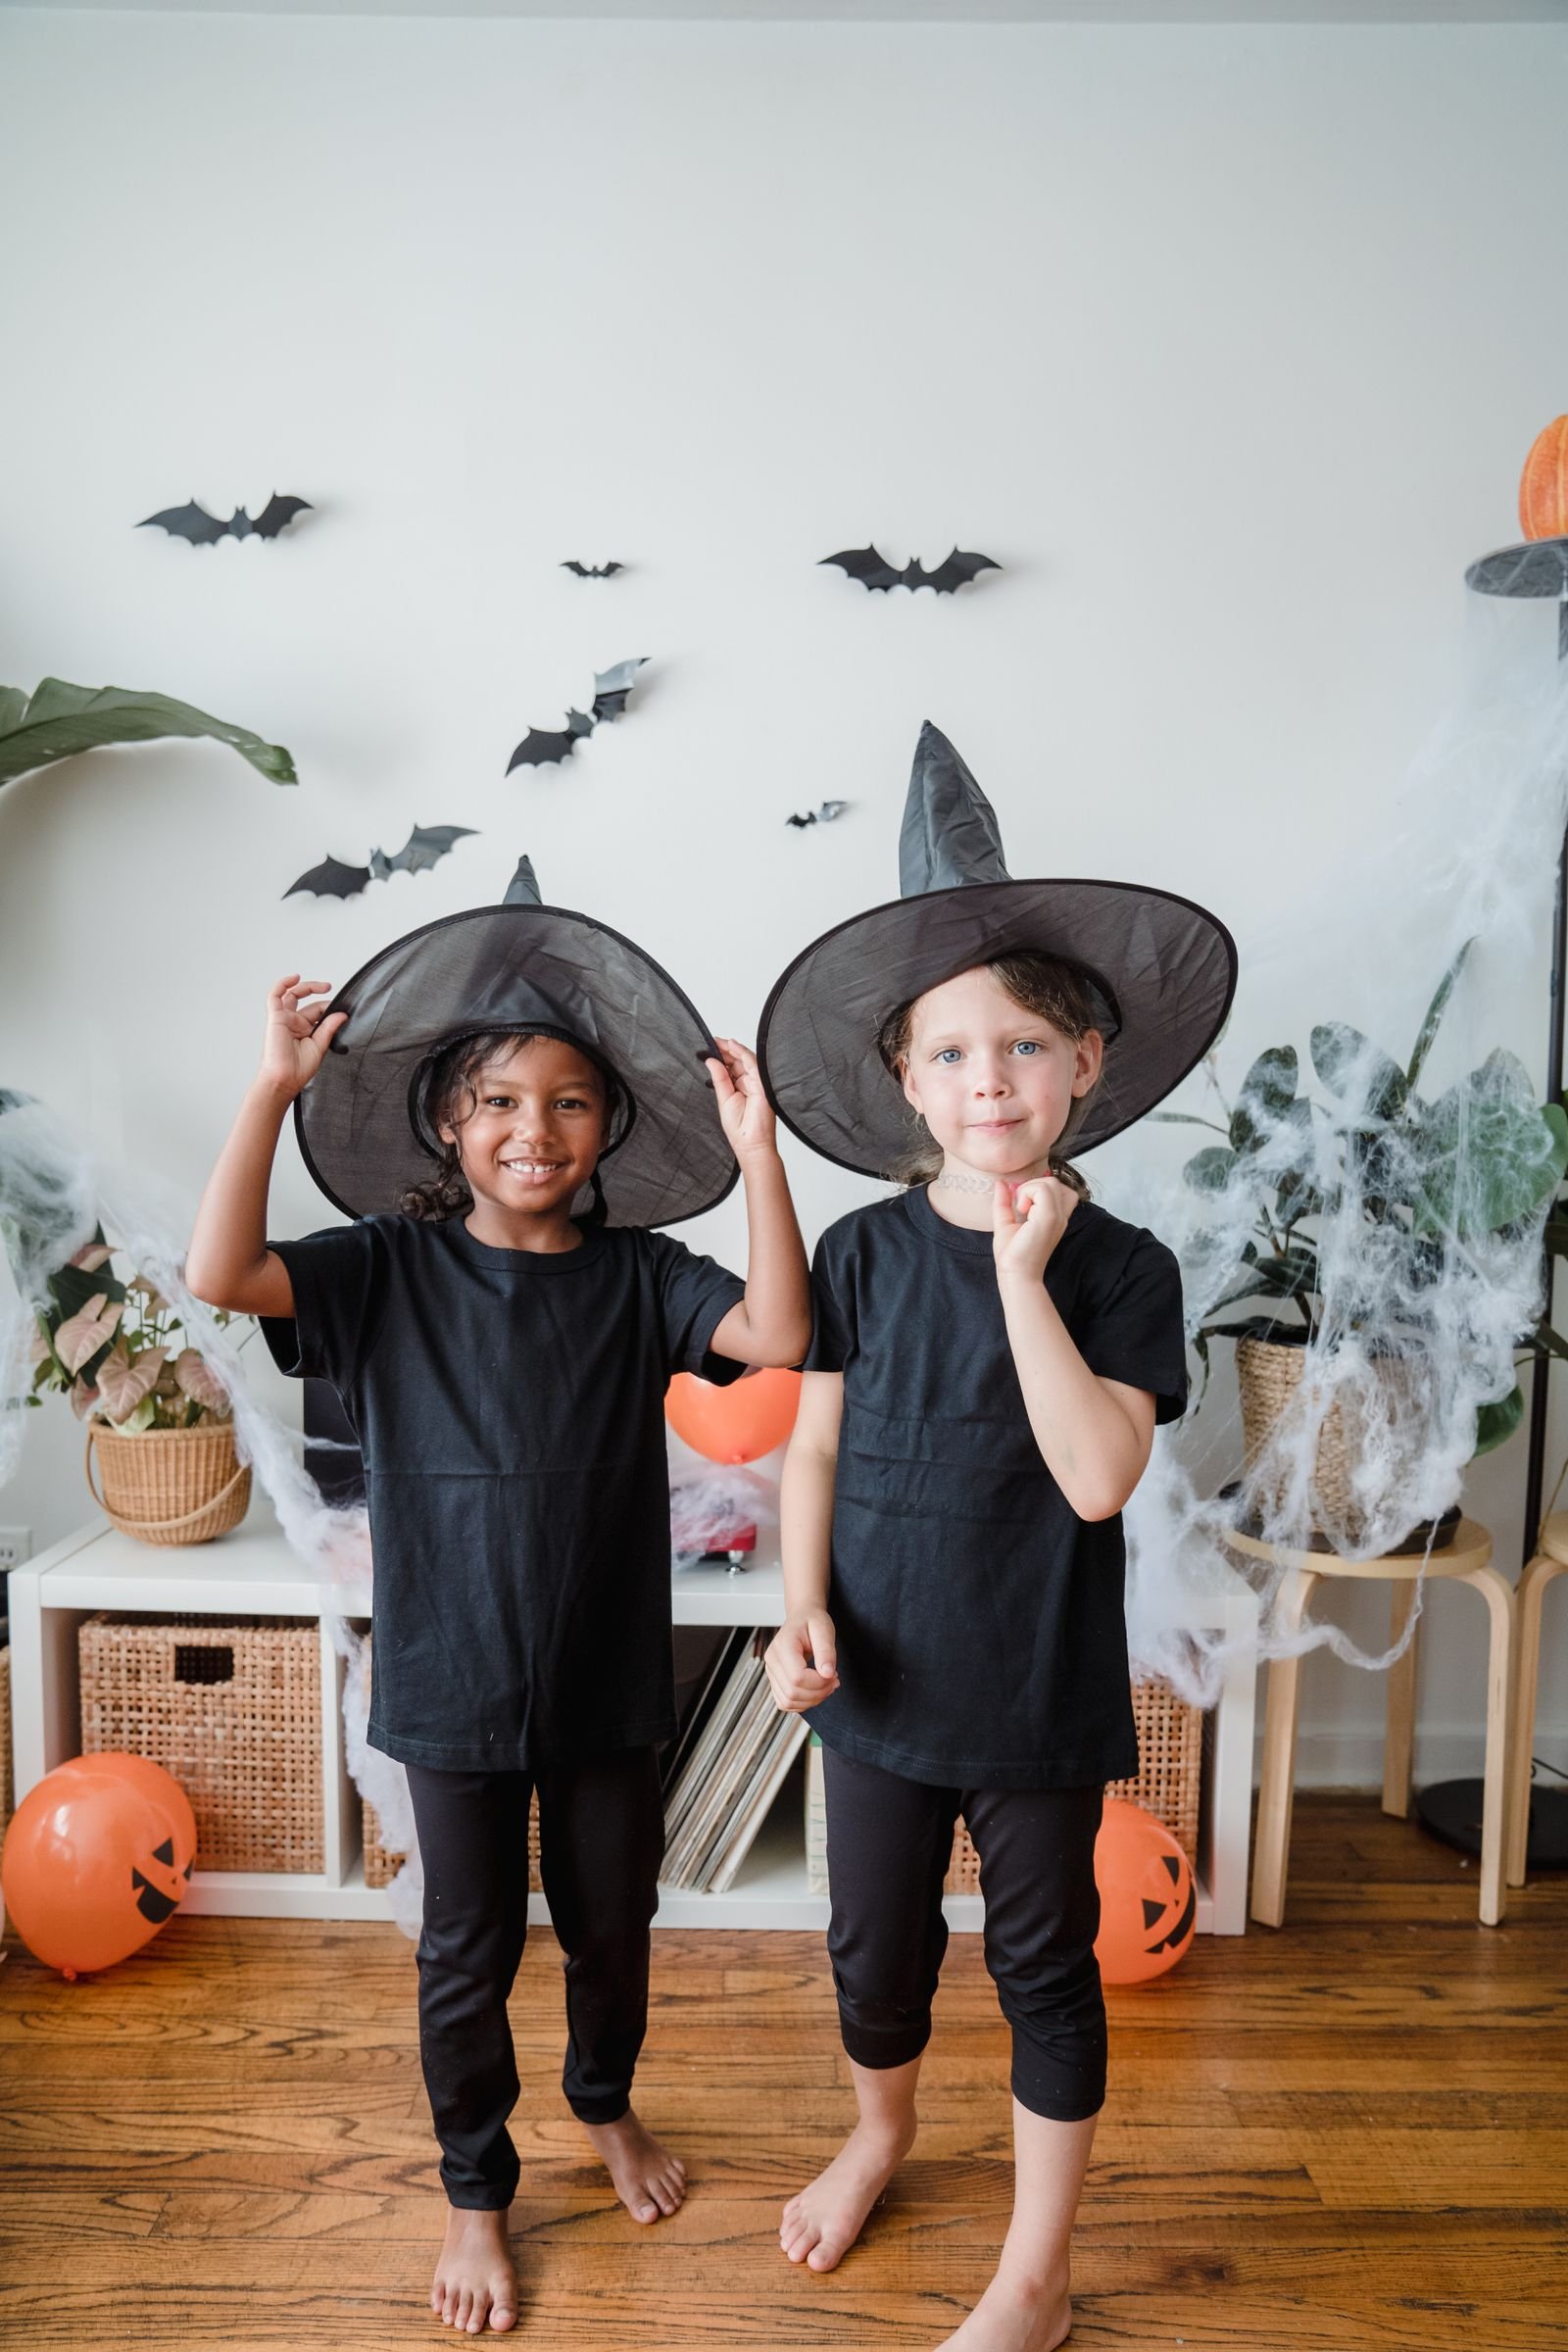
halloween crafts for kids ideas
Halloween crafting is one of the best ways to build excitement for the spooky season while keeping little hands busy and imaginations running wild. From paper pumpkins and friendly ghosts to handprint bats and glowing lanterns, kid-friendly Halloween crafts use simple, inexpensive materials — most of which you already have at home — and suit a wide range of ages and skill levels. The twenty ideas in this guide are organised from the easiest toddler-safe projects to more involved crafts for older children, with tips on materials, mess control, and how long each project typically takes. Every craft doubles as decoration, a costume accessory, or a party activity, so nothing you make goes to waste. Grab the glue sticks and orange card — here is your complete craft plan for October, with the ideal ages and basic supplies noted for every project. Most use materials you already have at home, keeping costs low and preparation simple.
1. Paper Plate Pumpkins
Paper plate pumpkins are the perfect first Halloween craft for toddlers and preschoolers, requiring nothing more than a paper plate, orange paint, and a green paper stem. Let children paint the plate entirely orange — finger painting works brilliantly for the youngest crafters — then glue on a brown or green paper stem and a curly pipe-cleaner vine once it dries. Older children can add triangle eyes and a jagged mouth cut from black card to make a jack-o’-lantern face. The whole project takes about twenty minutes plus drying time, and the finished pumpkins look wonderful strung together as a garland across a mantelpiece — hang them at child height so little ones can admire their work.
2. Handprint Ghost Garland
Trace little hands onto white paper or card, cut them out, and turn each handprint into a ghost by drawing two eyes and an oval mouth with black marker — the fingers become the ghost’s wavy bottom edge. This craft captures a keepsake of tiny hands while producing genuinely cute decorations, and children love seeing their own handprint transformed. Punch a hole in the top of each ghost, thread them onto string or ribbon, and hang the garland across a doorway or window. For a party activity, set up a tracing station where each guest makes their own ghost to take home. Use washable markers so little artists can decorate freely without worry, and laminate a few favourites to reuse them year after year — write each child’s name and the year on the back.
3. Toilet Roll Bats
Empty toilet rolls are craft gold, and turning them into bats takes about fifteen minutes with paint, paper, and googly eyes. Paint the roll black or wrap it in black paper, then cut bat wings from black card and glue them to the sides. Add googly eyes and small white paper fangs for a friendly — not frightening — finish that suits younger children. Hang the bats from the ceiling with string at different heights to create a swooping bat cave effect in a hallway or bedroom. To make a whole colony, collect rolls for a week beforehand, and let each child design their bat’s expression — sleepy, surprised, or silly — with a dab of glow paint on the wings for after dark.
4. Candy Corn Treat Bags
Turn plain white paper bags into candy corn treat bags with three simple bands of paint or coloured paper: orange at the bottom, yellow in the middle, and white at the top. Children can sponge-paint the bands for a textured effect, then fill the bags with sweets for trick-or-treat night or party favours. Add a drawn or sticker face to each bag to give it personality — sleepy eyes and a small smile work well. This is an ideal classroom craft because the materials cost pennies per child and the finished bags are genuinely useful. Make them a day or two before Halloween so the paint fully dries, and tuck a handwritten label inside each one. Fill the bags on party morning so sweets stay fresh and paper stays crisp.
5. Spooky Silhouette Window Art
Black paper silhouettes of haunted houses, cats, witches, and bare trees look spectacular taped to windows with the light behind them. Draw or print simple silhouette templates, let children cut them out — older kids can handle the detail, while younger ones manage simple bat and moon shapes — and stick them to windowpanes with small loops of tape. From outside at night, the glowing windows look professionally decorated. For an easier version, use black contact paper or vinyl shapes that peel off cleanly. This craft doubles as house decoration that lasts the whole month of October with zero maintenance — peel the shapes off carefully in November and store them flat to reuse.
6. Pinecone Owls for Autumn Displays
Collect pinecones on an autumn walk and transform them into wide-eyed owls with felt wings, googly eyes, and a small orange beak. Glue two large googly eyes near the top of the pinecone, cut wing shapes from brown felt for the sides, and add tiny feet cut from orange card at the base. The natural texture of the pinecone makes each owl unique, and children love the foraging part as much as the crafting. Display the finished owls on a nature table alongside conkers and colourful leaves, or perch them on bookshelves. A dab of white paint on the pinecone tips can suggest a snowy October owl, and a twig perch makes a charming base.
7. Trick-or-Treat Bucket Decorating
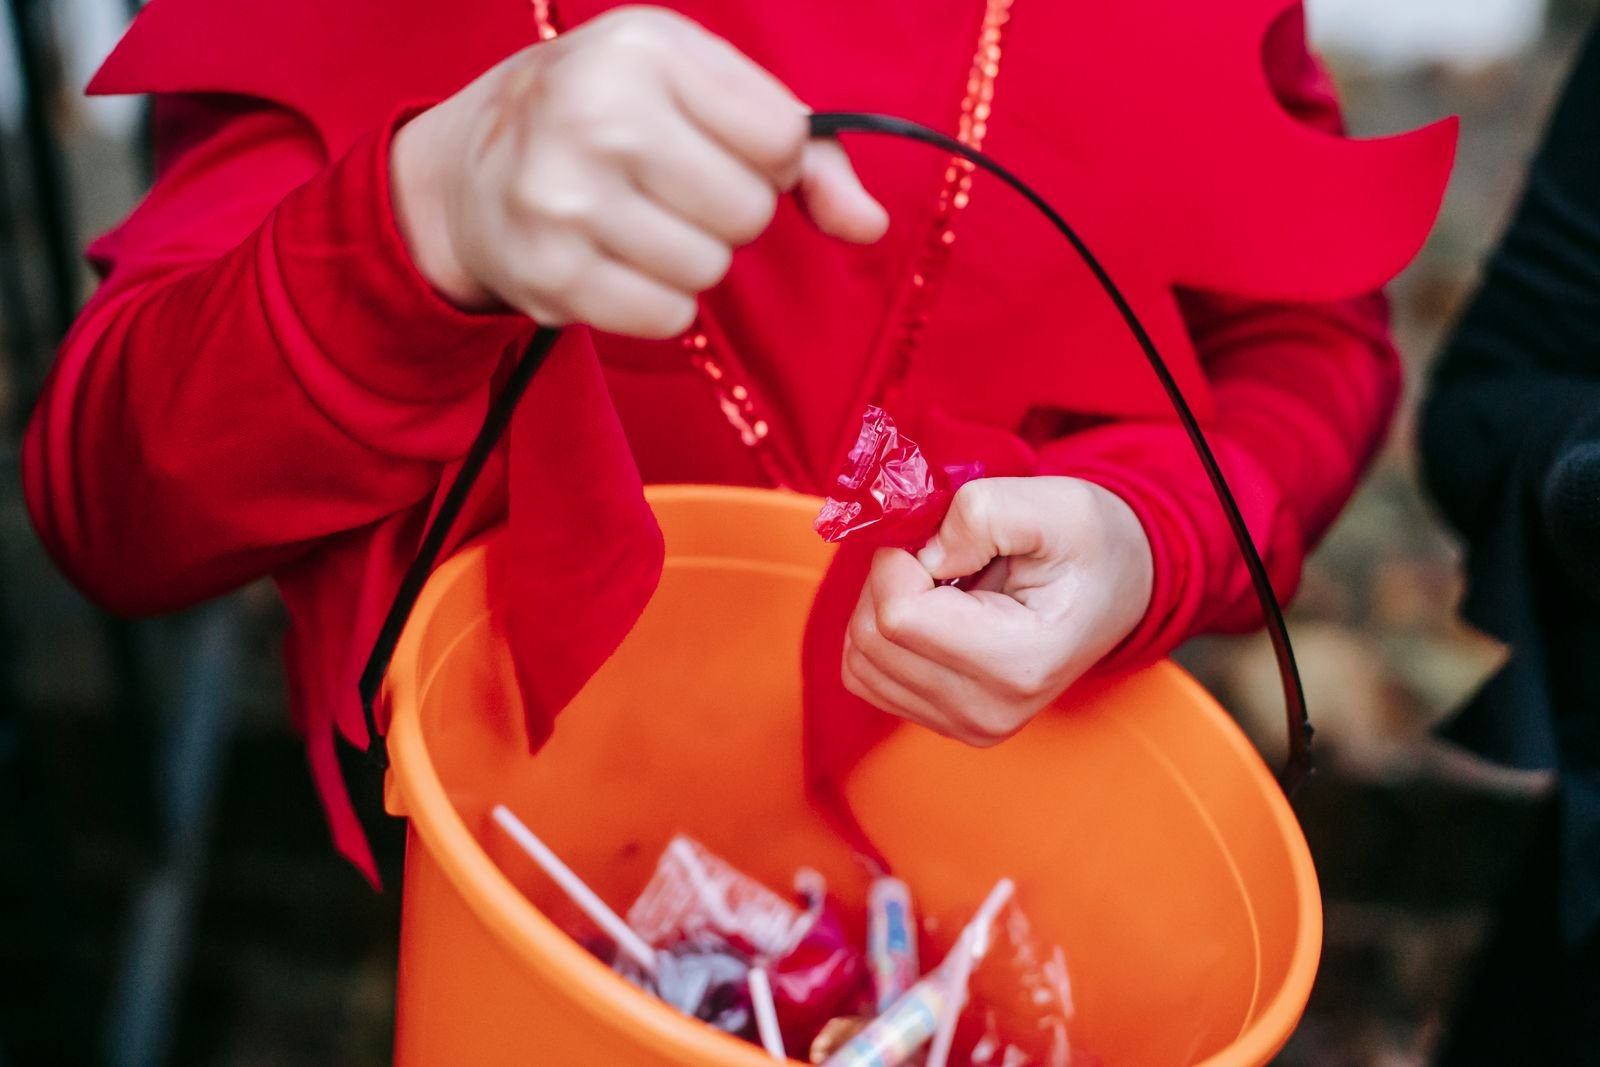
Give plain buckets or bags a personal touch by letting children decorate their own trick-or-treat carriers with stickers, foam shapes, and paint pens. Orange plastic buckets from the pound shop become canvases for spider stickers, glow-in-the-dark stars, and each child’s name in glittery letters. Decorating the bucket the weekend before Halloween builds anticipation and helps younger children feel ownership of the big night. Add a strip of reflective tape around the rim for visibility after dark — a practical safety upgrade that looks like decoration. Let each child choose their own colour scheme so the bucket feels truly theirs, and stick their initial in big foam letters on the front so buckets never get mixed up.
8. No-Carve Decorated Pumpkins
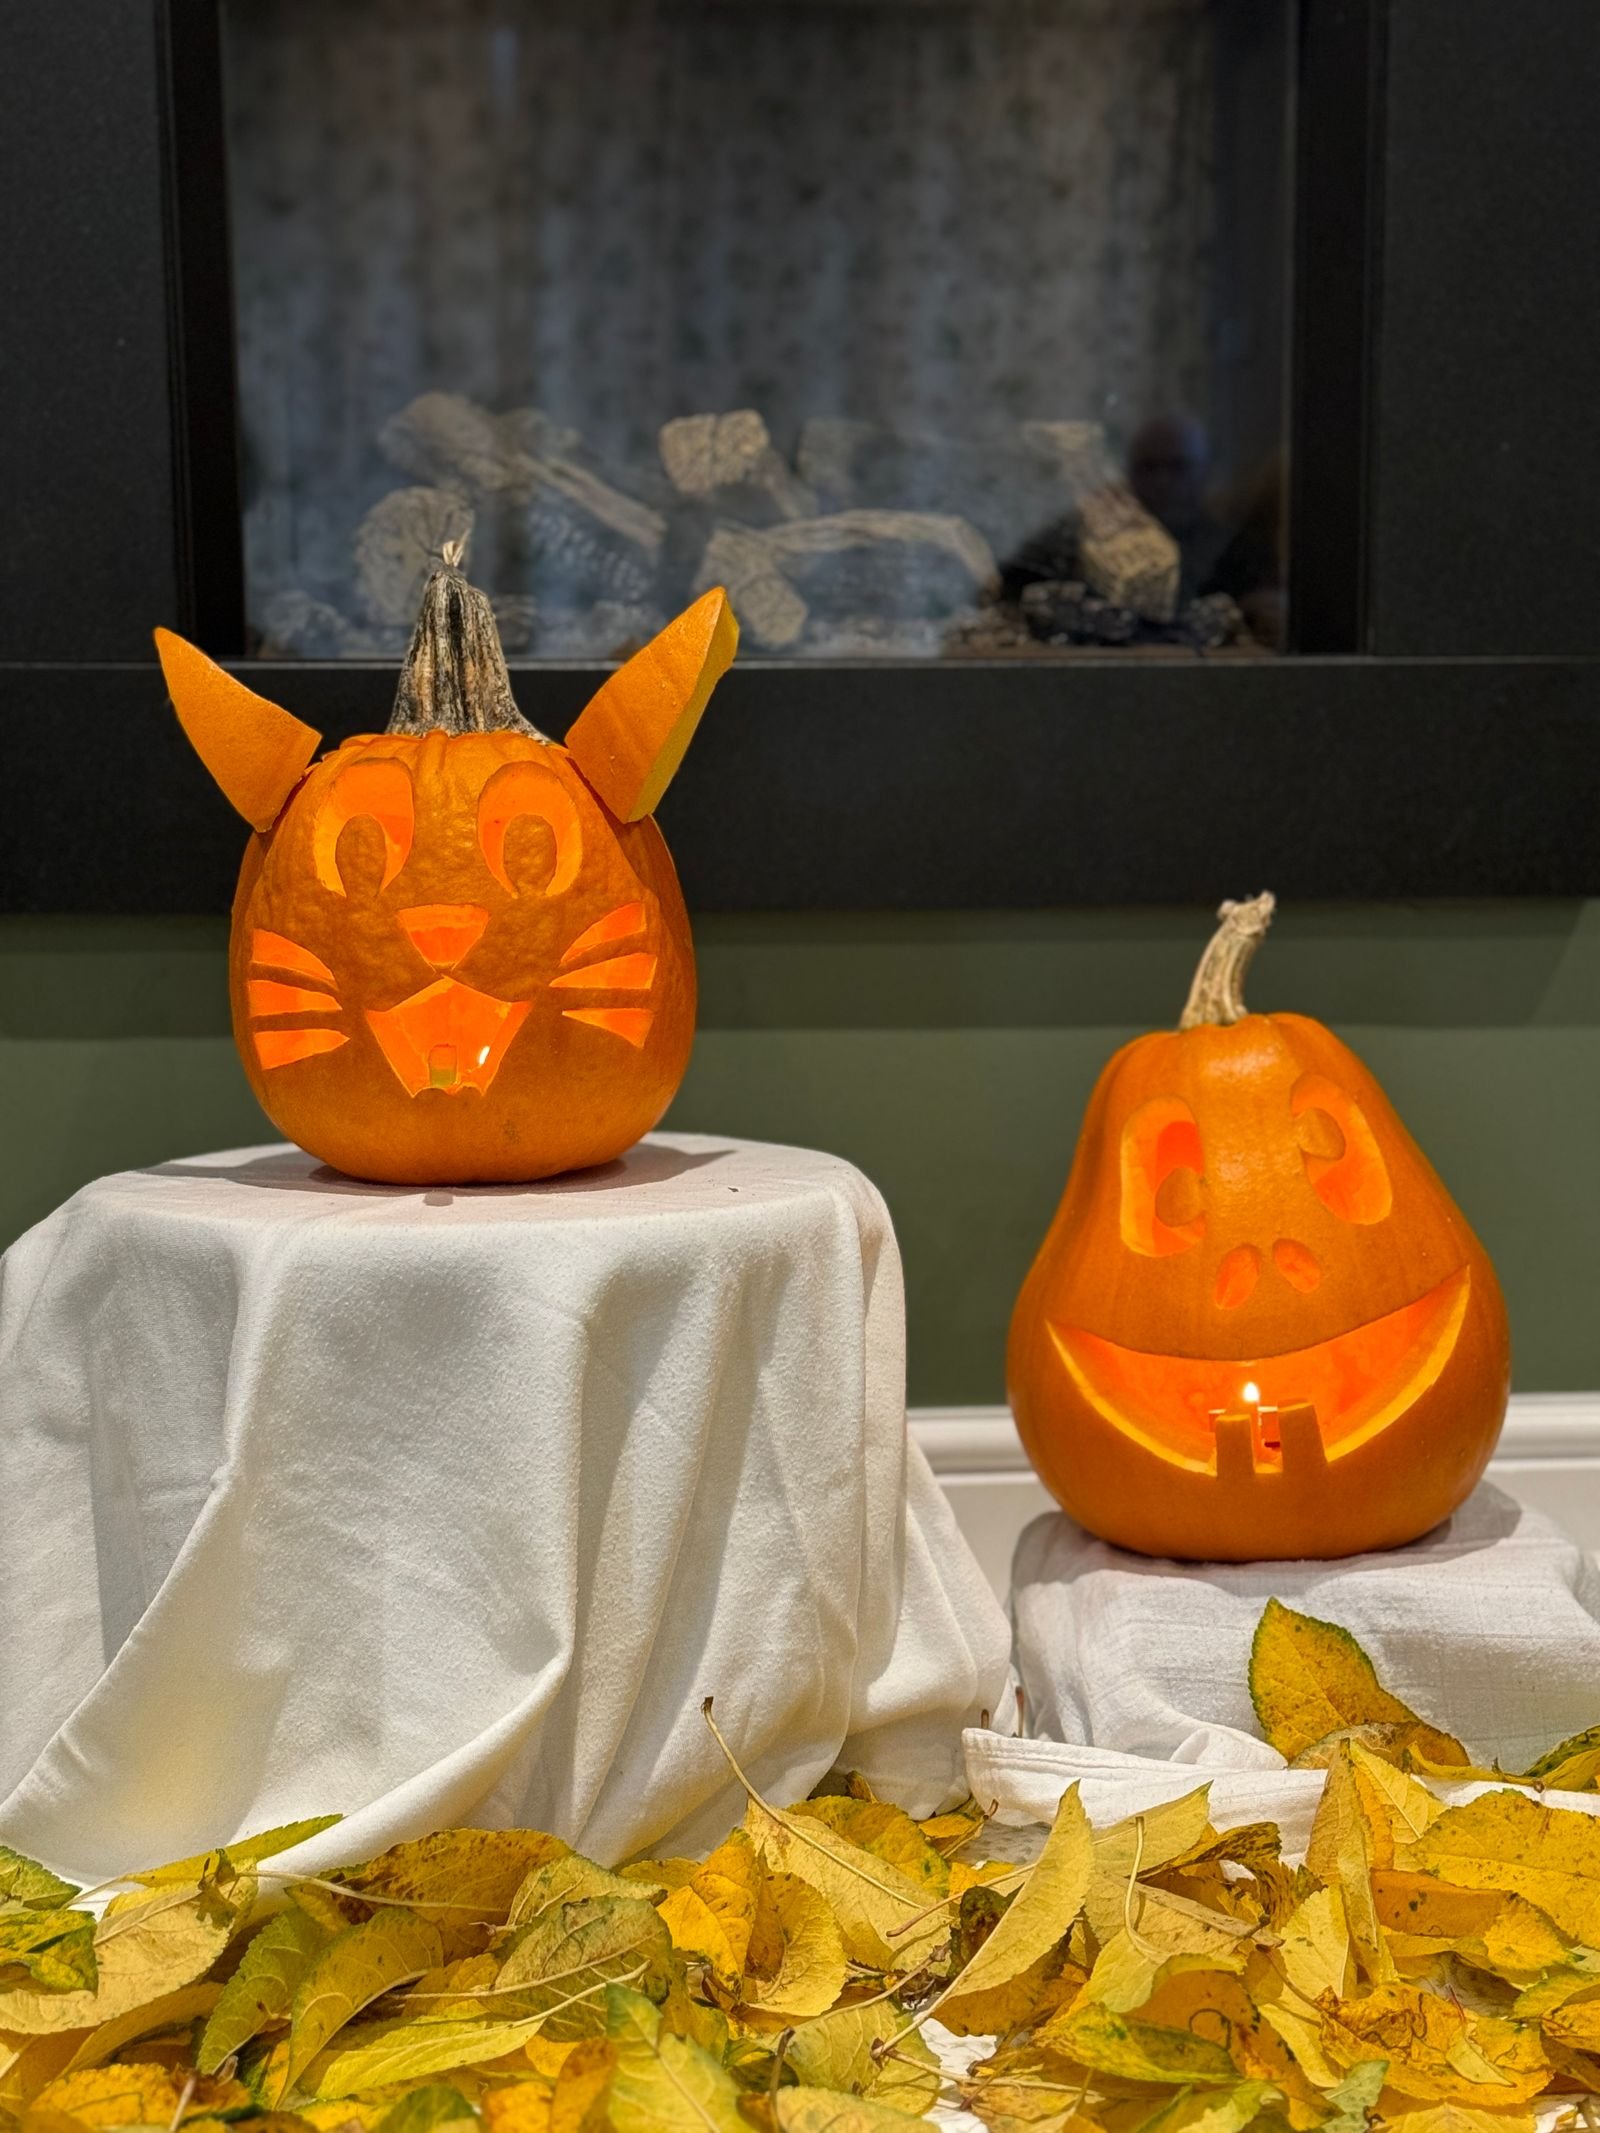
Skip the knives entirely and let children decorate pumpkins with paint, stickers, and accessories instead of carving. Washable poster paint, adhesive foam shapes, googly eyes, and stick-on jewels turn any pumpkin into a character — a mummy wrapped in white crepe paper, a monster with pipe-cleaner arms, or a glittery unicorn pumpkin for children who prefer cute to creepy. No-carve pumpkins are safer for all ages, last longer than carved ones, and the decorations peel off so the pumpkin can be cooked afterwards. Set up a decorating station with a wipeable tablecloth and let creativity run free — then photograph each finished pumpkin as a keepsake before the big night.
9. Pumpkin Carving with Stencils (Older Kids)
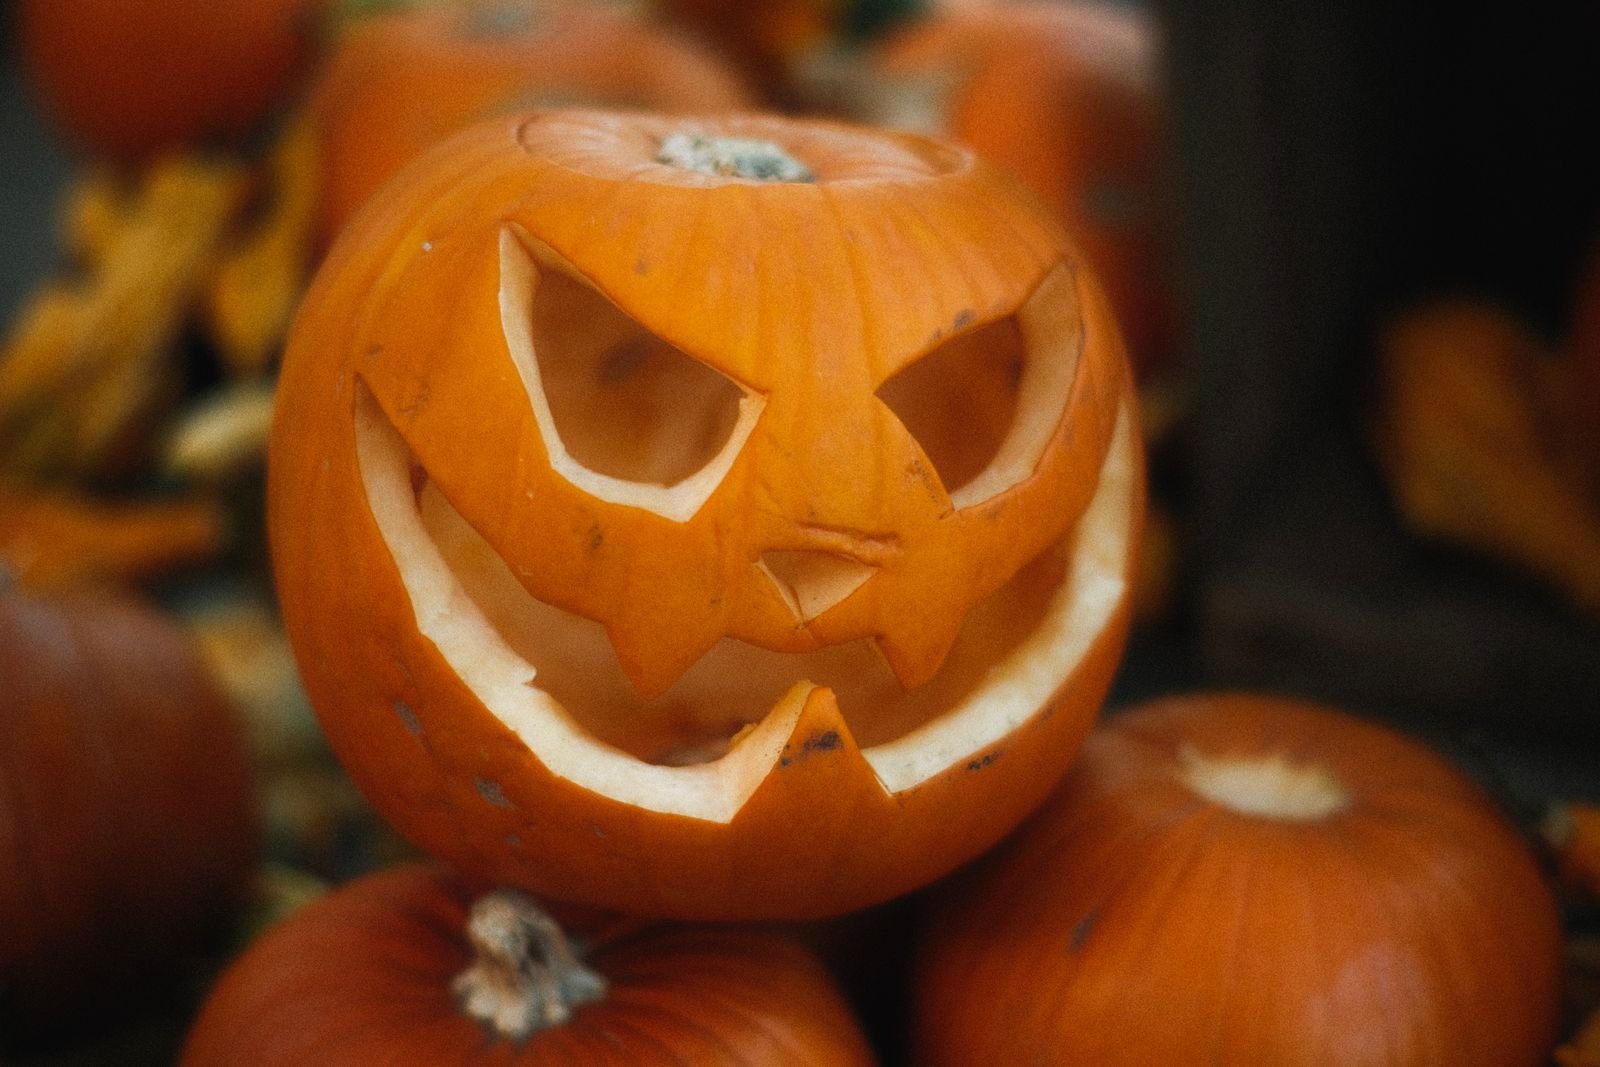
For children aged eight and up, supervised pumpkin carving with printed stencils is a beloved Halloween tradition. Choose simple stencil designs — stars, moons, and simple faces — rather than intricate patterns that frustrate young carvers. An adult should always handle the initial top cut and the heavy scooping; children can use child-safe carving saws for the detail work. Tape the stencil to the pumpkin, poke the outline with a pin, then saw along the dots. Scoop the seeds together and roast them with salt for a tasty snack. Always carve on a stable surface with good lighting, and rub petroleum jelly on cut edges to keep the pumpkin fresh.
10. Egg Carton Spiders
Cut individual cups from a cardboard egg carton, paint them black, and add eight pipe-cleaner legs poked through the sides for instantly recognisable spiders. Googly eyes on the front complete the look, and a length of string turns each spider into a hanging decoration. This craft teaches resourcefulness — a would-be rubbish item becomes a decoration — and the pipe-cleaner legs are great for developing fine motor skills as children thread and bend them. Make spiders in different sizes by using cups from different parts of the carton, and dangle them from doorframes with fake webbing stretched between. Paint a few purple or green for a whimsical colony.
11. DIY Costume Masks from Card
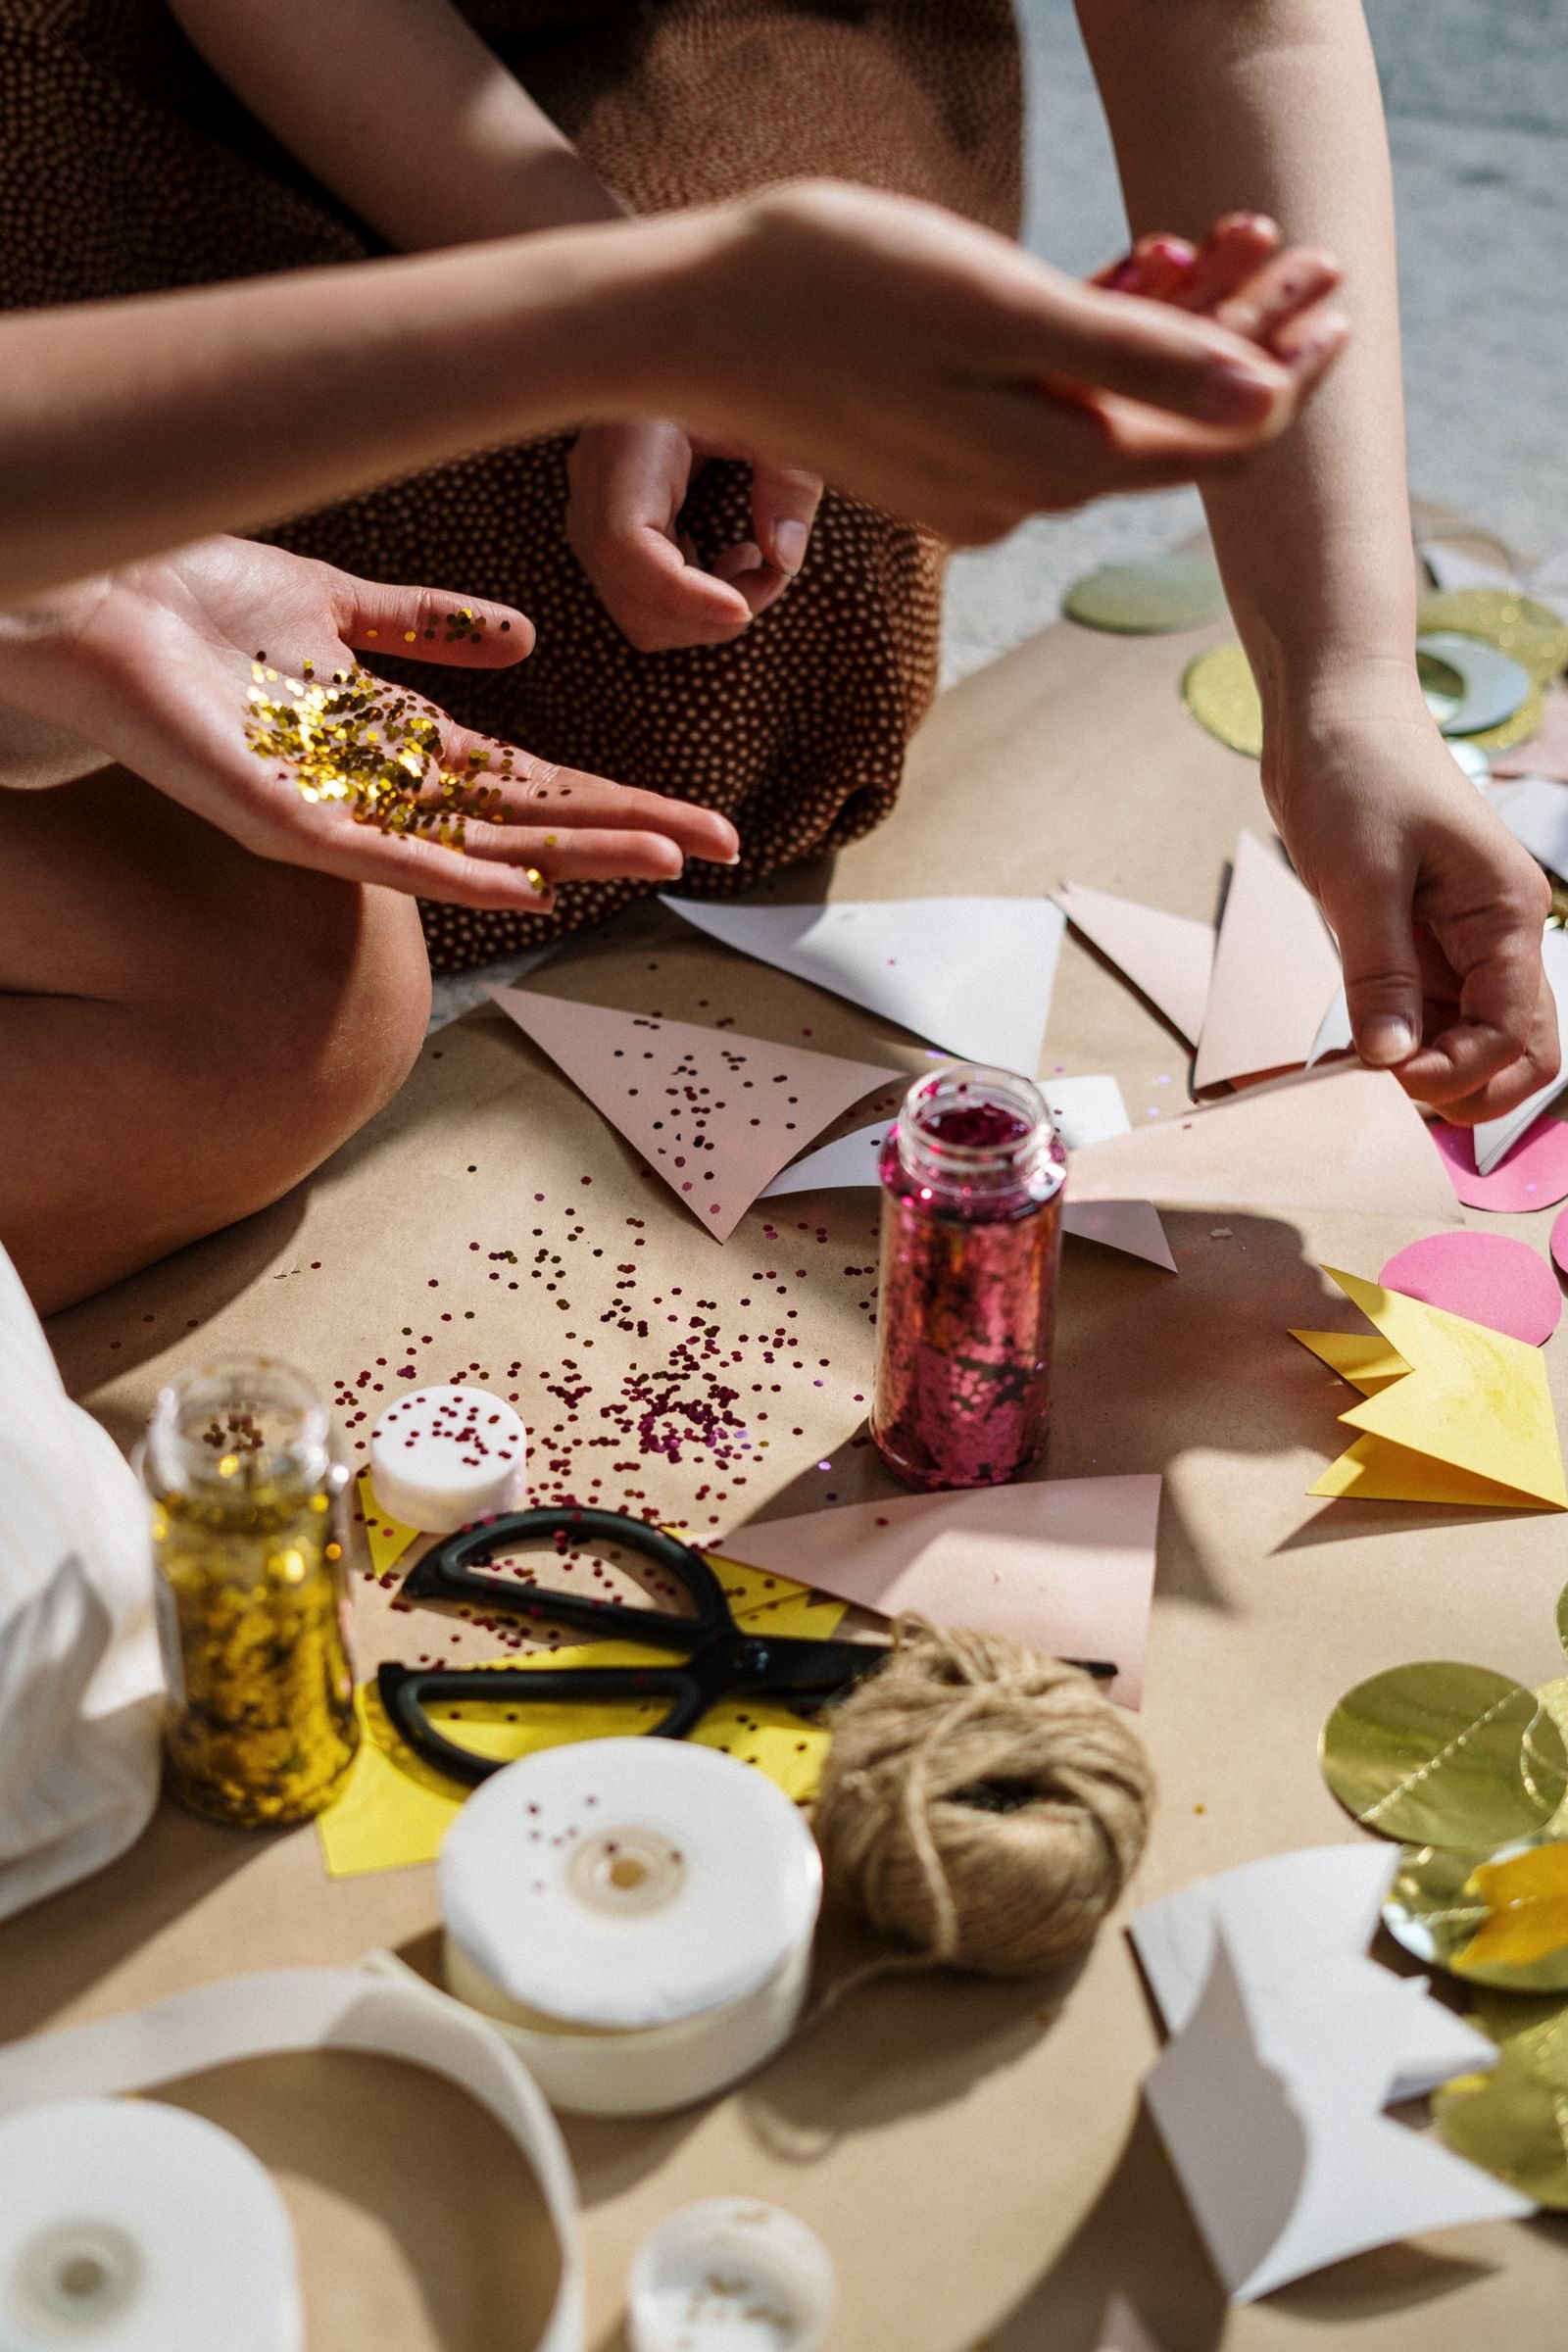
A sturdy card mask, decorated with paint, feathers, and glitter, can complete a homemade costume for a fraction of shop-bought prices. Cut a mask shape from thin cardboard using a printable template, then let children decorate it as a cat, owl, fox, or superhero. Attach elastic or a stick handle so the mask stays comfortable all evening. Reinforce the eye holes with a second layer of card so the mask survives a night of trick-or-treating. This is a wonderful rainy-day project in the week before Halloween, and making the mask themselves gives children extra pride in their costume. Punch the eye holes slightly large so vision stays clear while trick-or-treating, and decorate both sides of the mask so it looks finished from every angle.

12. Glow-in-the-Dark Slime
Homemade slime gets a Halloween upgrade with glow-in-the-dark paint or powder mixed into the classic glue-and-activator recipe. The standard method — PVA glue, a little water, and contact lens solution with bicarbonate of soda as activator — is safe and reliable; add neon food colouring and glow powder for the spooky effect. Charge the slime under a bright lamp, then turn off the lights for the big reveal. Store it in sealed jars labelled with spooky names like “witch’s brew” or “monster snot” for party favours. Always supervise young children and keep slime away from fabrics and carpets — make a fresh batch on party morning for maximum glow.
13. Party Bunting and Table Decorations
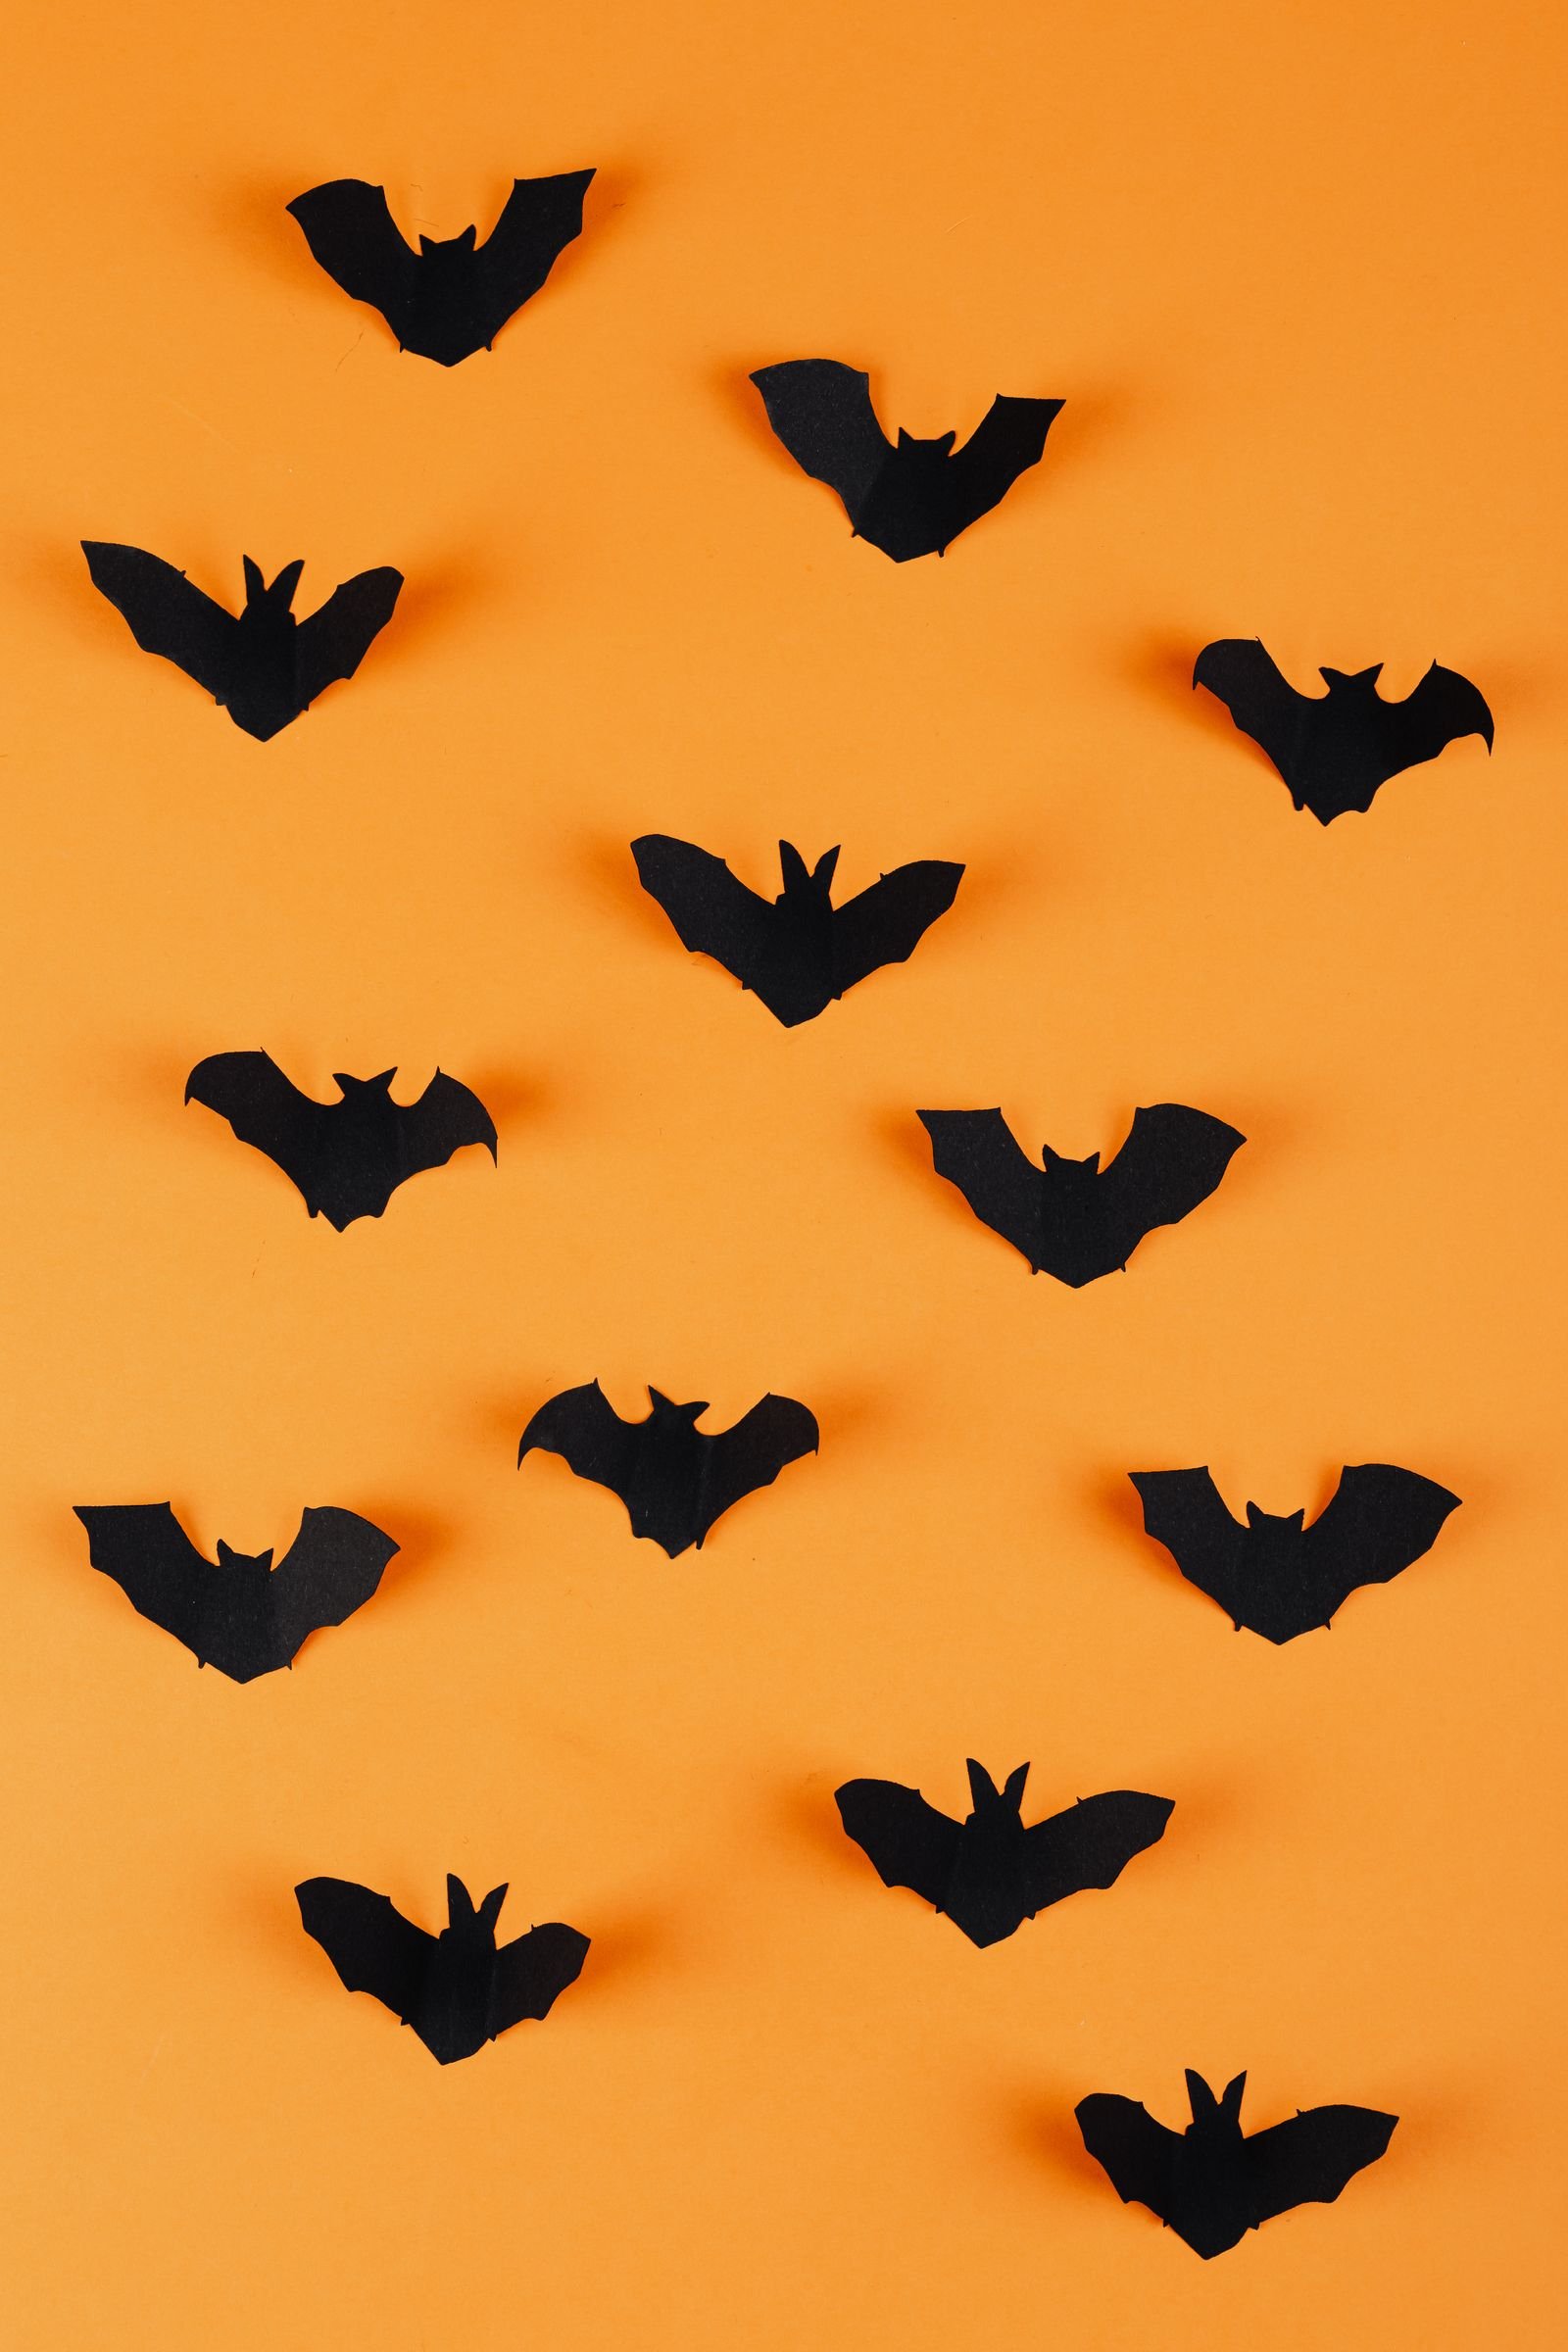
Let children make the party decorations themselves with Halloween bunting cut from orange, black, and purple card. Triangle flags strung on ribbon, each decorated with a drawn pumpkin, ghost, or bat, look fantastic and cost almost nothing. Extend the theme to the table: wrap jars in orange tissue paper for glowing tealight holders (battery tealights only), and scatter paper confetti bats over the tablecloth. Involving children in decorating gives them ownership of the celebration and keeps them occupied on party day. The bunting folds flat and stores easily for next year — let children sign their favourite flag as a keepsake, and weave battery fairy lights along the string for evening glow.
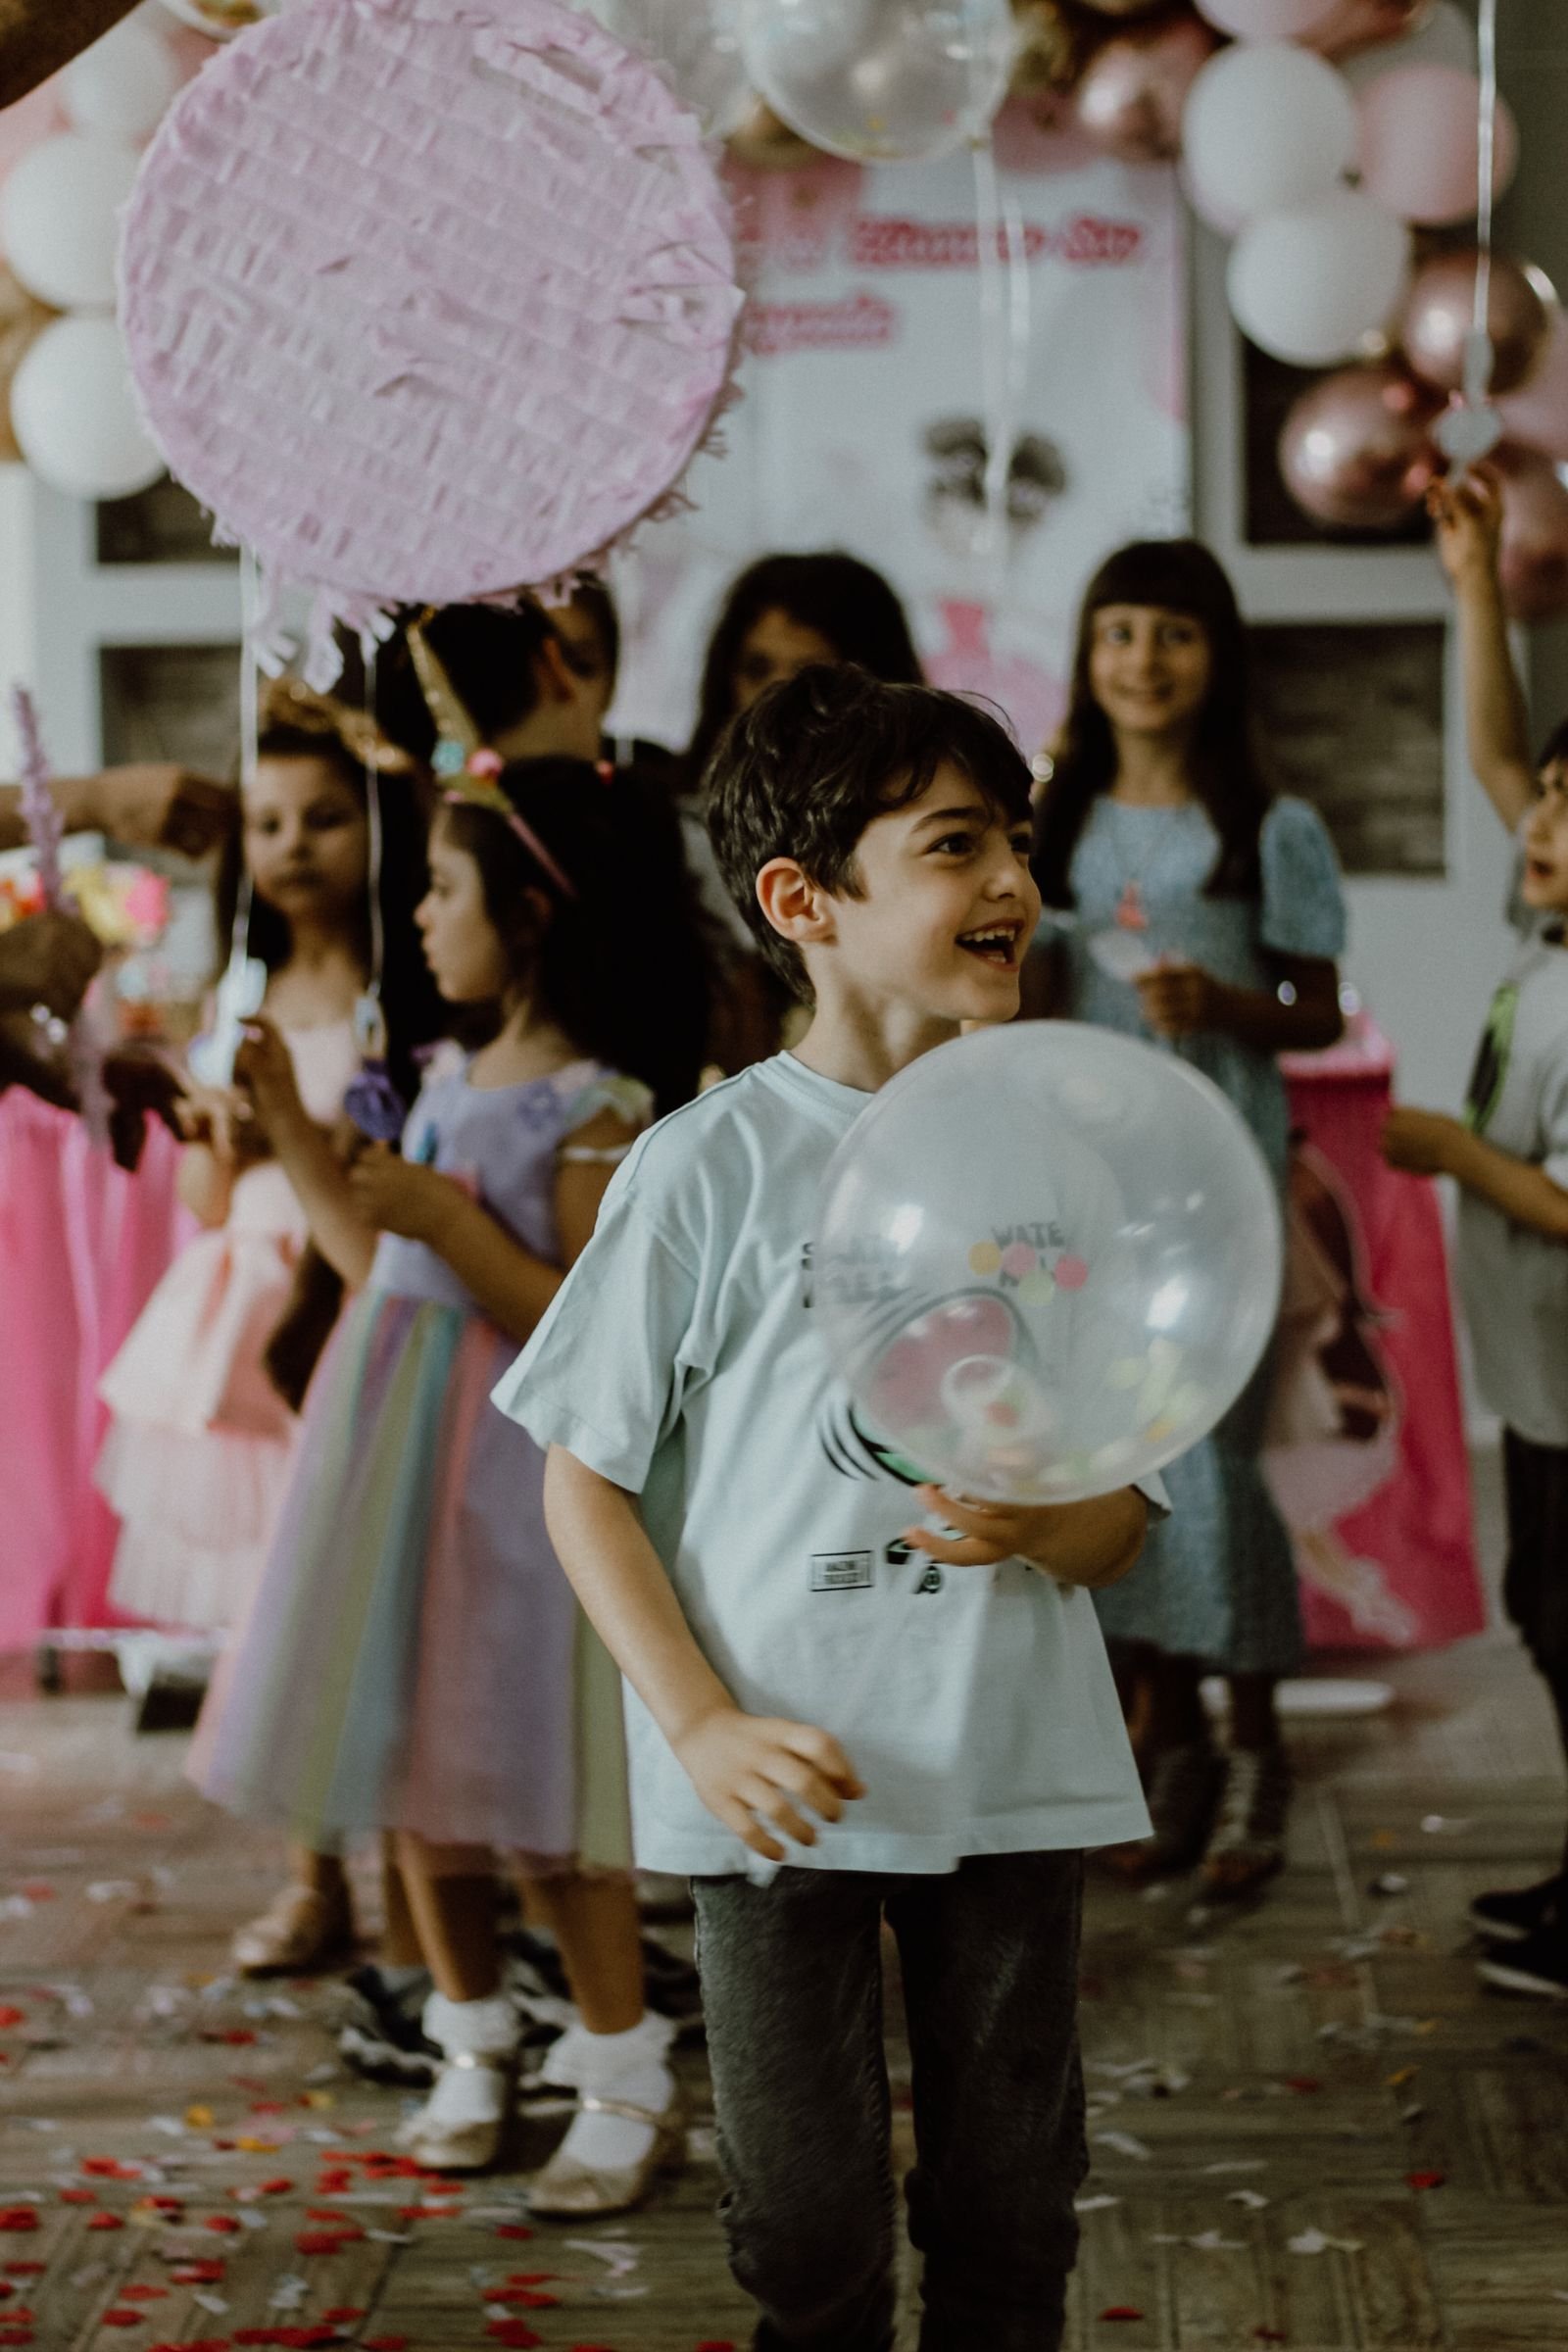
14. Sugar Skull Masks for Day of the Dead
Introduce children to the Mexican Day of the Dead tradition by decorating sugar skull mask templates with bright colours and floral patterns. Print skull outlines on card and provide felt-tip pens, stick-on jewels, and small paper flowers so children can create symmetrical, celebratory designs. Use this craft as a gentle way to talk about how different cultures remember loved ones — the tone is joyful remembrance, not fear. Display the finished masks on a shelf with marigold-coloured tissue paper flowers. Keep designs respectful by focusing on the traditional bright, floral style, and pair the craft with hot chocolate for a fuller experience.

15. Leaf Ghosts from the Garden
Large fallen leaves become adorable ghosts with a coat of white paint and two black dot eyes. Collect big, flat leaves — sycamore and maple work best — press them under books for a day so they lie flat, then paint them white on both sides. Once dry, add simple faces with black marker and thread them onto string for a natural ghost garland. This craft combines an autumn nature walk with indoor creativity, costs nothing, and the results are charmingly rustic. Press a few extra leaves to make ghost greeting cards for grandparents by gluing them onto folded card, Seal finished leaf ghosts with hairspray to prevent crumbling — this is a lovely way to combine an autumn nature walk with an afternoon of crafting.
16. Paper Pumpkin Garland
Accordion-folded strips of orange paper make delightful 3D pumpkins when glued into rings and stacked. Cut several strips of orange card, fold each into an accordion, glue the ends to form a circle, then layer two or three circles together and add a green paper stem and a curly pipe-cleaner vine. Children can assemble these independently once shown the folding technique, making it a great classroom or rainy-day production line. String the finished pumpkins along ribbon with paper leaves between them for a full autumn garland. Vary the strip widths to create pumpkins in different sizes, or alternate orange and black paper for extra contrast.
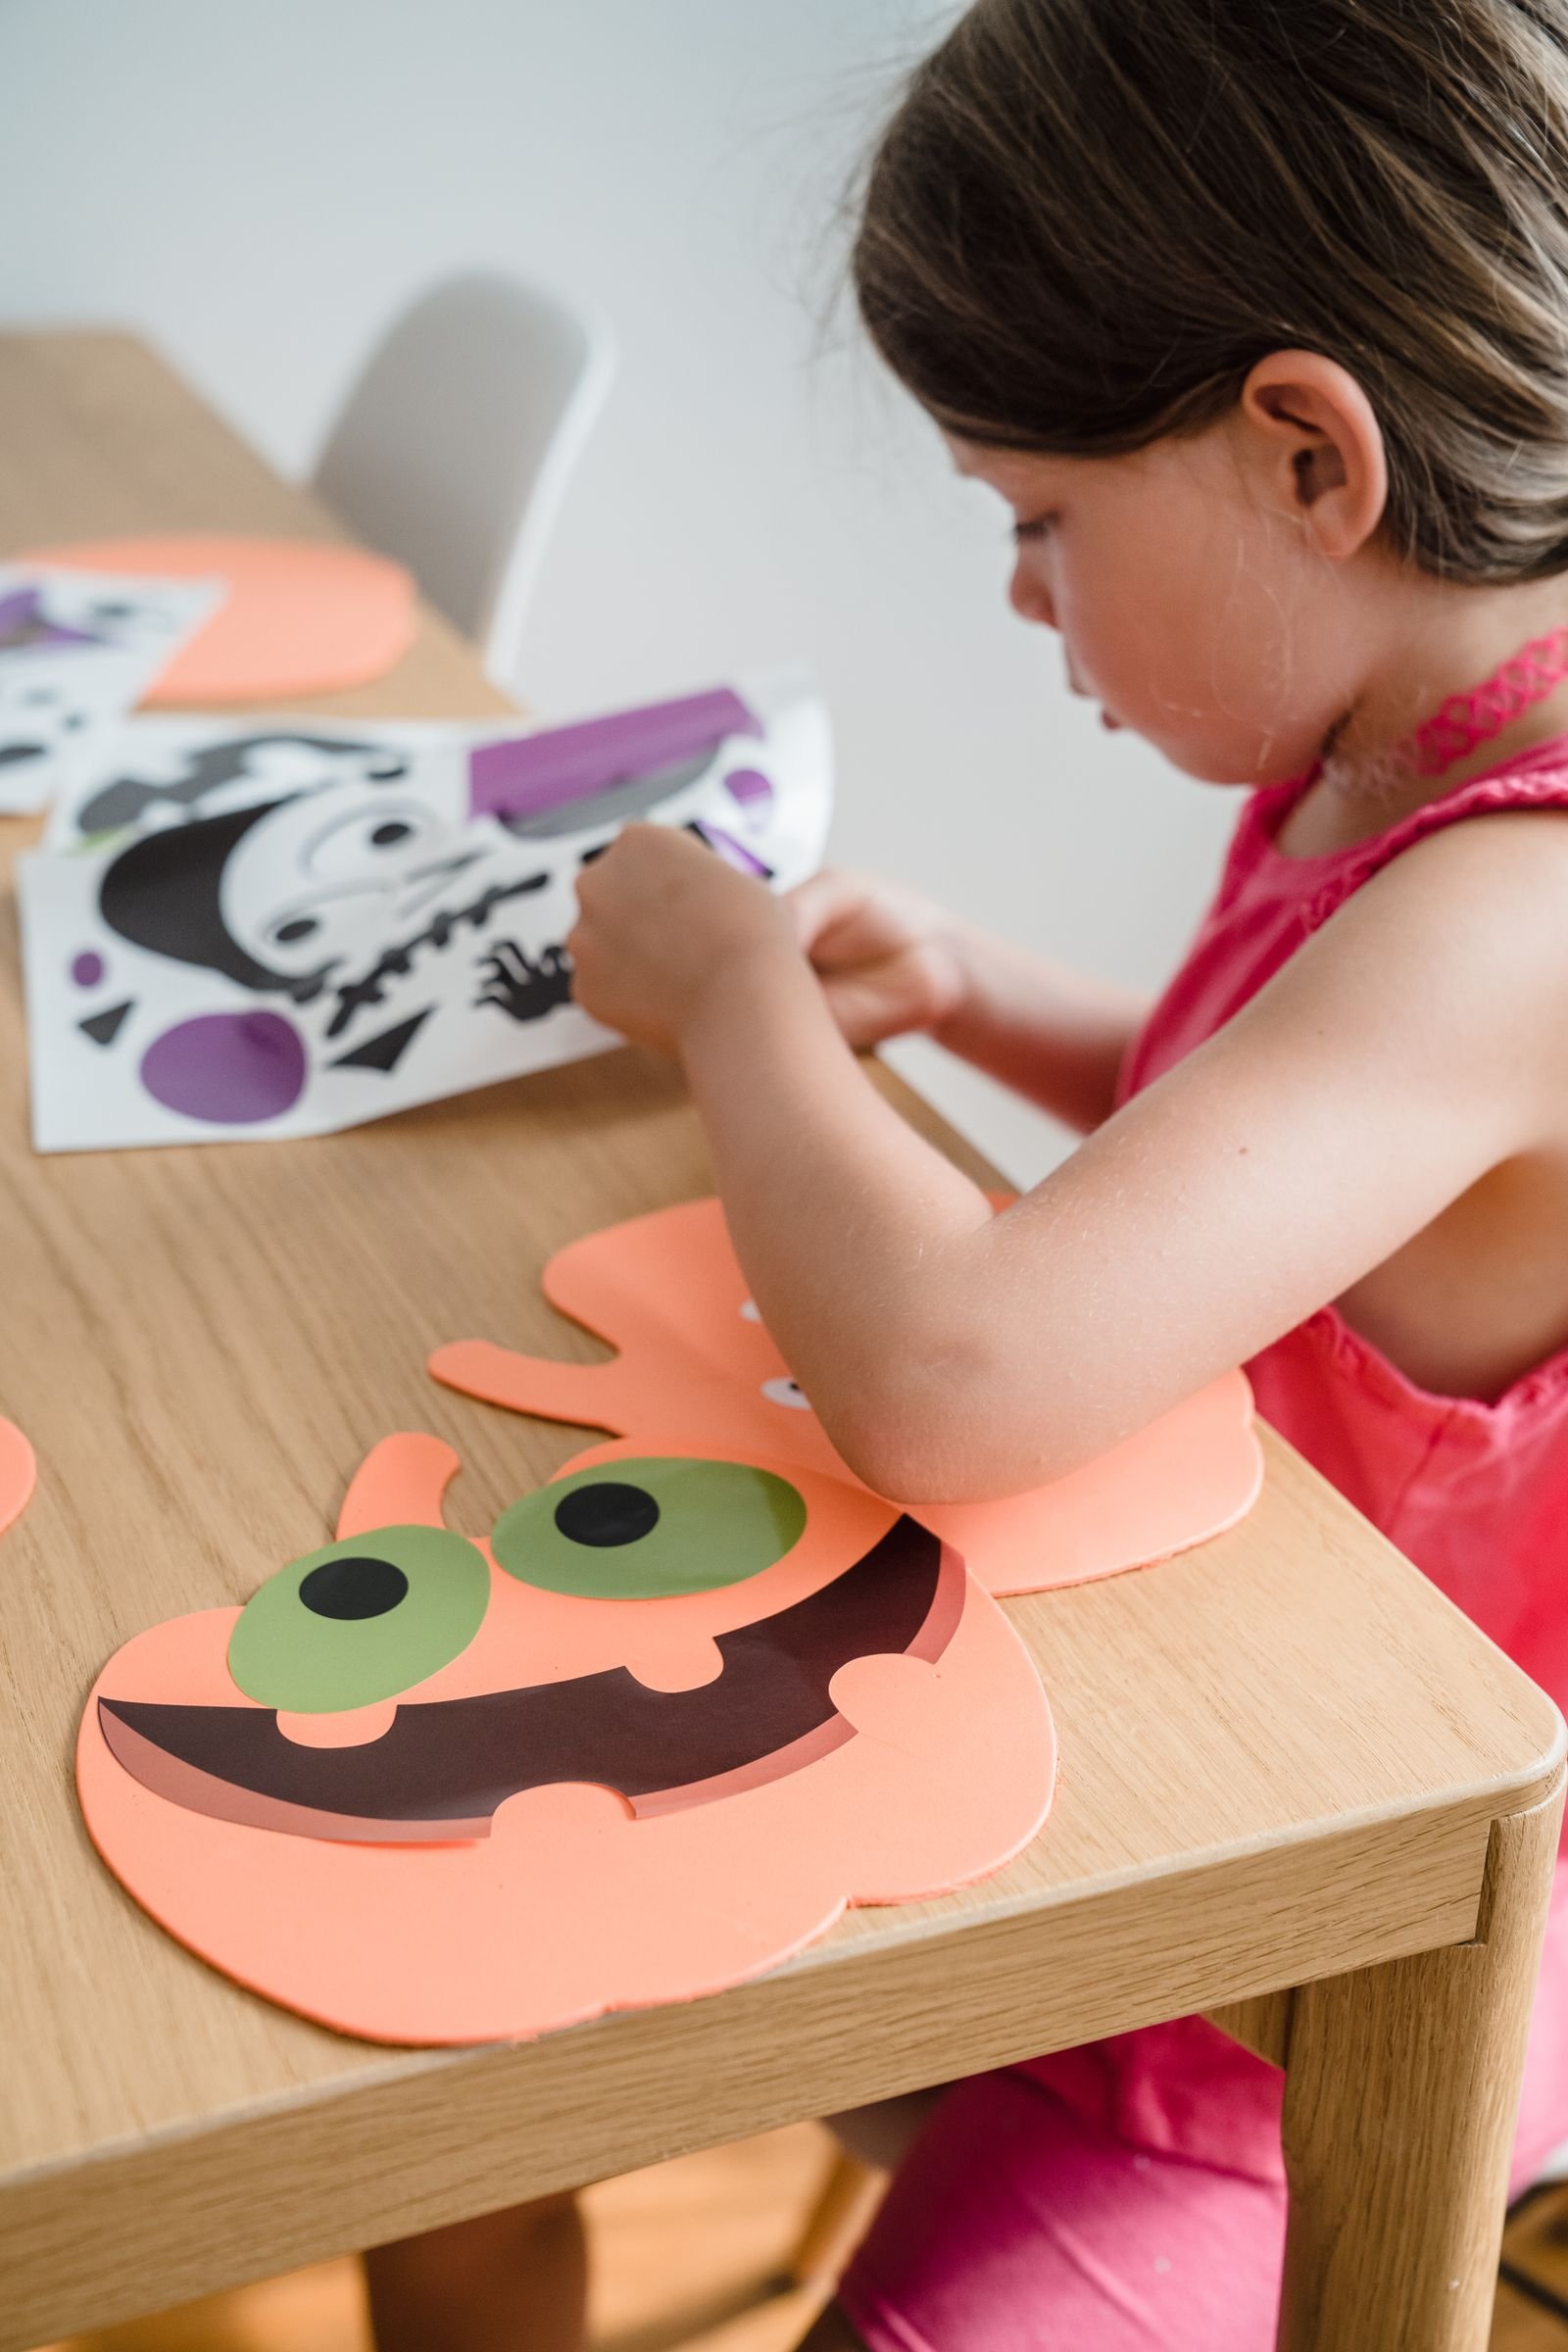
17. 3D Paper Pumpkin Centrepieces
For a slightly more advanced paper craft, cut ten identical pumpkin shapes from orange card, fold each in half, and glue the halves back-to-back to form a spherical 3D pumpkin. This technique teaches symmetry and patience, and the finished pumpkins look impressively professional — perfect as table centrepieces for a Halloween party. Add a cinnamon stick as the stem for a lovely seasonal scent, and tie a raffia bow around it. Older children can manage the gluing independently; younger ones can decorate pre-glued pumpkins with stickers and faces. Make them in white and green too for variety, and cluster graduated sizes for a professional display.
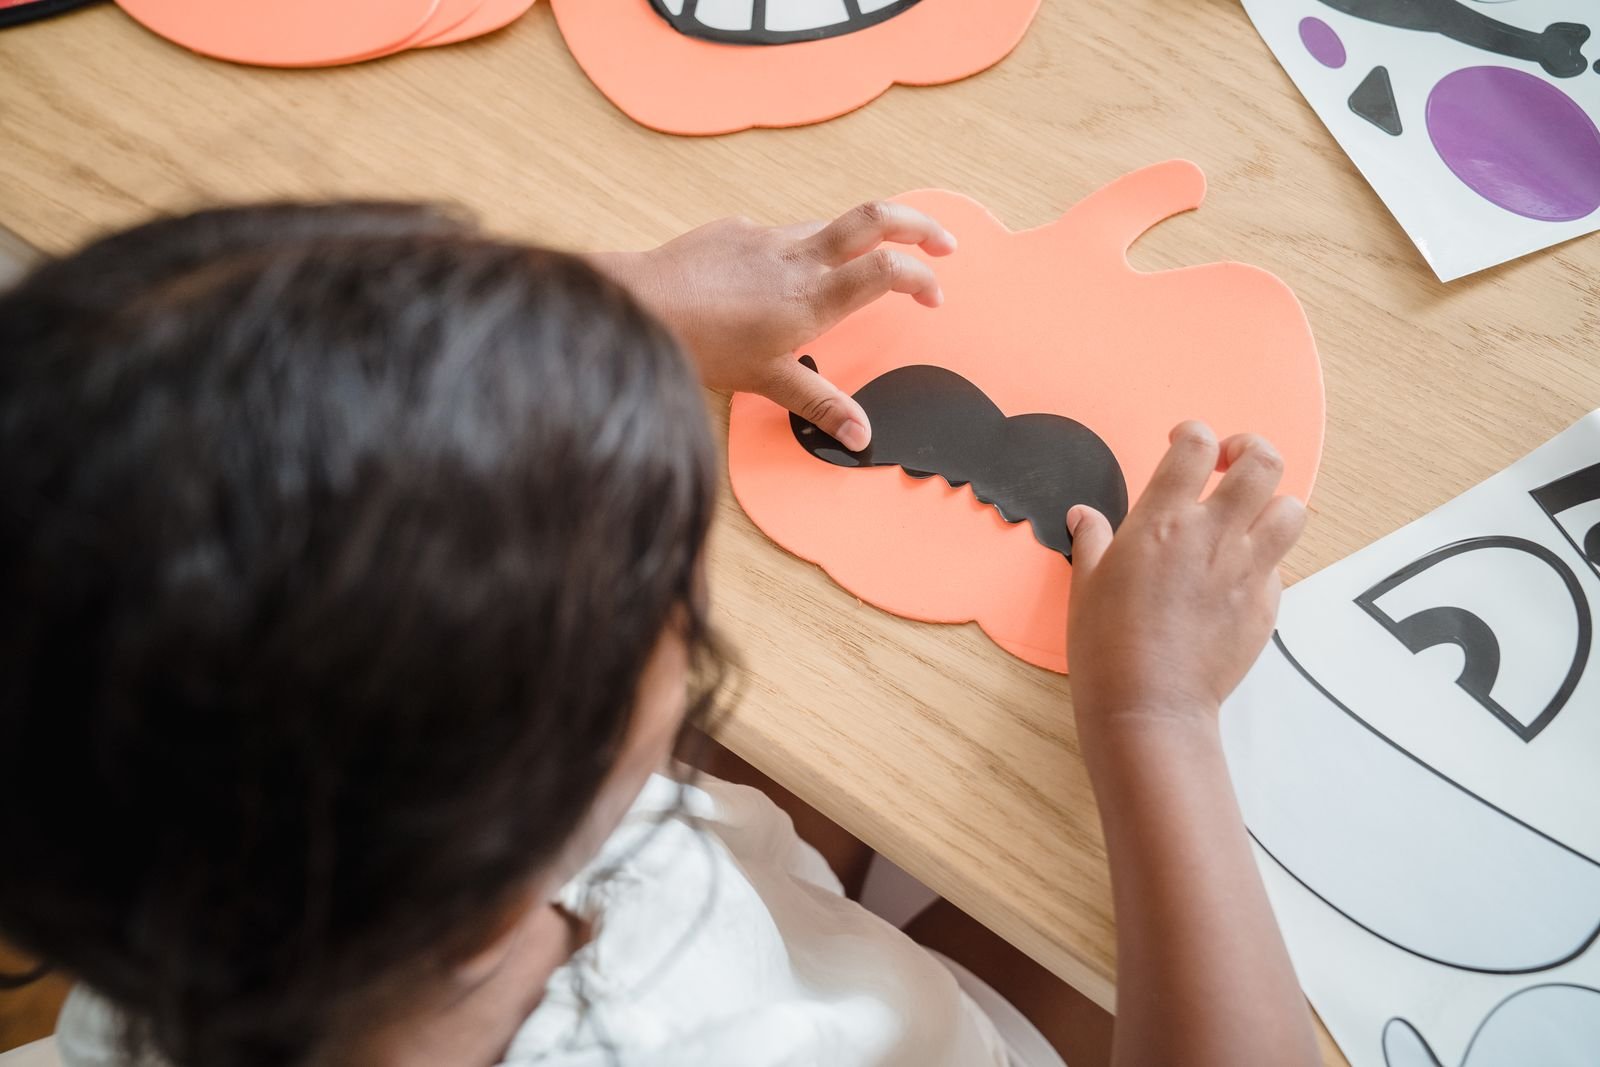
18. Painted Mini Pumpkins
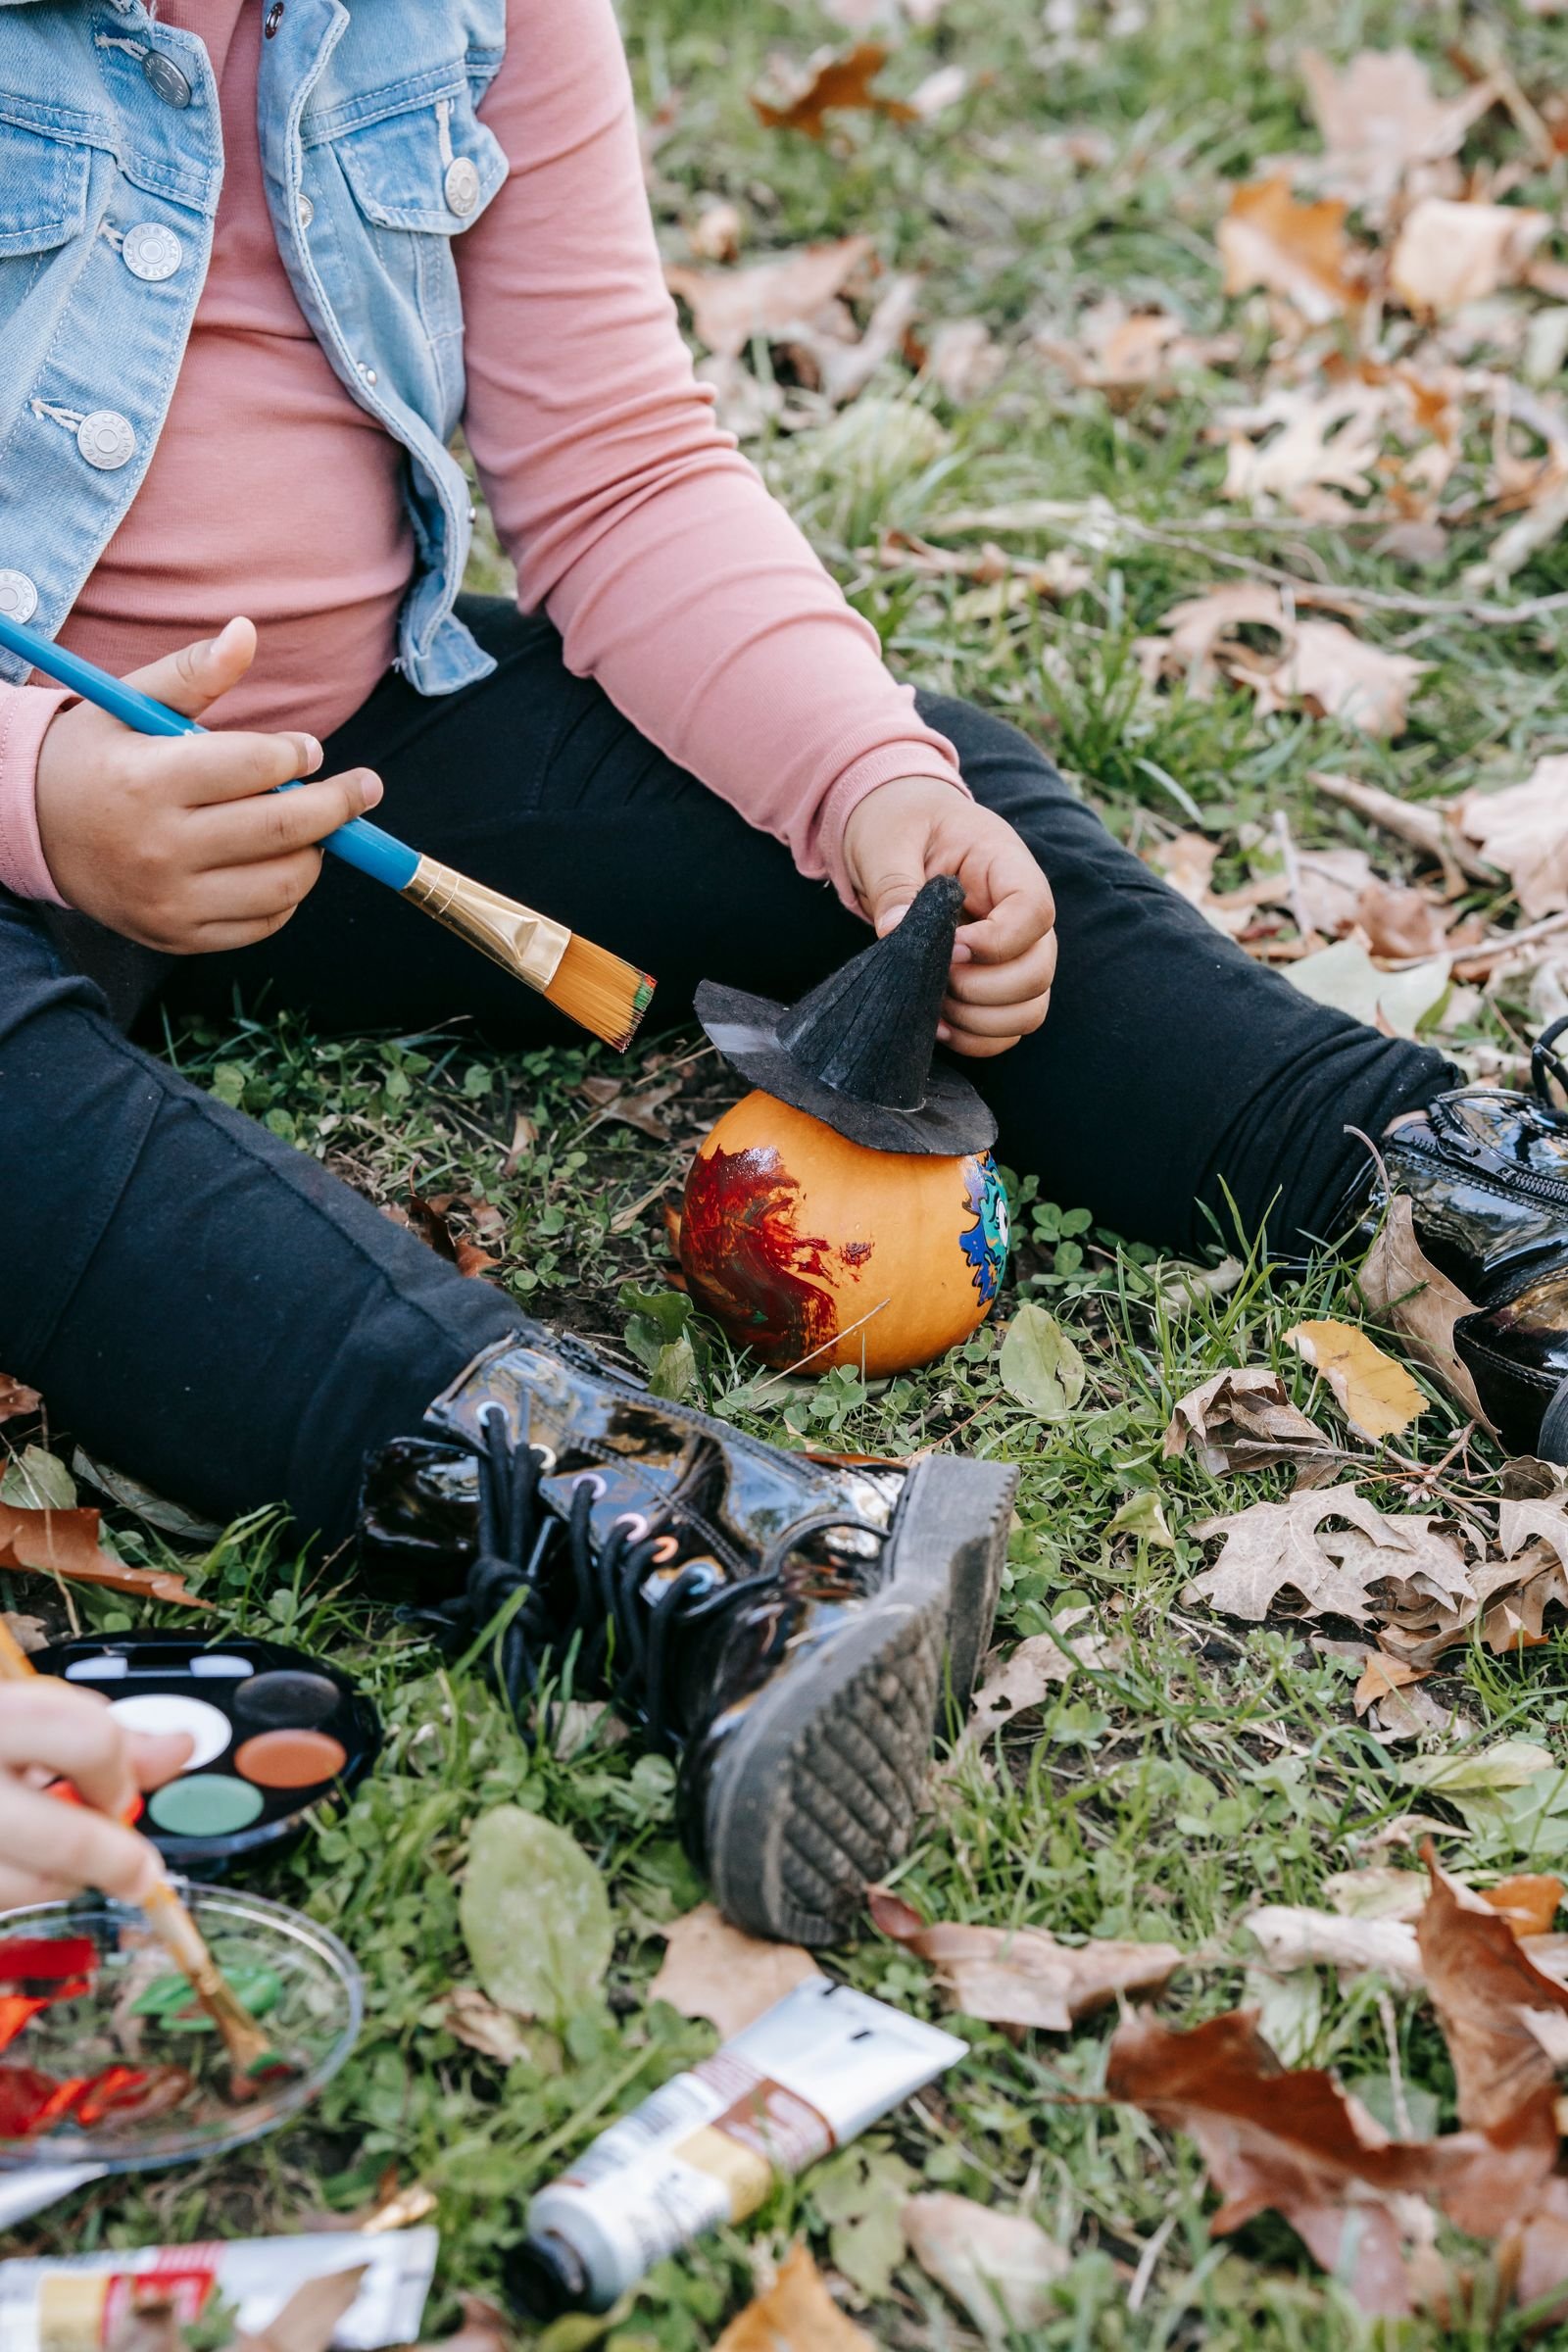
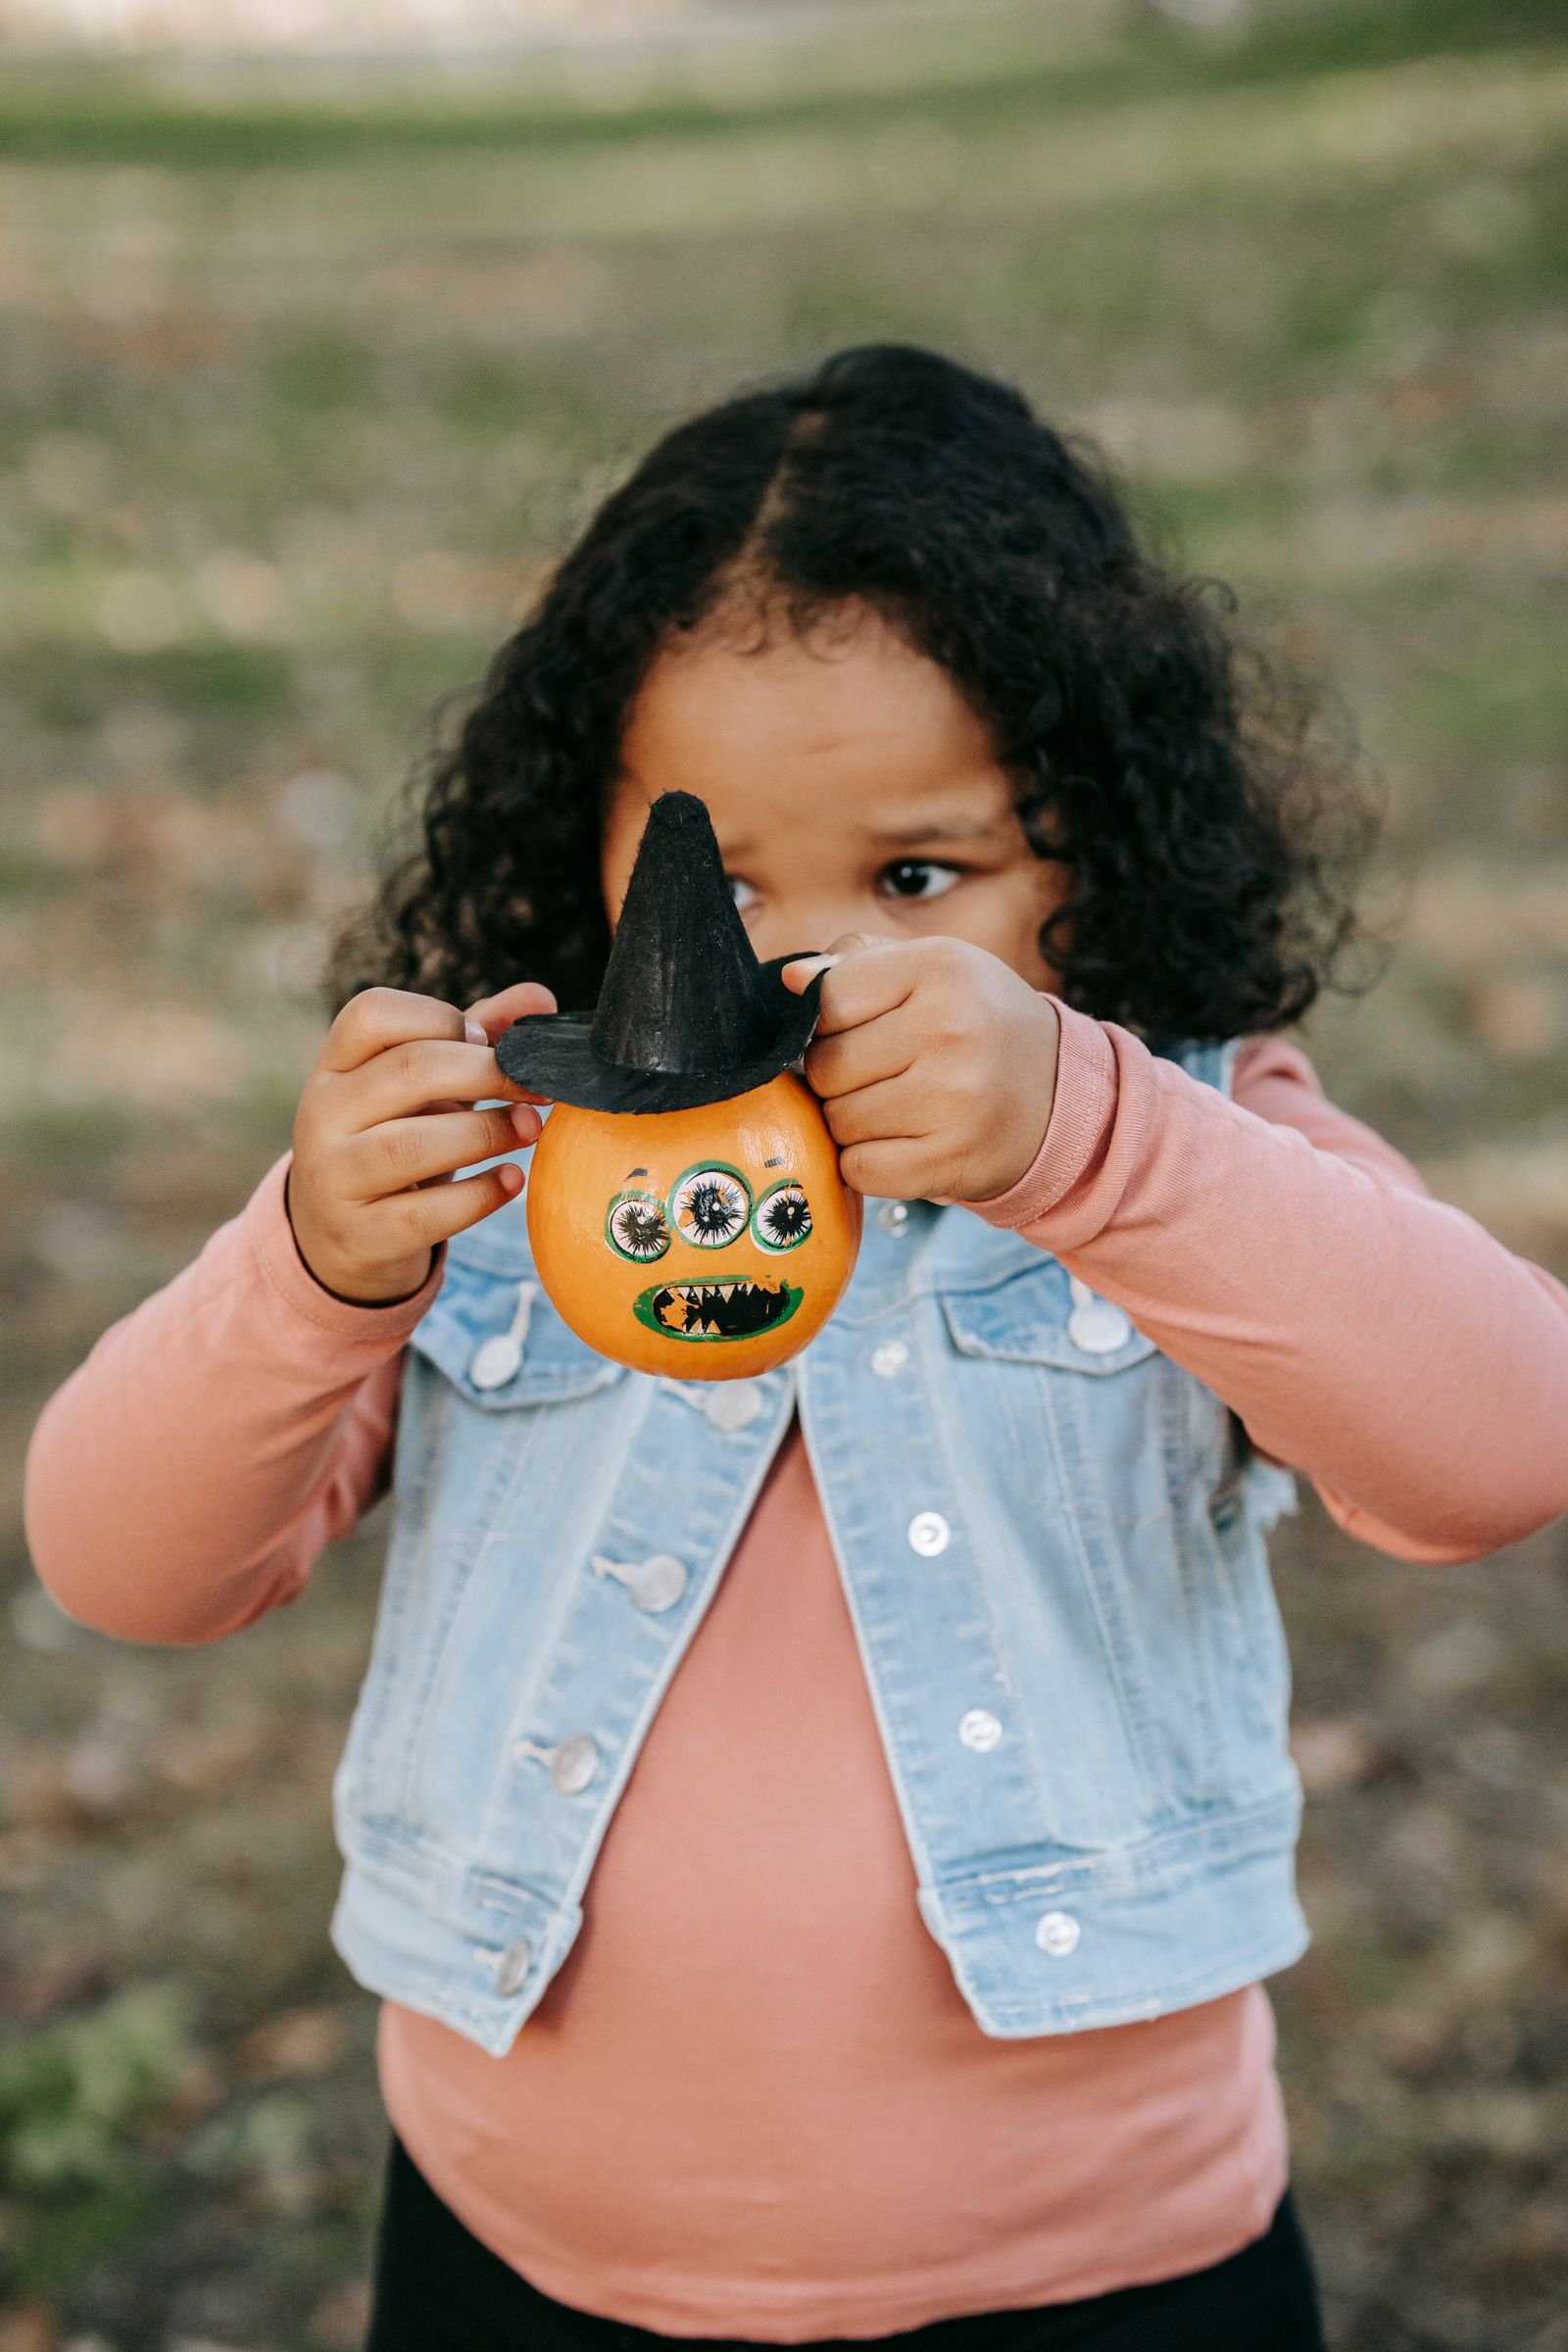
Mini pumpkins are the ideal canvas for young painters — small, cheap, and endlessly customisable. Set out washable poster paints, brushes, and a wipeable mat, and let children paint faces, patterns, or whole scenes on their pumpkins. Painting rather than carving means even toddlers can join in safely, and the pumpkins last for weeks as decorations. Try themes: each child paints a different emotion, or the family paints a set of storybook characters. A coat of clear varnish (applied by an adult) makes the designs last longer, and cotton buds are perfect for dotting fine details. Group finished mini pumpkins on a tray with dried leaves for an instant centrepiece.
19. Paper Pumpkin Chains and Mobiles
Cut pumpkin shapes from orange paper, let children decorate both sides, then link them into chains or hang them at different heights from a coat hanger to make a mobile. This simple craft scales beautifully: a toddler can scribble on pre-cut shapes while an older child cuts intricate jack-o’-lantern faces. Hang the mobile in a window where it catches the light, or drape chains along a staircase banister. For extra sparkle, glue on sequins or use metallic pens. The whole project takes under half an hour, making it perfect for an after-school Halloween countdown — number each link and remove one daily until the 31st.

20. Pumpkin Painting Party Activity
Turn pumpkin painting into the main event of a Halloween party by setting up a dedicated painting station. Cover a table with a disposable cloth, provide mini pumpkins, paint pots, brushes, stickers, and aprons, and let each guest create a masterpiece to take home — it doubles as the party favour, saving you money and wrapping. Add a judging ceremony with fun categories like spookiest, silliest, and most colourful, with small prizes for each. Photograph every pumpkin against a black backdrop for keepsakes, and send guests home with a small paint set.
Halloween crafting with children is about the process far more than the perfect result — lopsided bats and wobbly ghosts have far more charm than anything shop-bought. Keep a dedicated craft box stocked through October with orange and black card, googly eyes, pipe cleaners, washable paints, and glue sticks, so inspiration can strike any rainy afternoon. Work in short sessions matched to your child’s attention span, protect surfaces before you start, and always let children lead the creative choices. The decorations you make together will become treasured October traditions, brought out year after year with fond memories attached. Try one new craft each weekend through October and watch the collection — and the memories — grow. Keep the craft box stocked year-round and you will never be short of a rainy-day project.

I am Talha Sikandar, a professional writer with a passion for general blogging. With years of experience in content writing and research, I founded Meaniingly.com to deliver well-researched, informative, and user-friendly articles on diverse topics.