Few party foods have had a glow-up like the charcuterie board — and for Halloween 2026, it has gone full spooky. Across TikTok and Instagram, hosts are building haunted graveyards out of brie, spiderwebs out of string cheese, and pumpkin patches out of mandarins, turning the humble meat-and-cheese platter into the centerpiece of the party. A Halloween charcuterie board works because it is equal parts decoration and dinner: guests graze all night, it suits every diet when planned well, and it photographs like a dream. Whether you are hosting a costume party, a horror movie night, or a classroom celebration, this guide gives you everything — board layouts, complete ingredient lists, step-by-step assembly tips, and recipes for viral favorites like ghost-pepper treats, mummy cookie truffles, and spider cookies. By the end, you will be able to build Halloween charcuterie board ideas that look professional and taste even better.
Why Spooky Charcuterie Boards Are Taking Over
The spooky board trend exploded for a simple reason: it solves the Halloween party food problem. Instead of cooking for hours, you arrange. Instead of one dish that half your guests cannot eat, you offer dozens of options across every dietary need. And instead of separate decorations and food, the board is both — a jack-o’-lantern made of cheese cubes earns compliments before anyone takes a bite.
Social media amplified it further. A well-built Halloween board is endlessly photogenic, and creators keep raising the bar with themed layouts — skeletons, graveyards, spiderwebs — that get millions of views. The barrier to entry is low: no cooking skills required, just a good shopping list and the assembly formulas in this guide. It scales from an intimate board for four to a grazing table for forty, making it the most versatile Halloween party food of 2026.

Choosing Your Board: Size, Shape, and Material
Your board is the canvas, so choose it deliberately. For 4–6 guests, a 12×18-inch wooden board works; for 8–12, go 18×24 inches or use two boards; for a crowd, skip boards entirely and build a grazing table on butcher paper over a kitchen island. Round boards suit cheese-focused spreads; long rectangular boards suit the “landscape” layouts like graveyards and pumpkin patches.
Material matters for the look. Dark walnut or slate boards make orange and white Halloween foods pop dramatically; light bamboo or marble reads fresh and modern. Avoid anything too precious — guests will be cutting directly on it. If you do not own a big board, improvise: a baking sheet lined with parchment, a wooden cutting board, or even a clean slate tile all work. Buy one large board if you host often; it pays for itself in a single party season.
The Anatomy of a Perfect Halloween Board
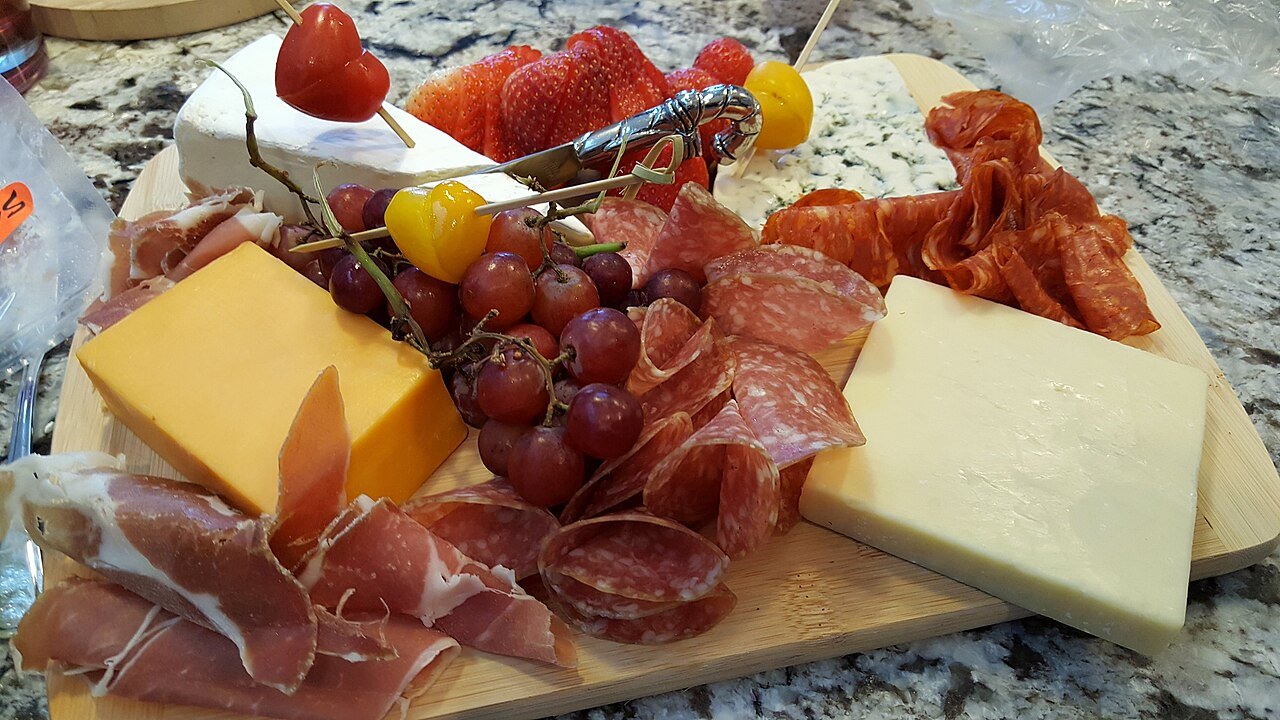
Every great board follows the same formula: something creamy, something aged, something cured, something crunchy, something fresh, something sweet, and something spooky. In practice that means 3–4 cheeses, 2–3 cured meats, 2 crackers or breads, 2–3 fruits, 1–2 dips, a handful of nuts, something sweet like honey or chocolate, and your Halloween showpieces (more on those below).
Balance flavors the way you balance colors: pair salty meats with sweet fruit, creamy brie with crunchy crackers, sharp cheddar with honey. Plan roughly 3–4 ounces of cheese and 2–3 ounces of meat per person for an appetizer board, doubling it if the board is the meal. And always include one “safe” crowd-pleaser (cheddar cubes, grapes, pretzels) so picky eaters and kids have an anchor while adventurous guests explore the ghost-pepper salami.
Cheese Selection: The Foundation
Cheese is the backbone of the board — choose 3 to 4 with contrasting textures, milk types, and colors. A reliable Halloween lineup: a creamy brie or camembert (mild, spreadable, and it takes spooky decoration beautifully), an aged cheddar or gouda (firm, crowd-pleasing, orange varieties add Halloween color), a blue cheese or gorgonzola (pungent, dramatic veining that looks haunted), and a fresh goat cheese (tangy, rollable into “eyeballs” or logs).
Buy whole pieces rather than pre-sliced for better presentation, and cut some into Halloween shapes: use small cookie cutters to stamp bats and pumpkins from cheddar slices, or cube cheese for building shapes. Take cheese out of the fridge 30–45 minutes before serving — room-temperature cheese tastes dramatically better. Label each cheese with a mini chalkboard tag or a tent card with a spooky name (“Werewolf Cheddar,” “Vampire Blue”).

Cured Meats and Savory Stars
Cured meats bring the salty, savory depth that makes a board satisfying. The classics all work: prosciutto (drape in loose ribbons), salami (fold into roses or “flowers”), soppressata, and pepperoni — including ghost-pepper pepperoni for the brave. Chorizo adds a paprika-red Halloween hue.
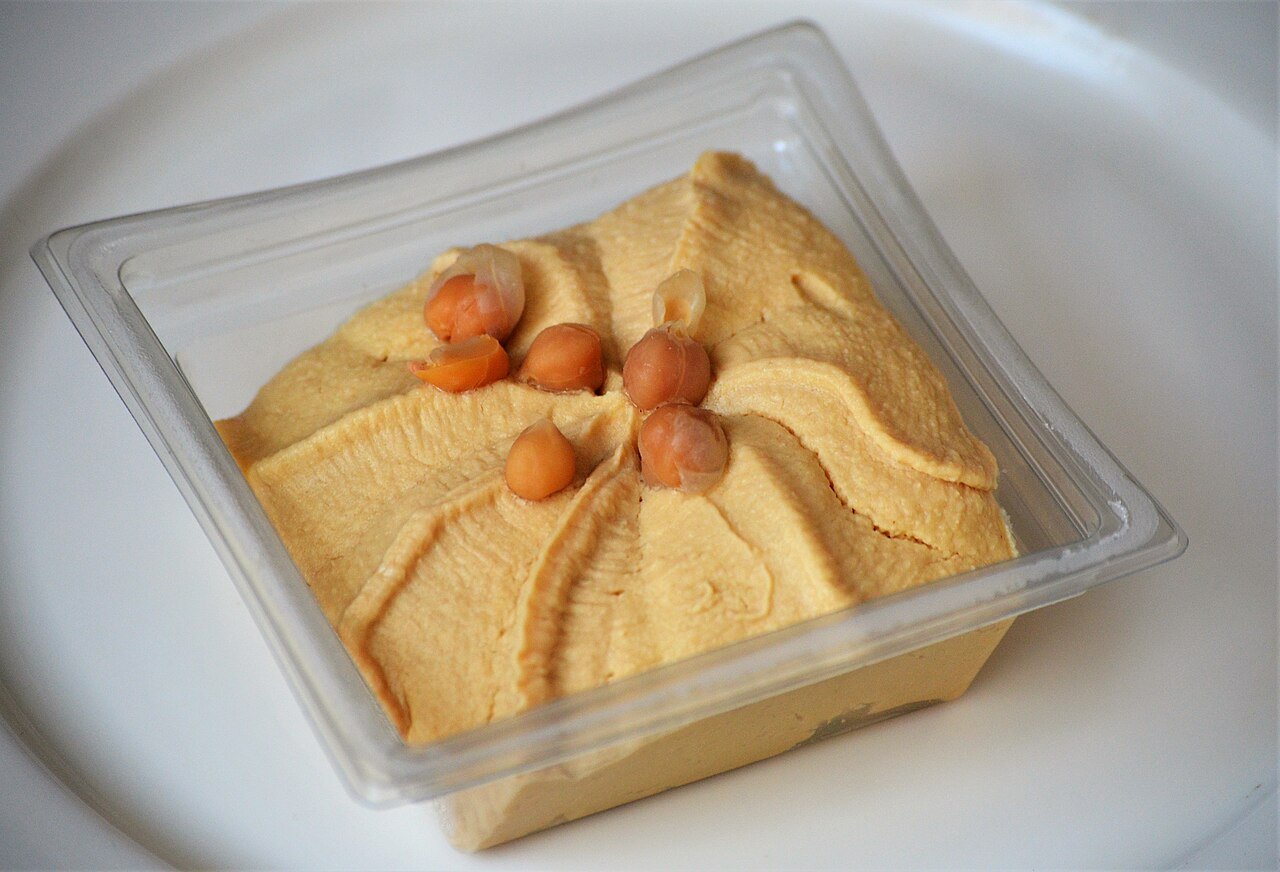
Presentation transforms deli meat into decor. To make salami roses, drape slices overlapping around the rim of a shot glass, then flip. Fold prosciutto into loose waves rather than laying it flat. Roll or cube what you cannot fold. Beyond meat, add savory stars: marinated olives, cornichons, roasted nuts, and stuffed peppadew peppers. For vegetarian guests, add substance with marinated artichokes, roasted red peppers, and hummus — the board should feel abundant for everyone, not like an afterthought for non-meat-eaters.

Fruits That Bring Color and Contrast
Fruit does triple duty on a Halloween board: color, freshness, and palate relief from all the salt and fat. Lean into the palette — black grapes and blackberries for darkness, clementines and mandarins (draw jack-o’-lantern faces on the peels with a food-safe marker) for pumpkin-orange, pomegranate seeds for blood-red jewels, and dried apricots for amber.
Fresh figs, halved to show their jewel-like interiors, are the most photogenic fruit you can buy. Apple and pear slices offer crunch — toss them in lemon water first so they do not brown. Dried fruits (apricots, cranberries, cherries) fill gaps and add chew. Arrange fruit in clusters rather than scattering single pieces; a cascade of black grapes or a pile of clementines reads as intentional abundance. Freeze grapes for 2 hours before serving and they double as edible “ice” that keeps nearby cheese cool.

Crackers, Breads, and Dippers
Crackers are the vehicle for everything else, so offer variety: buttery water crackers, seeded flatbreads, and breadsticks for elegance; pretzel twists and pita chips for crunch. For Halloween color, add black sesame crackers or pumpernickel slices — dark carbs make the board look moody and sophisticated.
Bread deserves the same thought: slice a baguette on the bias, toast half the slices for crunch, and include a small bowl of olive oil with balsamic for dipping. Fan crackers in overlapping rows or stand them upright in a jar for height. Keep gluten-free crackers in a separate small bowl (not mixed in) to avoid cross-contact, and replenish crackers mid-party — they are always the first thing to run out. Pro move: warm the bread for 5 minutes before guests arrive; the smell alone sells the spread.

Dips and Spreads With Halloween Flair
One or two dips add creaminess and give guests a reason to linger. The Halloween move is color: pumpkin-shaped cheese balls (form any cheese-ball mixture into a pumpkin, coat with crushed orange crackers, add a pretzel stem), black bean or olive tapenade for inky darkness, beet hummus for blood-red vibrancy, and classic spinach-artichoke served in a hollowed mini pumpkin.
Honey is the secret weapon — a drizzle over blue cheese or a honeycomb chunk beside brie makes the whole board taste expensive. Add small jars of fig jam, whole-grain mustard, and cornichons as condiments. Serve dips in small black ramekins or mini pumpkins rather than their store containers, and tuck the serving spoons in with handles out. Refill dips before they hit empty; a scraped ramekin breaks the illusion of abundance.
Sweet Additions: Candy Meets Charcuterie
Halloween gives you permission to put candy on a cheese board — lean in. Candy corn arranged in stripes, chocolate-covered pretzels, mini peanut butter cups, gummy eyeballs, and black licorice all earn their place. The sweet-salty contrast (chocolate with aged cheddar, candy corn with prosciutto) is genuinely delicious, not just decorative.
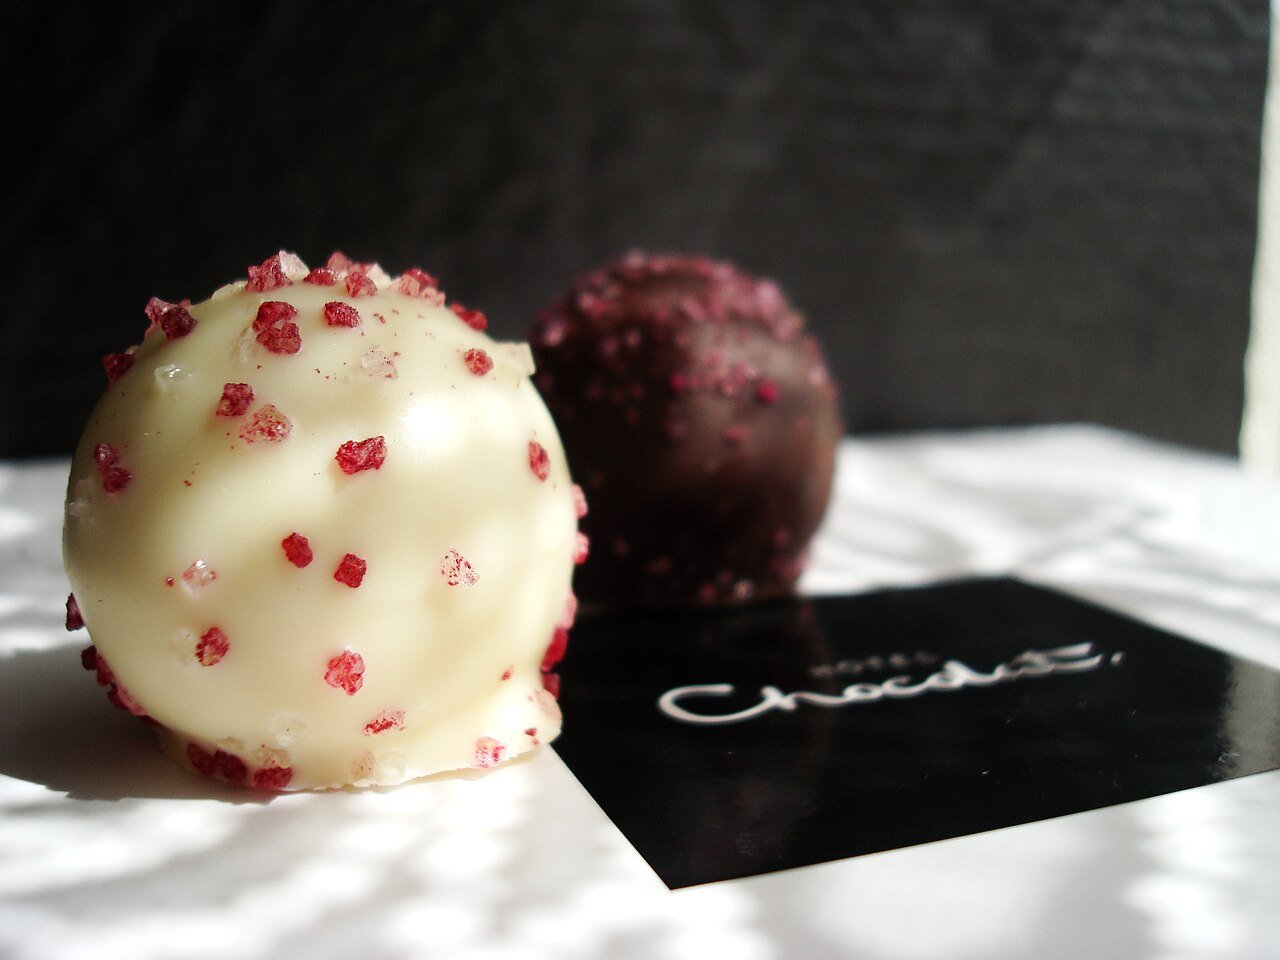
Beyond candy, add dessert-board elements: chocolate truffles (see the mummy truffle recipe below), chocolate-dipped strawberries, and shortbread cookies. Keep sweets in one zone of the board rather than scattered everywhere — a “dessert corner” lets guests choose their adventure. For kids’ boards, flip the ratio: mostly treats with cheese cubes and fruit for balance. One caution: chocolate melts near warm lights, so keep the board away from direct sun and heat lamps.

The Skeleton Board Layout
The skeleton board is the viral showstopper: a full skeleton shape built entirely from food on a dark board. Start with a large black slate or dark wood board. Build the skull from a round of brie (face up), with olive slices for eyes, a cornichon nose, and a red-pepper grin. The spine is a vertical line of breadsticks; ribs are curved pretzel rods or curved salami slices arcing from the spine; arms and legs are more breadsticks with “hands” of cheese cubes.
Fill the surrounding space with “ground”: black grapes, crumbled blue cheese “dirt,” and scattered nuts. Add a few plastic skeleton hands or mini skulls as props (clearly inedible, placed at the edges). The layout takes about 30 minutes once ingredients are prepped. Photograph it before guests arrive — it will not survive first contact. This is the board that gets shared, so make it your centerpiece if you are only building one.
The Pumpkin Patch Board Layout
The pumpkin patch is the friendliest Halloween layout — all orange abundance, zero gore. Cover your board with a base of orange foods: cubes of cheddar and mimolette, dried apricots, clementines with drawn jack-o’-lantern faces, baby carrots, and orange bell pepper strips. Tuck in green “vines” of rosemary sprigs, basil leaves, or green grapes.
Build 3–5 mini pumpkins as focal points: a small pumpkin-shaped cheese ball, a brie round with a pretzel stem, clementines stacked with celery-stick stems. Fill every gap with roasted pumpkin seeds and honey-roasted nuts. This layout is ideal for kid parties and office gatherings where spooky-but-not-scary is the brief. It also photographs beautifully against a dark tablecloth. Total build time: about 20 minutes, and most of the shopping is produce-aisle simple.

The Haunted Graveyard Board Layout
The graveyard board leans into the spooky with tombstones, “dirt,” and buried treasure. Use a rectangular board. The tombstones are the stars: Milano-style cookies or shortbread rectangles iced gray with RIP lettering, stuck upright into mounds of chocolate cookie-crumb “dirt.” Alternate with white-chocolate ghost peeps or meringue ghosts.
Build the landscape around them: rows of “fence” pretzel sticks, blackberry “brambles,” gummy worms emerging from the dirt, and cheese-cube “coffins” if you are ambitious (rectangular cheddar blocks with salami lids). A fog effect — a small piece of dry ice in a ramekin of warm water placed behind the board — makes it unforgettable (handle dry ice with tongs, never touch food). This layout skews sweet, so anchor it with a savory corner of meats and cheeses to balance the sugar.
The Spiderweb Board Layout
The spiderweb is the easiest dramatic layout and works on any round board. Pipe the web directly onto the board: use sour cream, cream cheese thinned with milk, or white chocolate (for dessert boards) in a squeeze bottle. Start with 6–8 lines radiating from the center like spokes, then connect them with arcs. Ten minutes, instant wow.
Place a large plastic spider (or a spider cookie — recipe below) at the web’s center as the showpiece. Arrange foods in the web’s segments: alternate wedges of cheese, meat, fruit, and crackers so each “slice” looks different. Black foods (blackberries, black grapes, olive tapenade) in a few segments make the white web pop. This layout is forgiving — imperfect webs look handmade and charming — and it adapts to any board size. Keep the squeeze bottle handy for touch-ups after guests start grazing.

Ghost-Pepper Treats and Spicy Bites
For the heat-seekers, ghost-pepper elements add genuine firepower to the spooky theme. Ghost-pepper pepperoni and ghost-pepper jack cheese are widely available and deliver real heat — arrange them in a clearly marked “DANGER ZONE” corner with a skull pick and a warning tag. Spicy candied bacon (brush bacon with maple syrup and cayenne, bake until crisp) is the crowd-pleaser of the spicy world.
Balance the fire: place cooling elements adjacent — creamy brie, cucumber slices, honey, and a yogurt-based dip. Offer milk or a creamy drink nearby, not just water (capsaicin is fat-soluble). Label heat levels honestly with 1–3 flame symbols; nothing ruins a party like a surprise ghost pepper. Keep spicy items physically separated from the kid-friendly zones, and wash hands after handling the hottest items before touching shared foods.

Mummy Cookie Truffles: Step-by-Step
Mummy cookie truffles are the viral Halloween treat for good reason — three ingredients, no baking, and irresistibly cute. You need one package of chocolate sandwich cookies, 4 oz cream cheese (softened), and white candy melts or white chocolate, plus candy eyes.
Step 1: Crush the cookies to fine crumbs in a food processor. Step 2: Mix with the cream cheese until a dough forms. Step 3: Roll into 1-inch balls and chill 30 minutes. Step 4: Melt the white candy melts. Step 5: Dip each ball, letting excess drip off, and place on parchment. Step 6: Before the coating sets, drizzle thin horizontal lines of white chocolate across each ball to create mummy “wrappings” — leave a gap for the face. Step 7: Press two candy eyes into the gap. Chill until set. They keep 5 days refrigerated and look like they took hours.

Spider Cookies and Other Baked Toppers
Spider cookies are the classic Halloween board topper: a peanut butter cookie base, a chocolate kiss pressed in while warm, and pretzel-stick legs with candy eyes. Bake your favorite peanut butter cookies, press the kiss in immediately out of the oven, and once cool, attach 8 pretzel legs (4 per side) with a dab of melted chocolate and add candy eyes. They take 25 minutes start to finish.
Other baked toppers worth the effort: ghost meringues (pipe meringue into ghost shapes, add chocolate-chip eyes, bake low and slow), witch-hat cookies (a chocolate kiss on a fudge-striped cookie “brim”), and bat Oreos (a whole cookie with wing-shaped cookie halves attached with frosting). Place baked goods on the board last, in a dedicated zone, and keep them in a single layer so they do not crush. One batch of any of these makes 2 dozen — plenty for a party board with leftovers for favor bags.

Assembly Tips: Build Like a Pro
Assembly order is everything. Start with the largest items: cheese wedges, dip bowls, and your showpiece (skeleton skull, pumpkin cheese ball). Space them in a triangle or zigzag so the eye travels. Next, add the meats in folds and ribbons, draping them between the cheeses. Then fill with crackers and breads in fans and rows. Finally, fill every gap with fruit, nuts, and candy — abundance is the goal; no board should show.
Work in odd numbers and vary heights: stack some cheese, lean crackers, mound grapes. Step back every few minutes to check balance — color, height, and fullness should be even across the board. Keep herbs (rosemary, thyme) and inedible props (mini pumpkins, plastic spiders) for the very last layer. The whole build takes 20–40 minutes depending on complexity. Assemble no more than 2 hours before serving, and photograph it in good light before guests arrive.

Food Safety and Make-Ahead Timing
Beautiful boards still have to be safe. The two-hour rule governs: perishable foods (cheese, meat, dips) should not sit at room temperature longer than 2 hours (1 hour if it is warm). For long parties, build the board in two waves — put out half, keep half refrigerated, and refresh at the 90-minute mark. It looks abundant twice and stays safe.
Make-ahead timeline: 3 days out, shop and bake cookies/truffles; 1 day out, wash and cut fruit (store in airtight containers with damp paper towels), make cheese balls and dips; morning of, slice cheeses and meats; 1–2 hours before, assemble. Keep a cooler with backup ice packs for replenishment. Provide small plates, napkins, cocktail picks, and a dedicated trash bowl so guests are not juggling. And label common allergens (nuts, dairy, gluten) — it takes five minutes and matters enormously.
Dietary Variations: Vegan, Gluten-Free, Kid-Friendly
Every guest should be able to graze, so plan variations deliberately. For a vegan board: nut-based cheeses, hummus and tapenade, roasted vegetables, dried and fresh fruit, nuts, dark chocolate, and plenty of crackers. For gluten-free: rice crackers, nut-based crackers, and veggie dippers kept in a separate zone to avoid crumb cross-contact — or build an entirely separate small board.
Kid-friendly boards flip the formula: mostly familiar foods (cheddar cubes, grapes, pretzels, mini muffins) with Halloween fun on top (clementine pumpkins, ghost bananas — peeled bananas with chocolate-chip faces, monster-apple mouths with peanut butter and almond “teeth”). Keep spicy and alcoholic elements far away. For nut allergies, either go nut-free entirely (easiest for shared boards) or isolate nuts in lidded jars. When in doubt, ask guests about restrictions in the invitation — it is always appreciated.
Styling, Photographing, and Serving Your Board
You built it — now show it off. Photograph the board in soft, natural light before guests arrive: shoot from directly above for layouts (skeleton, web) and at a 45-degree angle for abundant grazing boards. Style the scene with a dark tablecloth, scattered leaves or mini pumpkins, and one atmospheric element like a candle or fairy lights just out of frame.
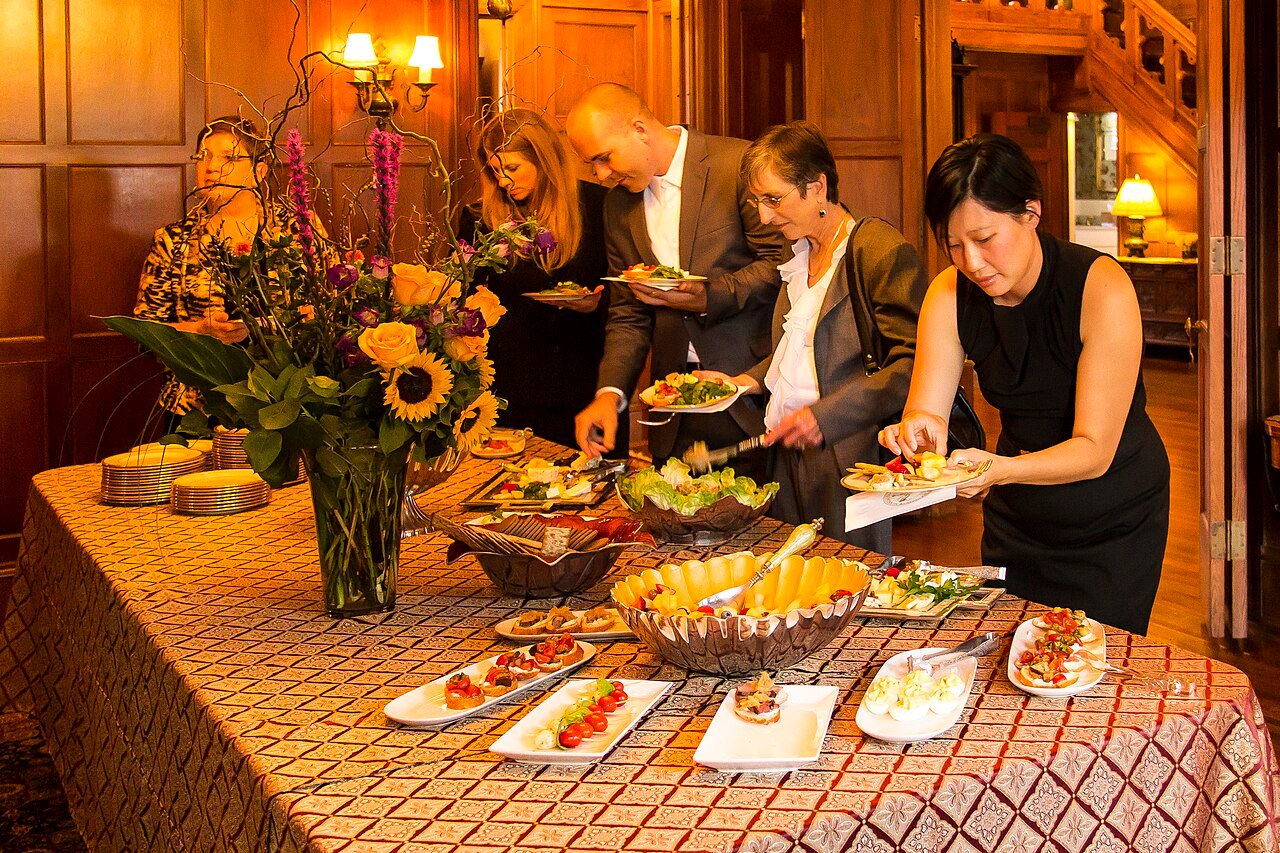
For serving, place the board where traffic flows naturally — the kitchen island or dining table, never a cramped corner. Put plates at one end and napkins at the other to keep the line moving. Set out cheese knives (one per soft cheese), small spoons for dips, and cocktail picks for olives and fruit. Replenish strategically: refill gaps with backup supplies rather than rearranging, so the board looks untouched in photos all night. And keep the camera-ready moment in mind — the first 15 minutes after assembly are when your board looks its absolute best.

Halloween charcuterie boards prove that the best party food is the kind guests cannot stop looking at — or eating. Start with the anatomy formula, pick one themed layout that excites you, and add a single homemade showpiece like mummy truffles or spider cookies. The rest is just good shopping and the assembly order in this guide. Whether it is a skeleton that gets all the photos or a pumpkin patch the kids demolish, your board will be the thing people talk about long after the costumes come off. Now grab a board, cue a spooky playlist, and build something deliciously haunted.

I am Talha Sikandar, a professional writer with a passion for general blogging. With years of experience in content writing and research, I founded Meaniingly.com to deliver well-researched, informative, and user-friendly articles on diverse topics.