feet loaf halloween recipe
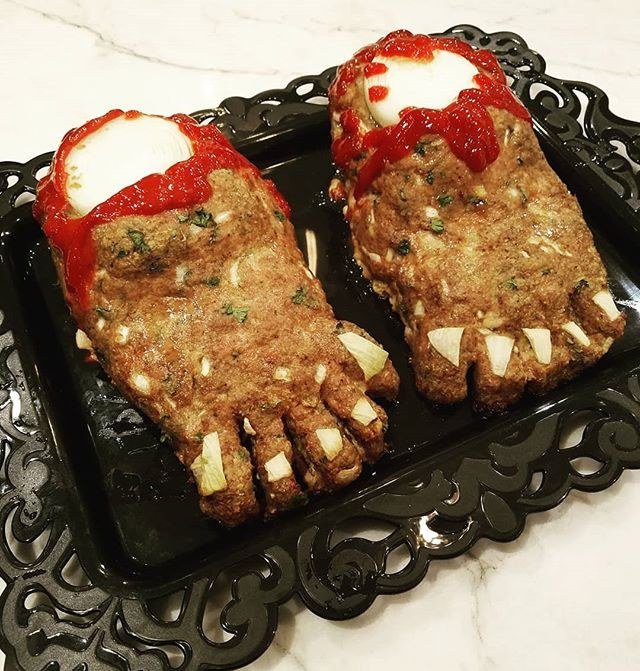
Equal parts horrifying and hilarious, the feet loaf is the gross-out Halloween centrepiece that guests talk about for years: a savoury meatloaf sculpted and decorated to look like a pair of severed feet, complete with toenails and all. This feet loaf halloween recipe walks you through shaping, baking and decorating your monstrous masterpiece, plus the sides and sauces that turn shock value into a genuinely delicious dinner. It is the ultimate party trick for hosts who love their Halloween with a side of gleeful disgust. Ready to put your best foot forward? Let us get stomping.
What Is a Feet Loaf, Exactly?
A feet loaf is a classic meatloaf mixture shaped into two foot forms, baked until golden and then decorated to resemble severed feet: think onion-slice toenails, ketchup “blood” and artfully placed garnishes. It looks absolutely revolting and tastes like the best comfort food you have ever had, which is precisely the joke.
This recipe went viral as the ultimate Halloween gross-out dish because it sits in the perfect uncanny valley: realistic enough to make guests shriek, delicious enough that everyone goes back for seconds. It is dinner theatre on a platter.
Do not be intimidated by the sculpting. Meatloaf mixture is wonderfully forgiving to shape, and the decorations do most of the visual heavy lifting. If you can shape a snowman, you can shape a foot.
Why It Is the Ultimate Party Centrepiece
Every great Halloween party needs a talking point, and a pair of severed feet on the buffet table is unforgettable. Guests will photograph it, dare each other to eat it and remember your party as “the one with the feet” for years. No other dish delivers this much entertainment per pound of mince.
It also solves the savoury centrepiece problem. Halloween spreads lean heavily sweet, so a substantial, savoury showstopper balances the table and actually feeds people. Your guests need real food among the candy, and this delivers it with style.
Best of all, the reveal is half the fun. Keep it covered until the big moment, then unveil to maximum shrieking. Dinner theatre does not get better than this.
Ingredients for the Perfect Meatloaf Base
A great feet loaf starts with a great meatloaf. You will need minced beef (or a beef and pork mix for extra flavour), breadcrumbs, an egg, finely chopped onion, garlic, ketchup, Worcestershire sauce, salt, pepper and your favourite herbs. The mixture needs to be firm enough to hold a sculpted shape, so do not skimp on the binders.
For the decoration, gather small onions for toenails (or use sliced almonds or Brazil nuts), ketchup or barbecue sauce for “blood,” and optional extras like red food colouring for extra gore. Parsley or lettuce makes a convincingly swampy bed for presentation.
Quality mince matters here since the meat is the star. Choose mince with a little fat for flavour and moisture; very lean mince makes a dry, crumbly loaf that is harder to sculpt and less pleasant to eat.
Seasoning is where good meatloaf becomes great. Beyond salt and pepper, consider smoked paprika for depth, a pinch of nutmeg for warmth or fresh thyme for an herby lift. A spoonful of tomato paste in the mix intensifies the savoury flavour, while a dash of soy sauce adds umami richness. Taste a tiny fried piece of the mixture before shaping to check the seasoning; it is the professional’s trick and it works every time.
Essential Equipment
You will need a large baking tray or roasting tin, baking parchment, a sharp knife for shaping and a spatula for transferring. A meat thermometer is highly recommended to check the loaf is cooked through without cutting it open and ruining the effect.
For decorating, have small spoons for sauce drizzling, tweezers for precise toenail placement and a pastry brush for glaze. None of this is specialist; it is all standard kitchen kit repurposed for horror.
Line everything well. Meatloaf releases juices as it bakes, and parchment makes both cooking and serving dramatically easier. You do not want your masterpiece stuck to the tin.

Mixing the Meatloaf: Tips for Firm Texture
Combine all the meatloaf ingredients in a large bowl, mixing just until everything is evenly distributed. Overmixing makes meatloaf dense and tough, so stop as soon as it comes together. The mixture should hold its shape when squeezed but not feel stiff or dry.
If the mixture feels too wet, add breadcrumbs a spoonful at a time; too dry, add a splash of milk or an extra spoon of ketchup. You are aiming for a pliable, sculptable consistency, like firm modelling clay. This firmness is what lets you shape convincing feet.
Chill the mixture for 20 to 30 minutes before shaping. Cold meatloaf mix is dramatically easier to sculpt than room-temperature mix, holding edges and details instead of slumping. This single step makes the whole project easier.

Shaping the Feet: A Step-by-Step Guide
Divide the chilled mixture in half. Shape each half into a rough foot: a longer, narrower form for the foot itself, slightly wider at the “toe” end. Do not aim for anatomical perfection; a suggestive foot shape is plenty, since the decorations sell the effect.
Form the toes by pinching five small mounds along the front edge, making the big toe slightly larger. Use wet hands to smooth the surface; water prevents sticking and gives a smooth finish that browns beautifully. Take your time here; shaping is the soul of the dish.
Place both feet side by side on the lined tray with a small gap between them, angled slightly outward like a natural stance. Step back and squint: if it reads as feet, you are done. Imperfection adds to the horror.

Baking Low and Slow
Bake at 180°C (350°F) for 50 to 60 minutes, until deeply browned and cooked through. A meat thermometer should read 70°C (160°F) at the thickest point. The slow bake sets the shape firmly and develops the rich, caramelised crust that makes meatloaf so good.
Halfway through, brush the feet with a glaze of ketchup mixed with a little brown sugar for a lacquered, appetising finish. This glaze also gives the “skin” a realistic sheen that enhances the effect enormously.
Let the loaf rest for 10 to 15 minutes after baking. Resting firms the texture for cleaner slicing and lets the juices redistribute, so every slice is moist. Patience here pays off in both looks and taste.
Basting mid-bake keeps the surface moist and builds a gorgeous crust. Spoon some of the pan juices over the feet when you apply the glaze, and do not be shy about it. If the tops are browning too quickly, tent loosely with foil for the remaining time; the feet will continue cooking through without the exterior burning. Every oven has hot spots, so rotate the tray once halfway through for even browning all round.
Creating Realistic Toenails
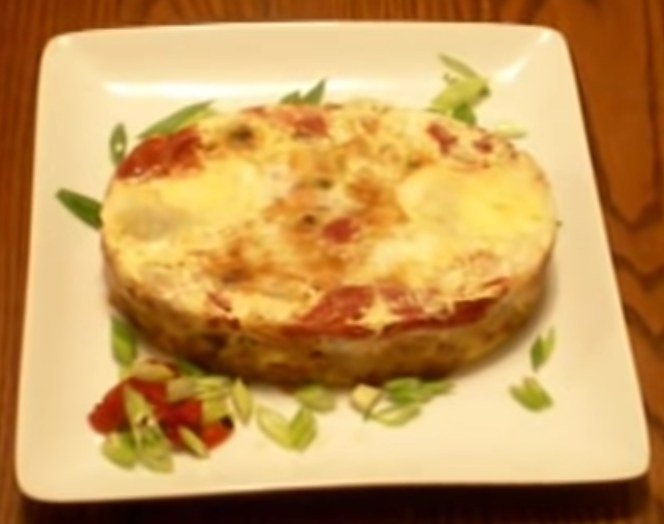
Toenails make the feet, so choose your method well. The classic approach is thin slices of onion pressed into the toe tips before baking; they soften and brown into convincingly nail-like shapes. Alternatively, press sliced almonds or halved Brazil nuts into the baked loaf for pale, creepy nails.
For maximum realism, slightly discolour the “nails”: a tiny brush of soy sauce or gravy browning on almond nails gives them a yellowed, aged look that is truly unsettling. It is the details that make guests shudder.
Press the nails in firmly but gently, angling them slightly like real toenails. Five per foot, big toe largest: get this rhythm right and the brain reads “foot” instantly, which is exactly the reaction you want.
Adding Gore: Sauces and Special Effects
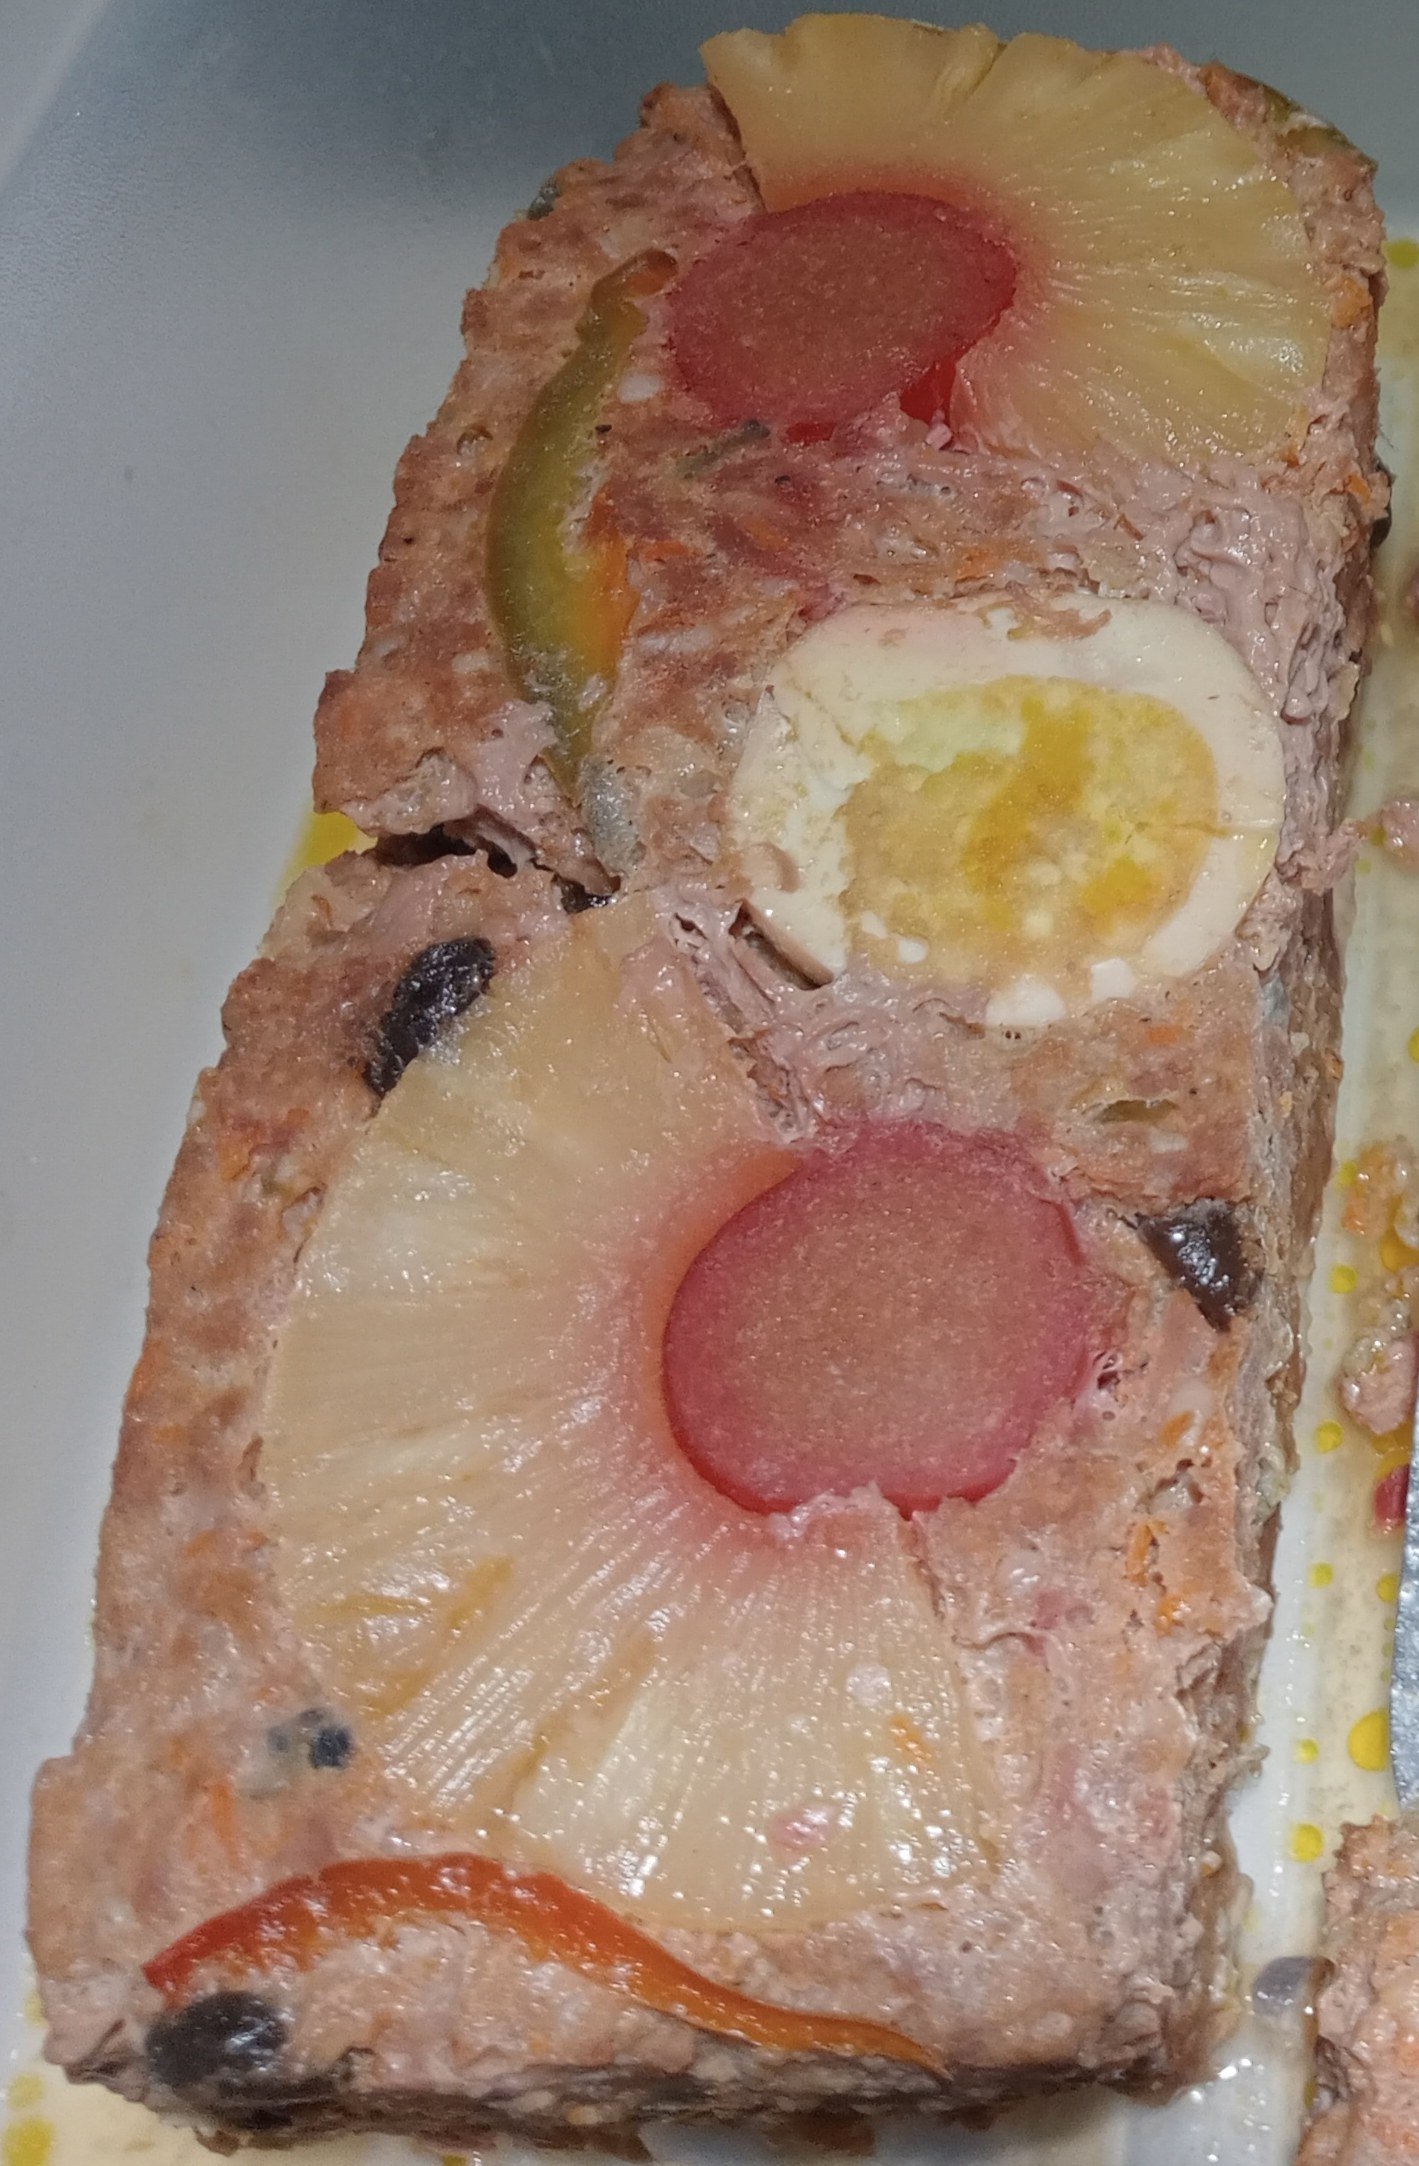
Now for the fun part: the gore. Drizzle ketchup or barbecue sauce around the “ankle” ends for severed-stump blood, and add artful drips down the sides. A little goes a long way; strategic gore is more effective than a flood.
For extra realism, warm the sauce slightly so it drips naturally, and use a spoon to create controlled splatters on the platter. A few drops on the surrounding garnish sell the scene without making the food unappetising.
Keep the gore to the presentation areas, not all over the eating surfaces. Guests need to be able to take a clean slice; the horror should be visual, not a barrier to actually enjoying dinner.
Presentation: Setting the Scene
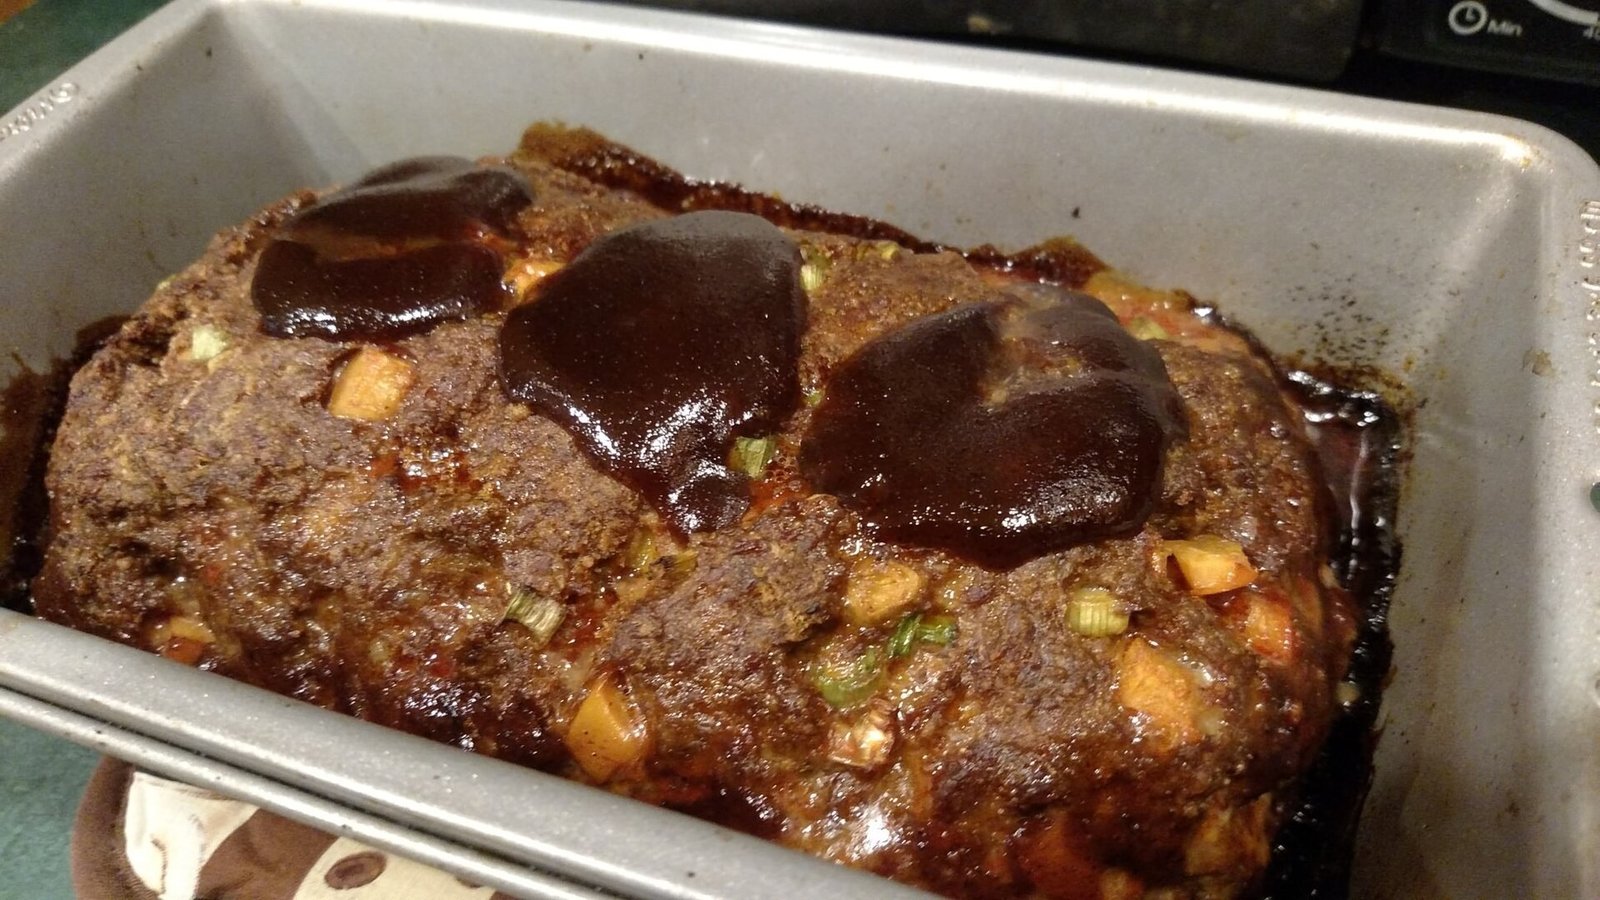
Present your feet loaf on a large dark platter lined with shredded lettuce or kale for a swampy, morgue-chic bed. The green against the browned meat and red sauce is visually striking and makes the feet pop dramatically.
Add thematic props around the platter: plastic spiders, scattered “bone” breadsticks, a few dry-ice wisps (handled safely by adults). The setting transforms a funny dish into a full horror tableau.
Consider the reveal. Bring the covered platter out with a flourish and unveil it to your guests’ delighted horror. Timing the reveal for maximum audience is pure party-host showmanship.
Lighting your display properly doubles its impact. A single warm spotlight or a cluster of candles near the platter creates dramatic shadows that make the feet look even more realistic, while coloured party lights in green or purple add a horror-film atmosphere. Avoid harsh overhead fluorescents, which flatten everything into dullness. Theatrical lighting is free atmosphere, and it makes your centrepiece look like a genuine film prop.

Sides That Complement the Horror
Serve your feet loaf with sides that continue the theme. Mashed potato “brains” (swirled into a brain-like mound), roasted “finger” carrots and a blood-red beetroot salad all keep the gross-out going while being genuinely delicious.
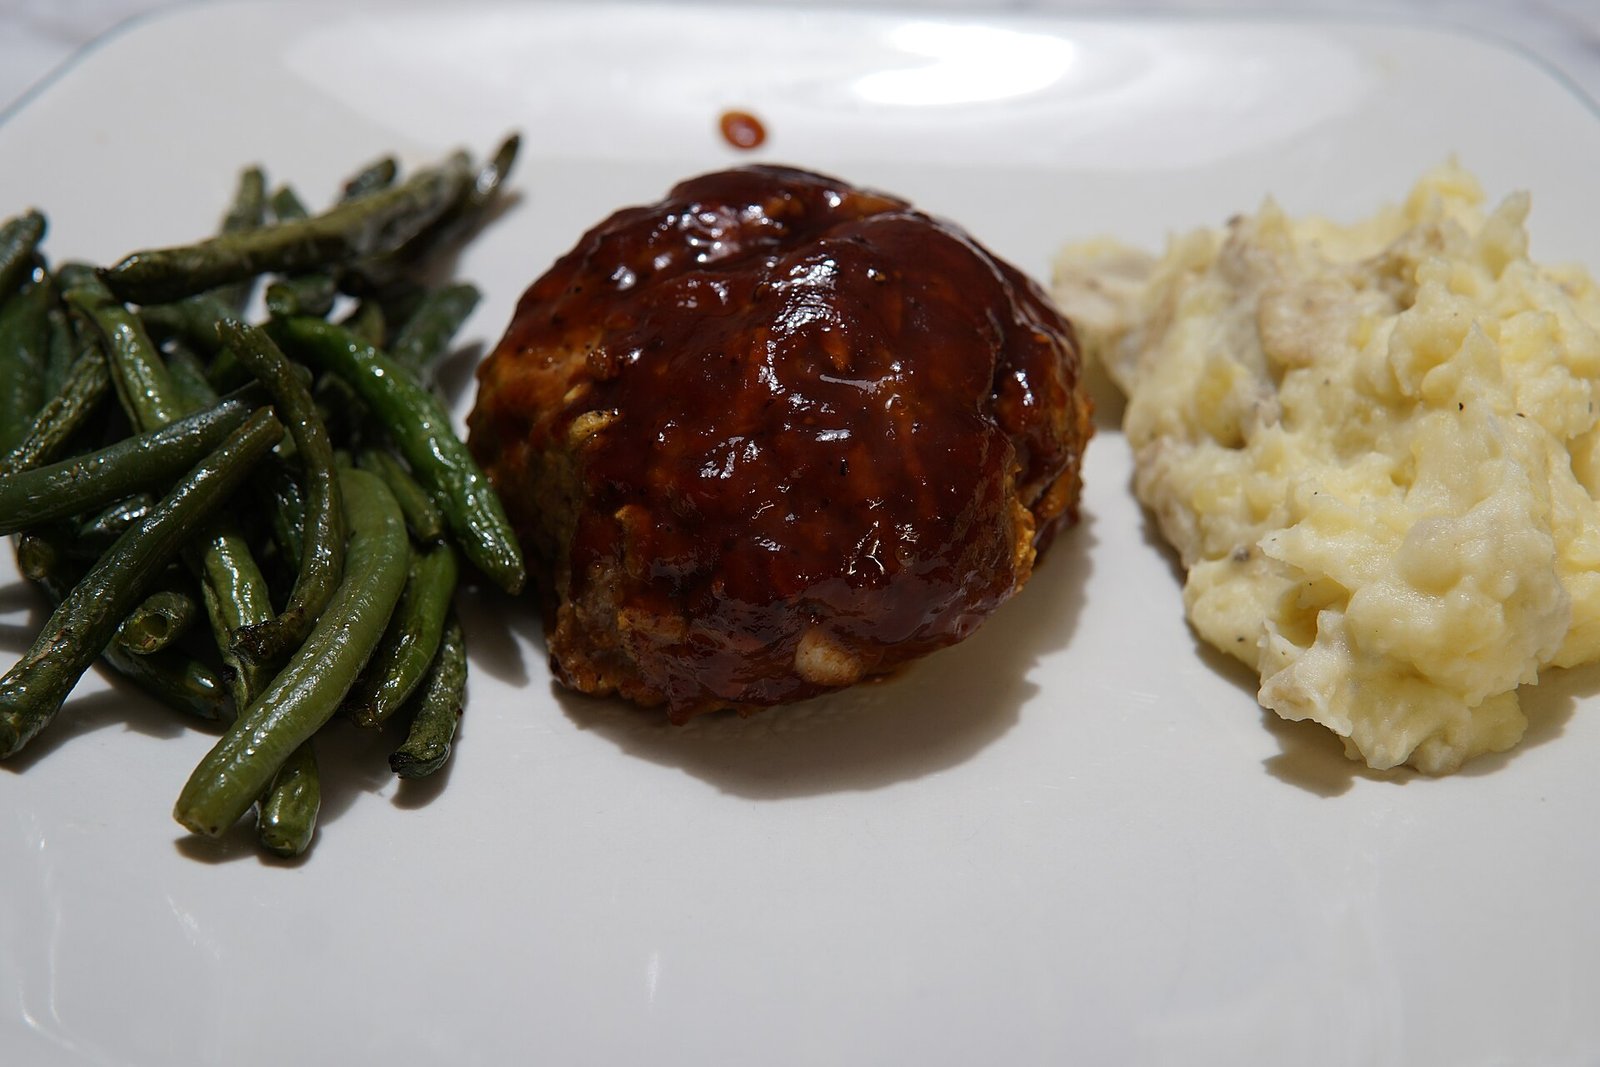
Classic comfort sides work too: the richness of meatloaf loves creamy mash, buttery green beans and proper gravy. Do not sacrifice eatability for theme; the best Halloween menus are both funny and genuinely good.
Offer the sides in thematic serving dishes: a cauldron for the mash, a skull bowl for the salad. The details keep guests grinning through the whole meal.

Vegetarian Feet Loaf Options
Vegetarian guests deserve horror too. A lentil and mushroom loaf mixture, well seasoned and bound with breadcrumbs and egg (or flax egg), sculpts just as well as meat and bakes to a beautifully browned finish. The earthy flavour is genuinely delicious.
Nut-based loaves also work, though they can be crumblier; add extra binders and chill thoroughly before shaping. Whatever base you choose, the decorating techniques are identical.
Make the vegetarian version visually distinct on the table, perhaps on its own platter with a little flag, so guests can navigate the spread confidently. Inclusivity is good hosting.
Gluten-Free and Allergy Adaptations
For gluten-free guests, swap the breadcrumbs for gluten-free crumbs or ground oats, and check your Worcestershire sauce and ketchup labels. The shaping and baking are otherwise identical, and the result is just as sculptable.
Egg-free versions can use a flax or chia egg as binder, though the texture will be slightly softer; chill the mixture well and handle gently. Dairy is rarely an issue in basic meatloaf, but check any cheese additions.
As always with allergies, label clearly and prevent cross-contact by using separate utensils and platters. Safe food is the foundation that lets everyone enjoy the joke.
In shared kitchens, preventing cross-contact needs real planning. Prepare the gluten-free mixture first, before any wheat flour is in the air, and use freshly washed equipment or dedicated gluten-free tools. Bake on a separate tray on the top shelf so nothing drips from above. These small disciplines make the difference between a dish that is merely gluten-free in ingredients and one that is genuinely safe to serve.
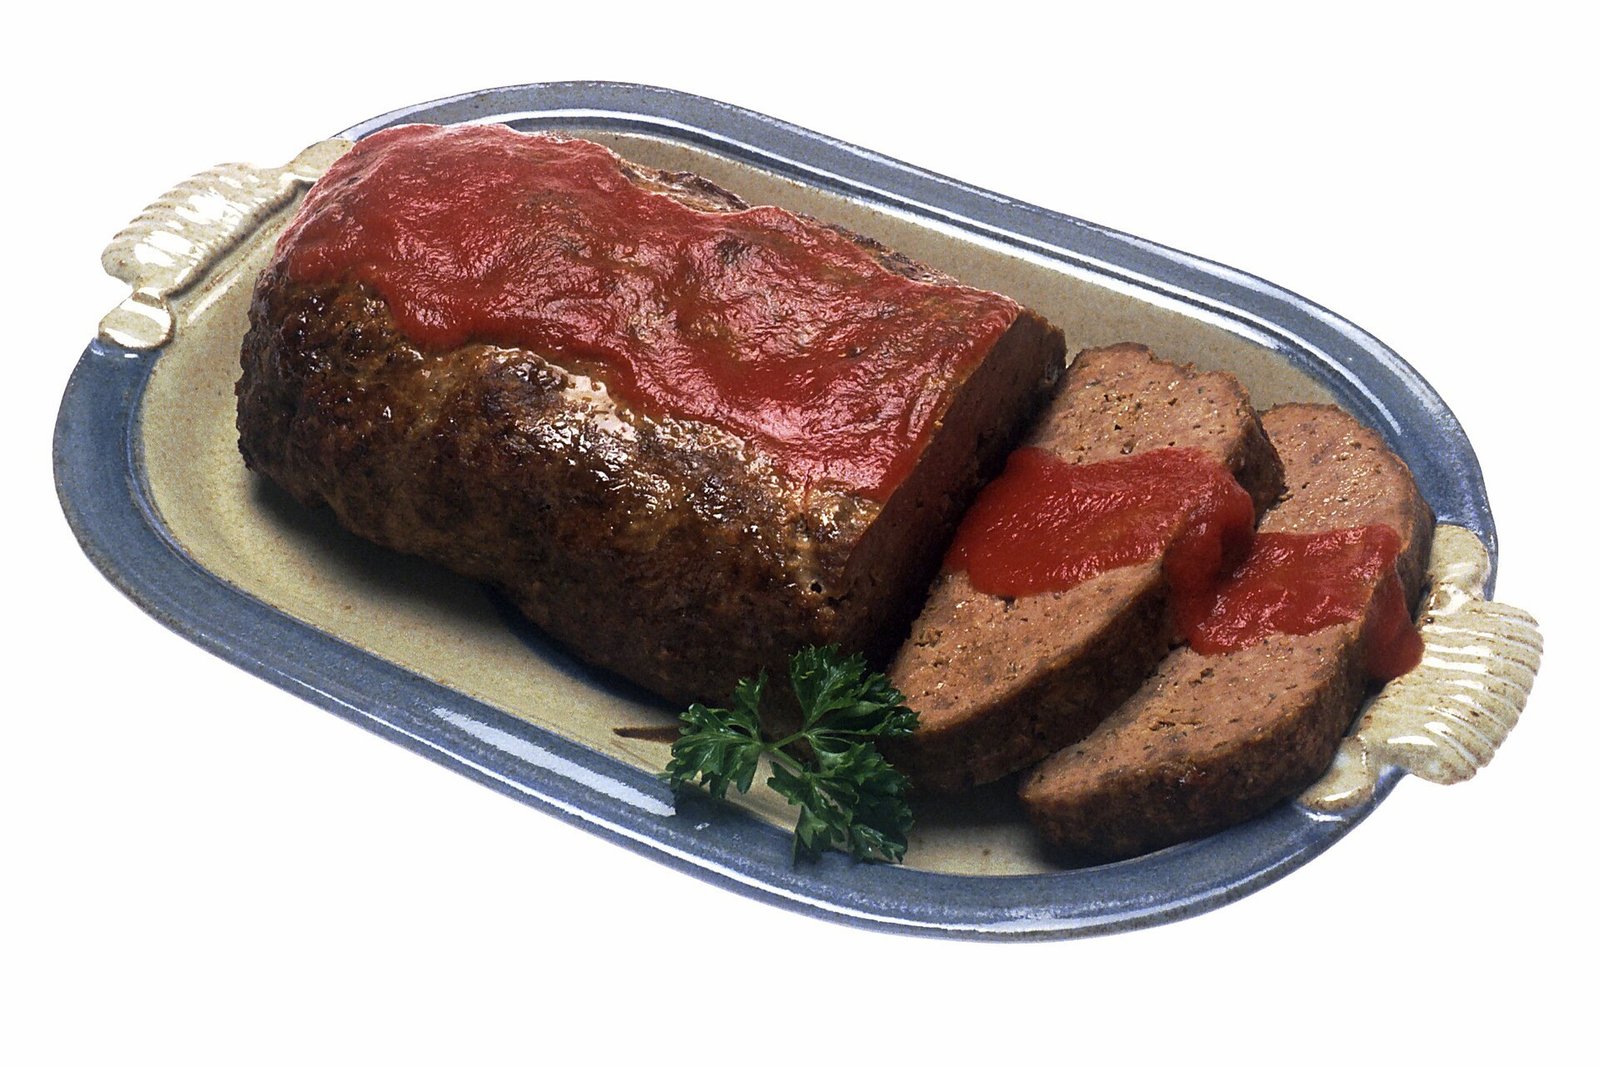
Make-Ahead Timeline for Party Day
The feet loaf is party-day friendly. Shape the feet up to a day ahead, cover tightly and refrigerate; bake from chilled, adding 5 to 10 minutes to the time. You can also bake fully ahead and reheat gently, though freshly baked gives the best crust.
Decorate after reheating, not before, so the toenails and sauces look fresh. The whole decorating process takes about 15 minutes, making it a perfect last-minute task while guests are arriving.
Plan backwards from serving time: shaping the day before, baking 90 minutes before the party, decorating 20 minutes before the reveal. A calm host makes a great party.
Slicing and Serving Without Ruining the Effect
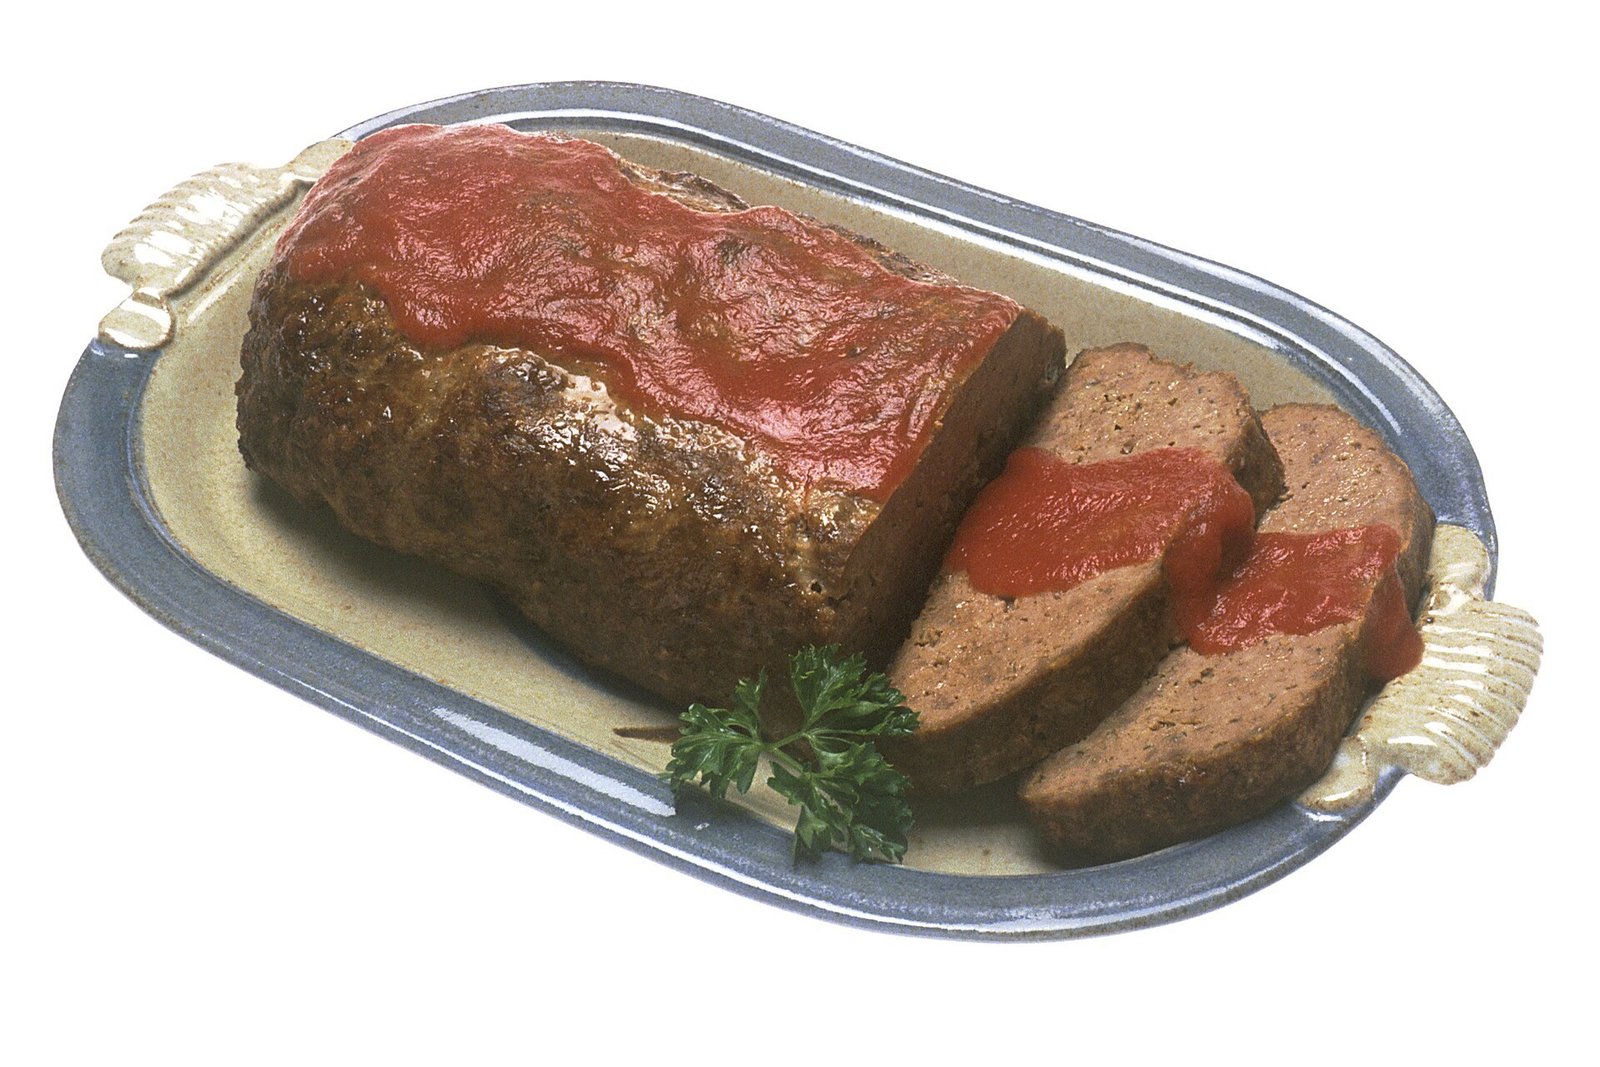
Here is the eternal feet-loaf dilemma: it is too fun to cut. Designate one foot as the “display” foot and slice from the other, so the horror remains intact while guests eat. Or slice confidently and embrace the carnage; hacked-apart feet are arguably even funnier.
Use a sharp, thin knife and a confident sawing motion for clean slices. Serve each slice with a spoonful of the pan juices or gravy, which are too good to waste.
Announce the slicing like a ceremony. “Who wants the big toe?” never fails to get a laugh, and participatory horror is the best kind.
Photographing Your Monstrous Creation
Your feet loaf deserves documentation. Photograph it in good light before the gore gets disturbed, shooting from a low angle for maximum drama. A dark background makes the colours pop; a flash of dry-ice fog adds atmosphere.
Get the reaction shots too: guests’ faces when the cover comes off are pure gold. These are the photos that get shared, saved and laughed over for years.
Share your creation online with pride. The gross-out Halloween community is large, enthusiastic and always hungry for new inspiration. Your feet could inspire a thousand more.
Short video clips capture the feet loaf even better than stills. Film the unveiling in slow motion for maximum comedic effect, or record a quick 360-degree pan for social media. Good lighting matters even more on video, so shoot near a window or under warm party lights. Tag your creation with Halloween food hashtags; the gross-out cooking community loves discovering new centrepieces, and your feet might just go viral.

Troubleshooting: Cracks, Slumps and Fixes
Cracking on top? The oven was too hot or the mixture too lean. Tent with foil if browning too fast, and remember that cracks can be hidden under sauce and garnish. In horror cooking, flaws are features.
Slumping feet that lost their shape? The mixture was too warm or too wet. Next time, chill longer and add more binder. For a rescue, embrace the blob: rebrand as “melted monster feet” and carry on with confidence.
Dry texture? You overbaked or used very lean mince. Serve with extra gravy and no one will mind. Moisture fixes almost everything in meatloaf.

Scaling Up for a Crowd
Feeding a crowd? Make multiple pairs of feet rather than one giant pair; smaller loaves cook more evenly and give you more display pieces. Two pairs on a long platter look even more impressive than one.
You can also make “baby feet” from smaller portions for a nursery-of-horrors effect, or a single giant foot as a statement piece. Scale the baking time with size: smaller feet need 35 to 40 minutes, giants up to 75.
Whatever the scale, keep one foot unsliced for display as long as possible. The visual impact is the point; the eating is the bonus.
Leftovers: Beyond the Horror
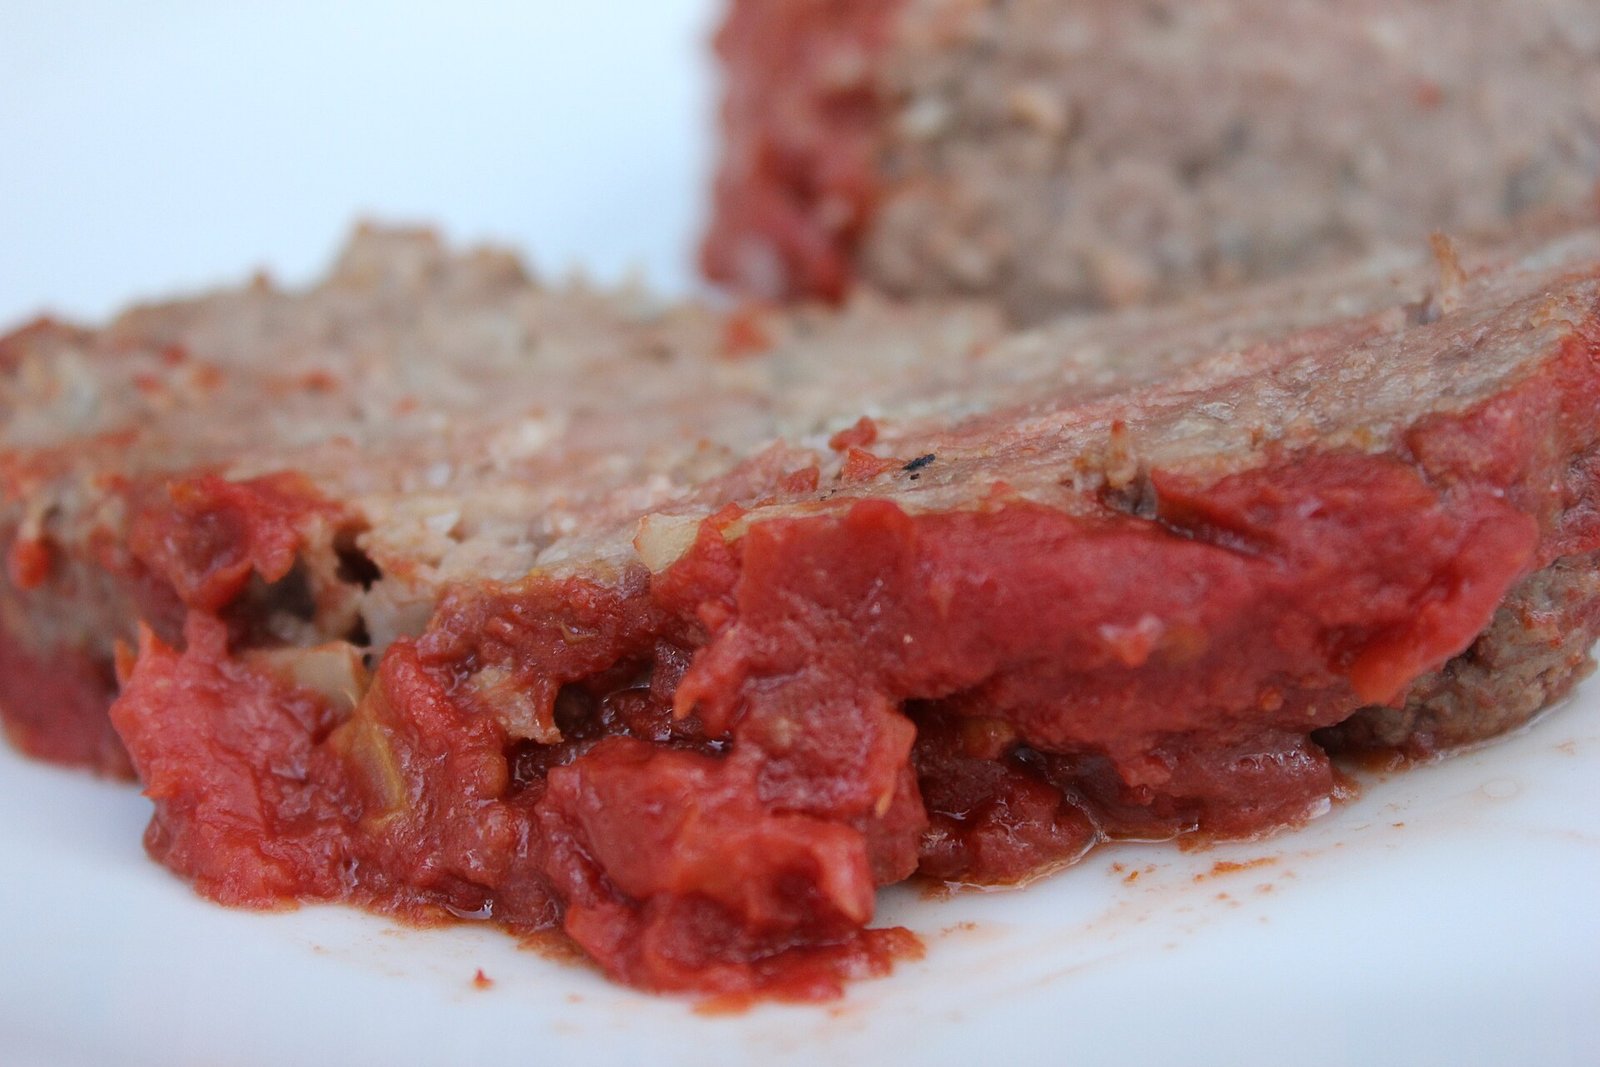
Feet loaf leftovers are a gift. Cold meatloaf sandwiches are a classic for a reason: thick slices on good bread with mustard and pickles make one of the great leftover lunches. The horror fades; the deliciousness remains.
Crumble leftover loaf into pasta sauce, chilli or shepherd’s pie filling for easy second-day meals. Or slice and fry until crisp at the edges for a breakfast hash that will convert any sceptic.
Store leftovers in the fridge for up to 3 days, or freeze sliced portions for up to 3 months. Future you will be grateful for the foresight.
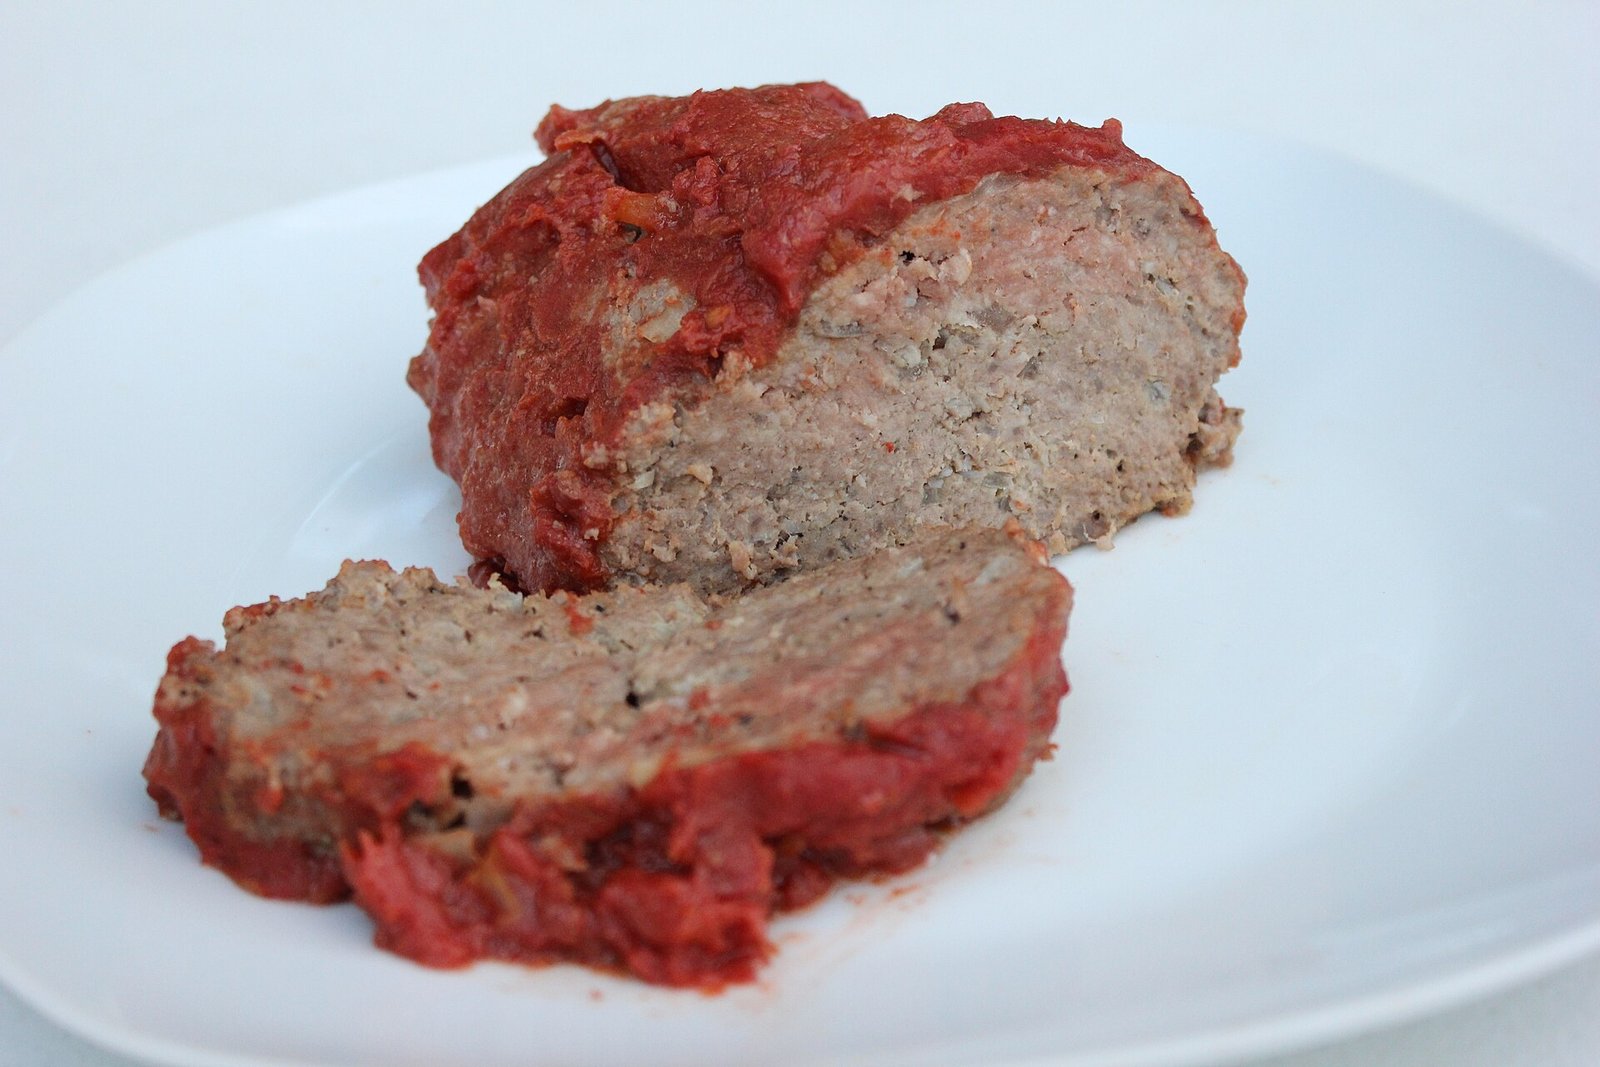
Put Your Best Foot Forward
The feet loaf is Halloween cooking at its absolute best: technically simple, visually unforgettable and genuinely delicious. It turns dinner into theatre, guests into giggling participants and your party into legend.
Shape with confidence, decorate with gleeful abandon and serve with a flourish. The shrieks of delighted disgust are the highest compliment a Halloween host can earn.
Pin this recipe, buy the mince and start sculpting. Your most memorable Halloween dinner party is one pair of feet away.


I am Talha Sikandar, a professional writer with a passion for general blogging. With years of experience in content writing and research, I founded Meaniingly.com to deliver well-researched, informative, and user-friendly articles on diverse topics.