Mummy jars are the unsung heroes of Halloween decorating: ordinary glass jars transformed with gauze, googly eyes, and candlelight into charmingly spooky mummies that glow from within. They are inexpensive, endlessly customisable, and suitable for every skill level — from toddler craft afternoons to sophisticated haunted-house styling. A cluster of mummy jars on a mantel, lining a porch, or glowing as table centerpieces brings instant Halloween atmosphere with minimal effort and cost. What makes mummy jars so beloved is their versatility. They can be eerie or adorable, rustic or refined, tiny or towering. They work indoors and out, suit every decor style from farmhouse to gothic, and the flickering light inside gives them a lifelike quality that flat decorations cannot match. This guide collects twenty mummy jar Halloween decor ideas: classic techniques, creative variations, display styling for every room, kid-friendly crafts, budget builds, and the practical tips that keep your mummies looking great all season.

What Are Mummy Jars?
Mummy jars are glass jars (mason jars, apothecary jars, or any clear vessel) wrapped in gauze, cheesecloth, or fabric strips to resemble mummy bandages, typically finished with googly eyes or painted eyes and lit from within by a candle or LED light. The wrapped jar becomes the mummy’s “body,” the eyes give it personality, and the internal light makes it glow like a tiny haunted spirit.
The craft is beloved because it requires no special skills — wrapping, gluing, and sticking on eyes are accessible to all ages — yet the result looks genuinely atmospheric, especially in dim Halloween lighting. Mummy jars sit at the intersection of cute and creepy, which is why they appear everywhere from kindergarten classrooms to high-end Halloween parties. They are the rare decoration that children adore and adults appreciate.

Why Mummy Jars Are a Halloween Favourite
Mummy jars endure because they hit every mark a Halloween decoration should. They are cheap — most versions cost under £2 per jar using dollar-store supplies. They are quick — a single jar takes ten to fifteen minutes. They are customisable — size, style, and spookiness level are all adjustable. And they are atmospheric — lit jars create the flickering, shadowy ambience that defines Halloween.
They also photograph beautifully, which matters in the age of shareable decor. A row of glowing mummy jars on a porch or mantel is instantly recognisable as Halloween without a single plastic skeleton. Unlike many crafts, mummy jars look good even when imperfect — slightly crooked wrapping reads as authentically mummy-like. And they store flat-ish and reuse for years, making them one of the most sustainable Halloween decorations you can make.
Classic Gauze Mummy Jars
The classic mummy jar starts with a clean glass jar and medical gauze or cheesecloth. Apply a thin layer of craft glue or Mod Podge to the jar, then wrap the gauze around in overlapping, slightly irregular layers — the irregularity is key to the mummy look. Leave a small unwrapped gap near the top for the eyes, and let the wrapping go slightly crooked for authenticity.
Once dry, glue on googly eyes (or paint eyes for a more refined look) in the unwrapped gap. Place an LED tea light or flameless candle inside — never a real flame in a fabric-wrapped jar — and watch your mummy come alive. For extra staying power, mist the finished wrapping lightly with spray adhesive before adding the eyes — it locks the gauze in place for the whole season. The classic version takes about fifteen minutes of active work plus drying time. Make them in batches: set up an assembly line of gluing, wrapping, and eye-placing, and you can produce a dozen in an afternoon.

Mummy Jar Luminaries
Mummy jar luminaries are designed for maximum glow — the jar as lantern. Use thinner, more translucent wrapping (single-layer cheesecloth or tissue strips) so light shines through the “bandages,” creating a diffused, ghostly radiance. Frosted or sea-glass-finish jars enhance the effect further.
Line luminaries along pathways, driveways, or staircases for a haunted walkway, spacing them three to four feet apart. Use warm-white LED candles for the most atmospheric flicker; colour-changing LEDs in orange or purple add party drama. For outdoor use, weigh jars with sand or pebbles at the base so wind does not topple them, and use weatherproof LED lights. A path of glowing mummy luminaries is the single most impactful low-cost outdoor Halloween decoration.

Apothecary Mummy Jars
For a more sophisticated take, use apothecary-style jars — those elegant lidded vessels — as your mummy base. The refined jar shape elevates the humble craft into something that suits grown-up Halloween styling: think haunted apothecary, Victorian séance, or gothic manor. Wrap more precisely, use painted eyes instead of googly ones, and choose muted, aged-looking gauze (tea-stain it for an antique effect).
Display apothecary mummies on bookshelves, in curio cabinets, or as part of a potion-bottle collection with labels like “Mummy Dust” or “Embalming Fluid.” The lids can be wrapped too, or left as glass for contrast. This version proves mummy jars are not just for kids’ crafts — executed with restraint and quality materials, they are genuinely elegant Halloween decor.

Mummy Jar Candle Holders
Mummy jars make wonderful candle holders for Halloween tables — the wrapped glass diffuses candlelight into a soft, spooky glow that flat candle holders cannot match. Use short, wide jars (pint-size mason jars are ideal) so the flame sits well below the rim, and always use LED candles rather than real flames with fabric wrapping.
As table candle holders, mummy jars work in two modes: scattered individually among the table setting for intimate flicker, or grouped as a centerpiece cluster of varying heights. Pair them with dark table linens, scattered faux leaves, and mini pumpkins for a complete Halloween tablescape. The glow through the gauze creates dancing shadows that make dinner feel like a séance — in the best way.
Mini Mummy Jars for Place Settings
Mini mummy jars — baby-food jars or small spice jars transformed — make adorable Halloween place settings or party favours. Each guest gets a tiny glowing mummy at their seat, doubling as a take-home gift. Fill them with Halloween candy before wrapping for a sweet surprise inside.
The small scale makes them quick to produce in quantity: an assembly line can turn out thirty minis in an hour. Personalise each with a tiny name tag tied around the “neck” with twine. Use small LED tea lights (the flat coin type) that fit the tiny jars. These are perfect for children’s Halloween parties, classroom celebrations, and anyone who loves a detail that guests actually take home.
Giant Statement Mummy Jars
Go big: oversized jars — gallon pickle jars, large apothecary vessels, even fish bowls — become dramatic statement mummies that anchor a display. A giant mummy jar on a porch, flanking a doorway, or as a party centerpiece has serious presence. Wrap with wide fabric strips or torn bedsheets rather than narrow gauze for proportional bandaging.
Giant mummies need appropriately scaled eyes — large wooden beads painted as eyes, or big googly eyes from craft stores, maintain the cartoon-mummy charm at scale. Light them with multiple LED candles or a string of fairy lights coiled inside for even glow. One giant mummy jar has more visual impact than a dozen small ones; use them as the exclamation point of your Halloween display.

Mummy Jars with Googly Eyes
Googly eyes are the soul of the playful mummy jar — they transform a wrapped jar from “craft project” into “character” instantly. The magic is in the wobble: as the jar is moved or as air currents shift it, the pupils dance, giving the mummy a lifelike, mischievous quality. Buy googly eyes in assorted sizes; oversized eyes read as cute, mismatched sizes read as quirky.
Placement changes personality: eyes close together look surprised, wide apart look dopey, one eye slightly higher looks delightfully deranged. For outdoor jars, use adhesive or glue rated for temperature changes so eyes do not pop off in the cold. And buy more than you need — googly eyes have a way of disappearing into craft drawers, couch cushions, and children’s pockets.
Spooky vs Cute: Choosing Your Style
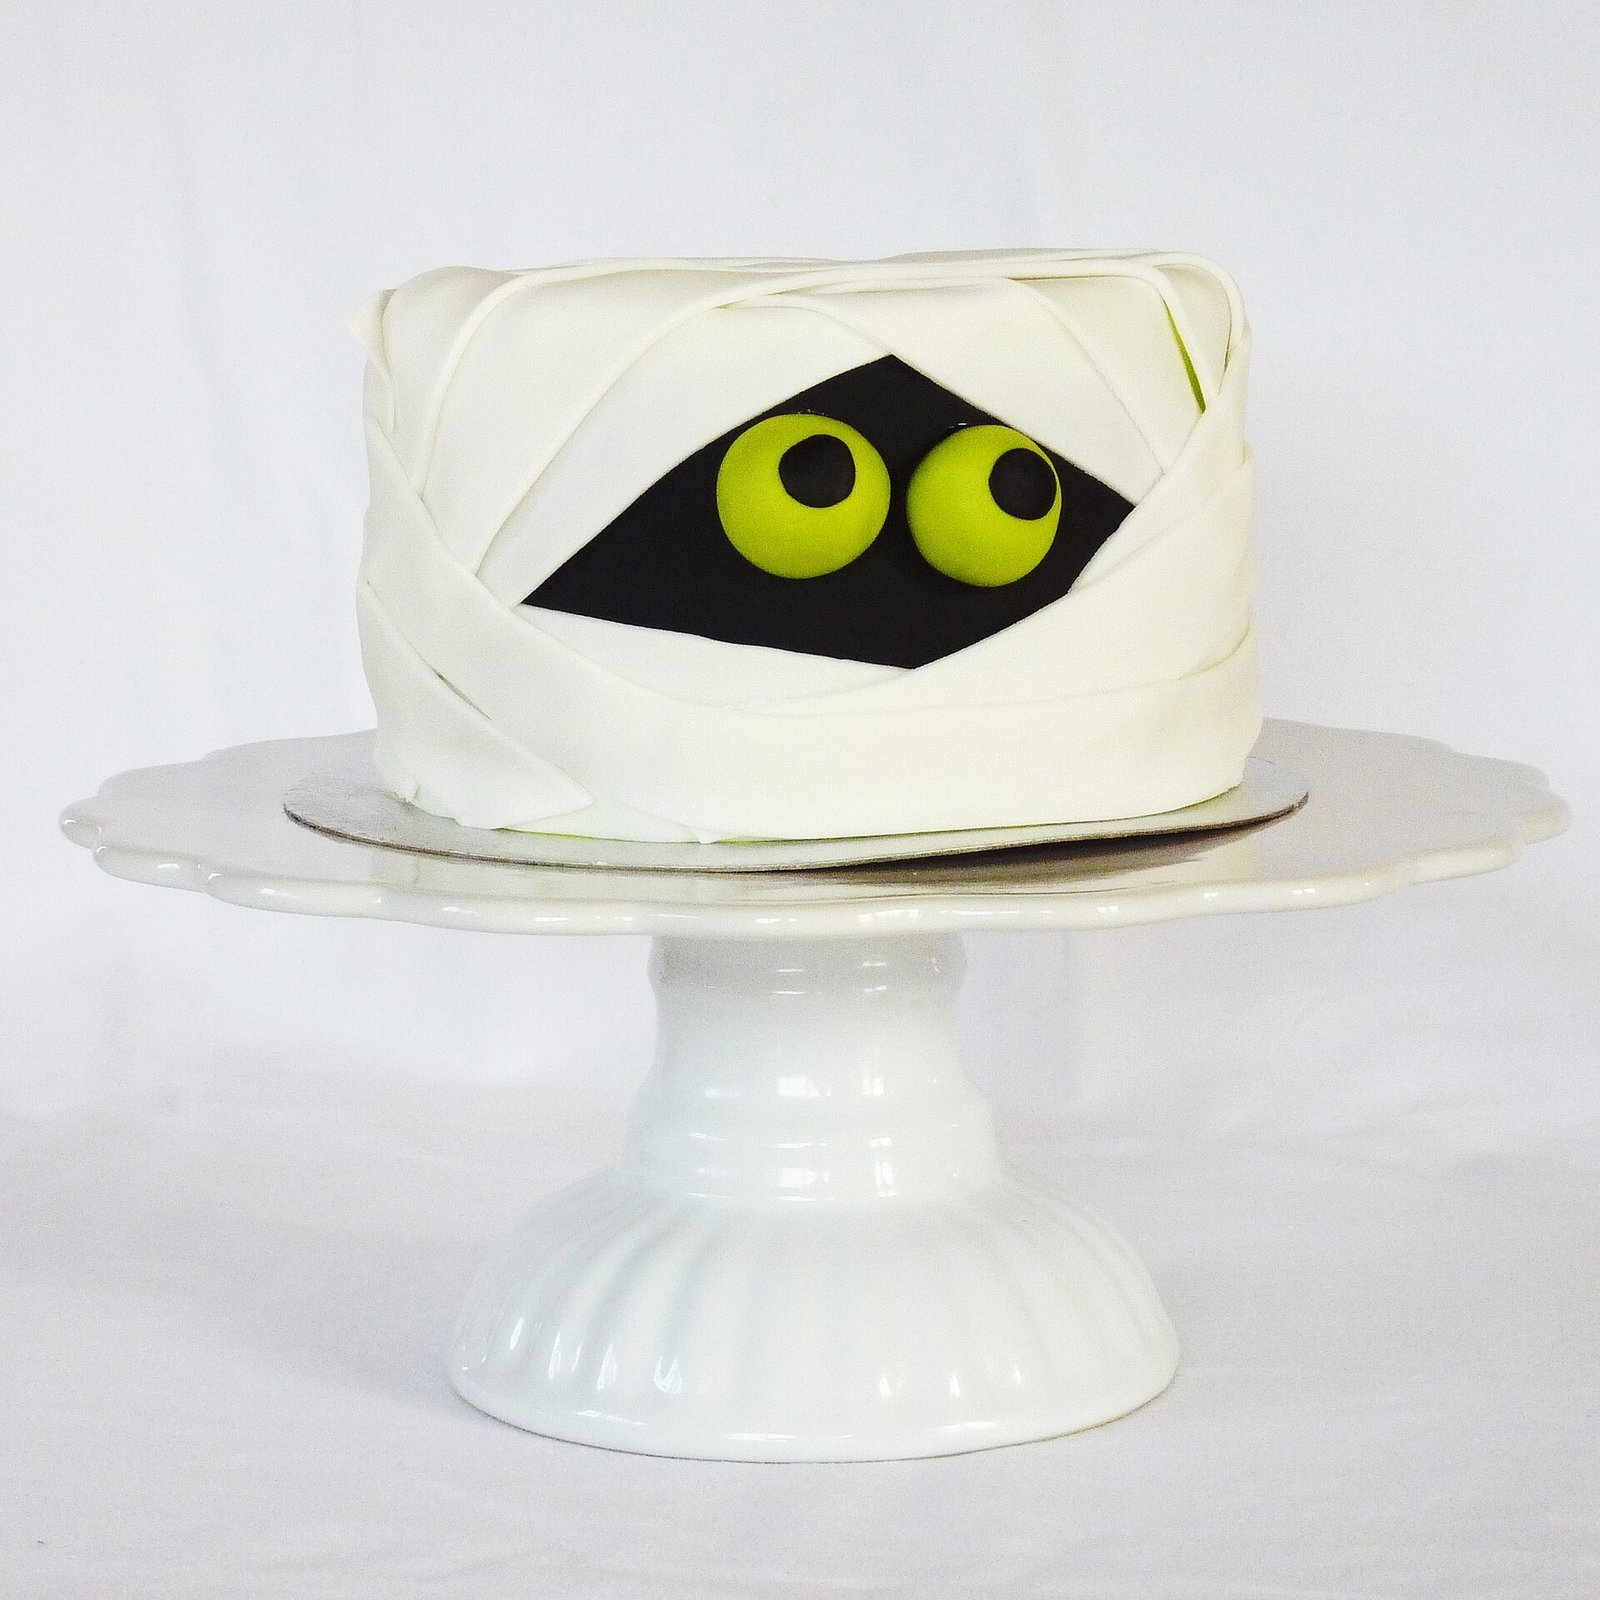
Mummy jars live on a spectrum from adorable to genuinely eerie, and styling choices place yours deliberately. Cute mummies: bright white gauze, big googly eyes, cheerful proportions, warm lighting, paired with pumpkins and friendly ghosts. Spooky mummies: tea-stained or grey-aged wrapping, painted realistic eyes (or no eyes — just dark hollows), irregular torn bandages, cool or flickering orange light, displayed with cobwebs and skulls.
Most households land in the middle: charmingly spooky, fun for kids but atmospheric for adults. You can also mix — cute minis for the kids’ table, spooky apothecary versions for the grown-up spaces. The style should match your overall Halloween aesthetic and your audience; a house full of toddlers wants cute, a haunted house party wants spooky. The craft accommodates both with the same basic technique.

Colour Variations Beyond White
Who says mummies must be white? Experiment with wrapping colours for unique effects. Black or grey gauze creates shadow mummies with a genuinely haunting presence. Orange-tinted wrapping glows spectacularly with internal light. Green-tinged mummies nod to classic movie monsters. Purple or blood-red accents suit gothic and vampire-adjacent themes.
Tea-staining or coffee-dyeing white gauze gives an aged, archaeological authenticity — like a real excavated mummy. Dip-dyeing the bottom of the wrapping creates an ombré effect. Even patterned fabric strips (subtle damask, faded stripes) can work for stylised, designer mummies. The internal light colour interacts with the wrapping colour, so test combinations before committing: orange light through orange gauze is blinding, while purple light through grey gauze is moody perfection.

Grouping and Display Arrangements
Mummy jars have maximum impact in groups — a single jar is a craft, a cluster is a display. Arrange in odd numbers (three, five, seven) for natural visual appeal, varying heights and sizes within the group. A “mummy family” — large, medium, and small jars together — tells a story and delights viewers of all ages.
Build displays with layers: mummy jars at the back elevated on books or boxes, smaller ones in front, with filler elements (faux leaves, cobwebs, mini pumpkins) tucked between. On mantels, anchor the arrangement with the largest jar at one end and cascade smaller ones along the length. Leave breathing room — crammed jars look cluttered, while spaced groupings with intentional filler look curated. Photograph your arrangement before the party; you will want to replicate it next year.
Mantel Styling with Mummy Jars
The mantel is the mummy jar’s natural habitat — eye-level, central, and made for seasonal display. Build your mantel in layers: a garland base (faux autumn leaves, fairy lights, or cobweb fabric), mummy jars of varying heights along its length, and tall elements (candlesticks, branches) at the ends for framing. The mummies’ glow becomes the mantel’s focal light in the evening.
Coordinate with the rest of the room: echo the mummies’ warm glow with candles elsewhere, and keep surrounding decor in the same cute-spooky register. Flank the mantel arrangement with tall black candlesticks or bare branches in vases to frame the glowing jars and draw the eye upward. A mirror behind the mantel doubles the glow beautifully. For safety, keep fabric-wrapped jars away from real-flame candles and fireplace heat — LED everything on the mantel itself. A well-styled mummy mantel is the Halloween equivalent of a Christmas mantel: the seasonal heart of the home.

Porch and Outdoor Displays
Mummy jars on the porch welcome trick-or-treaters with glowing charm. Line porch steps with luminaries, cluster them around planters, or hang small ones (in protective netting) from porch beams. Outdoor displays need weatherproofing: use sealed LED candles, weight jars against wind, and bring fabric-wrapped jars inside during rain — soaked gauze sags and can mildew.
Combine mummy jars with other porch elements for a complete scene: hay bales, pumpkins, corn stalks, and a mummy-jar-lit pathway create the classic welcoming-haunted-house look. A motion-activated cackling witch or greeting skeleton near the mummy jars delights trick-or-treaters and makes your porch the street’s favourite stop. Solar-powered LED inserts eliminate battery worries for long display periods. For apartment dwellers, a windowsill row of mummy jars glows beautifully from inside and delights passersby — Halloween spirit without a porch.
Mummy Jars as Table Centerpieces
For Halloween parties and dinners, mummy jar centerpieces set the tone instantly. A long table wants a runner of small mummy jars interspersed with candles and autumn foliage; a round table suits a central cluster of three jars at varying heights on a wooden slice or dark tray.
Keep centerpieces low enough for conversation — the charm is in the glow, not the height. Surround jars with scattered candy, faux spiders, or autumn leaves for texture — tucking sprigs of dried lavender or eucalyptus between the jars adds a subtle scent that makes the table feel as good as it looks. For formal Halloween dinners, the apothecary-style mummies in muted tones suit the table better than googly-eyed cuties. And always use LED lights on dining tables — real flames near fabric, food, and reaching arms are a risk no atmosphere is worth.

Kid-Friendly Craft Versions
Mummy jars are the perfect children’s Halloween craft: safe, simple, and satisfying. For young kids, skip the glue — use self-adhesive gauze wrap or masking tape strips, which stick without mess. Let kids wrap freely; perfection is not the goal and irregular wrapping looks more mummy-like anyway. Stick-on googly eyes (self-adhesive) eliminate glue entirely.
Turn it into a party activity: set up a mummy-jar station with pre-cut wrapping strips, jars, and eyes, and let each child make one to take home. Use only LED tea lights — establish the “no real candles” rule clearly. For classrooms, mini jars keep costs down and fit on desks. The craft teaches fine motor skills, allows creativity, and produces something kids are genuinely proud of. Few Halloween crafts deliver this much joy per pound.

Budget and Dollar-Store Builds
Mummy jars are the ultimate budget Halloween decor. Dollar-store sourcing: glass jars, gauze bandages (first-aid aisle), googly eyes, and LED tea lights can all be found for £1–£2 each. A dozen impressive mummy jars costs less than a single bag of premium Halloween candy.
Save further by reusing jars you already own (pasta sauce, jam, pickles — all work), tearing old white bedsheets into strips instead of buying gauze, and painting eyes instead of buying googly ones. Buy LED tea lights in bulk multipacks; the per-unit cost drops dramatically. The budget versions look just as good as expensive ones in evening lighting — darkness is the great equaliser of craft quality. This is Halloween decorating at its most democratic.

Storage and Reuse
Mummy jars store beautifully for reuse, making them a sustainable choice. Remove LED lights (store batteries separately to prevent corrosion), nest smaller jars inside larger ones with tissue padding, and store in a sturdy box in a dry place. The gauze wrapping survives storage well if kept dry and uncompressed.
Inspect each jar when unpacking the following year: re-glue any lifting edges, replace lost eyes, refresh batteries. Preserved carefully, mummy jars last five or more Halloweens — the per-year cost becomes pennies. Consider evolving your collection annually: add a few new jars each year in different sizes or styles, building a mummy family that grows with your Halloween ambitions.

Common Mistakes to Avoid
The most common mistake is wrapping too tightly and uniformly — perfect wrapping looks like a bandaged injury, not a mummy. Embrace irregularity: overlap at angles, leave small gaps, let strips twist. Second: using real candles in fabric-wrapped jars — a genuine fire hazard. LED only, always.
Other pitfalls: covering the entire jar so no light escapes (leave the wrapping slightly open or use translucent layers); placing eyes too low (they should sit in the upper third); using too much glue, which shows through gauze as dark spots; and making all jars identical — variation in size, wrapping, and eye placement creates the charming “family” effect. Finally, do not display unlit mummy jars as the main event: their magic is the glow. Plan your lighting before your wrapping.

FAQs About Mummy Jar Decor
Are mummy jars safe? Yes, when made with LED lights — never put real flames in fabric-wrapped jars. How long do they take to make? About 10–15 minutes per jar plus drying time; batch production is efficient. What jars work best? Any clear glass jar — mason jars are classic, but pasta-sauce and jam jars work perfectly.
Can mummy jars go outside? Yes, with weatherproof LEDs and protection from rain; bring fabric-wrapped jars in during wet weather. How do I clean them? Dust with a dry cloth; spot-clean gauze gently — they are decor, not dishes. Can I put treats inside mummy jars? Yes — mini jars filled with candy make wonderful party favours that guests unwrap like tiny presents. Will the gauze yellow over time? Slightly, which actually enhances the aged-mummy look. Mummy jars prove that the best Halloween decorations are not bought but made — with gauze, glow, and a little imagination.


I am Talha Sikandar, a professional writer with a passion for general blogging. With years of experience in content writing and research, I founded Meaniingly.com to deliver well-researched, informative, and user-friendly articles on diverse topics.