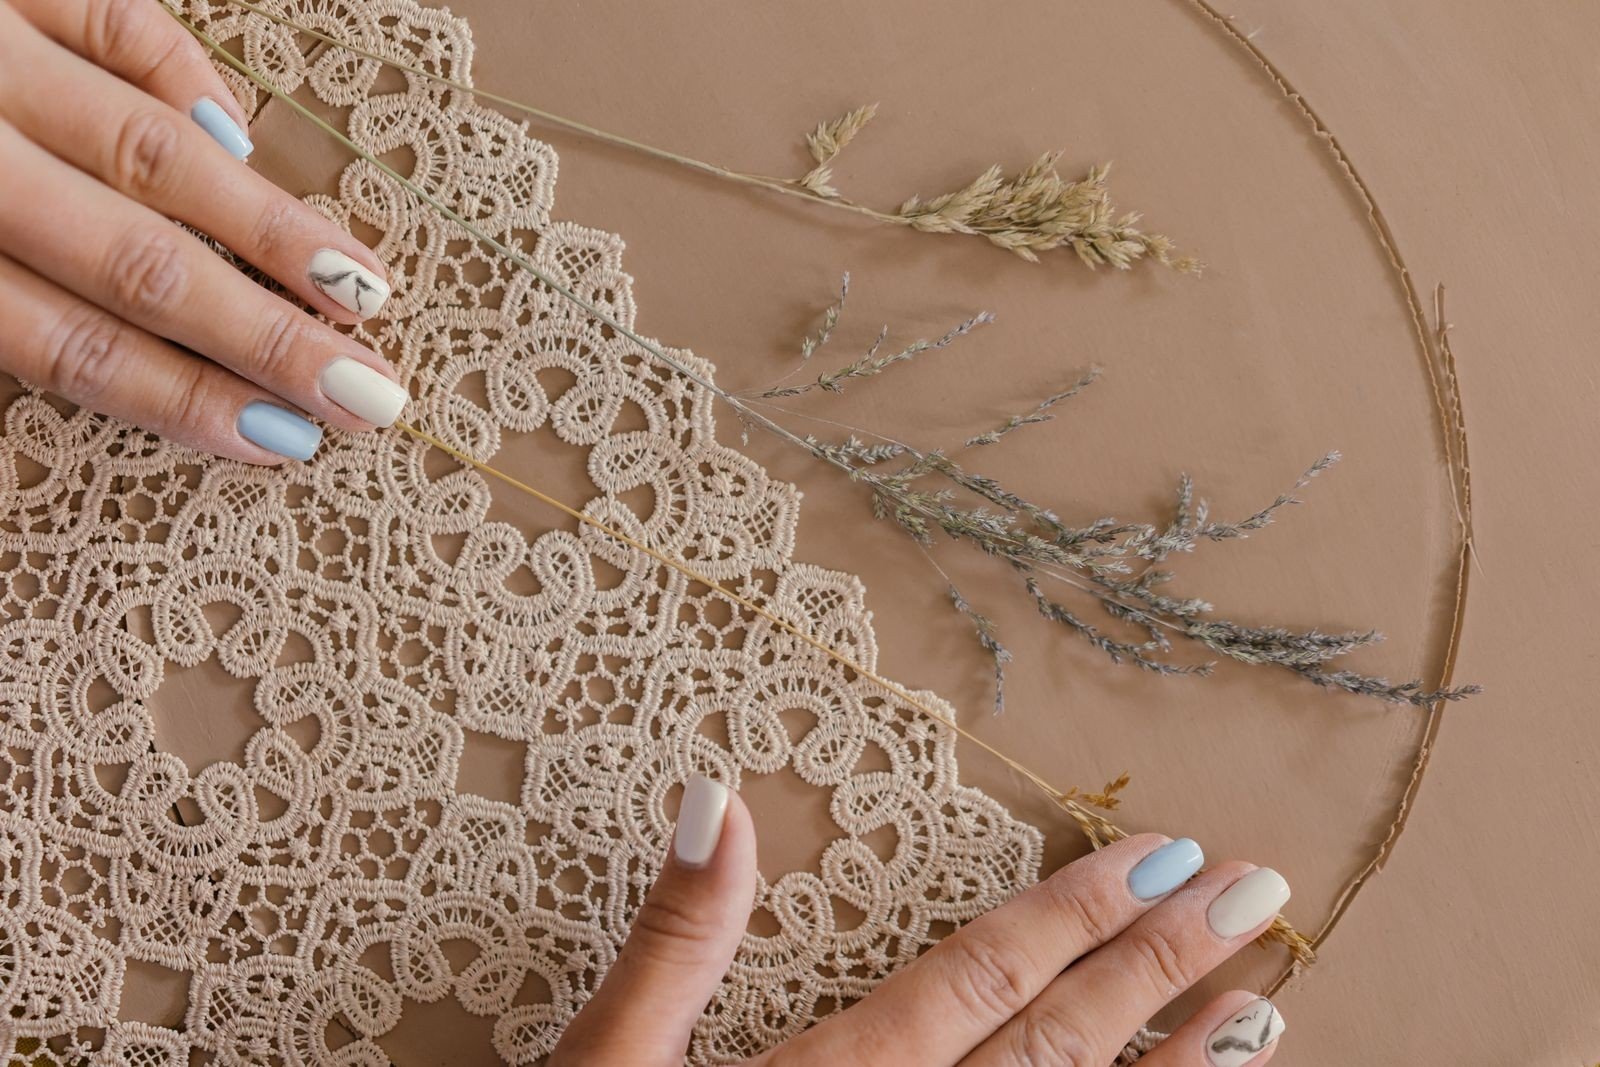
Lace nails ideas
Why Lace Nails Are So Loved
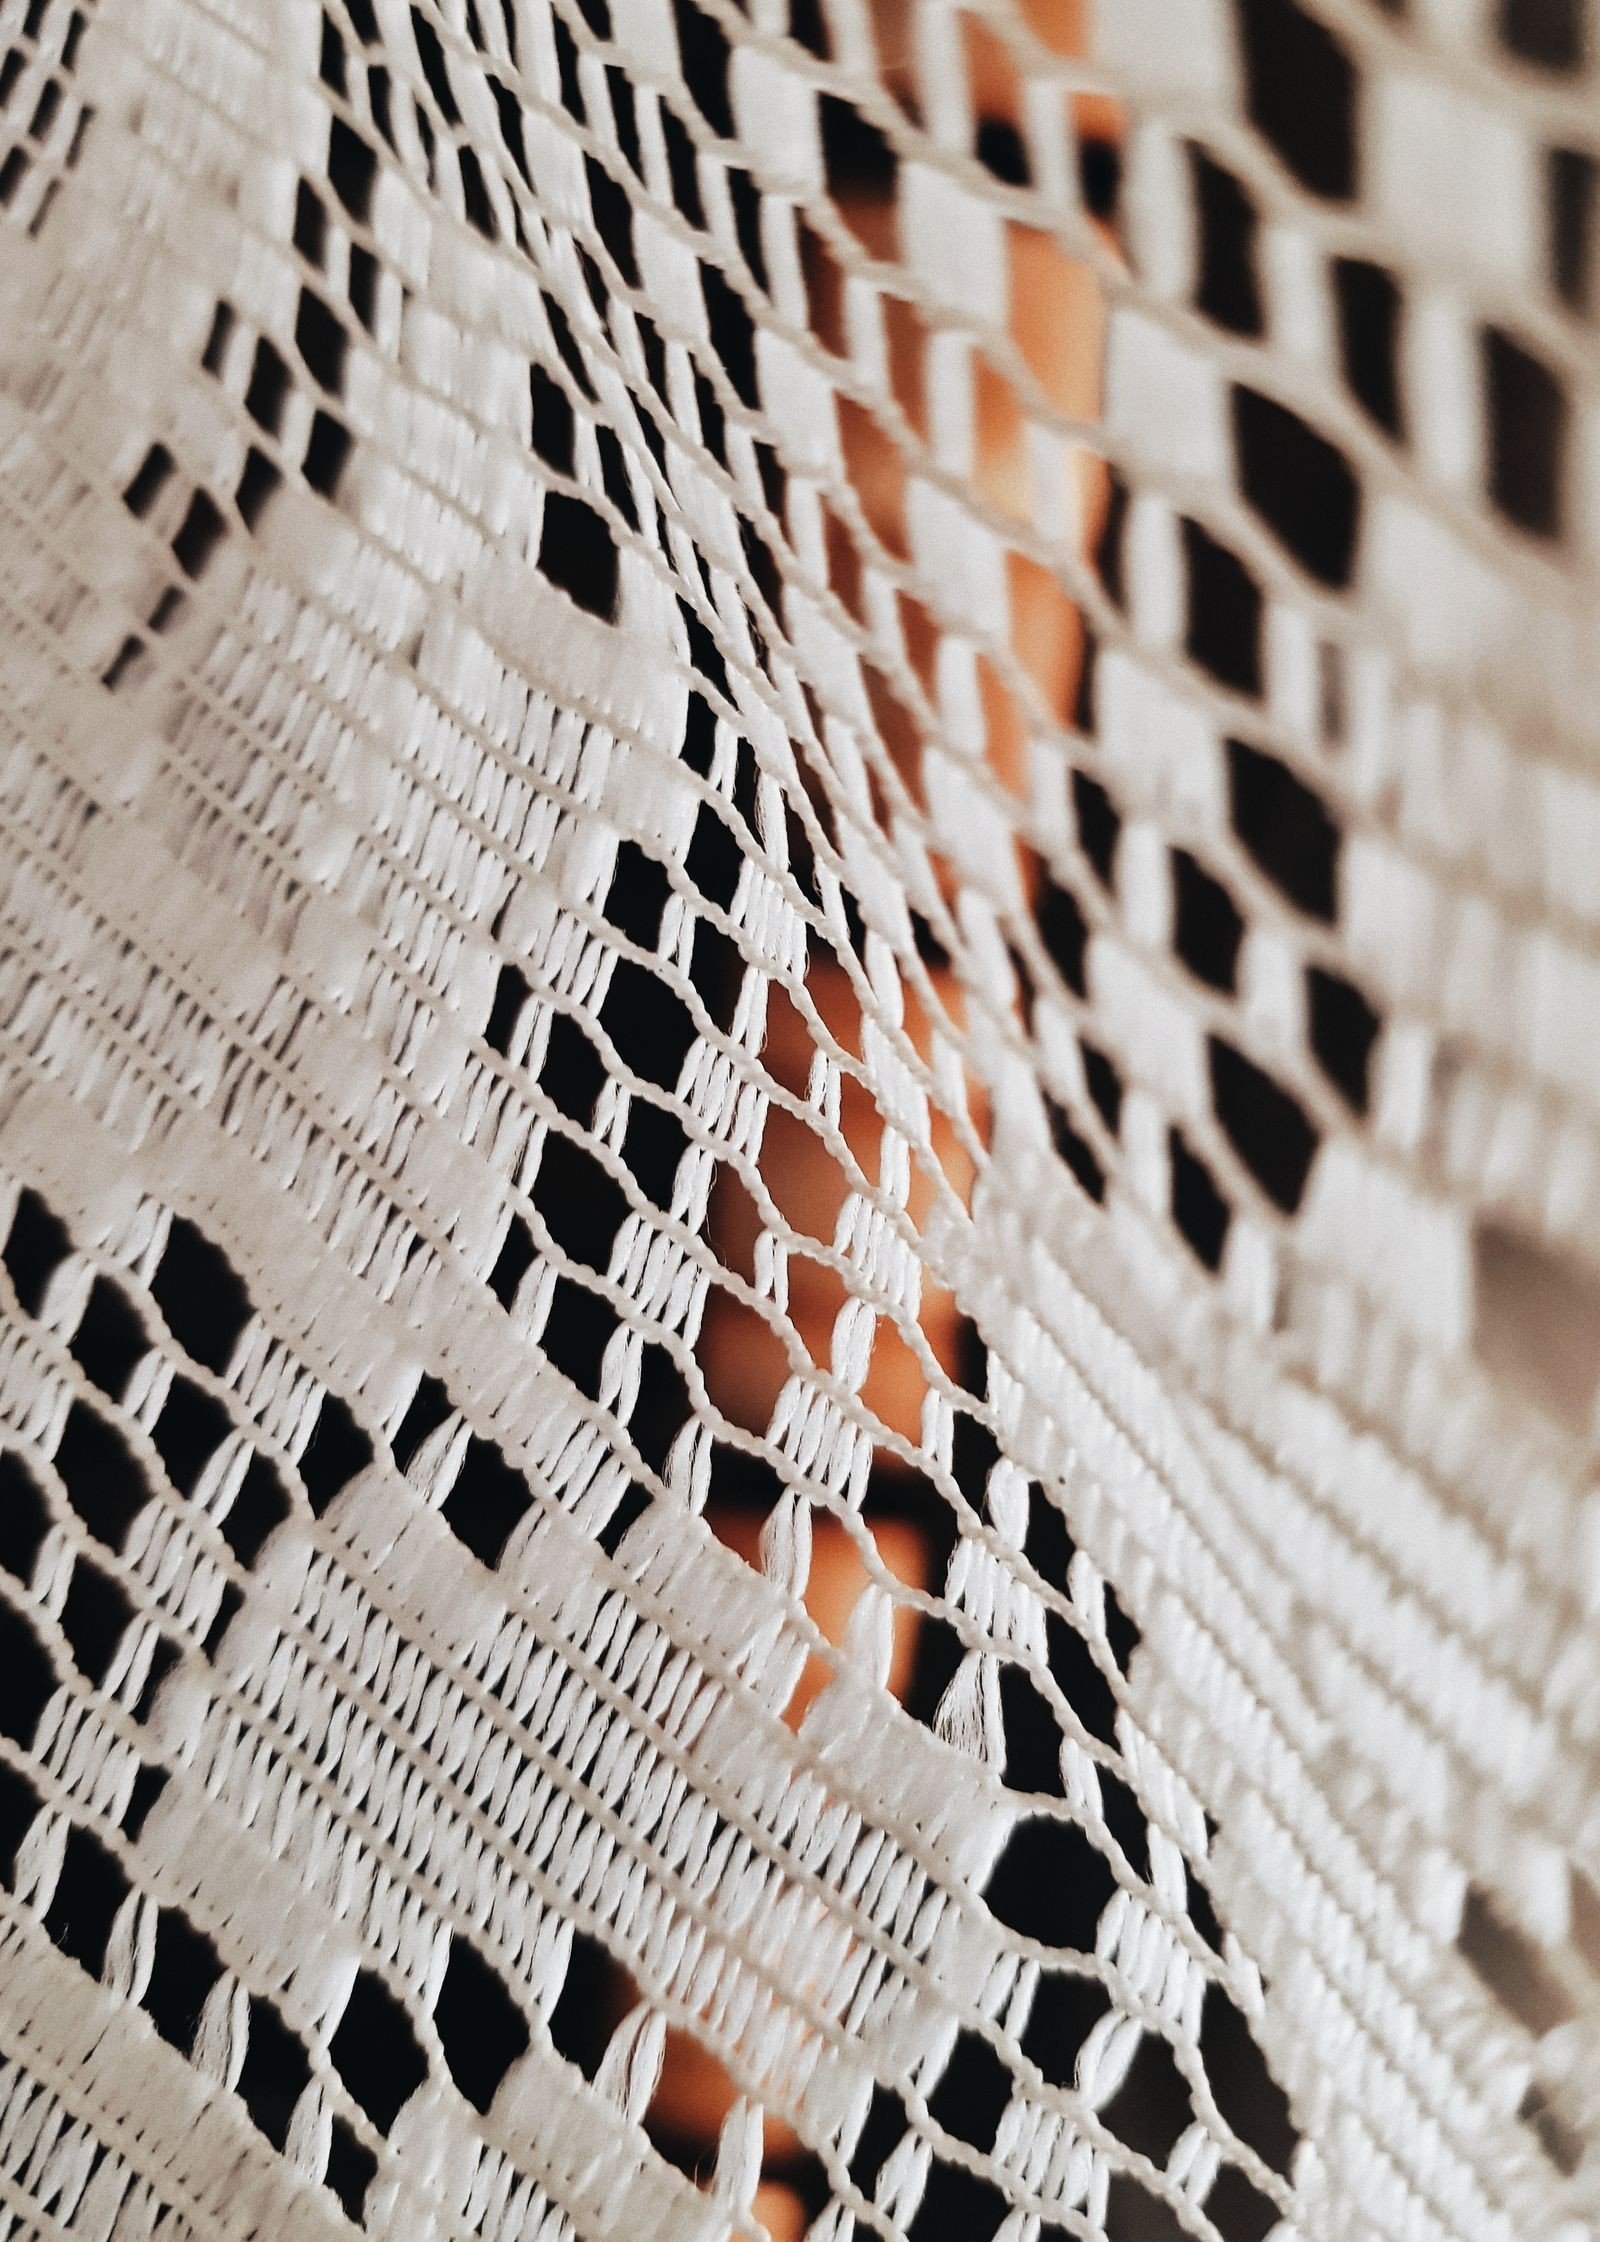
Lace nails bring a touch of romance and vintage elegance to any manicure. The delicate, web-like pattern echoes bridal veils, heirloom fabrics, and classic femininity, making it a favourite for weddings, anniversaries, and special occasions. At the same time, lace can feel modern and edgy when paired with dark colours or negative space, so it suits far more than formal events. Its versatility is exactly why it never goes out of style.
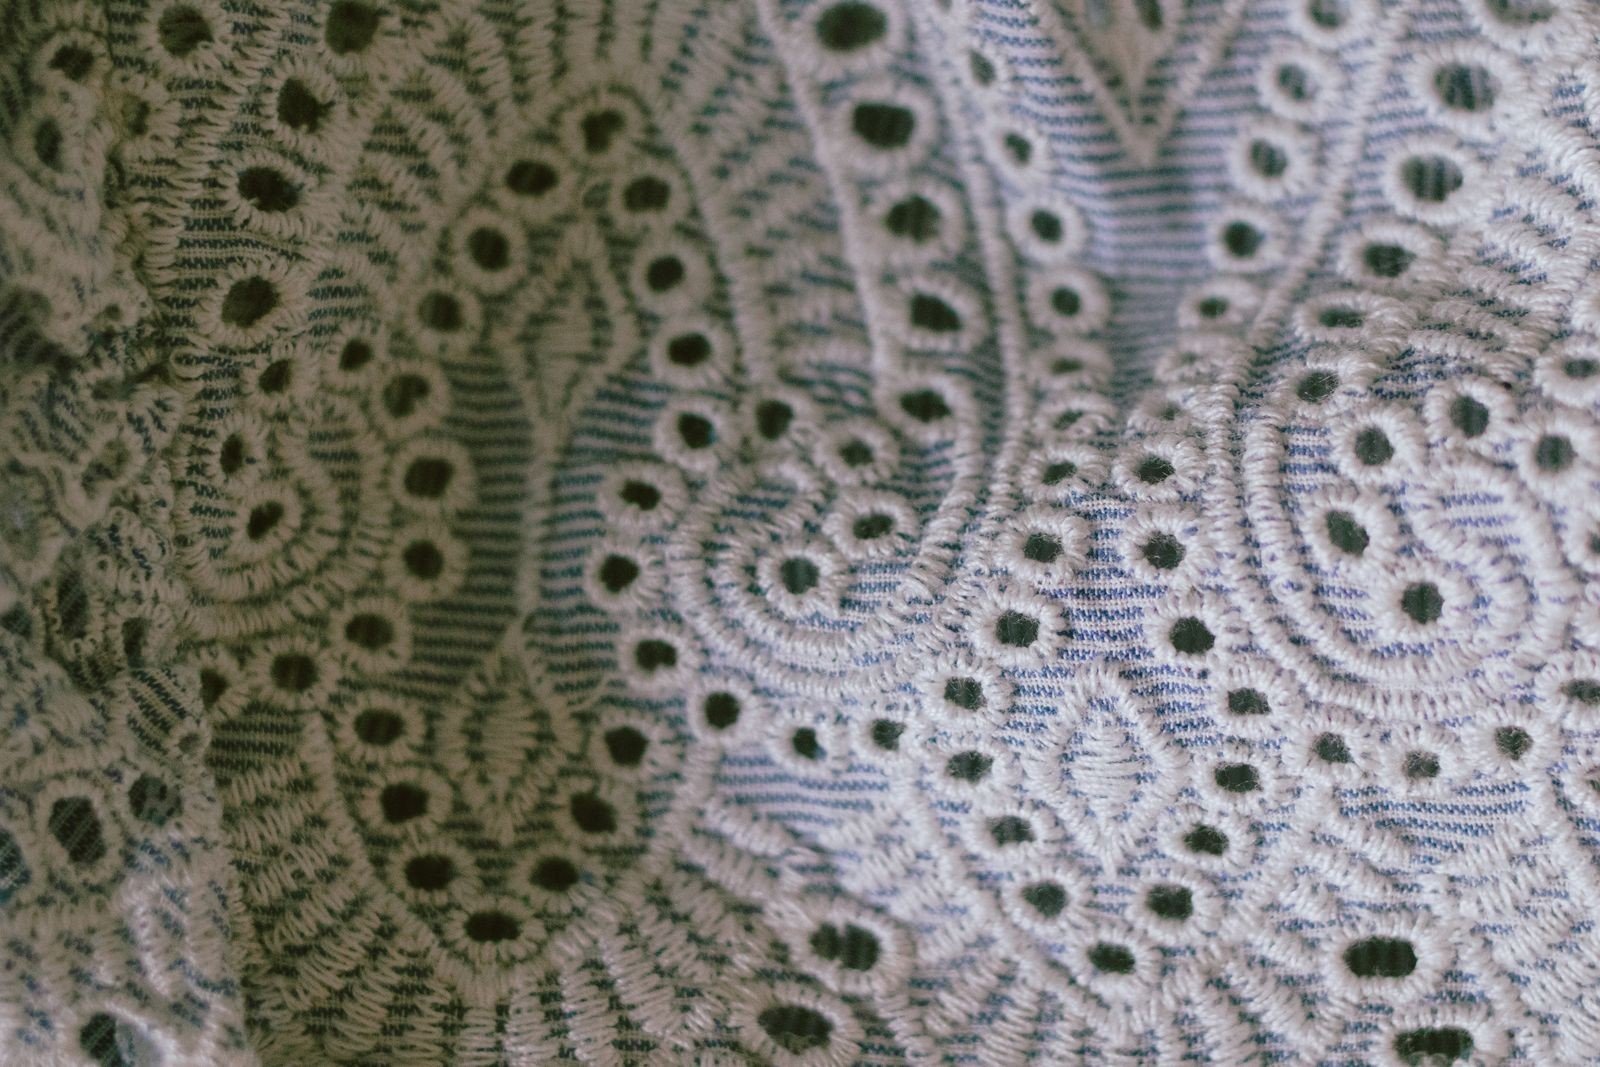
What makes lace nails so appealing is their detail. Each tiny loop and curve catches the light and invites a closer look, turning a simple manicure into a miniature work of art. Whether you choose a full lace overlay or a single accent nail, the effect is instantly polished and feminine. Lace also flatters every nail length and shape, from short natural nails to long almond extensions.
Classic White Lace on Nude
The most timeless lace design is white lace painted over a soft nude or pale pink base. This combination looks clean, bridal, and effortlessly elegant, and it complements any outfit or skin tone. The nude base keeps the look subtle, while the white lace adds texture and interest without overwhelming the nail. It is the perfect choice for weddings, engagements, and professional settings.
To create this look, apply two coats of your nude shade, then stamp, paint, or apply lace decals in white over the top. A matte top coat gives a soft, fabric-like finish, while a glossy top coat makes the lace pop. Keep the lace design slightly smaller than the nail so a border of nude shows around the edges, which makes the pattern look intentional and refined.
Black Lace for a Bold Look
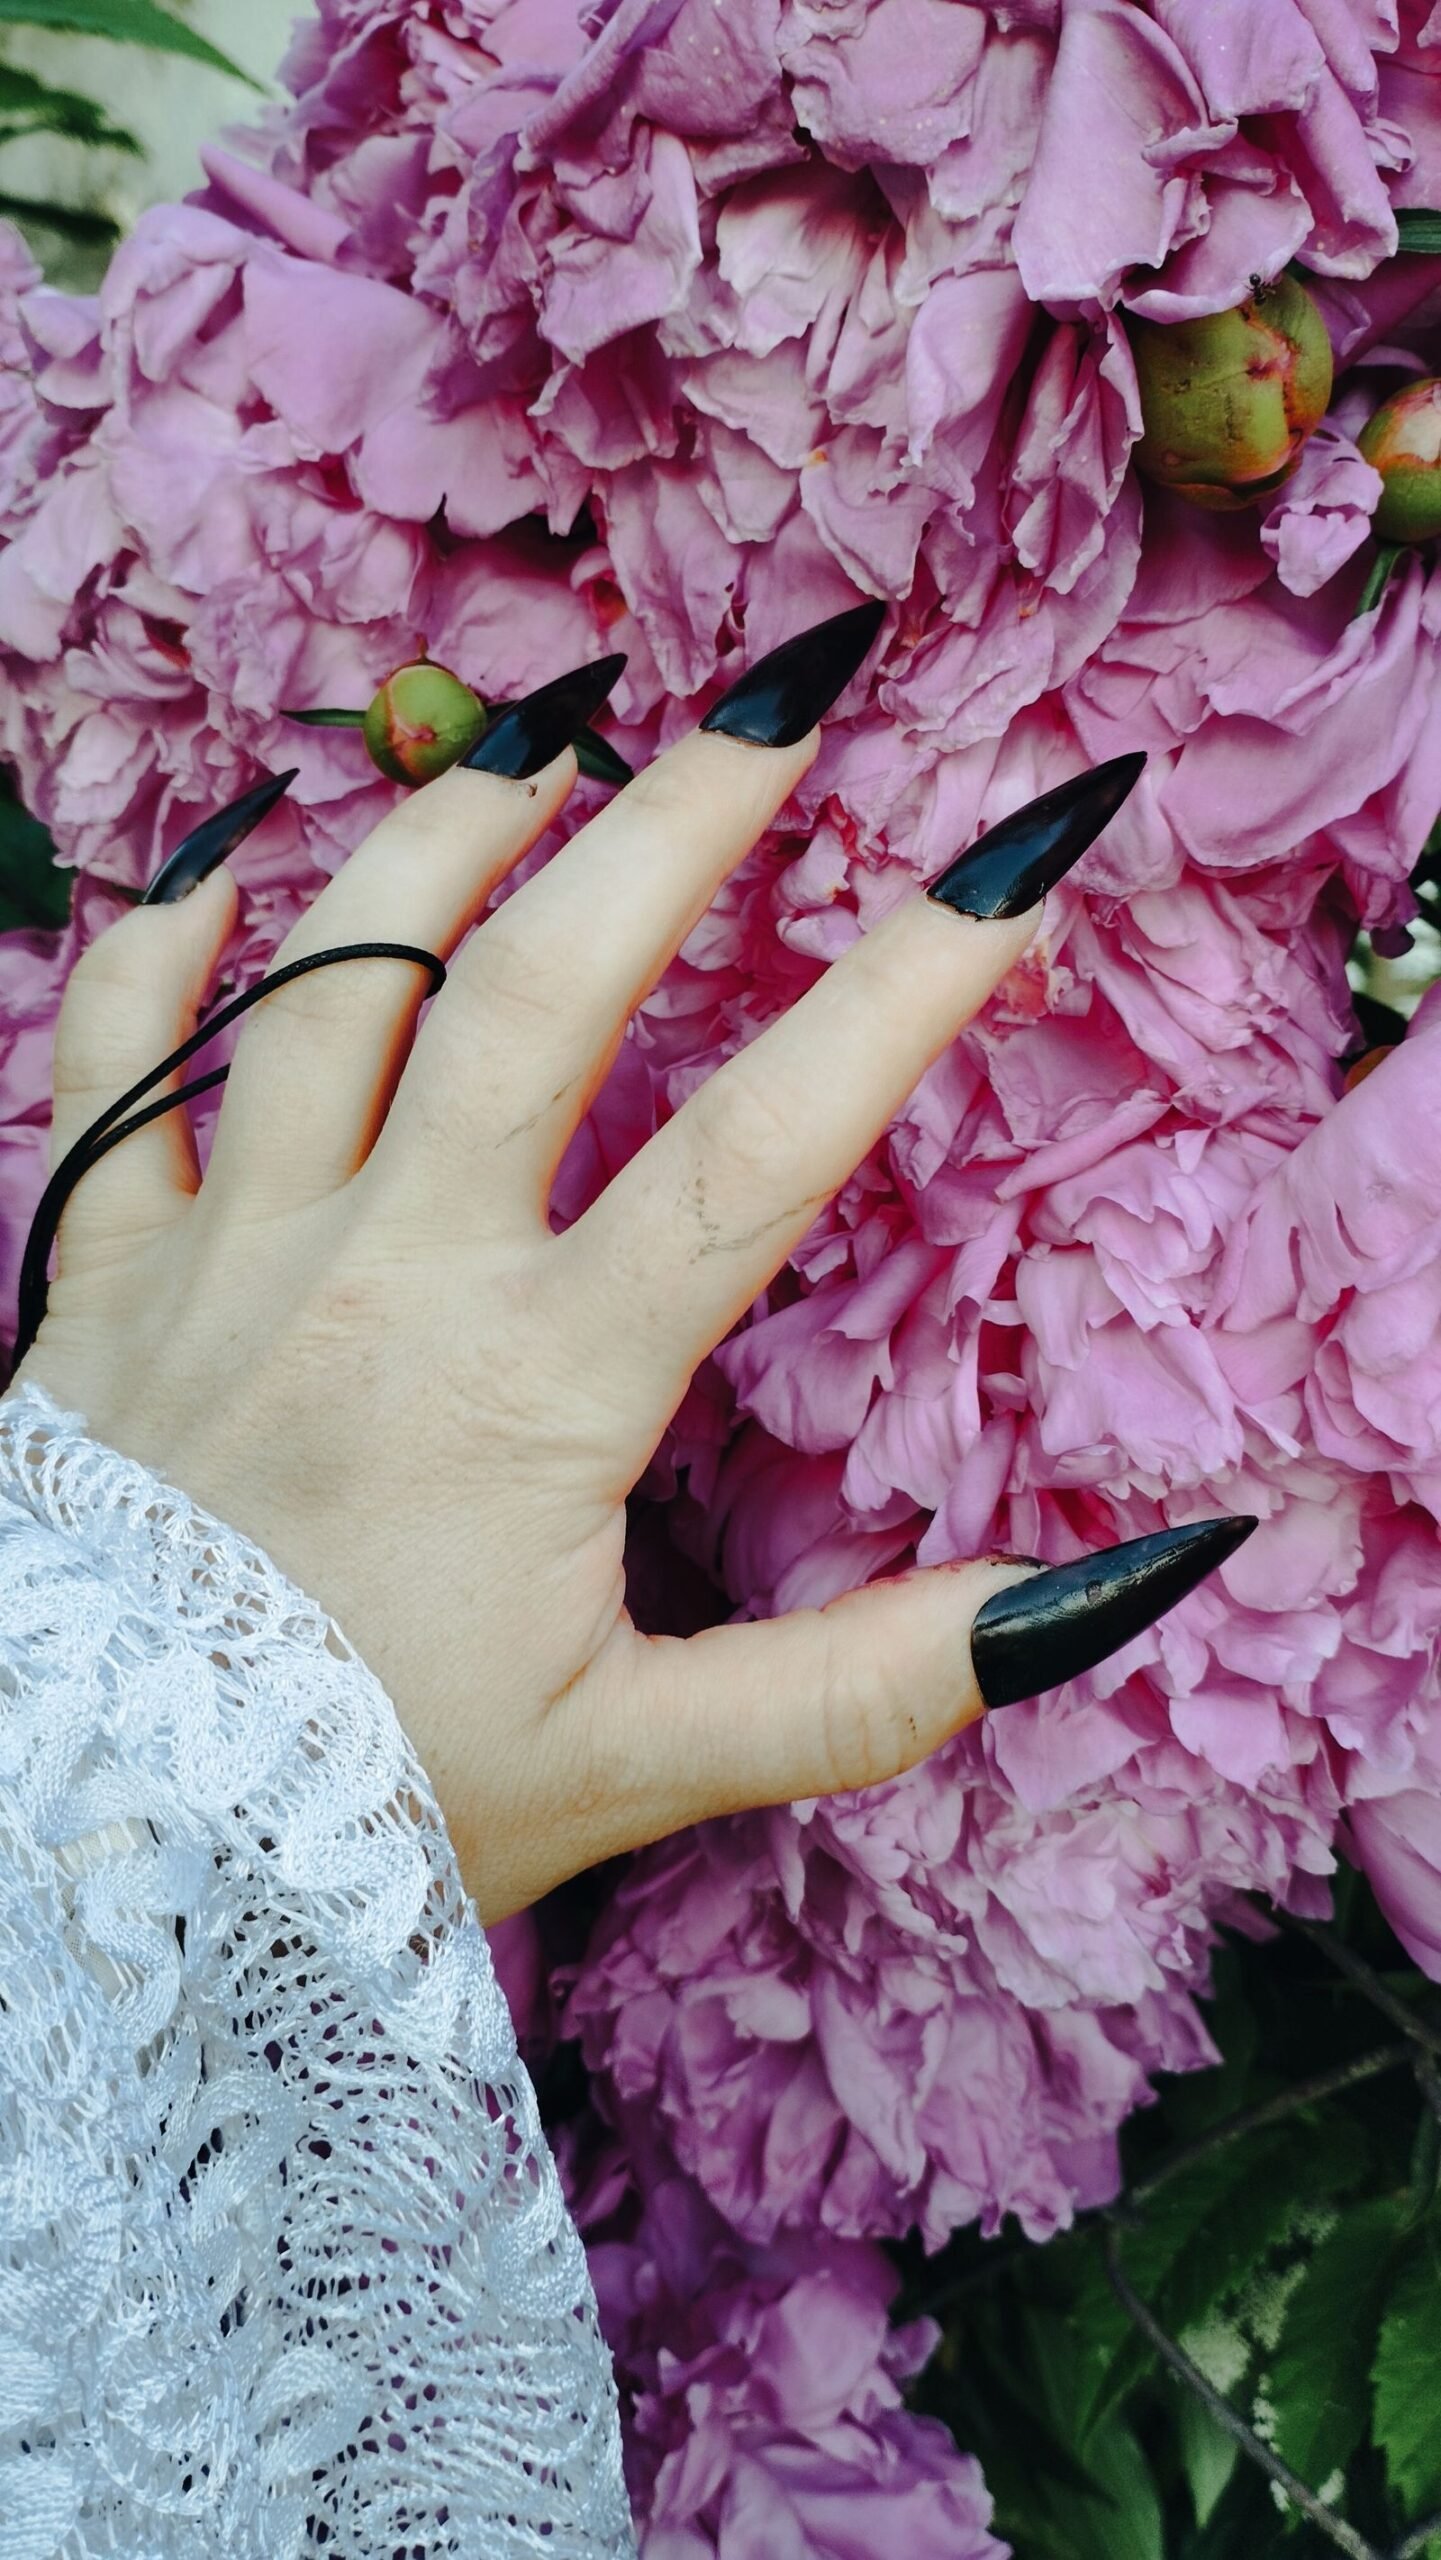
Black lace nails are the dramatic counterpart to white lace, offering a sultry, gothic-romantic feel that suits evening events and autumn styling. Black lace over a nude base looks like real lingerie lace, delicate yet daring, while black lace over deep red or burgundy adds richness and depth. This is a favourite for date nights, parties, and anyone who loves a bolder manicure.
For black lace, precision matters, since dark lines show every wobble. Stamping plates and lace stickers give the crispest results for beginners, while experienced nail artists can hand-paint fine lines with a detail brush. Seal with a glossy top coat to make the black lace look like real fabric against the skin, and keep the rest of the manicure simple so the lace remains the focus.
Black lace also pairs beautifully with a deep, glossy base in oxblood or plum, where the lace reads as a subtle texture rather than a stark contrast. This version is quieter and more mysterious, perfect for evening events where you want the manicure to reward a closer look. A glossy top coat is essential here, since it separates the lace from the base and keeps the pattern visible.
Lace Accent Nails
If a full set of lace feels like too much, a lace accent nail is the perfect compromise. Paint most nails in a solid shade, such as blush, grey, or deep plum, and add lace to just the ring finger or to two accent nails. This gives you the beauty of lace without committing to a full patterned set, and it works beautifully for everyday wear and office-friendly manicures.
Accent nails also let you experiment with bolder lace colours, since only one or two nails carry the pattern. Try gold lace on a burgundy accent, or white lace on a single navy nail. The contrast draws the eye and makes the manicure feel designed rather than random. Accent nails are also a great first step if you are trying lace art for the first time.
Bridal Lace Nails
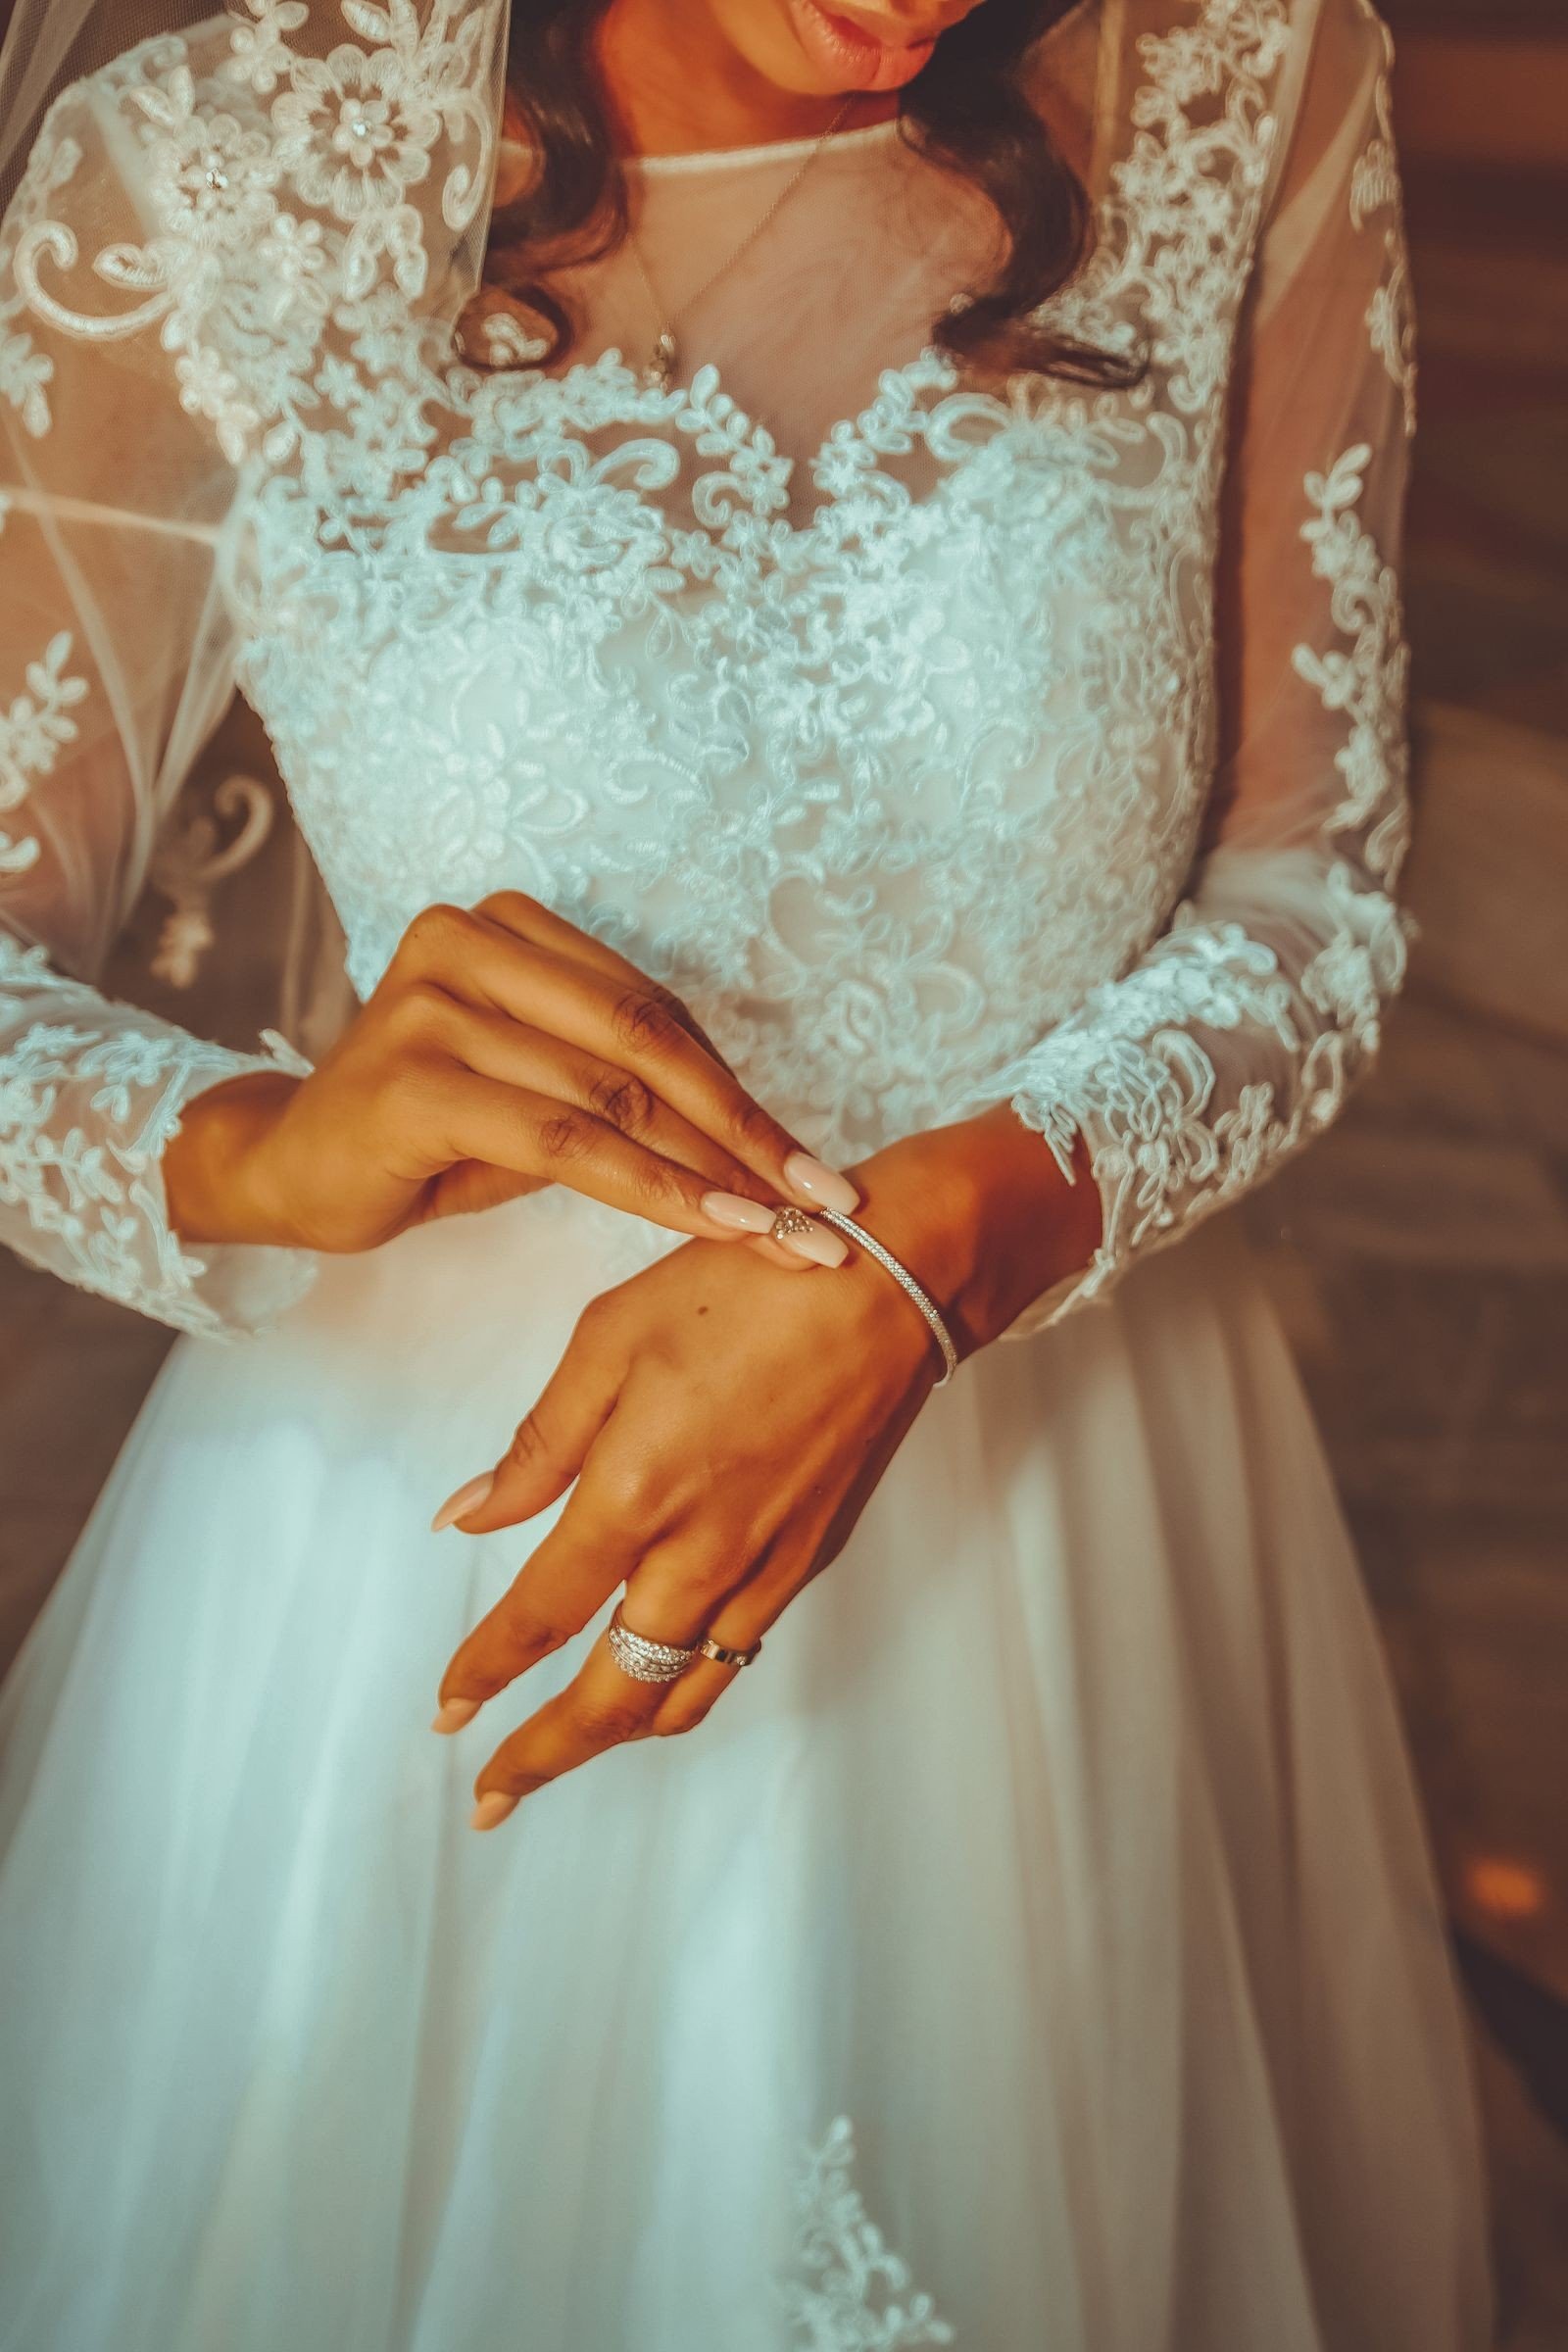
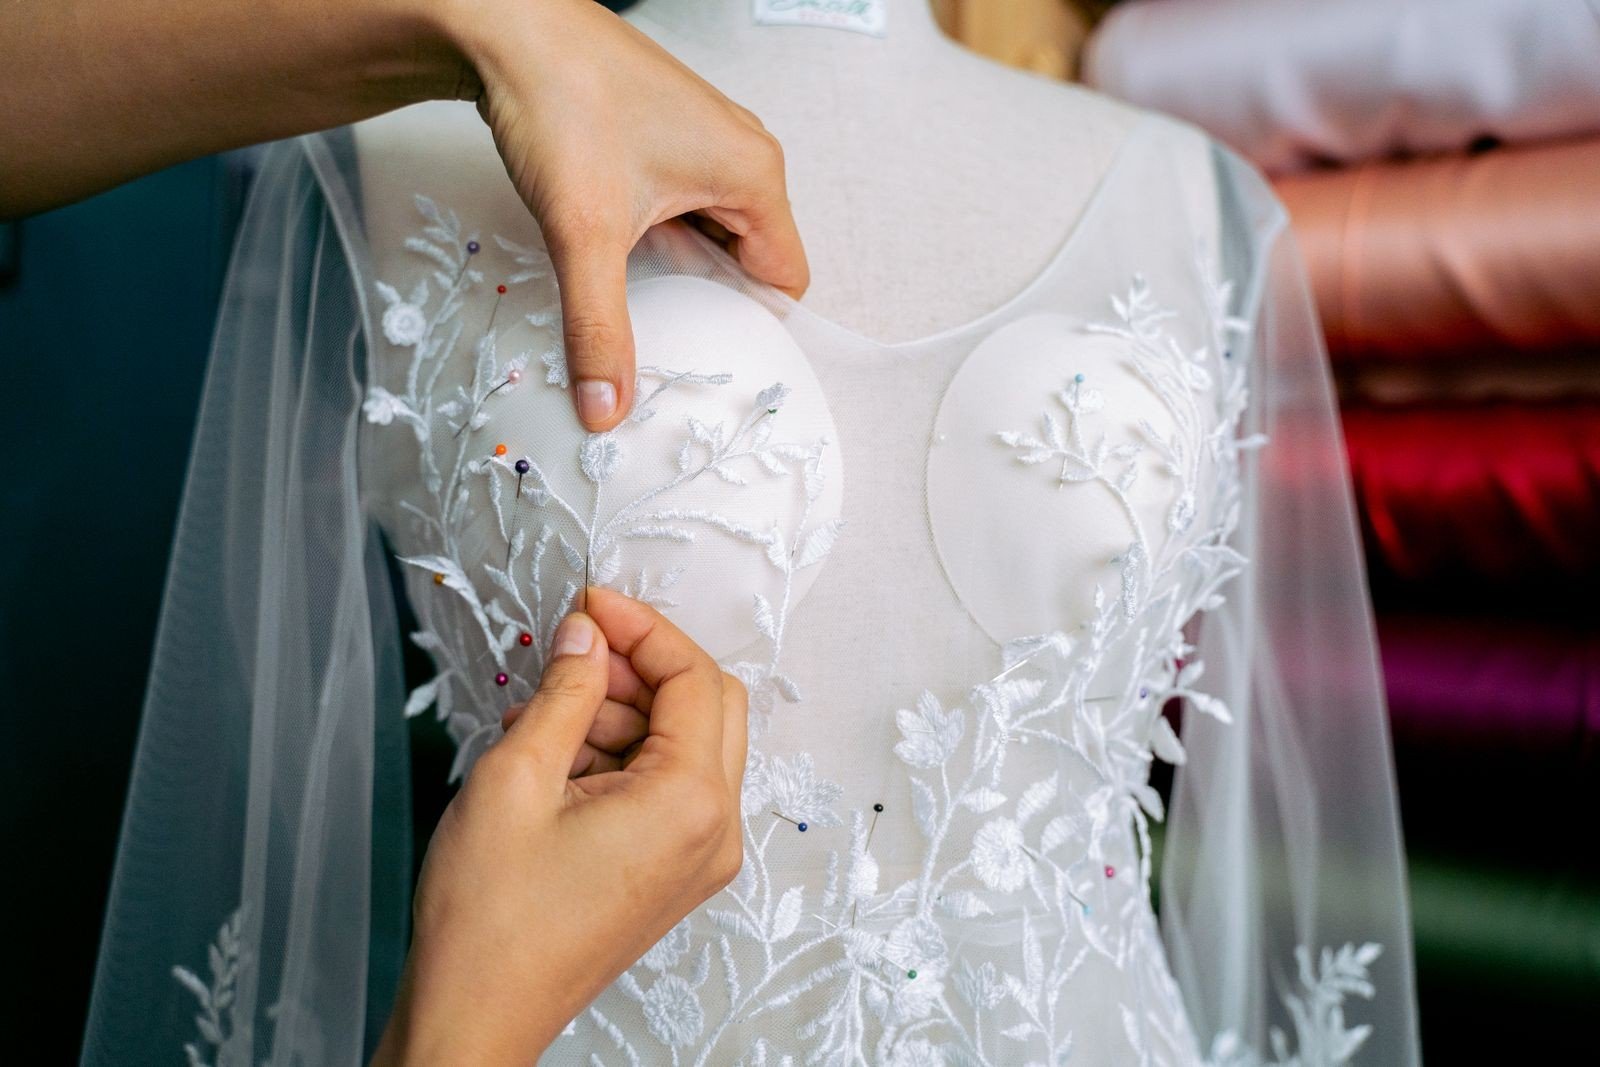
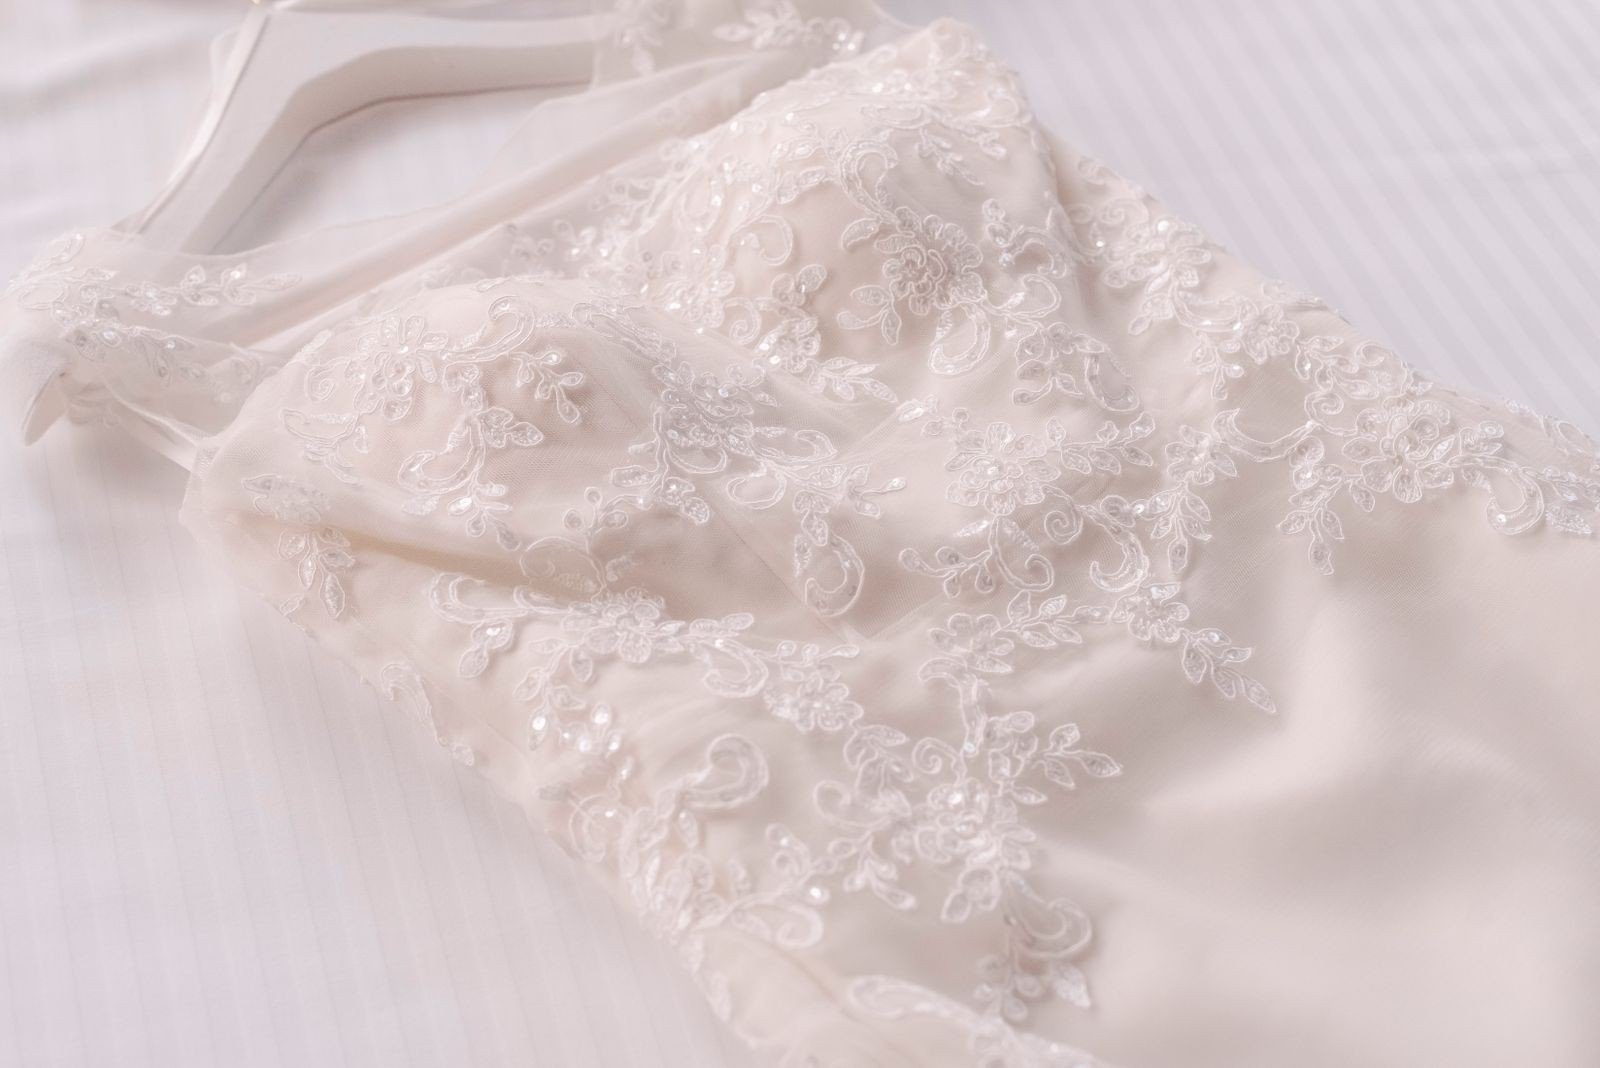
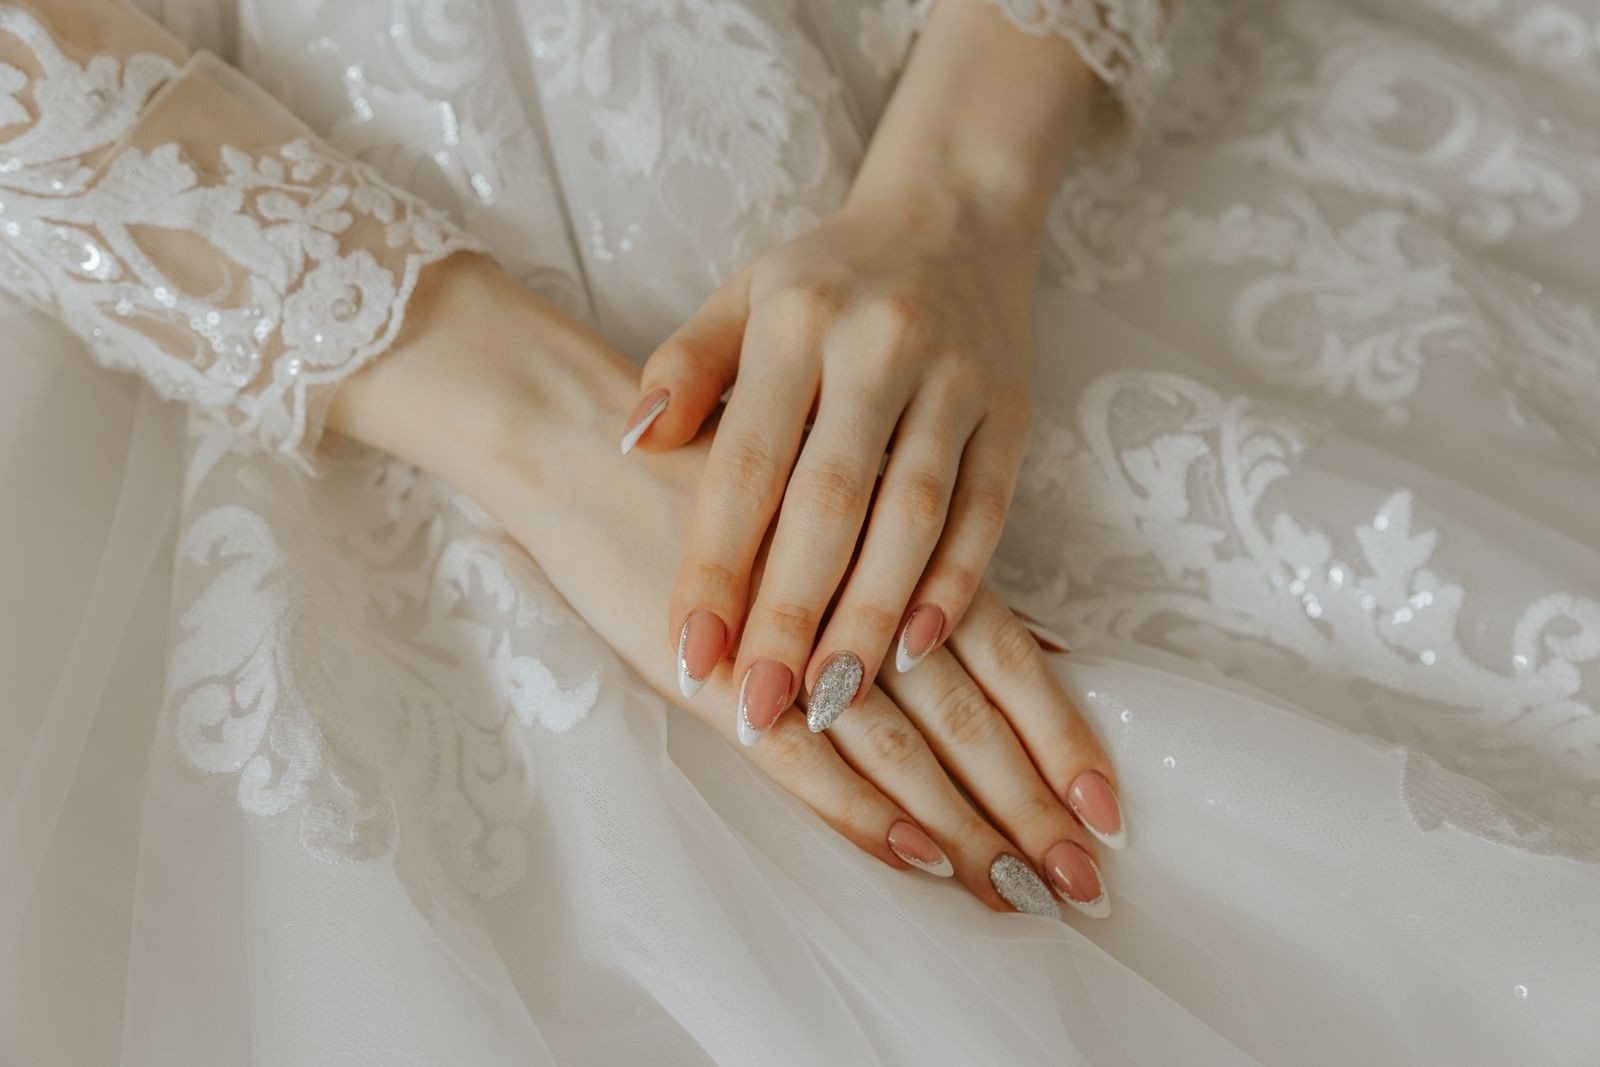
Bridal lace nails are designed to echo the bride’s dress, veil, or bouquet, creating a cohesive wedding look. Soft white or ivory lace over a sheer pink base is the classic bridal choice, often finished with tiny pearls, crystals, or a subtle shimmer. The lace can mirror the pattern of the wedding gown itself, which makes the manicure feel deeply personal and thoughtful.

For brides, durability matters as much as beauty. Gel polish or extensions hold lace art perfectly through the ceremony, photos, and honeymoon, while regular polish may chip. Book a trial with your nail artist before the wedding, bring photos of your dress lace, and test the design for comfort and wear. Your wedding nails will appear in countless photos, so they deserve the same care as any other detail.
French Tips with Lace Detail
Combining a French manicure with lace detail gives a fresh twist on two classics at once. Paint a traditional white tip, then add a fine lace border along the smile line, or replace the solid tip with a lace pattern that fades toward the cuticle. The result is elegant, familiar, and just a little unexpected, which is exactly what makes it so charming.
This style suits medium to long nails best, since the tip area needs room for the lace pattern. Keep the base sheer and natural so the white tip and lace both stand out cleanly. A thin line of gold or silver along the smile line adds a touch of glamour for evening events, while a matte finish keeps the look soft and daytime-friendly.
When combining French tips with lace, keep the tip width proportional to your nail length. Very wide tips leave little room for lace detail, while very thin tips can look fussy. A medium tip, about a quarter of the nail length, gives the lace space to breathe and keeps the classic French shape recognisable. Balance is what makes this combination so elegant.
Using Lace Stamping Plates
Stamping plates are the easiest way to achieve crisp, professional lace nails at home. A stamping plate is a metal sheet etched with lace patterns; you paint polish over the design, scrape off the excess, pick it up with a stamper, and press it onto the nail. The result is a perfect lace pattern in seconds, even if you cannot paint fine lines freehand.

Choose a plate with several lace patterns, including borders, full overlays, and corner designs, so you have options for different nails. Use a stamping polish, which is thicker and more opaque than regular polish, for the sharpest transfer. Practise on a nail wheel first to learn the right pressure, and clean the plate between uses so the etched lines stay clear.
Lace Stickers and Decals
Lace stickers and water decals are another beginner-friendly route to beautiful lace nails. Stickers peel off and press directly onto a dry base coat, while water decals soak briefly, slide off their backing, and settle onto the nail. Both come in a huge range of colours and patterns, from vintage floral lace to modern geometric lace, and both cost very little.
For the best result, trim decals to fit the nail before applying, smooth out air bubbles with a silicone tool, and seal with two coats of top coat to prevent lifting at the edges. Decals are ideal for special occasions or for trying a lace style before committing to hand-painted art. They also travel well, making them perfect for doing nails before a holiday or event.
Hand-Painted Lace Techniques
Hand-painted lace is the most artistic lace technique, and it rewards patience with a truly unique result. Using a fine detail brush and a steady hand, paint tiny loops, dots, and scallops that build into a lace pattern. Start with a simple border design, a scalloped edge with dots, before attempting a full lace overlay, and work one nail at a time so the polish does not dry mid-design.

Thin your polish slightly if it drags, and rest your painting hand on a stable surface to reduce shaking. Many artists sketch the pattern mentally first: a row of loops, then connecting curves, then tiny dots for texture. Hand-painted lace takes practice, but the finished nails are one of a kind, and the skill improves quickly with each attempt.
If you struggle with hand-painting, try painting the lace design on a silicone mat first, letting it dry, and then peeling it off as a decal. This technique, sometimes called a lace applique, lets you create the design flat, where your hand is steadier, and then apply it to the nail like a sticker. It is a clever bridge between freehand painting and commercial decals.
Lace and Glitter Combinations
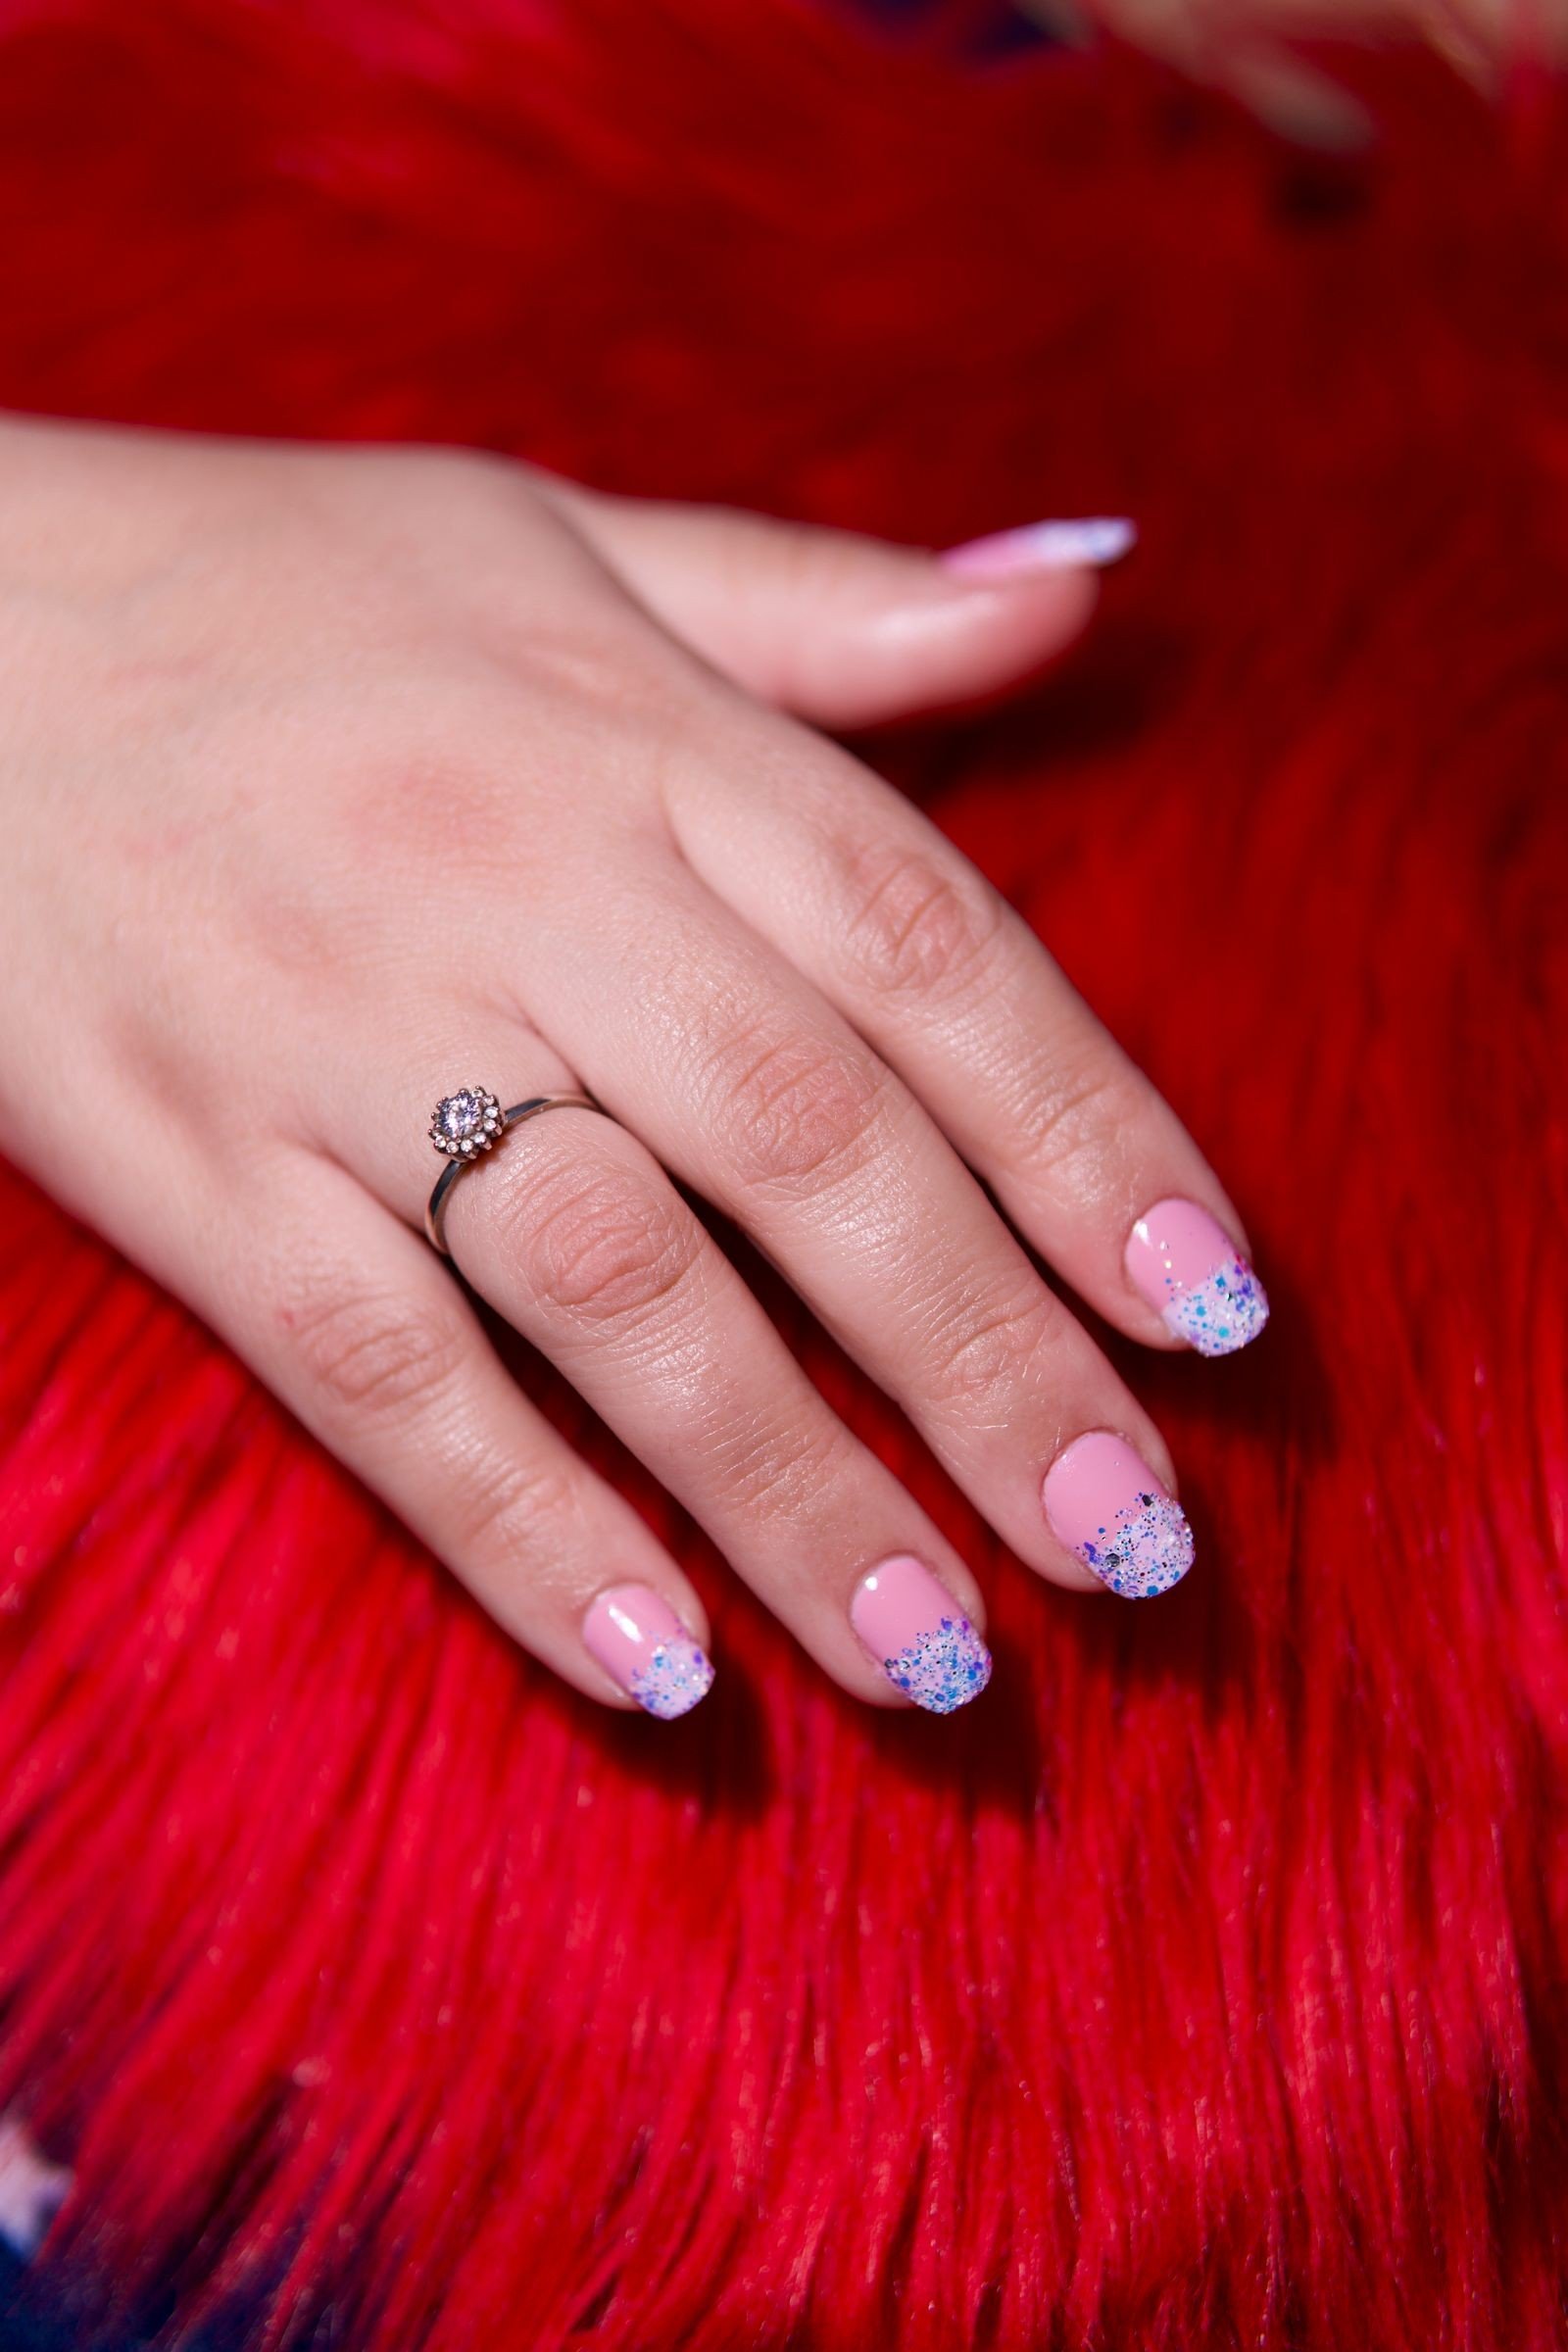
Lace and glitter are a natural pairing, since both add texture and light to a manicure. A fine gold or silver glitter base under white lace gives a sparkling, luxurious effect, while a glitter gradient at the cuticle adds glamour to a lace accent nail. Keep the glitter subtle, a fine shimmer rather than chunky pieces, so it enhances the lace instead of competing with it.

For evening looks, try a full glitter nail alongside lace nails: paint three nails with lace and two with a matching glitter polish for a balanced, festive set. A glitter top coat over lace also works, adding sparkle while letting the pattern show through. This combination is especially popular for parties, New Year celebrations, and winter weddings.
Coloured Lace Variations
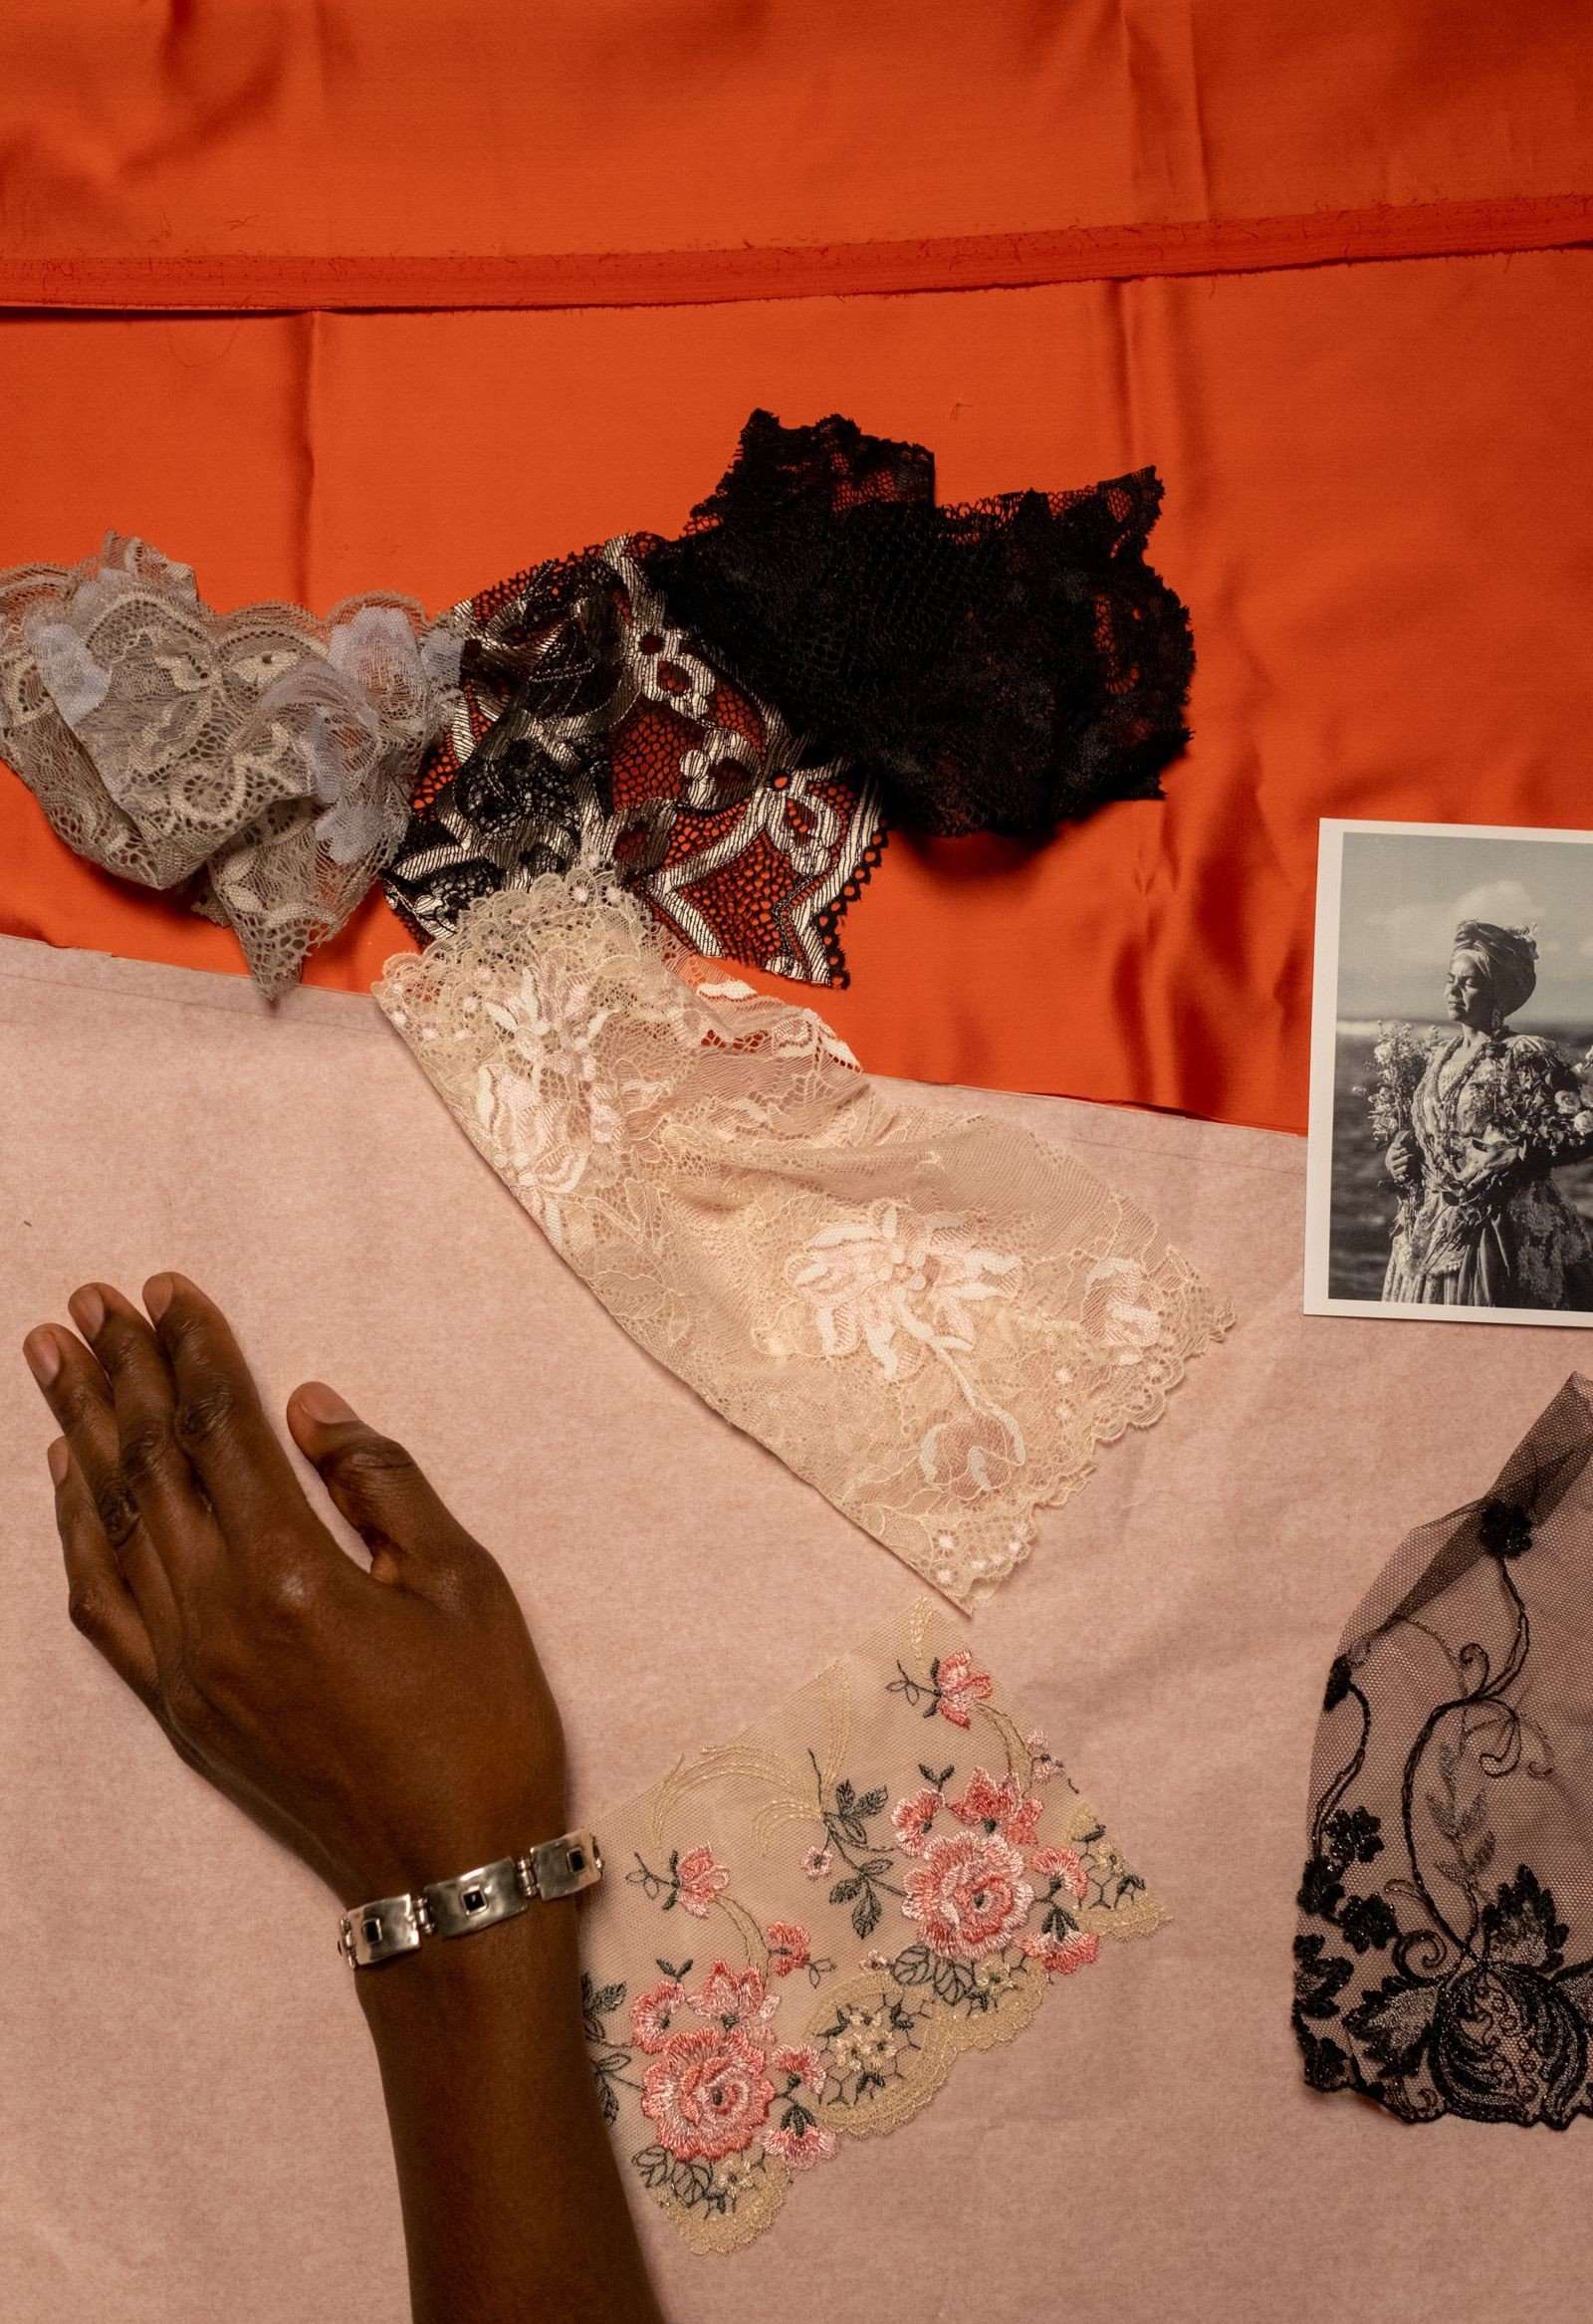
While white and black lace are classics, coloured lace opens up a whole new palette. Pastel lace in lilac, mint, or baby blue feels fresh and spring-like, while red lace over nude is romantic and bold. Gold lace on deep green or navy looks luxurious for winter, and rose gold lace on blush is soft, modern, and endlessly wearable.
When choosing coloured lace, consider contrast: the lace should stand out clearly against the base colour, or the pattern disappears. Test the combination on a nail wheel first. Coloured lace is a wonderful way to match a manicure to an outfit, a season, or a special occasion, and it proves that lace is far more versatile than its traditional image suggests.
Lace on Different Nail Shapes
Lace adapts beautifully to every nail shape, but the pattern should suit the shape. Almond and oval nails suit flowing, full lace overlays that follow the nail’s curve. Square nails suit structured lace borders and geometric lace patterns. Stiletto nails carry dramatic lace beautifully, while short, rounded nails look best with a lace accent or a delicate lace tip rather than a dense overlay.

Consider the size of the lace pattern too: large, open lace suits long nails, while fine, small-scale lace flatters short nails without overwhelming them. Ask your nail artist to scale the pattern to your nail length, or choose a stamping plate with both large and small lace options. The right scale makes the difference between lace that looks elegant and lace that looks crowded.
For very short nails, a lace border along the tip or the cuticle often works better than a full overlay. A border gives the lace effect without crowding the small nail surface, and it pairs beautifully with a solid colour on the rest of the nail. Think of it as lace trim on a garment: a little detail in the right place has more impact than covering everything.
Matte Lace Finishes
A matte top coat transforms lace nails, giving them the soft, fabric-like appearance of real lace. Matte finishes mute shine and emphasise the pattern itself, making the lace look like it is woven onto the nail. This effect is especially beautiful with white lace on nude, where the matte texture mimics actual lace fabric against skin.

Try a mixed finish for extra interest: matte lace nails alongside one glossy accent nail, or a matte base with glossy lace lines. Matte polish shows chips more readily, so seal the free edge carefully and carry a matte top coat for touch-ups. Matte lace is a favourite for autumn and winter, when softer, velvety textures feel just right.
Lace Nails for Special Occasions
Lace nails shine at special occasions, and the design can be tailored to each event. Weddings call for soft white lace and pearls, galas suit black lace with crystals, and spring parties welcome pastel lace with floral touches. For a romantic anniversary, red lace over nude is a beautiful, meaningful choice that feels both classic and personal.
Plan the manicure a day or two before the event so it is fresh but fully hardened, especially for gel or acrylic sets. Bring reference photos to your appointment, and discuss durability if the event involves dancing, travel, or outdoor photos. A well-planned lace manicure photographs beautifully and completes an occasion outfit perfectly.
Caring for Lace Nail Art
Lace nail art lasts longest with a little care. Apply a fresh layer of top coat every two to three days to protect the pattern and prevent chipping, especially at the tips. Wear gloves for washing up and cleaning, since water and chemicals break down polish faster. Avoid using nails as tools, which chips the lace at the free edge first.

Moisturise cuticles daily with cuticle oil, which keeps the skin around the lace looking neat and prevents peeling. If a small section of lace chips, a dot of matching polish and a top coat can patch it invisibly. With gentle care, a lace manicure can look beautiful for ten days or more, and gel lace art lasts two to three weeks.
To extend the life of a lace manicure, avoid prolonged soaking in hot water, which softens polish and lifts edges. Wear gloves for dishwashing and gardening, and apply cuticle oil nightly, which keeps both the nails and the surrounding skin flexible. Small habits like these can add several days to any manicure, lace included, and keep the pattern looking freshly done.
DIY Lace Nails at Home
Creating lace nails at home is very achievable with the right tools. You will need a base coat, your chosen base colour, a stamping kit or lace decals, a detail brush for touch-ups, and a good top coat. Work in a well-lit space, paint one hand at a time, and allow each layer to dry before adding the next so the lace does not smudge.
Start with an accent nail design for your first attempt, since it is less pressure than a full set. If a pattern goes wrong, remove it with a small brush dipped in remover and try again without redoing the whole nail. Online tutorials are a great help, and practising on false nail tips builds confidence before you work on your own nails.
Lace and Pearl Embellishments
Pearls and lace are a match made in heaven, evoking vintage bridal elegance. Add tiny flat-back pearls at the cuticle, along a lace border, or scattered like dewdrops over a lace overlay. Keep the pearls small and few, three to five per nail at most, so the look stays refined rather than heavy. A dot of nail glue holds each pearl securely.

Crystals and rhinestones can join pearls for extra sparkle, especially on an accent nail. Place embellishments after the lace is dry, press them gently into a drop of top coat or glue, and seal around them carefully without covering their shine. Embellished lace nails are perfect for weddings, proms, and any occasion where a little extra glamour is welcome.
Seasonal Lace Nail Ideas
Lace adapts to every season with a change of colour and finish. Spring brings pastel lace and floral touches, summer suits white lace on bright coral or turquoise bases, autumn pairs black or burgundy lace with warm tones, and winter calls for gold lace on deep green, navy, or rich plum. Seasonal lace keeps the style fresh all year.
For the festive season, combine lace with snowflake or star accents for a holiday manicure that is elegant rather than novelty. In summer, a lace French tip over a bright base feels beach-ready yet polished. Let the season guide your colours, and lace will always feel current and appropriate.
For a festive lace look, add a single tiny crystal at the centre of a lace motif, like a jewel on a veil. One crystal per accent nail is enough; more can look busy and compete with the lace pattern itself. Place the crystal while the top coat is still tacky so it seats securely, then add a final top coat around, but not over, the crystal to preserve its sparkle.
Choosing a Salon for Lace Art
Not every salon specialises in detailed nail art, so choose carefully for lace designs. Look at the salon’s portfolio, especially photos of lace work, and read reviews from clients who booked nail art specifically. A good lace artist will discuss pattern scale, colour, and durability with you, and will show you options rather than rushing into a single design.
Book a slightly longer appointment for lace art, since detailed work takes time, and bring reference images of the lace style you love. Ask about gel versus regular polish for your lifestyle, and confirm the price in advance, since intricate art may cost more. A skilled artist makes all the difference between lace that looks printed and lace that looks exquisite.
Final Lace Nail Inspiration
Lace nails prove that a manicure can be both delicate and daring, classic and creative. Whether you choose timeless white lace, dramatic black lace, or a playful coloured variation, the pattern adds a layer of artistry that elevates the whole look. Start with an accent nail, build confidence with stamping or decals, and soon you will be designing lace sets of your own.
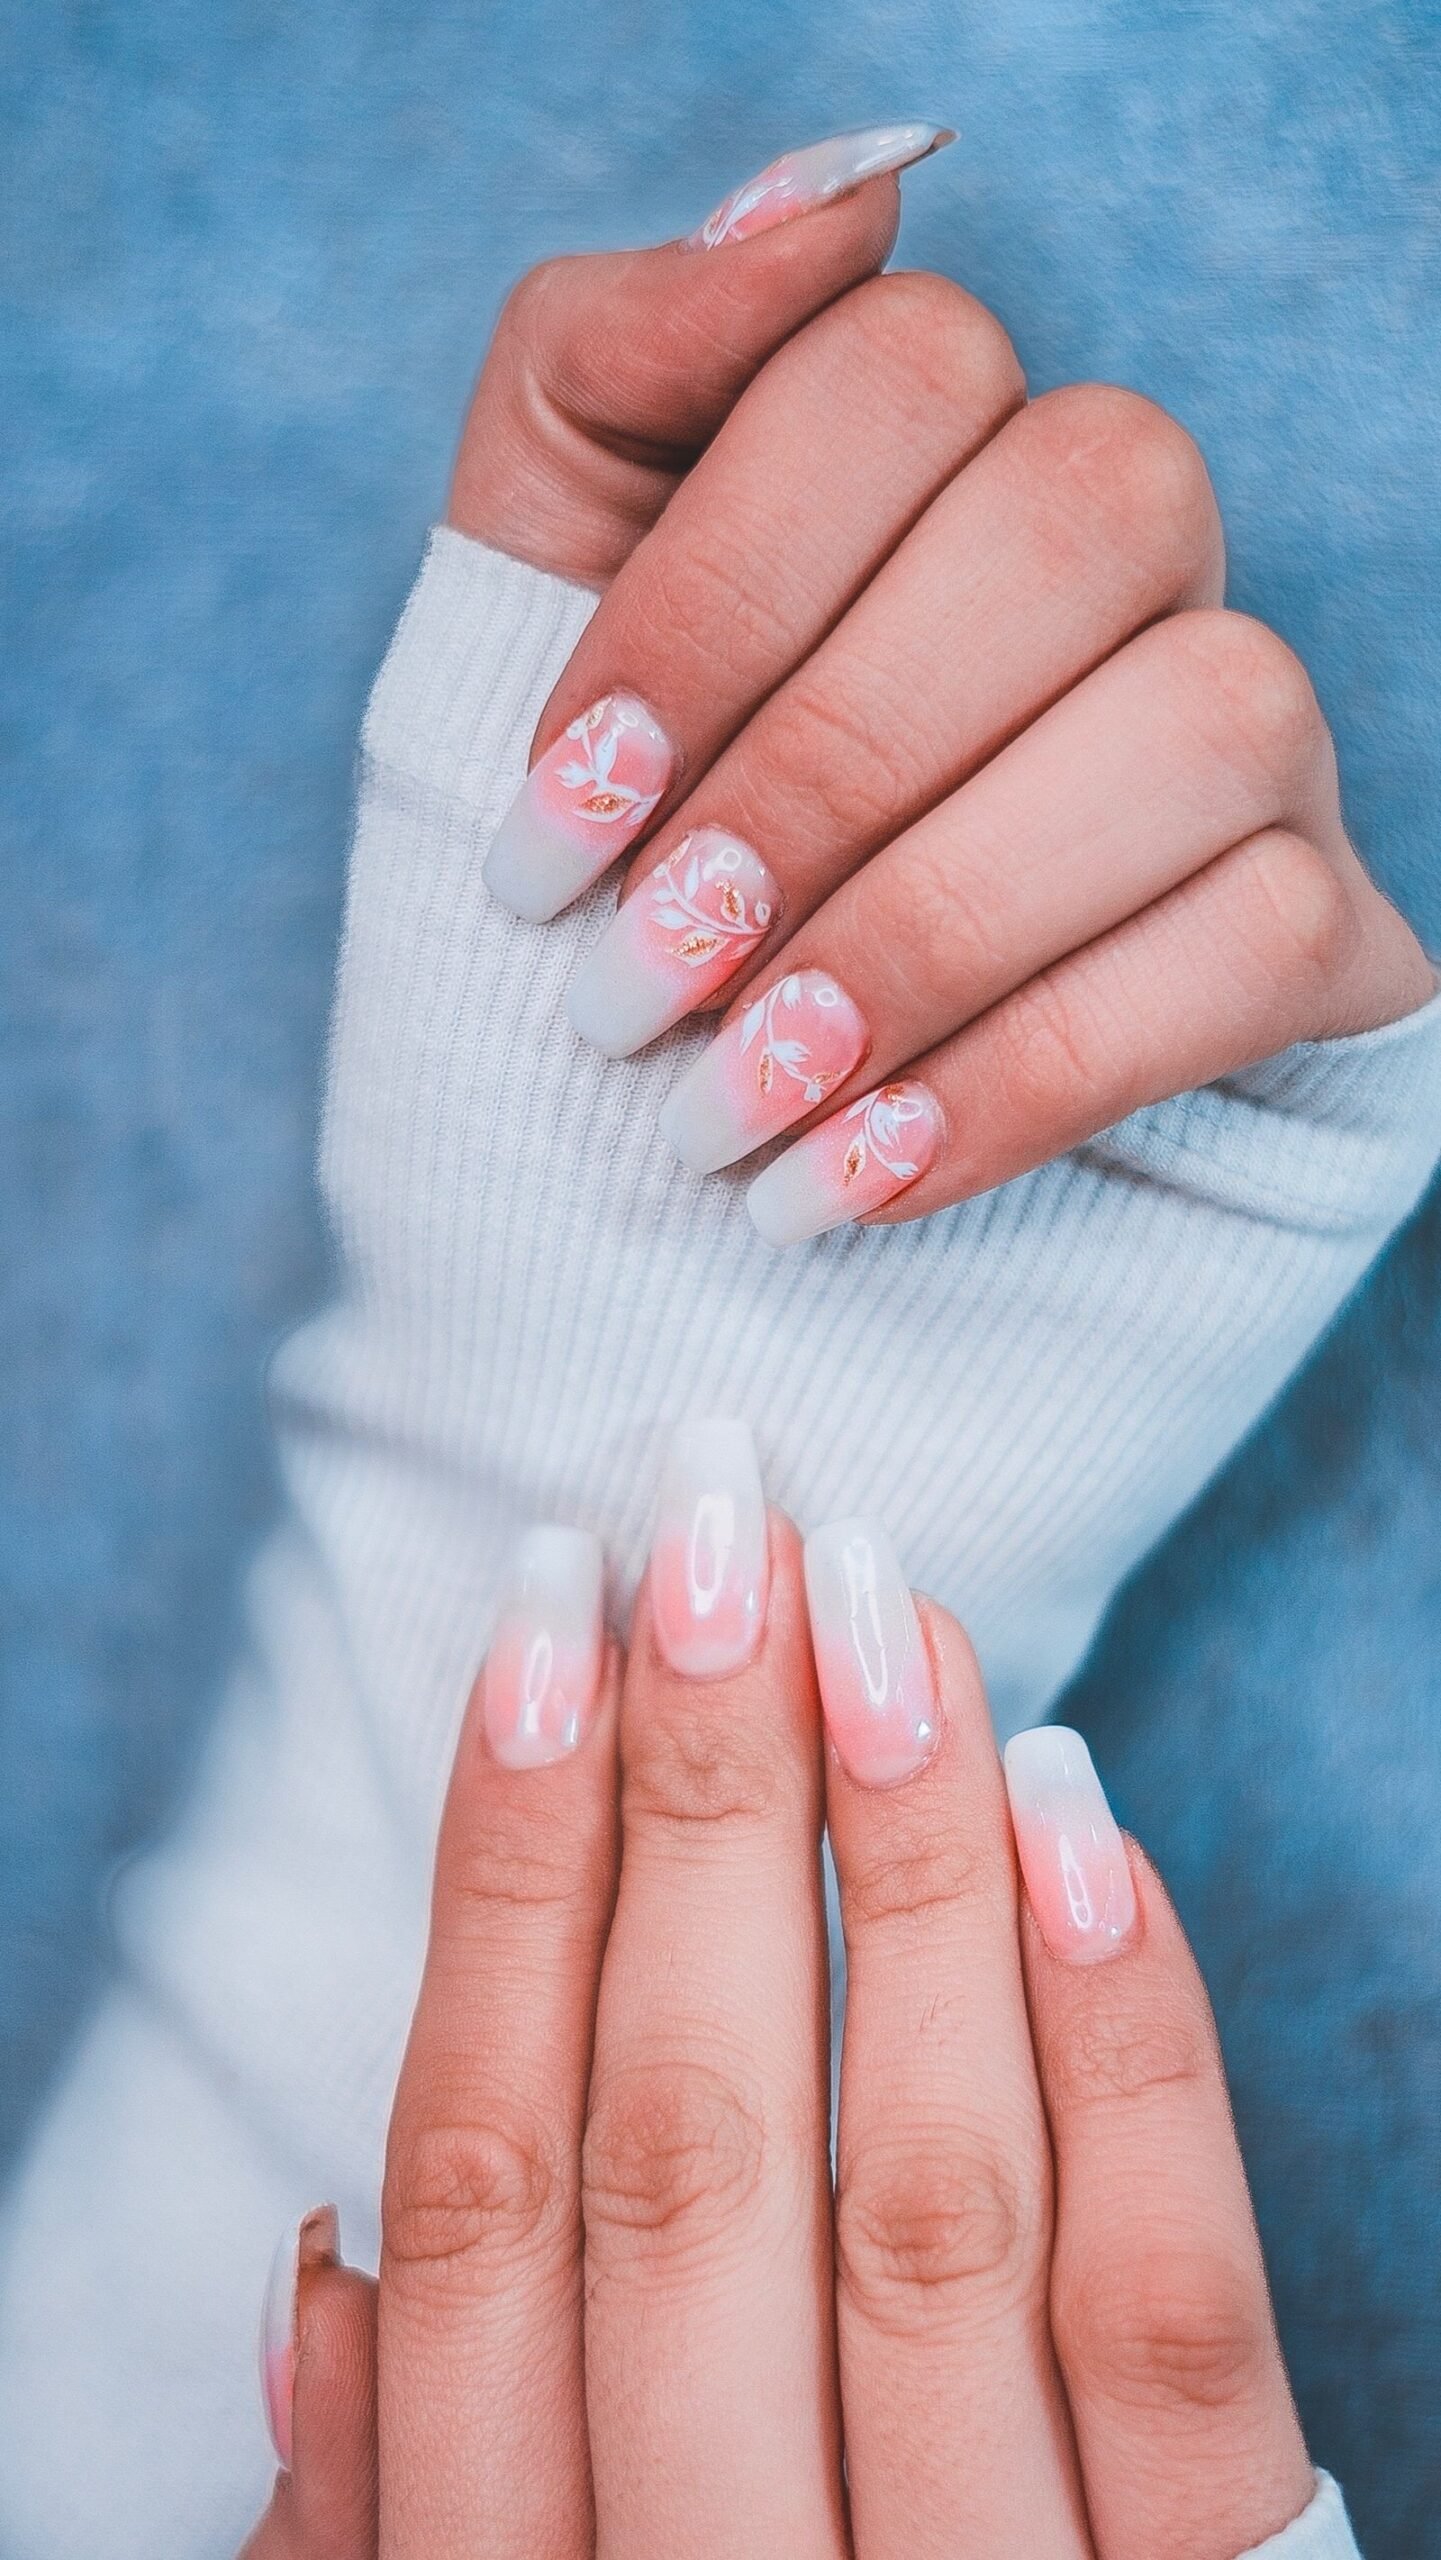
The best lace manicure is the one that makes you smile every time you look at your hands. Choose colours you love, a pattern that suits your style, and a finish that fits the occasion. With lace, elegance is always within reach, one tiny loop at a time.

I am Talha Sikandar, a professional writer with a passion for general blogging. With years of experience in content writing and research, I founded Meaniingly.com to deliver well-researched, informative, and user-friendly articles on diverse topics.