Fuzzy wire bridal bouquet ideas
Somewhere between childhood craft nostalgia and genuine floral artistry, the fuzzy wire bridal bouquet has become one of wedding’s most charming trends. Made from chenille stems, better known as pipe cleaners, these bouquets transform humble craft supplies into roses, daisies, lavender sprigs, and wildflower posies that never wilt, cost a fraction of fresh flowers, and last forever as keepsakes. Brides love them for budget weddings, crafty personalities, and anyone allergic to pollen. This guide covers everything: the full materials list, step-by-step flower techniques, bouquet assembly, timelines, costs, and styling tips, across 20 practical sections.
Whether you are making your own bouquet or commissioning a maker, you will find everything needed to create a fuzzy wire bouquet that looks intentional, beautiful, and unmistakably yours. The techniques here scale from a simple five-flower posy to an abundant cascading bouquet, and every step includes the practical details, timings, costs, and pitfalls, that turn a fun craft project into a genuinely stunning bridal accessory.
One question brides ask first: will a pipe cleaner bouquet look cheap? The honest answer is that it looks exactly as good as the care you put into it. Well-crafted wire flowers with consistent sizing, a thoughtful palette, and professional assembly look artistic and intentional; rushed work with clashing colors looks like a craft project. This guide is designed to get you firmly into the first category, with detailed techniques, realistic timelines, and the assembly methods borrowed from professional floristry that make handmade bouquets look polished. Follow the steps in order, practice before committing, and your bouquet will surprise everyone, including you.
What Are Fuzzy Wire Bouquets? The Trend Explained
Fuzzy wire bouquets are bridal bouquets crafted entirely from chenille stems, the soft, fuzzy wires sold in craft stores. Artisans twist, loop, and wrap the stems into flower shapes: spiraled roses, petaled daisies, beaded lavender, pom-pom blooms, each stem becoming both petal and stalk. The trend grew from social media craft communities, where makers shared surprisingly sophisticated results, and brides embraced it for its affordability, durability, and handmade charm. Unlike fresh flowers, wire bouquets are immune to heat, crushing, and wilting; unlike silk flowers, they are clearly handcrafted in a way that reads as artistic rather than imitation. The aesthetic ranges from playful and colorful to surprisingly elegant, depending on palette and technique.
Why Brides Love Pipe Cleaner Bouquets
The appeal goes beyond novelty. Cost is the headline: a full DIY fuzzy wire bouquet typically costs $15 to $40 in materials versus $150 to $350 for fresh bridal bouquets. Durability matters too; wire bouquets survive being tossed, transported, and displayed for decades without fading. Allergy sufferers can finally carry a bouquet without sneezing. The handmade quality adds sentimental value, many brides make their bouquets with mothers, sisters, or bridesmaids, turning crafting sessions into pre-wedding bonding. They are also weatherproof, a genuine advantage for outdoor summer weddings where fresh flowers wilt by the ceremony’s end. And for destination weddings, a wire bouquet packs flat in a carry-on, eliminating florist coordination stress entirely. It is practical magic.
Materials List: Everything You Need to Start
Gather supplies before you begin. You will need chenille stems in your chosen colors, buy more than you think, roughly 60 to 100 stems for a full bridal bouquet. Get floral wire (22-gauge) for reinforcing stems, floral tape in green or matching colors for wrapping, and wire cutters. Optional but useful: needle-nose pliers for tight twists, a ruler for consistent petal sizes, and a hot glue gun for securing beads or centers. For embellishments, consider pearl beads, small bells, or dried baby’s breath. For the handle, choose ribbon, velvet, lace, or twine plus pearl-headed pins. Buy stems from craft stores in multi-packs for the best value, and check the fuzz density; denser, softer stems look more luxurious than sparse, scratchy ones. Total startup cost for tools you do not own: under $25.
Choosing Colors: Building Your Bouquet Palette
Palette determines whether your bouquet reads playful or polished. For a romantic look, choose blush, cream, sage, and dusty rose stems with gold accents. For bold and modern, go for jewel tones: emerald, burgundy, mustard, and teal. For a wildflower feel, mix every bright color you love; the chaos is the charm. Limit yourself to three to five main colors plus one metallic for cohesion; more than that risks visual noise. Consider your dress, venue, and season: pastels suit spring garden weddings, rich tones suit autumn barns. Buy a few extra stems in each color for practice flowers, your first attempts will not make the final bouquet. And photograph your palette together before committing; colors interact differently in combination than they do in the package.
Basic Fuzzy Wire Flower Techniques
Three core techniques build almost every flower. The loop petal: fold a stem into a loop, twist the base to secure, and repeat 5 to 8 loops around a center to form daisy-like petals. The spiral rose: coil a stem tightly from one end, gradually loosening to form a rosebud shape, then secure the base with a twist. The pom-pom: wrap a stem repeatedly around two fingers, slide off, tie the middle with another stem, and fluff into a sphere. Practice each technique five times before starting your real flowers; muscle memory matters, and your tenth rose will look dramatically better than your first. Keep petals consistent in size within each flower type by measuring against a template, a cardboard circle cut to your desired diameter works perfectly as a guide.
Making Roses from Chenille Stems
Roses are the backbone of most fuzzy wire bouquets. Start with one full-length stem in your rose color. Fold the top two inches down to form the tight bud center, then begin wrapping the remaining stem around this center in a spiral, keeping each wrap slightly looser than the last to mimic opening petals. Every two wraps, give the stem a half-twist at the base to lock the shape. For fuller roses, use two stems: form the bud with the first, then spiral the second around it. Finish by wrapping a green stem around the base as the calyx and twisting it down to form the stalk. Vary rose sizes by using full, three-quarter, and half stems; a bouquet with roses in three sizes looks far more natural than uniform blooms. Expect each rose to take 3 to 5 minutes once practiced.
Daisies, Lavender, and Filler Flowers
Variety makes a bouquet interesting. Daisies: create 6 to 8 loop petals around a yellow pom-pom center, using white or colored stems. Lavender: wrap a purple stem in a tight spiral up a green stem, leaving small gaps to suggest buds, top with a tiny loop. Baby’s breath filler: twist short white stems into branching clusters with tiny pom-pom tips. Wildflower pom-poms in accent colors fill gaps beautifully. Aim for a ratio of about 60 percent feature flowers (roses, daisies), 25 percent secondary blooms (lavender, pom-poms), and 15 percent filler; this mirrors professional floral design principles. Make fillers slightly shorter than feature flowers so they nestle between blooms rather than competing. These smaller elements are also perfect for practicing technique before committing to your showpiece roses.

Wiring and Assembling Stems That Hold
Individual flowers are only half the project; assembly determines whether your bouquet looks professional. Reinforce each flower’s stem by twisting a length of 22-gauge floral wire alongside the chenille stalk, then wrap the whole thing in floral tape, stretching the tape as you wrap so it adheres. To assemble, hold three feature flowers together as your center, then add flowers one by one around them, turning the bouquet a quarter-turn with each addition for even distribution. This spiral technique, borrowed from professional florists, creates the domed shape naturally. Secure the bundle every few additions with floral tape or a zip tie hidden under the final wrap. Step back frequently and view the bouquet at arm’s length and in a mirror; what looks fine up close can reveal gaps from a distance.
Bouquet Shapes: Round, Cascade, and Wild
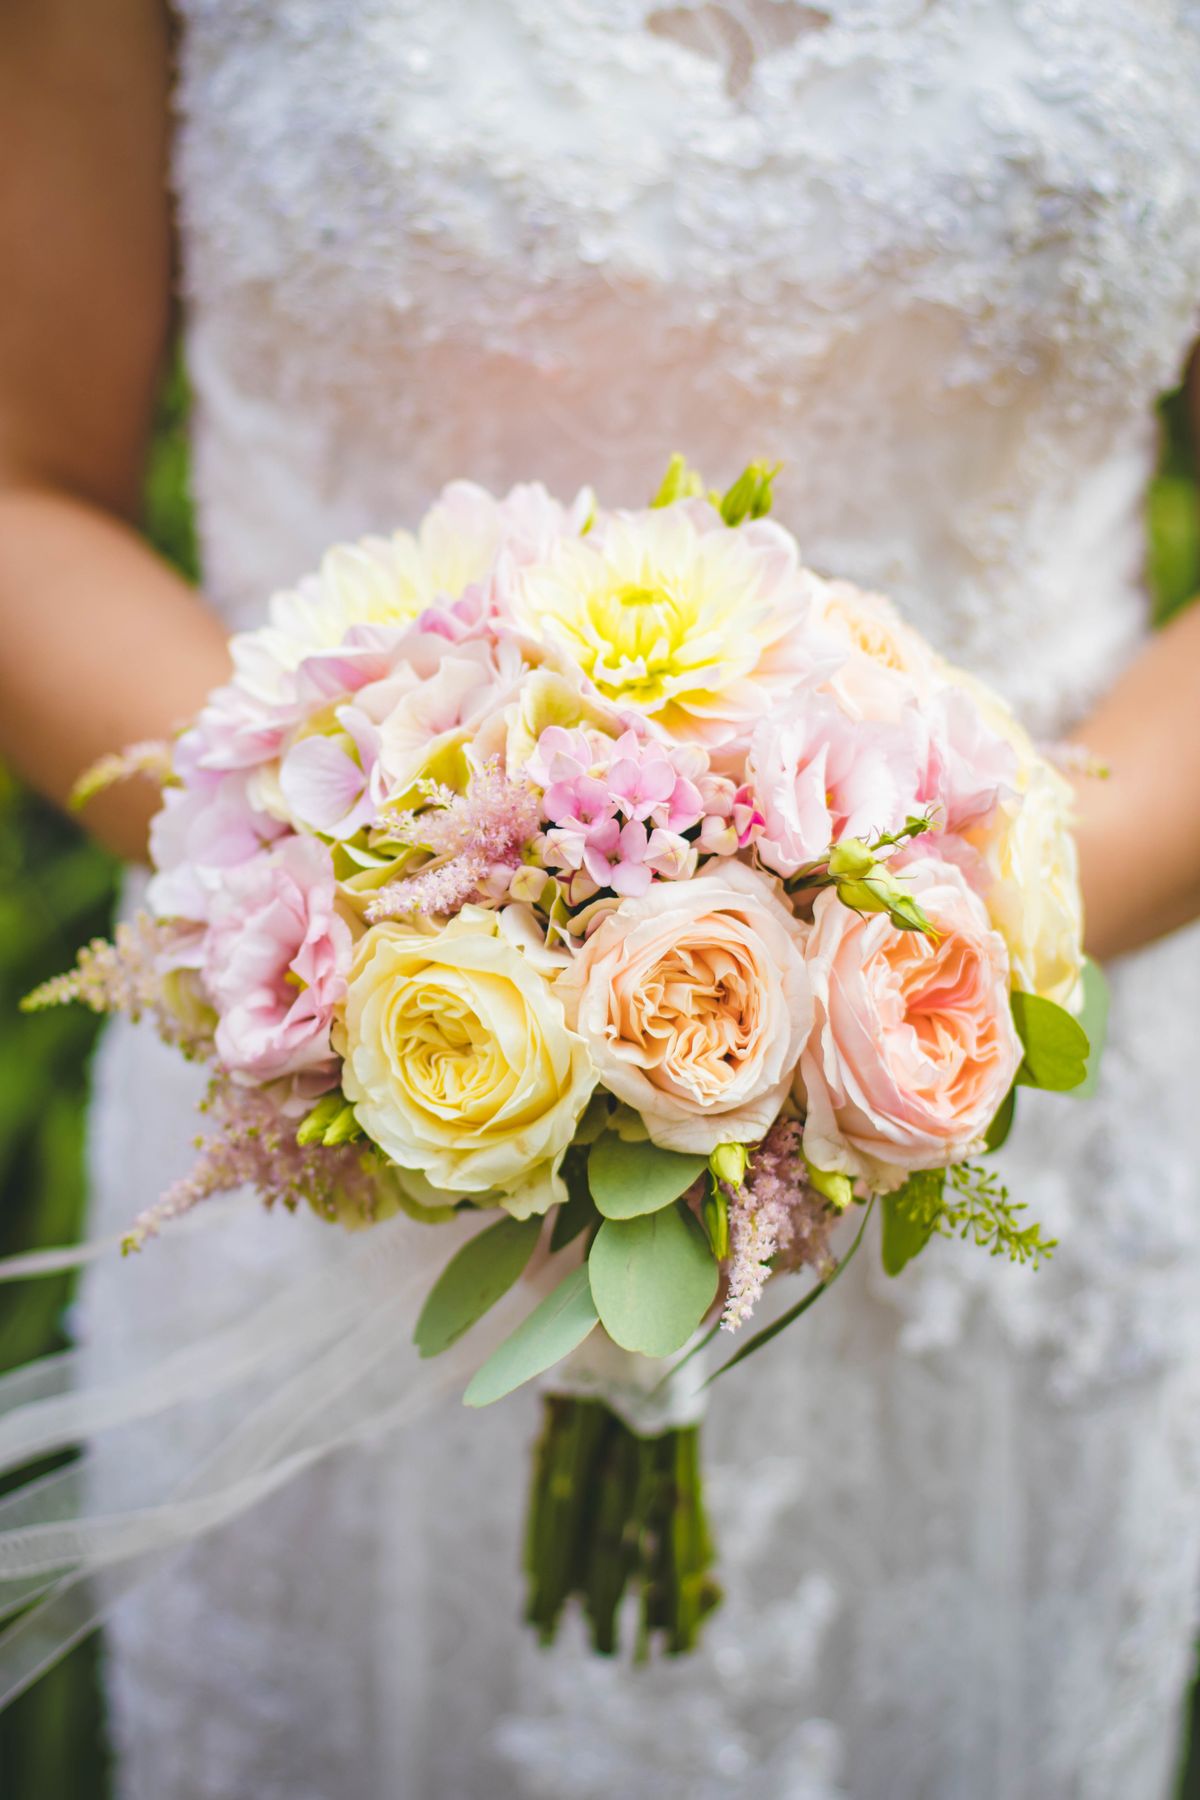
Choose a silhouette that suits your style and dress. The round posy, a compact dome of blooms, is the most popular: timeless, easy to carry, and photogenic from every angle. Build it with the spiral technique, keeping all flower heads at roughly the same height. The cascade, with flowers trailing down one side, is dramatic and suits formal gowns; create it by wiring a base of long trailing stems, lavender and greenery work well, then building the dome at the top. The wild or garden style is intentionally asymmetric, with varied heights and textures spilling in all directions; it is the most forgiving shape for beginners since imperfection is the aesthetic. Whichever shape you choose, keep the bouquet’s width proportional to your frame; oversized bouquets overwhelm petite brides in photos.
Adding Greenery and Texture
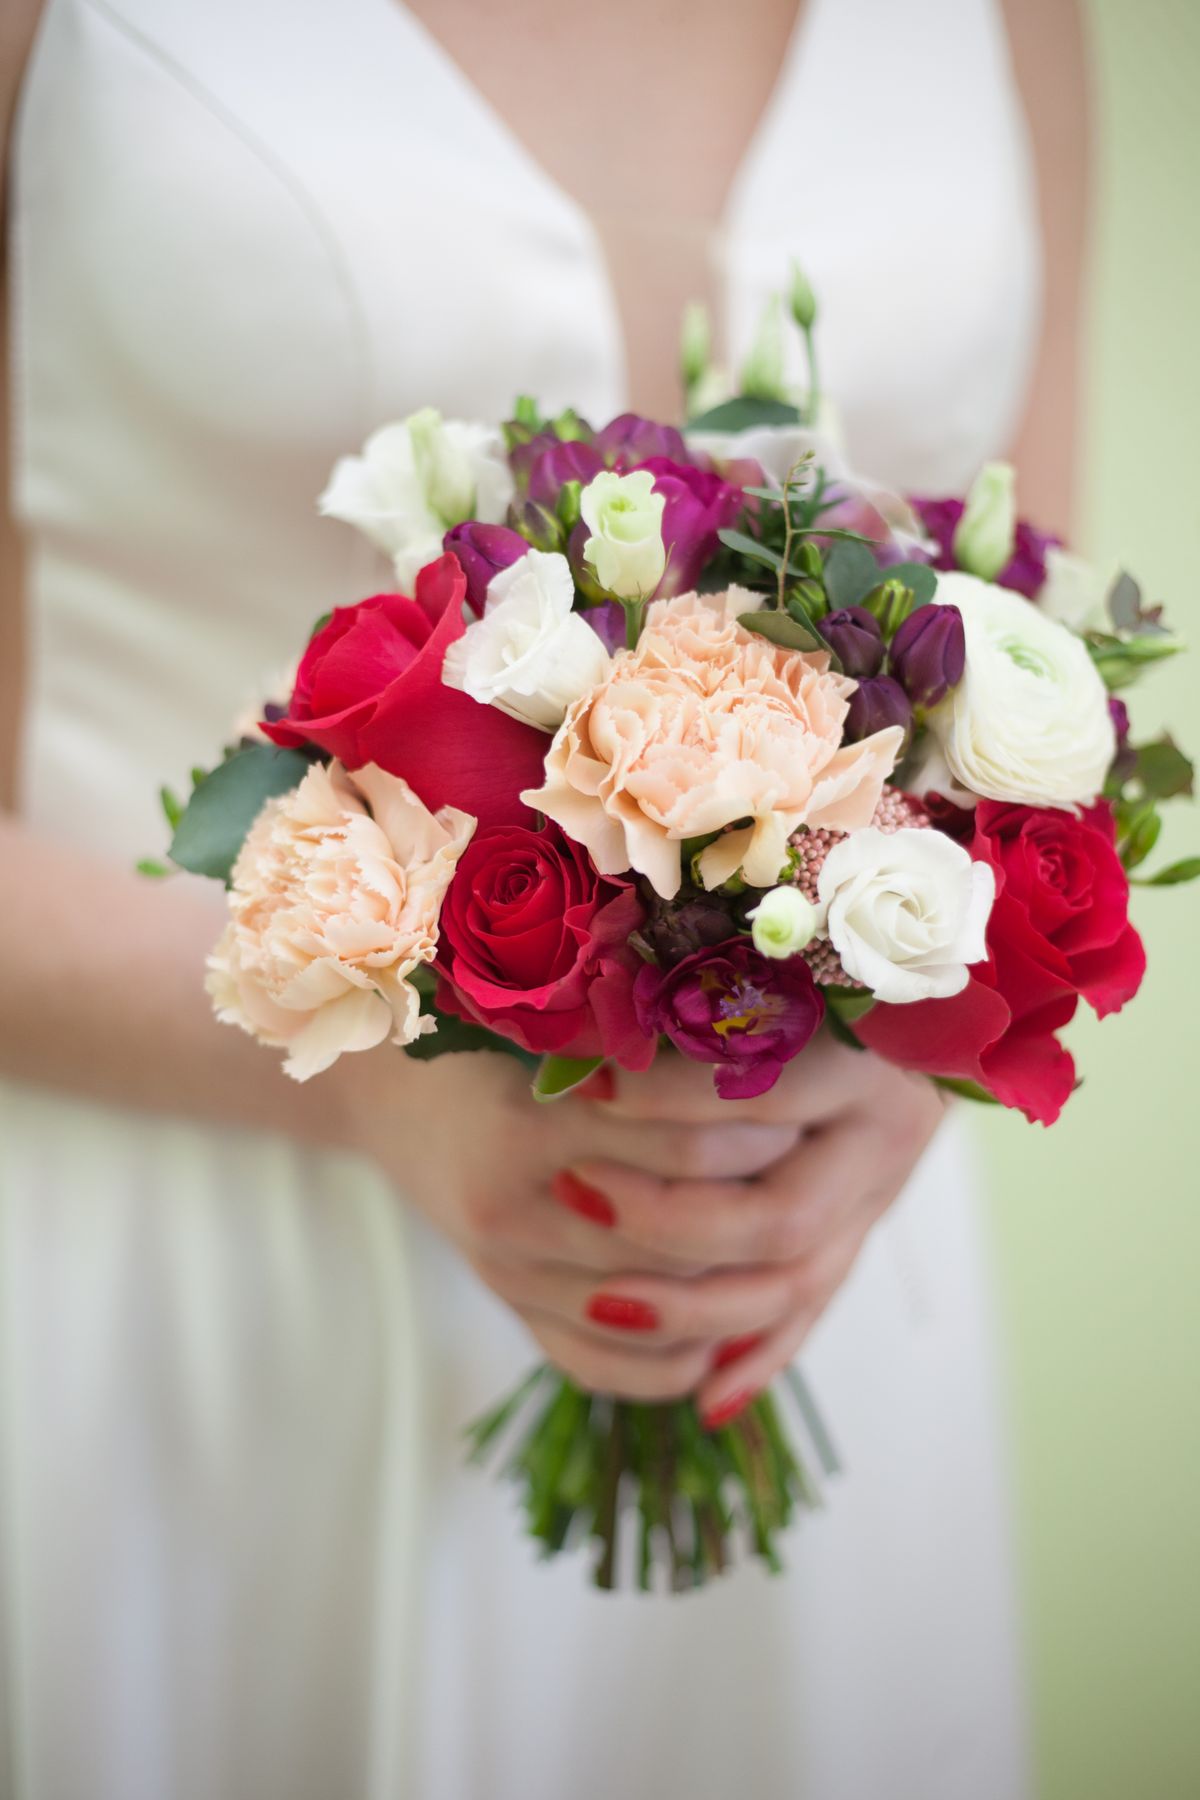
Greenery transforms a collection of flowers into a bouquet. Fuzzy wire leaves are simple: fold green stems into pointed loops and cluster them. Eucalyptus-style sprigs come from small green loops along a central stem. For contrast, mix in non-wire elements: dried baby’s breath, preserved ferns, or pampas grass plumes add organic texture that makes the wire flowers pop. Dried elements are lightweight, everlasting like the wire, and bridge the gap between craft and nature. Place greenery around the bouquet’s outer edge and tuck sprigs between blooms to hide mechanics. A good rule: greenery should peek out, not dominate; if you cannot see the flowers for the leaves, remove a third of the greenery. The interplay of fuzzy, dried, and smooth textures is what elevates the final piece.
Wrapping Handles: Ribbon, Velvet, and Twine
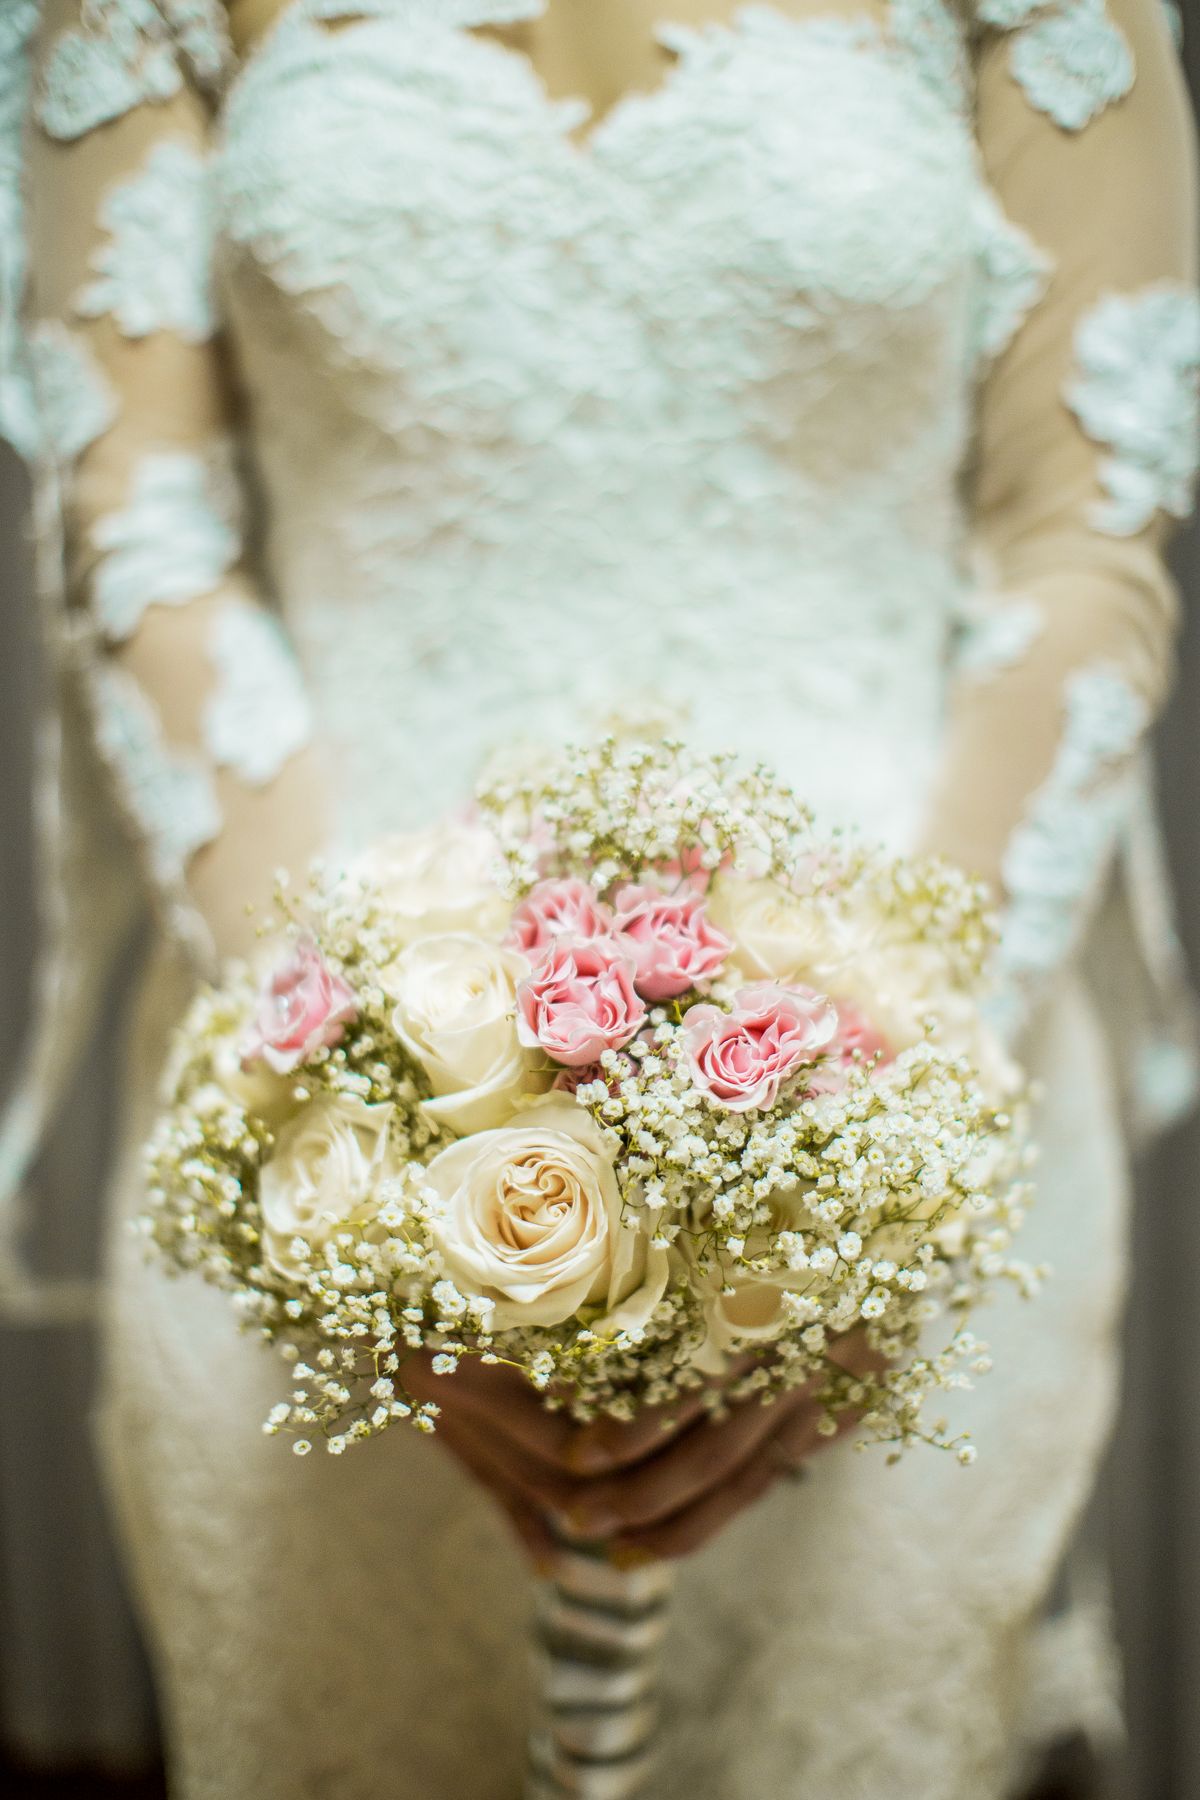
The handle is the bouquet’s finishing touch and the part you will hold all day, so make it comfortable and beautiful. Trim all stems to an even length, about 7 to 8 inches below the blooms. Wrap the bound stems first in floral tape for a smooth base, then spiral your chosen ribbon from top to bottom, overlapping slightly; velvet ribbon looks luxurious, satin reads classic, twine suits rustic weddings. Secure the ribbon’s end with pearl-headed pins pushed in at an angle, or a dot of hot glue hidden underneath. For extra comfort, wrap a layer of cotton batting under the ribbon on thick bundles. Consider a meaningful detail: wrap with a piece of a loved one’s clothing, your grandmother’s lace, or ribbon in “something blue.” The handle is also where you can attach charms or photos in tiny frames.
Incorporating Real Touches: Charms and Keepsakes
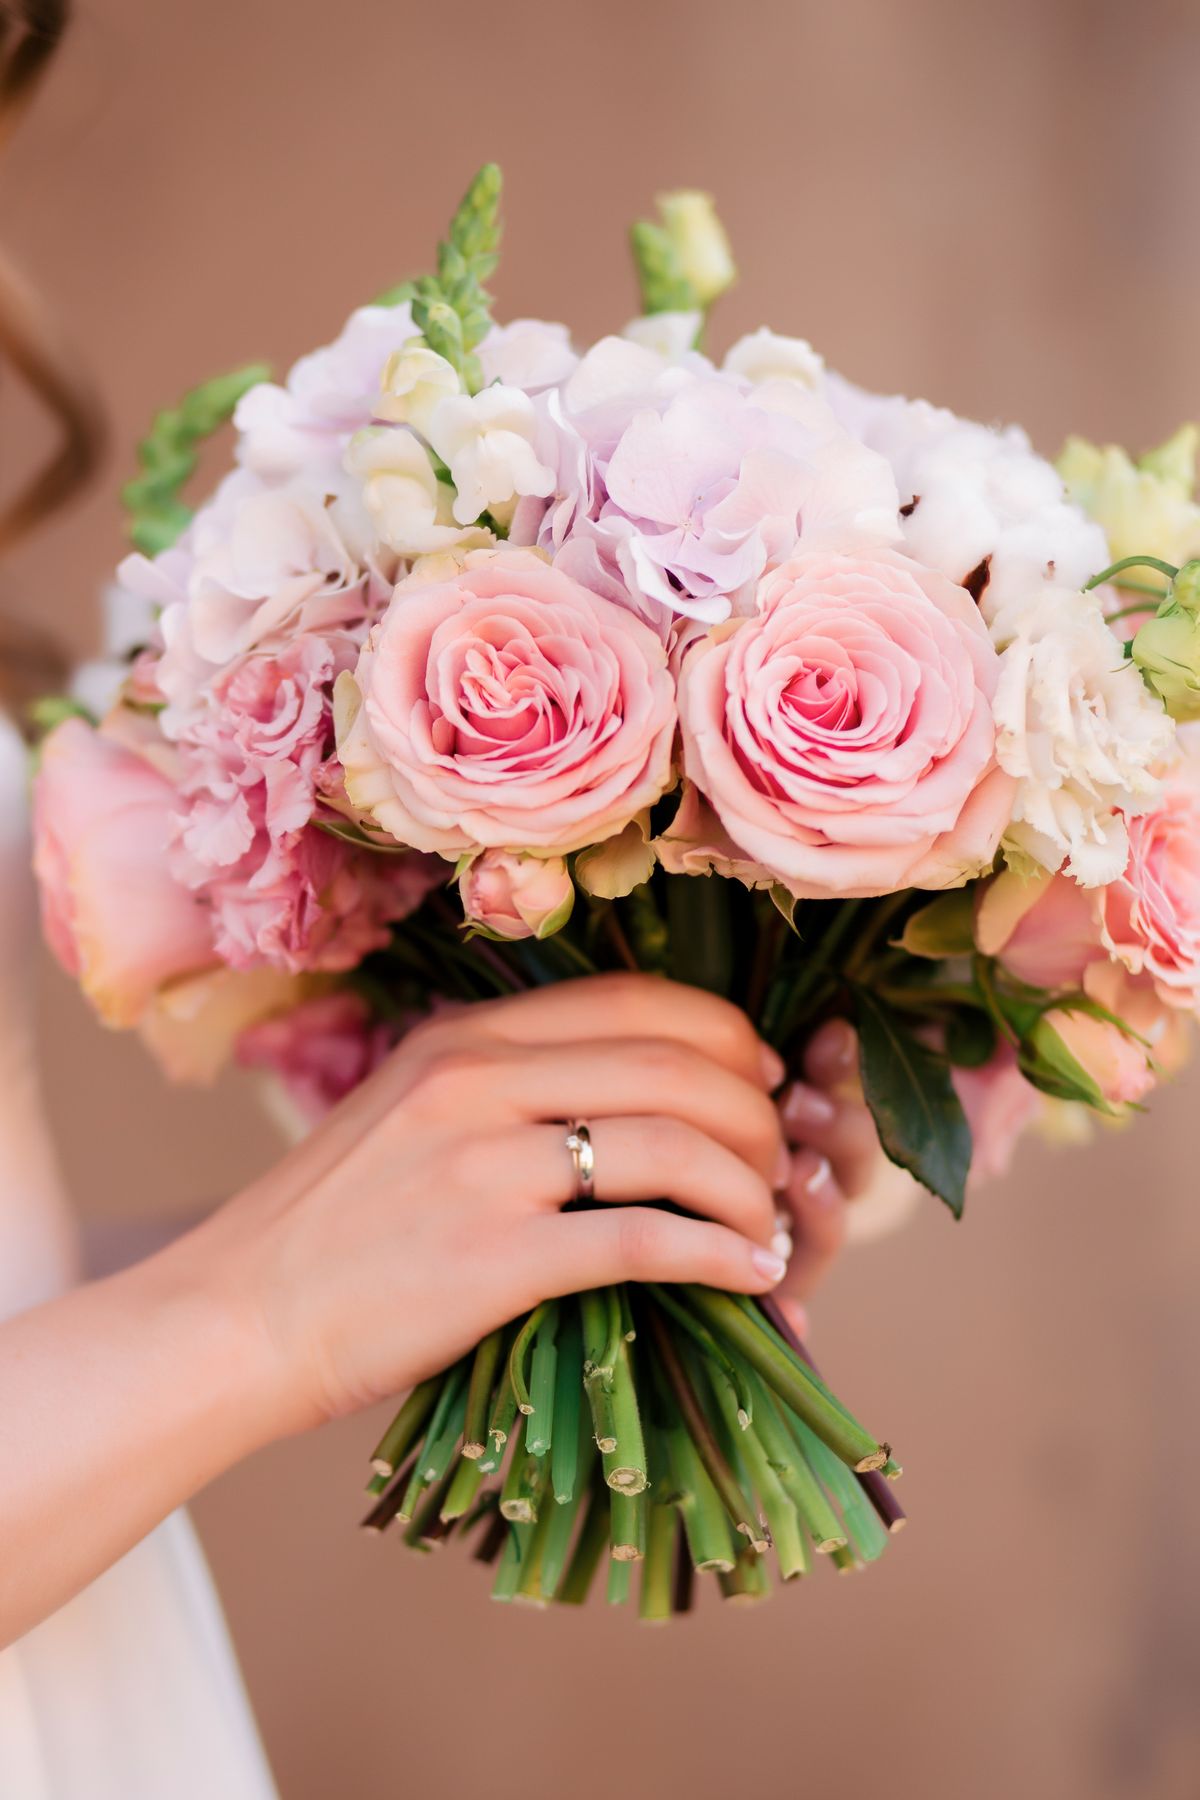
Personal details make a handmade bouquet irreplaceable. Wire small photo charms of loved ones into the bouquet among the blooms. Add a locket, a grandmother’s brooch, or beads from a family necklace as the bouquet’s “something old.” Some brides weave in tiny bells that chime as they walk, or attach a handwritten note rolled into a miniature scroll. These elements nestle naturally among wire flowers in a way that can look cluttered among fresh blooms. Keep additions small and secure; anything dangling can catch on your dress. Tell your photographer about hidden details so they capture close-ups. Years later, these personal touches are what you will treasure most, far more than the flowers themselves, which is exactly why keepsake bouquets resonate so deeply.
Fuzzy Wire Bouquets for Bridesmaids
Coordinating the wedding party is easy with wire bouquets. Make smaller versions, about two-thirds the size, using the same palette but simpler compositions; three to five roses with filler is plenty. This creates visual harmony without the labor of full bouquets for everyone. Alternatively, give each bridesmaid a single accent color from your palette as their bouquet’s dominant hue, creating a beautiful ombre effect in group photos. Bridesmaid bouquets take 1 to 2 hours each once you are practiced, so plan accordingly or host a bouquet-making party. The cost savings multiply with the wedding party: outfitting five bridesmaids with wire bouquets might cost $50 total versus $500+ for fresh. They also make wonderful thank-you gifts, since bridesmaids keep them forever.

Boutonnieres and Corsages to Match
Do not forget the groom and family. A boutonniere is simply one small wire rose with a leaf or two, wrapped in floral tape with a pin back; each takes about 10 minutes. Make them slightly smaller and simpler than the bouquet’s flowers so they read as accents. Corsages for mothers can be two or three small blooms on an elastic wristband or a pin-on cluster. Use the same palette for cohesion. These small pieces are excellent practice projects for beginners before tackling the bridal bouquet, and they use up leftover stems. Package them in small boxes with tissue for gifting on the wedding morning. Matching wire boutonnieres photograph beautifully in detail shots alongside the bouquet, telling a cohesive floral story with zero wilting risk.

How Long Do They Take? Realistic Timelines
Plan your crafting schedule honestly. A complete beginner needs 8 to 12 hours total for a bridal bouquet: 2 to 3 hours practicing techniques, 4 to 6 hours making flowers, and 2 to 3 hours assembling and wrapping. Spread this over two to three weeks in relaxed evening sessions, not a single marathon, since hand fatigue affects quality. Bridesmaid bouquets take 1 to 2 hours each once practiced; boutonnieres take minutes. Start no later than six weeks before the wedding to allow a comfortable pace and time to remake any flowers you dislike. The beauty of wire is that there is no freshness deadline; you can finish months early and store the bouquet safely. Rushing is the enemy of beautiful wire work, so give yourself the gift of time.

Cost Breakdown: DIY vs. Hiring a Maker
DIY costs are minimal: $15 to $40 for stems and supplies for a bridal bouquet, plus $20 to $25 in reusable tools if starting from scratch. Bridesmaid bouquets add $5 to $10 each in materials. Commissioning a maker on marketplaces like Etsy typically runs $60 to $180 for a bridal bouquet depending on size and complexity, still half the price of fresh flowers, with the advantage of professional craftsmanship and zero time investment. When comparing, factor in your time’s value and your craft confidence; a maker guarantees polish, while DIY guarantees sentiment. Some brides split the difference: DIY the bridesmaid bouquets and boutonnieres as practice, then commission the bridal bouquet. Either way, the wire bouquet is among the most budget-friendly floral choices available.

Keepsake Factor: Preserving Your Bouquet Forever
Fresh bouquets fade within days; wire bouquets last indefinitely with minimal care. Display yours in a vase as home decor, a daily reminder of the wedding. To preserve it perfectly, keep it out of direct sunlight, which can fade chenille dyes over years, and dust it occasionally with a soft brush or cool hairdryer. Some brides disassemble a few flowers to frame alongside their wedding photo, or gift individual blooms to mothers as keepsakes. Unlike preserved fresh flowers, which are fragile and expensive to maintain, wire bouquets need no special treatment. This permanence is emotionally significant: decades later, you can hold the exact bouquet you carried, unchanged. For many brides, this alone justifies choosing wire over fresh.

Transporting and Storing Wire Bouquets
Wire bouquets travel better than any other kind, but they still need care. For transport, place the bouquet head-down in a tall box lined with tissue, or lay it in a box with the blooms supported so nothing crushes. For flights, carry it on; it fits easily in overhead bins and avoids checked-luggage risks. Unlike fresh flowers, there is no water, refrigeration, or timing stress. For long-term storage before the wedding, keep it in a box away from dust and sunlight; a garment bag hung in a closet works perfectly. After the wedding, display in a vase away from direct sun. If blooms get squished in storage, they can be gently reshaped by hand, one of wire’s great advantages over every other bouquet material. It is essentially indestructible with basic common sense.

Common Mistakes and How to Avoid Them
Learn from others’ errors. Using too few stems is the top mistake; sparse bouquets look cheap, so buy 50 percent more than your estimate. Inconsistent flower sizes look amateur; use templates for uniformity. Skipping the floral wire reinforcement leads to floppy stems that will not hold arrangement; always reinforce. Wrapping handles too thinly leaves uncomfortable lumps; build a smooth tape base first. Choosing scratchy, low-quality stems shows in the final product; invest in soft, dense chenille. And the biggest mistake: starting too late and rushing. Wire work rewards patience; hurried twists look messy while careful ones look artisanal. If a flower disappoints you, remake it; stems are cheap and your bouquet deserves only blooms you love. Keep your practice flowers; they become boutonnieres and decor.

Styling Your Bouquet in Wedding Photos
Help your photographer capture the bouquet’s charm. Hold it low, at hip level rather than chest height, which is more flattering and shows the dress. Angle it slightly so the blooms face the camera, not straight down. Request detail shots: the bouquet alone on interesting surfaces, held against the dress fabric, and close-ups of any personal charms. The bouquet toss works perfectly with wire, it will not fall apart mid-air like fresh flowers sometimes do. Consider a “first look” with your bouquet: seeing it complete for the first time makes a lovely photo moment. And after the wedding, take portraits of the bouquet in your home; flat-lay photos of the wire blooms with your rings and invitation suite make beautiful album additions and social media posts.

The bottom line: Fuzzy wire bridal bouquets prove that the most meaningful wedding details are often handmade. With $40 in supplies, a few practice evenings, and the techniques in this guide, you can carry a bouquet that never wilts, costs almost nothing, and becomes a permanent keepsake. Whether playful or polished, your wire bouquet will be unmistakably, wonderfully yours.

I am Talha Sikandar, a professional writer with a passion for general blogging. With years of experience in content writing and research, I founded Meaniingly.com to deliver well-researched, informative, and user-friendly articles on diverse topics.