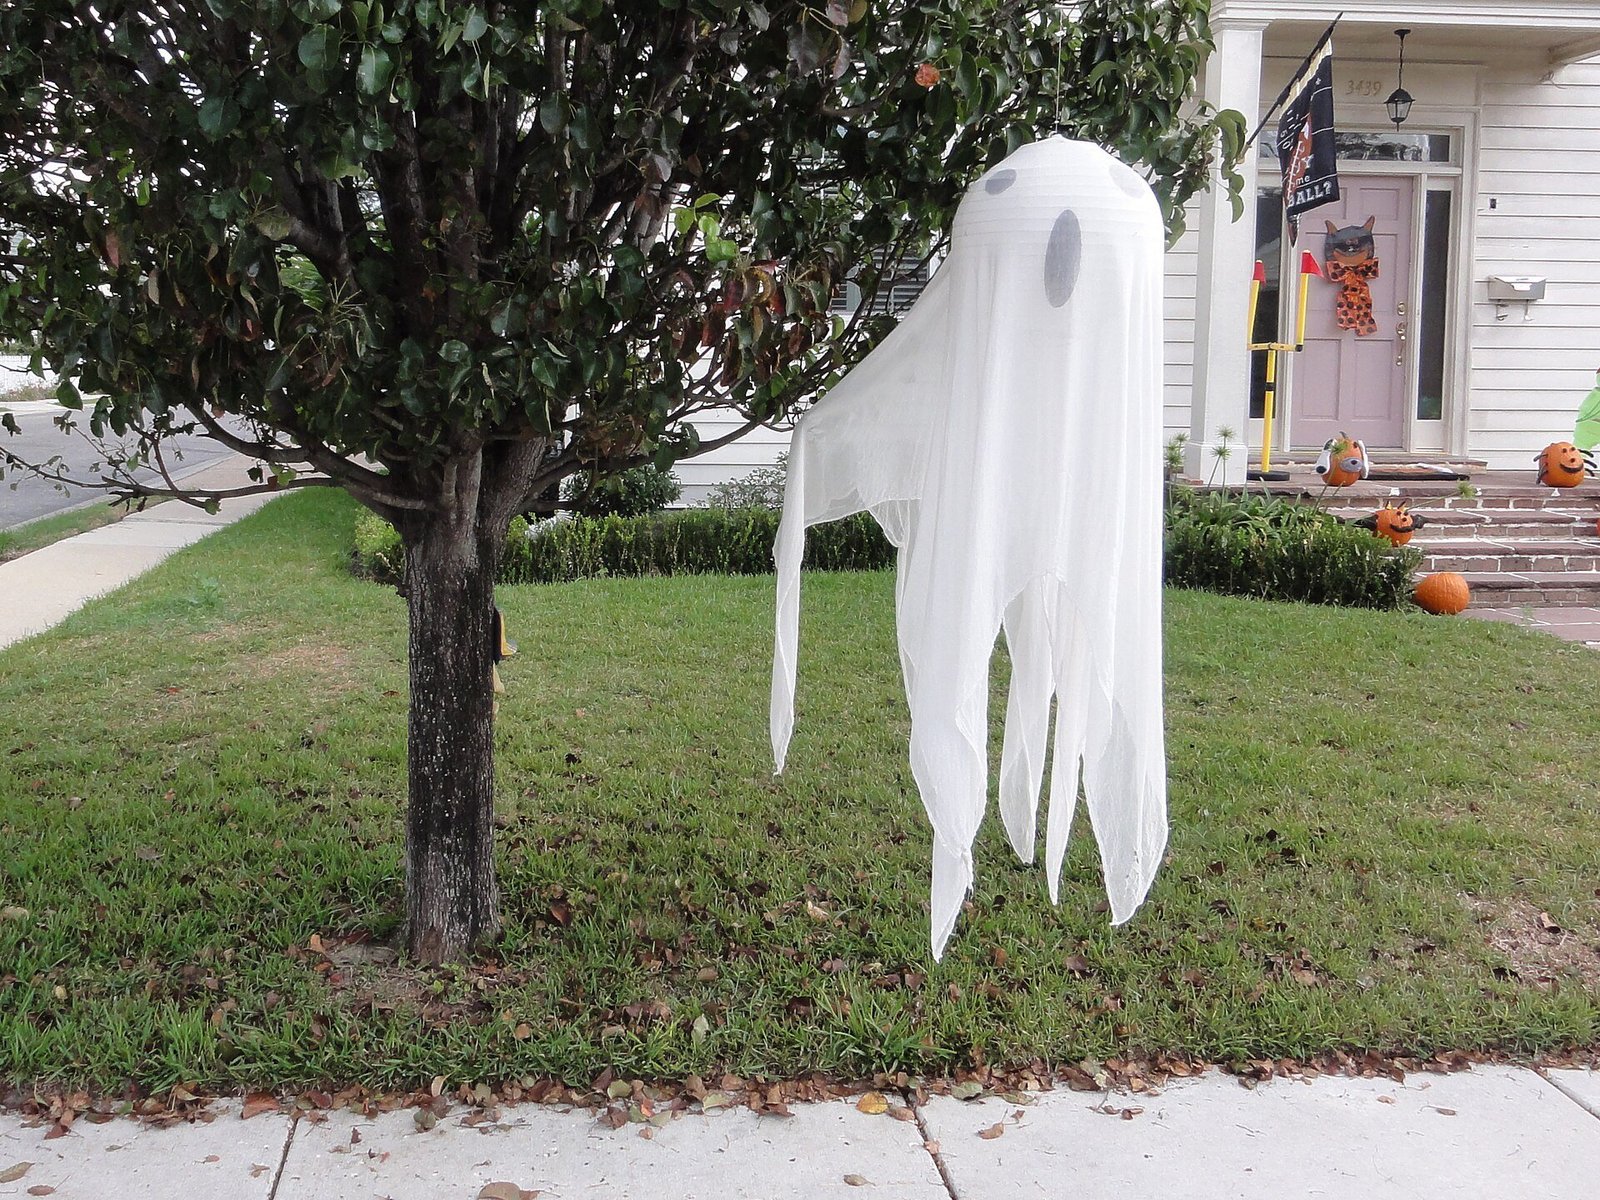
DIY tomato cage ghost ideas turned one of the garden’s most ordinary objects into Halloween’s most charming decoration. The concept is brilliantly simple: flip a wire tomato cage upside down, drape it with white fabric, add a glowing face, and you have a ghost that looks like it is floating across your yard. These light-up spirits cost just a few dollars each, take minutes to assemble, and create a magical effect after dark that expensive store-bought decorations struggle to match. Whether you line your walkway with a whole ghostly parade or place a single sentinel by the porch, tomato cage ghosts deliver maximum Halloween atmosphere for minimum effort and money. This guide walks you through every variation, from the five-minute classic to showstopping giants.
Why Tomato Cage Ghosts Went Viral
Tomato cage ghosts exploded in popularity because they solve every Halloween decorating problem at once. They are cheap, using garden supplies many people already own; they are easy, requiring no tools or special skills; and they look genuinely magical when lit from within at night. Social media did the rest, with videos of glowing ghost parades racking up millions of views.
The design is ingeniously suited to its purpose. The inverted cage naturally forms a ghost’s flowing shape, wider at the bottom and tapering toward the head, while the wire frame holds fabric away from the light source inside. It is one of those rare crafts where the materials seem destined for the project.
Unlike inflatables that deflate or animatronics that break, tomato cage ghosts are nearly indestructible and store flat. Their handmade charm also photographs beautifully, giving your yard that coveted viral look without the viral price tag. It is no wonder they became a phenomenon. Every October, social feeds fill with new variations as crafters put personal spins on the beloved design.
Choosing the Right Tomato Cages
Standard three-ring tomato cages from any garden center are perfect for this project. Look for cages around 42 inches tall, which produce ghosts of an impressive but manageable size. Galvanized steel cages are sturdier than flimsy painted ones and will survive many Halloweens of service.
Check that the prongs at the top, which become the ghost’s base when inverted, are sturdy enough to stake into the ground. You will push these into soil or lawn to anchor each ghost against wind. If your ground is hard, pre-make holes with a screwdriver or tent stake.
Buy cages in multi-packs for the best price, especially if you plan a whole ghost family. End-of-season garden clearance sales are ideal for stocking up. Since the cages return to garden duty in spring, this is one Halloween purchase that earns its keep year-round. Few decorations can claim genuine year-round utility, which makes the investment feel especially smart.

The Classic White Sheet Ghost
The original method uses a simple white flat sheet draped over the inverted cage. Twin-size flat sheets are the perfect dimensions for standard cages, pooling just enough at the bottom to suggest a flowing ghostly form. Choose inexpensive sheets since they will live outdoors.
Center the sheet over the cage’s narrow top, then let it fall naturally and adjust the folds until the shape pleases you. The fabric should touch the ground all around, hiding the wire frame completely. A slight breeze makes the sheet ripple like a real apparition.
Secure the sheet at the top with a rubber band or string tied around the cage’s narrow end, forming the ghost’s head. This single step transforms a draped sheet into a recognizable figure. The whole assembly takes under five minutes per ghost once you get the rhythm. An entire ghost family can rise from a pile of supplies in a single Saturday afternoon.
Cheesecloth Ghosts for an Ethereal Look
For a more tattered, ethereal spirit, swap the sheet for layers of cheesecloth. The loose weave lets light filter through beautifully and moves hauntingly in the breeze. Layer two or three pieces for enough opacity to read as a ghost while keeping that wispy, decaying elegance.
Cheesecloth’s irregular texture is its greatest asset. Torn edges and uneven layers look intentional and spooky rather than sloppy. Drape the layers at slightly different lengths for a ragged hemline that suggests a ghost emerging from the grave.
Stiffen cheesecloth lightly with spray starch if your climate is damp, which helps it hold shape instead of clinging to the cage. The result is more Victorian haunting than cartoon ghost, perfect for sophisticated Halloween displays that still delight children. Adults appreciate the artistry while kids still recognize the friendly ghost shape instantly.
Adding Faces: Friendly vs. Spooky
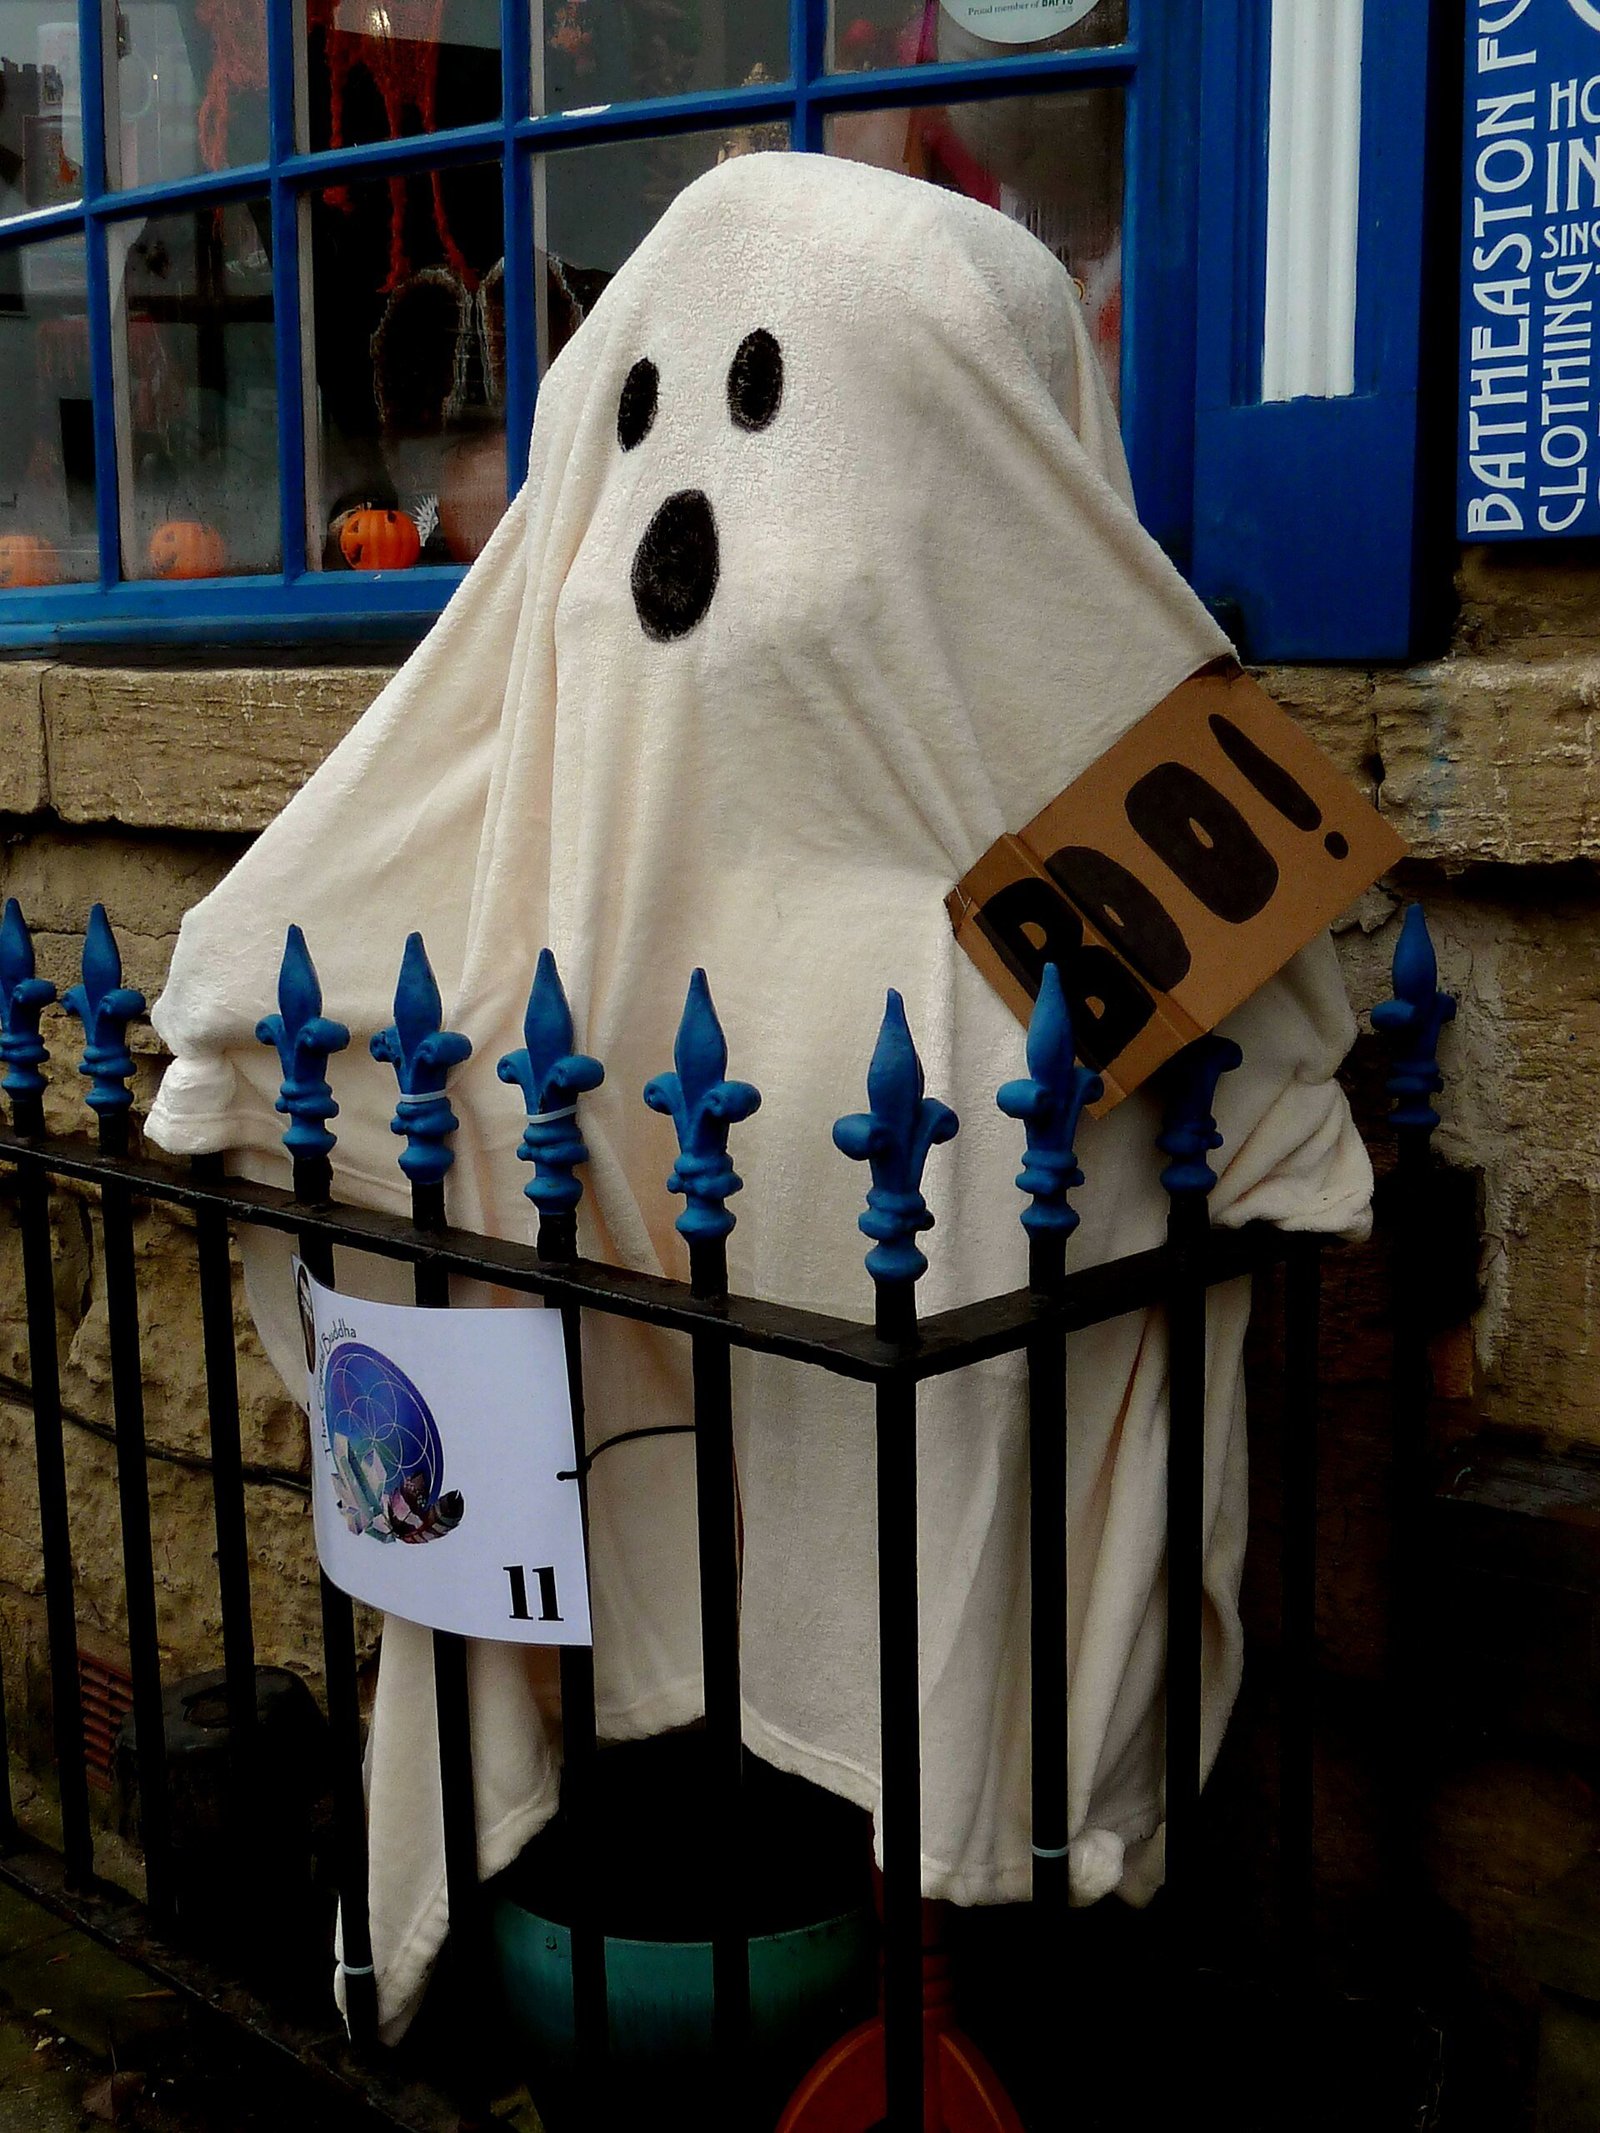
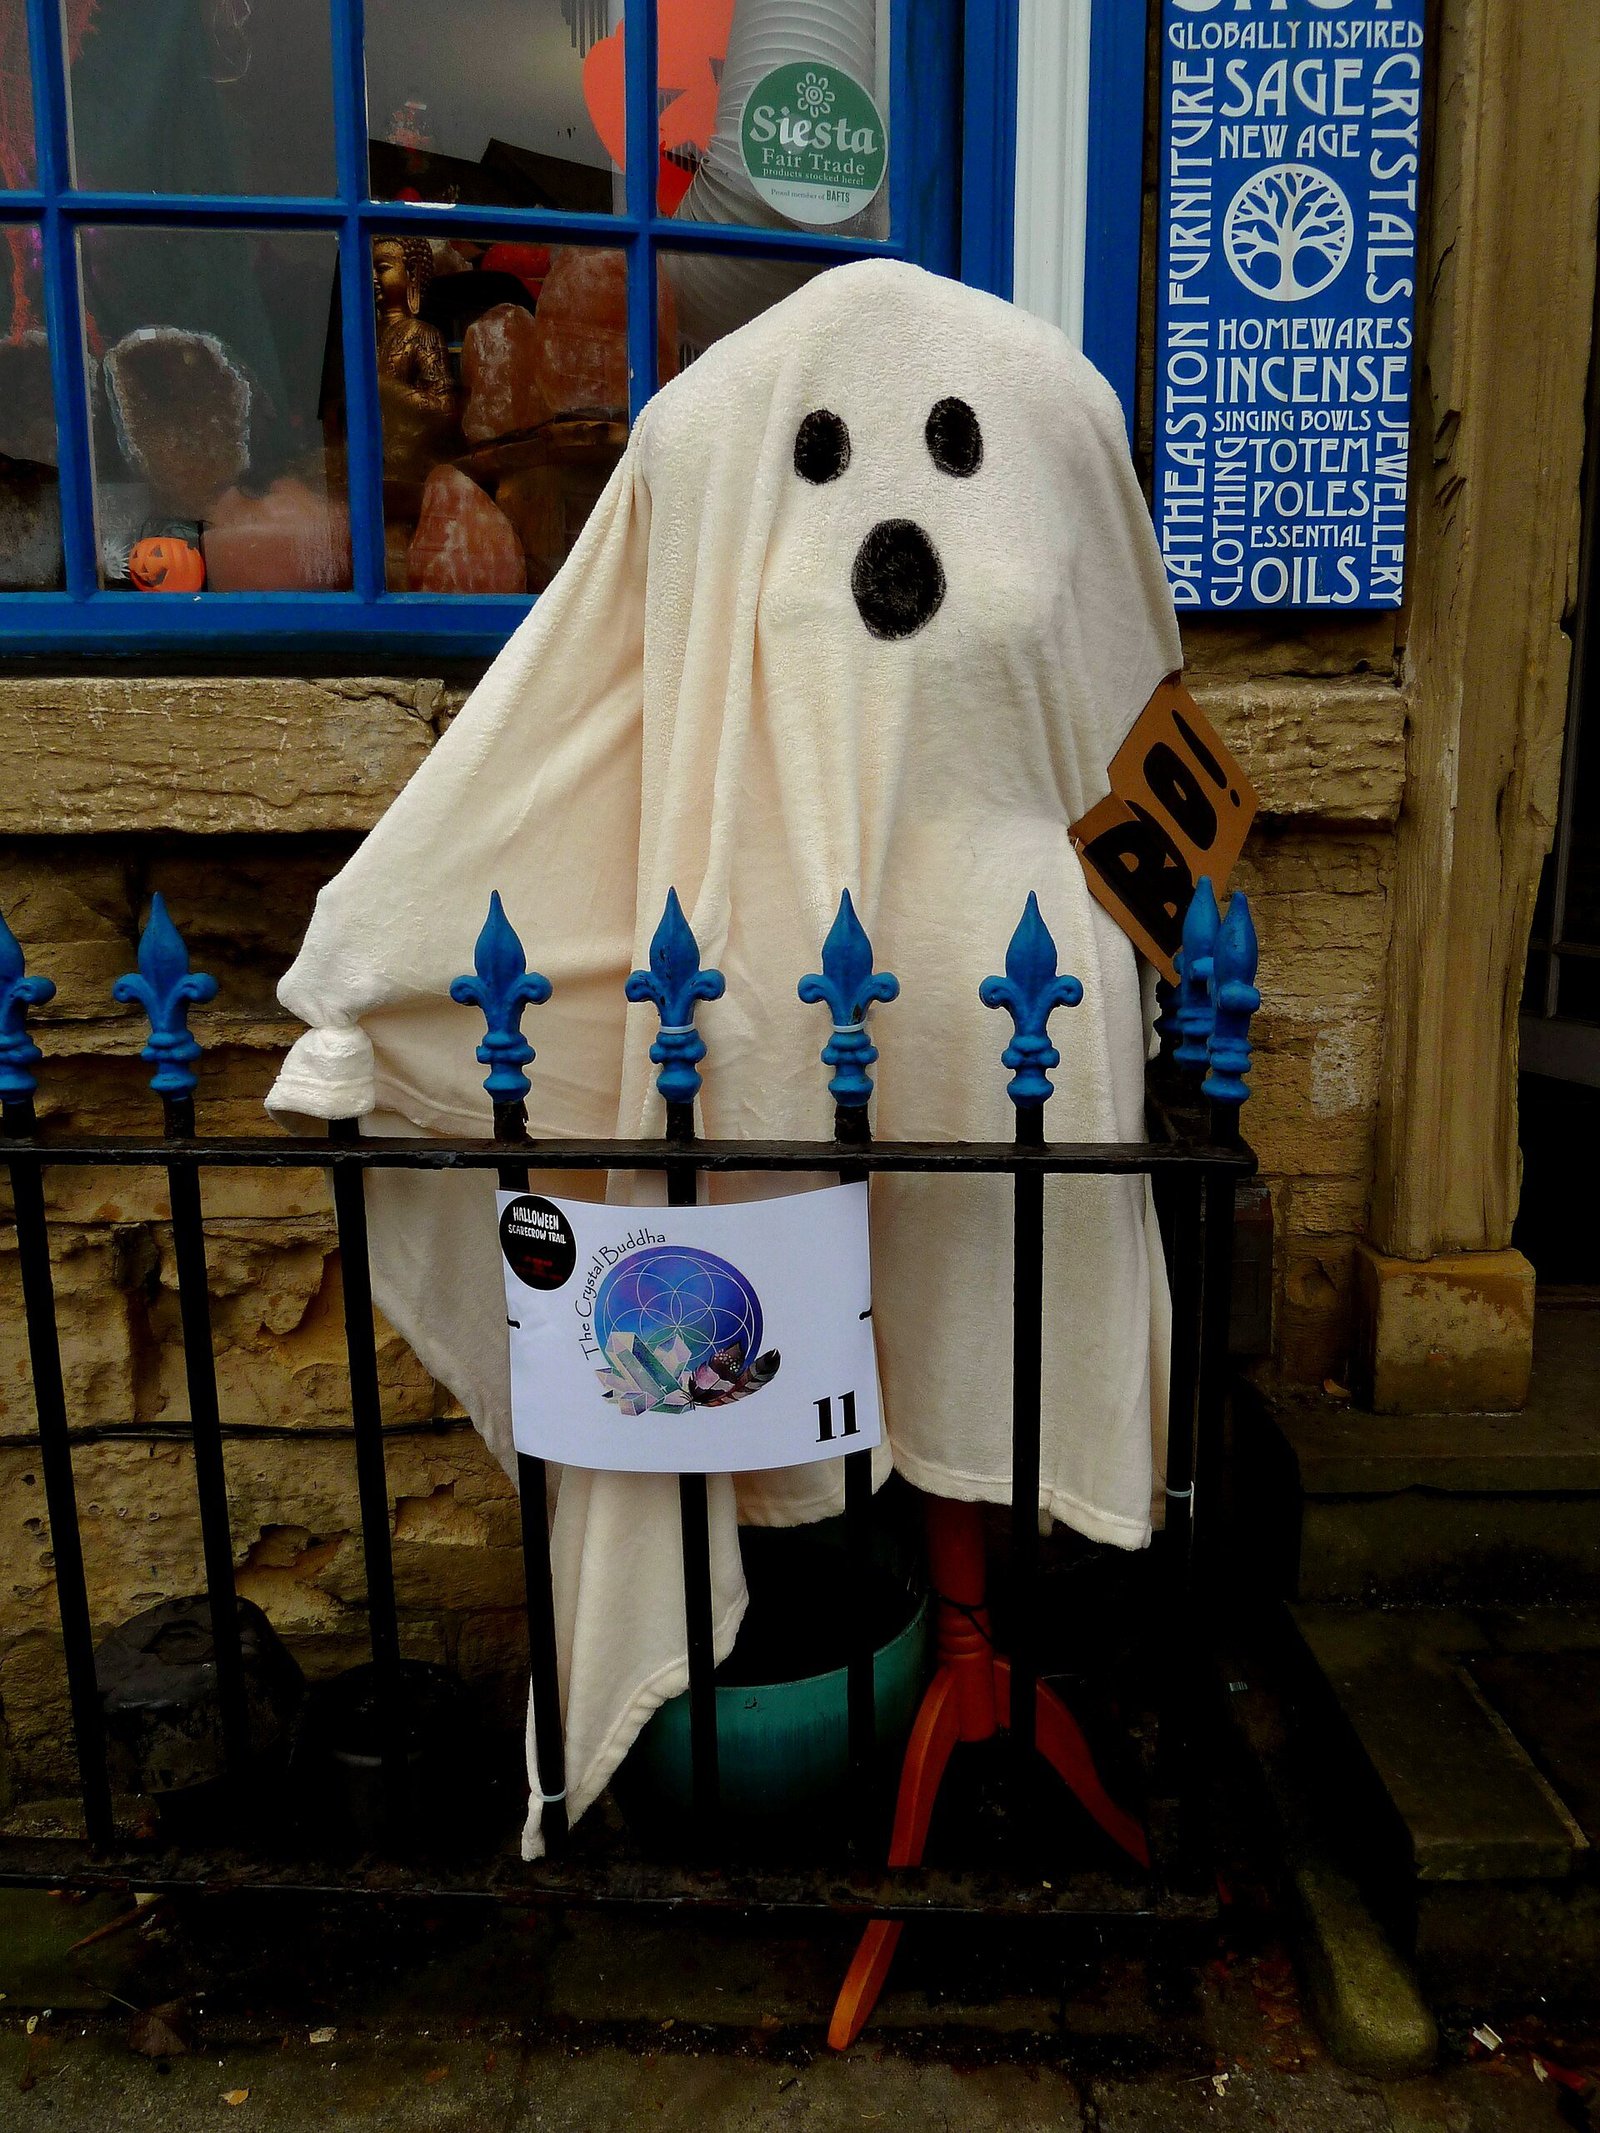
The face determines your ghost’s personality. Classic round black eyes and an oval mouth read friendly and cartoonish, perfect for family neighborhoods. Angled, jagged features or hollow X eyes push the same ghost firmly into spooky territory. Decide your vibe before you cut.
Use black felt with fabric glue for faces that survive weather and can be repositioned. Felt will not fray, adheres well, and looks clean from a distance. Alternatively, paint faces with black fabric paint for a permanent, washable option that never peels.
Scale the face to the ghost: features should occupy the upper third of the form and be large enough to read from the street. Tiny faces disappear at night, while bold features glow dramatically when backlit. Test the look after dark before finalizing. What looks perfect in daylight can disappear entirely at night, so always check after sunset.
Lighting Your Ghosts from Within
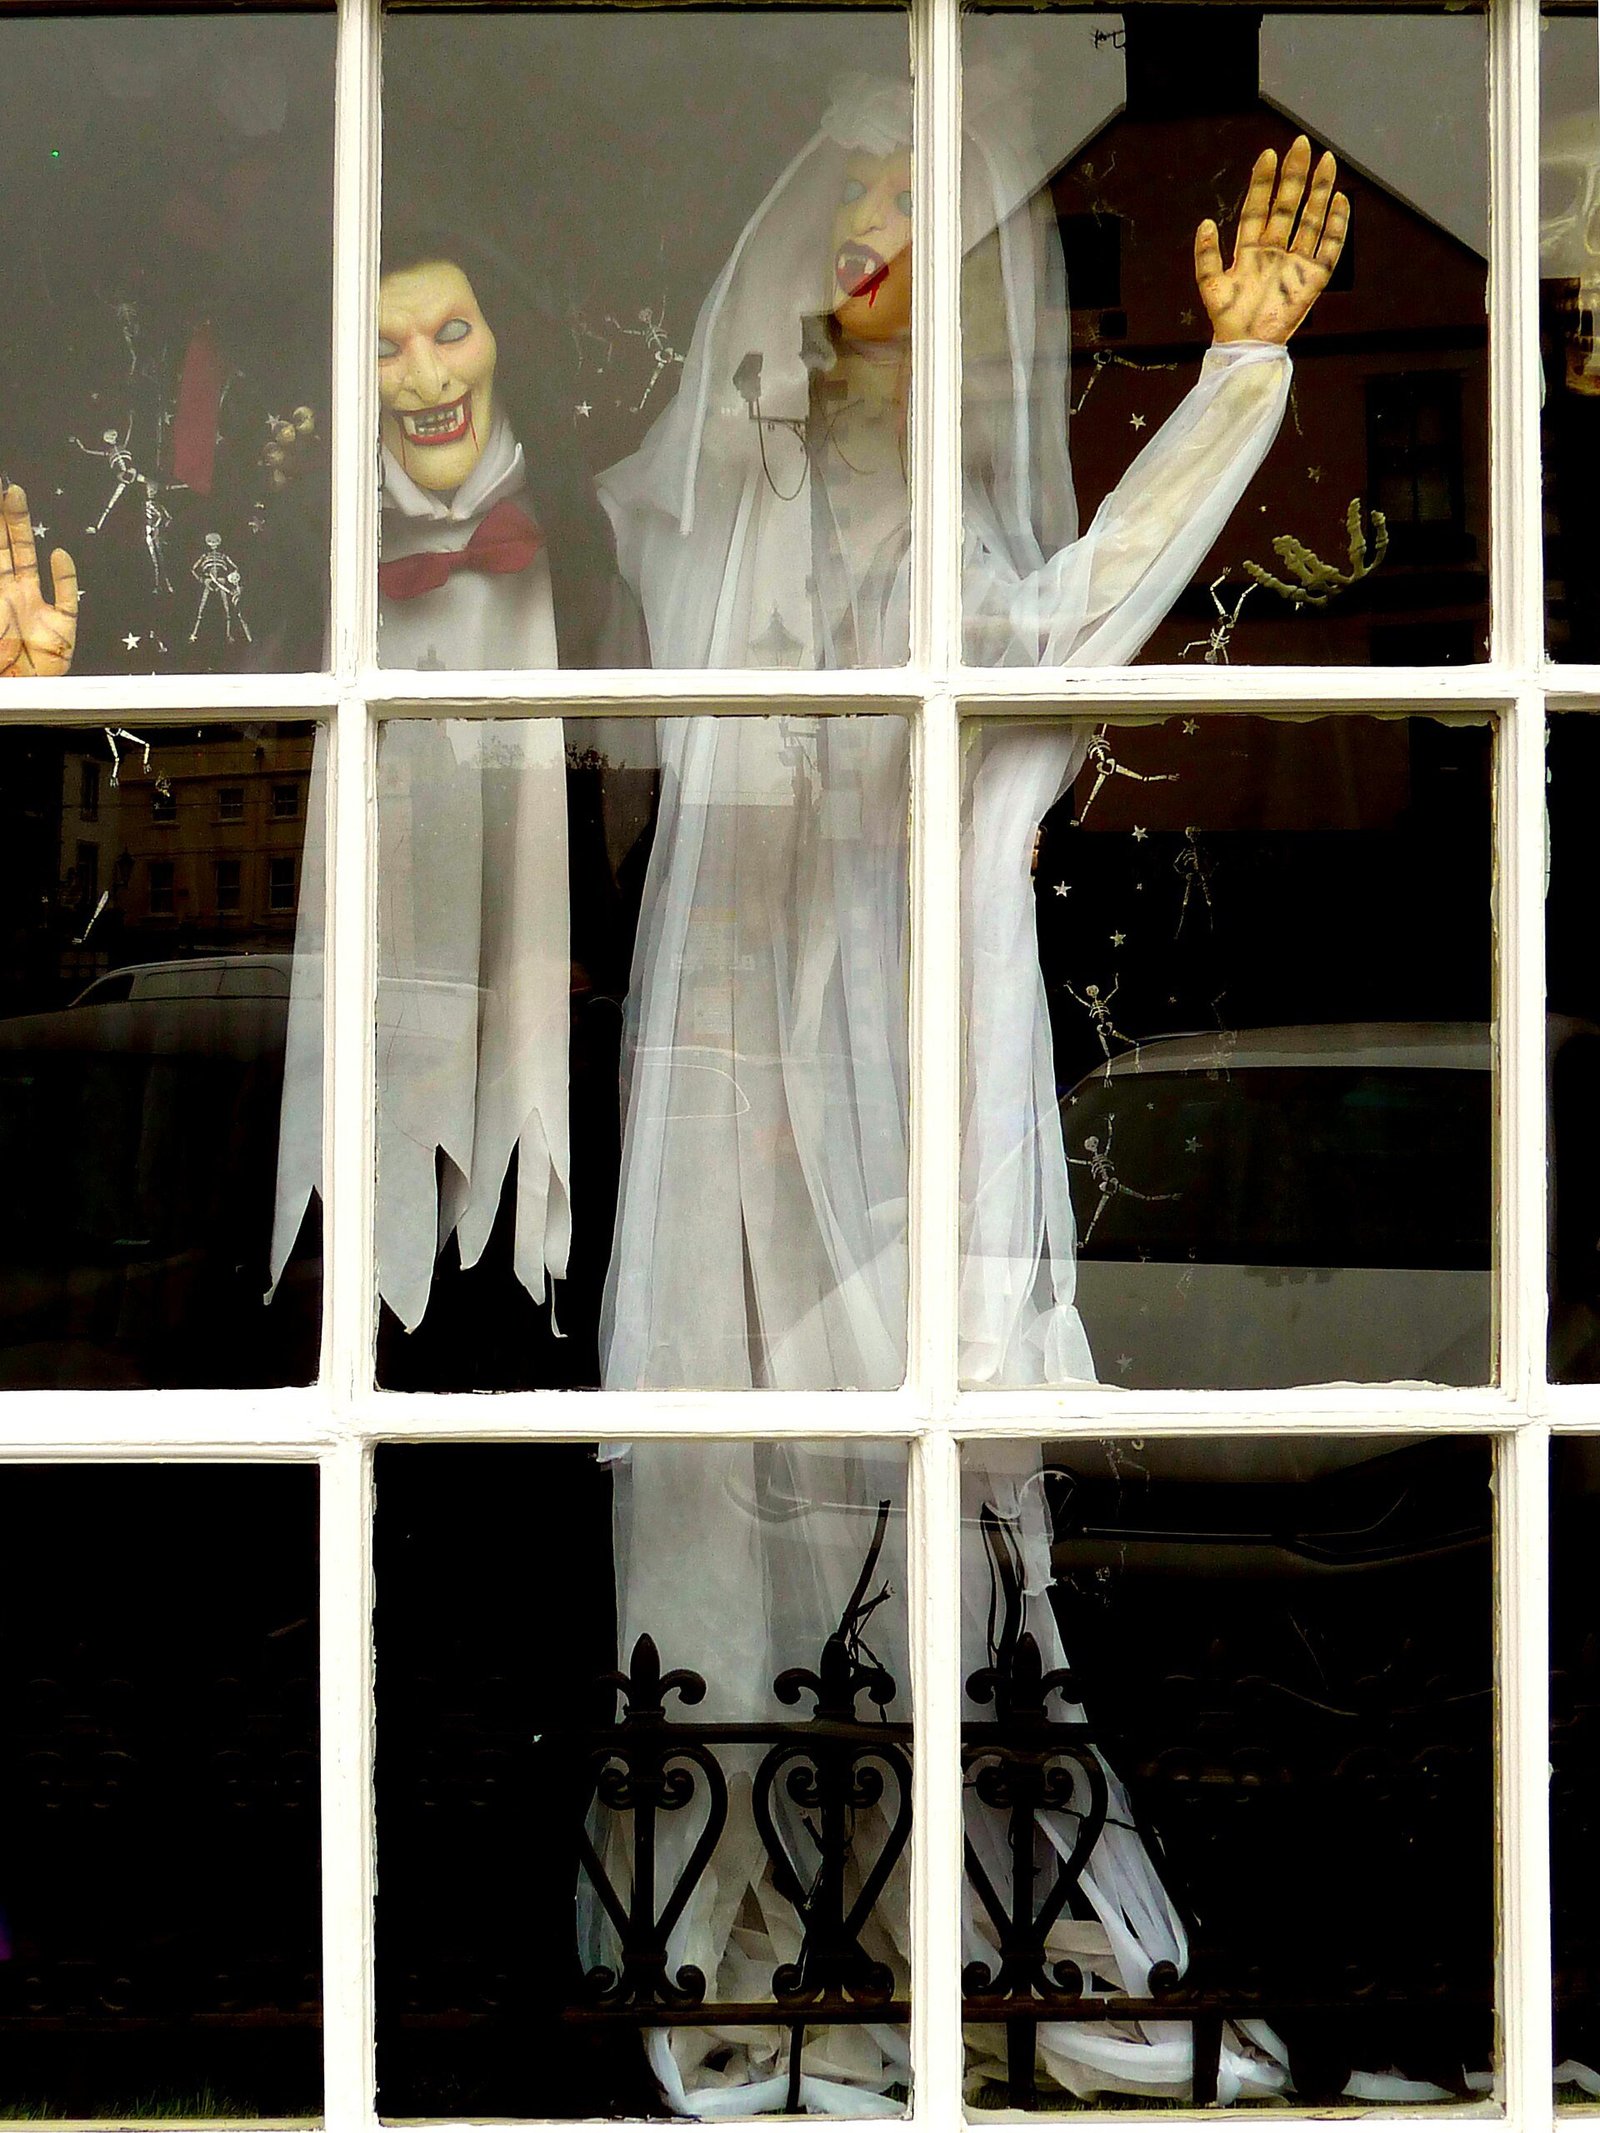
Interior lighting is what transforms a white sheet into a supernatural apparition. Battery-operated LED puck lights or string lights placed inside the cage create an even, flattering glow. Avoid real candles entirely; fabric and flame are a dangerous combination.
Position the light source at mid-height inside the cage for the most ghost-like illumination. Light placed too low creates a ground-heavy glow, while light at the very top washes out the face. Experiment at night to find the sweet spot for your setup.
Warm white LEDs give the classic friendly ghost glow, while cool white or color-changing lights lean spookier. A remote-controlled set lets you adjust brightness and color without venturing into the yard. Lighting is the difference between a craft project and a haunting. Spend your effort here rather than on elaborate faces, because glow carries the entire effect.
Solar Lights for Effortless Glow
Solar stake lights eliminate batteries and timers entirely. Push a solar light into the ground inside each ghost’s footprint during the day, and it charges while the sun shines, then automatically illuminates your ghost at dusk. Set them up once and forget them all October.
Choose solar lights with bright, clear LEDs rather than dim decorative ones; the light must be strong enough to shine through fabric. Position the solar panel where it gets direct sun, even if that means placing it slightly outside the ghost and running the light head inside.
Solar is also the most economical long-term option, with zero ongoing battery costs. In cloudy climates, keep battery lights as backup for overcast stretches. The convenience of automatic dusk-to-dawn glowing is worth the small initial investment. You will never forget to turn them on, and neighbors will admire the reliable nightly show.
Grouping Ghosts in Haunting Clusters
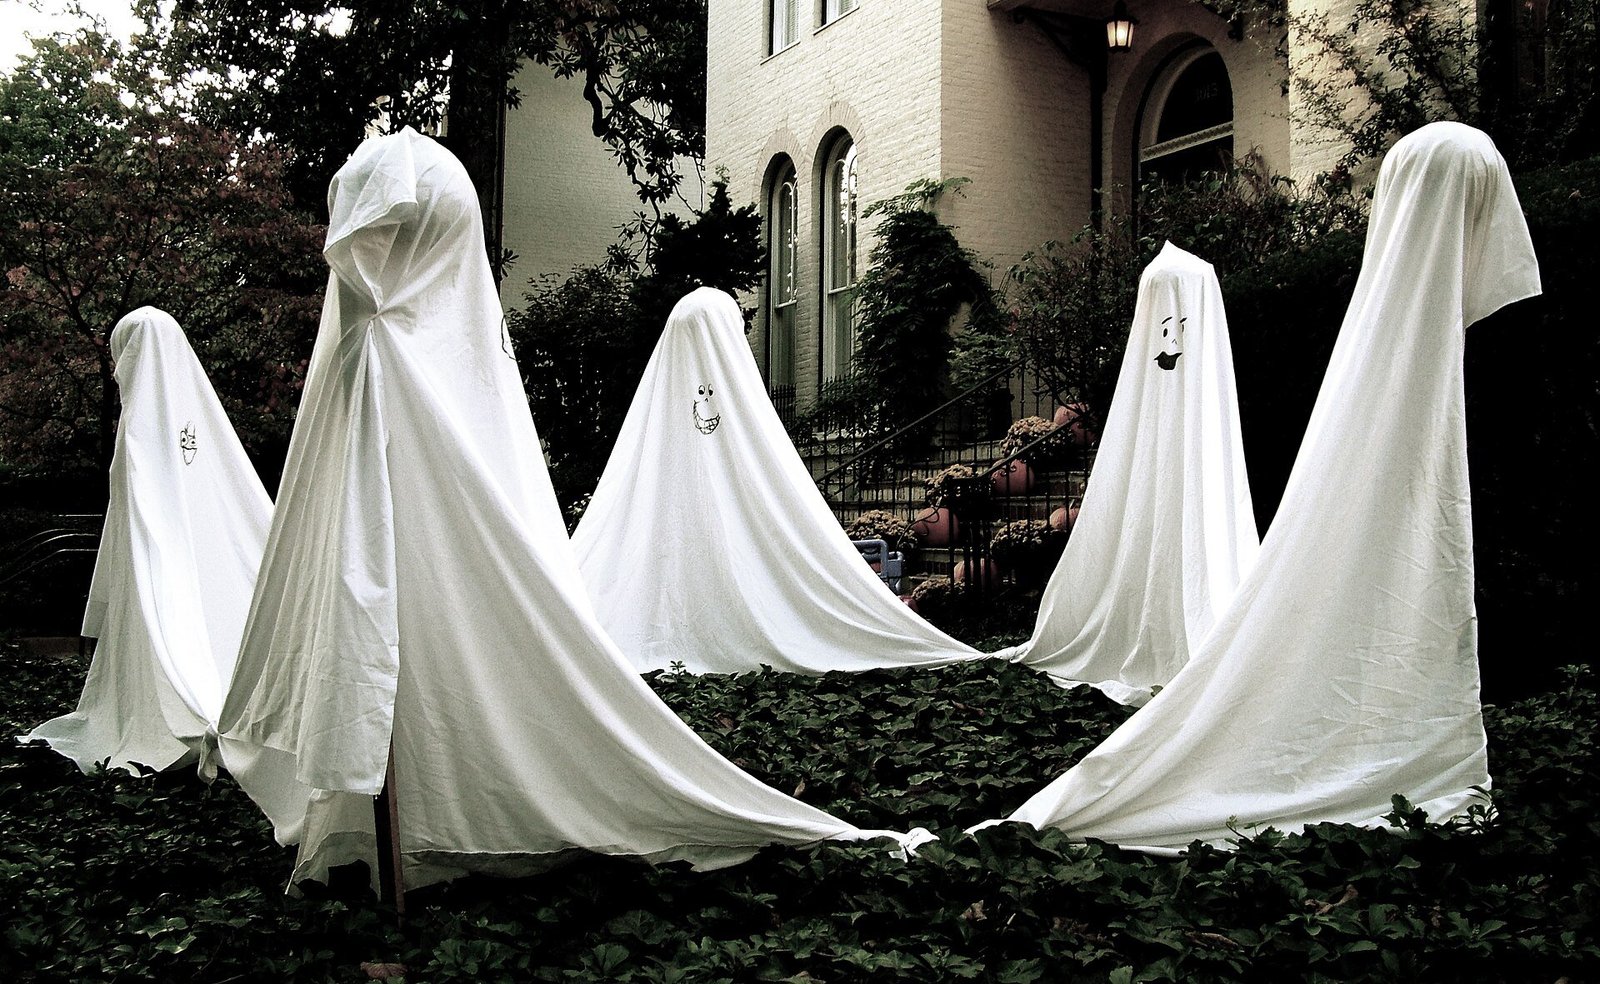
A single ghost is cute, but a cluster is captivating. Group three, five, or seven ghosts of varying heights together to create a ghost family that looks like it is drifting across your lawn. Odd numbers and varied heights mimic natural, organic arrangements.
Vary the sizes by using different cage heights or by sinking some cages deeper into the ground. Tilt a few ghosts at slight angles as if caught mid-float. The arrangement should feel spontaneous, like spirits pausing on their nightly wander.
Leave breathing room between ghosts so each one reads clearly at night. Crowding them together merges their glows into an indistinct blob. Six to twelve inches of space between forms creates the perfect haunted gathering. This spacing also prevents fabrics from tangling together on windy nights.
Ghosts Along Pathways and Driveways
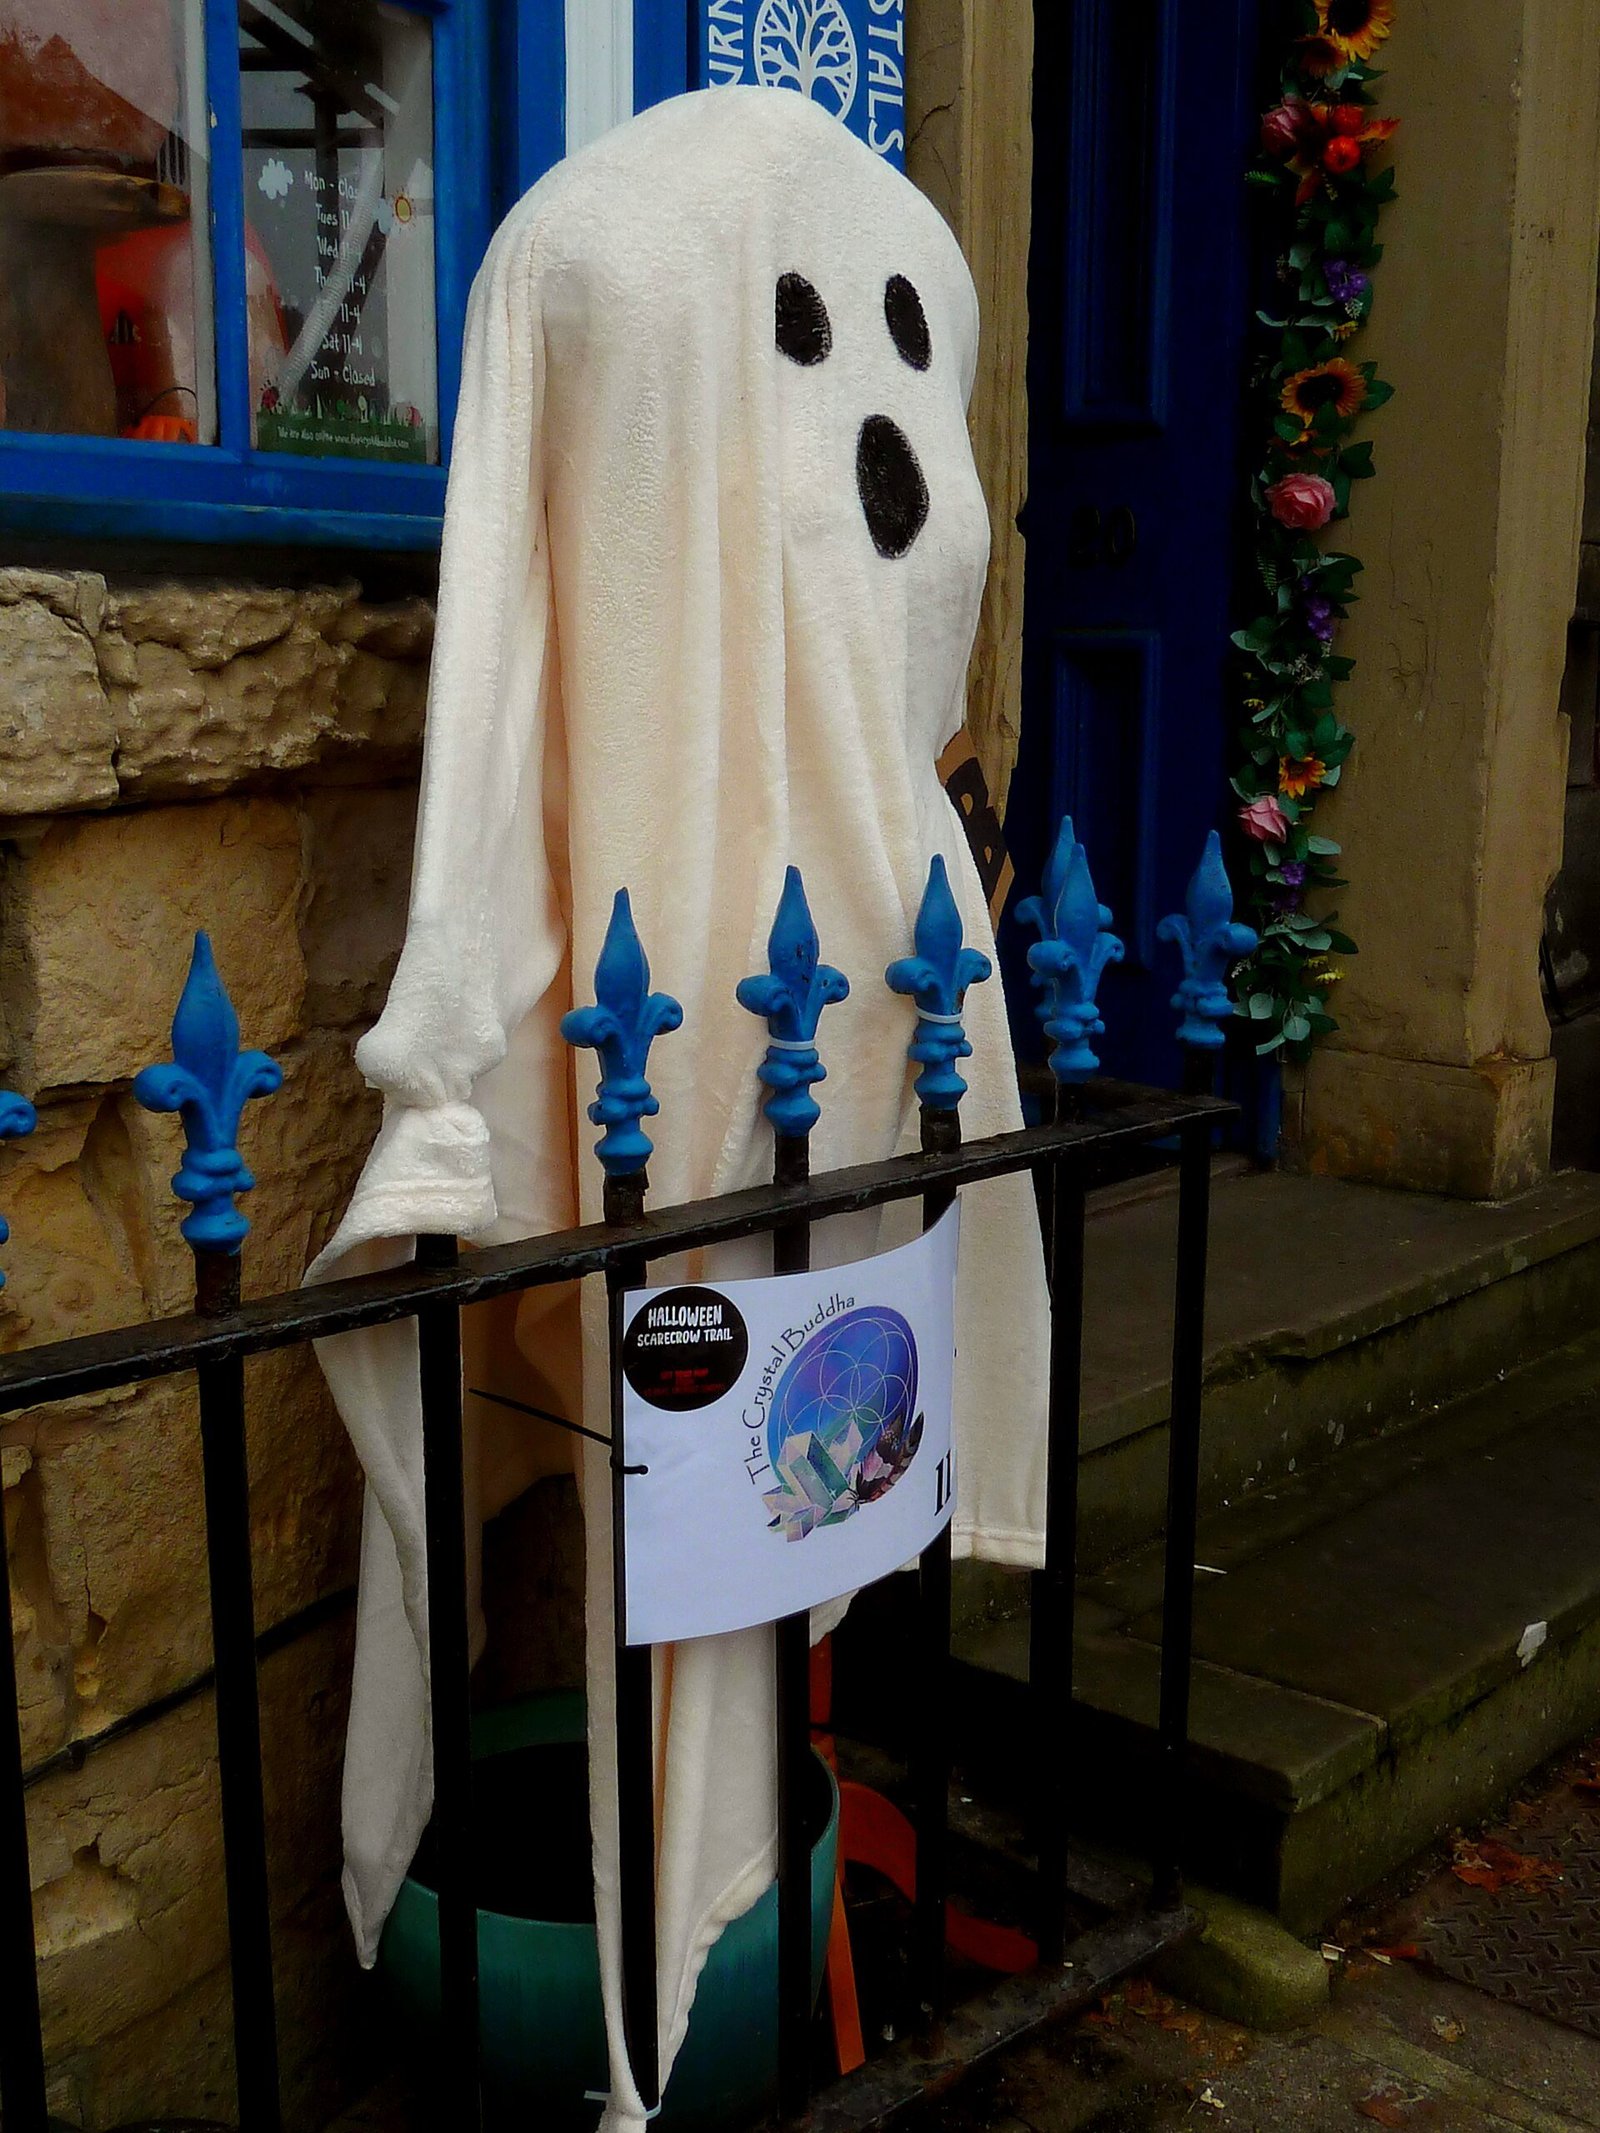
Line your walkway with tomato cage ghosts to create a grand, glowing entrance for trick-or-treaters. Space them evenly on alternating sides of the path, like luminous sentinels guiding visitors to your door. The effect after dark is pure Halloween magic.
Keep the pathway itself clear and well-lit for safety; ghosts should flank the walk, never block it. Stake each cage securely so excited children cannot knock them over. A fallen ghost with exposed electronics is both sad and hazardous.
Extend the line along your driveway for maximum street impact. Drivers slow down to look, and your house becomes the neighborhood’s must-see Halloween destination. Pathway ghosts deliver the highest visibility of any placement. Every trick-or-treater will pass through your glowing gauntlet, cameras ready.
Floating Ghost Arms and Details
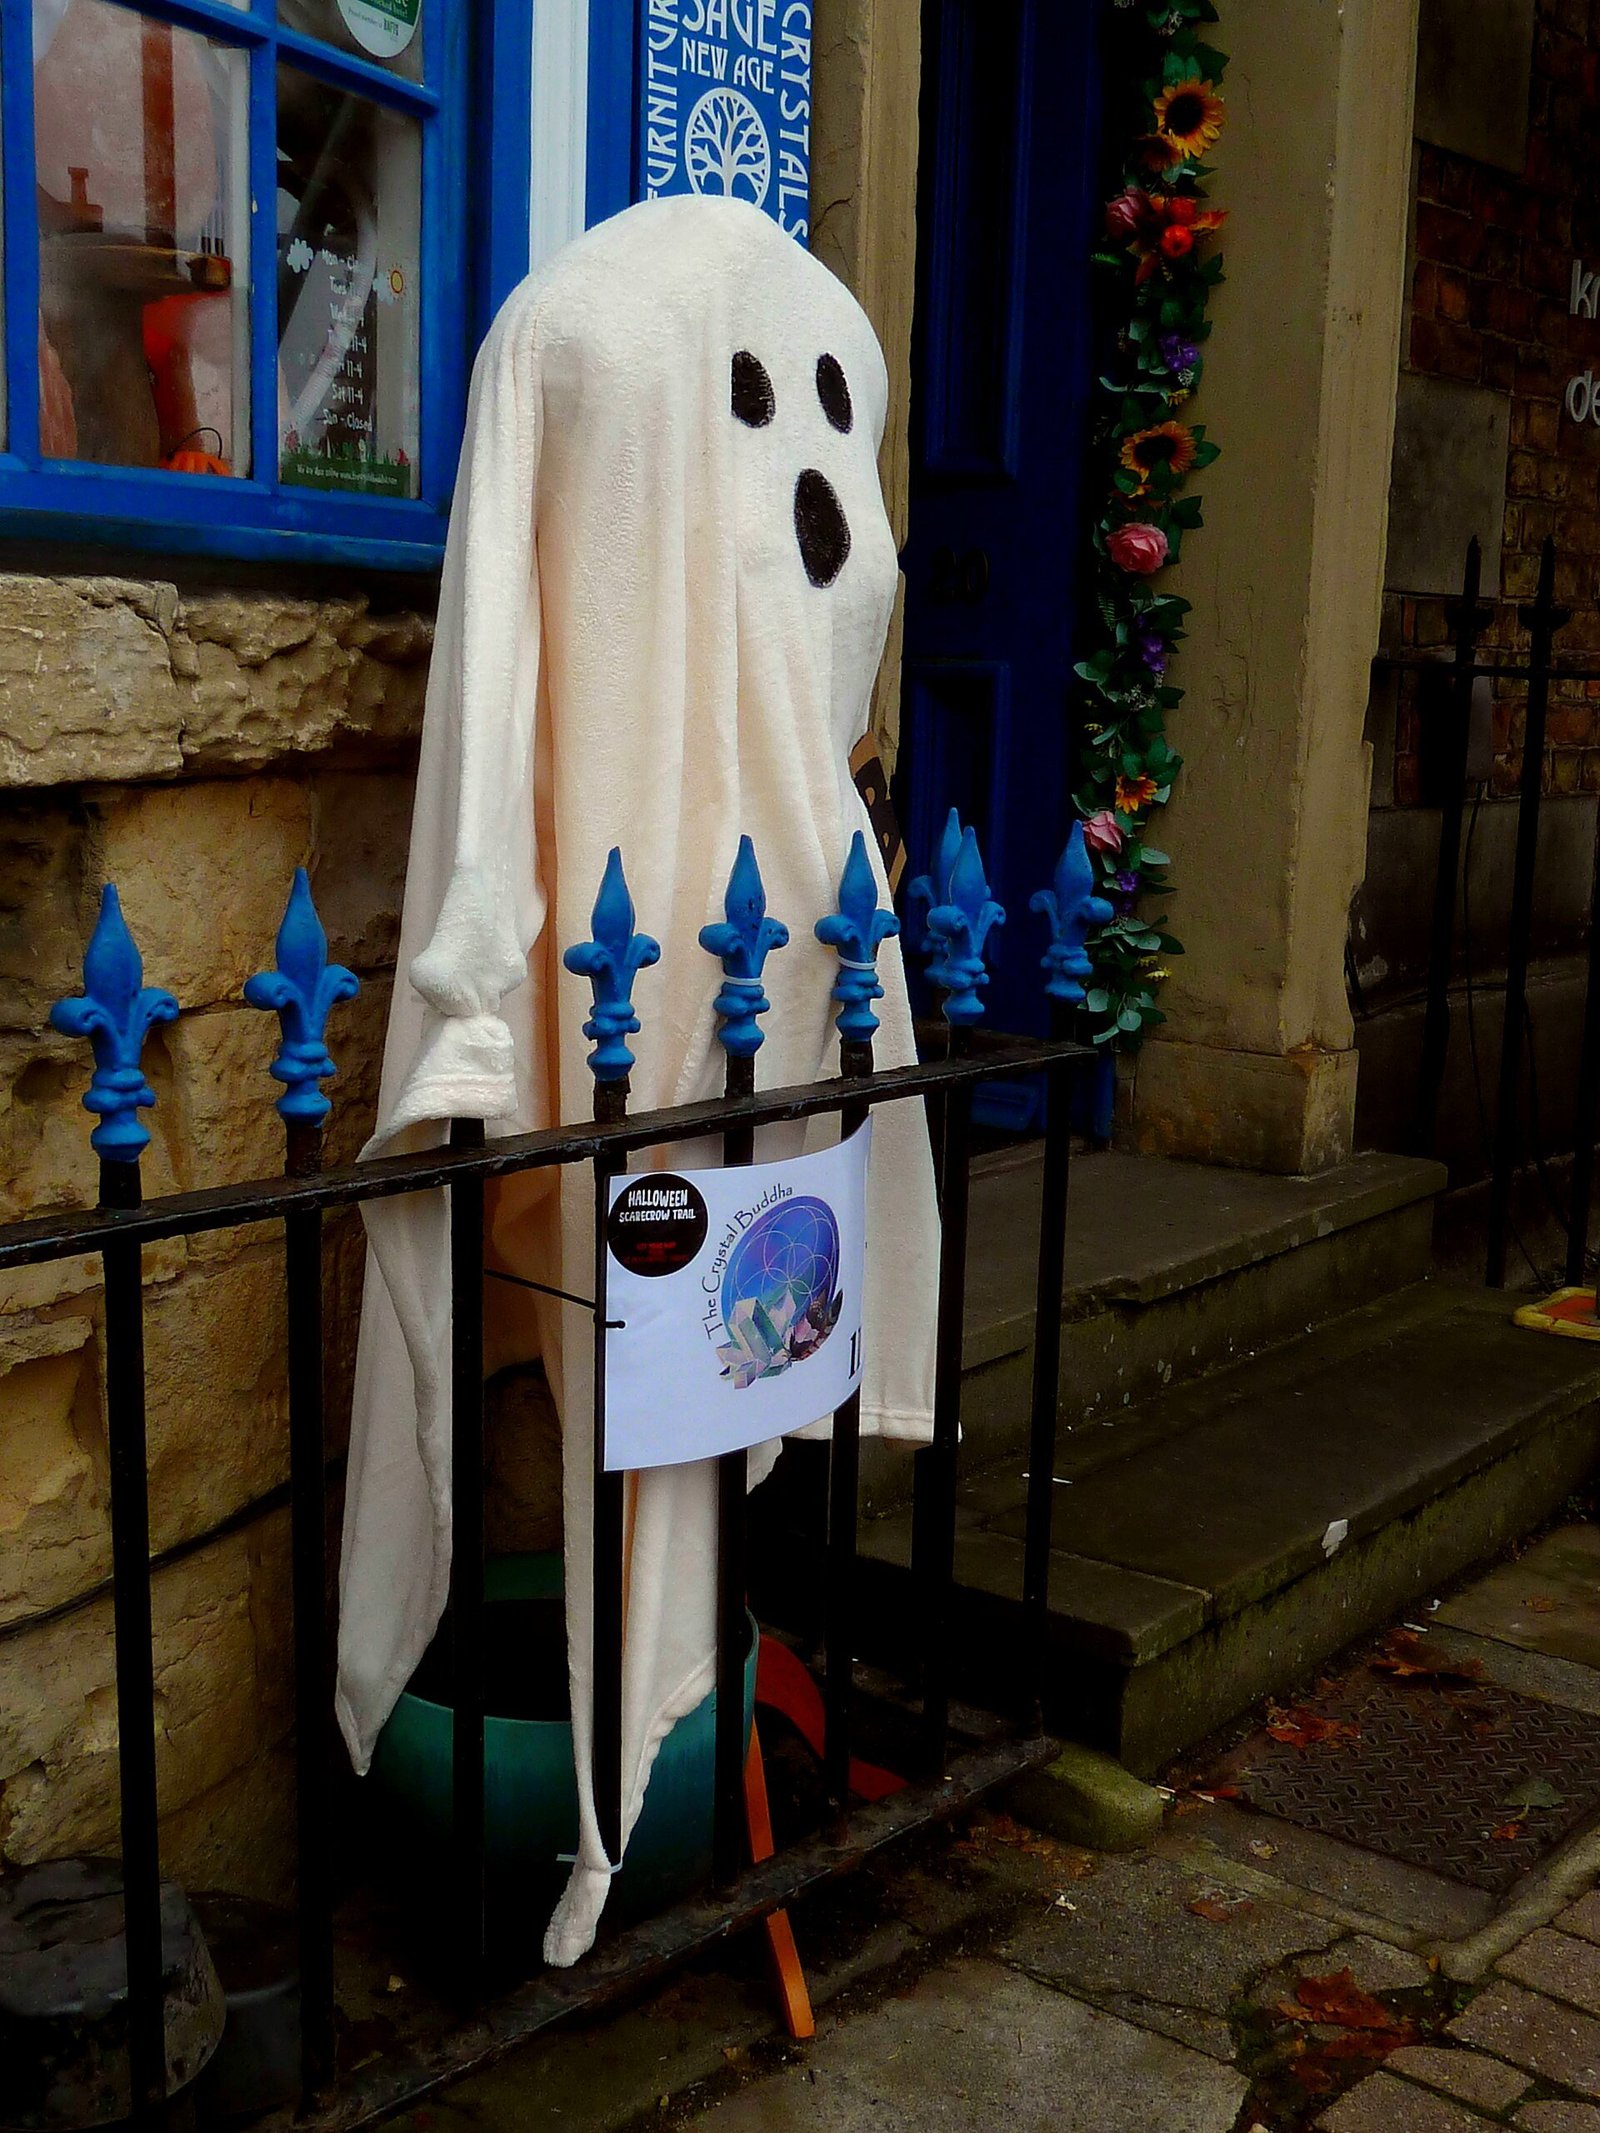
Take your ghosts beyond the basic sheet with added arms. Bend wire coat hangers into arm shapes and attach them to the cage sides before draping, creating the classic raised-arm ghost silhouette. The fabric drapes over the arms naturally, suggesting outstretched limbs. Guests will swear the ghosts are waving at them as they pass by.
Details like these elevate your ghosts from simple to spectacular. Try a tattered cape of black fabric over one shoulder, or a small witch hat perched on the head. Each accessory adds personality without complicating the build.
Keep additions lightweight so they do not collapse the fabric or strain the cage. Wire, felt, and thin fabrics are ideal. The wire frame is the skeleton of your ghost in every sense, so use its strength. If an accessory needs support, attach it to the cage frame itself rather than relying on the draped fabric.

Weatherproofing Your Ghosts
Outdoor ghosts must survive October weather, so weatherproof every element. Choose polyester sheets over cotton, since polyester sheds rain and dries quickly. Scotchgard or another fabric protector adds water resistance that keeps ghosts glowing through drizzle.
Protect your lights most carefully. Use lights rated for outdoor use, and seal battery packs in small zip-top bags to keep moisture out. Elevate lights off the ground inside the cage so they never sit in puddles after heavy rain.
Anchor cages deeply and consider guy lines in windy areas. A toppled ghost in a storm is no fun to rescue at midnight. A few minutes of storm preparation saves your display through the season’s worst weather. October storms are inevitable, but ruined decorations are entirely preventable.

Tomato Cage Ghosts for the Porch
Porches offer shelter that extends your ghosts’ lives and simplifies lighting. Place ghosts in porch corners where they are protected from wind and rain, running their lights from an outdoor outlet instead of batteries. The contained space makes even a few ghosts feel abundant.
Porch ghosts can be more detailed since visitors see them up close. Add refined faces, layered fabrics, and accessories that would be lost at lawn distance. A rocking chair with a ghost “sitting” in it is a porch classic that never fails to charm.
Coordinate porch ghosts with your other entryway decor: pumpkins at their feet, a wreath on the door, lanterns alongside. The porch becomes a complete Halloween vignette rather than a random collection of decorations. Cohesion is what separates memorable porches from cluttered ones.
Kid-Friendly Ghost Crafting
Tomato cage ghosts are the perfect family Halloween craft. Kids can drape the sheets, choose face designs, and position the finished ghosts, while adults handle lights and staking. The project is safe, quick, and deeply satisfying for young makers.
Let each child design their own ghost’s face and name it. Personal investment makes kids proud of the display and eager to show friends. Take photos of the creators with their ghosts for treasured Halloween memories.
Use the project to teach simple making skills: measuring, draping, and basic assembly. Kids learn that impressive decorations do not require stores or spending. It is creativity, confidence, and Halloween spirit in one afternoon. Years later, your kids will remember making ghosts together more than any store-bought decoration.
Giant Statement Ghosts
For maximum drama, supersize the concept. Extra-large tomato cages or concrete reinforcing mesh formed into a tall cone create ghosts six feet or taller that dominate a yard. These statement spirits are visible from blocks away.
Scale up every element proportionally: king-size sheets, larger faces, and brighter lights. A giant ghost needs a powerful light source, so use multiple LED strands or a bright outdoor floodlight aimed upward from inside the base.
Anchor giant ghosts seriously with deep stakes and guy lines; their height makes them wind sails. One magnificent giant surrounded by standard-size ghosts creates a ghost family tableau with unforgettable presence. The size contrast tells a story all by itself, like a parent spirit watching over little ones.
Mini Tabletop Cage Ghosts
The concept scales down beautifully too. Small tomato cages, sold for peppers and flowers, become adorable tabletop ghosts with handkerchiefs or cloth napkins as their sheets. They are perfect for mantels, desks, and party tables.
Use tea lights or fairy lights inside mini ghosts for a delicate glow. Their small faces can be drawn with fabric markers for precision. A row of mini ghosts along a windowsill is charming from both inside and outside.
Mini ghosts make wonderful party favors or classroom crafts. Each one costs pennies and takes minutes, yet looks genuinely delightful. Sometimes the smallest ghosts bring the biggest smiles. Their delicate scale makes them perfect for shelves and windowsills where large ghosts cannot go.
Ghosts with Hats and Accessories
Accessories give your ghosts character and humor. A witch hat, a top hat, a flower crown, or a tiny scarf instantly transforms a generic ghost into a personality. Raid the costume box or thrift store for pieces with ghostly potential.
Attach accessories to the cage frame before draping so they sit securely. Hats can perch on the gathered head, while scarves wrap around the “neck” where sheet meets cage. The fabric will settle around accessories naturally.
Theme your accessories: witch hats for a coven of ghosts, bow ties for dapper spirits, crowns for a royal haunting. A consistent accessory theme across your ghost family tells a story that elevates the whole display. Visitors love decoding the narrative you have hidden in plain sight.
Combining Ghosts with Other Decor
Tomato cage ghosts play well with other Halloween decorations. Pair them with pumpkins at their bases, string lights in nearby trees, and tombstones behind them for a complete haunted yard. The ghosts’ clean white glow balances busier elements.
Use ghosts as the unifying element across a large yard. While other decorations vary, a consistent ghost design repeated throughout ties everything together visually. Repetition with variation is the core principle of great display design.
Avoid overcrowding: ghosts need darkness around them to glow effectively. Give each display zone breathing room so the eye can rest. A yard with three strong vignettes beats one crammed with every decoration you own. Restraint shows confidence, and the darkness between displays makes each one glow brighter.
Budget Breakdown: Cost Per Ghost
One of the best things about tomato cage ghosts is their tiny price tag. A cage costs a few dollars, a thrifted sheet even less, and basic LED lights complete the build. Most ghosts cost under ten dollars each, with many crafters spending half that using supplies on hand.
Maximize savings by buying cages on end-of-season clearance and sourcing sheets from thrift stores. Solar lights cost more upfront but eliminate battery expenses forever. The per-ghost cost drops with every additional ghost you make.
Compare that to store-bought lighted ghosts at thirty dollars and up, and the DIY advantage is clear. A whole yard of glowing ghosts for the price of two store-bought figures is the kind of value that makes this craft irresistible. Halloween budgets stretch remarkably far when the core technique costs almost nothing.
Storing Cages and Fabric After Halloween
Proper storage means your ghosts return effortlessly next year. Wash and dry sheets before storing to prevent mildew, then fold them with the felt faces attached so each ghost’s personality stays intact. Labeling helps you recreate favorite arrangements.
Stack inverted cages nested together to save space, and store lights separately with batteries removed to prevent corrosion. A single labeled bin can hold an entire ghost family’s fabric and lighting components.
Inspect everything during takedown and repair or replace worn elements immediately. Future you will be grateful when next October’s setup takes an afternoon instead of a shopping trip. Good storage is a gift to yourself. Label every bin clearly, because October-you will not remember what May-you packed.
Creative Variations Beyond White
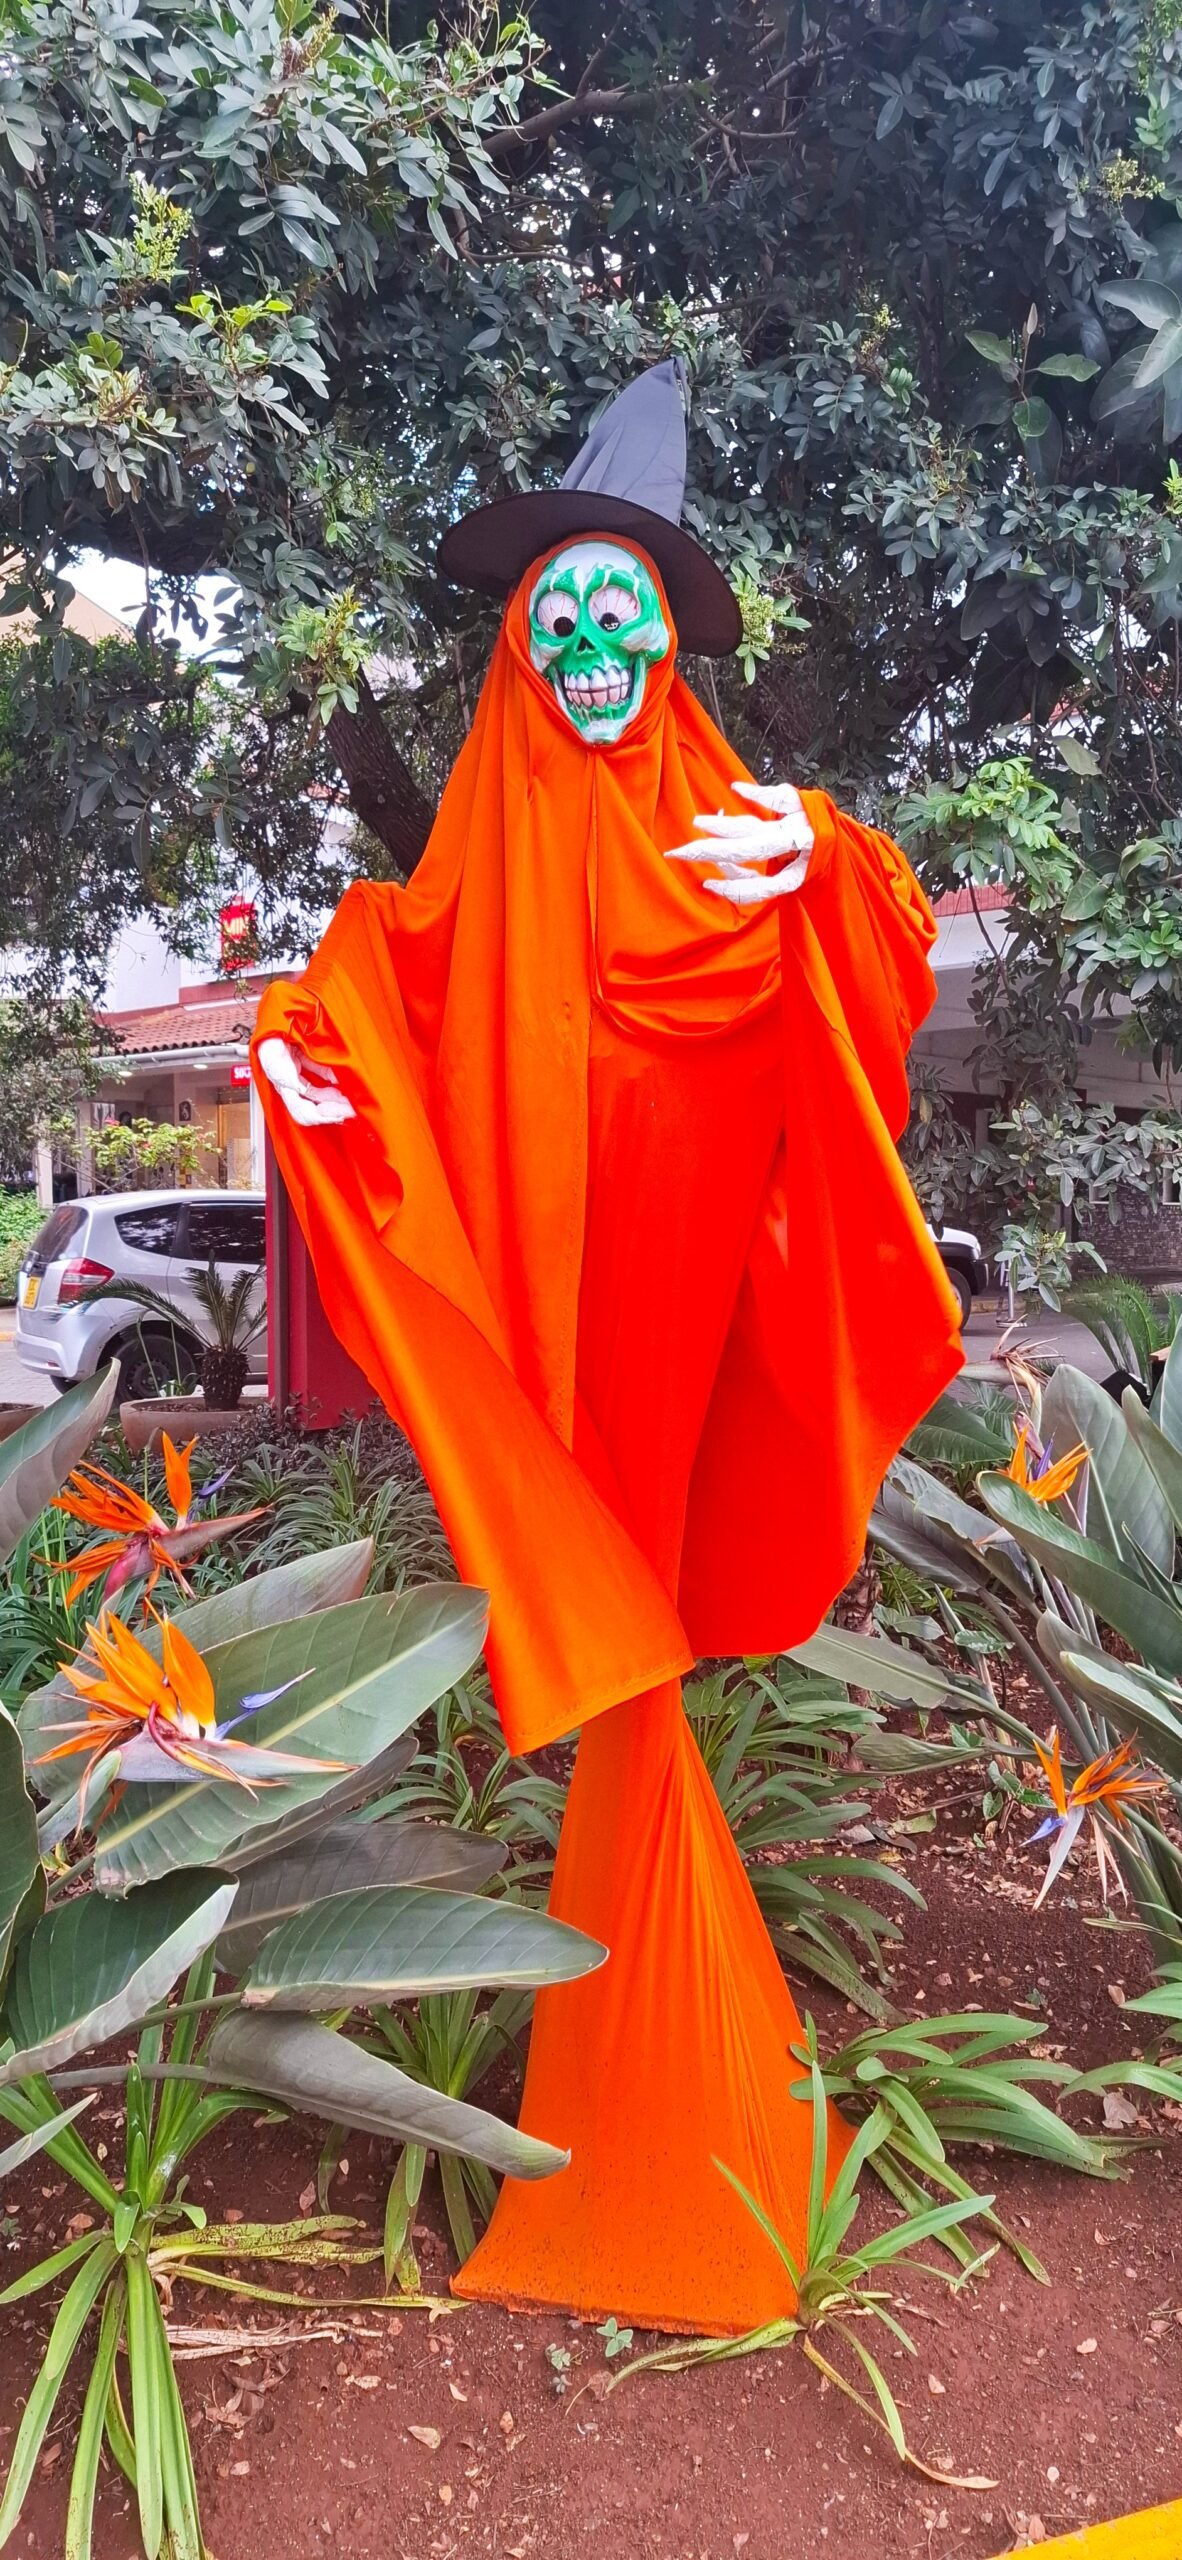
Once you master the classic, experiment with color. Black cheesecloth ghosts are dramatically gothic, orange fabric ghosts suit harvest themes, and pastel ghosts make adorable Easter or spring spirits. The technique works in any palette.
Try themed variations: burlap ghosts for rustic farmhouse Halloween, lace ghosts for Victorian elegance, or glow-in-the-dark fabric paint details for extra nighttime magic. Each variation uses the same simple method with a fresh twist.
Let the technique inspire other seasons: red and green ghosts for Christmas, or floral fabric spirits for garden parties. A great DIY method is never limited to one holiday. Your tomato cages have year-round potential waiting to be discovered. Once you see the cage as a form rather than a tool, the possibilities multiply endlessly. The best crafts are platforms for creativity, not single-use projects.

I am Talha Sikandar, a professional writer with a passion for general blogging. With years of experience in content writing and research, I founded Meaniingly.com to deliver well-researched, informative, and user-friendly articles on diverse topics.