DIY moon phase wall hanging tutorial
Moon phase wall hangings are everywhere right now — and for good reason. They’re beautiful, meaningful, and surprisingly simple to make yourself. This tutorial walks you through creating a stunning lunar wall hanging from start to finish: painting wooden moons in each phase, stringing them from a natural branch or dowel, and hanging the finished piece with pride. You’ll get a complete materials list, step-by-step instructions with pro tips, spacing and knotting techniques, and three alternative methods (clay, embroidery, and paper-cut) if you want to try a different medium. Whether you’re decorating a bedroom, creating a Halloween accent, or making a handmade gift, you’ll finish this project with a piece that looks store-bought — and the satisfaction of having made it yourself.
1. Why Moon Phase Wall Hangings Are Trending
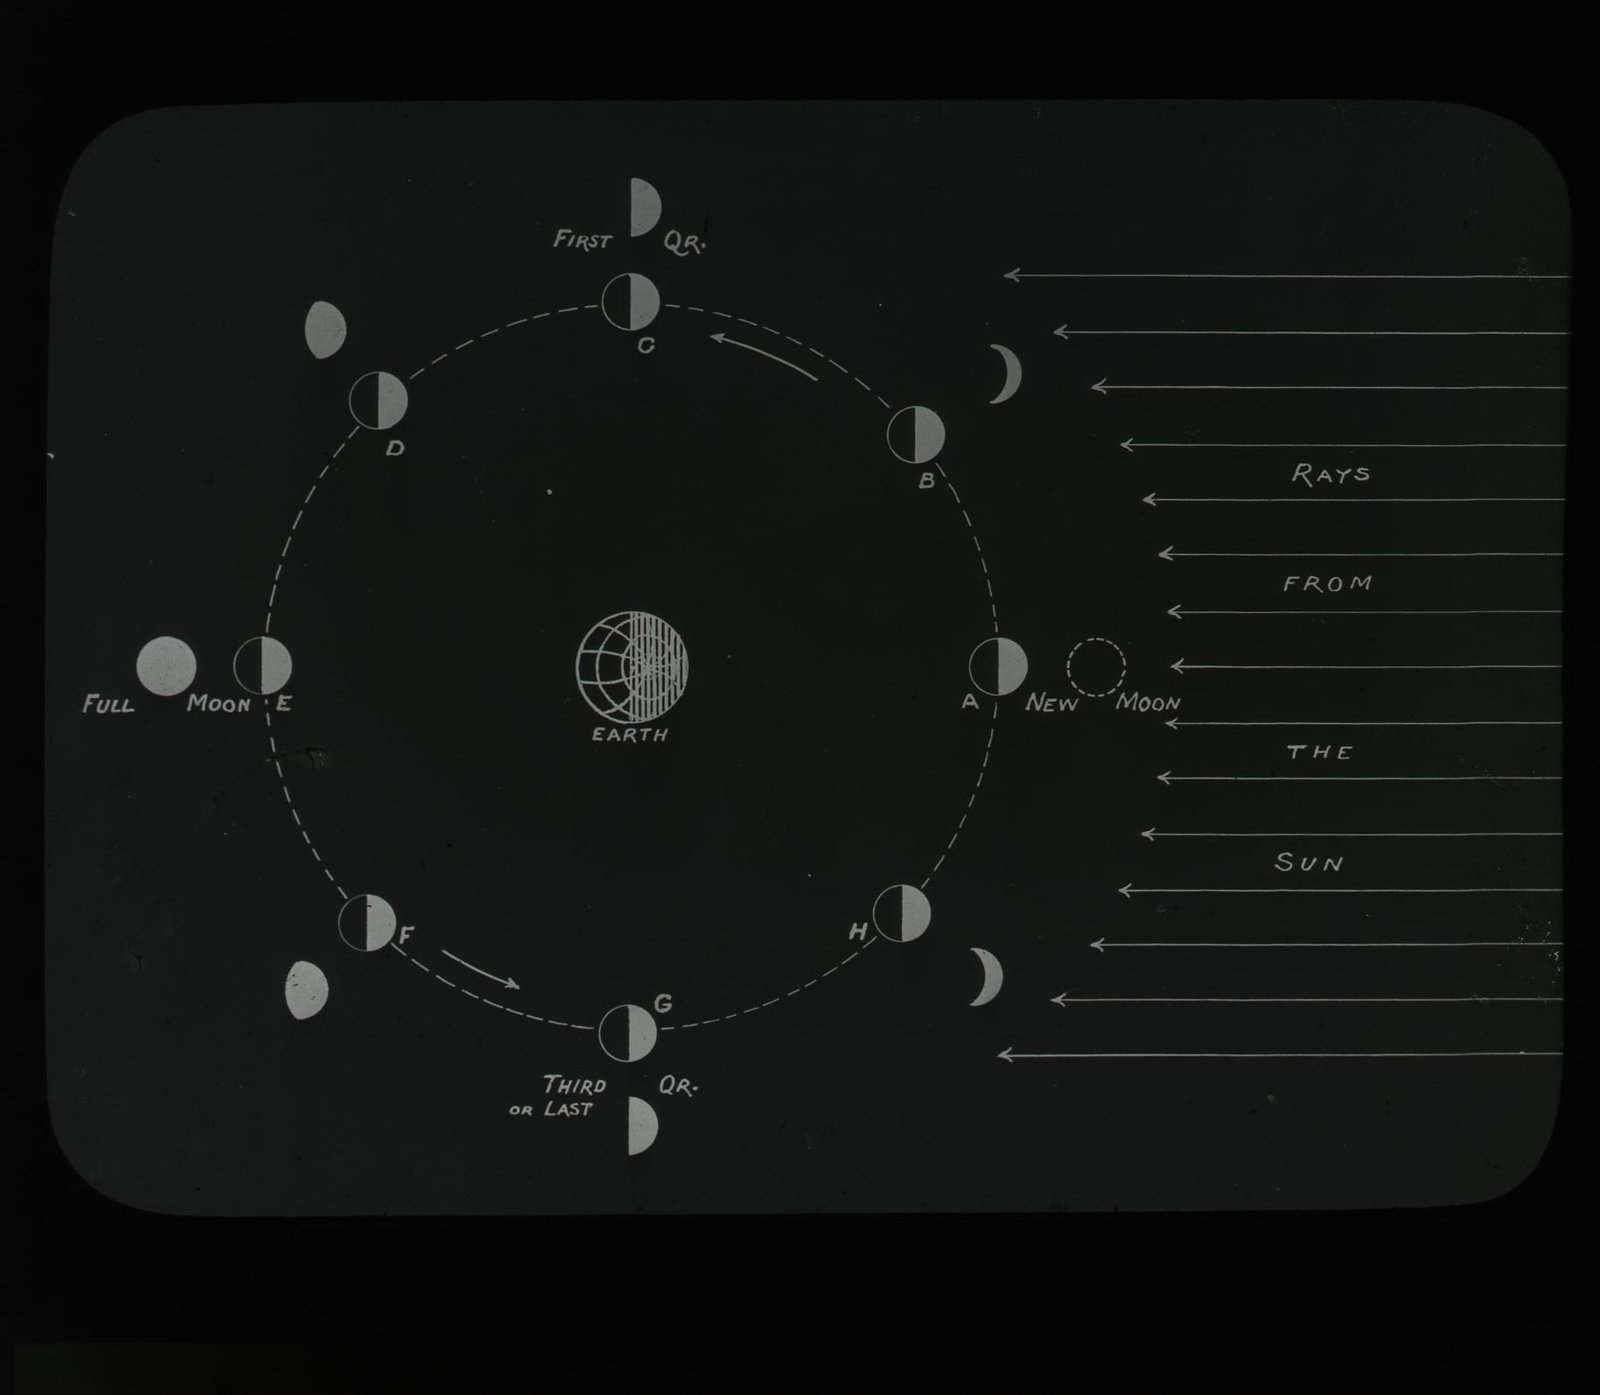
The moon has captivated humans forever, but moon phase decor is having a particular moment — and it’s easy to see why. The lunar cycle is a symbol of rhythm, renewal, and feminine energy that resonates deeply right now. Visually, the progression from crescent to full moon is naturally satisfying: a sequence that’s both geometric and organic, minimalist and rich. Moon phase hangings suit nearly every decor style — boho, modern, witchy, minimalist — because the motif is simple enough to adapt. They’re also deeply personal; many people hang them to mark intentions, track cycles, or simply honor their love of the night sky. On the crafting side, the project hits the sweet spot: genuinely beautiful results from basic skills and affordable materials. It’s decor with meaning you can make in a weekend — no wonder it’s trending.
2. What You’ll Make: Project Overview
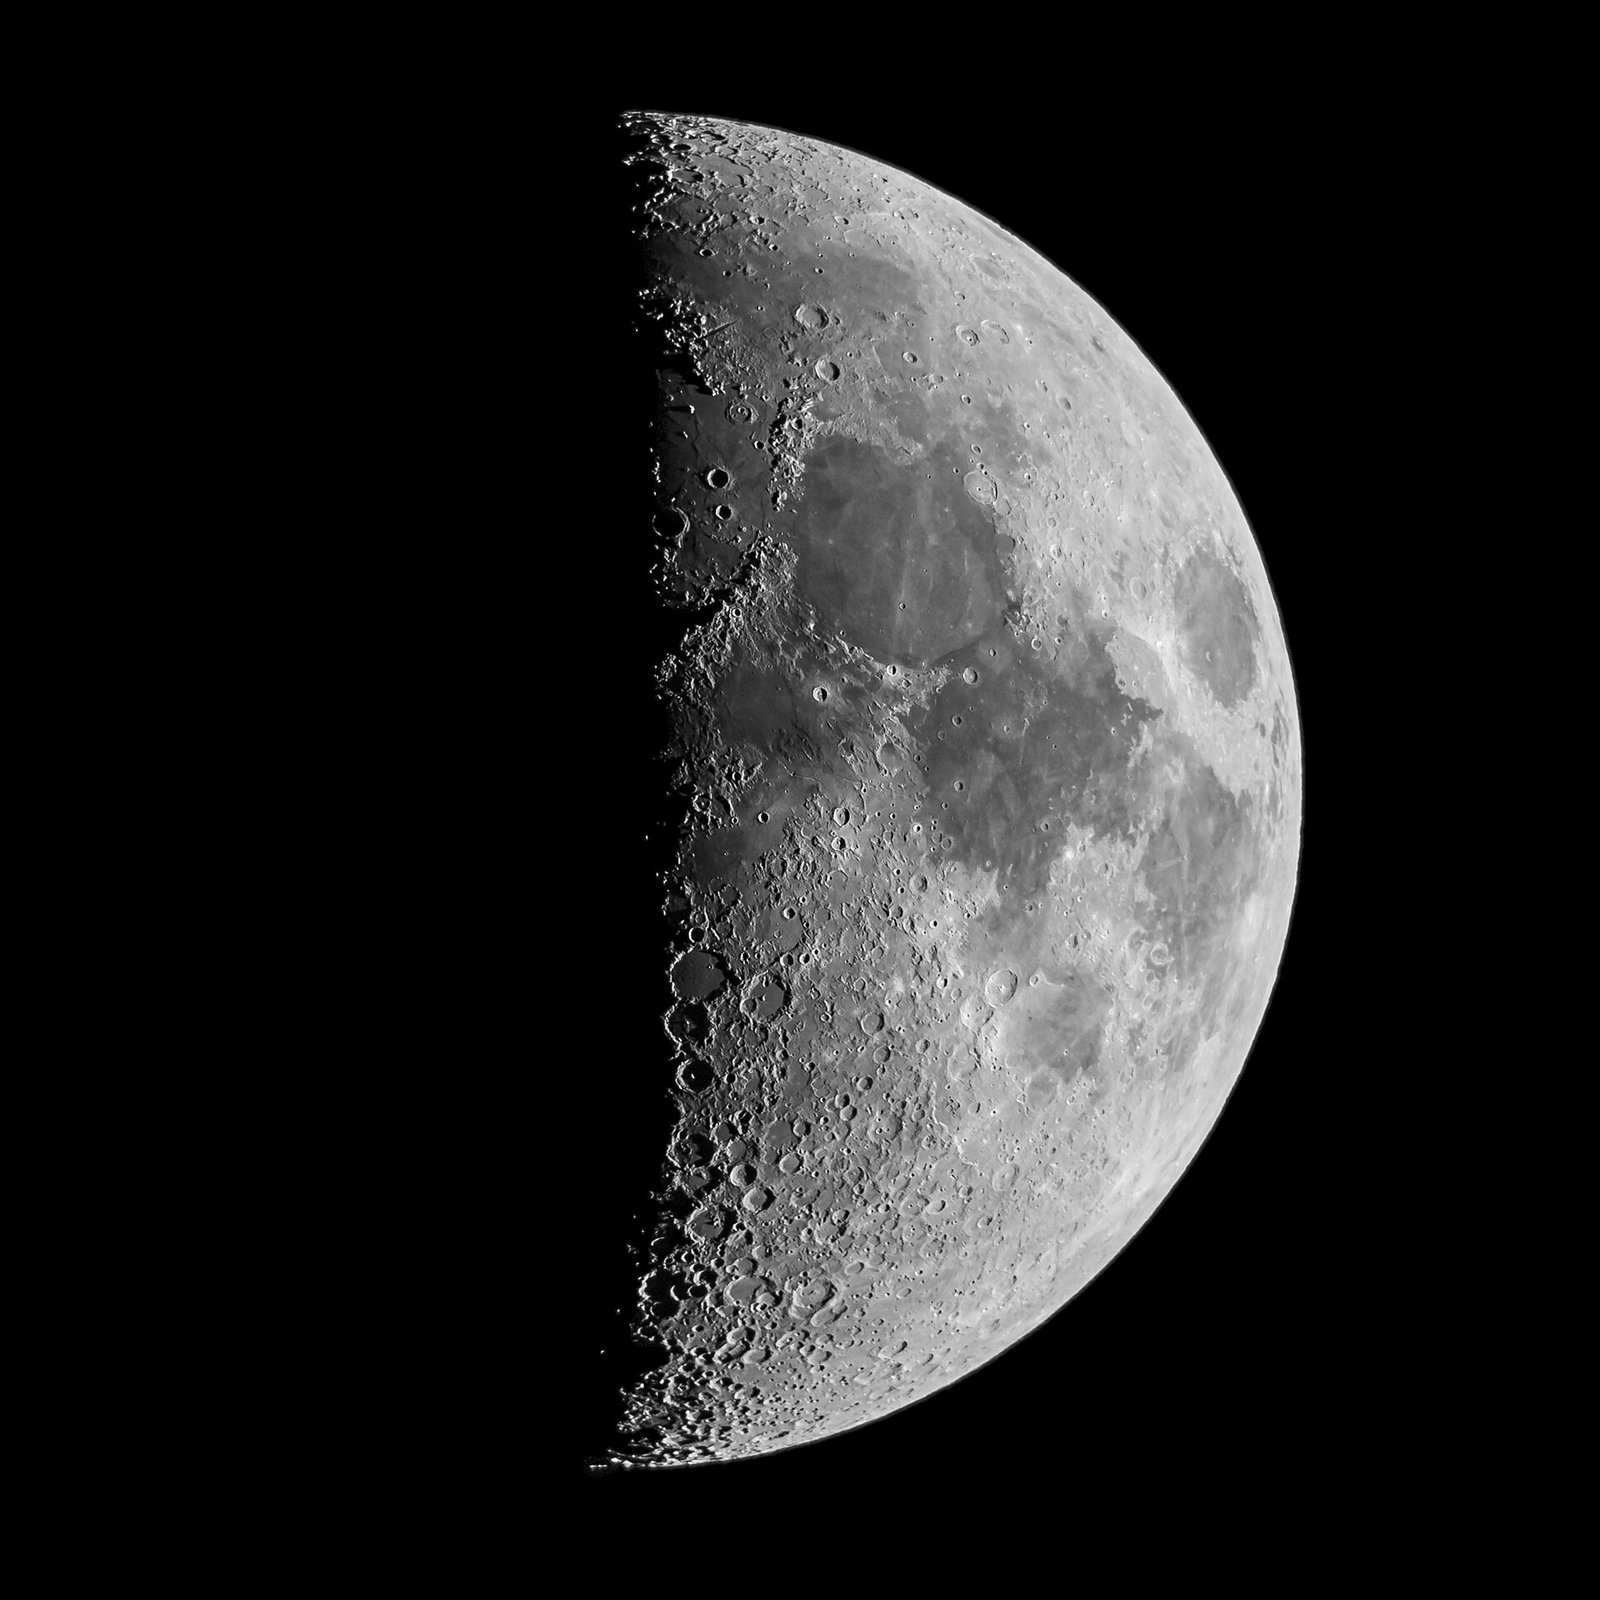
Here’s the project in a nutshell: you’ll create a wall hanging featuring the eight main moon phases, each painted on a wooden disc, strung in a row (or a gentle arc) from a horizontal branch or dowel. The finished piece measures roughly 24 to 36 inches wide, depending on your disc size and spacing — a substantial statement piece for a wall. The main method uses wooden discs, acrylic paint, and cotton cord, but this tutorial also covers clay, embroidery, and paper alternatives. Skill level: confident beginner. You’ll need basic painting ability (the moons are forgiving — craters and texture hide imperfections), simple knotting, and a little patience. Time investment: about 3 to 4 hours of active work plus drying time. Cost: typically under $25 if you shop smart. By the end, you’ll have a finished piece ready to hang — and probably plans to make a second one as a gift.
3. Materials and Tools List
Gather everything before you start — mid-project supply runs kill momentum. For the main method you’ll need: 8 wooden discs (3 to 4 inches in diameter, available at craft stores), acrylic paint in black or deep navy plus white and metallic gold, paintbrushes (a flat brush for base coats, a small round brush for details), a natural branch or wooden dowel (24 to 36 inches), cotton cord or jute twine, scissors, sandpaper (fine grit), a drill with a small bit (or a leather punch for holes), and a sawtooth hanger or extra cord for hanging. Optional upgrades: gold leaf sheets and adhesive for gilded moons, wood stain for the branch, and clear sealant for protection. For the alternative methods, see their sections for specific supplies. Buy a few extra discs — they’re cheap, and having spares removes the fear of mistakes.
4. Choosing Your Moon Phase Style
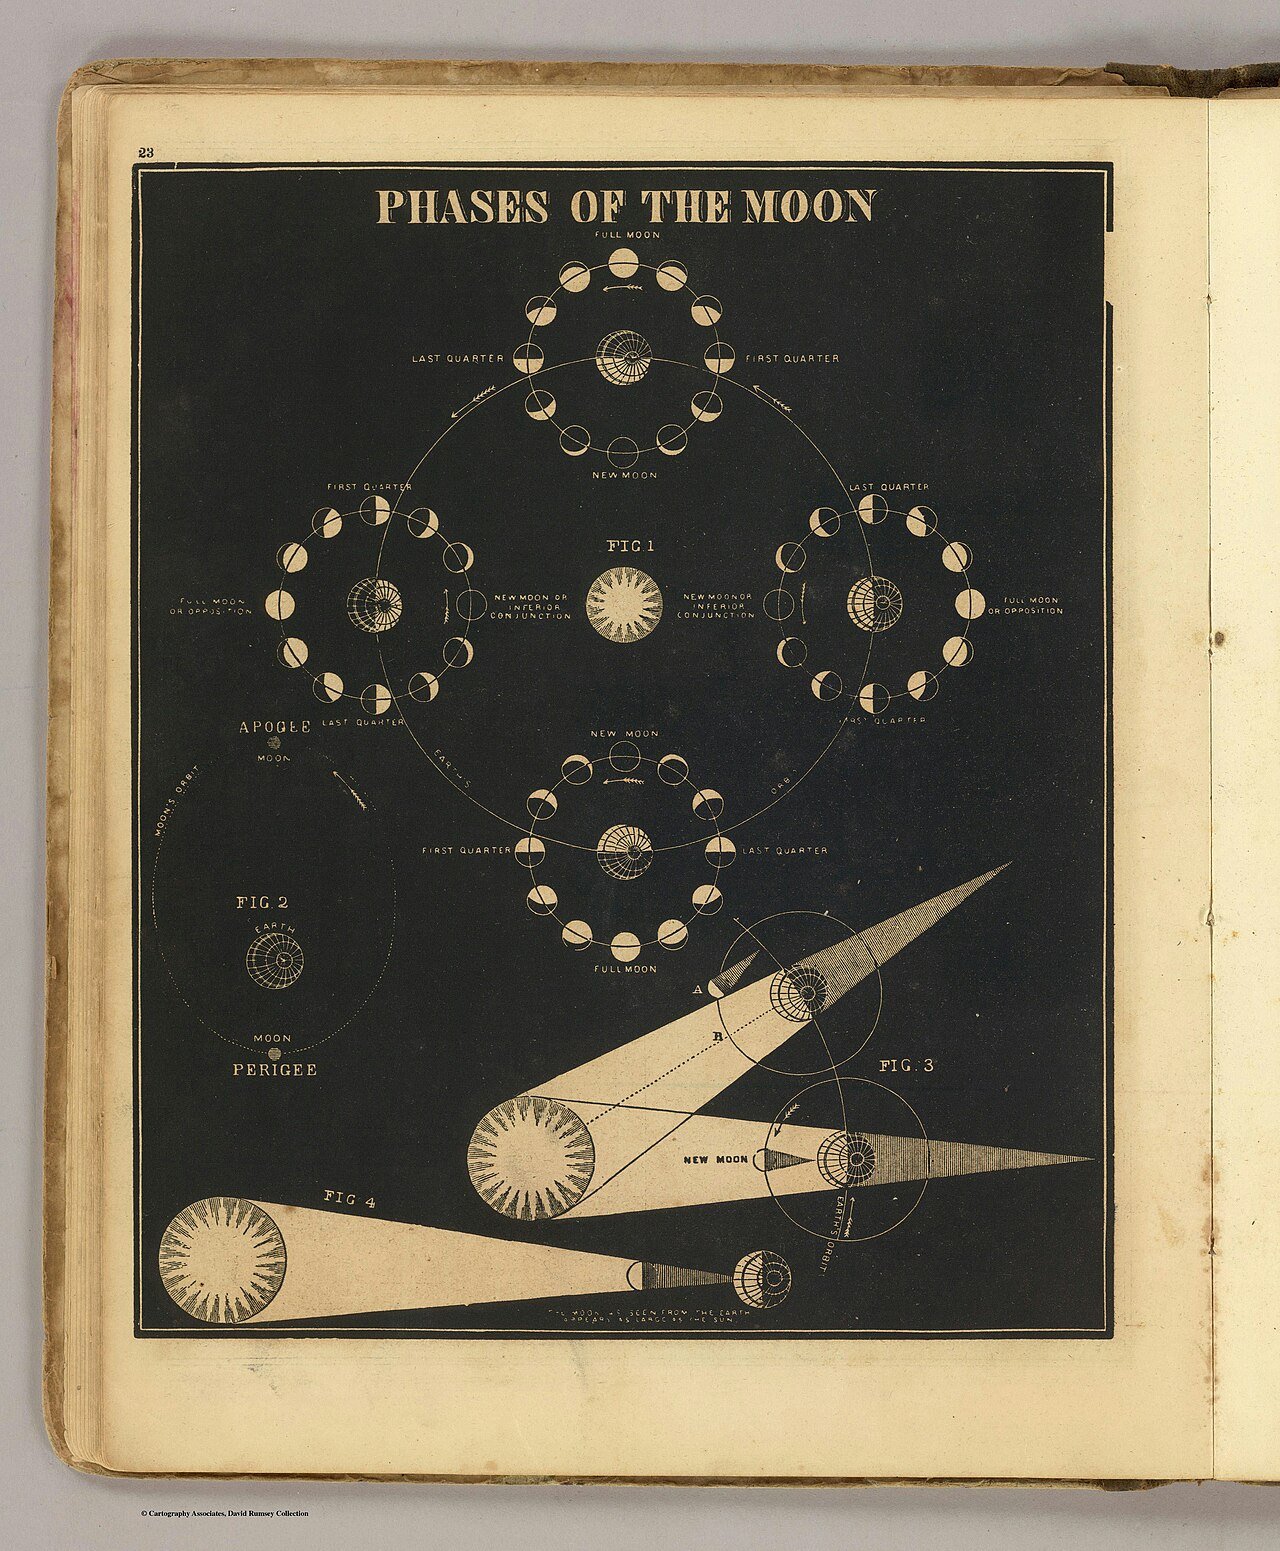
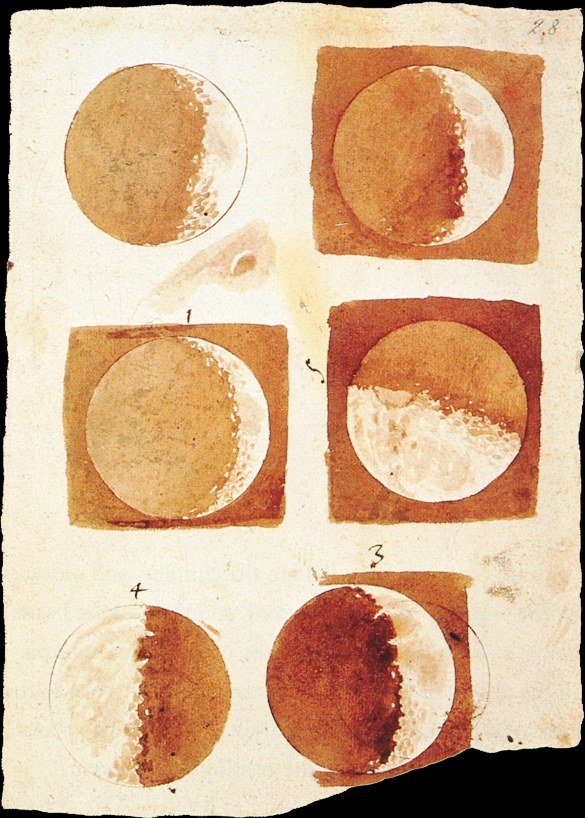
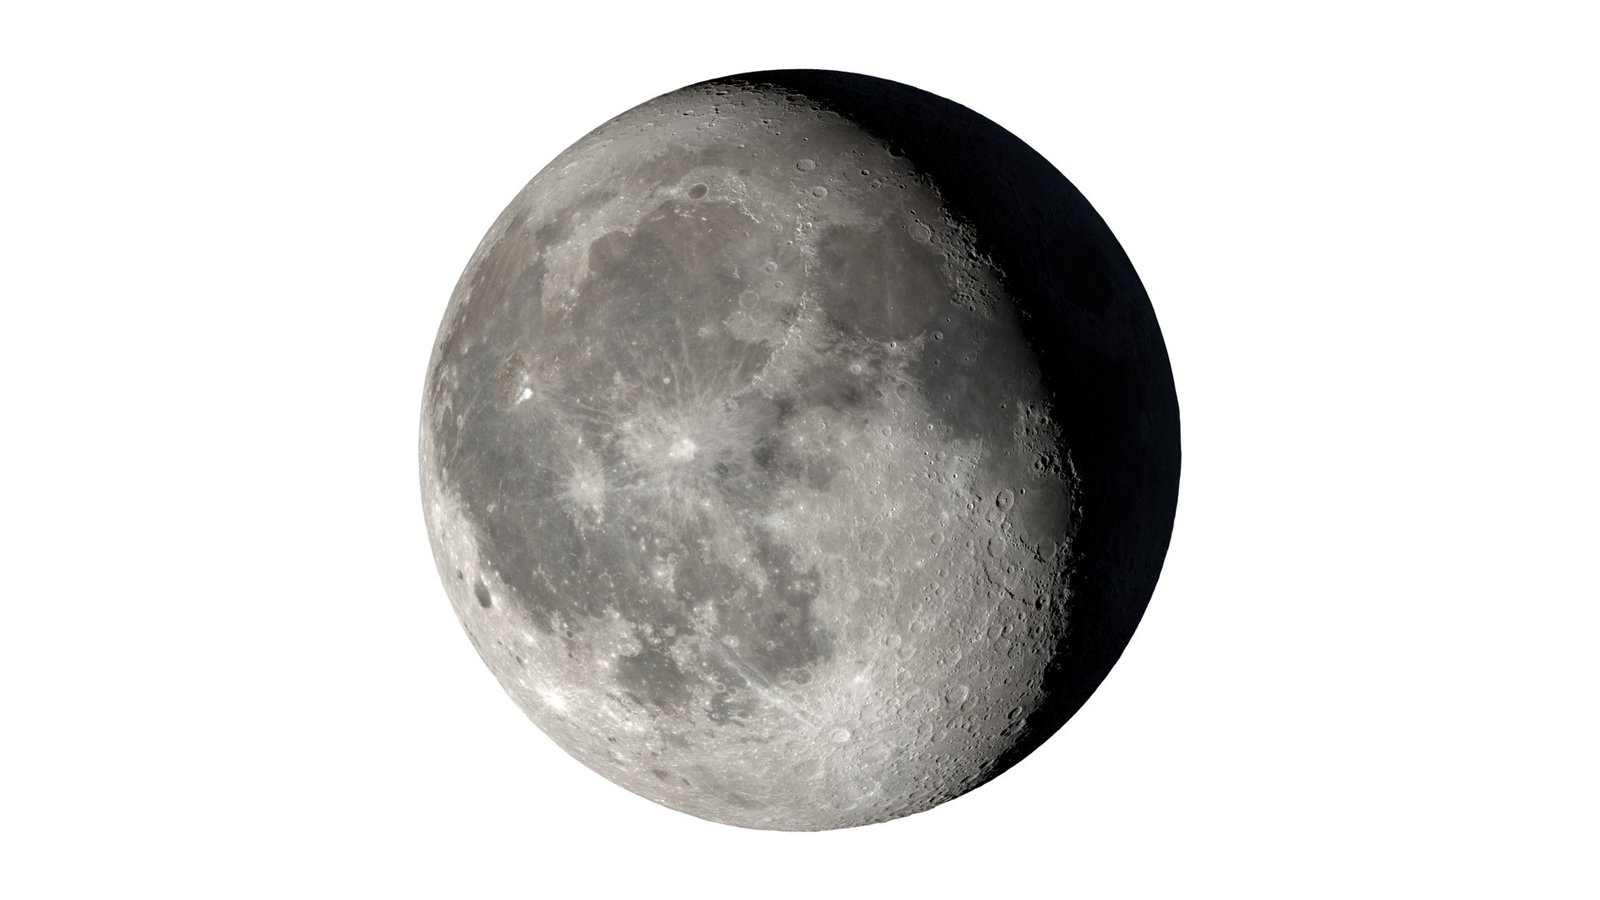
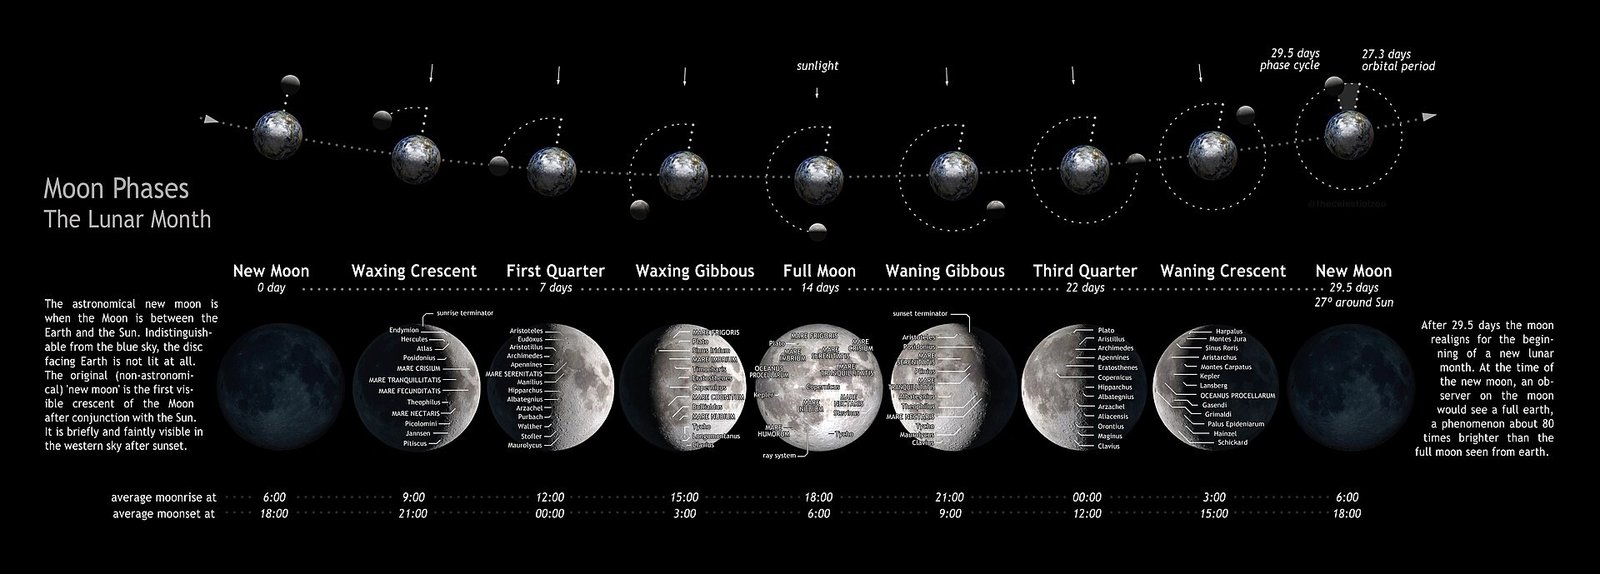
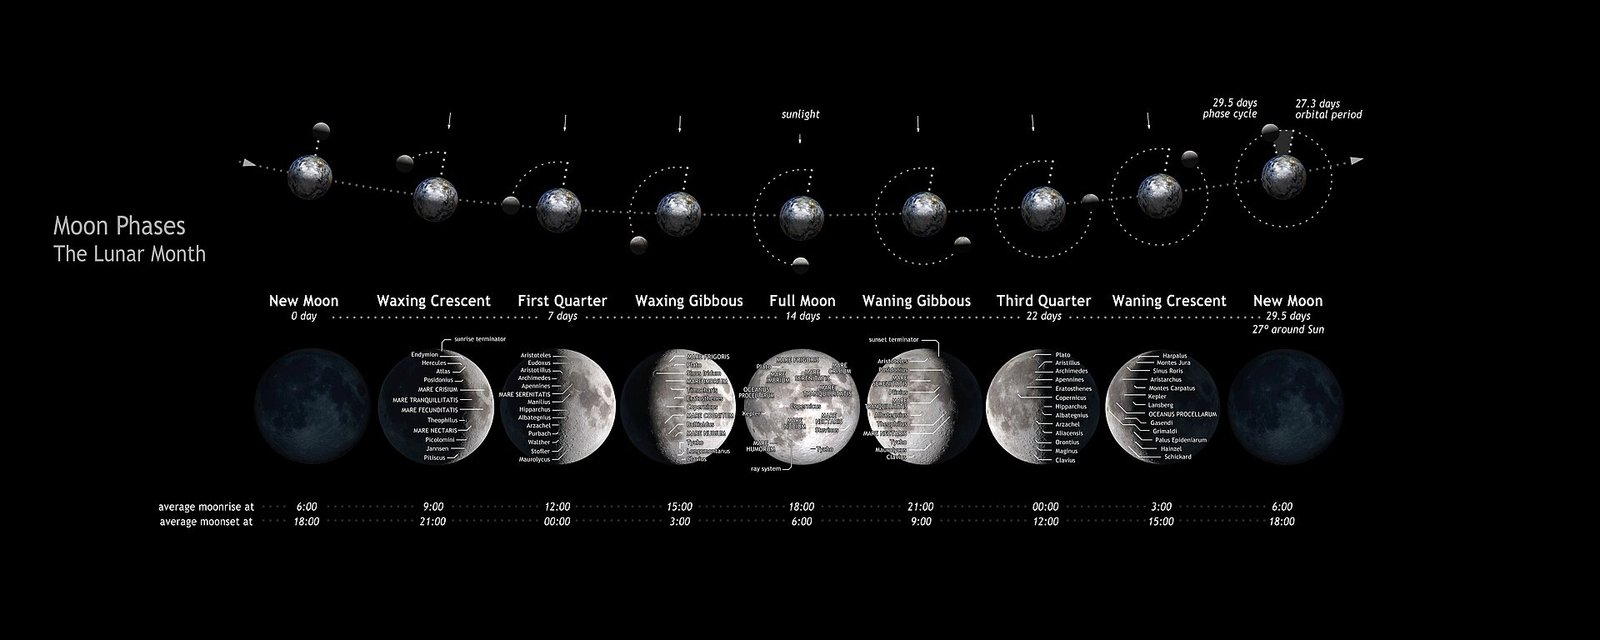
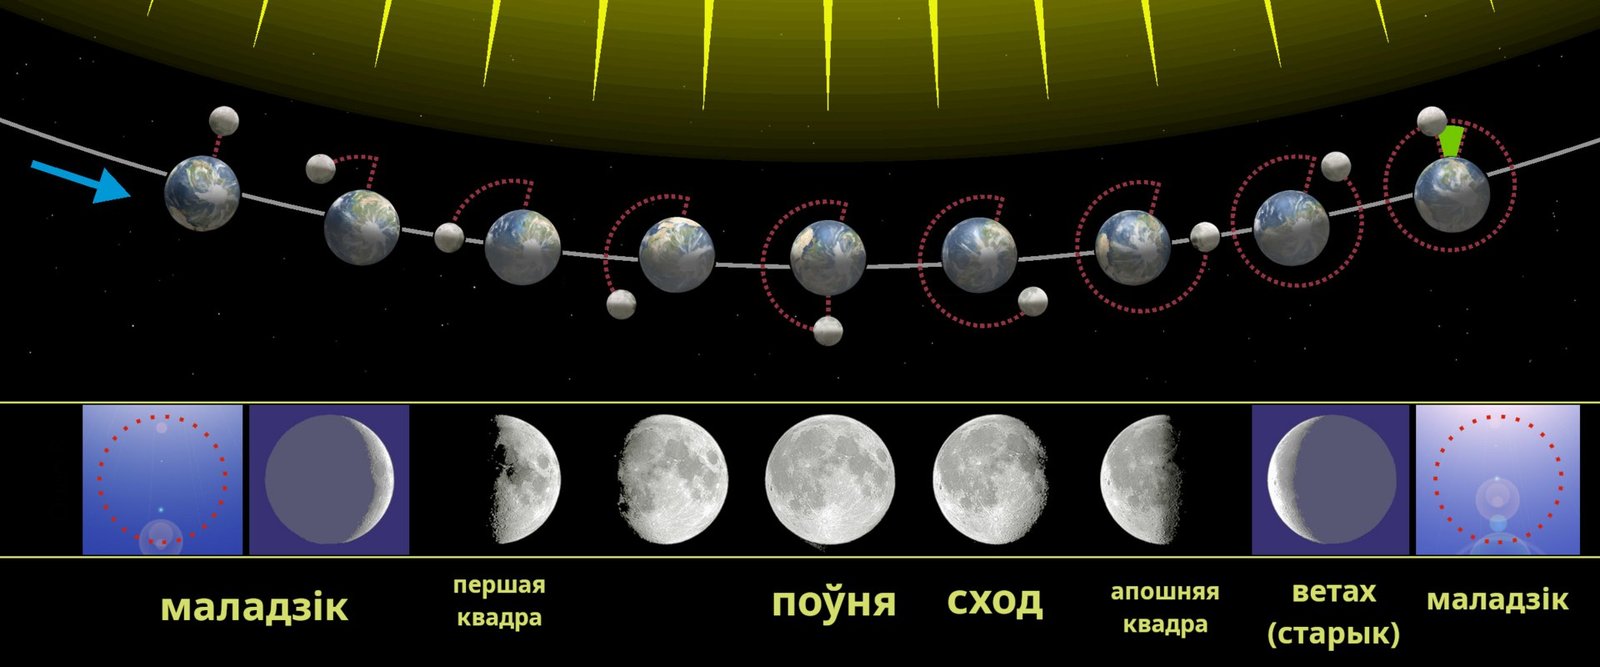
Before you paint, decide on your aesthetic — it guides every choice that follows. The classic look: deep navy or black discs with white or cream moons, elegant and high-contrast. The celestial gold look: black discs with gold-painted moons and gold-leaf accents, luxurious and dramatic. The natural look: wood-stained discs with whitewashed moons, warm and boho. The minimalist look: natural wood discs with simple black phase silhouettes, Scandinavian-clean. Consider where the hanging will live: a dark piece pops on a light wall and vice versa. Also decide on your phase sequence — the full eight-phase cycle (new, waxing crescent, first quarter, waxing gibbous, full, waning gibbous, last quarter, waning crescent) is traditional, but some designs use five or thirteen moons. Sketch your layout on paper first; it’s much easier to rearrange a drawing than repainted discs.

5. Preparing Your Wooden Discs
Good prep is the difference between a craft-project look and a professional finish. Start by sanding each disc with fine-grit sandpaper, going with the grain — you’re just smoothing the surface and knocking down any rough edges, not reshaping the wood. Wipe away dust with a slightly damp cloth and let dry. If you’re staining the discs or the branch, do it now and let it cure fully. Drill a small hole near the top edge of each disc for the hanging cord — center it carefully, and drill from the front to avoid splintering the visible face (place scrap wood behind as backing). If you don’t have a drill, a hammer and small nail can punch a starter hole, or you can glue the cord to the back — though drilling gives the cleanest result. Label the back of each disc with its phase name in pencil; you’ll thank yourself during painting.
6. Painting the Moon Phases: Step by Step
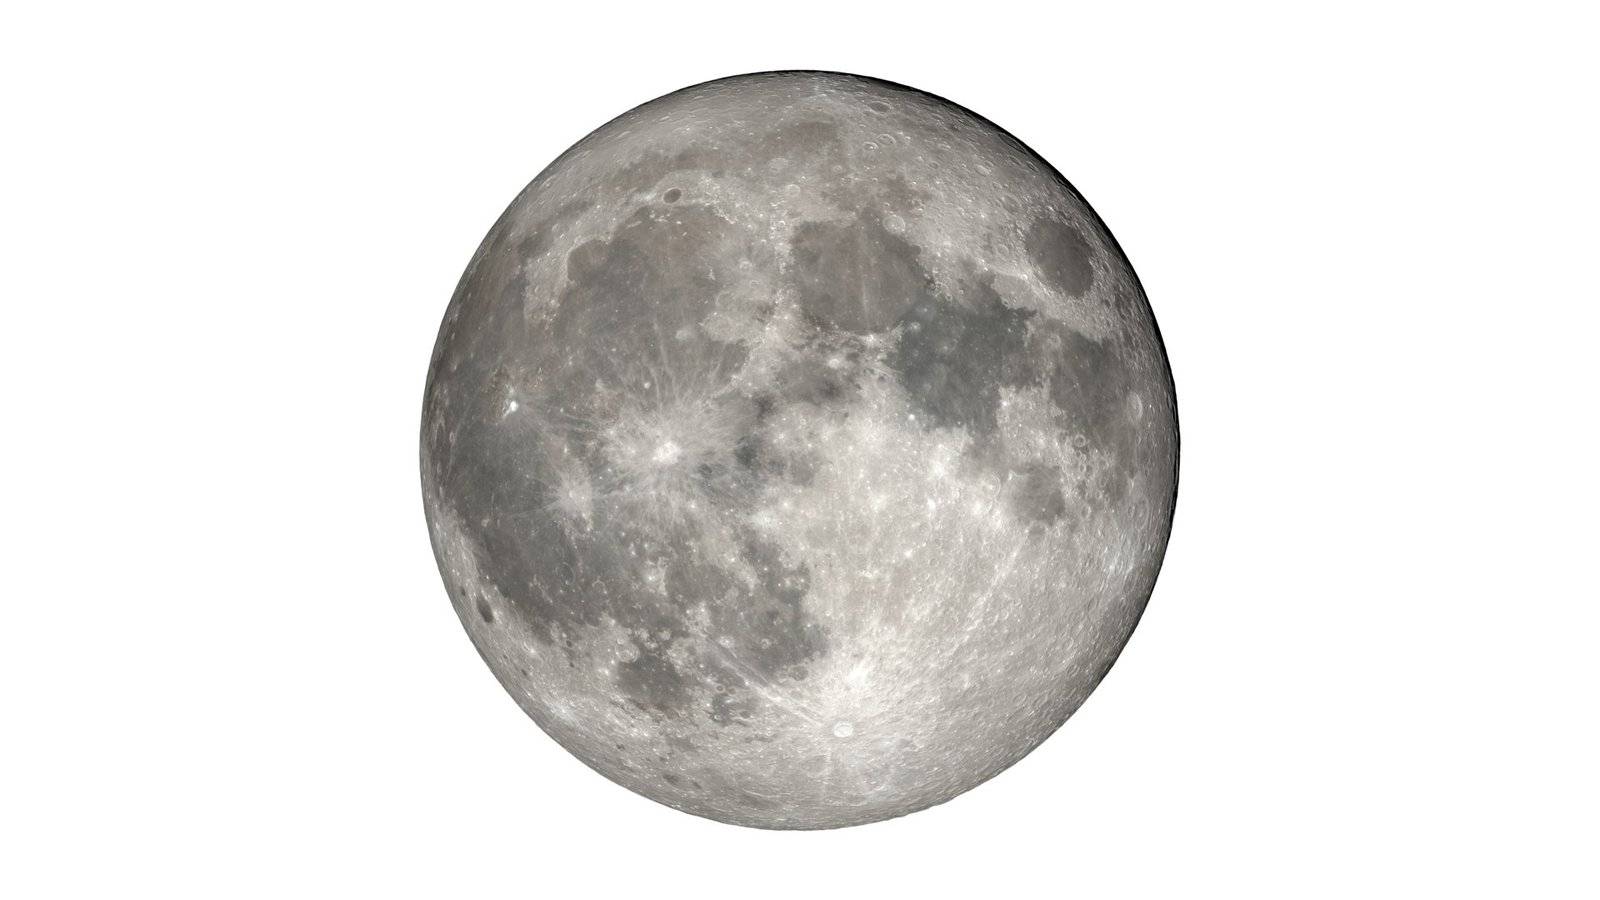
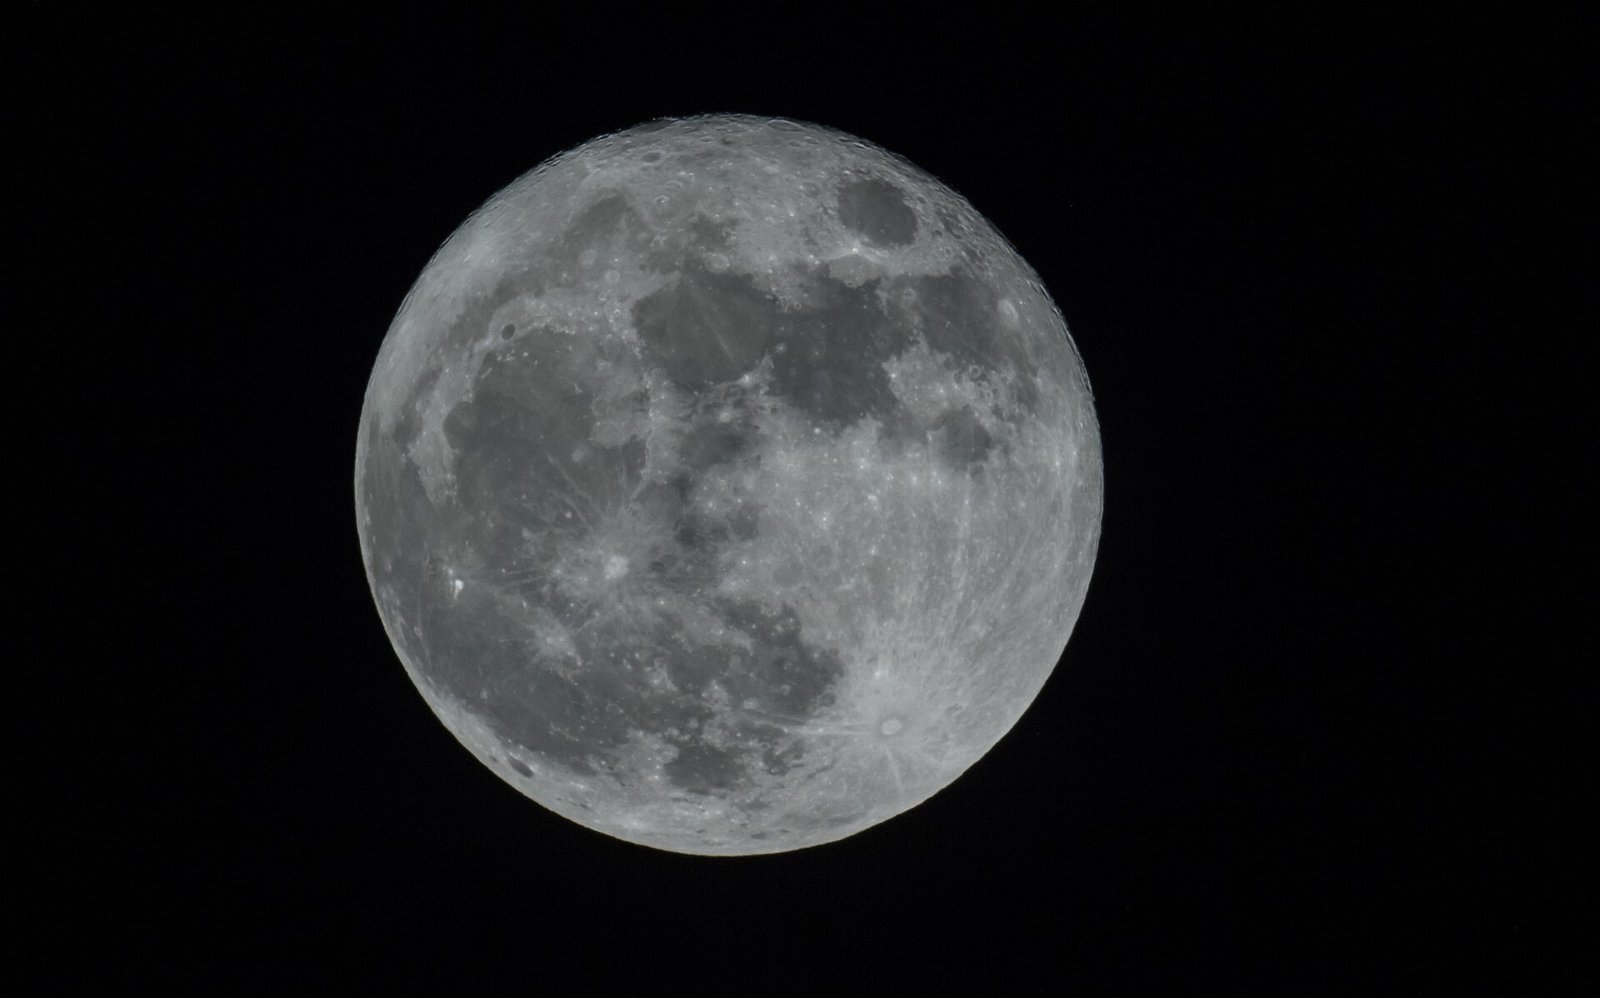
Now for the satisfying part. Start by painting each disc with your background color — deep navy, black, or your chosen base — using the flat brush. Apply two thin coats rather than one thick one, letting each dry completely; thin coats prevent brush marks and drips. Once the backgrounds are dry, paint the moons: for the full moon, fill the entire disc with your moon color; for crescents and gibbous phases, paint the visible portion, using the disc’s edge as your guide. A helpful trick: lightly sketch the phase shape in pencil first. For crisp edges, use the small round brush and steady, confident strokes — hesitant dabbing creates wobbly lines. Add subtle crater texture by dry-brushing a slightly darker shade over the moon with an almost-dry brush. Let everything dry thoroughly before handling; acrylic on wood is durable once cured but smudges easily when tacky.
7. Adding Gold Leaf or Metallic Accents
Gold accents elevate a moon phase hanging from pretty to breathtaking. Gold leaf is easier than it looks: brush adhesive size onto the areas you want gilded (a crescent moon, star dots, the disc edges), wait until tacky, then press the gold leaf sheet on and brush away the excess with a soft brush. For a simpler approach, metallic gold acrylic paint gives lovely results — use it for the moons themselves, for tiny painted stars scattered on the dark backgrounds, or for edging each disc. A particularly stunning effect: paint the full moon entirely in gold while the other phases stay white — it becomes the undeniable focal point. Seal gold leaf with a clear topcoat to prevent flaking. Whether you go full gilded or just add gold touches, metallics catch the light and give your hanging a magical, ever-changing quality as the day progresses.

8. The Hanging Bar: Driftwood vs. Dowel
Your hanging bar sets the piece’s personality. A natural branch or piece of driftwood gives an organic, boho feel — look for one that’s relatively straight, 24 to 36 inches long, and sturdy. Clean it with a stiff brush, let it dry completely, and sand any sharp bits; you can leave it natural or apply wood stain for richness. A wooden dowel from the craft store gives a cleaner, more modern look — stain it, paint it, or wrap it in twine for texture. A copper pipe is a chic contemporary alternative that pairs beautifully with gold moons. Whichever you choose, ensure it’s strong enough to hold eight discs without bowing. Attach your hanging cord to each end, adjusting so the bar hangs level — a small level tool helps. The bar is visible in the finished piece, so choose something you’d be happy to look at every day.
9. Cutting and Attaching the Strings
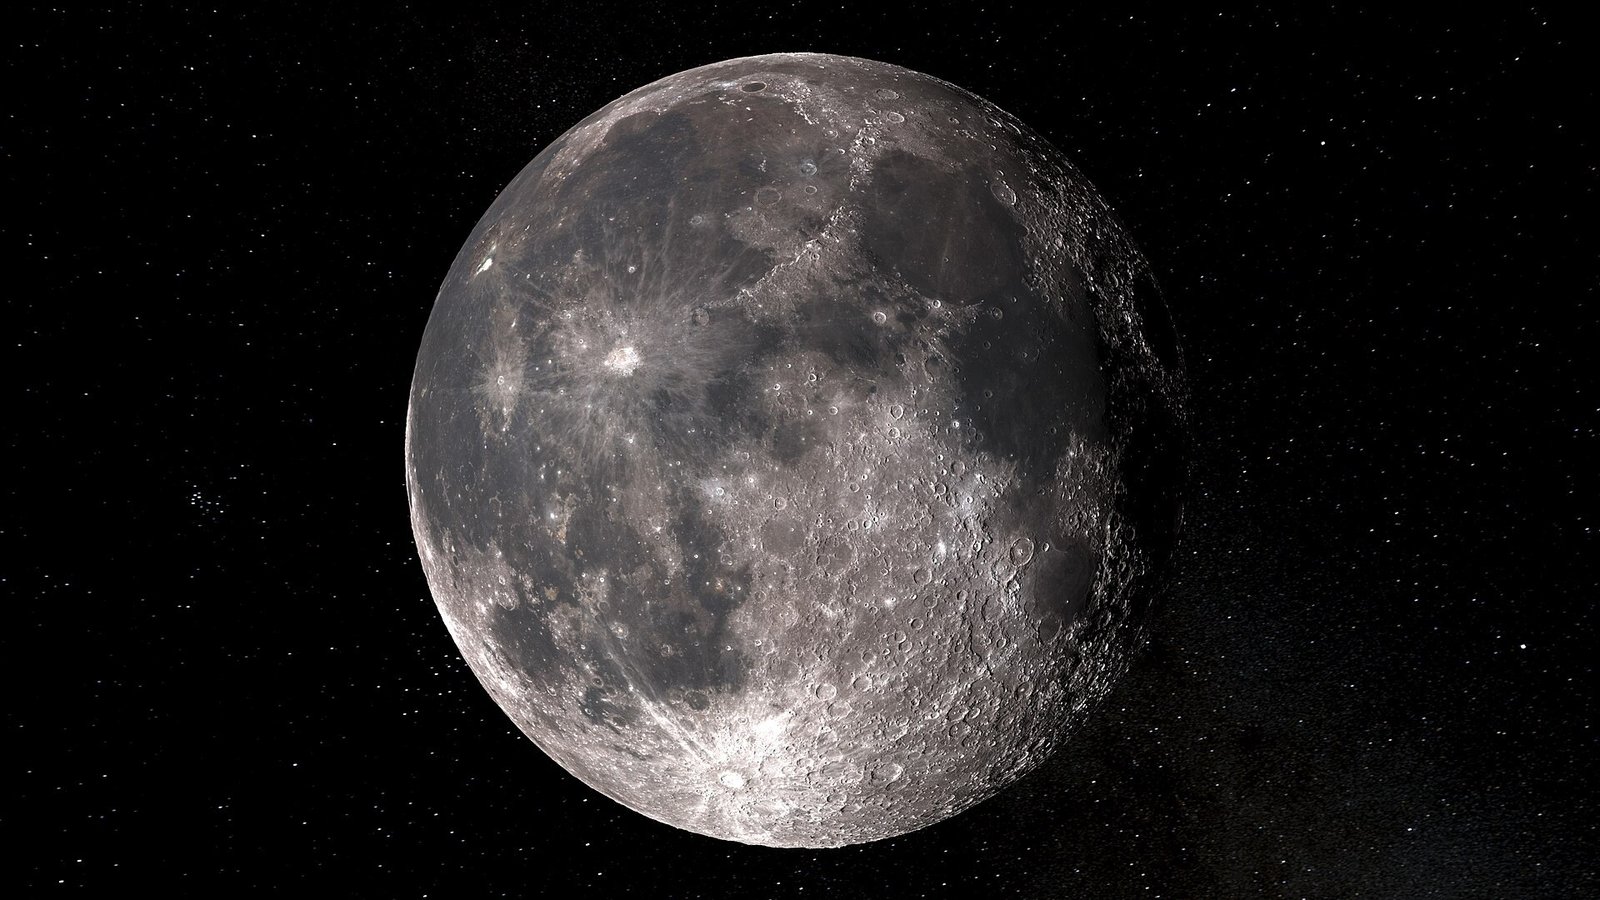
The strings determine whether your moons hang in a neat row or a graceful arc — plan before you cut. For a straight row, cut all strings the same length (12 to 18 inches works well, depending on your desired drop). For an arc with the full moon lowest in the center, graduate the lengths: longest in the middle, shorter toward the ends. Cut cotton cord or jute twine with sharp scissors to avoid fraying; you can dab the ends with clear glue to prevent unraveling. Thread each string through its disc’s hole and secure with a knot on the back — a simple overhand knot works, or a lark’s head knot for a decorative touch. Then tie each string to the hanging bar, using slip knots so you can adjust the positioning later. Step back frequently to check the overall line before finalizing.
10. Spacing Your Moons Evenly
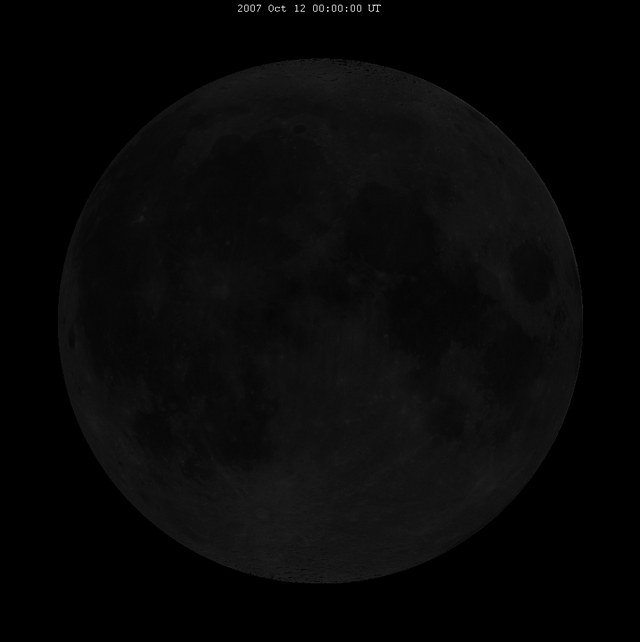
Even spacing is what makes the finished piece look professional rather than homemade. Measure your bar and divide by nine (eight moons plus equal end margins) to find your spacing interval, marking light pencil ticks on the bar. Hang the full moon first at the center, then work outward symmetrically — this keeps the composition balanced. Leave at least 2 to 3 inches between discs so each moon reads as a separate phase; crowding makes the sequence hard to read. Double-check the phase order before finalizing knots: new, waxing crescent, first quarter, waxing gibbous, full, waning gibbous, last quarter, waning crescent. It’s embarrassingly easy to hang one out of order. Once you’re happy with positions, tighten all knots and trim excess cord, leaving a small tail for a finished look. Stand back and admire your lunar sequence.
11. Knotting Techniques That Hold
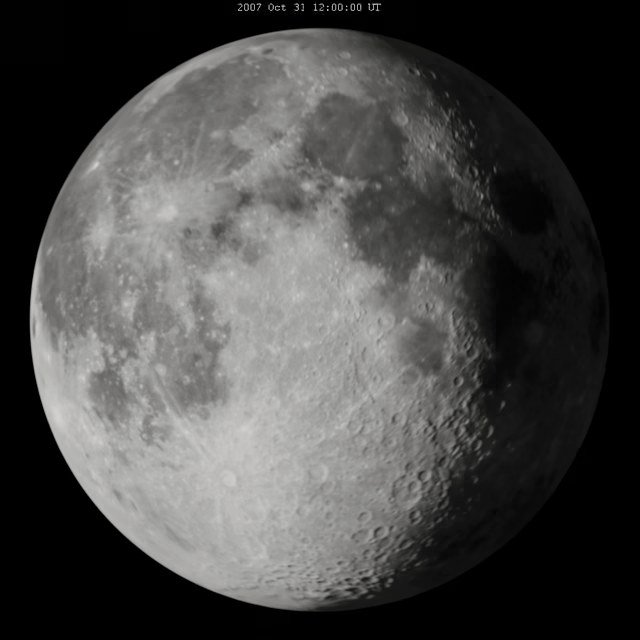
The right knot keeps your moons secure for years. For attaching strings to discs, the lark’s head knot is both decorative and strong: fold the cord, push the loop through the hole, then pull the ends through the loop. For tying strings to the bar, use a clove hitch or a simple overhand knot pulled very tight — then add a drop of clear craft glue on the knot for insurance. If you want adjustability while styling, use slip knots on the bar; once positions are final, convert to fixed knots and glue them. For the hanging cord on the bar ends, a bowline knot creates a secure loop that won’t slip. Whatever knots you use, test each one with a gentle tug before trusting it. Cord stretches slightly over the first few days, so hang the piece and check after a week — retighten any knots that have loosened. A well-knotted hanging lasts for years.

12. Alternative: Clay Moon Phase Garland
Prefer a more sculptural look? Air-dry clay moons are a beautiful alternative. Roll the clay to about 1/4-inch thickness, cut eight circles with a cookie cutter or glass, and poke a hole near the top of each with a straw before drying. Once dry (24 to 48 hours), sand lightly and paint your phases — clay takes acrylic beautifully and its slight texture adds an organic, handmade feel. You can also sculpt subtle crater texture with the end of a paintbrush while the clay is still soft. String the clay moons on cord the same way as wooden discs, spacing them along a garland-style horizontal line or hanging them at varied lengths for a cascading effect. Clay moons are lighter than wood, so they work well for longer garlands or for hanging in a child’s room. Seal with clear varnish for durability.
13. Alternative: Embroidered Moon Phases
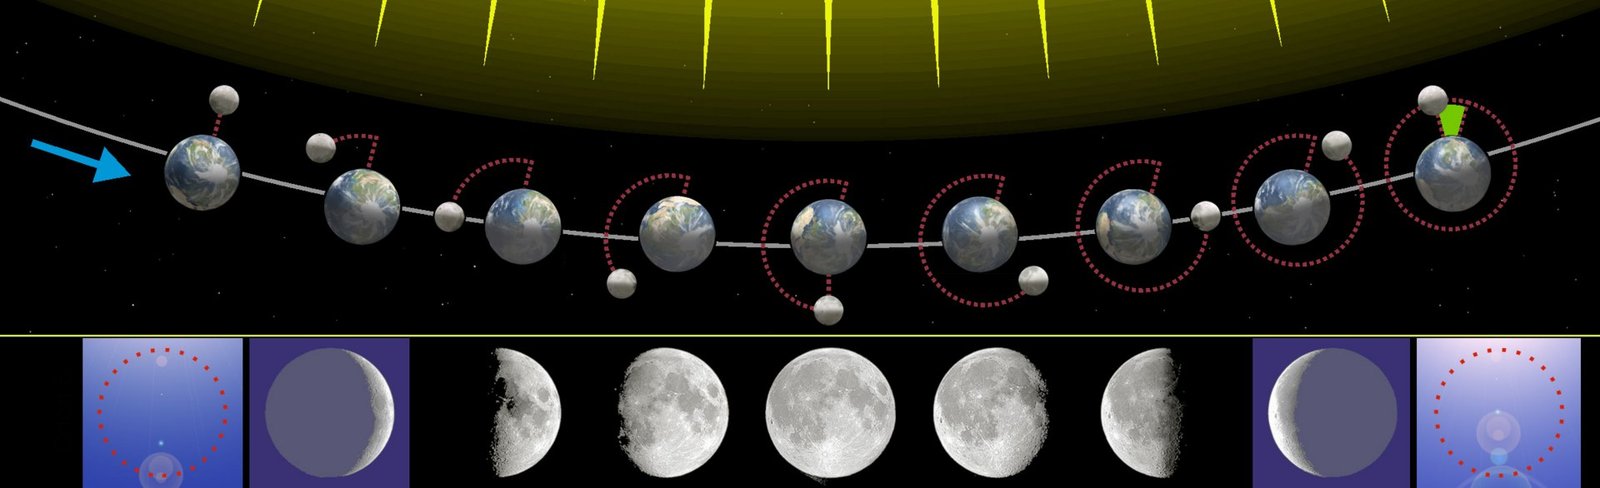
For fiber artists, an embroidered moon phase hanging is a stunning slow-craft project. Stretch dark linen or canvas in an embroidery hoop (or on a frame), then stitch the eight phases in a row using satin stitch filled moons in cream or metallic thread. French knots make perfect tiny stars scattered around the moons. This version is flat rather than dimensional, so frame it or hang it from a dowel with a sleeve. The embroidered version takes longer — expect 6 to 10 hours of stitching — but the result is heirloom-quality textile art. Metallic threads add shimmer but can be tricky to work with; use short lengths and a large-eyed needle. This makes an extraordinary gift precisely because of the time invested. Even simple running-stitch outlines of the phases look elegant on dark fabric — complexity is optional.
14. Alternative: Paper-Cut Moon Banner
Need a moon phase decoration fast? The paper-cut version takes under an hour. Cut moon shapes from black and white or gold cardstock — full circles for the full moon, circles with bite-shaped cutouts for crescents (fold and cut for symmetry). String them on twine with mini clothespins or glue dots for an instant banner. This version is perfect for parties, seasonal decorating, or crafting with kids (it’s the most child-friendly alternative). Use heavyweight cardstock so the moons don’t curl, and consider laminating if you want it to last. While less permanent than wood or clay, a paper moon banner is charming, affordable, and endlessly customizable — make one for every season in different colors. It’s also a great prototype: test your phase sequence and spacing in paper before committing to wood.
15. Hanging and Styling Your Piece
You made it — now hang it like the art it is. Choose a wall with enough empty space for the piece to breathe; moon phase hangings need visual quiet around them to shine. Hang at eye level — the center of the piece around 57 inches from the floor is the gallery standard. Use a proper wall anchor rated for the weight; eight wooden discs plus a branch have real heft. If you’re renting, a sturdy adhesive hook rated for the weight works for smaller versions. Style the surrounding space thoughtfully: the hanging looks beautiful above a bed, a dresser, a reading nook, or a desk. Keep nearby decor minimal — a plant, a candle, a stack of books — so the moons remain the focal point. Step back and check from across the room; the phase sequence should read clearly even at a distance.
16. Where to Hang It: Room Ideas
Moon phase hangings work in almost any room — here’s where they shine brightest. Above the bed: the classic spot, where the lunar theme feels most meaningful and the horizontal format fits perfectly. In a nursery or kid’s room: a gentle, wonder-inducing focal point (use the soft natural-wood style for little ones). Above a desk or in a home office: a calming, inspiring backdrop for work. In a living room gallery wall: let the moon phases anchor a collection of art and prints. In a meditation corner or yoga space: the lunar cycle theme deepens the contemplative mood. For Halloween: hang it in the entryway or above the mantel as seasonal decor that transitions beautifully into everyday display. Wherever you hang it, give it room to breathe — the piece needs visual space around it to make its full impact.
17. Caring for Your Wall Hanging
Your handmade piece deserves a little maintenance to stay beautiful. Dust the discs and cords regularly with a soft, dry cloth or a feather duster — dust dulls paint over time. Keep the hanging out of direct sunlight, which fades acrylic paint and can dry out natural cord; if your ideal spot is sunny, consider a UV-protective clear coat. In humid environments, ensure good air circulation around the piece to prevent the cord from absorbing moisture. Check knots annually and retighten as needed — cord relaxes over time. If a disc gets scuffed, touch up with matching paint (keep your paint colors labeled for this purpose). For the branch or dowel, a yearly wipe with wood conditioner keeps it from drying out. With minimal care, your moon phase hanging will look beautiful for many years — handmade pieces age gracefully when treated well.
18. Gifting Your Moon Phase Art
A handmade moon phase hanging is a gift people treasure — it’s personal, beautiful, and clearly made with love. Customize it for the recipient: their favorite colors, a phase sequence marking a meaningful date (a wedding night’s moon, a baby’s birth moon — you can look up historical moon phases online), or their initial wood-burned into the branch. Wrap it carefully for giving: tissue paper between discs, the whole piece in a large flat box or wrapped in a soft blanket. Include a handwritten card explaining the phases or the meaning you chose. This gift suits housewarmings, birthdays, baby showers, and holidays — especially for anyone who loves the night sky, astrology, or handmade things. Fair warning: once people see yours, requests will follow. Price your time accordingly if you start making them to sell — handmade deserves fair compensation.
19. Troubleshooting Common Problems
Every craft hits snags — here’s how to fix the common ones. Paint bleeding under tape (if you masked phases): remove tape while paint is slightly tacky and touch up with a fine brush. Wobbly phase edges: steady your hand by resting your wrist on the table, and remember that slight imperfection reads as handmade charm. Discs hanging crooked: the hole isn’t centered — re-drill or adjust the knot position to compensate. Uneven spacing: remeasure from the center outward rather than from one end. Cord twisting: natural fiber cord twists; let it hang for a day and it usually settles, or switch to braided cord. Paint chipping on edges: sand edges smooth before painting and apply a clear topcoat after. Colors looking different dry than wet: acrylics dry darker — test on scrap wood first. Every problem is fixable; that’s the beauty of handmade.

20. Your Next Lunar Craft Project
Finished your hanging and caught the lunar crafting bug? The moon offers endless inspiration. Try a moon phase garland for your Christmas tree or party decor. Paint moon phases on a set of coasters or a serving tray. Create moon phase embroidery on a denim jacket. Make a lunar wall calendar with painted phases for each month. Craft a moon phase mobile for a baby’s nursery. Try resin moon phase coasters with real dried flowers. The skills you built — painting clean shapes, working with cord and knots, planning a sequence — transfer directly to dozens of projects. Share your finished hanging online to inspire others, and consider teaching a friend — crafting is better together. The moon will keep cycling overhead, offering the same inspiration it gave you. Sweet dreams, and happy crafting under every phase.

I am Talha Sikandar, a professional writer with a passion for general blogging. With years of experience in content writing and research, I founded Meaniingly.com to deliver well-researched, informative, and user-friendly articles on diverse topics.