
Dusty rose blush makeup tutorial
Dusty rose blush is the makeup equivalent of a perfect vintage find: muted, romantic, and flattering on practically everyone. Sitting between pink and mauve with a soft grey-beige undertone, dusty rose gives cheeks a natural, “just came in from the cold” flush without ever looking garish or overdone. It is the blush shade makeup artists reach for when they want color that behaves like a neutral. This tutorial covers everything from choosing between powder, cream, and liquid formulas to step-by-step application, placement for your face shape, layering techniques for all-day wear, and shade adjustments for every skin tone.
Whether you are new to blush or refining your technique, these 20 sections will take you from shade selection to a flawless, long-wearing dusty rose finish.
What Is Dusty Rose Blush? The Shade Explained
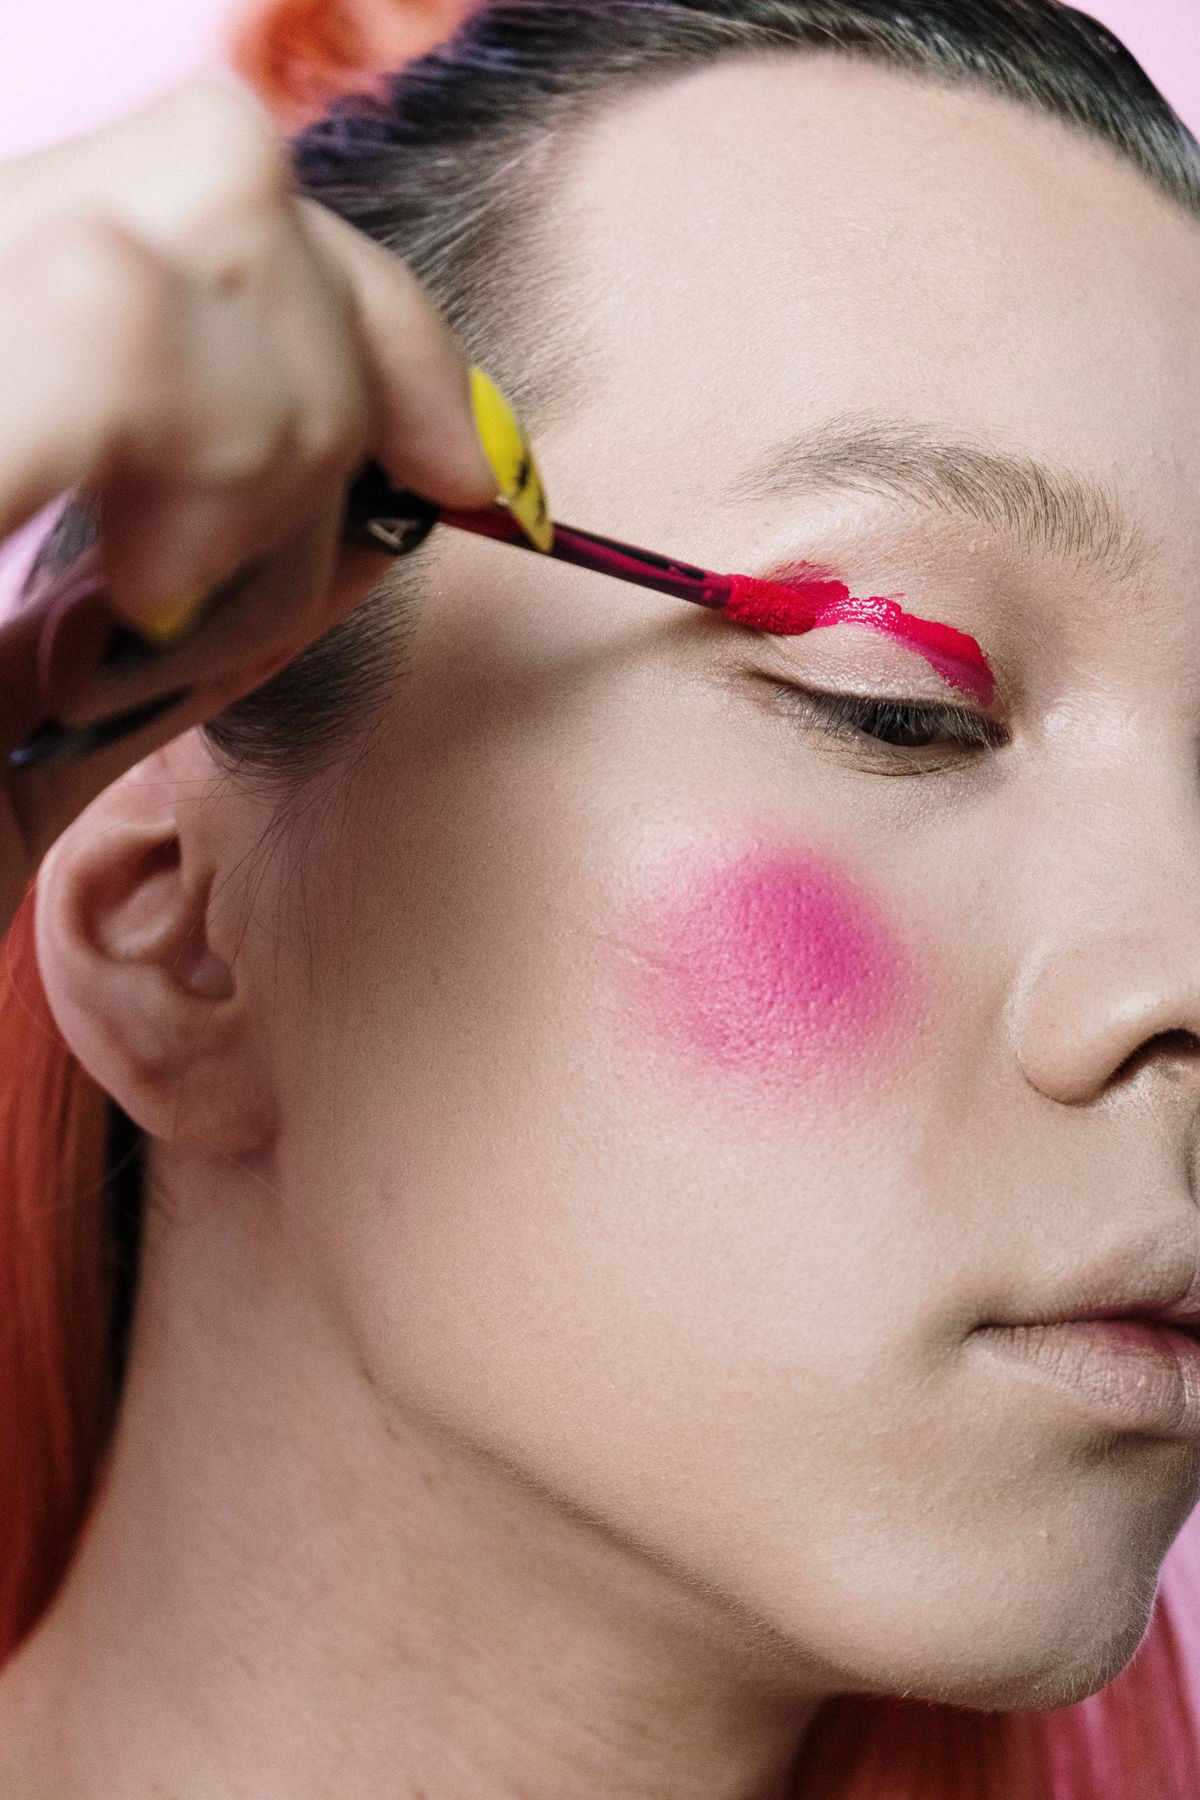
Dusty rose is a muted pink with mauve and taupe undertones, like a rose petal that has dried and softened. Unlike bright pinks that sit on top of the skin, dusty rose melts in, mimicking the natural flush of blood beneath the skin’s surface. The “dusty” quality comes from a touch of grey-beige that mutes the brightness, making it behave almost like a neutral while still adding life to the complexion. In the pan it can look unremarkable, even dull, but on skin it transforms into the most believable flush. The shade works in every formula, powder, cream, liquid, and gel, and it pairs with every lip color from nude to berry. If you can only own one blush, makeup artists consistently name dusty rose as the one.
Why Dusty Rose Flatters Every Skin Tone
The universality of dusty rose comes down to color theory. On fair skin, it provides visible but believable color without overwhelming. On medium and olive skin, the mauve undertone harmonizes with natural warmth while the pink adds freshness. On deep skin, dusty rose reads as a soft, elegant flush rather than ashy, especially in richer, more pigmented formulas. The muted quality is key: bright blushes can clash with undertones, but dusty rose’s grey-beige base acts as a buffer, allowing it to sit harmoniously on cool, warm, and neutral undertones alike. The adjustment is in intensity, not shade: fair skin needs a light hand and sheer formulas, while deeper skin can handle bold, buildable pigment. One shade family, infinite adaptability.
Powder vs. Cream vs. Liquid: Choosing Your Formula
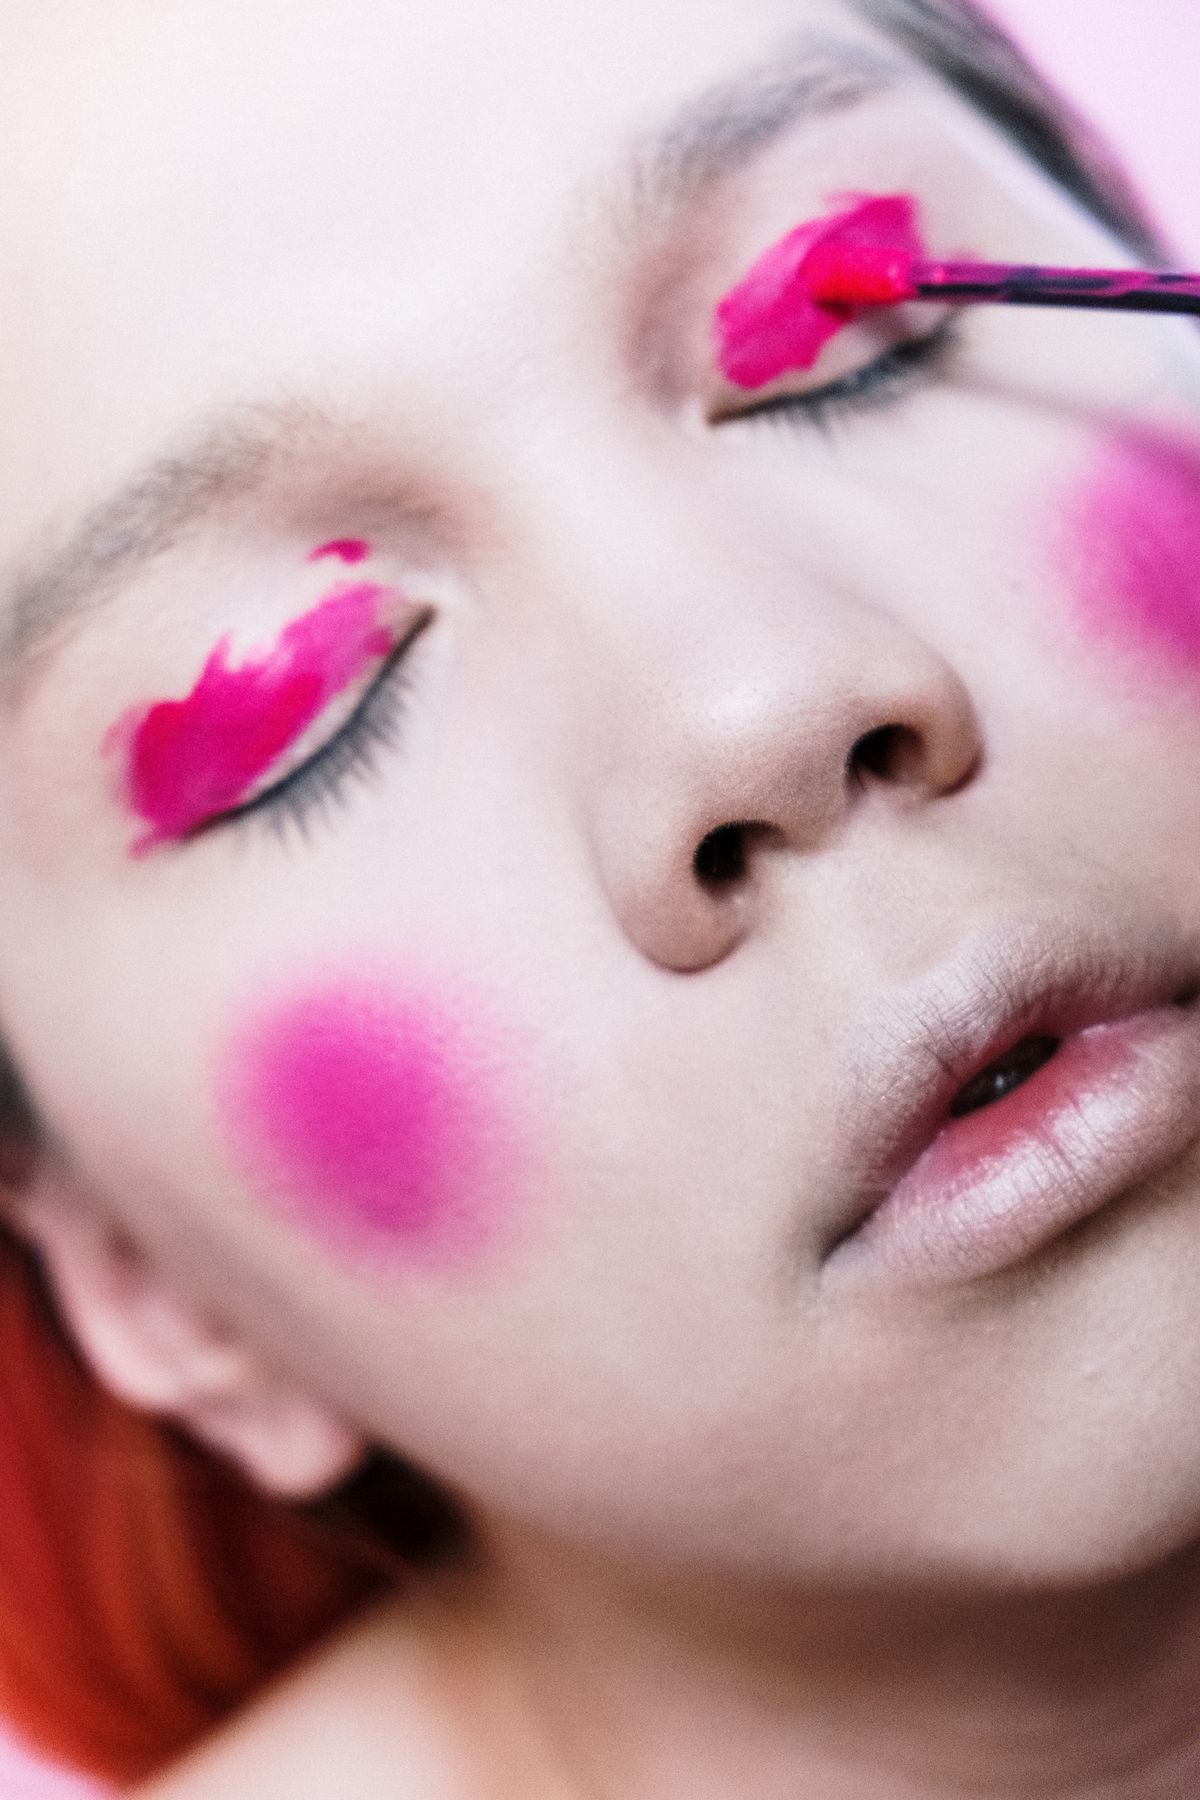
Each blush formula gives a different finish and suits different skin types. Powder blush is the most forgiving for beginners: it blends easily, layers well, and suits oily to normal skin. Apply with a fluffy brush in light layers. Cream blush melts into skin for the most natural, skin-like finish and flatters dry and mature skin beautifully; apply with fingers, a sponge, or a dense brush, pressing rather than sweeping. Liquid blush offers the most pigment and longevity, a single dot often covers both cheeks, but it sets quickly and demands fast blending, making it better for experienced users. For the ultimate dusty rose look, many artists layer: cream first for the skin-like glow, then a whisper of powder in the same shade to set it. Choose based on your skin type and comfort level, not trends.
The Tools You Need: Brushes and Application Essentials
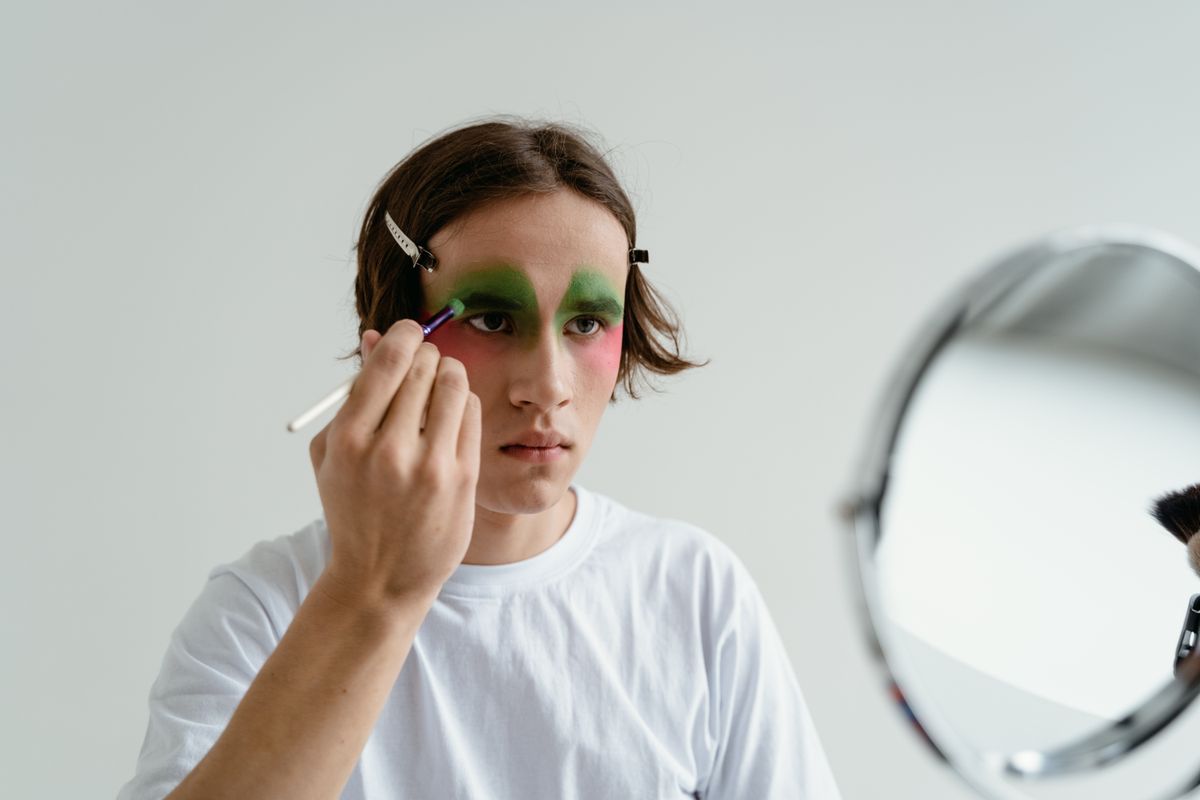
Good tools make blush nearly foolproof. For powder, a medium fluffy blush brush with loosely packed bristles diffuses color softly; a smaller, more tapered brush offers precision for sculpting. For cream and liquid, a dense stippling brush or a damp makeup sponge presses product into skin without streaking; fingers work beautifully too, as warmth helps creams melt. Keep a clean fluffy brush on hand for blending away excess, it is your eraser. Brush hygiene matters: wash blush brushes weekly with gentle soap, since product buildup causes patchy application and can harbor bacteria. One often-overlooked essential is good lighting; apply blush in natural daylight or a daylight-mimicking mirror, since warm bathroom lighting makes everything look softer than it really is, leading to over-application.
Skin Prep: The Base That Makes Blush Last
Blush longevity starts before the blush. On clean, moisturized skin, apply primer suited to your skin type: mattifying for oily skin, hydrating for dry skin. Foundation or tinted moisturizer evens the canvas; blush applied over bare, uneven skin can look patchy as it clings to dry spots. If using powder blush, set the cheeks lightly with translucent powder first; powder grips powder far better than it grips dewy foundation. If using cream blush, apply it before setting powder, directly over foundation, so it melts into the base. For dry skin, a hydrating mist before blush prevents the powder from looking cakey. This prep takes two extra minutes and is the difference between blush that fades by lunch and blush that lasts until evening.
Step-by-Step: Classic Dusty Rose Blush Application
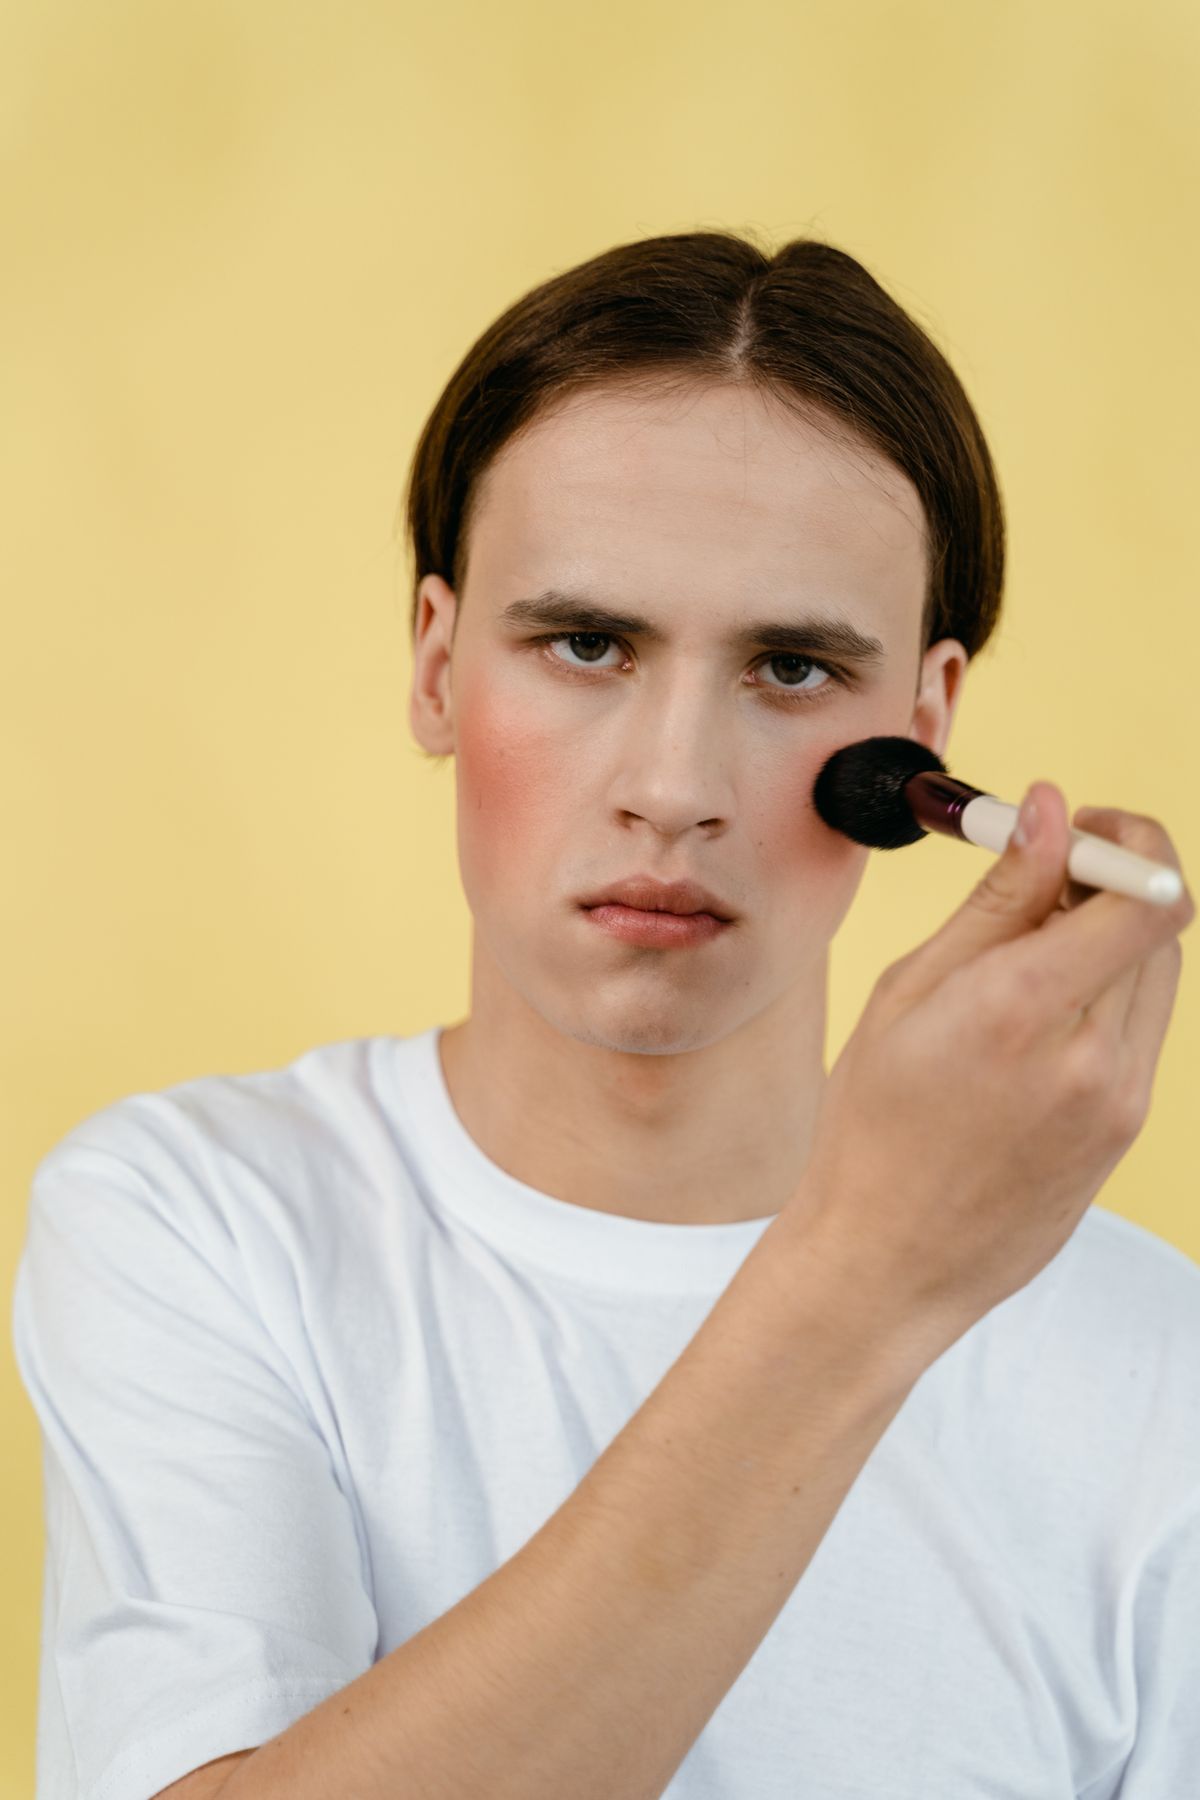
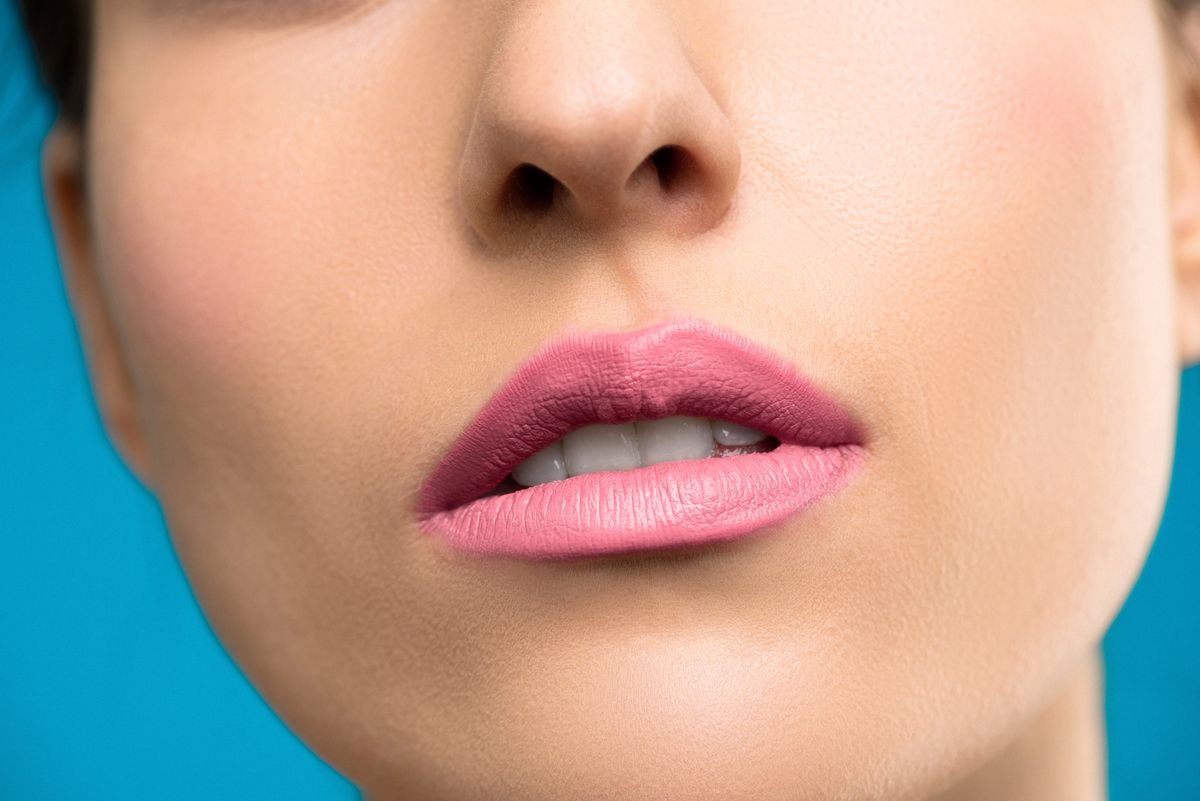
Here is the foolproof method. Step 1: smile lightly to find the apples of your cheeks, the rounded part that pops up. Step 2: pick up a small amount of product; tap off excess from powder, or dot a pea-sized amount of cream. Step 3: place the color on the apple, then blend upward and outward toward the temple in soft strokes; the color should be most intense on the apple and fade as it moves. Step 4: blend the edges with a clean brush until there is no visible line where blush stops and skin begins. Step 5: check both cheeks in natural light and balance them. The classic mistake is placing blush too low, which drags the face down; keep the color on the upper two-thirds of the cheek. Start sheer; you can always add more, but removing excess disturbs your base.
Blush Placement for Your Face Shape
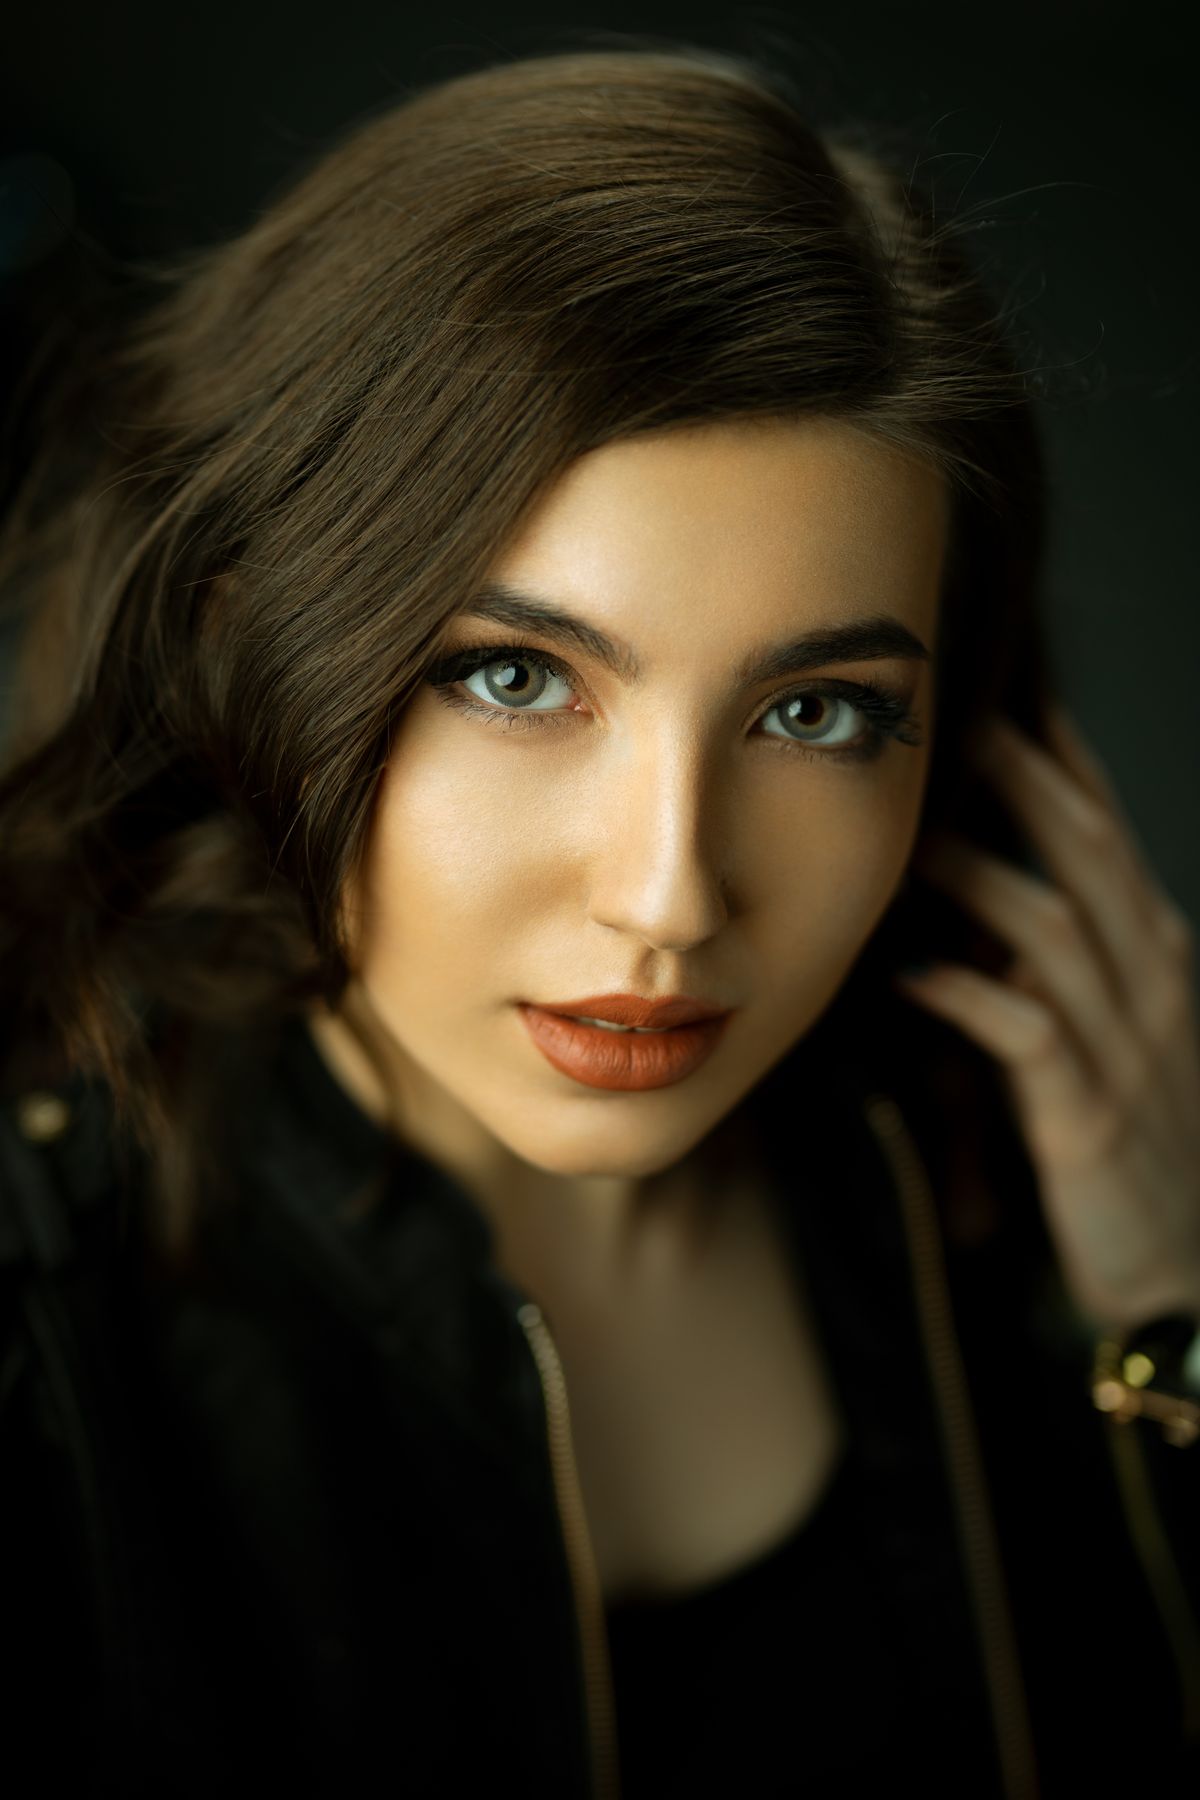
Placement transforms the same shade into different effects. Round faces: apply blush slightly higher and more toward the temples, avoiding the apples’ center, to create lift and definition. Oval faces: the classic apple placement works perfectly. Square faces: concentrate color on the apples and blend in soft circles to soften angles; avoid dragging toward the ears, which emphasizes width. Heart-shaped faces: apply to the apples and blend outward, keeping color below the cheekbones’ highest point to balance a wider forehead. Long faces: apply blush horizontally across the apples toward the ears, which visually shortens the face; avoid vertical blending. These are guidelines, not rules; the best placement is the one that makes you feel balanced when you look in the mirror.
The Draping Technique with Dusty Rose Blush
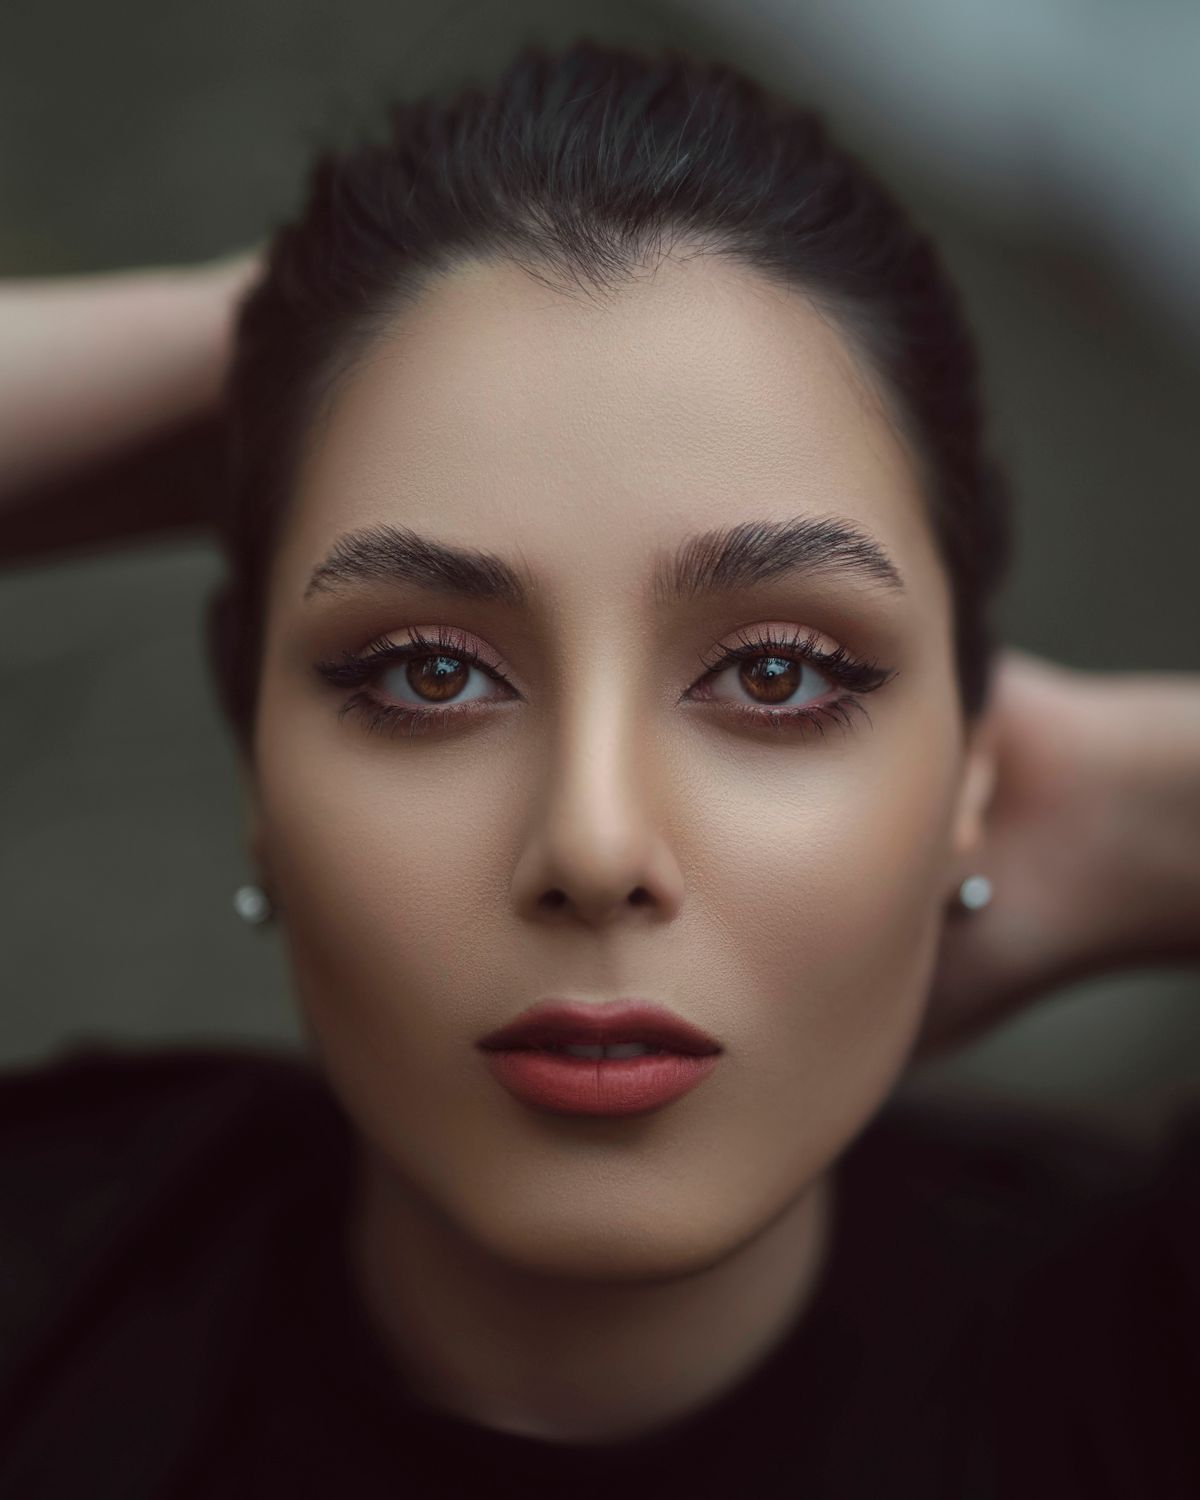
Draping, the 1970s technique revived by modern artists, uses blush as both color and contour. Instead of confining dusty rose to the apples, sweep it from the apples up along the cheekbones toward the temples in a C-shape, building softly. The result is a sculpted, lifted look achieved with blush alone, no harsh contour needed. Dusty rose is ideal for draping because its muted tone sculpts without looking dirty the way brown contour can on fair skin. Use a powder formula and a fluffy brush, building in three sheer layers rather than one heavy one. Draping suits evening looks and photography, where the extra definition reads beautifully, but keep it sheerer for daytime. Blend thoroughly at the temples; visible stopping points ruin the effect.
Layering Cream and Powder for All-Day Wear
The professional secret to blush that lasts 12 hours is layering formulas. Start with cream dusty rose blush pressed into the cheeks over foundation; the cream bonds with the base and provides the skin-like glow. Then, with a fluffy brush, dust the same shade in powder form lightly over the top; the powder sets the cream and adds a soft-focus finish. This sandwich technique gives you the natural look of cream with the staying power of powder. For oily skin, reverse the emphasis: a light cream layer with a more generous powder set. For dry skin, keep the powder layer whisper-thin to avoid cakiness. The two formulas should be the same shade family; mismatched undertones between layers create muddiness. This technique also revives beautifully: pat a tiny bit of cream over the powder at hour eight for a fresh flush.
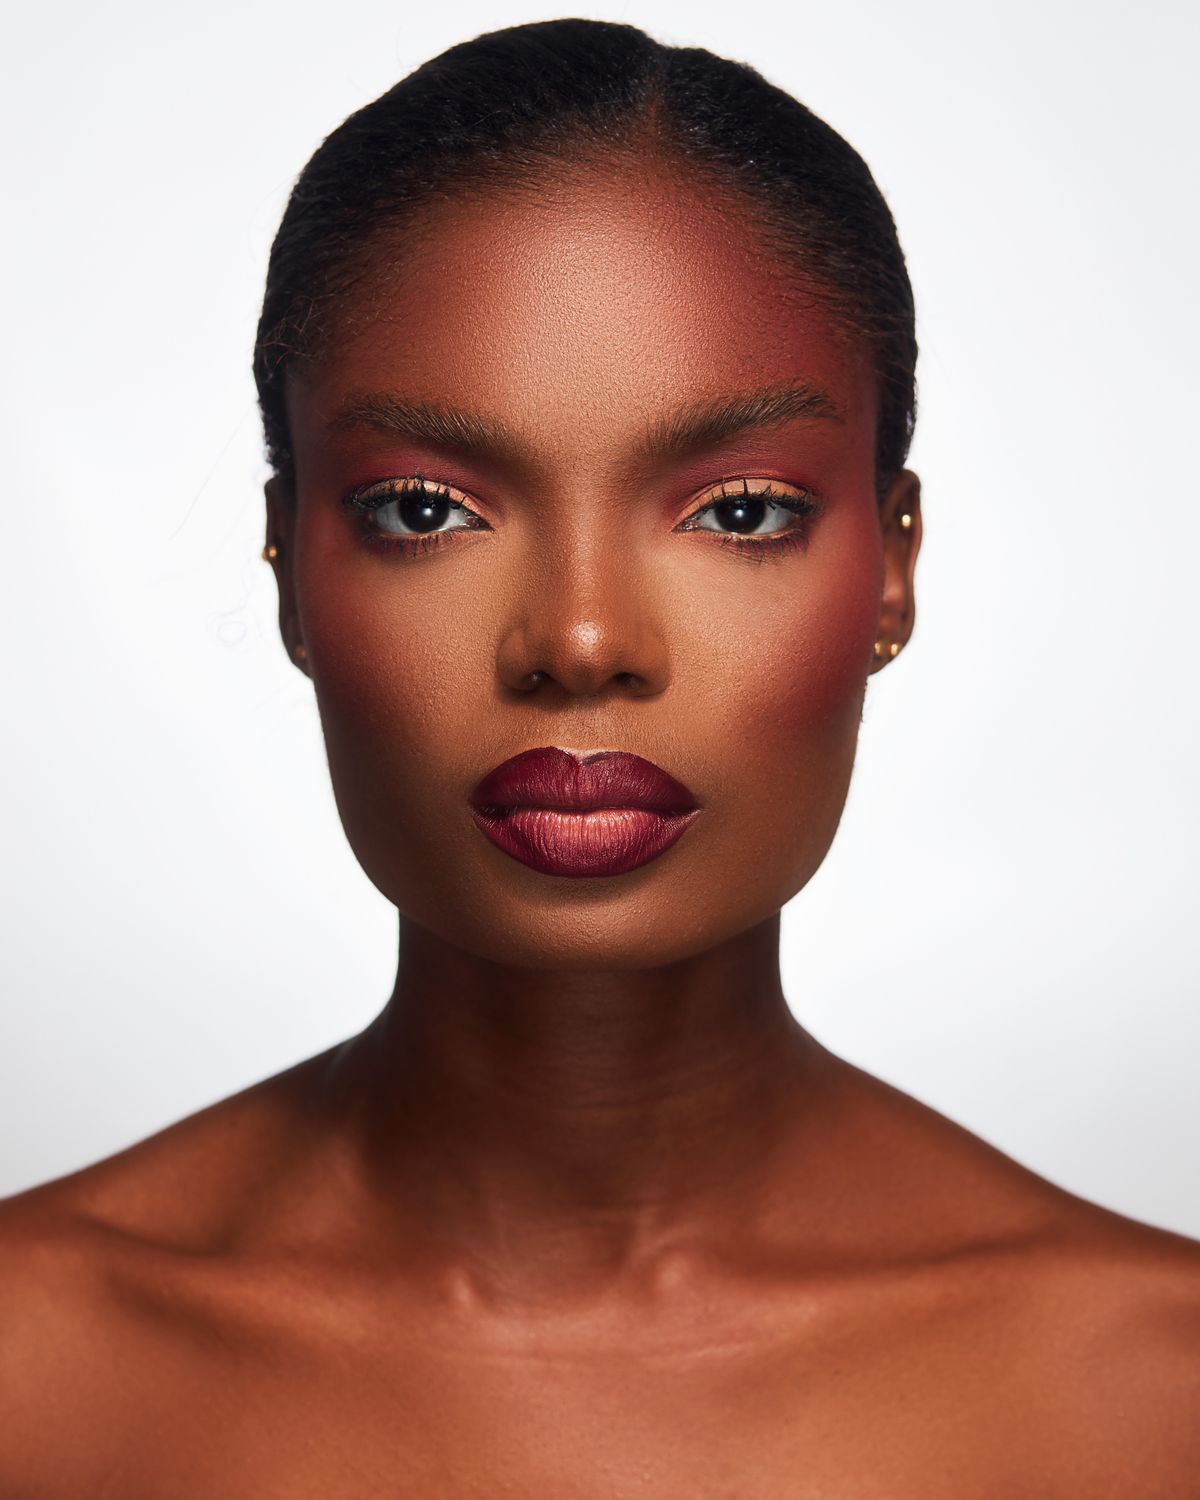
Dusty Rose Blush for Fair Skin
Fair skin and dusty rose are a perfect match, with one caution: a light hand. Choose sheer to medium-pigment formulas; highly pigmented blushes can overwhelm fair skin in a single stroke. Shades with a touch more pink than mauve tend to look freshest, while very grey dusty roses can read ashy. Apply to the apples and blend upward, keeping the color concentrated and softly diffused. Cream formulas are particularly beautiful on fair skin, giving a lit-from-within flush that powder sometimes cannot match. Avoid applying blush too close to the nose, which can make fair skin look sunburned rather than flushed. And always check in daylight; fair skin shows every bit of excess, so blend until you think you have blended enough, then blend once more.
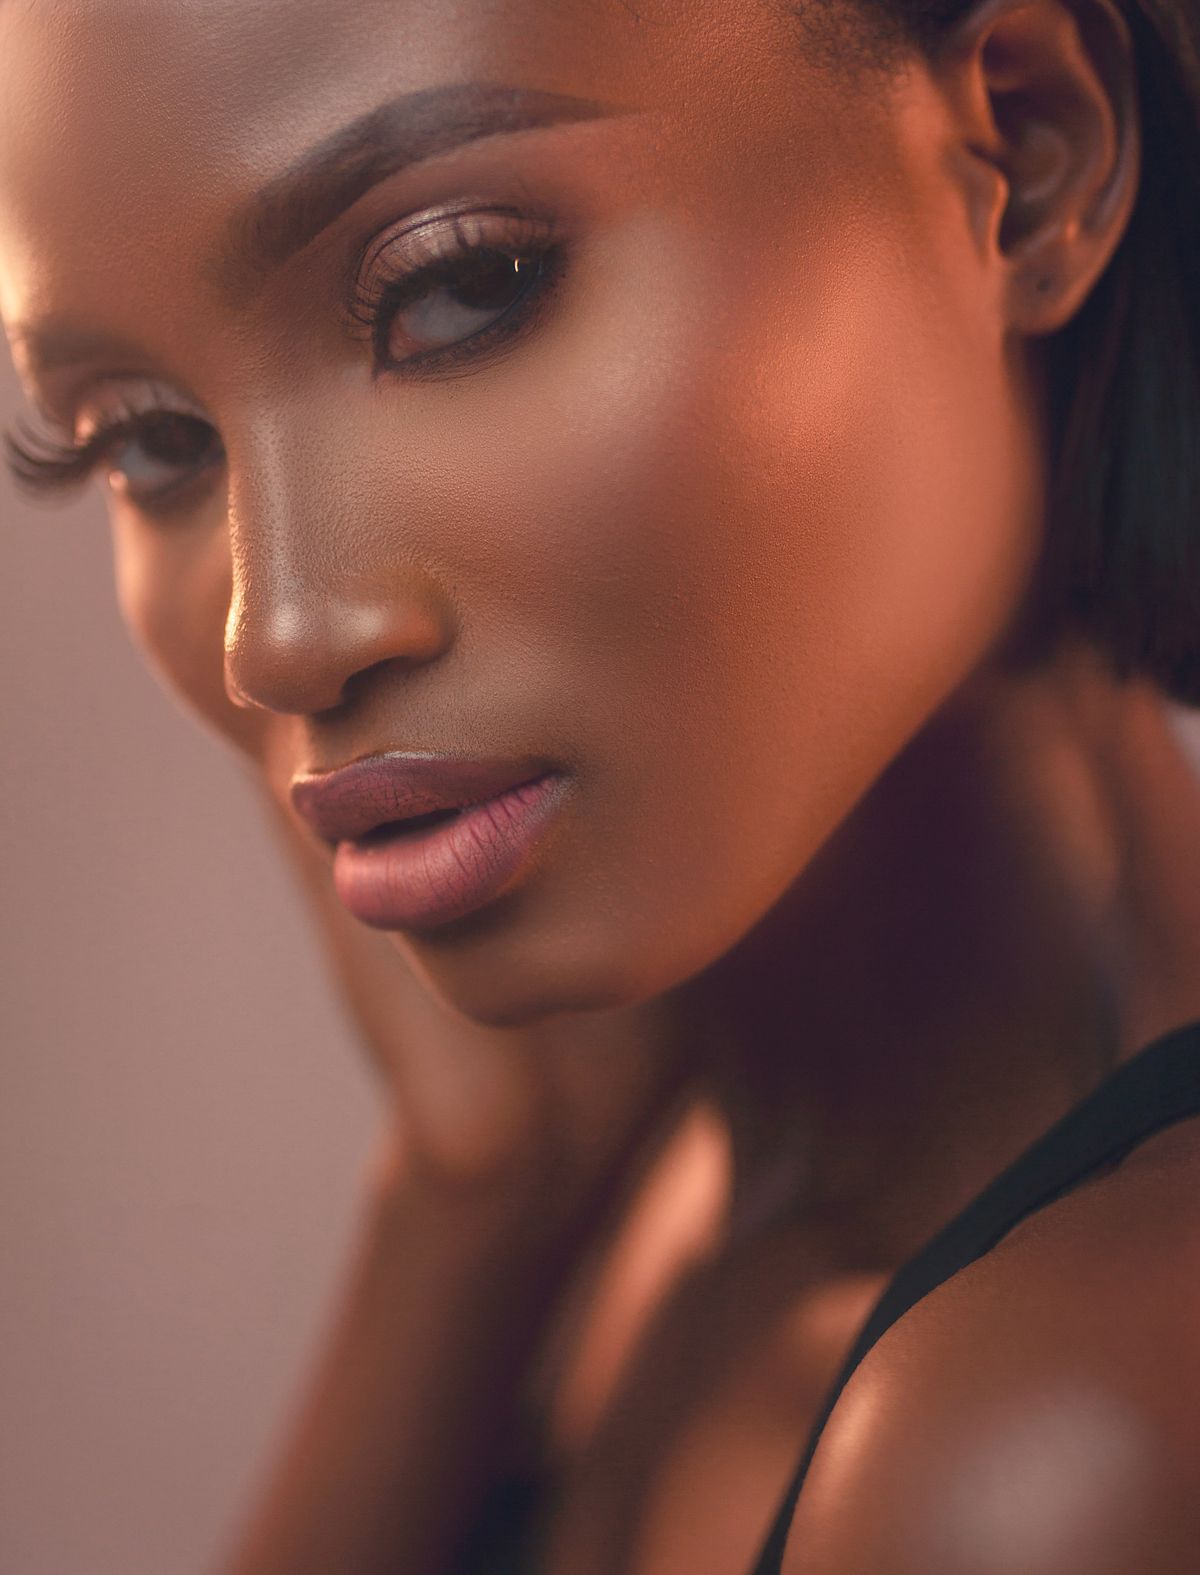
Dusty Rose Blush for Medium and Olive Skin
On medium and olive skin, dusty rose truly shines. The shade’s mauve undertone complements olive’s natural warmth without clashing, and the muted quality prevents the chalkiness that bright pinks can cause. You can be more generous with pigment here; medium-pigment powders and rich creams show up beautifully. Shades leaning slightly deeper, toward dried rose or mauvewood, are especially stunning. Placement can be slightly lower and more sculpted, using the draping technique to define cheekbones. One tip for olive skin: avoid dusty roses with strong grey undertones, which can look dull; instead choose versions with visible warmth. Pair with a warm nude lip and soft brown eyeliner for a harmonious, polished everyday look that enhances rather than masks your natural coloring.
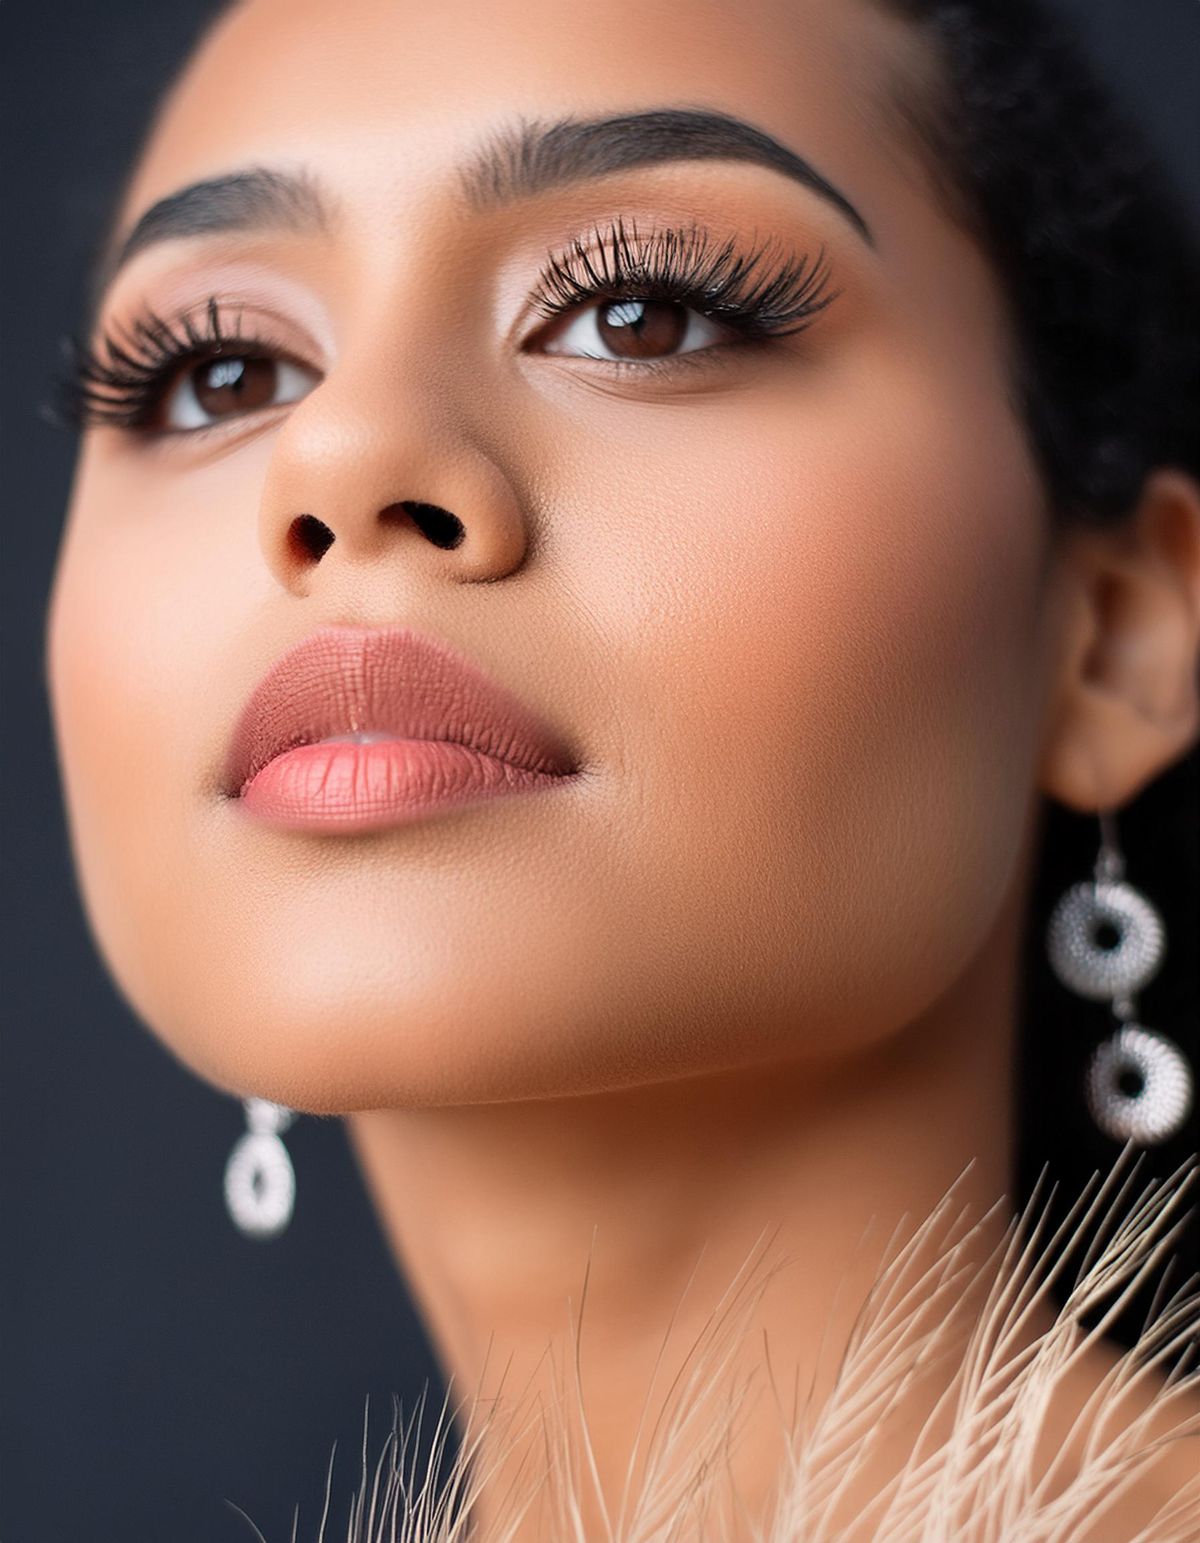
Dusty Rose Blush for Deep Skin Tones
Deep skin wears dusty rose elegantly when the formula has enough pigment. Look for richly pigmented powders and creams labeled “deep” or “rich”; sheer versions disappear on deep skin. The most flattering dusty roses for deep tones lean toward berry-rose and warm mauve, with enough depth to show as a visible flush. Application can be bolder: build in layers on the apples and along the cheekbones, where the color creates gorgeous dimension. Avoid ashy application by ensuring skin is well-moisturized first; blush over dry skin can look grey. A touch of highlighter on the cheekbones’ highest points above the blush amplifies the glow. Dusty rose on deep skin is sophisticated and modern, a beautiful alternative to the brighter corals and fuchsias often marketed to deeper tones.
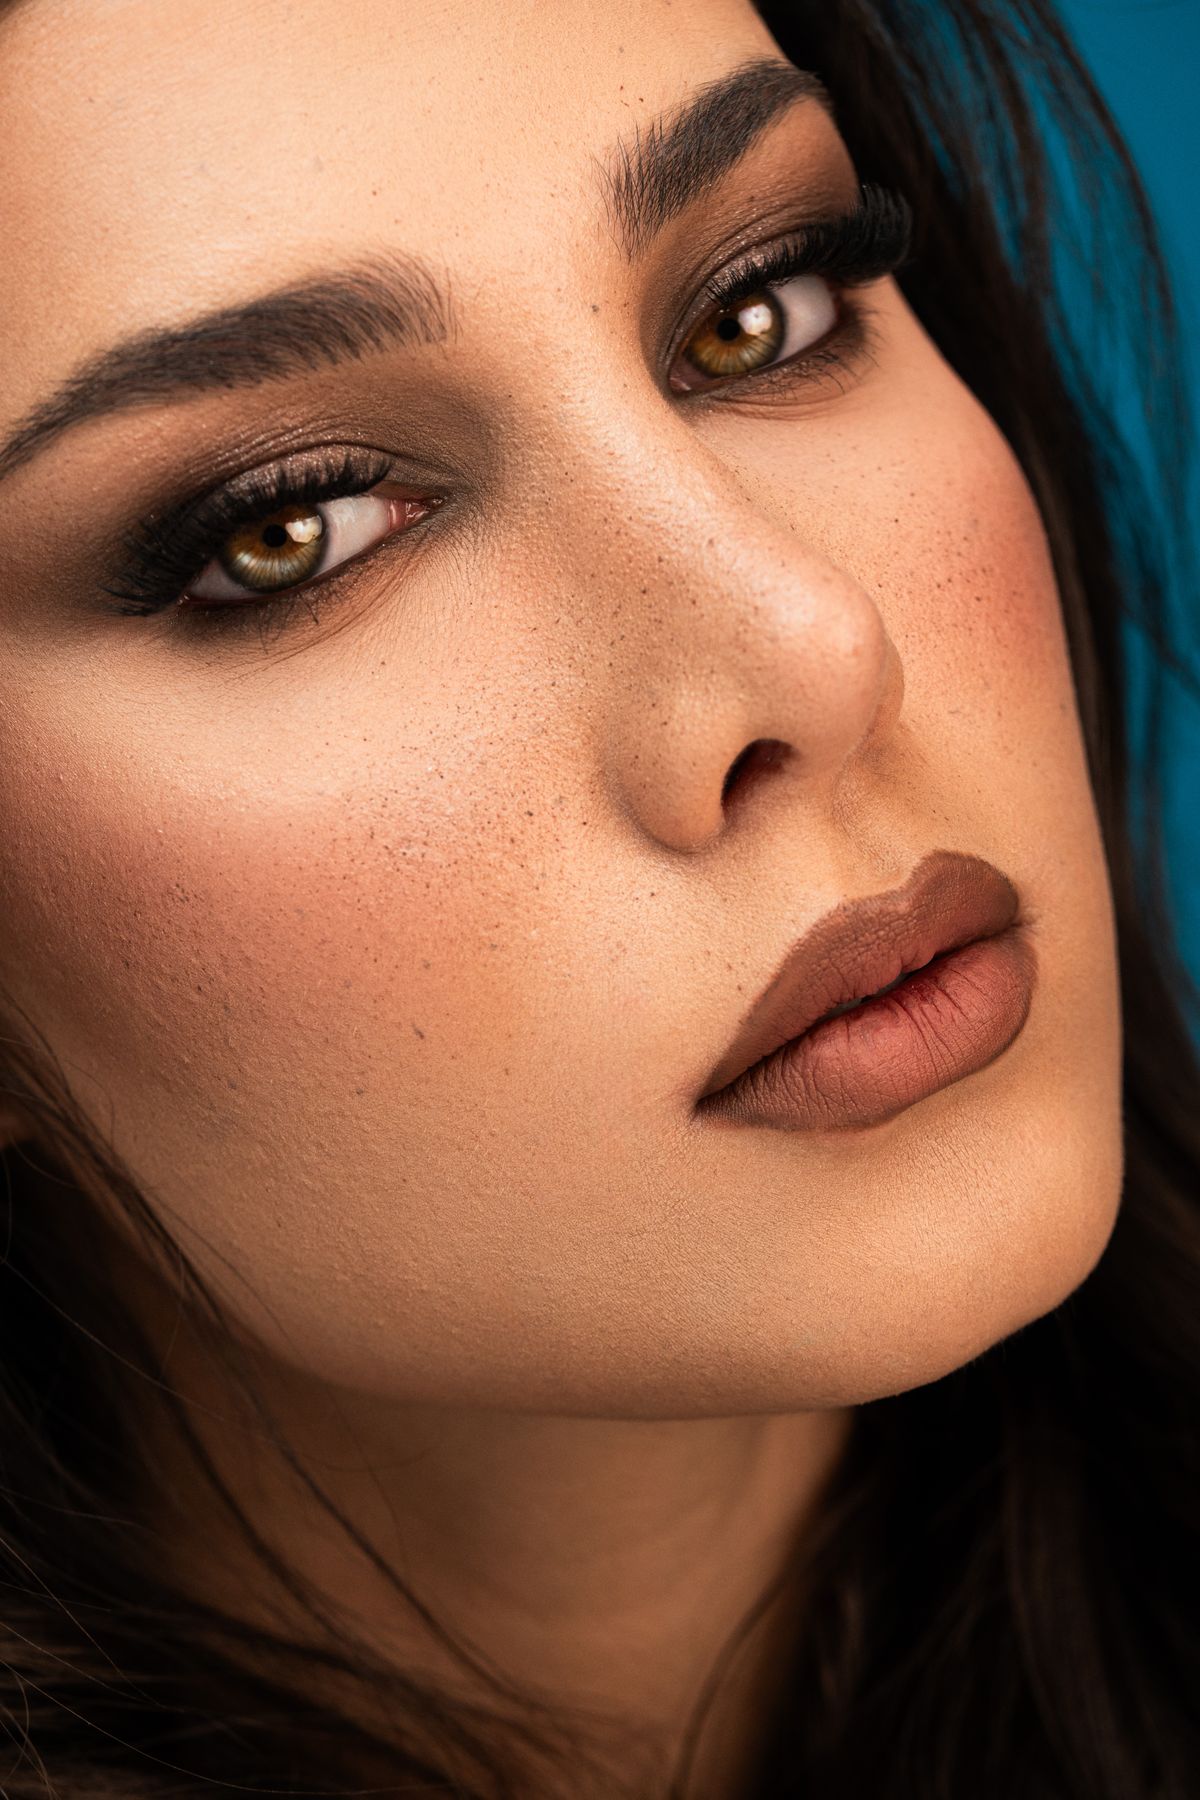
Monochromatic Makeup: Matching Lips and Lids
The monochromatic look, using dusty rose on cheeks, lips, and eyes, is effortlessly chic and nearly foolproof since everything harmonizes by design. Use your cream blush as a lip tint by pressing it onto lips with your finger, then add balm on top. For eyes, sweep the powder blush through the crease with a fluffy brush; the muted tone defines without looking like “eyeshadow.” Keep the rest minimal: groomed brows, one coat of mascara, and you are done. The key is varying intensity: cheeks get the most color, lips medium, eyes the sheerest wash. This technique is perfect for travel, since one product does triple duty, and for mornings when decisions feel hard. Monochromatic dusty rose suits every occasion from office to date night.
Natural No-Makeup Dusty Rose Look
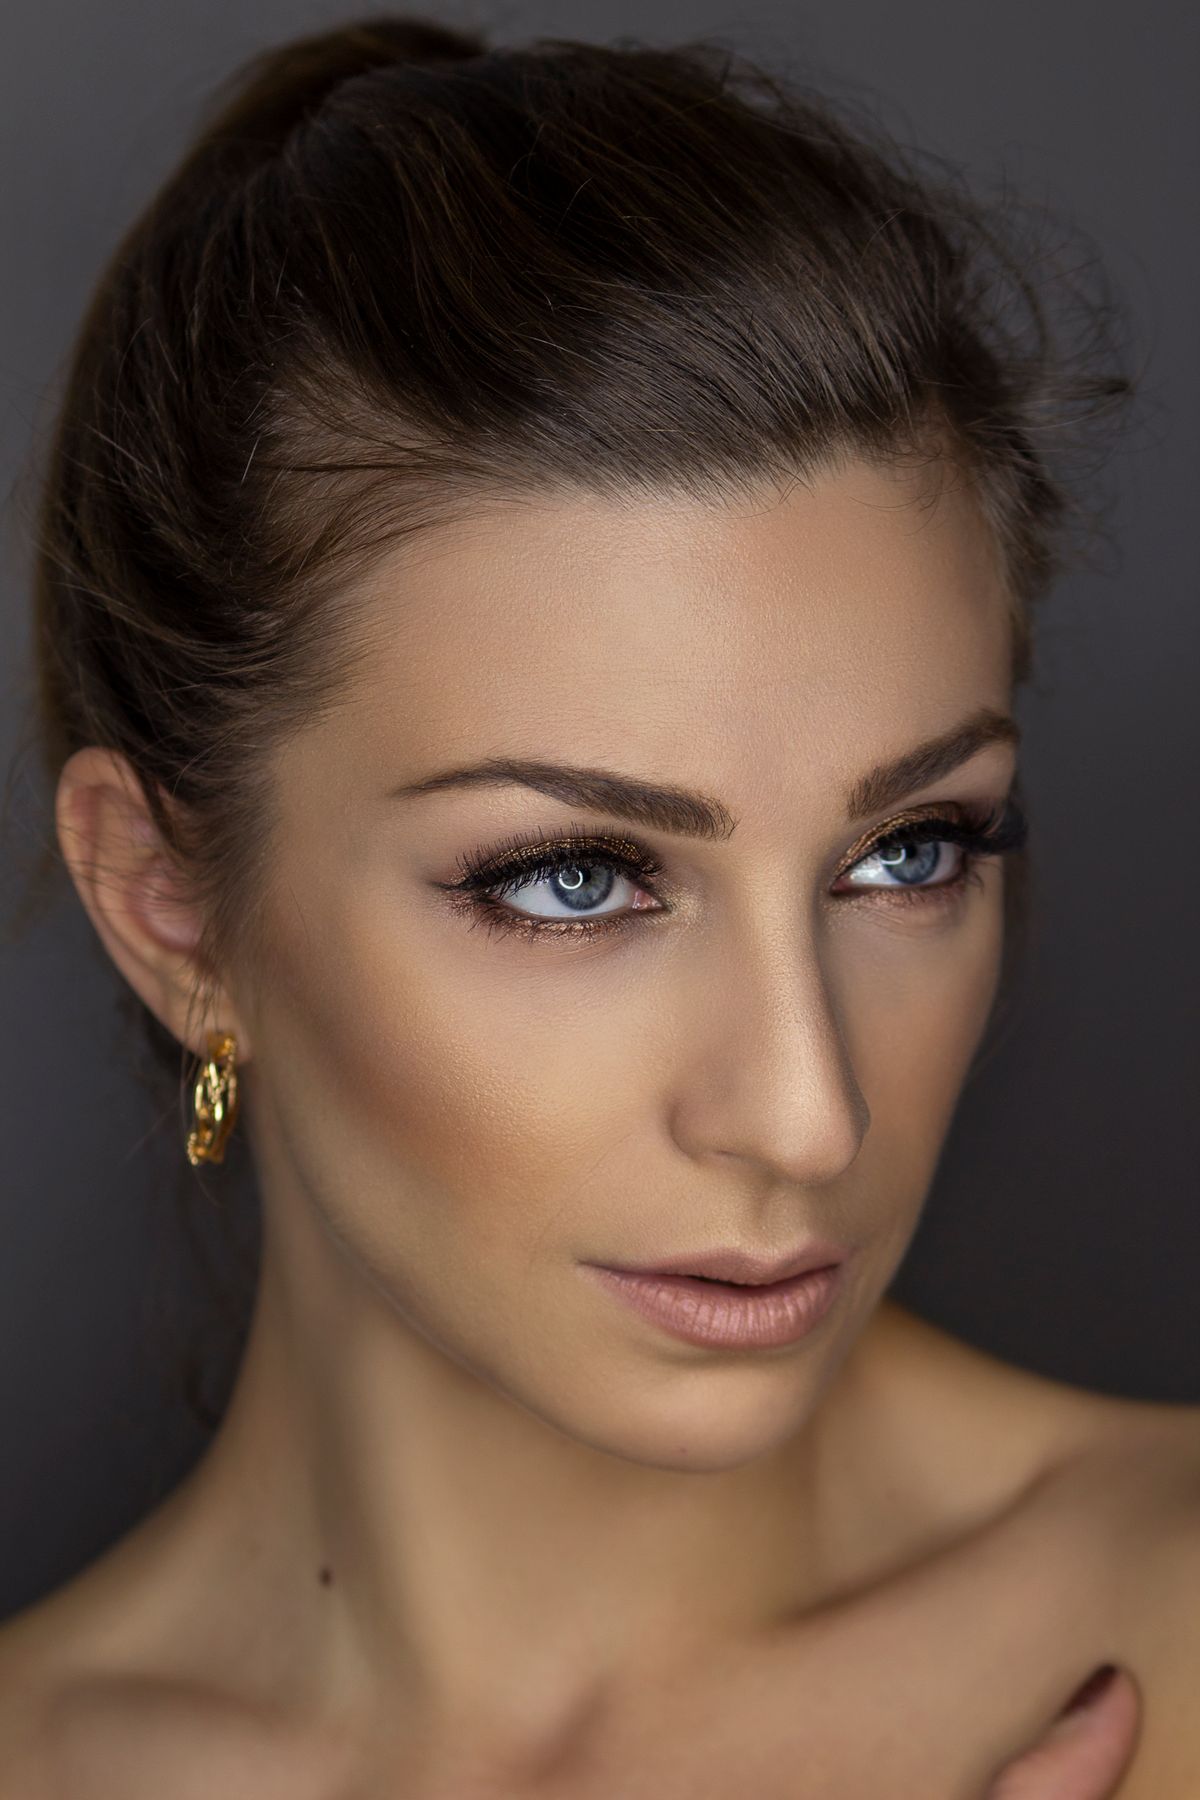
For the “no-makeup” makeup look, dusty rose is the only blush you need. Start with tinted moisturizer or just concealer where needed, then press cream dusty rose blush into the apples with your fingers, keeping it sheer and centered. The finger application is deliberate: warmth melts the cream into a second-skin finish no brush can replicate. Skip powder entirely to maintain the skin-like glow, or set only the T-zone. Add a dab of the same cream on the lips, curl lashes without mascara or with just one light coat, and groom brows. The result reads as naturally flushed, healthy skin. This is the five-minute face that works for weekends, video calls, and anyone who wants to look polished without looking made up.
Glam Evening Dusty Rose Blush
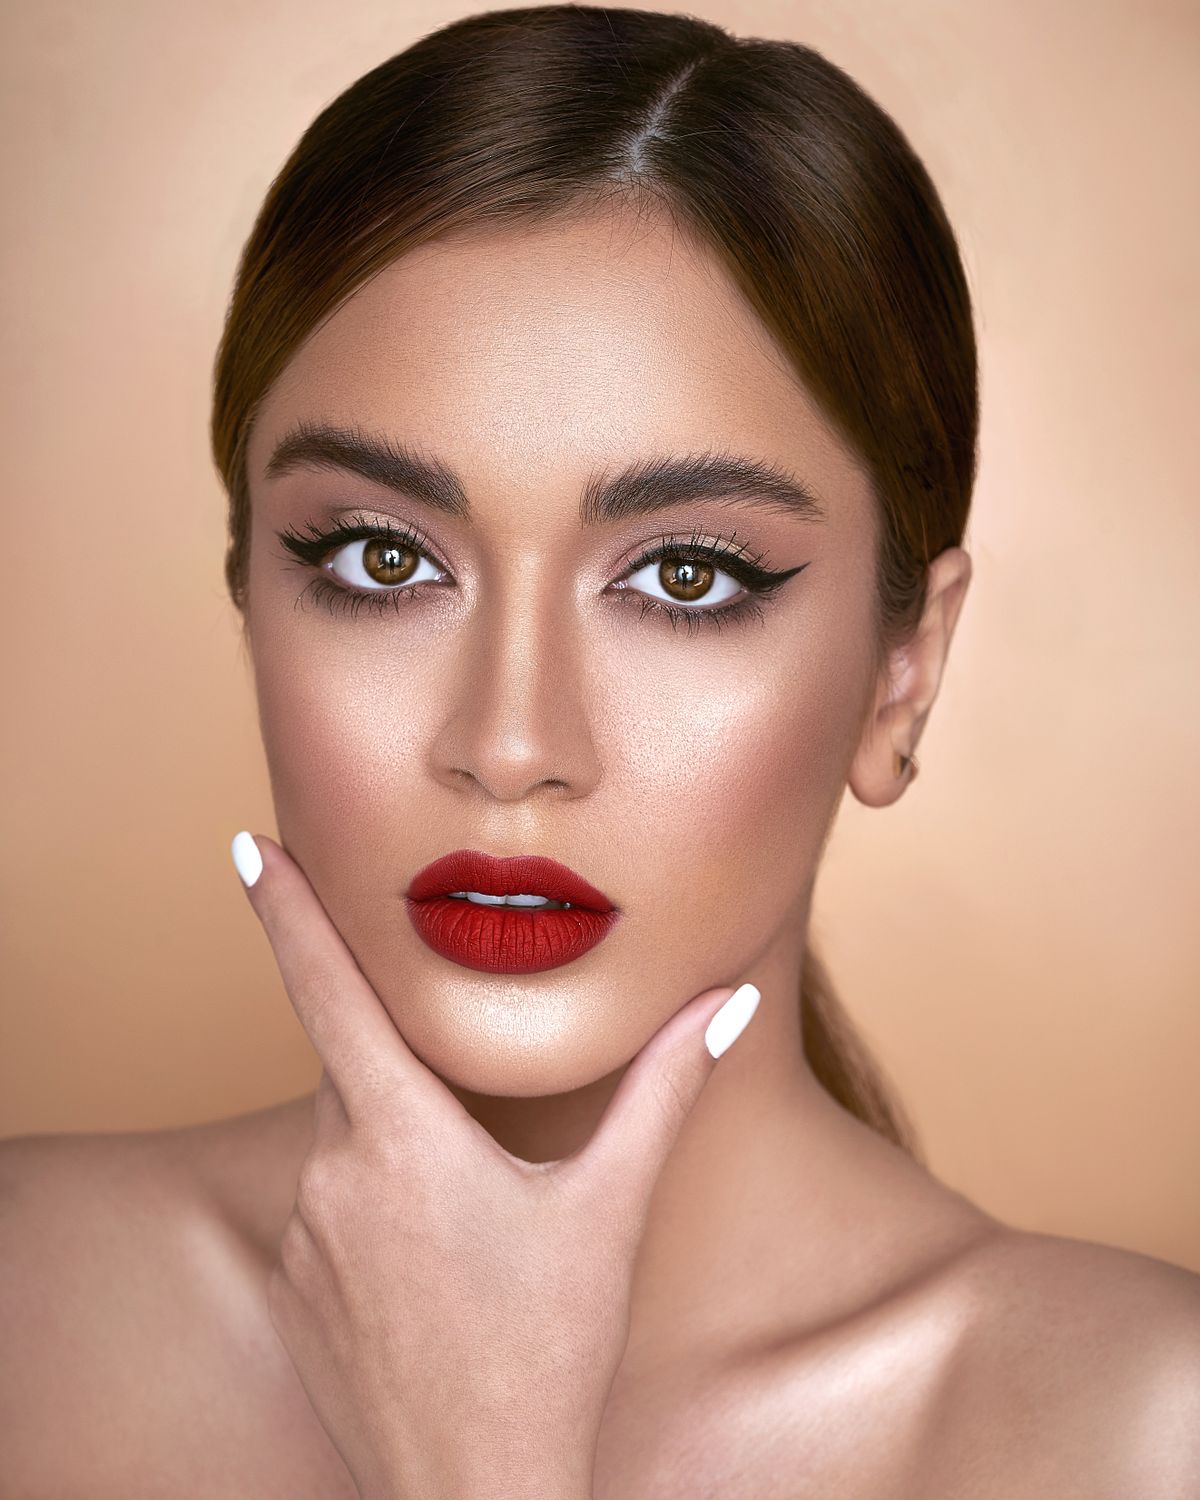
Dusty rose goes glamorous with amped-up intensity and strategic glow. Build the blush bolder than daytime, layering cream and powder as described above, and extend the draping technique for sculpted definition. Add highlighter to the tops of the cheekbones, the bridge of the nose, and the cupid’s bow; the contrast between the muted blush and the luminous highlight is what reads as glamorous. Pair with a smoky eye in warm browns or a bold berry lip; dusty rose cheeks balance both without competing. Set everything with a fine mist of setting spray, which melts the layers together into a seamless, lit-from-within finish that photographs beautifully. Evening blush should be visible in dim restaurant lighting, so apply about 30 percent more than you think you need, it always photographs softer than it looks in the mirror.
Blush and Contour: Getting the Balance Right
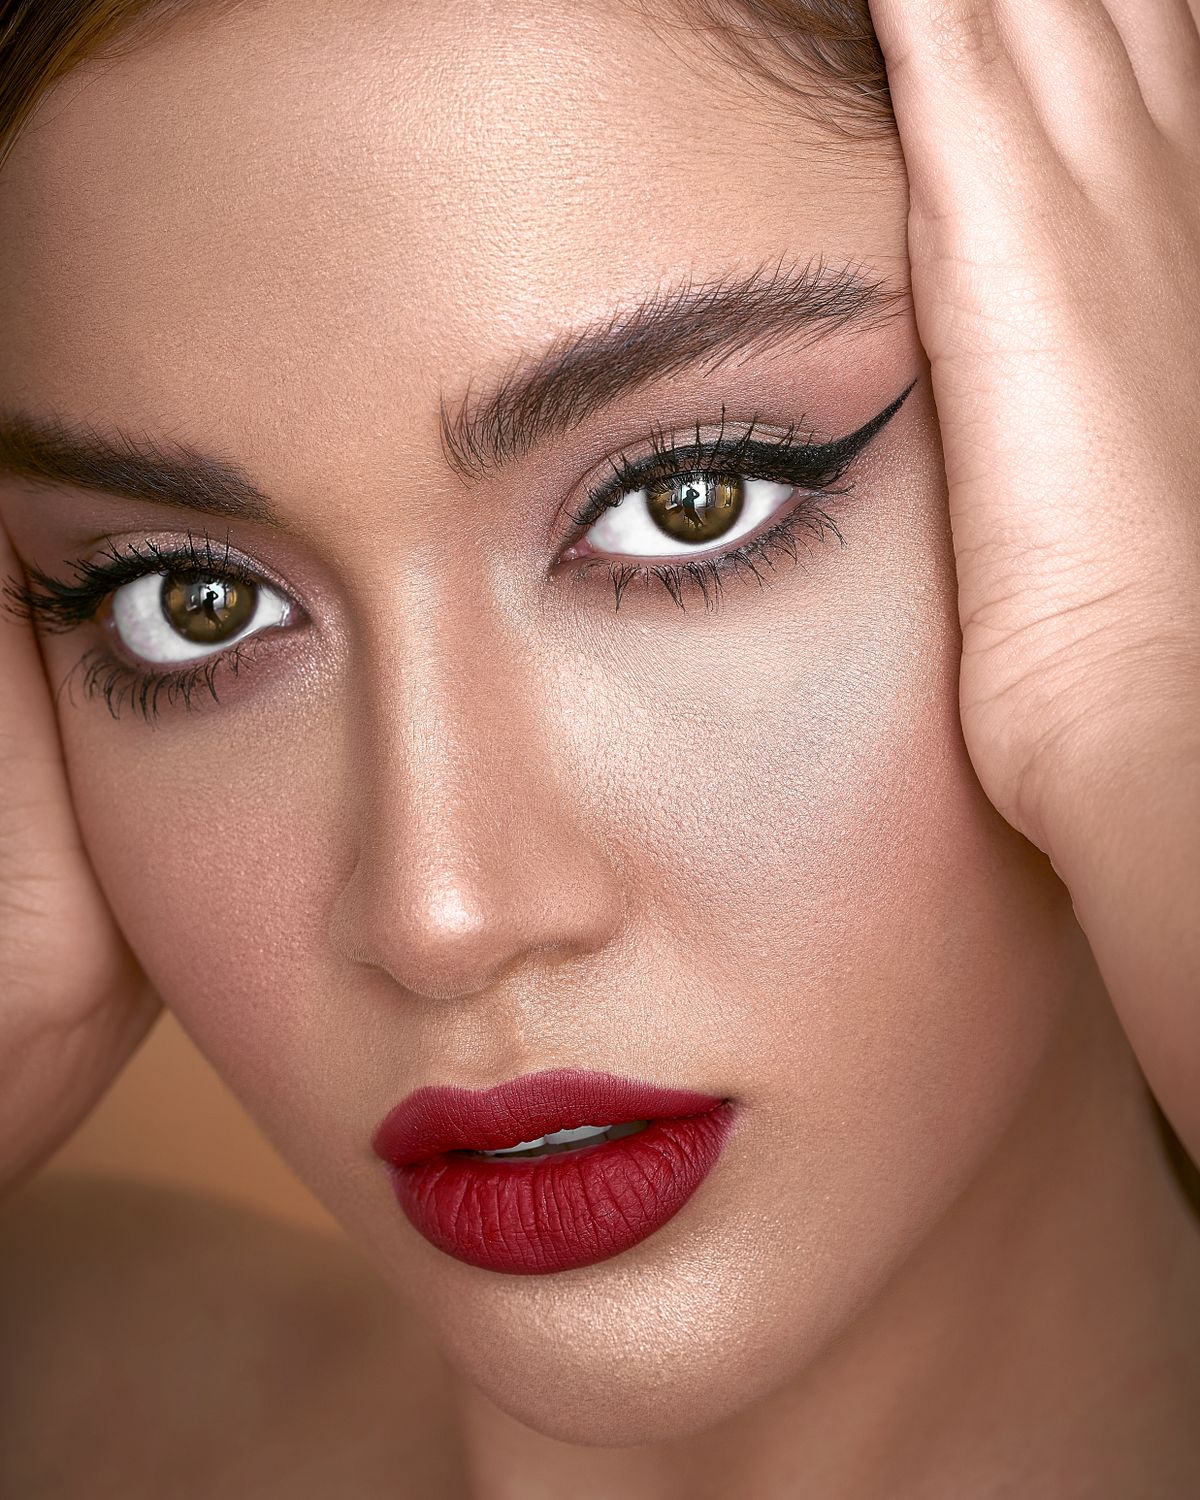
Blush and contour are partners, not competitors. The rule: contour sculpts (cool-toned, placed in the hollows beneath cheekbones), blush adds life (placed on the apples and upper cheeks). They should meet but not overlap into muddiness. Apply contour first, blending thoroughly, then place dusty rose blush on the apples, blending upward so it softly kisses the top edge of the contour. The two should create a gradient: sculpted hollow, then flush, then highlight on the cheekbone’s peak. If you use bronzer instead of contour, keep it to the perimeter of the face and let the blush own the cheeks. The most common mistake is applying blush where contour belongs, too low and too far back, which creates a dirty rather than sculpted effect. When in doubt, smile: blush goes where the apple pops, contour goes in the shadow beneath.
Common Blush Mistakes and How to Fix Them
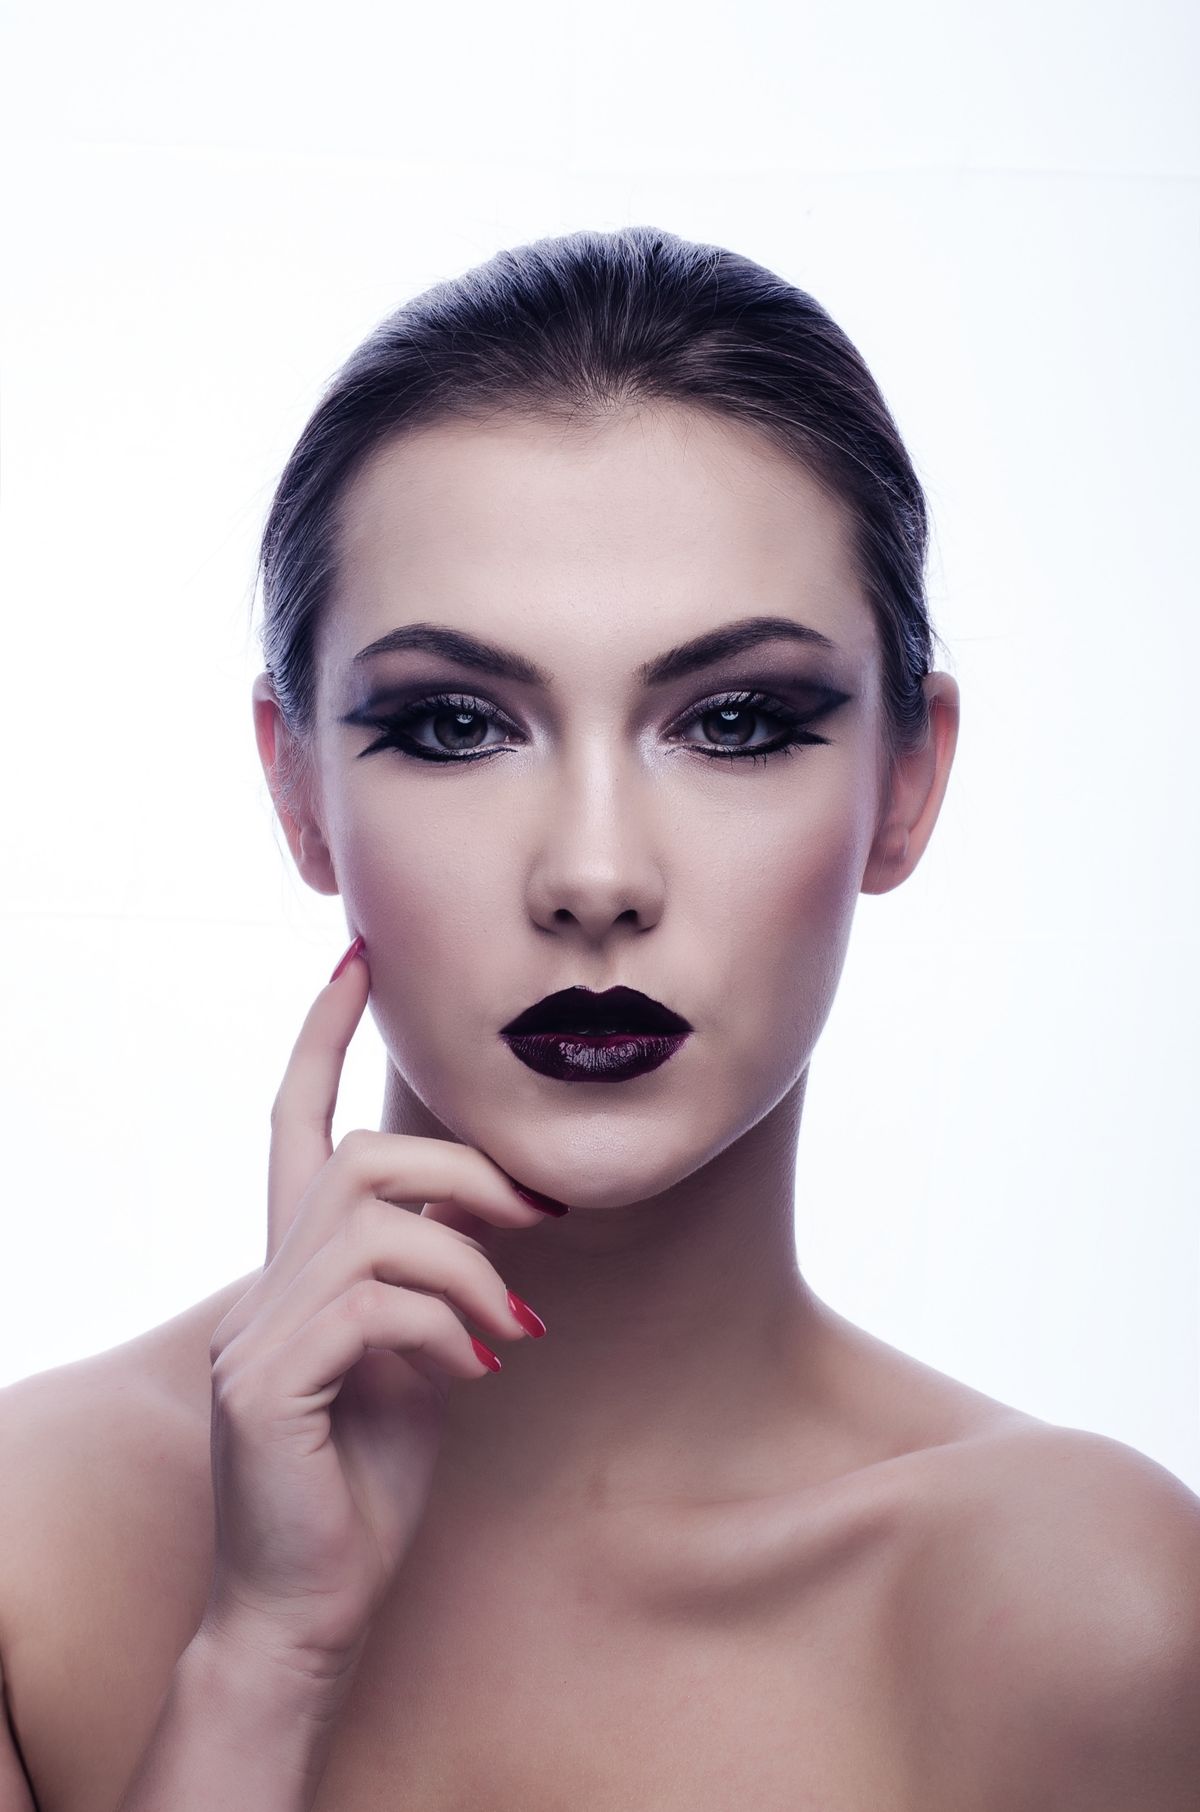
Even simple blush goes wrong in predictable ways. Too much product: blend with a clean fluffy brush, or press a damp sponge over the area to lift excess without disturbing base. Harsh edges: go back with your foundation brush or sponge and feather the perimeter. Blush placed too low: blend upward and add a touch of highlighter above to re-lift the area. Patchiness: usually caused by applying powder over unset dewy base; mist with setting spray and press with a sponge to unify. Wrong undertone looking muddy: layer a brighter pink over the top to correct, or remove and restart with a better shade match. Blush disappearing by noon: switch to the cream-plus-powder layering technique. Every mistake is fixable without starting over; keep a clean brush and a damp sponge in your kit as your correction tools.
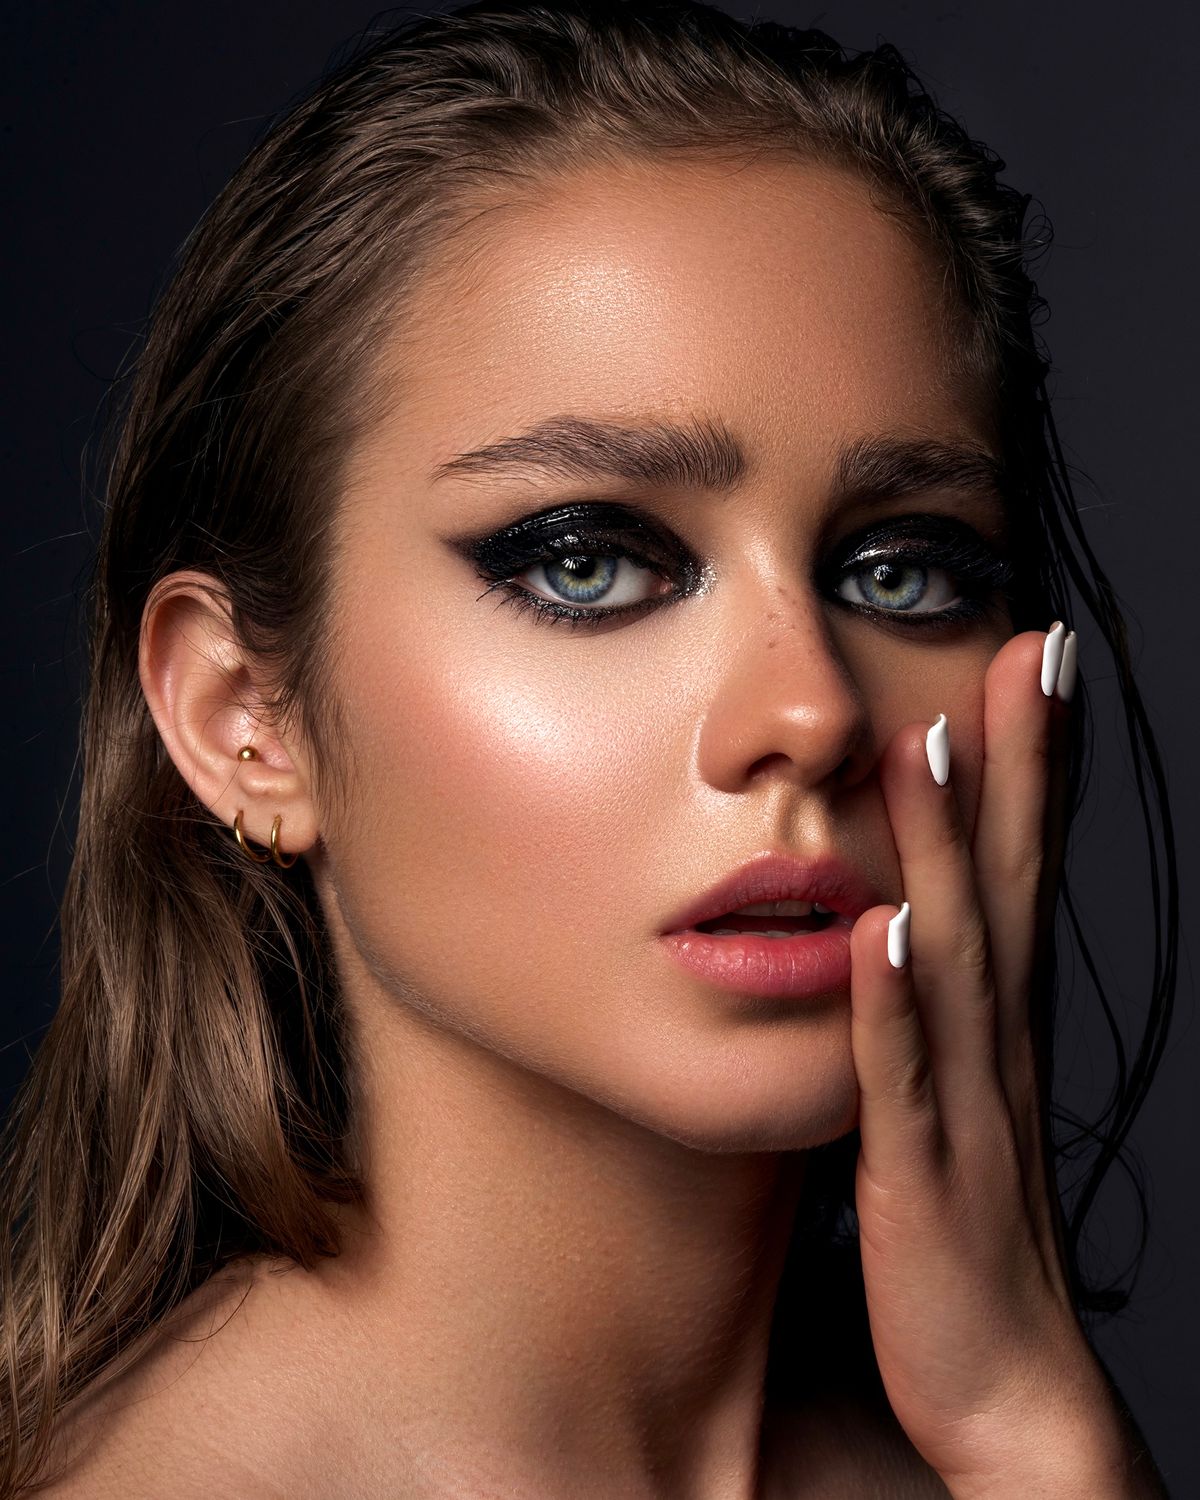
Best Dusty Rose Blush Products at Every Price Point
You do not need to spend a fortune for a great dusty rose. At the drugstore, several beloved powder blushes in the dusty rose family deliver beautiful pigment for under $12; look for shades described as “rosewood,” “dusty rose,” or “mauve.” Mid-range favorites ($20 to $35) offer refined textures and excellent shade ranges in both cream and powder. Luxury options ($40+) excel in finely milled powders that apply like silk and creams with skincare ingredients. When shopping, swatch on your jawline in natural light, not on your hand, since hand skin differs from face skin. Ignore the pan color and judge the swatch after 30 seconds, when it settles. And remember: formula matters more than brand; a well-chosen $10 blush in the right formula beats a $45 blush in the wrong one.
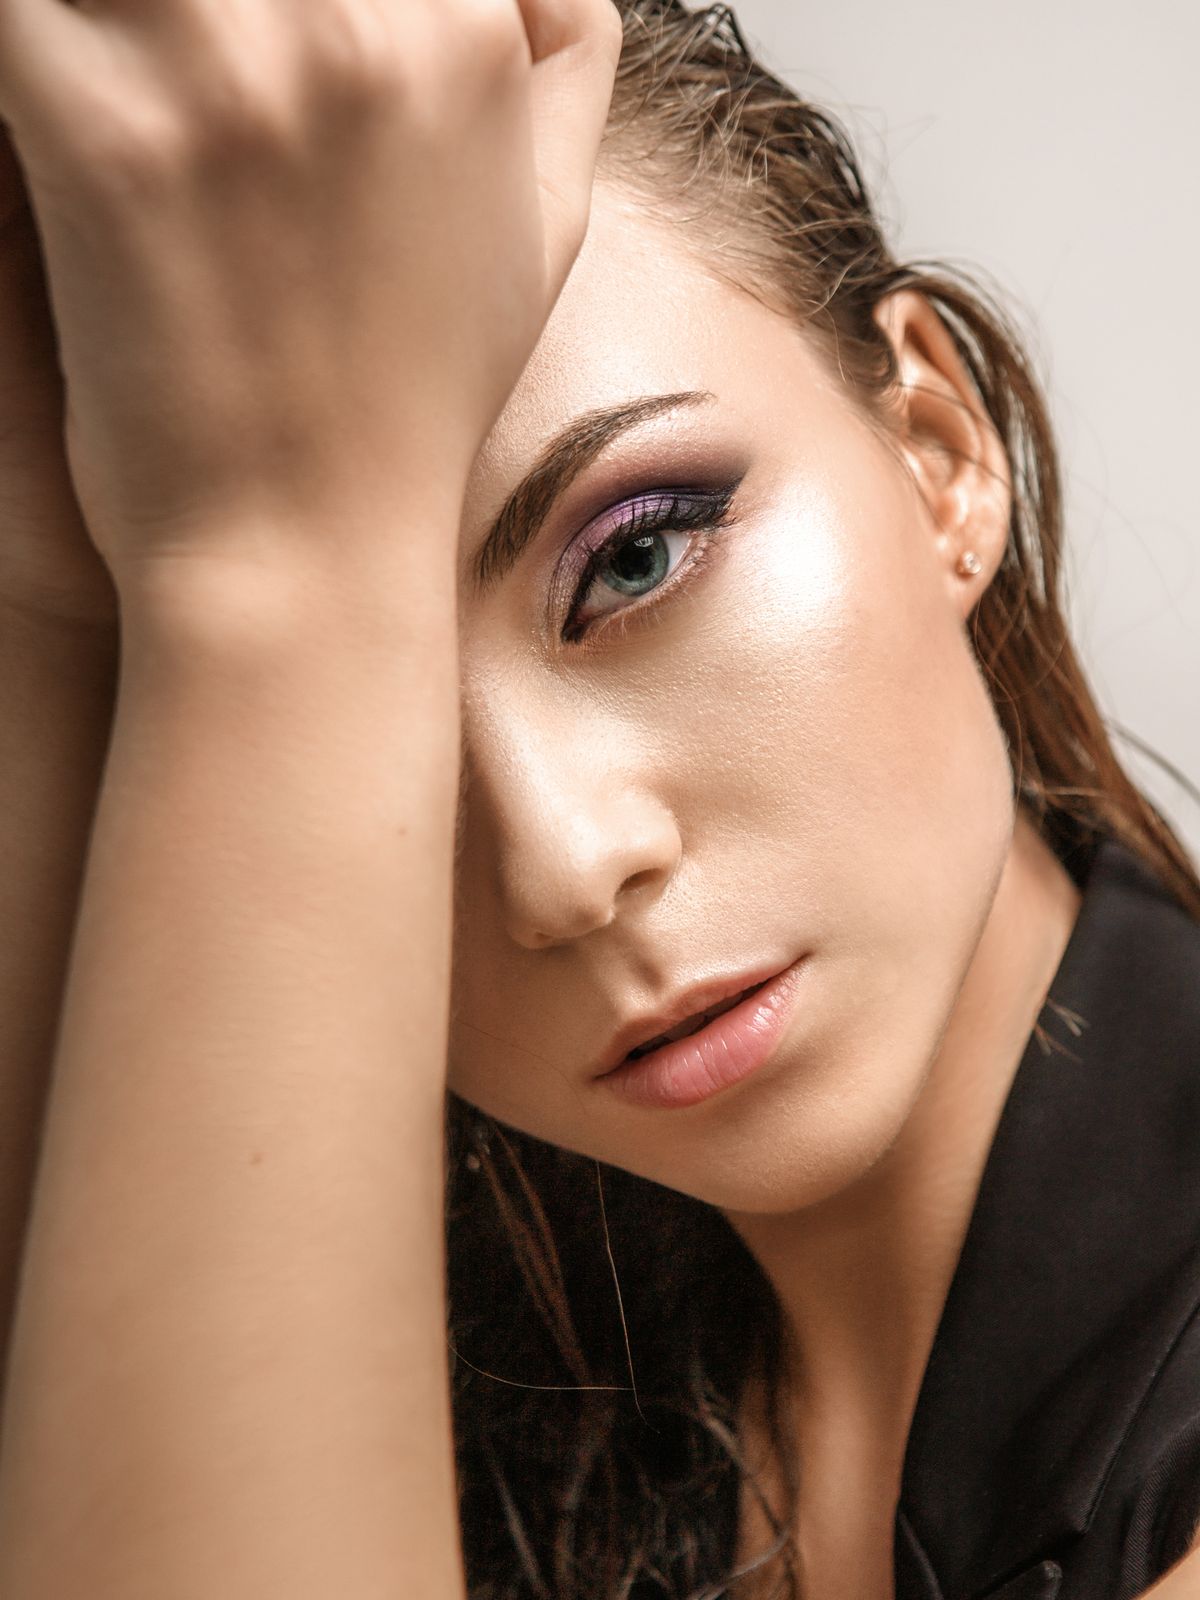
Making Blush Last: Setting Tips for All-Day Wear
All-day blush comes down to setting strategy. After applying blush, mist with setting spray, then press gently with a damp sponge; the spray locks layers together. For oily skin, add a final whisper of translucent powder just over the blush using a small brush, which absorbs oil without dulling color. Avoid touching your face during the day, the fastest way to break down blush. For touch-ups, carry a multi-stick in your shade; press a tiny amount over the existing blush rather than adding powder, which can cake. In humid weather, lean on liquid or stain formulas, which grip skin better than powders. With the layering technique plus setting spray, expect 10 to 12 hours of wear; without it, even the best blush fades in 4 to 6 hours on most skin types.
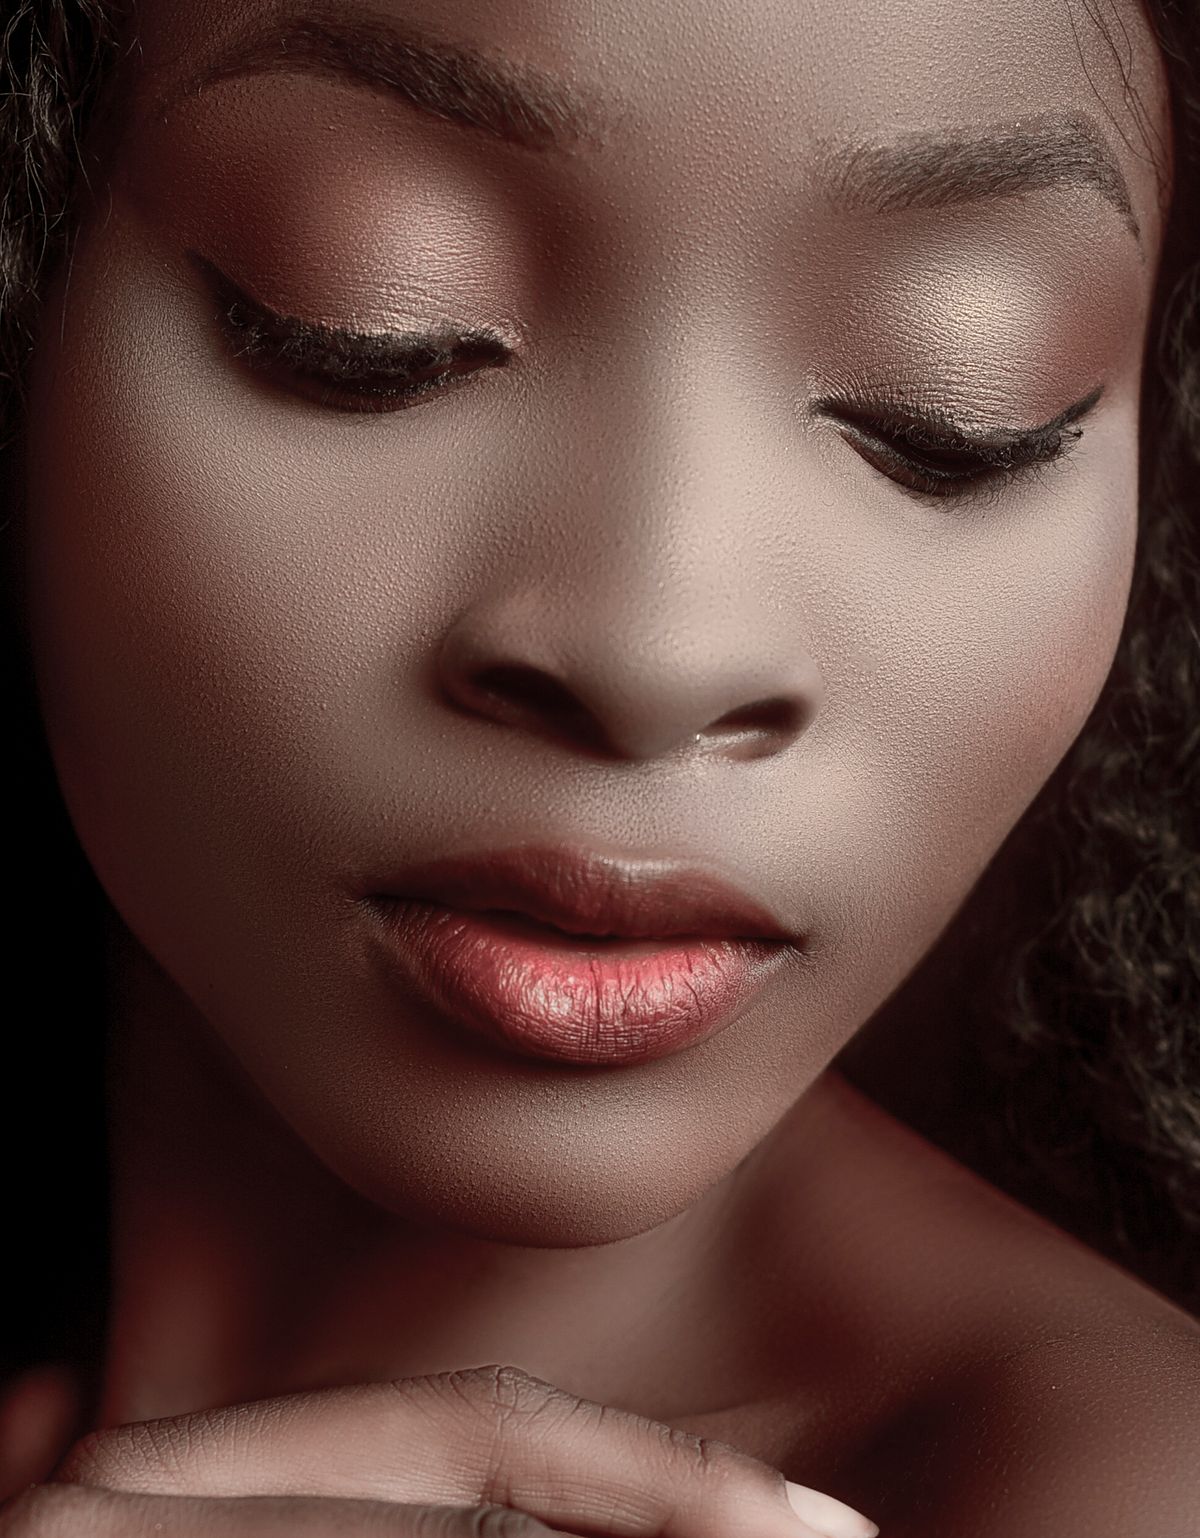
Skincare After Blush: Proper Removal Routine
How you remove blush affects your skin as much as how you apply it. Always remove makeup fully before bed; sleeping in blush and base clogs pores and dulls skin. Use a cleansing balm or oil as the first cleanse to dissolve cream and long-wear formulas, massaging for a full 60 seconds. Follow with a gentle water-based cleanser to remove residue. Once or twice a week, a mild exfoliant keeps the cheek area smooth so future blush applies evenly. After cleansing, apply your usual serums and moisturizer; well-hydrated skin holds blush better the next day, creating a virtuous cycle. If you wear blush daily, this routine prevents the buildup and texture issues that make blush look patchy over time. Healthy skin is the best blush primer there is.
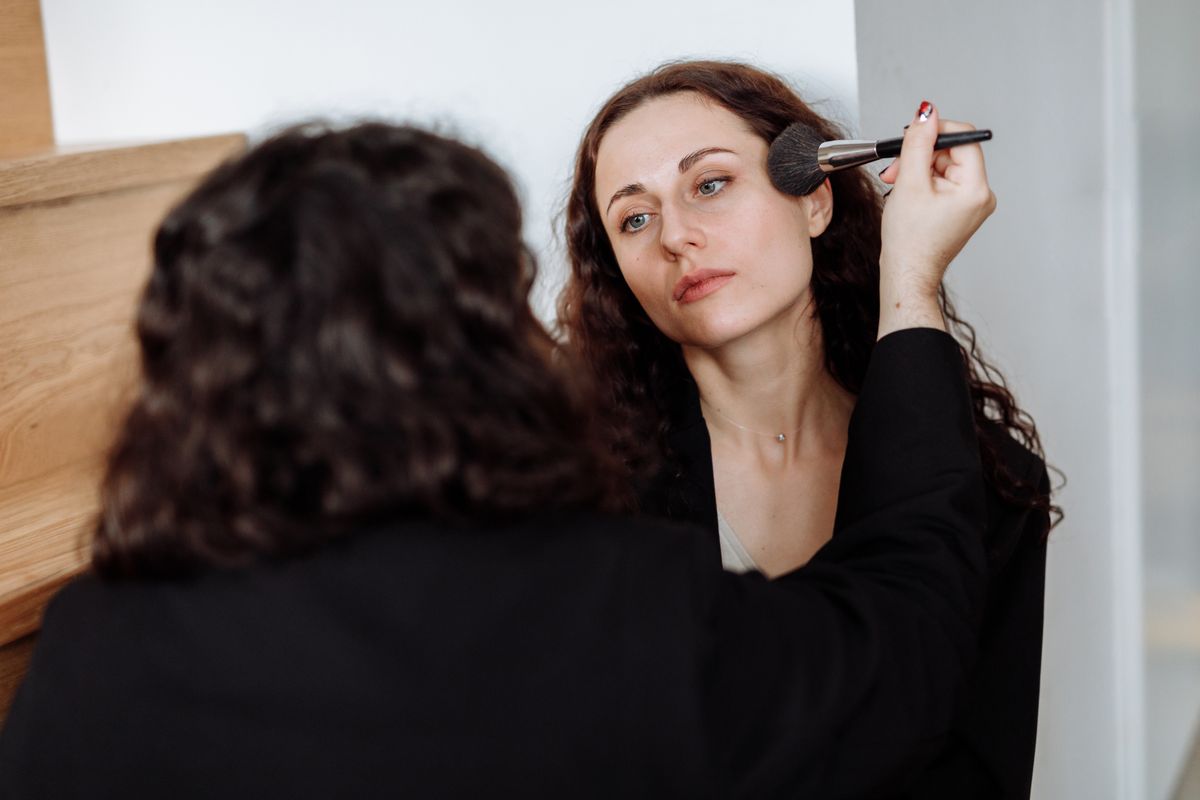
The bottom line: Dusty rose blush is the rare product that suits everyone, works in every formula, and flatters in every context from no-makeup days to glamorous evenings. Master the classic application, learn the cream-plus-powder layering trick for longevity, and adjust intensity to your skin tone. Once dusty rose becomes your signature flush, you will wonder how you ever wore anything else.

I am Talha Sikandar, a professional writer with a passion for general blogging. With years of experience in content writing and research, I founded Meaniingly.com to deliver well-researched, informative, and user-friendly articles on diverse topics.