snail mail wedding invitation ideas
In an age of digital everything, a wedding invitation that arrives by post feels like a small miracle — something to hold, to keep, to pin on the fridge for months. Snail mail wedding invitations turn the first touchpoint of your celebration into a tactile, emotional experience: beautiful paper, thoughtful details, wax seals, and stamps chosen with care. They signal to guests that your wedding will be personal and considered, not rushed and generic. Beyond romance, physical invitations serve a practical purpose — they are harder to lose in an inbox, they make the date feel real, and they become keepsakes long after the day. But great snail mail invitations require planning: paper choices, postage quirks, timelines, and etiquette all matter. In this guide you will find twenty snail mail wedding invitation ideas, from paper and printing methods to wax seals, vintage stamps, and assembly tips, with practical advice to make your invitations beautiful, deliverable, and stress-free.
1. Choosing Your Paper Stock
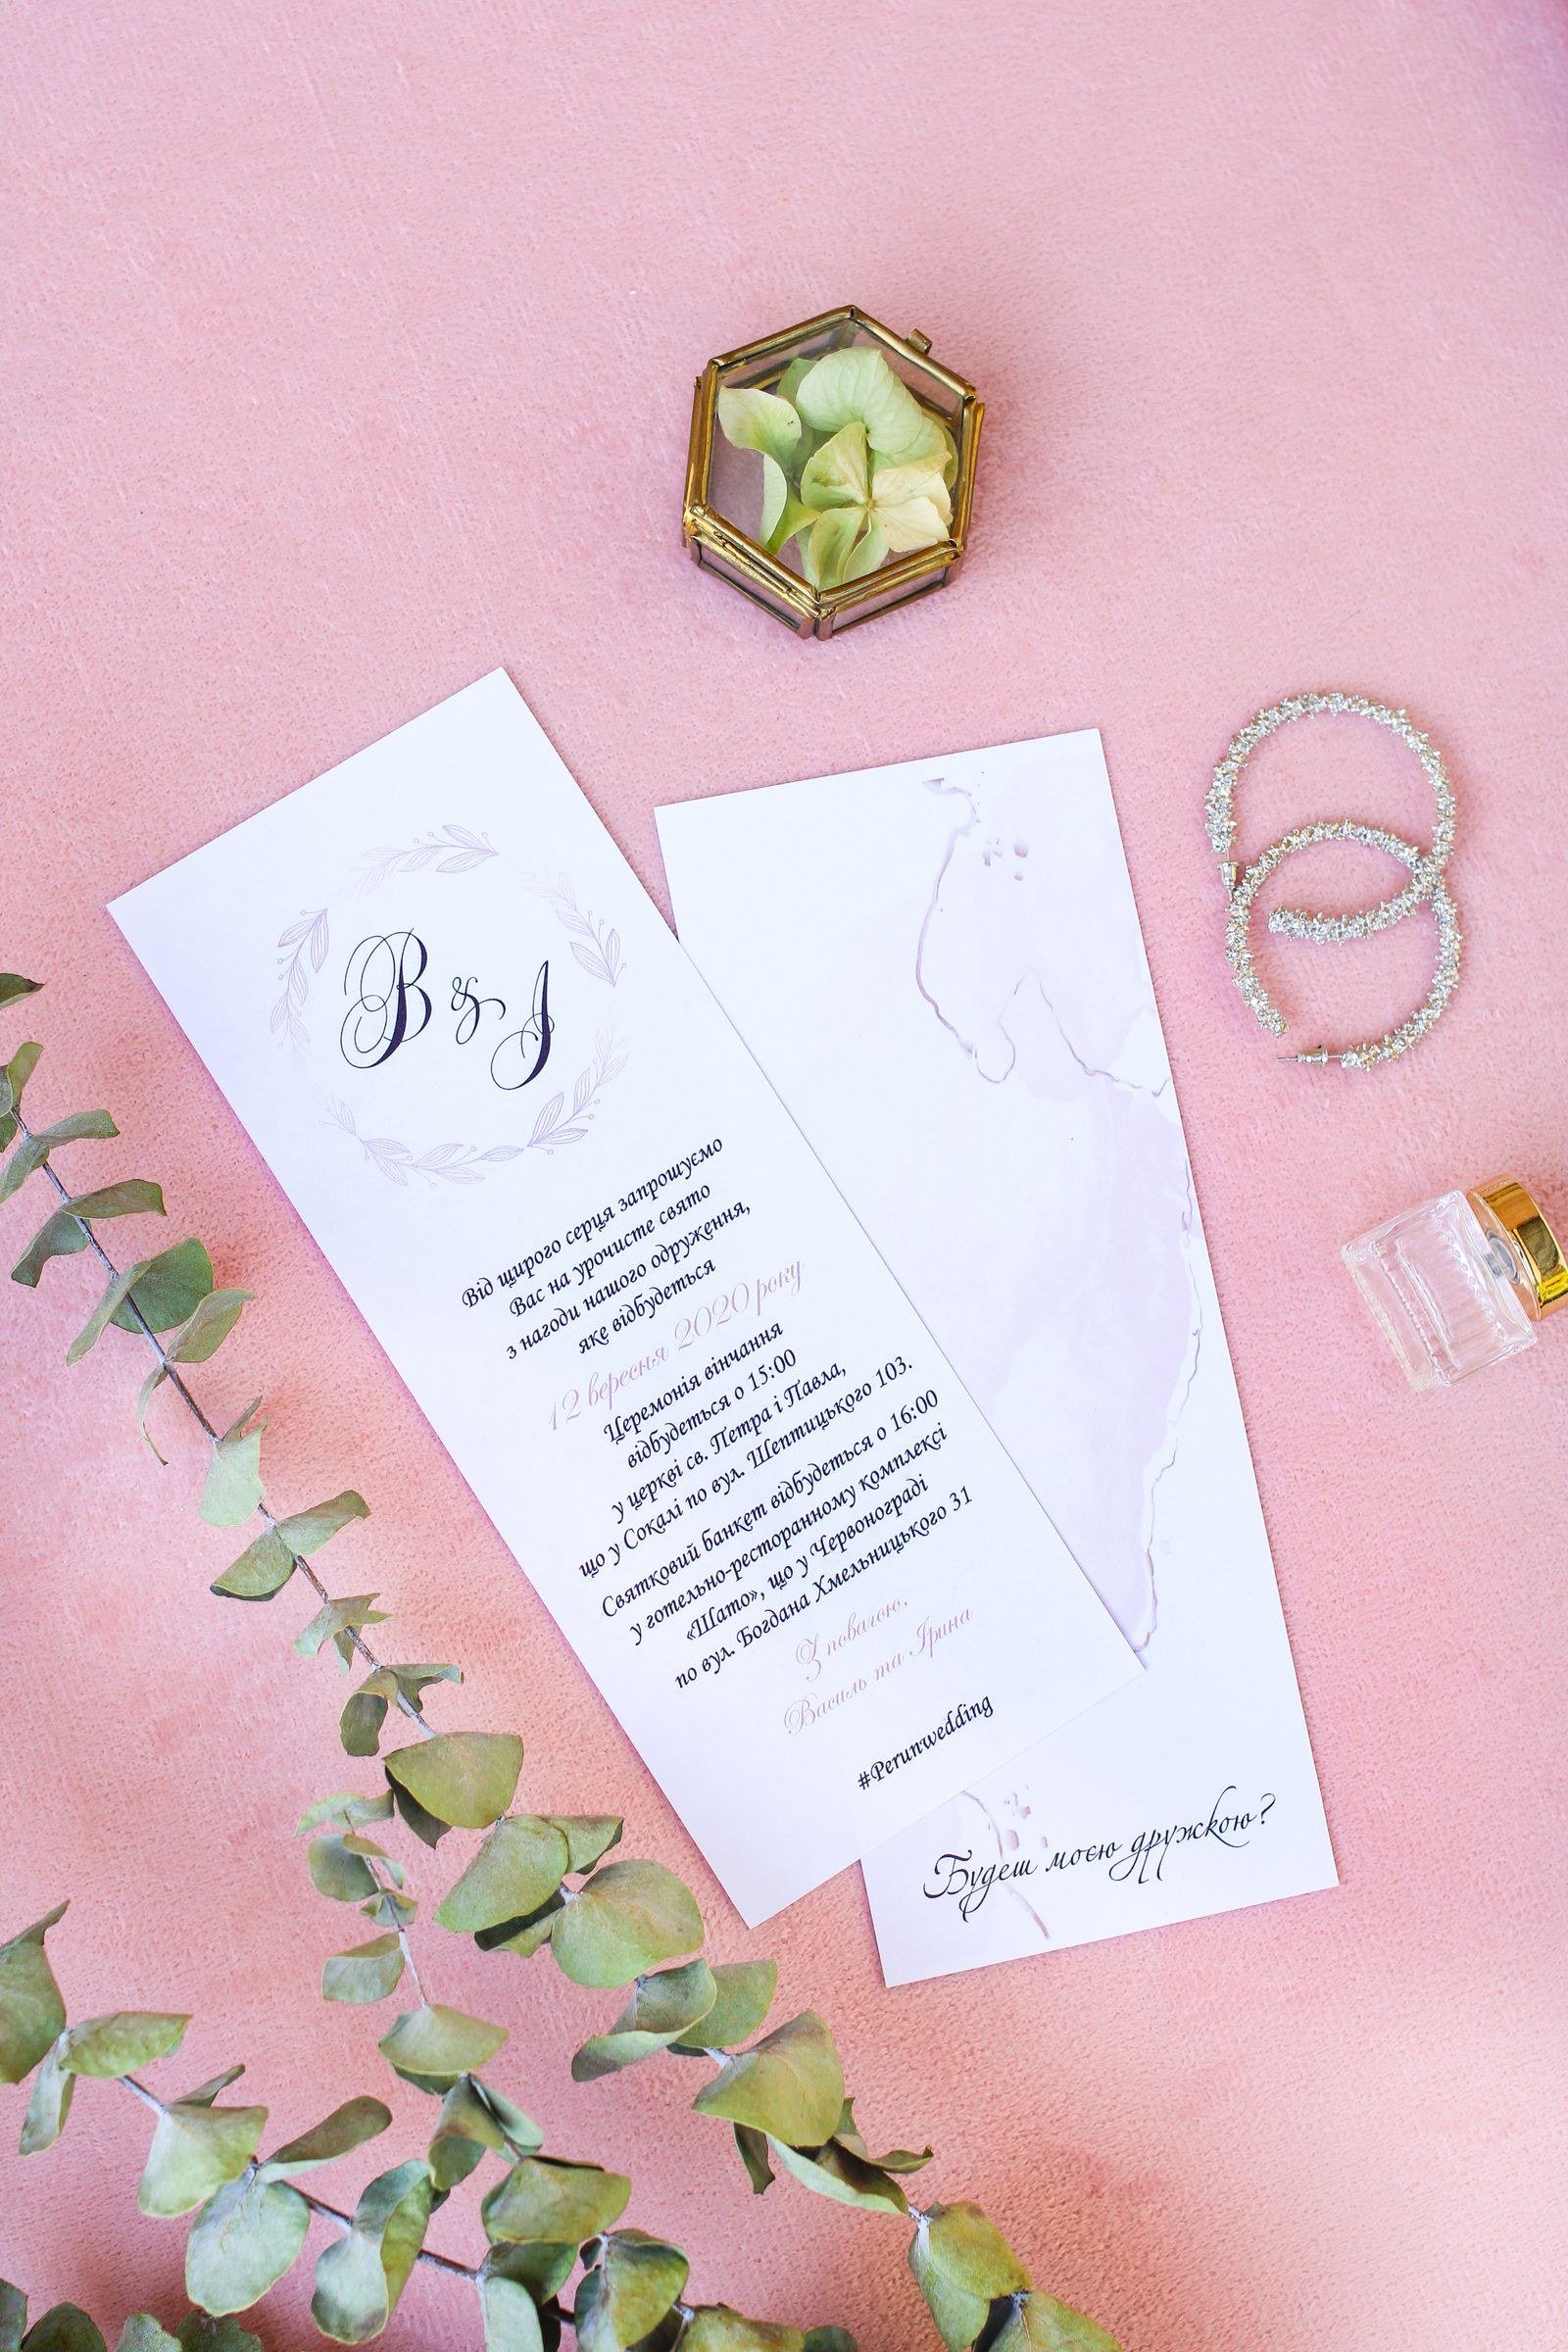
Paper is the foundation of a snail mail invitation — it is the first thing guests touch. Cotton paper feels luxurious and soft with a subtle texture; it is the classic choice for formal weddings. Linen paper has a woven texture that adds visual interest and hides fingerprints. For a modern look, smooth matte card in a heavy weight feels clean and contemporary.
Weight matters: 300gsm and above feels substantial and premium, while lighter stocks can feel flimsy. Order samples before committing — paper looks and feels different in person than on screen. Consider the printing method when choosing: letterpress needs soft, thick cotton to show the impression; digital printing works on almost anything. Your paper choice sets the tone for everything else, so take time to get it right.
Consider duplexing — gluing two sheets together — for an ultra-thick invitation with a coloured edge. Painted edges in gold or your wedding colour are a jeweller’s detail. These upgrades cost more but create an unforgettable first touch.
2. Letterpress Printing
Letterpress — where type is pressed into the paper leaving a tactile impression — is the gold standard for romantic invitations. The deep impression catches light and shadow, giving the invitation a handmade, heirloom quality that digital printing cannot replicate. It suits classic, romantic, and vintage wedding styles perfectly.
Letterpress is a premium option: it costs more and takes longer than digital printing, so factor both into your timeline. It works best with simple, elegant designs — the technique itself is the decoration. Choose a skilled printer and review proofs carefully, since corrections are costly. For couples who want their invitations to feel like art objects, letterpress is worth every penny.
Blind letterpress, with no ink and just the impression, on the envelope flap or details card adds subtle luxury. It pairs beautifully with one inked element for contrast. Ask to see a blind proof — the effect depends heavily on paper softness.
3. Wax Seals with Personal Motifs
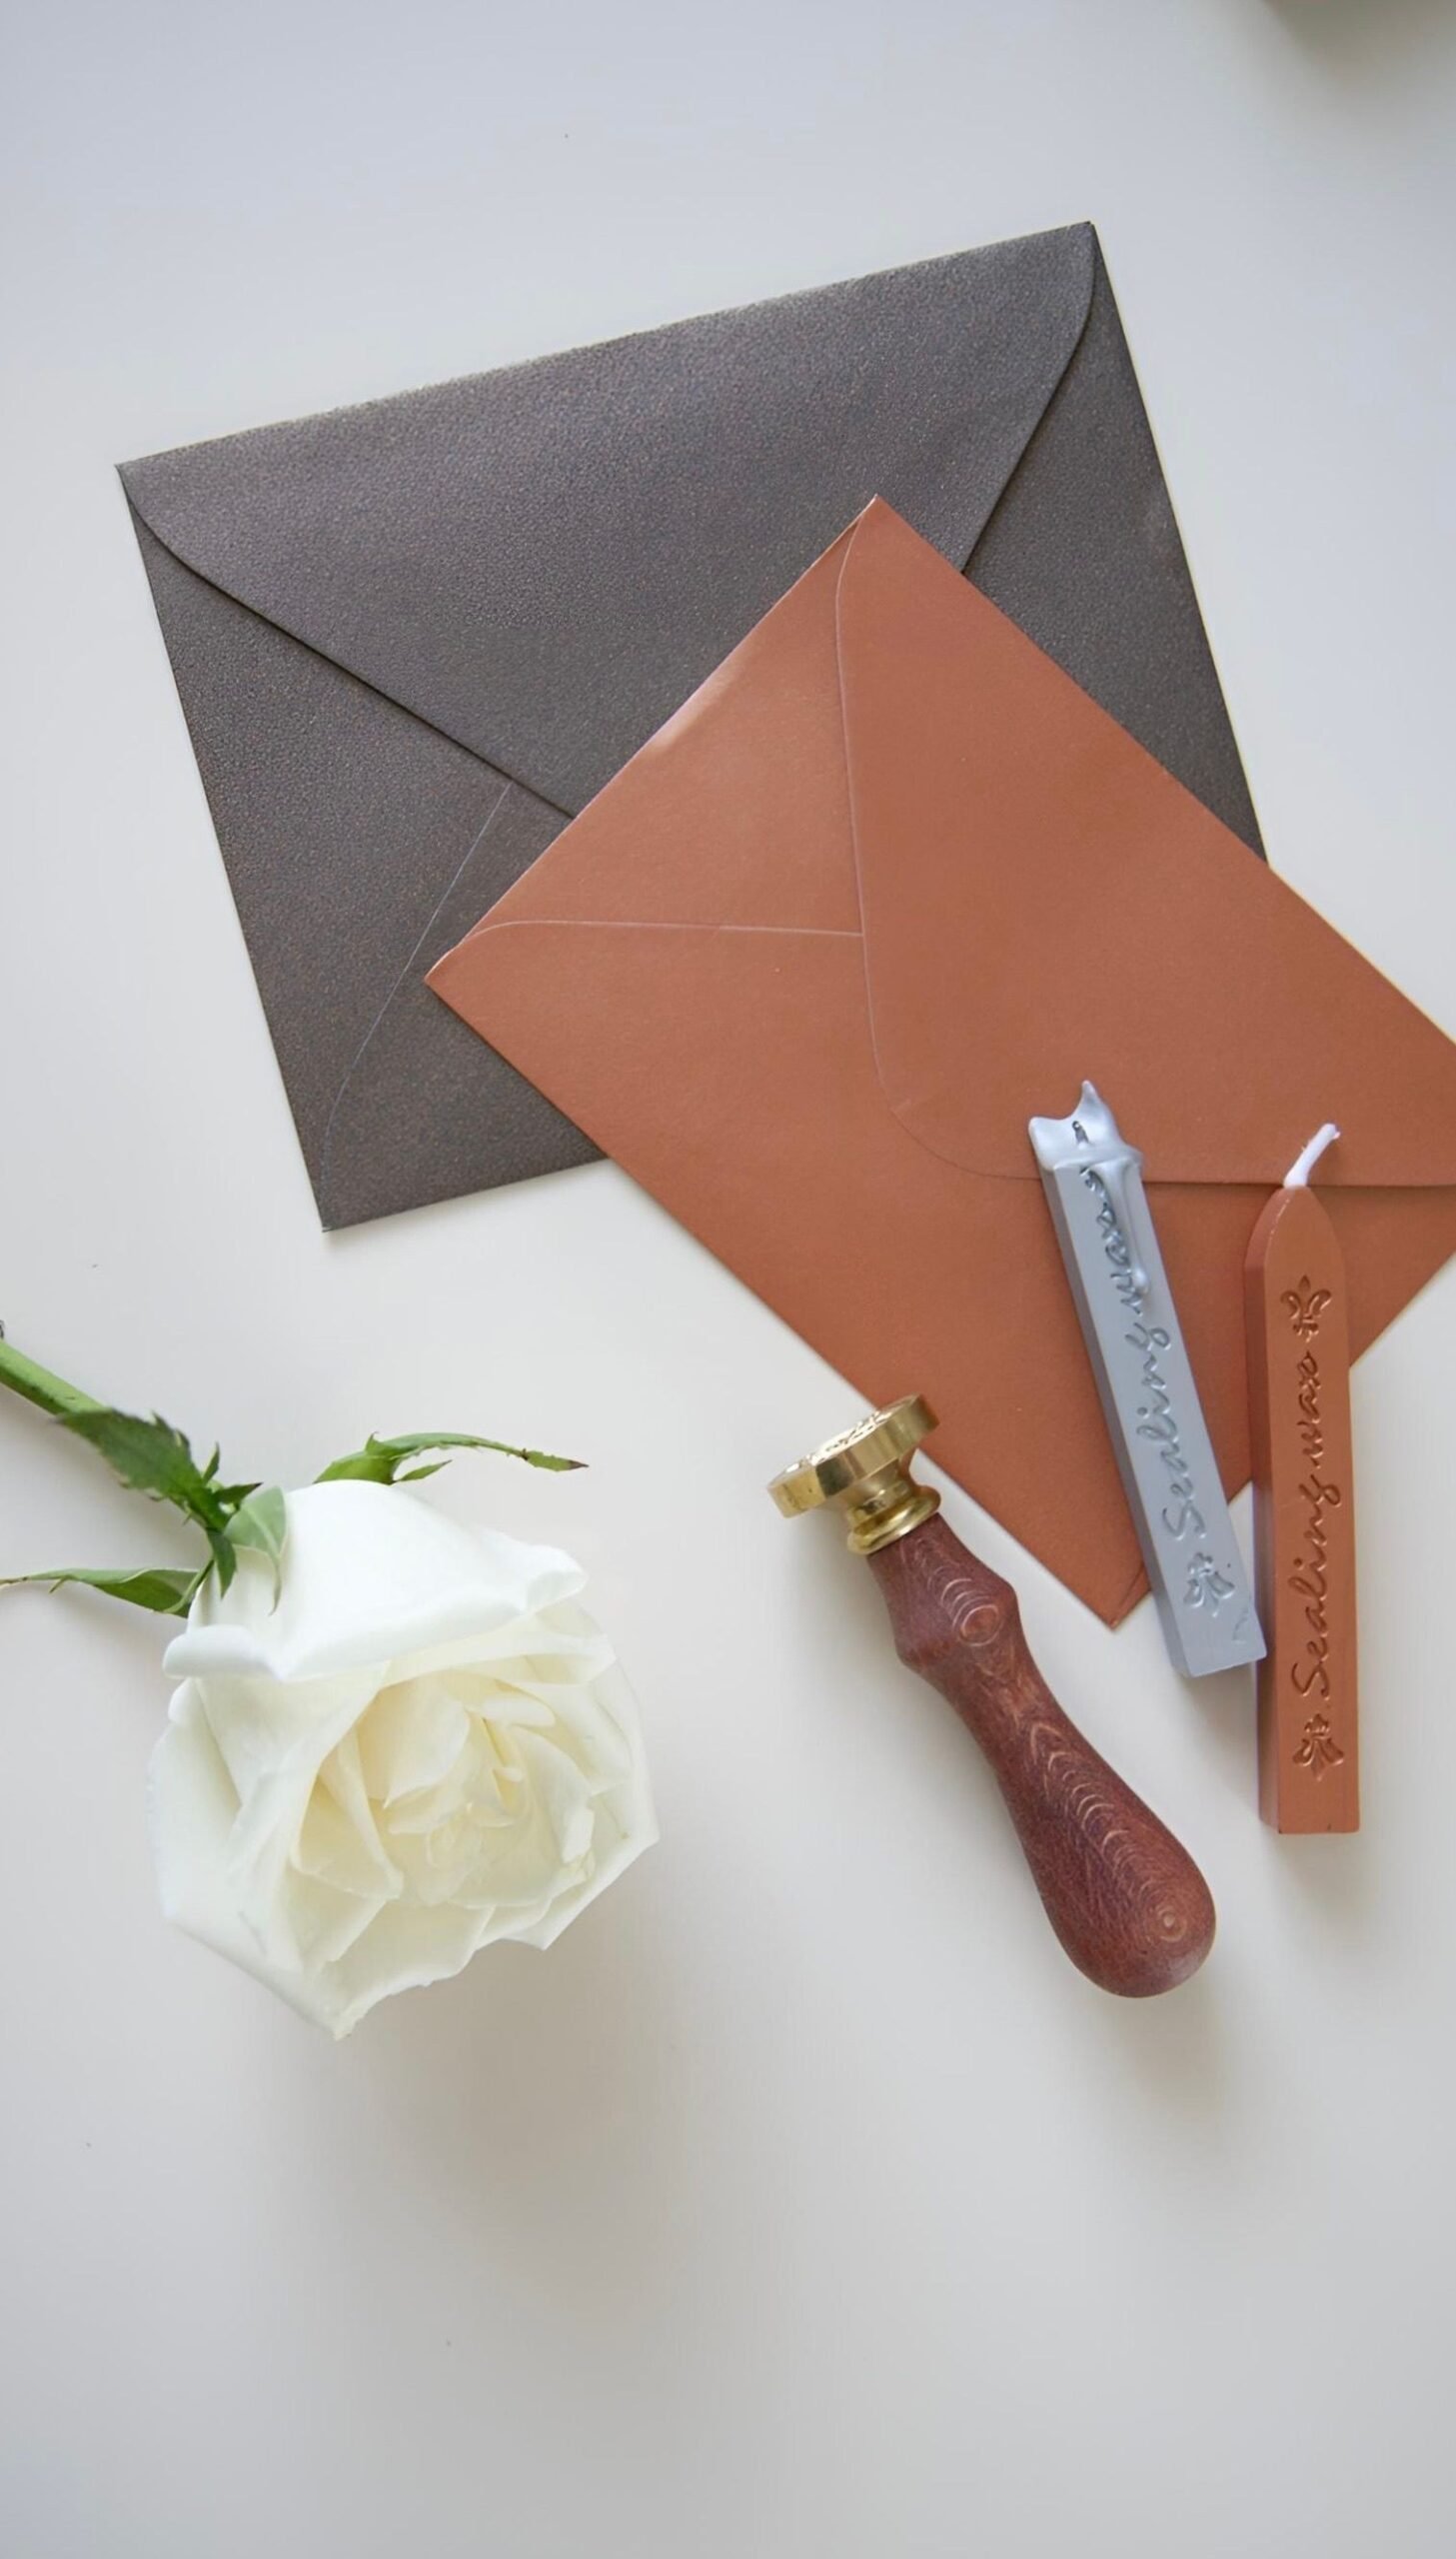
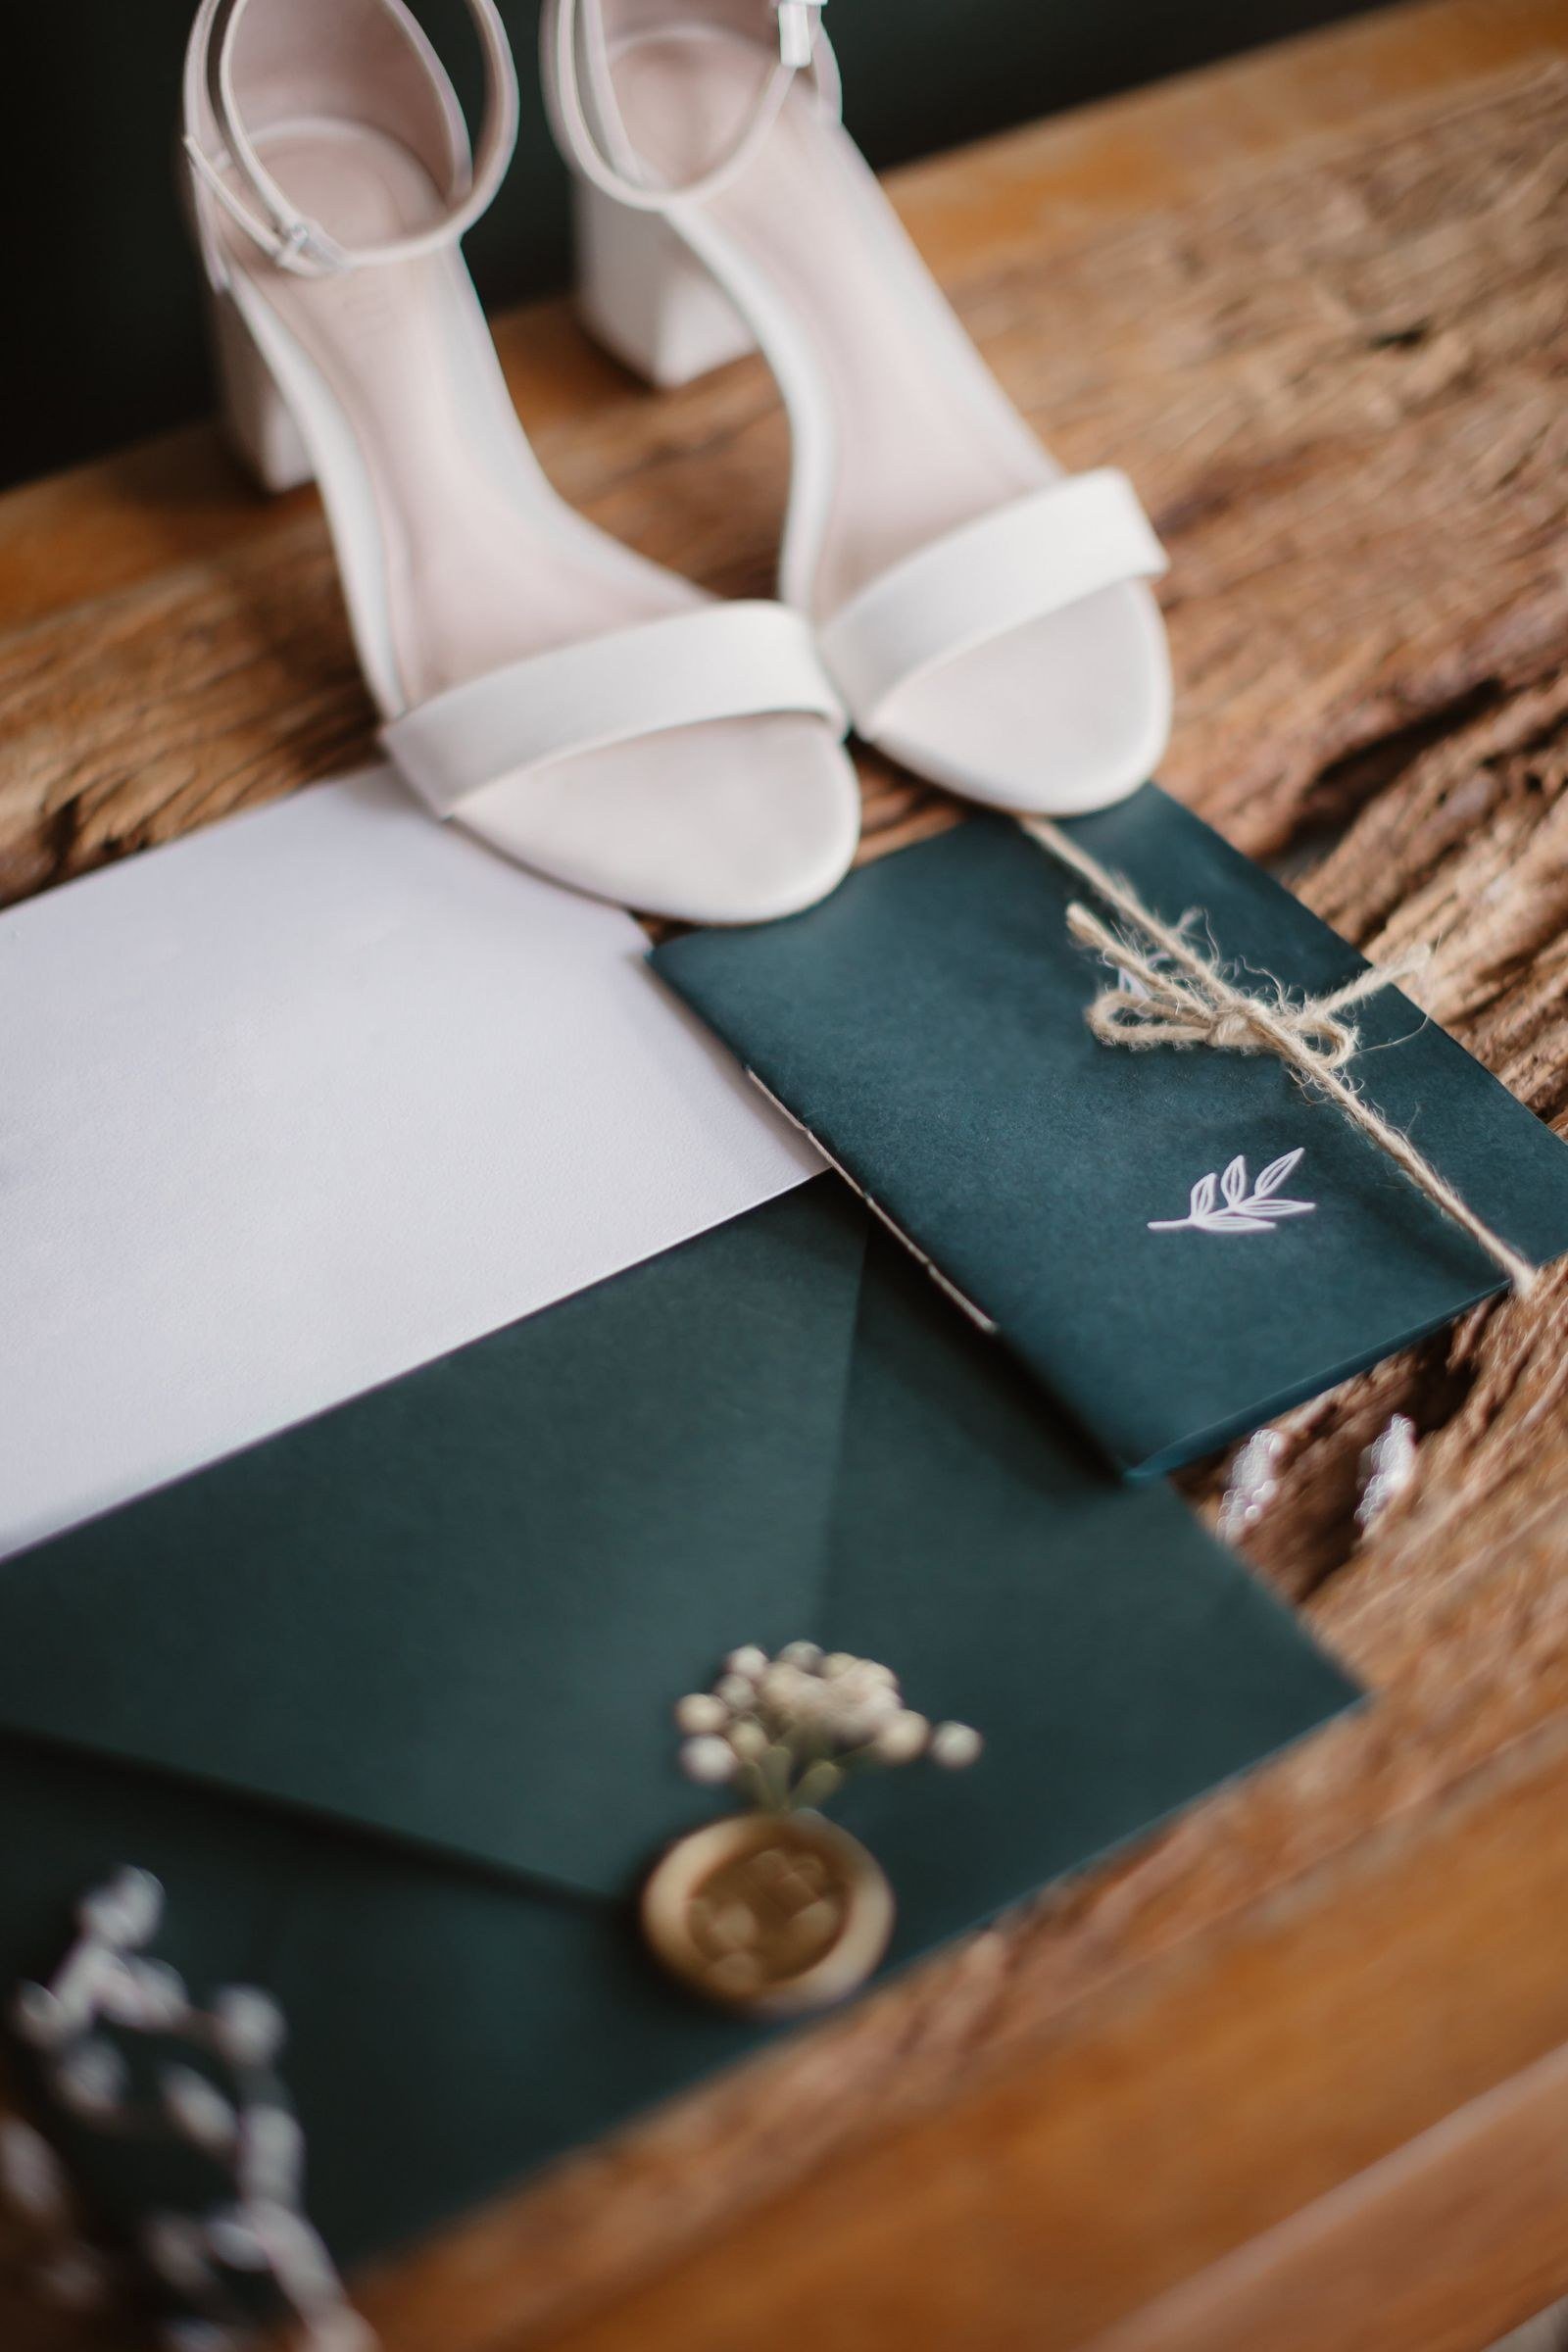
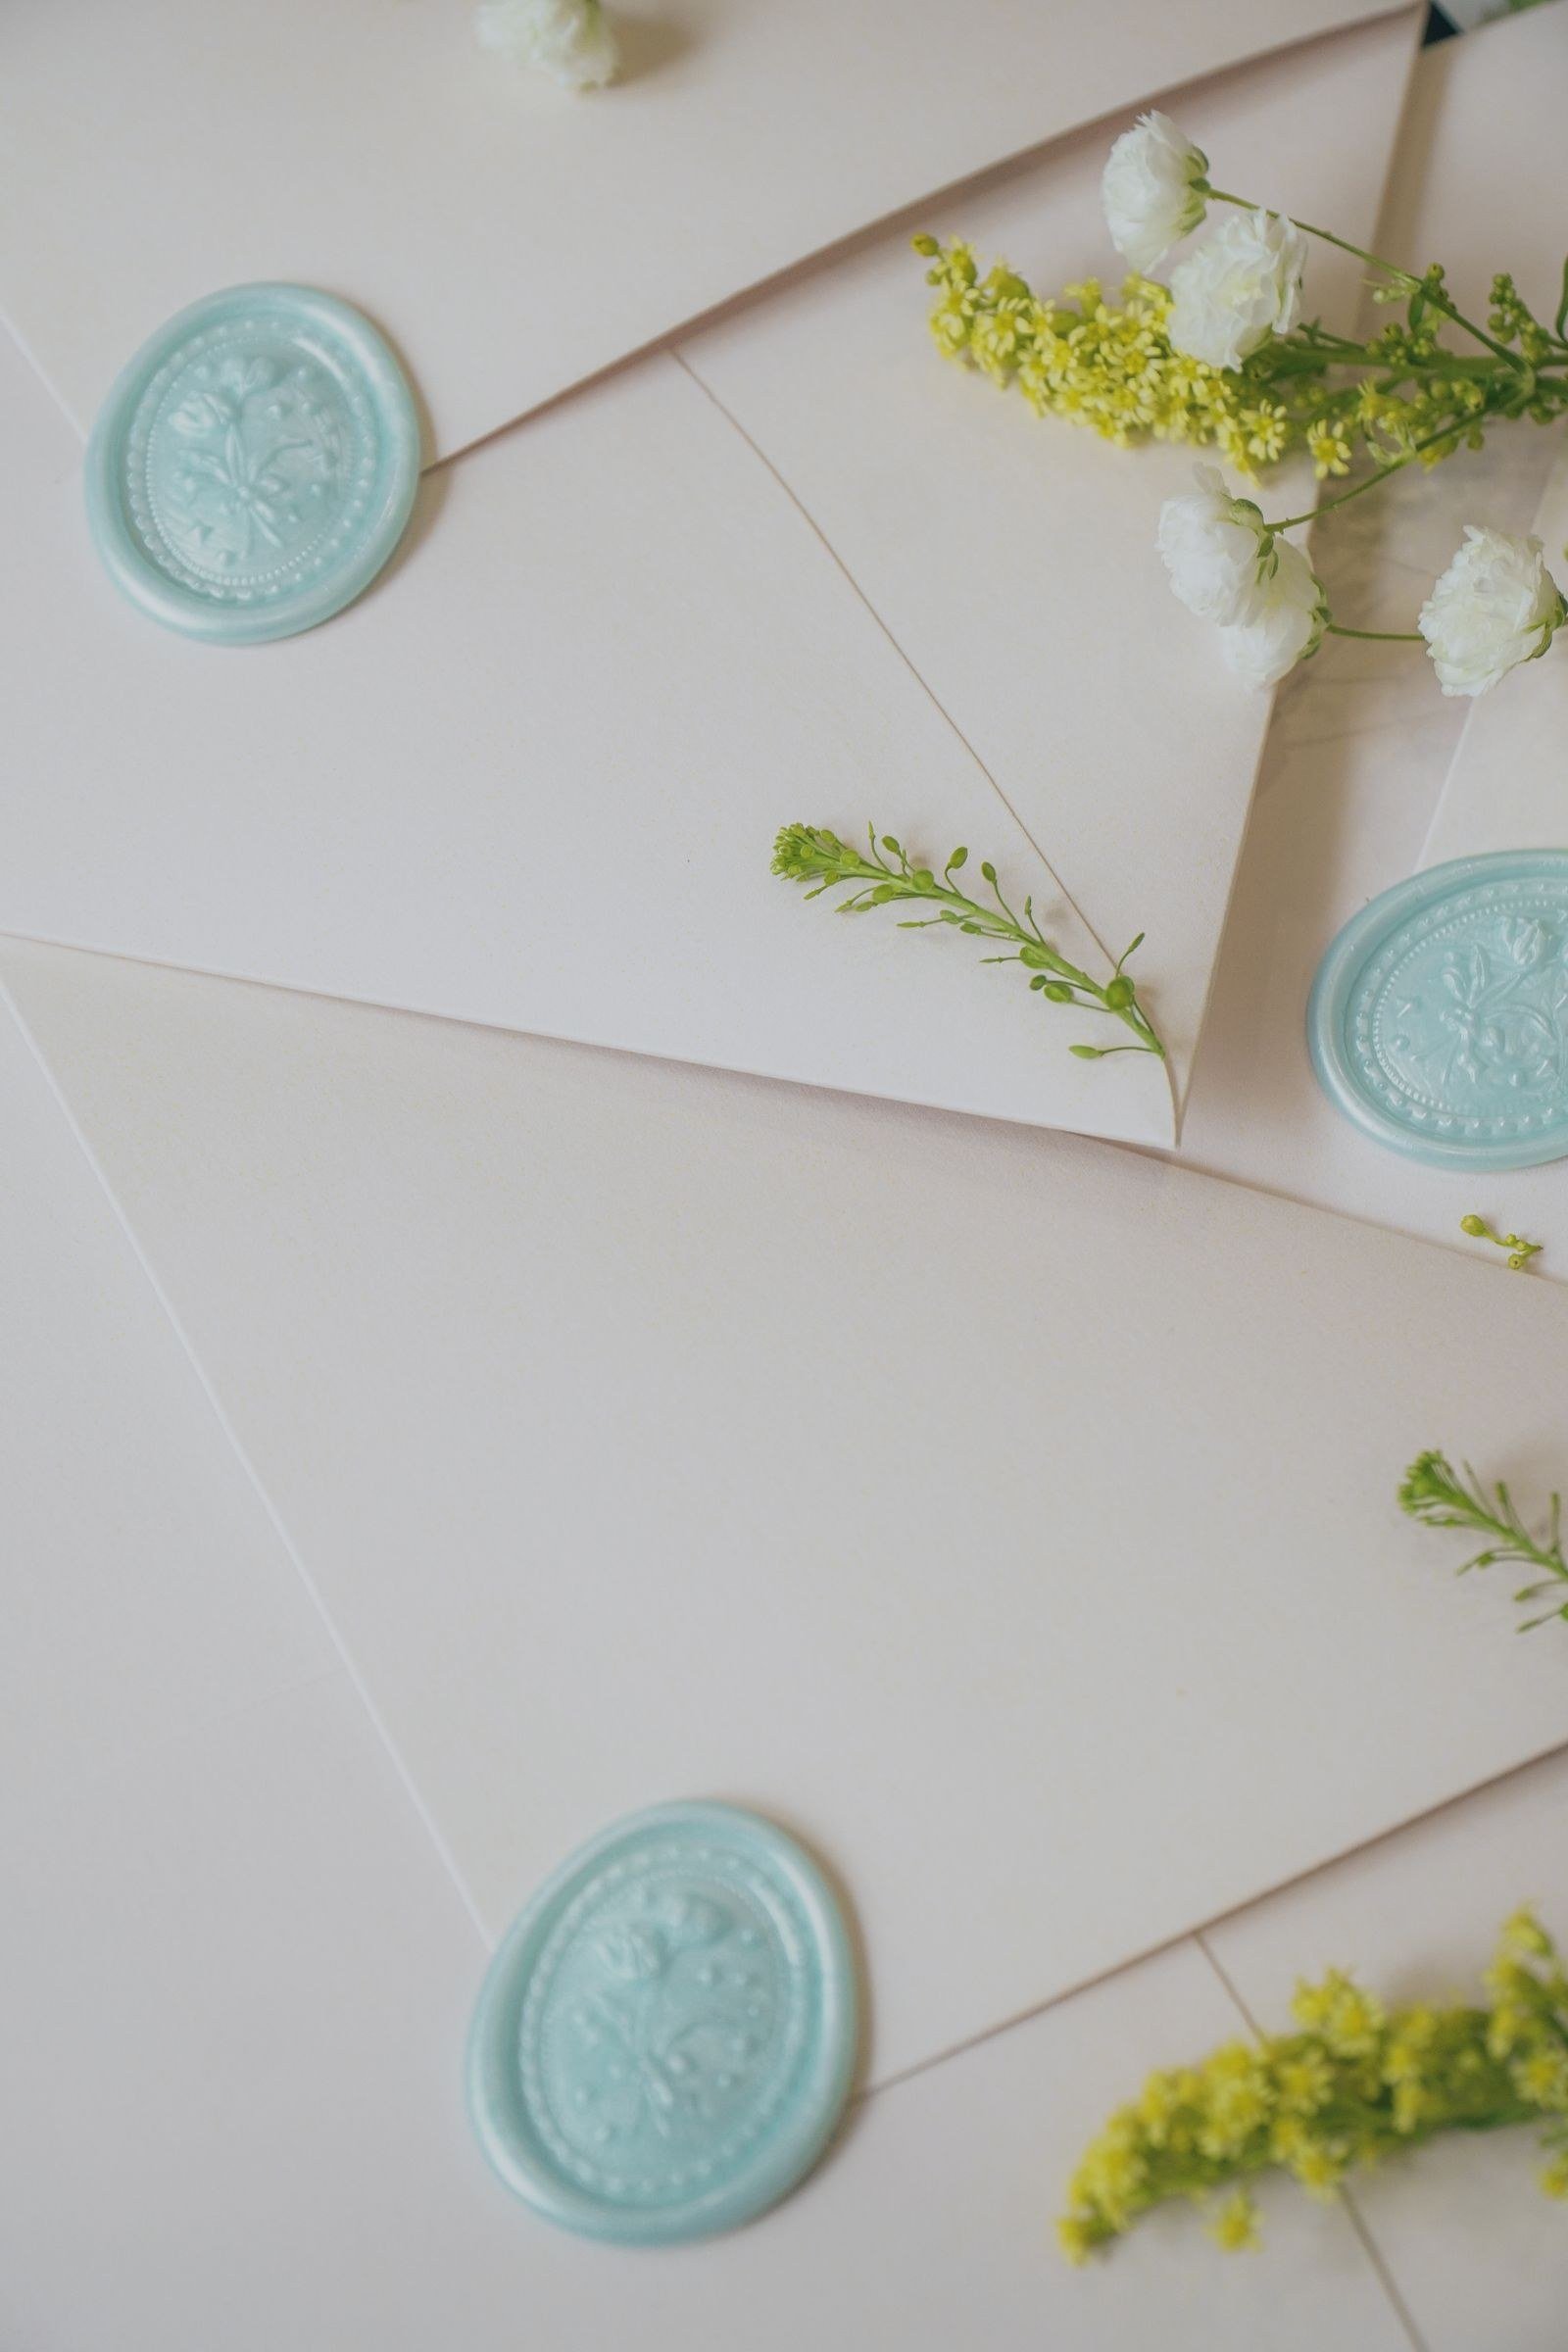
A wax seal is the quintessential snail mail detail — it turns opening an envelope into a small ceremony. Modern seals come in every colour, from classic burgundy and gold to dusty blue and sage. Choose a motif that means something: your initials, a botanical design, or a custom illustration of your venue.
Apply seals to the outer envelope flap, or use them on inner envelopes and belly bands for a layered look. Practise on scrap paper first to get clean impressions — temperature and timing affect the result. Self-adhesive wax seals are available if you are short on time, though hand-poured seals feel more authentic. Note that wax seals can affect postage (they add bulk), so check with your postal service or use them on inner packaging.
Make your own seals with a custom stamp and a glue gun loaded with sealing-wax sticks — faster than a spoon and flame for large quantities. Work in batches of ten to keep a rhythm. Imperfect seals look handmade and charming, so do not chase perfection.
4. Vintage Postage Stamps
Curated vintage stamps elevate an envelope from mail to art. Collectors’ stamps in your wedding colours, or stamps featuring flowers, art, or landmarks meaningful to you, make guests pause before opening. Many stationers offer vintage stamp curating as a service, assembling sets that meet current postage rates.
Check that the total value covers the postage required — vintage stamps are valid for postage in many countries as long as the denomination is sufficient. Arrange them thoughtfully on the envelope; a cluster of small stamps looks more charming than a single large one. This detail is especially loved by design-conscious guests and often gets photographed and shared. It is a small cost for a big impression.
Buy stamps early; good vintage lots sell quickly. Soak off paper backing only if needed — most collectors’ stamps are sold ready to use. Keep a few extra on hand in case of addressing mistakes.

5. Hand Calligraphy Addressing
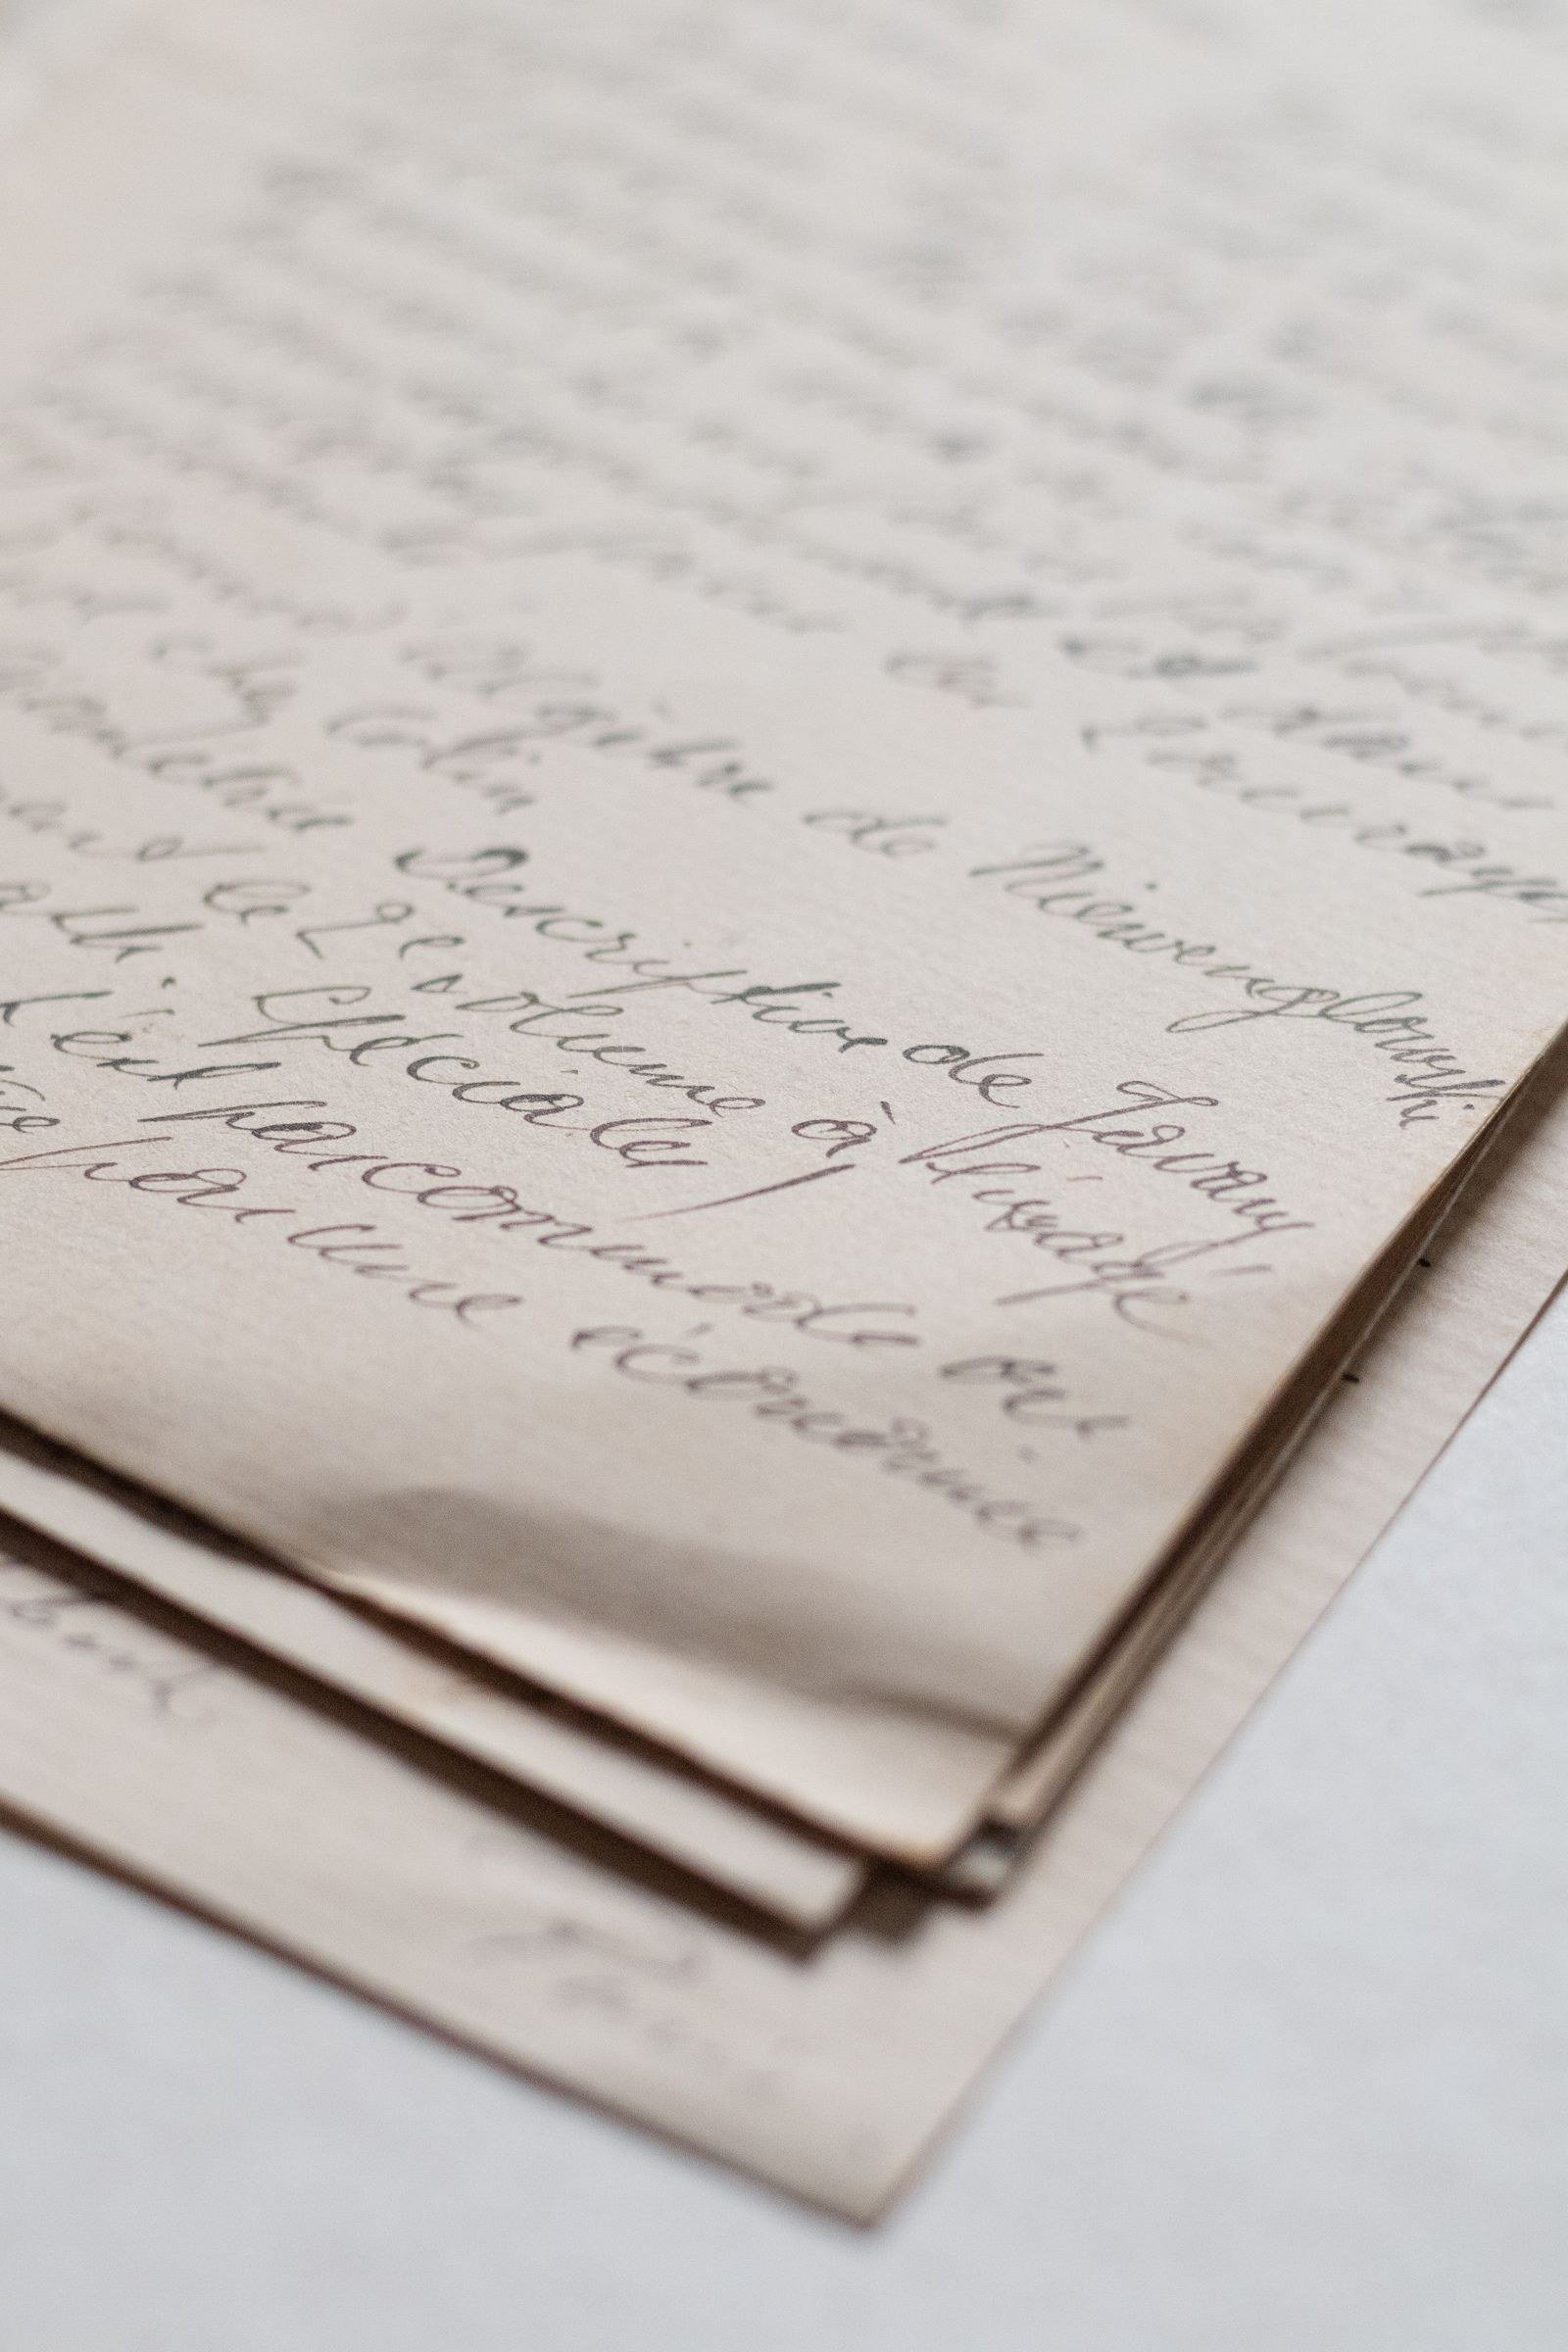
Hand-addressed envelopes in calligraphy transform the envelope into part of the invitation. Guests recognise the effort instantly — a calligraphed envelope is rarely mistaken for junk mail and almost always opened first. Even if your invitation itself is digitally printed, calligraphed addressing adds a handmade touch.
Hire a calligrapher well in advance; good ones book up in wedding season. Provide your guest list in a clean spreadsheet with exact spellings and full addresses. Budget per-envelope pricing and allow extra time for the calligrapher to work. If the budget is tight, learn basic modern calligraphy yourself for a personal (if imperfect) touch — guests treasure the effort either way.
Provide the calligrapher with envelopes in advance to test ink on your exact stock. Dark envelopes need light inks like gold or white, which require different tools. Agree on a proof envelope before the full run begins.
6. Envelope Liners
Envelope liners — decorative paper inside the envelope — are a delightful surprise. Floral patterns, maps of your wedding city, or a motif from your invitation design all work beautifully. The liner is revealed as the invitation slides out, adding a moment of discovery to the unboxing.
Liners can be ordered pre-cut to fit standard envelopes or cut by hand with a template. Choose a lighter paper than the invitation so the envelope still closes easily. Coordinate the liner with your overall stationery design for a cohesive suite. This is a relatively inexpensive detail with outsized impact — it makes the whole suite feel considered and complete.
Cut liners slightly smaller than the envelope interior so they sit flat without buckling. A light adhesive dot at the top keeps them in place. Patterned inside, plain outside is the classic formula.

7. The Full Suite: What to Include
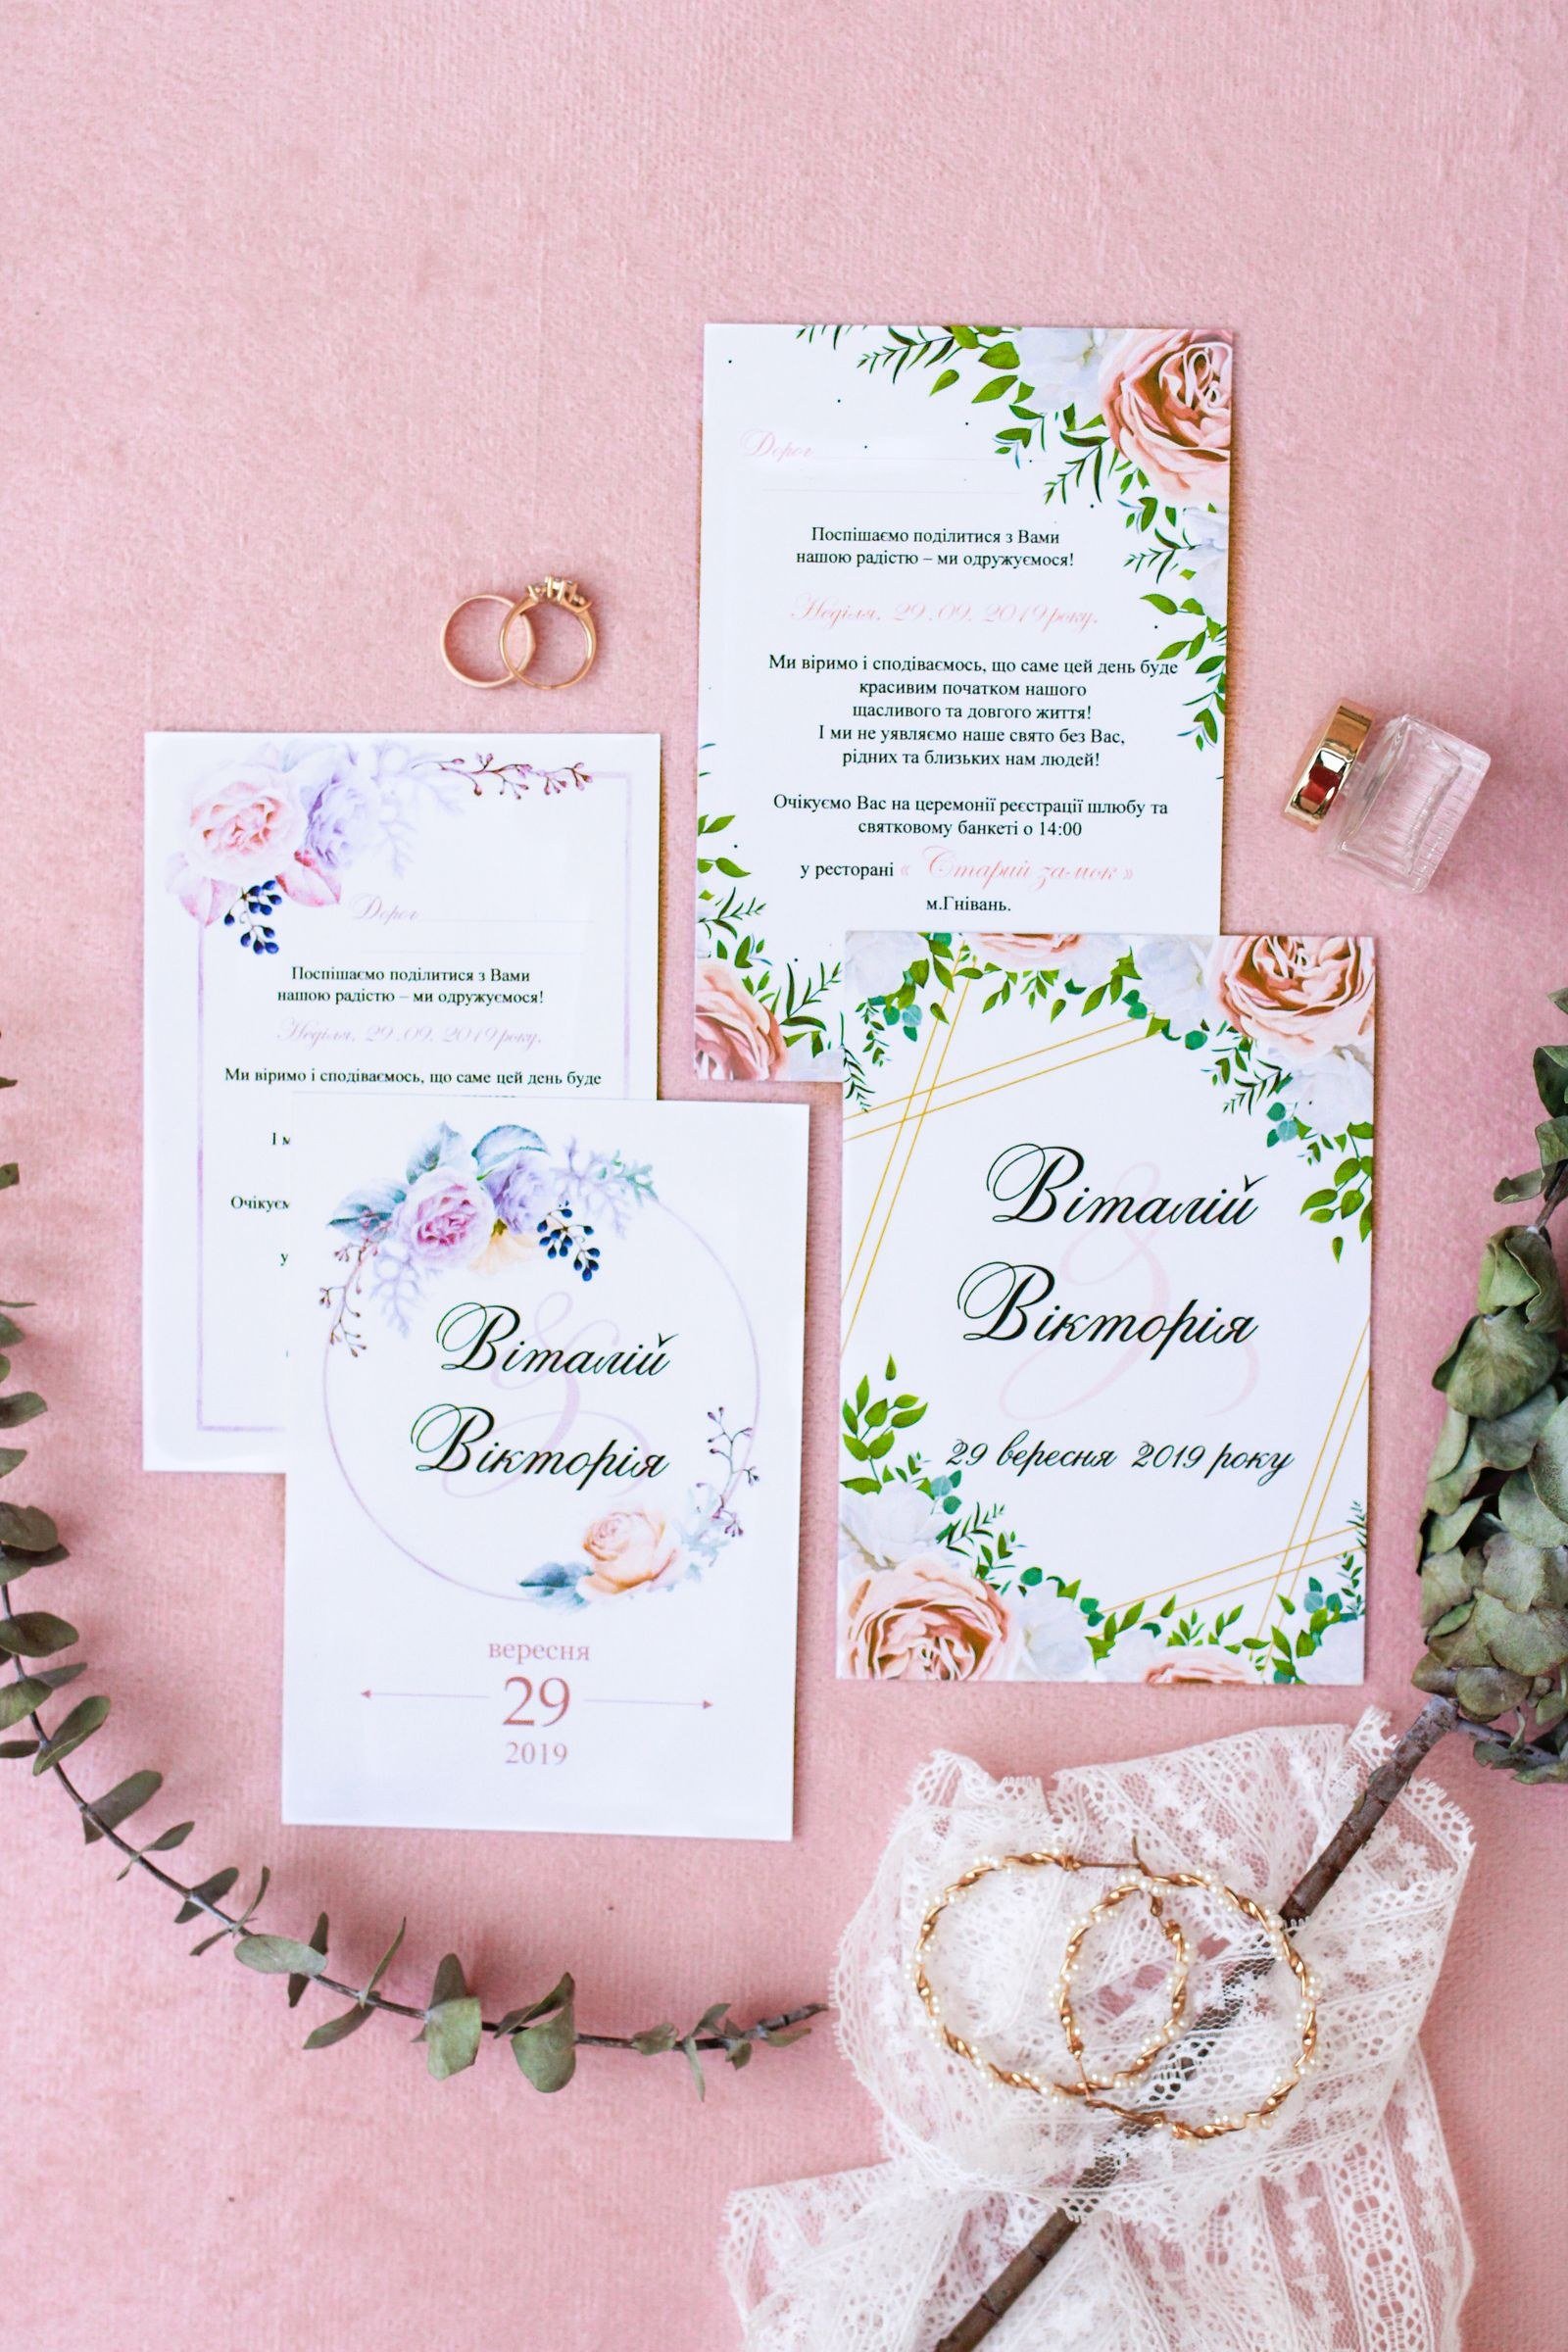
A complete invitation suite typically includes the invitation, an RSVP card with envelope, a details card (accommodation, transport, dress code), and sometimes a map or weekend itinerary. Each piece should share design elements — fonts, colours, motifs — so the suite reads as one cohesive story.
Do not overload the envelope: too many inserts feel cluttered and increase postage. Prioritise clarity — guests should understand the essentials (date, time, venue, how to RSVP) within seconds. A wedding website can carry the overflow detail; reference it on the details card. Assemble one complete suite first to check the fit, weight, and overall impression before committing to the full print run.
Weigh the full suite at the post office before buying postage — a gram over the threshold can double the cost per invitation. If overweight, consider moving details to the website. Every insert should earn its postage.
8. RSVP Cards Done Right
The RSVP card is the hardest-working piece of your suite. Make responding effortless: pre-address and stamp the return envelope, give a clear deadline (three to four weeks before the wedding), and include meal choices if needed. Number the back of each RSVP card lightly in pencil and keep a matching guest list — this saves you when handwriting is illegible.
Consider adding a touch of personality: a favourite song request line, or a question like “what are you most looking forward to?” These details make RSVPs fun to receive and give your DJ or planner useful information. Track responses in a spreadsheet as they arrive. A well-designed RSVP card maximises your response rate and minimises chasing.
For meal choices, use clear icons or letters rather than relying on handwriting alone. Follow up personally with non-responders a week after the deadline — a friendly call beats an awkward gap in the seating plan.
9. Save-the-Dates by Post
Save-the-dates sent by post build anticipation months before the invitation. They can be simpler than the invitation — a beautiful photo card, a minimalist date announcement, or a playful design that hints at the theme. Send them six to eight months before the wedding (earlier for destination weddings).
Collect addresses early; this is often the most time-consuming part. A save-the-date does not obligate you to invite everyone who receives one, so be thoughtful about the list. Digital save-the-dates are acceptable, but posted ones feel more significant and are less likely to be overlooked. This first mailing sets expectations — make it beautiful.
Match the save-the-date design language to the invitation without duplicating it — think prequel, not repeat. Include the wedding website URL prominently. Photographs work wonderfully on save-the-dates; save the formal design for the invitation itself.

10. Postage and Mailing Practicalities
Postage is where snail mail dreams meet reality. Assemble one complete invitation and take it to the post office to be weighed — guess wrong and invitations come back or arrive postage-due, which is embarrassing. Square envelopes, rigid inserts, wax seals, and ribbons can all trigger surcharges or require hand-cancelling.
Budget for postage early; it is a significant line item for large guest lists. International postage costs more and takes longer — send those first. Consider hand-delivering local invitations to save postage and add a personal touch. Ask the post office about hand-cancelling to protect your beautiful envelopes from machine marks. A little postal homework prevents expensive mistakes.
Rectangular envelopes in standard sizes avoid surcharges in most postal systems. If you fall in love with square envelopes, budget for the premium. Hand-cancelling protects calligraphy from machine smudging — request it at the counter.
11. Timeline: When to Send
Timing is everything with posted invitations. Send invitations six to eight weeks before the wedding (eight to twelve for destination weddings). This gives guests time to plan while keeping the excitement fresh. Work backwards: allow time for printing (two to four weeks), addressing, assembly, and postage.
Build buffer into every stage — printers run late, calligraphers get busy, and assembly takes longer than you expect. Order a few extra invitations for keepsakes and last-minute additions. Mail in batches if needed, prioritising guests who must travel. A calm, well-planned timeline is the difference between joyful anticipation and last-minute panic.
Send invitations to yourselves first as a test — you will see exactly what guests receive, including postmarks and handling wear. This trial run catches problems while there is still time to fix them.
12. Wording Etiquette
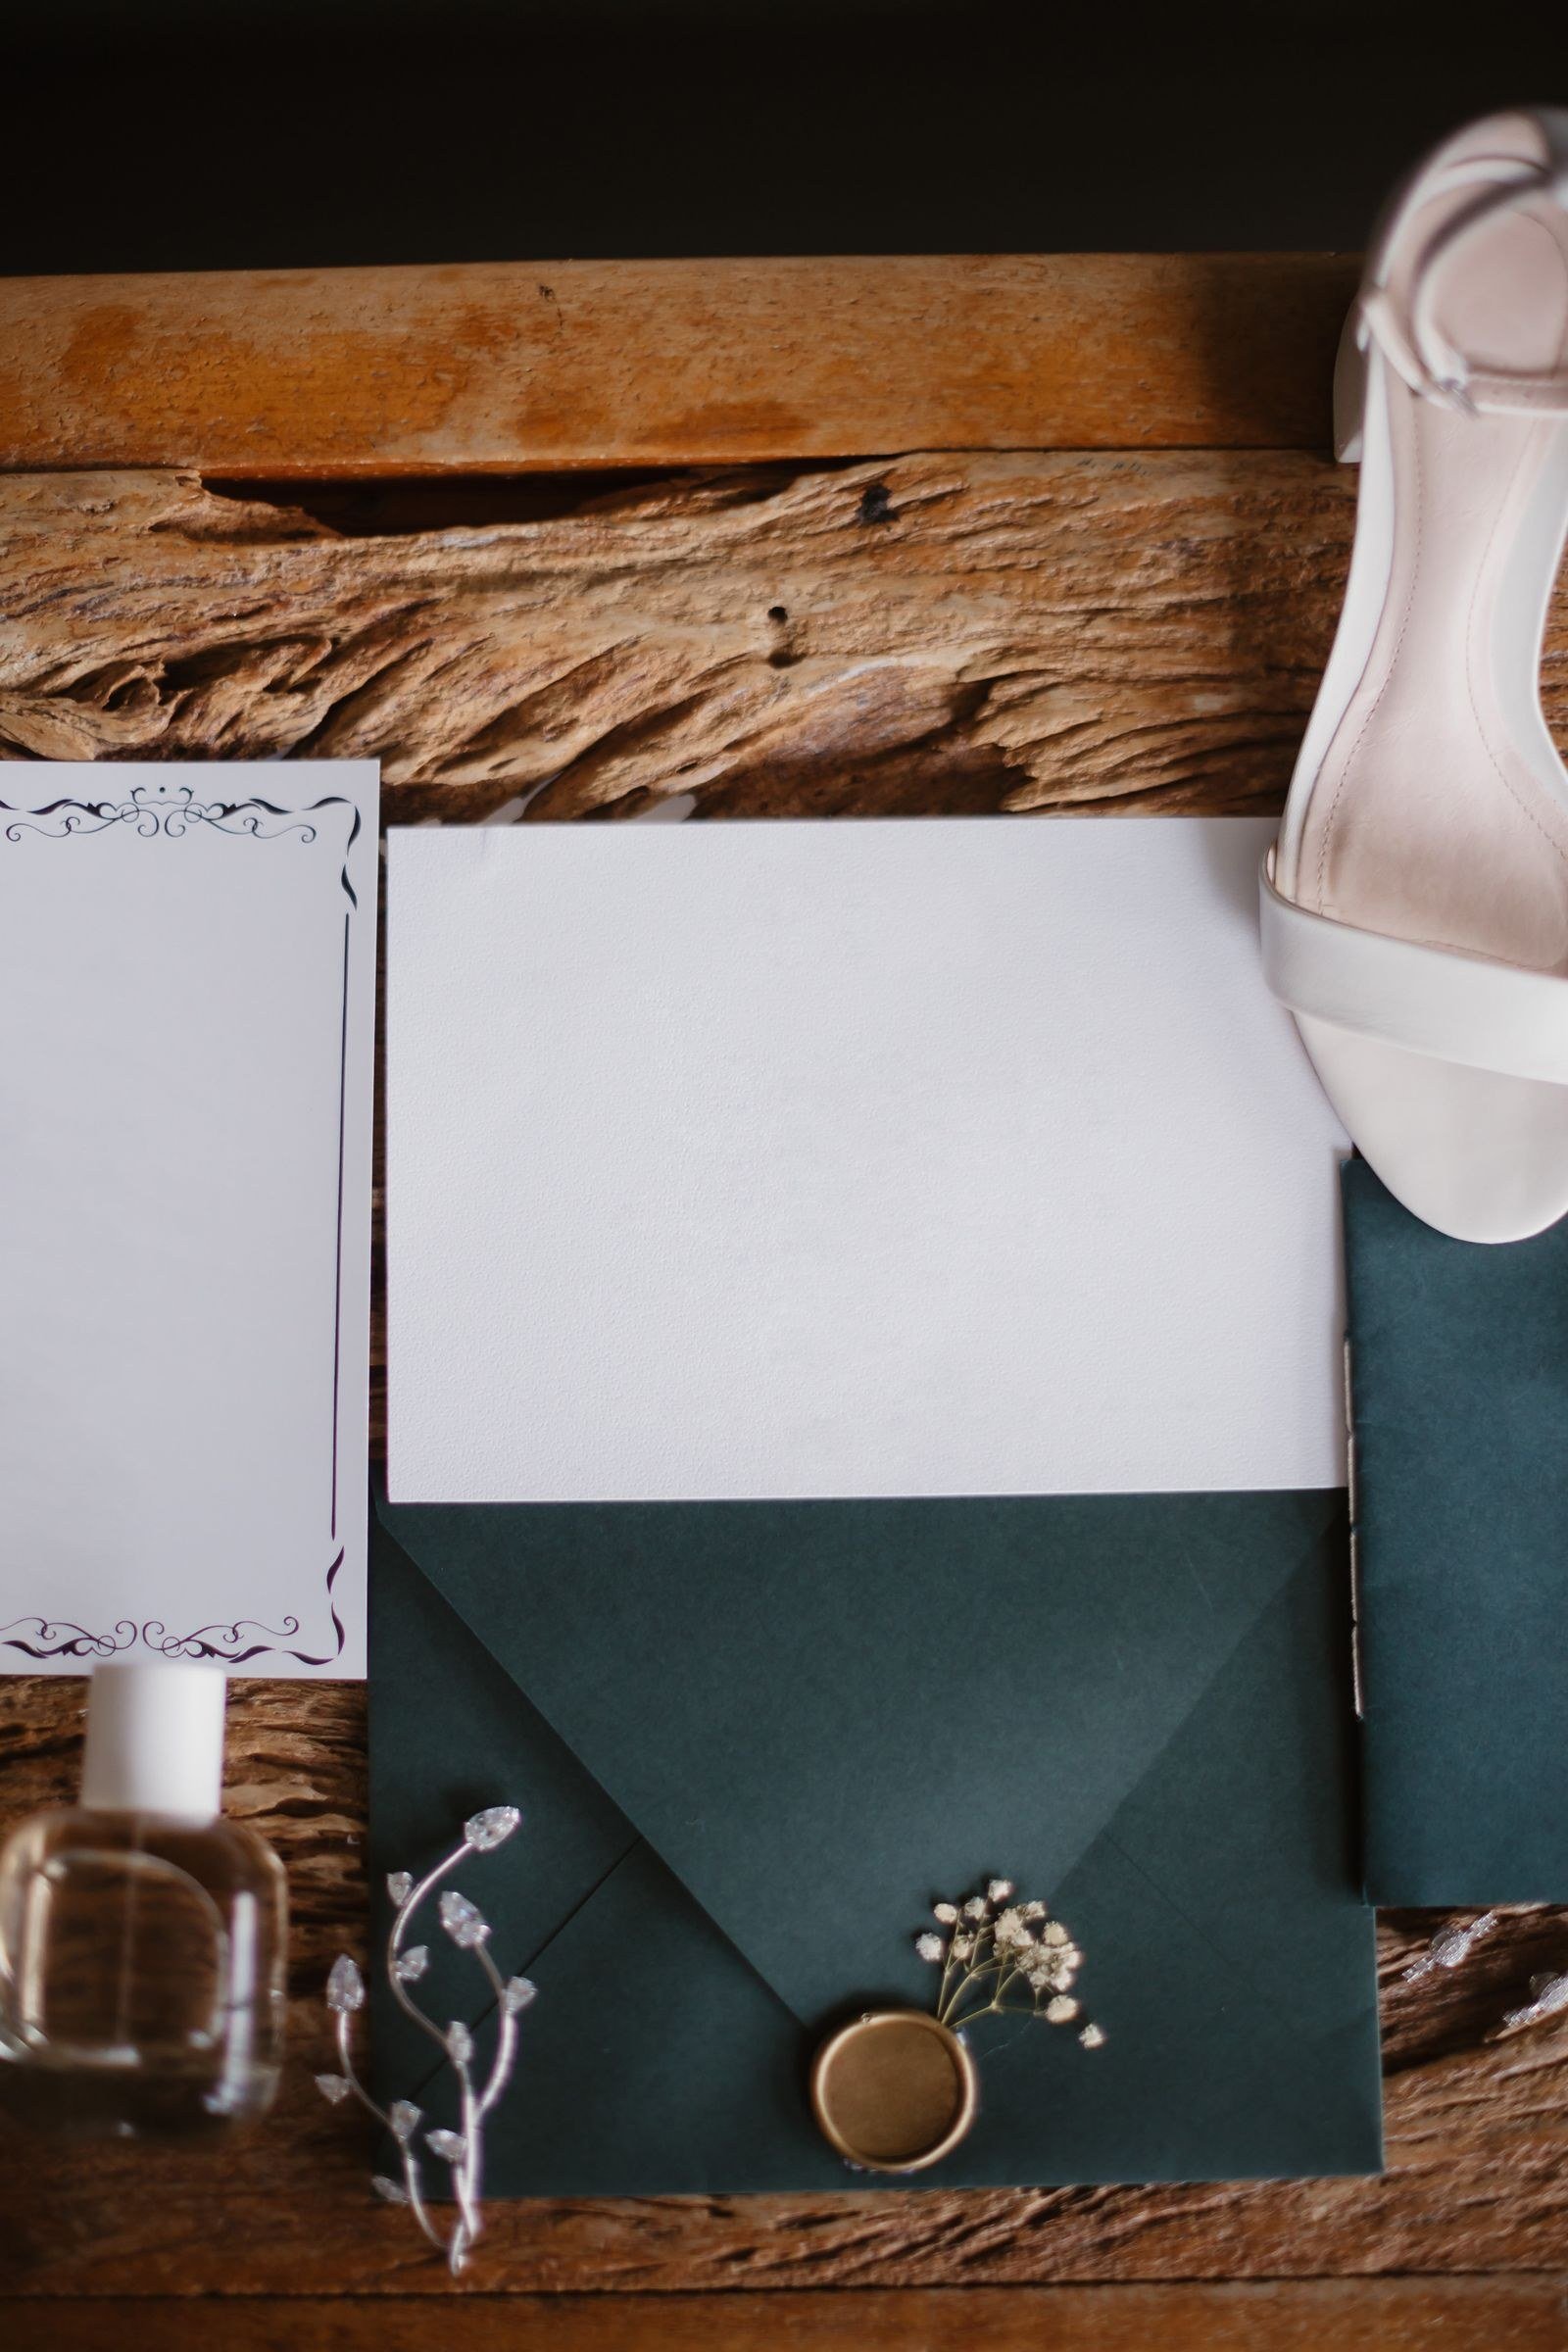
Invitation wording follows traditions that signal who is hosting and the formality of the event. Classic formal wording names the hosts (“together with their families” is the modern flexible option), while casual weddings can use first names and conversational language. Be clear about the essentials: names, date, time, venue, and reception information.
Handle tricky situations gracefully: plus-ones named explicitly on the envelope, children’s invitations addressed to the family, and dress code stated plainly. Proofread obsessively — have three people check names, dates, and addresses. Wording sets the tone, so match it to your wedding’s personality: formal wording for a black-tie affair, warm and personal for an intimate celebration.
For plus-ones you have not met, ‘and guest’ on the inner envelope is correct etiquette. Children over eighteen receive their own invitation. When in doubt, err on the side of formality — it is easier to relax later than to correct.
13. Belly Bands and Wraps
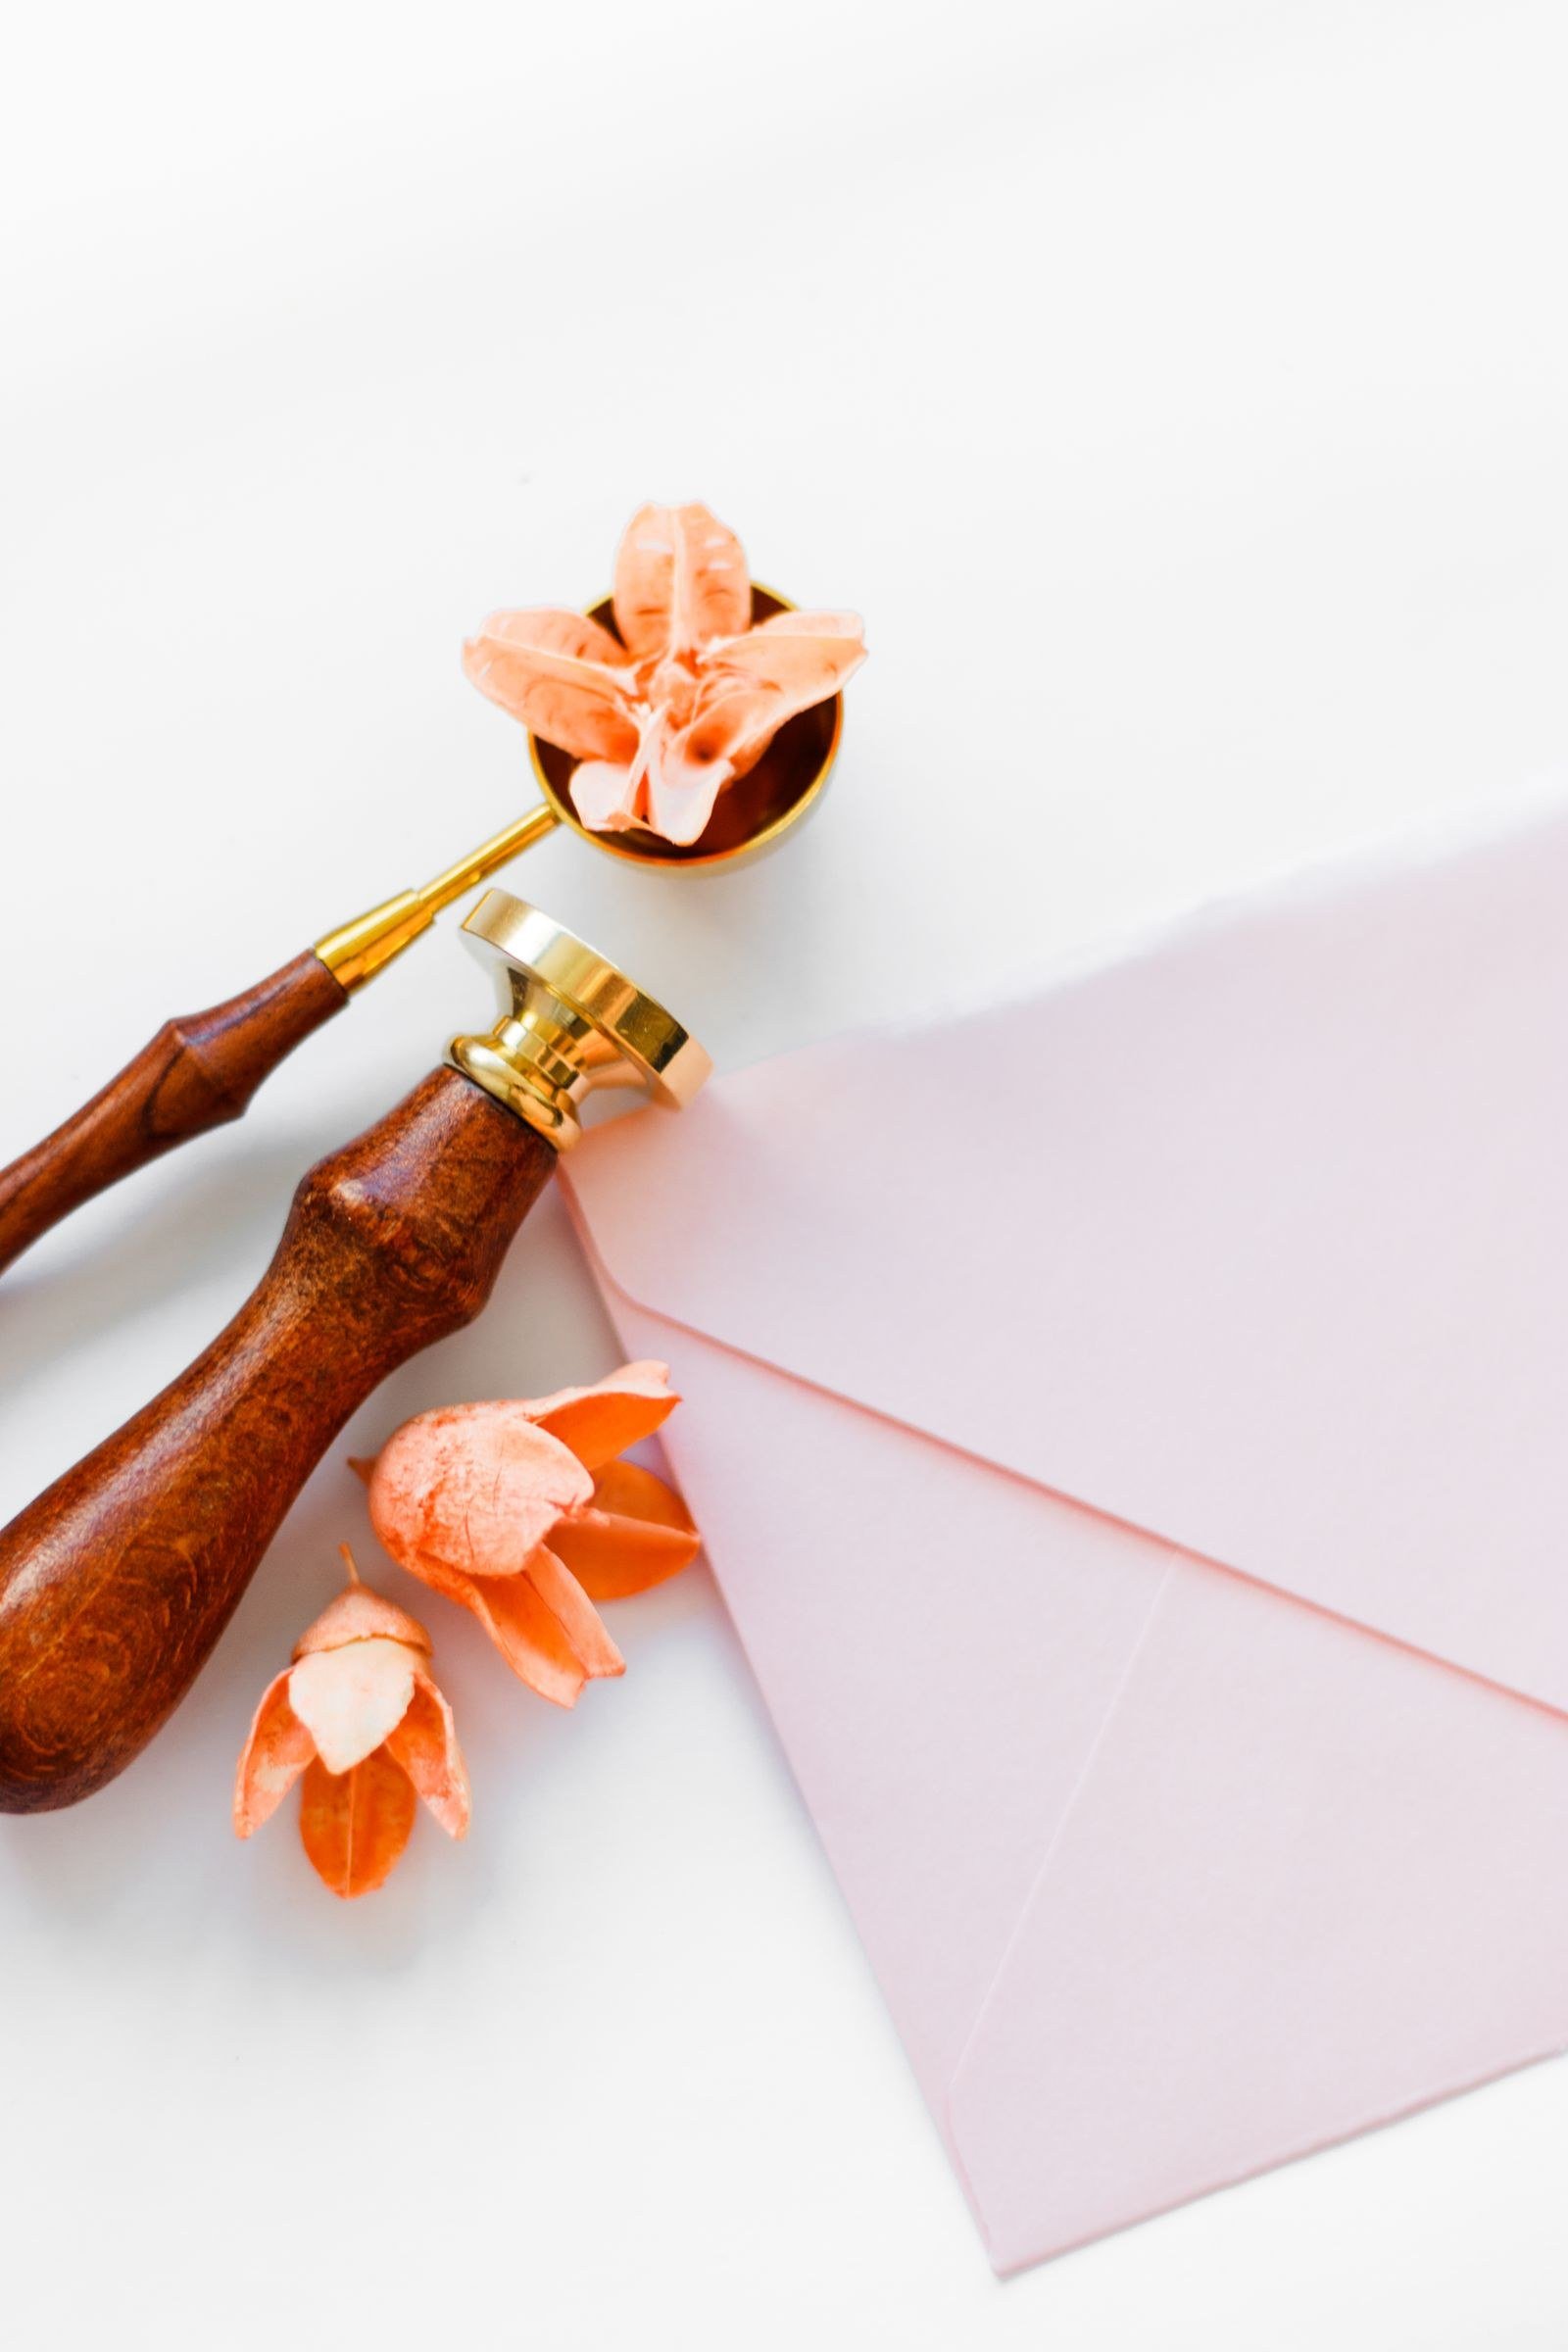
Belly bands — paper or fabric strips that hold the suite together — add polish and keep inserts organised. A band in your wedding colour with your monogram, or a strip of vellum with a wax seal, turns a stack of cards into a presented gift. They also prevent pieces from sliding around in the envelope.
Size the band to fit snugly without crushing the contents. Vellum bands are elegant and inexpensive; fabric ribbons feel more luxurious. This is a simple DIY element — cut, wrap, and seal an afternoon’s worth in a few hours. The belly band is the first thing guests remove, so make that moment beautiful.
Fabric ribbon bands with a wax seal are the most luxurious option and photograph beautifully. Pre-tie bands around a template block for consistent sizing. Keep bands snug but removable without tearing.

14. Maps and Illustrations
Custom illustrations — a map of the venue area, a drawing of the church, or a portrait of the couple — make invitations deeply personal. An illustrated map is both beautiful and practical, guiding guests to the venue, hotels, and local highlights. It becomes a keepsake in its own right.
Commission an illustrator whose style matches your wedding aesthetic. Provide accurate details and double-check every label. Illustrated elements can extend across the suite — the same style on menus, signage, and favours creates a cohesive visual identity. This is where your stationery becomes truly one-of-a-kind.
A watercolour crest combining your initials, wedding date, and a meaningful motif can unify the whole suite. Use it on the invitation, website, and day-of stationery. A good illustrator will provide it in formats for both print and web.
15. Eco-Friendly Paper Options
Beautiful invitations can also be kind to the planet. Recycled cotton paper, seed paper that guests can plant, and papers made from agricultural waste all offer gorgeous textures with lower impact. Soy-based inks and digital printing (which wastes less than traditional methods) further reduce the footprint.
Be honest rather than preachy about your choices — a small note about the recycled paper is enough. Consider the full lifecycle: fewer inserts, standard envelopes that do not need extra packaging, and RSVPs via your website to halve the paper. Eco choices do not mean compromising on beauty; many sustainable papers are among the most beautiful available.
Plantable seed paper works best for details cards or favours rather than the main invitation, which should be archival. Tell guests what to do with it — ‘plant me and wildflowers will grow’ — so it is not discarded.
16. Assembling Without the Stress
Assembly day goes smoothly with organisation. Set up stations: one for stacking suites in order, one for belly bands and seals, one for stuffing envelopes, one for addressing and stamping. Work in batches and do a quality check on the first ten before continuing.
Recruit help — friends, family, wedding party — and make it an event with music and snacks. Keep a checklist of each suite’s contents taped to the table. Count finished envelopes against your guest list as you go. What feels like a mountain of envelopes becomes manageable with a system, good company, and an afternoon set aside.
Keep food and drink away from the assembly table — one coffee ring ruins an invitation. Work in a clean, dry space and wash hands before handling. Finished suites should be stored flat, away from sunlight and humidity.
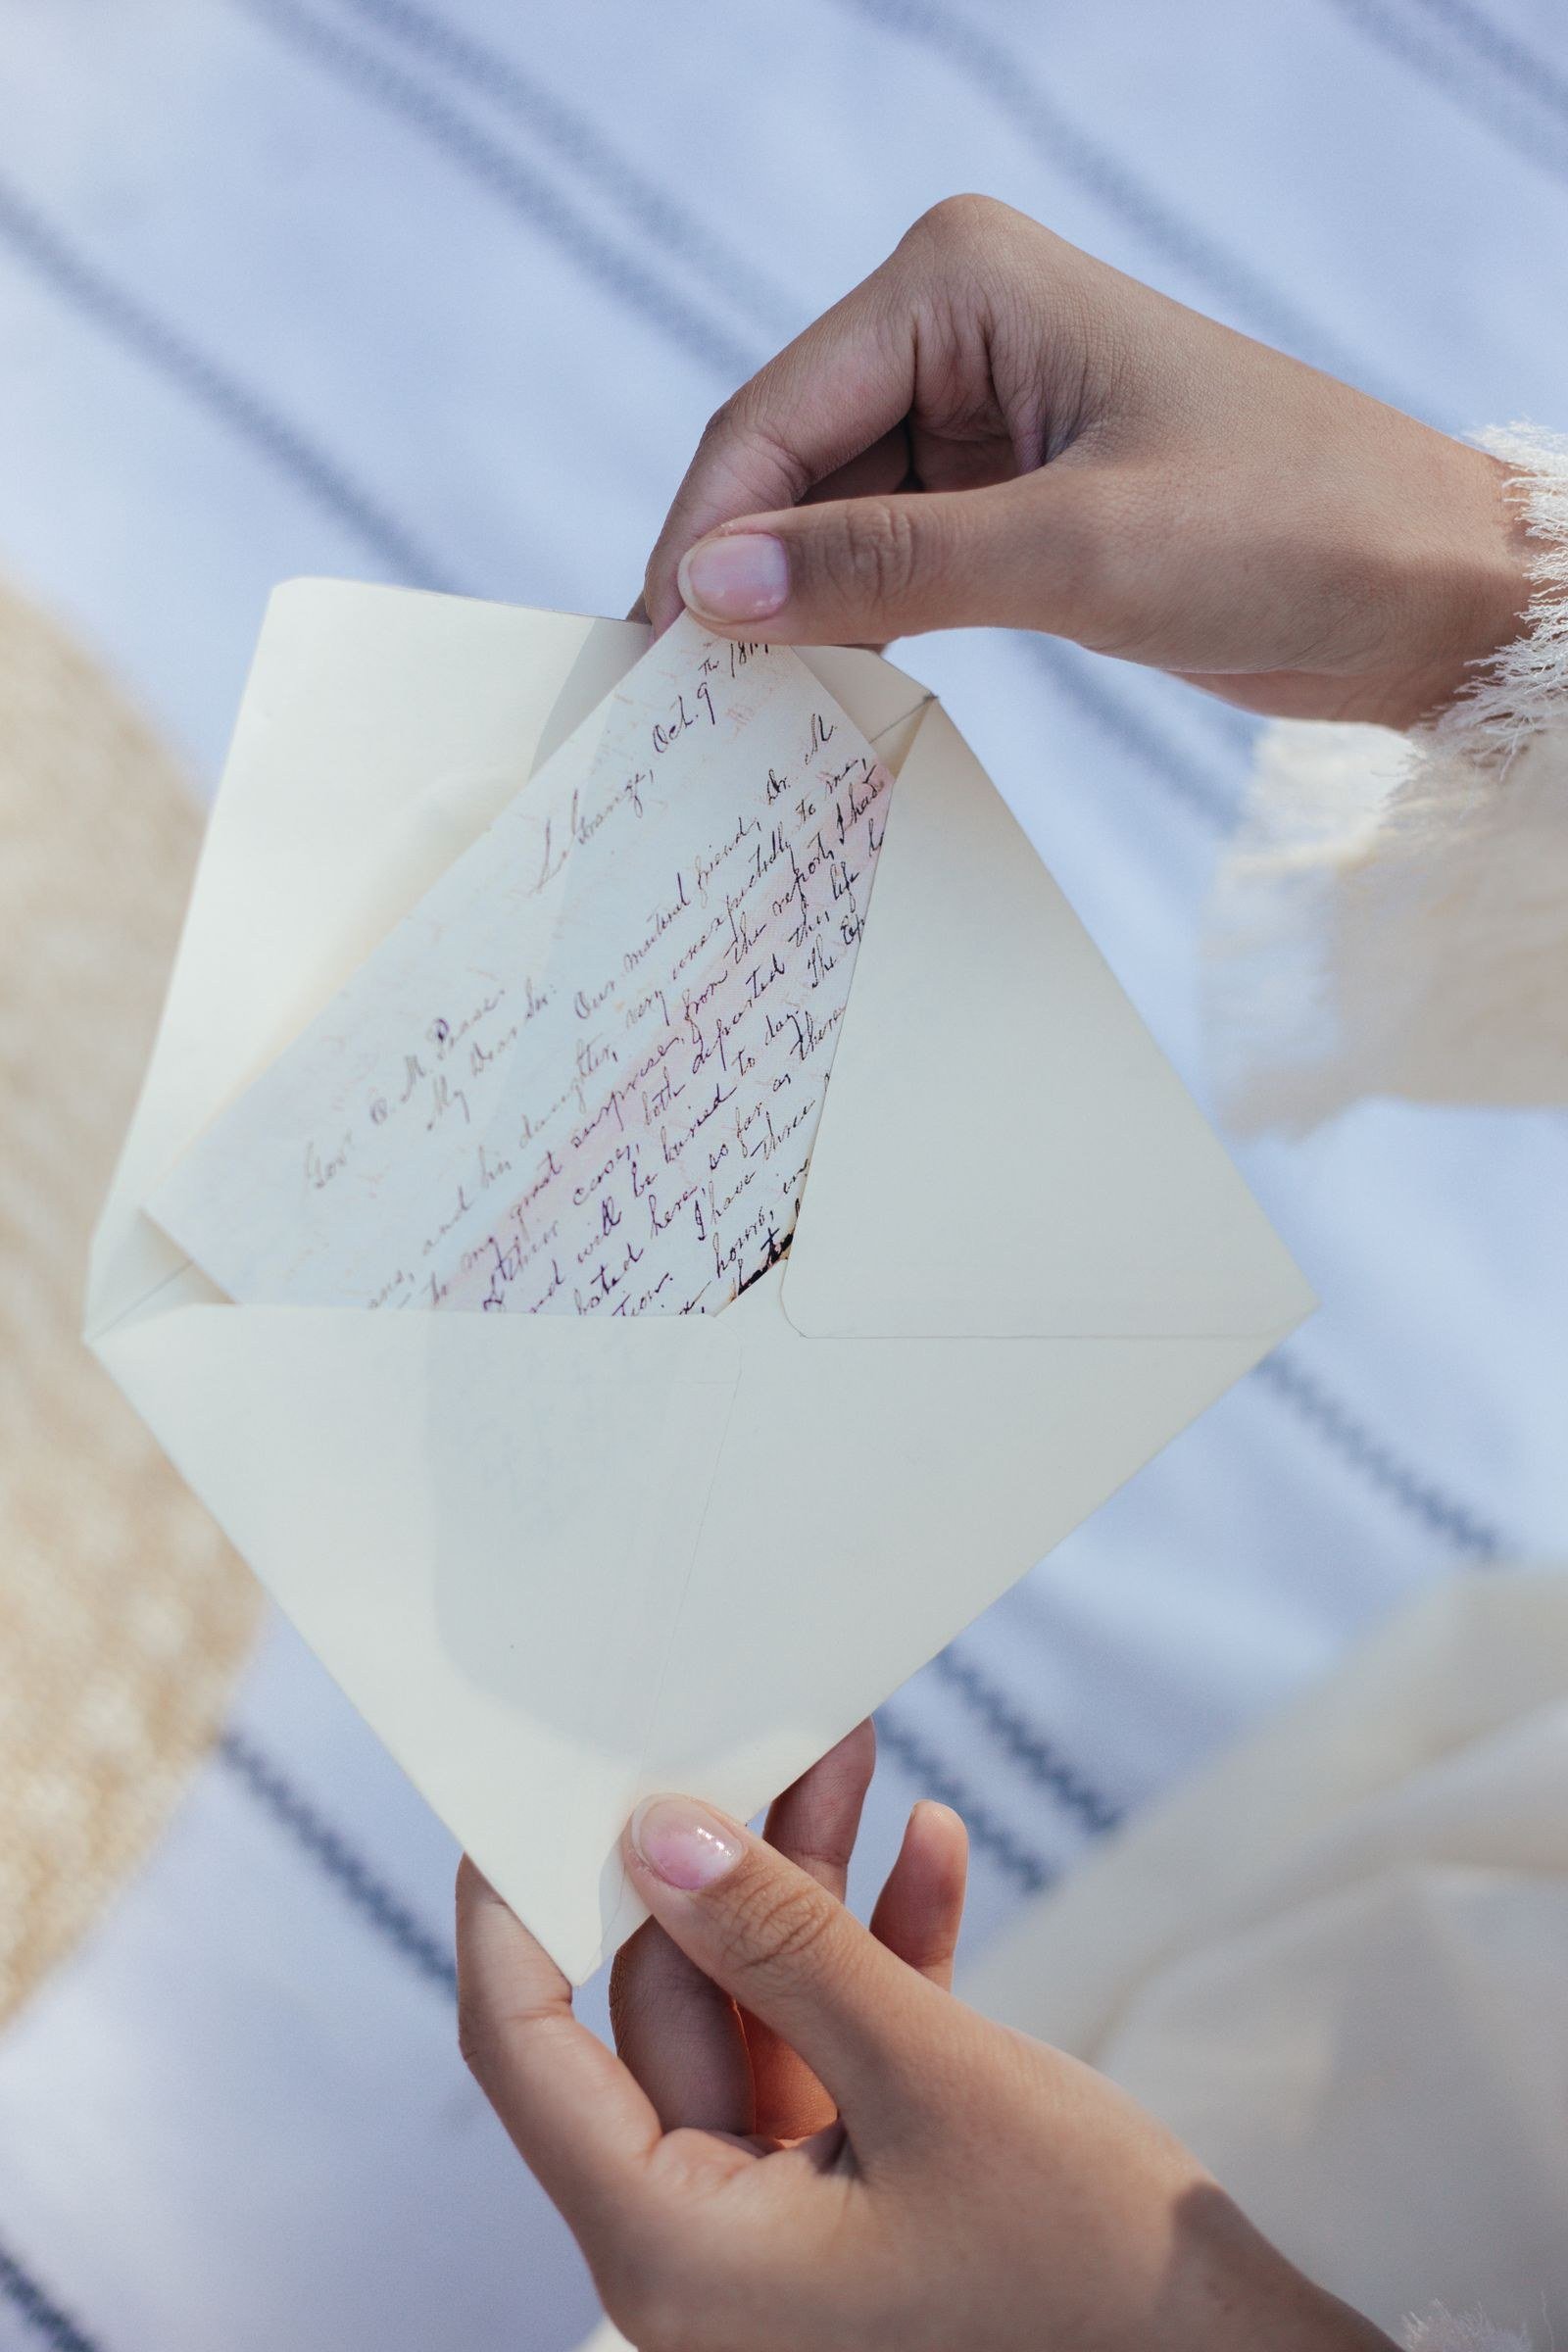
17. Digital Complements, Not Replacements
A wedding website complements posted invitations perfectly: the invitation carries the essential beauty and information, the website carries the detail. Include the URL on your details card. Use the website for RSVPs, accommodation booking, gift information, and last-minute updates.
Keep the website’s design consistent with your stationery for a seamless experience. This hybrid approach gives you the romance of snail mail with the practicality of digital — guests get a beautiful object and an easy way to respond. It is the best of both worlds and what most modern couples choose.
Use the website for time-sensitive updates like weather plans or transport changes — reprinting is expensive. A simple FAQ page answers most guest questions. Password-protect only if you must; friction reduces visits.
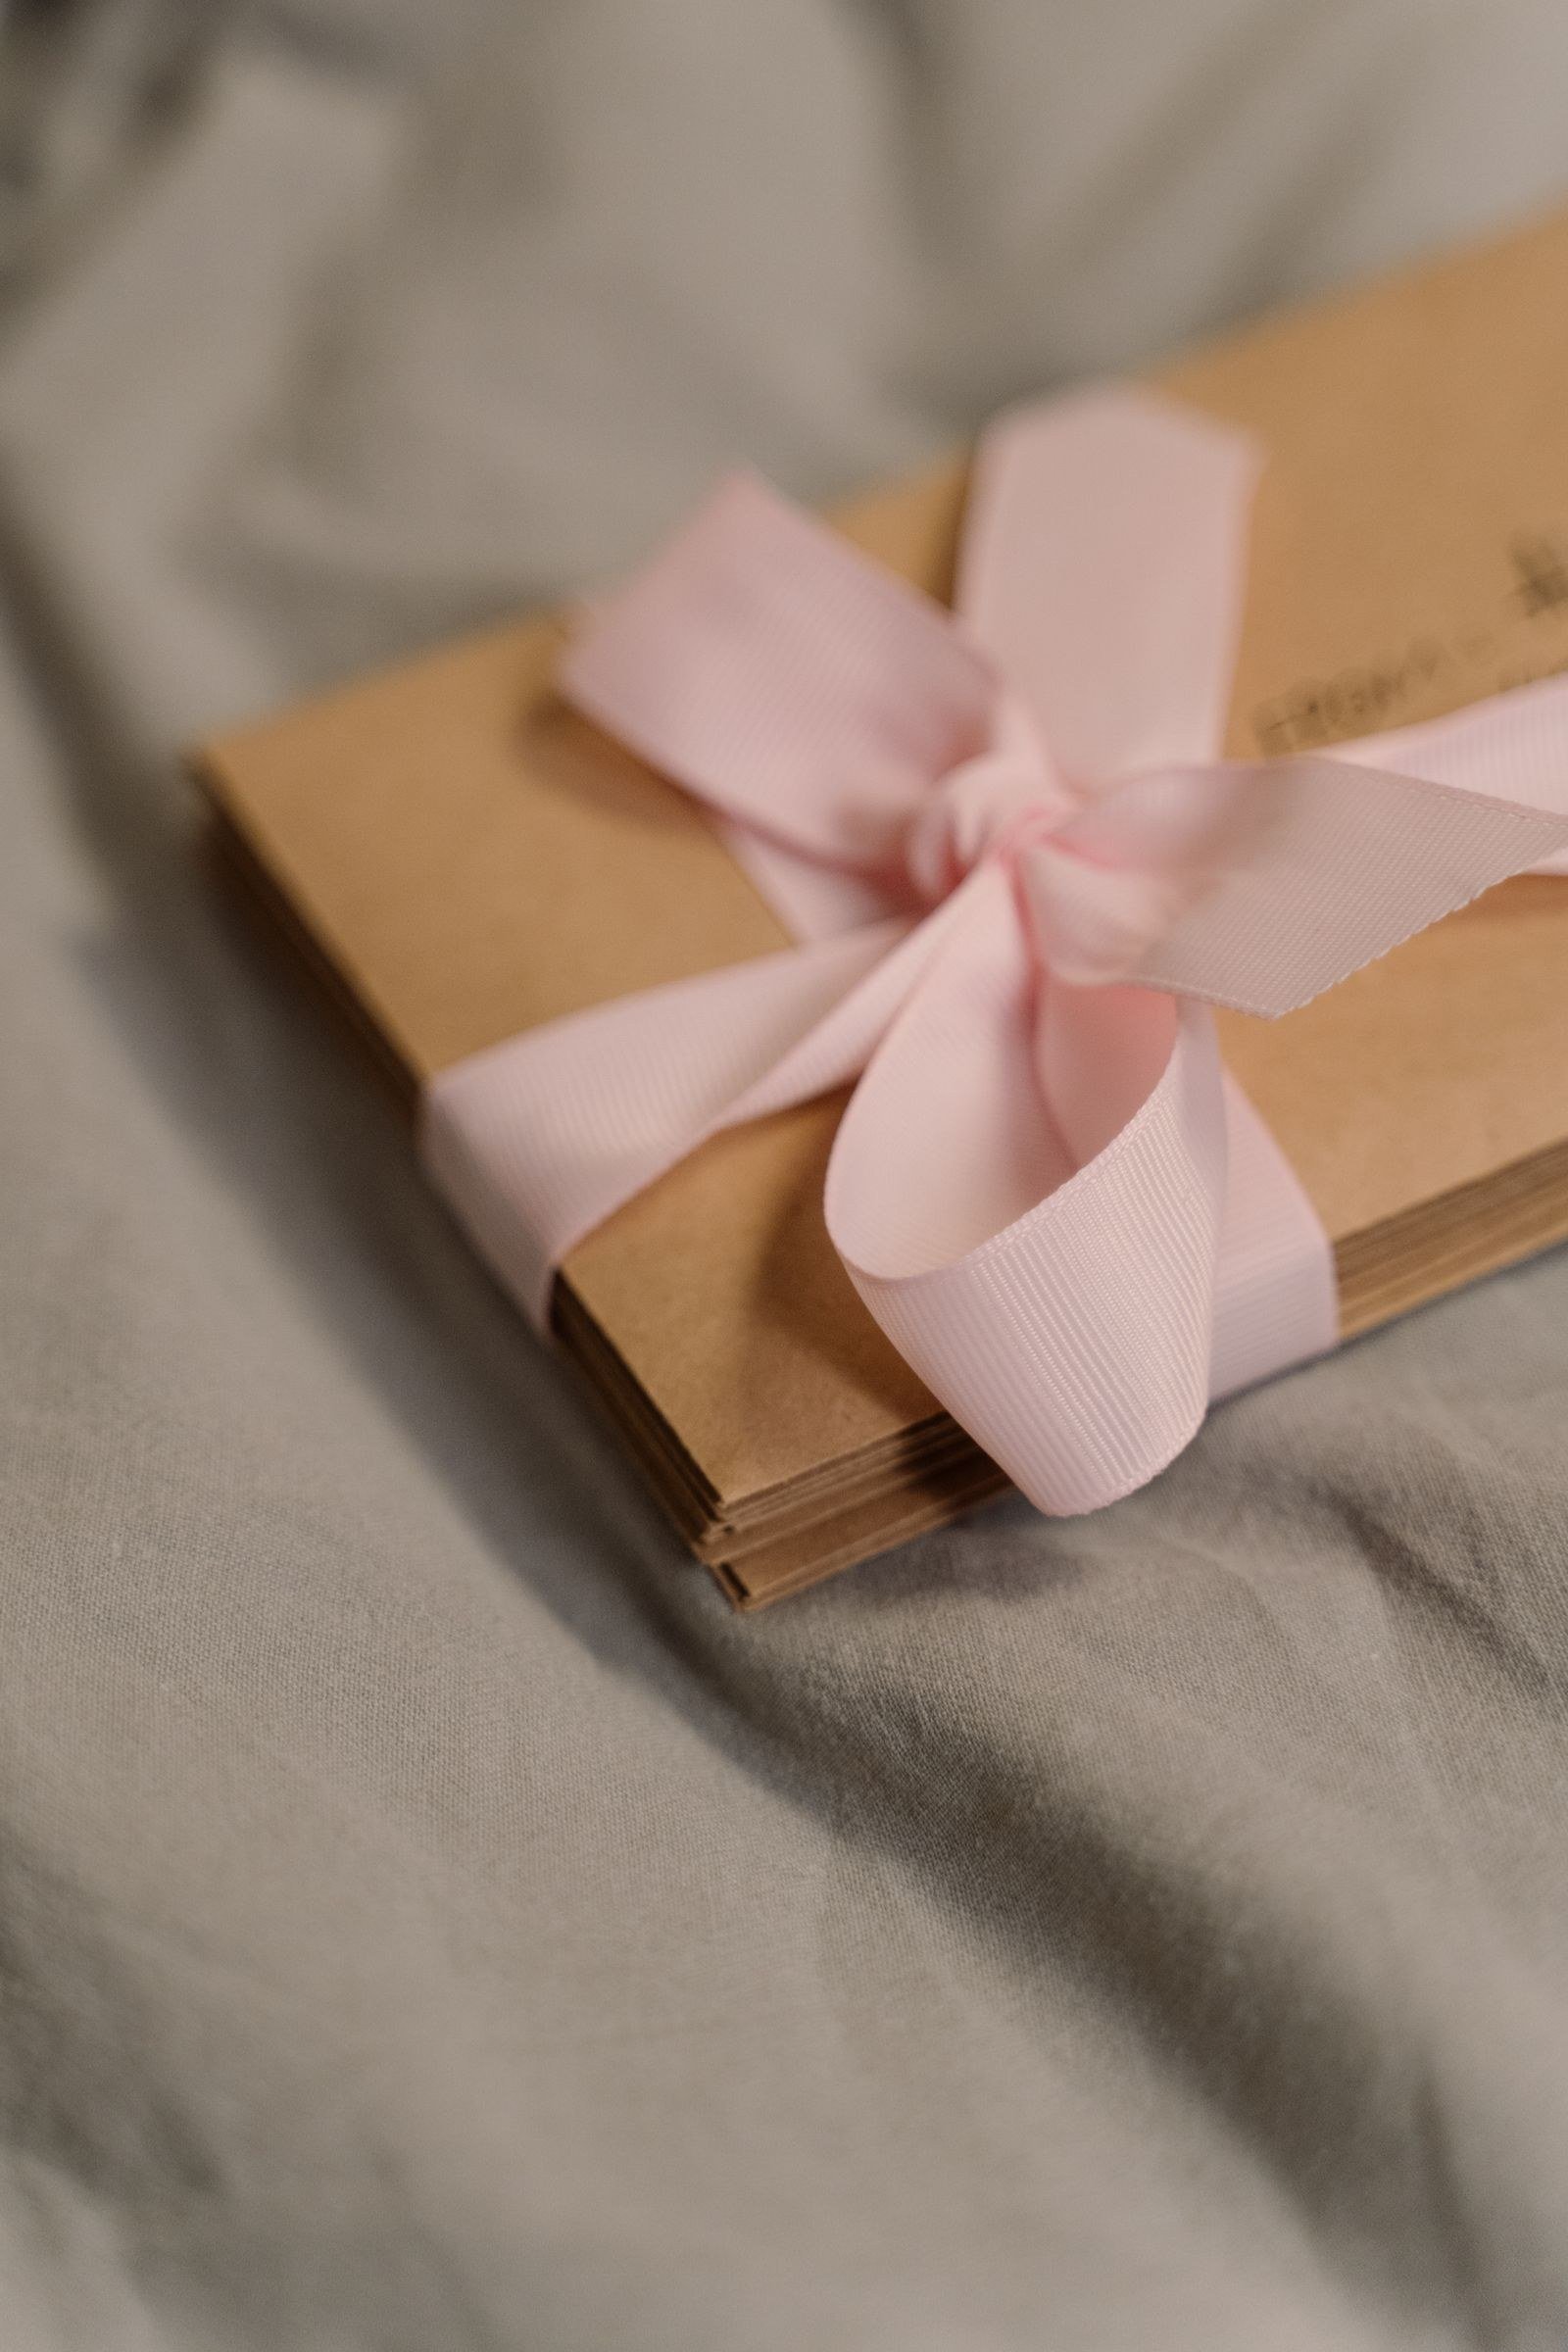
18. Thank-You Notes by Post
Extend the snail mail magic after the wedding with handwritten thank-you notes. Guests who travelled, gave gifts, or helped with the wedding deserve personal thanks. Order thank-you cards that match your invitation suite for continuity.
Write them promptly — within a month or two — while memories are fresh. Mention the specific gift or contribution; generic thanks feel hollow. Keep a list as gifts arrive so nothing is missed. In a world of quick texts, a handwritten thank-you note is remembered and treasured. It is the final, graceful chapter of your wedding correspondence.
Buy thank-you cards when you order invitations to guarantee matching stock. Write a few each evening rather than facing a marathon session. Keep the gift list updated as presents arrive to avoid omissions.

19. Keepsake Ideas for Your Suite
Save a complete invitation suite for yourselves — it becomes a treasured memento. Have your photographer shoot it flat-lay style on the wedding day for your album. Some couples frame their invitation alongside wedding photos, or store it with other mementos in a keepsake box.
Order extras for parents and anyone who helped with the stationery. A pristine suite, kept flat and away from sunlight, will look beautiful for decades. Years later, it will transport you back to the anticipation of the wedding more vividly than almost anything else. This small foresight costs little and means a great deal.
Ask your stationer for a ‘keepsake suite’ assembled with extra care — perfectly centred and pristine. Store it in an archival sleeve. Your future self will be grateful for the foresight.

20. Troubleshooting Common Issues
Even careful plans hit snags. Invitations returned? Check addresses and re-send promptly with corrected postage. Printer errors? Always order 10–15% extra and proof meticulously. Running late? Send what you have and follow up personally with key guests by phone.
Keep a spreadsheet of every invitation: sent date, RSVP status, and notes. If postage rates change between ordering stamps and mailing, top up the difference. For damaged arrivals, have a few spare suites ready to re-send. Most problems have simple solutions if you stay organised and act quickly. The goal is invitations that arrive beautifully — and with a system, they will.
Keep a small emergency kit: extra stamps, envelopes, a glue stick, and spare inserts. Mistakes happen; quick fixes prevent panic. A calm, organised approach turns problems into minor detours.

I am Talha Sikandar, a professional writer with a passion for general blogging. With years of experience in content writing and research, I founded Meaniingly.com to deliver well-researched, informative, and user-friendly articles on diverse topics.