striped ceiling decor ideas
We’ve painted accent walls, papered powder rooms, and stenciled floors — but the ceiling remains interior design’s final frontier. Enter the striped ceiling: a bold, joyful move that draws the eye upward, adds architectural interest where there was none, and makes any room feel custom-designed. Stripes on the ceiling can make a small room feel taller, a large room feel cozier, and a boring room feel unforgettable. From classic black-and-white to soft pastels to dramatic tented effects, there’s a striped ceiling for every style and comfort level. This guide covers twenty ideas for bringing stripes overhead — including how to choose stripe width and direction, which rooms suit the look best, DIY techniques, and the mistakes to avoid. Look up: your fifth wall is waiting.

1. Why Stripes Belong on the Ceiling
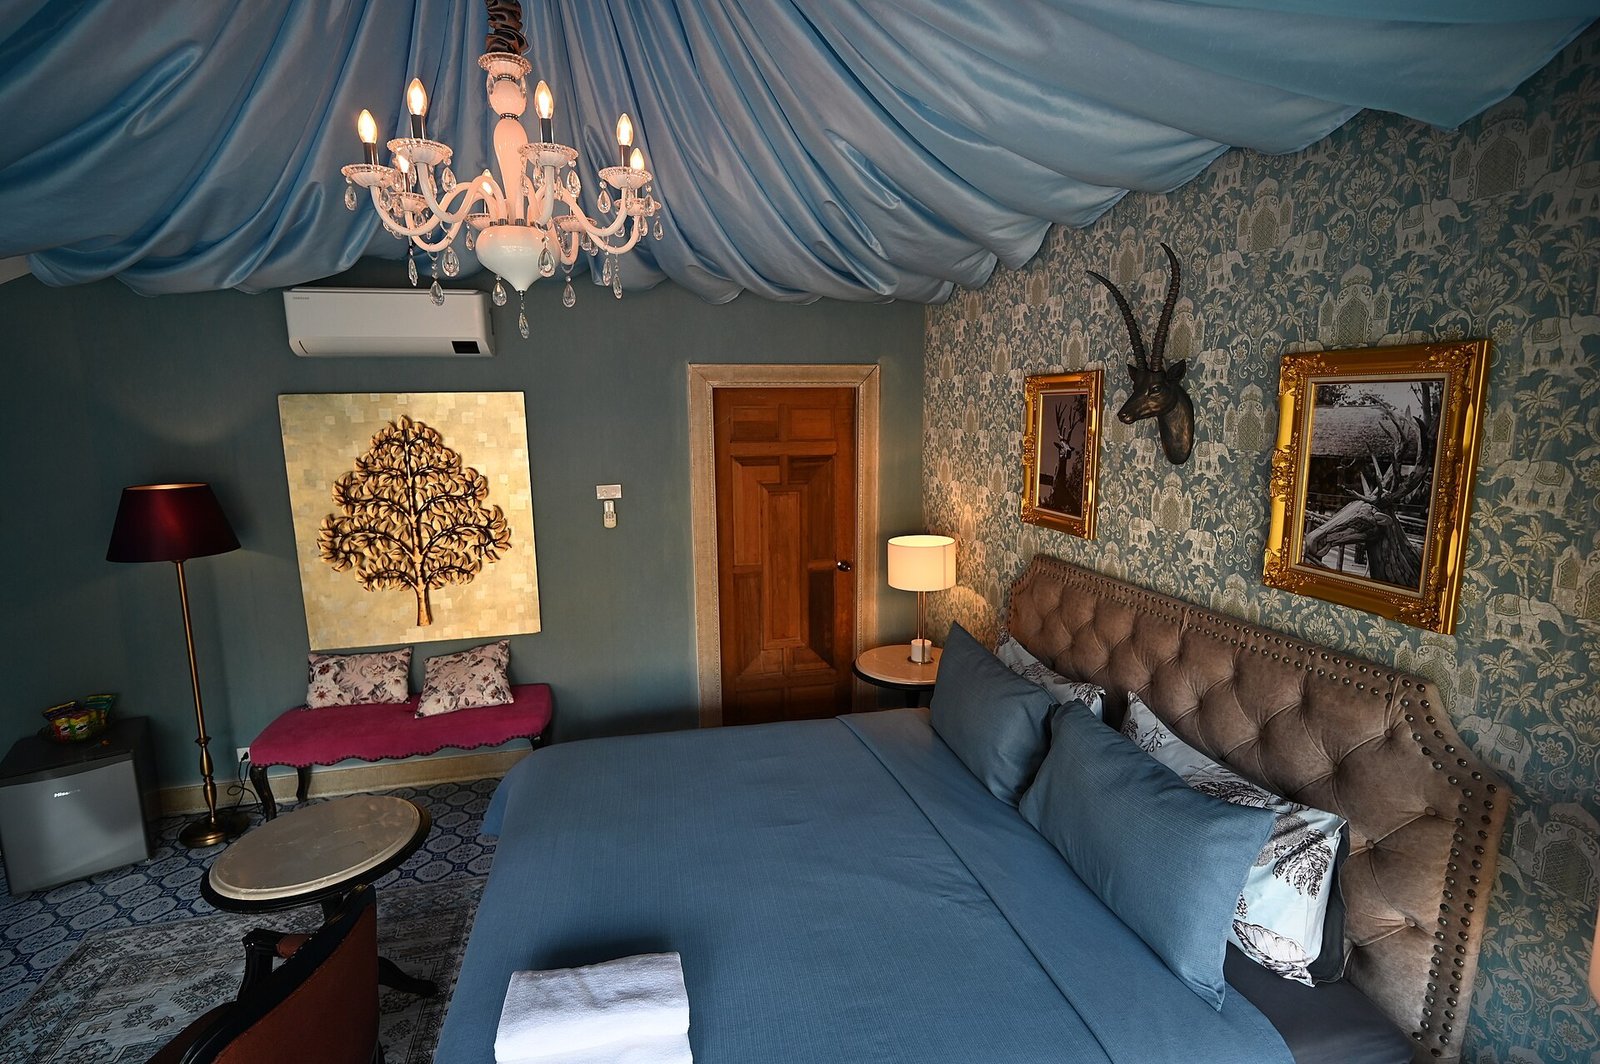
The ceiling is the largest uninterrupted surface in most rooms, yet we almost always paint it flat white and forget it exists. Stripes change that equation entirely. A striped ceiling adds pattern, movement, and personality to a surface that’s usually dead space, making the whole room feel more designed with a single project. It’s also one of the most cost-effective transformations in decorating — paint and painter’s tape can utterly reinvent a room for the price of a weekend. Striped ceilings work in every style: crisp and preppy in a coastal home, dramatic in a modern loft, playful in a kids’ room, elegant in a dining room. And because the ceiling is unexpected territory, stripes there read as confident and creative rather than trendy. If you’ve been craving a change but can’t commit to new furniture, look up — the answer might literally be over your head.
2. The Psychology of Striped Ceilings
Stripes do more than decorate — they manipulate how we perceive space, and understanding this helps you stripe with intention. Stripes running toward the room’s longest dimension make the ceiling feel like it extends further, enhancing the sense of length. Stripes running across the short dimension can make a narrow room feel wider. Thin stripes feel refined and subtle; wide stripes feel bold and graphic. High-contrast stripes (black and white, navy and white) energize a space and draw the eye up decisively, while tone-on-tone stripes (two close shades of the same color) add texture and interest without visual noise. Color choice sets the mood: warm stripes feel cozy and enveloping, cool stripes feel airy and calm. Before you commit, consider what the room needs — height, width, energy, calm — and let the stripes deliver it.
3. Choosing Stripe Width and Direction
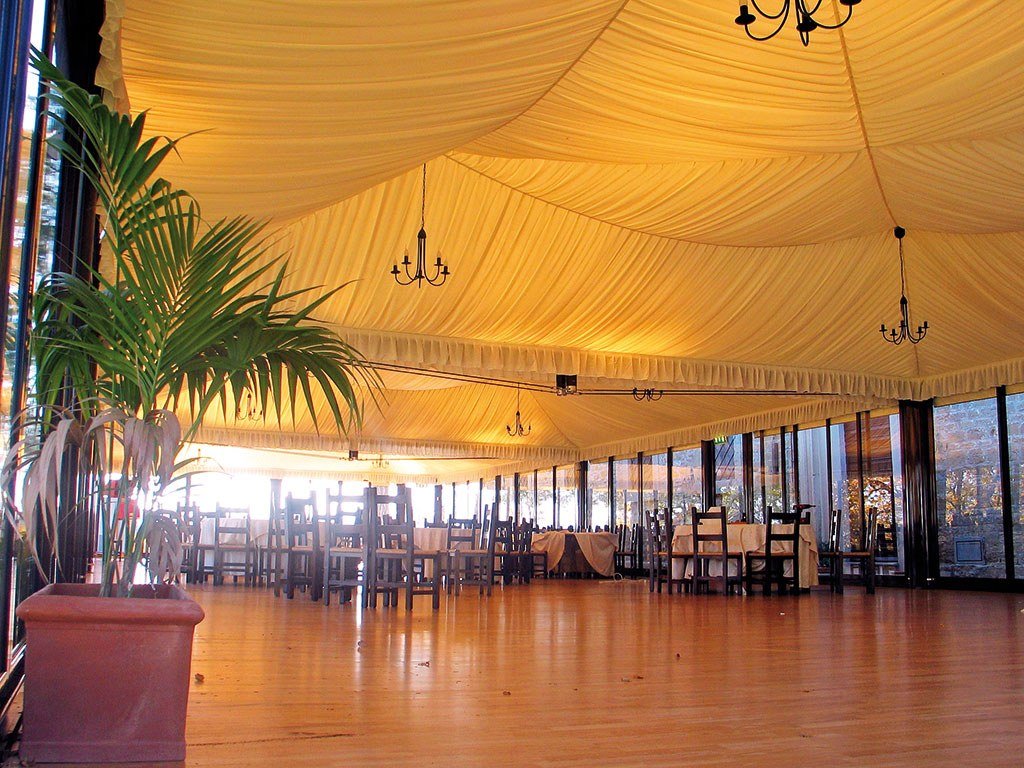
Stripe width and direction are the two decisions that define your ceiling’s character. For width, a good rule of thumb: stripes between 6 and 12 inches wide suit most residential ceilings — narrower reads as wallpaper-like pattern, wider reads as bold graphic statement. Very thin stripes (under 4 inches) can look busy overhead and are harder to paint cleanly. Consider your ceiling height: wide stripes on a low ceiling can feel oppressive, while narrow stripes on a very high ceiling may disappear. For direction, run stripes parallel to the longest wall to emphasize length, or perpendicular to draw the eye across the room’s width. Diagonal stripes are dramatic but challenging to execute — save them for small spaces like powder rooms. Always test with painter’s tape first: tape out a few stripes, live with them for a day, and see how the light changes them before you paint.

4. Classic Black-and-White Ceiling Stripes
Black-and-white stripes are the little black dress of ceilings: timeless, dramatic, and surprisingly versatile. In an entryway or hallway, they create instant wow-factor and make a transitional space feel intentional. In a dining room, black-and-white stripes overhead add formality and pair beautifully with a crystal chandelier. The high contrast draws the eye up, which makes ceilings feel higher — a genuine gift in rooms with standard eight-foot ceilings. To keep the look from feeling harsh, balance it with warm elements below: wood furniture, brass lighting, textured rugs. Pure white and true black is the boldest version; softening to off-white and charcoal gives you the graphic punch with less starkness. This is also the most forgiving striped ceiling to paint, since the strong contrast hides minor imperfections in your lines.

5. Soft Pastel Stripes for Bedrooms
Bedrooms call for calm, and pastel stripes deliver pattern without stimulation. Think blush and cream, pale blue and white, or lavender and soft gray — combinations that add interest to the ceiling you’ll stare at while falling asleep. Tone-on-tone pastels are especially soothing: two barely-different shades of the same color create a subtle rhythm that’s restful rather than exciting. Wide stripes work best here; they feel serene where narrow stripes might feel busy. Pair pastel striped ceilings with white bedding and natural textures — linen, wool, light wood — for a cohesive, tranquil retreat. This is also a wonderful choice for guest bedrooms, where you want the space to feel special but universally appealing. The pastel ceiling becomes the room’s signature without demanding attention, which is exactly what a bedroom should do.

6. Bold Color Stripes in Playrooms
Playrooms are where striped ceilings get to have real fun. Bold, saturated stripes — rainbow sequences, primary colors, or a favorite two-color combo — turn the ceiling into part of the play experience. Kids spend a lot of time on the floor looking up, so the ceiling is prime visual real estate in a playroom. Let kids help choose the colors (within reason); ownership makes them love the room more. Wide stripes in cheerful colors feel joyful without being overstimulating if you keep the walls relatively neutral. Consider glow-in-the-dark stars scattered over the stripes for a day-to-night surprise. Use washable paint — playrooms take abuse. And here’s a practical bonus: a bold striped ceiling makes toy clutter below feel less chaotic, because the room already has a strong designed element. It’s permission to let the playroom be playful.
7. Striped Ceilings in Small Spaces
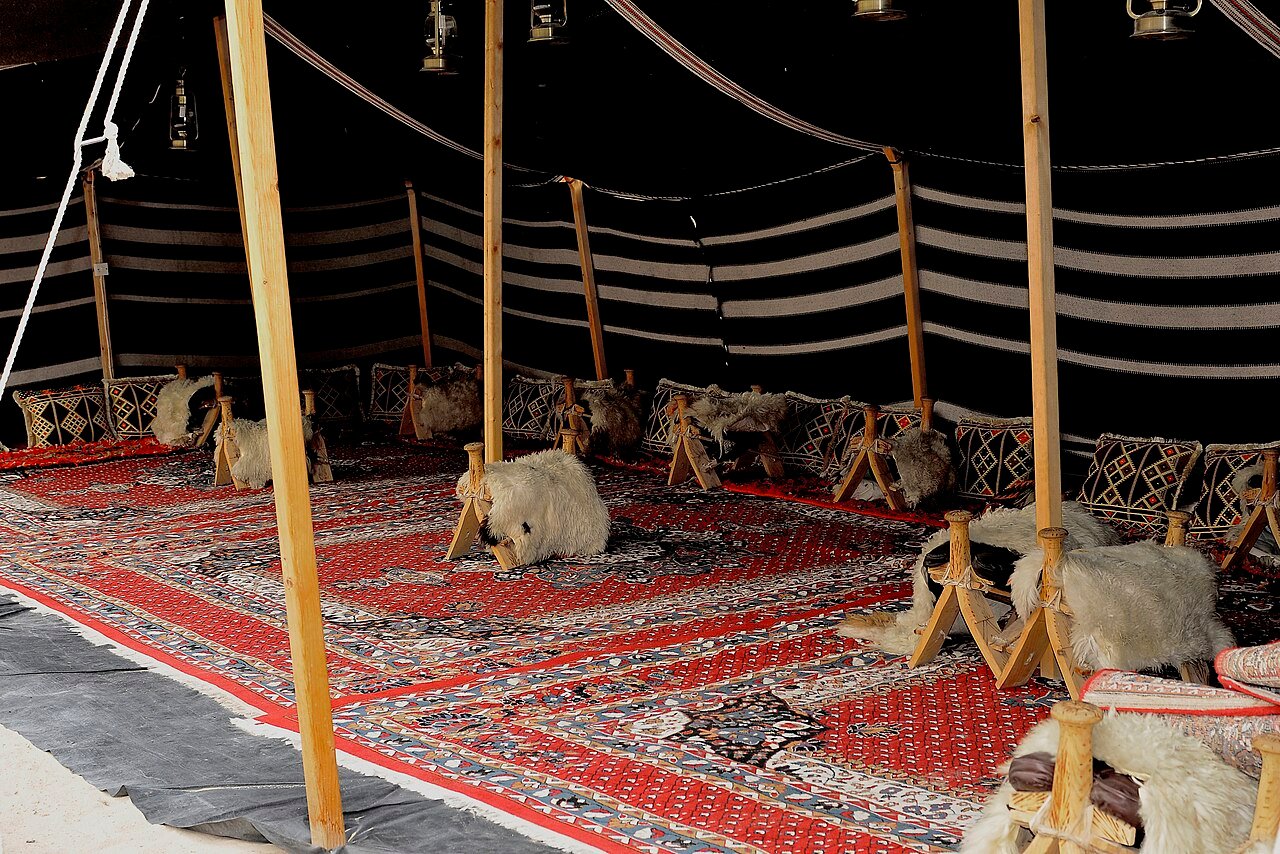
Small rooms benefit enormously from striped ceilings because the pattern adds interest without consuming a single inch of floor or wall space. In a tiny bedroom or home office, tone-on-tone stripes add depth that makes the room feel larger and more considered. Stripes running in the room’s longest direction enhance the sense of spaciousness. Keep contrast low in truly small spaces — high-contrast stripes can feel like they’re closing in. Powder rooms are the exception: their tiny size makes them the perfect place for bold stripes, since guests experience the drama briefly and the commitment is minimal. A striped ceiling in a small space also distracts from the room’s size — visitors remember the ceiling, not the square footage. It’s the highest-impact trick in the small-space playbook.

8. The Tented-Stripe Ceiling Effect
For maximum drama, consider the tented-stripe ceiling: stripes that radiate from a central point (usually the light fixture) like a circus tent or canopy. This effect is breathtaking in dining rooms and bedrooms, creating a sense of occasion and intimacy. It works best with an even number of stripes radiating symmetrically. The technique is more advanced — you’ll need to measure angles carefully from the center point — but the result is unforgettable. Choose two colors with enough contrast to read clearly; soft pairings get lost in the radiating geometry. A chandelier or pendant at the center anchors the design and gives the stripes a reason to converge. This is a commitment, so it’s best in rooms where you want permanent drama. Done well, guests will talk about your tented ceiling for years.
9. Stripes With Beams: Working Around Architecture
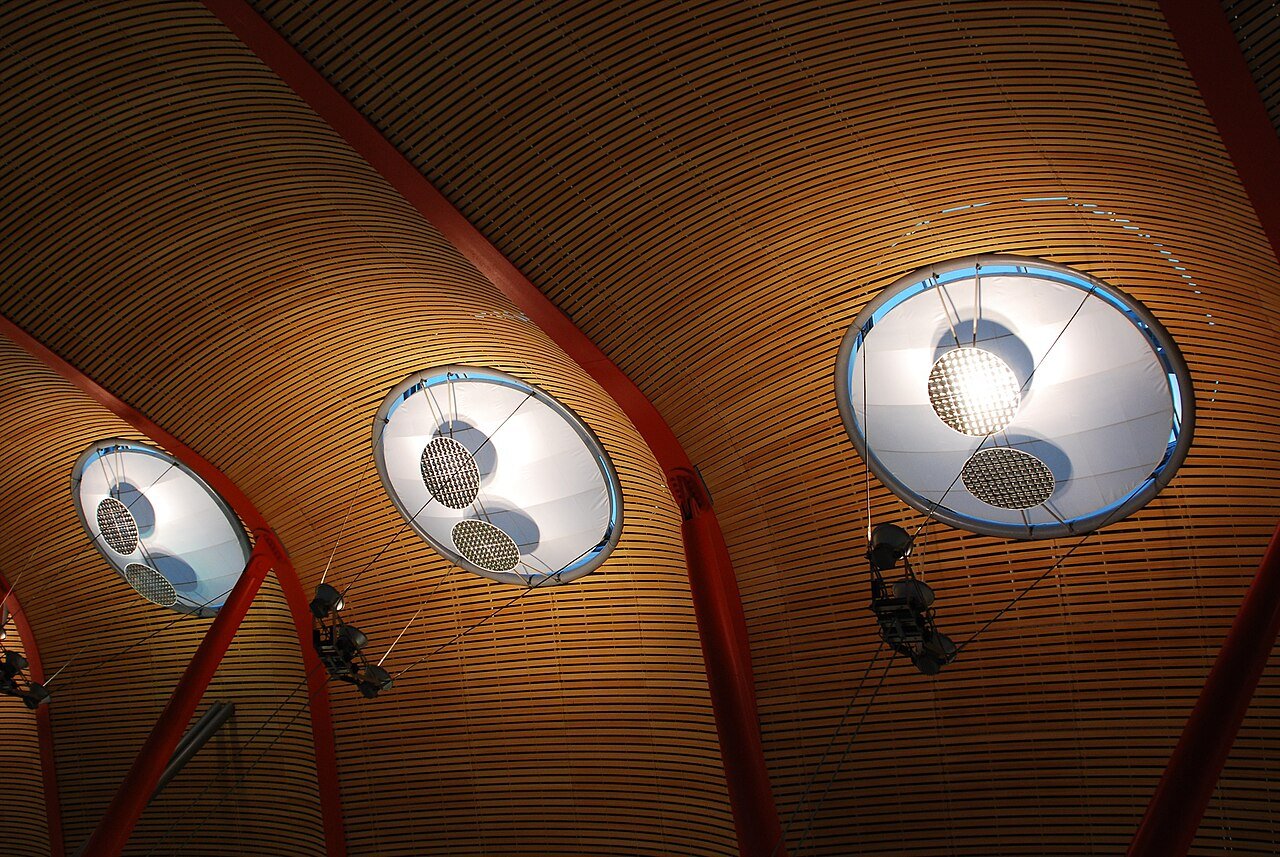
Exposed beams and striped ceilings can coexist beautifully with a little planning. The simplest approach: paint stripes between the beams, letting the beams themselves form natural borders — the architecture does your layout work for you. Alternatively, paint the beams one stripe color and the ceiling sections between them the other, integrating the beams into the pattern. For coffered ceilings, stripe within each coffer for a tailored, high-end look. If your beams are beautiful natural wood, consider striping only the flat ceiling areas and leaving the wood untouched — the contrast between rustic beams and crisp stripes is gorgeous. Measure carefully around beams, since they break the ceiling into sections that each need symmetrical stripe layout. Painter’s tape and a laser level are your best friends here. The result looks intentional and custom — because it is.

10. Wallpaper vs. Paint for Ceiling Stripes
You have two routes to a striped ceiling: paint or wallpaper, and each has its case. Paint is cheaper, endlessly customizable in color, and easier to change later — but it demands careful taping and a steady hand overhead (your neck will remind you). Use high-quality painter’s tape, seal the edges with the base color first to prevent bleed, and work in sections. Wallpaper gives you perfectly crisp stripes with zero taping, plus options like metallic or textured stripes that paint can’t match — but hanging wallpaper on a ceiling is a two-person job that tests patience and marriages. Peel-and-stick wallpaper is the compromise: easier to hang and removable, though trickier to align in long ceiling runs. For renters, peel-and-stick stripes are the clear winner. For everyone else, choose based on your tolerance for taping versus hanging.

11. Striped Ceilings in Entryways
Entryways are the handshake of your home, and a striped ceiling makes it memorable. Since foyers are transitional spaces, you can be bolder here than in rooms where you linger — guests experience the drama briefly and move on. Black-and-white stripes in an entryway create instant sophistication; colorful stripes set a playful tone for the whole house. The ceiling draws the eye up and makes even a modest foyer feel grand. Pair with a statement light fixture — the stripes and the fixture frame each other beautifully. Keep walls relatively simple so the ceiling remains the star; a striped ceiling competing with patterned wallpaper is too much. A runner rug that picks up one stripe color ties the look together. It’s a small space with big impact — the ideal striped-ceiling starter project.

12. Dining Room Drama Overhead
The dining room is where striped ceilings truly shine — it’s a space for gathering and celebration, and drama overhead suits the occasion. Stripes above the dining table create intimacy, especially in rooms with high ceilings that can otherwise feel cavernous. A chandelier hanging from the center of striped ceiling is a classic designer look; the fixture becomes the jewelry on the patterned canvas. For formal dining rooms, consider tone-on-tone stripes in a rich color like deep green or navy — sophisticated without shouting. For casual dining spaces, bolder contrasts work beautifully. Coordinate one stripe color with your dining chairs or table linens for cohesion. And think about candlelight: stripes overhead catch flickering light in a way flat ceilings never do, making dinner parties feel magical. This is the room where stripes earn their keep every single evening.

13. Kitchen Ceilings With a Stripe
Kitchens are workhorses, but that doesn’t mean the ceiling can’t have personality. Stripes in a kitchen should be practical first: use washable, scrubbable paint since cooking creates grease and moisture that flat ceilings show. A striped ceiling in a kitchen adds charm that contrasts beautifully with the room’s hard surfaces — stainless steel, stone, tile. Classic choices: blue-and-white stripes for a coastal kitchen, black-and-white for modern farmhouse, or warm neutrals for traditional spaces. Keep the stripes away from direct cooking zones if possible, or ensure excellent ventilation; grease buildup on textured paint is no fun to clean. If a full striped ceiling feels like too much commitment in a kitchen, try striping just a section — over an island or breakfast nook — for a defined zone that feels intentional. It’s unexpected, and guests always notice.

14. Bathroom Stripes That Handle Humidity
Bathrooms and stripes are a natural pair — think vintage barbershop, Parisian chic, coastal spa — but humidity demands the right approach. Use bathroom-specific paint with mildew resistance, or add a mildew-resistant additive to your paint. Proper ventilation is non-negotiable; run the exhaust fan during and after showers regardless of your ceiling treatment. Powder rooms (no shower, less moisture) are the safest bet for bold striped ceilings. In full baths, consider striped wallpaper designed for high humidity, or limit stripes to the ceiling area away from direct shower steam. A striped ceiling in a small bathroom makes the space feel designed rather than merely functional — it’s one of the cheapest ways to give a dated bathroom personality without a renovation. Pair with simple white fixtures and let the ceiling do the talking.

15. Nursery Ceiling Stripes
Babies spend an enormous amount of time staring at the ceiling — during feedings, diaper changes, and those long rocking sessions — so why not make it beautiful? Soft stripes in gentle colors (pale gray and white, blush and cream, mint and white) give little eyes something soothing to focus on. Avoid high contrast, which can be overstimulating for newborns; tone-on-tone is ideal. Wide stripes feel calmer than narrow ones. Use zero-VOC paint — non-negotiable in a nursery — and paint well before the baby arrives so the room airs out completely. As the child grows, the striped ceiling remains a beloved feature; it’s neutral enough to work with any bedding or theme changes. Consider adding removable star decals over the stripes for a night-sky effect. It’s a thoughtful touch that shows the room was designed with its tiniest resident in mind.

16. Lighting That Flatters Striped Ceilings
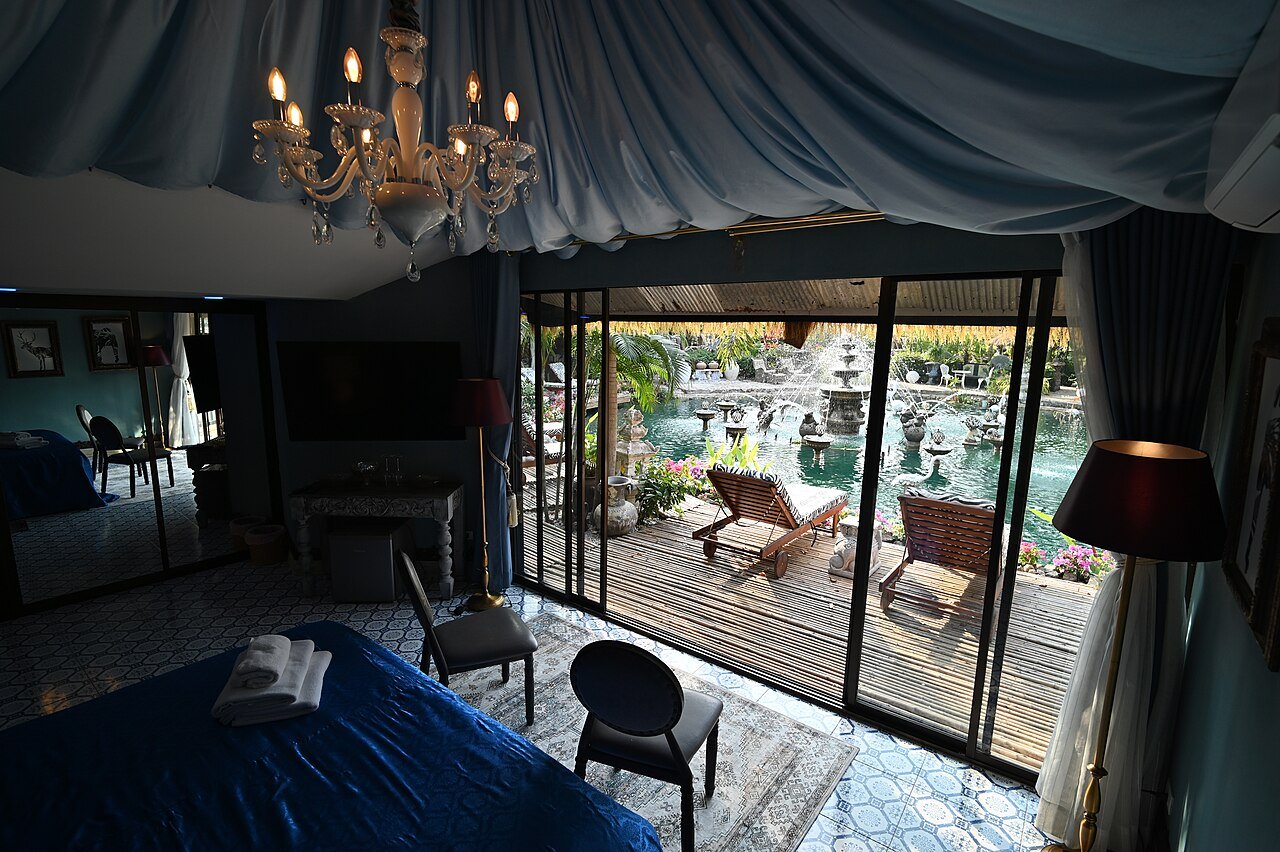
The right lighting makes striped ceilings sing. Flush-mount fixtures disappear against stripes — instead, choose lighting with presence: a chandelier, a cluster of pendants, or a sculptural semi-flush mount that holds its own against the pattern. The fixture becomes the centerpiece that the stripes frame. Dimmers are essential; being able to lower the light lets you control how prominently the stripes read at different times of day. Uplighting or cove lighting that washes the ceiling emphasizes the stripes dramatically in the evening. Avoid recessed cans as the sole light source — they create hot spots on striped ceilings that can look uneven. If you have cans, supplement with lamps and pendants. And consider the stripe colors under artificial light; some combinations shift noticeably between daylight and lamplight, so test with your actual bulbs before committing.
17. Furniture and Decor That Echo the Stripes
A striped ceiling feels most intentional when the room below acknowledges it. You don’t need more stripes — in fact, restraint below is wise — but echoing one stripe color in your furniture, textiles, or art creates cohesion. A navy-and-white striped ceiling pairs beautifully with navy throw pillows or a navy area rug. Keep large furniture pieces relatively solid; the ceiling is already providing the pattern, and competing patterns below create visual noise. Wall art should be simple and bold enough to hold its own — a striped ceiling can dwarf delicate pieces. Mirrors are excellent companions; they reflect the stripes and double the drama. The goal is a room that feels designed from top to bottom, with the ceiling as the star and everything else as the supporting cast. When in doubt, simplify below and let the ceiling shine.

18. DIY Striped Ceiling: Step by Step
Ready to paint? Here’s the process. Start with a clean, repaired ceiling painted in your lighter stripe color — two coats, fully cured. Measure and mark your stripe layout with a pencil and measuring tape, working from the center outward for symmetry. Apply high-quality painter’s tape along your marks, pressing the edges down firmly with a putty knife or credit card. Seal the tape edges by painting over them with the base (light) color — this fills any gaps so your stripe color can’t bleed underneath. Once dry, paint your stripe color in two thin coats, removing the tape while the final coat is still slightly tacky for the crispest lines (pull at a 45-degree angle). Touch up any imperfections with a small artist’s brush. Work in sections, take breaks for your neck, and don’t rush the taping — preparation is 80 percent of a professional-looking result.

19. Mistakes to Avoid
Learn from others’ striped-ceiling regrets. Mistake one: skipping the tape-sealing step, resulting in bleed lines that ruin the crisp look — always seal with the base color first. Mistake two: choosing stripes too narrow, which look fussy overhead and multiply your taping labor enormously. Mistake three: ignoring the lighting — stripes that look great in daylight can look completely different under warm bulbs, so test in all lights. Mistake four: striping a ceiling with major imperfections, since stripes highlight every bump and crack — repair and sand first. Mistake five: forgetting the walls — a striped ceiling with clashing wall color or busy wallpaper overwhelms the room. And mistake six: not measuring from center, which leaves you with a sliver stripe at one edge that screams amateur. Measure twice, tape once, and your ceiling will look professionally done.

20. Living With Stripes Long-Term
Will you still love your striped ceiling in five years? With the right choices, absolutely. Classic combinations (black and white, navy and white, tone-on-tone neutrals) have staying power because they’re rooted in design history, not trends. Bolder choices can still work long-term if they genuinely reflect your taste rather than a passing fancy. The beauty of a painted striped ceiling is that it’s just paint — if you ever tire of it, a weekend of priming and rolling returns you to white. Many homeowners report that their striped ceiling becomes their home’s signature feature, the thing guests remember and ask about. It adds perceived value and personality that flat ceilings never will. So be bold, choose colors you love, execute carefully — and then enjoy looking up for years to come. The fifth wall was worth the effort.


I am Talha Sikandar, a professional writer with a passion for general blogging. With years of experience in content writing and research, I founded Meaniingly.com to deliver well-researched, informative, and user-friendly articles on diverse topics.