paper star lantern DIY tutorial
Paper star lanterns, those glowing Moravian-inspired stars, bring handmade magic to windows, porches, and holiday mantels. This paper star lantern DIY tutorial walks you through every step: choosing paper, cutting and folding crisp points, assembling a sturdy star, adding safe lighting, and hanging your finished lantern. You will also find ideas for mini stars, giant statement pieces, seasonal variations, and troubleshooting tips. No special skills needed, just paper, glue, and a free afternoon.

What Is a Paper Star Lantern?
A paper star lantern is a three-dimensional star made from folded paper points, traditionally hung in windows and lit from within to glow. Originating from Moravian star traditions in Europe, these lanterns became beloved Christmas and winter decorations, though they suit Halloween and year-round decor too. The classic star has many pointed tips radiating from a faceted center, creating dramatic geometry when lit. Modern DIY versions use cardstock, vellum, or specialty papers, with LED lights inside for safety. They look intricate and impressive, but the construction is surprisingly simple: identical folded points joined into a sphere of light.

Materials and Tools You’ll Need
Gather everything before you start this paper star lantern DIY tutorial. You will need paper (cardstock, vellum, or kraft paper), a ruler, a pencil, scissors or a craft knife, a cutting mat, glue sticks or tacky craft glue, clothespins or binder clips for holding pieces while glue dries, and a bone folder or blunt edge for crisp folds. For lighting, get battery-operated LED fairy lights or an LED tea light; never use real candles in paper lanterns. Optional extras include a star point template printed from online, decorative paper for accents, and string or ribbon for hanging. A clean, flat workspace completes your setup.
Choosing the Right Paper
Paper choice determines your lantern’s look and durability. Medium-weight cardstock (65-80 lb) is the beginner-friendly standard: sturdy enough to hold shape, easy to fold and glue. Vellum or translucent paper creates the most beautiful glow when lit, though it is more delicate to handle. Kraft paper gives a rustic, natural look perfect for fall. Patterned scrapbook paper adds personality for themed lanterns. Avoid very heavy chipboard, which resists folding, and flimsy printer paper, which collapses. For outdoor use, look for weather-resistant synthetic papers. Test one point in your chosen paper before cutting the whole batch; the fold quality tells you everything.
Specialty papers are worth seeking out for statement stars. Vellum in frosted colors is available at art supply stores and online paper shops, while metallic and pearlescent cardstock from scrapbooking ranges gives luxurious results. Japanese washi paper offers beautiful textures and translucency for advanced projects. Buy a few extra sheets beyond your calculation; miscuts happen, and matching dye lots later is difficult. If you plan to make stars yearly, watch for post-holiday paper sales when seasonal cardstock is heavily discounted and perfect for next year’s batch.

Cutting Your Star Points: Templates and Sizes
Consistency is everything, so use a template. A standard star point is a diamond or kite shape; the classic Moravian-style point is a long diamond folded into a three-dimensional spike. For a medium lantern about twelve inches across, cut diamonds roughly six inches long and three inches wide; you will need between twelve and twenty points depending on the design. Print a template and trace it, or measure carefully with a ruler. Cut precisely; uneven points create a lopsided star. A craft knife and metal ruler give cleaner edges than scissors for straight cuts. Cut all points before folding so you can assembly-line the repetitive work.
Folding Techniques for Crisp Points
Crisp folds make the difference between a professional-looking star and a sad one. Score each fold line first with a bone folder or empty ballpoint pen and ruler; scoring prevents cracking and guides perfect folds. Fold each diamond point along its center lines to create the three-dimensional spike shape, pressing firmly along every crease. Work on a hard, flat surface and use the bone folder to burnish each fold flat. Keep your folds consistent across all points; even small variations compound into a wonky star. Take your time with the first few until the motion becomes muscle memory, then fold the rest in a rhythm.

Assembling the Star: Step by Step
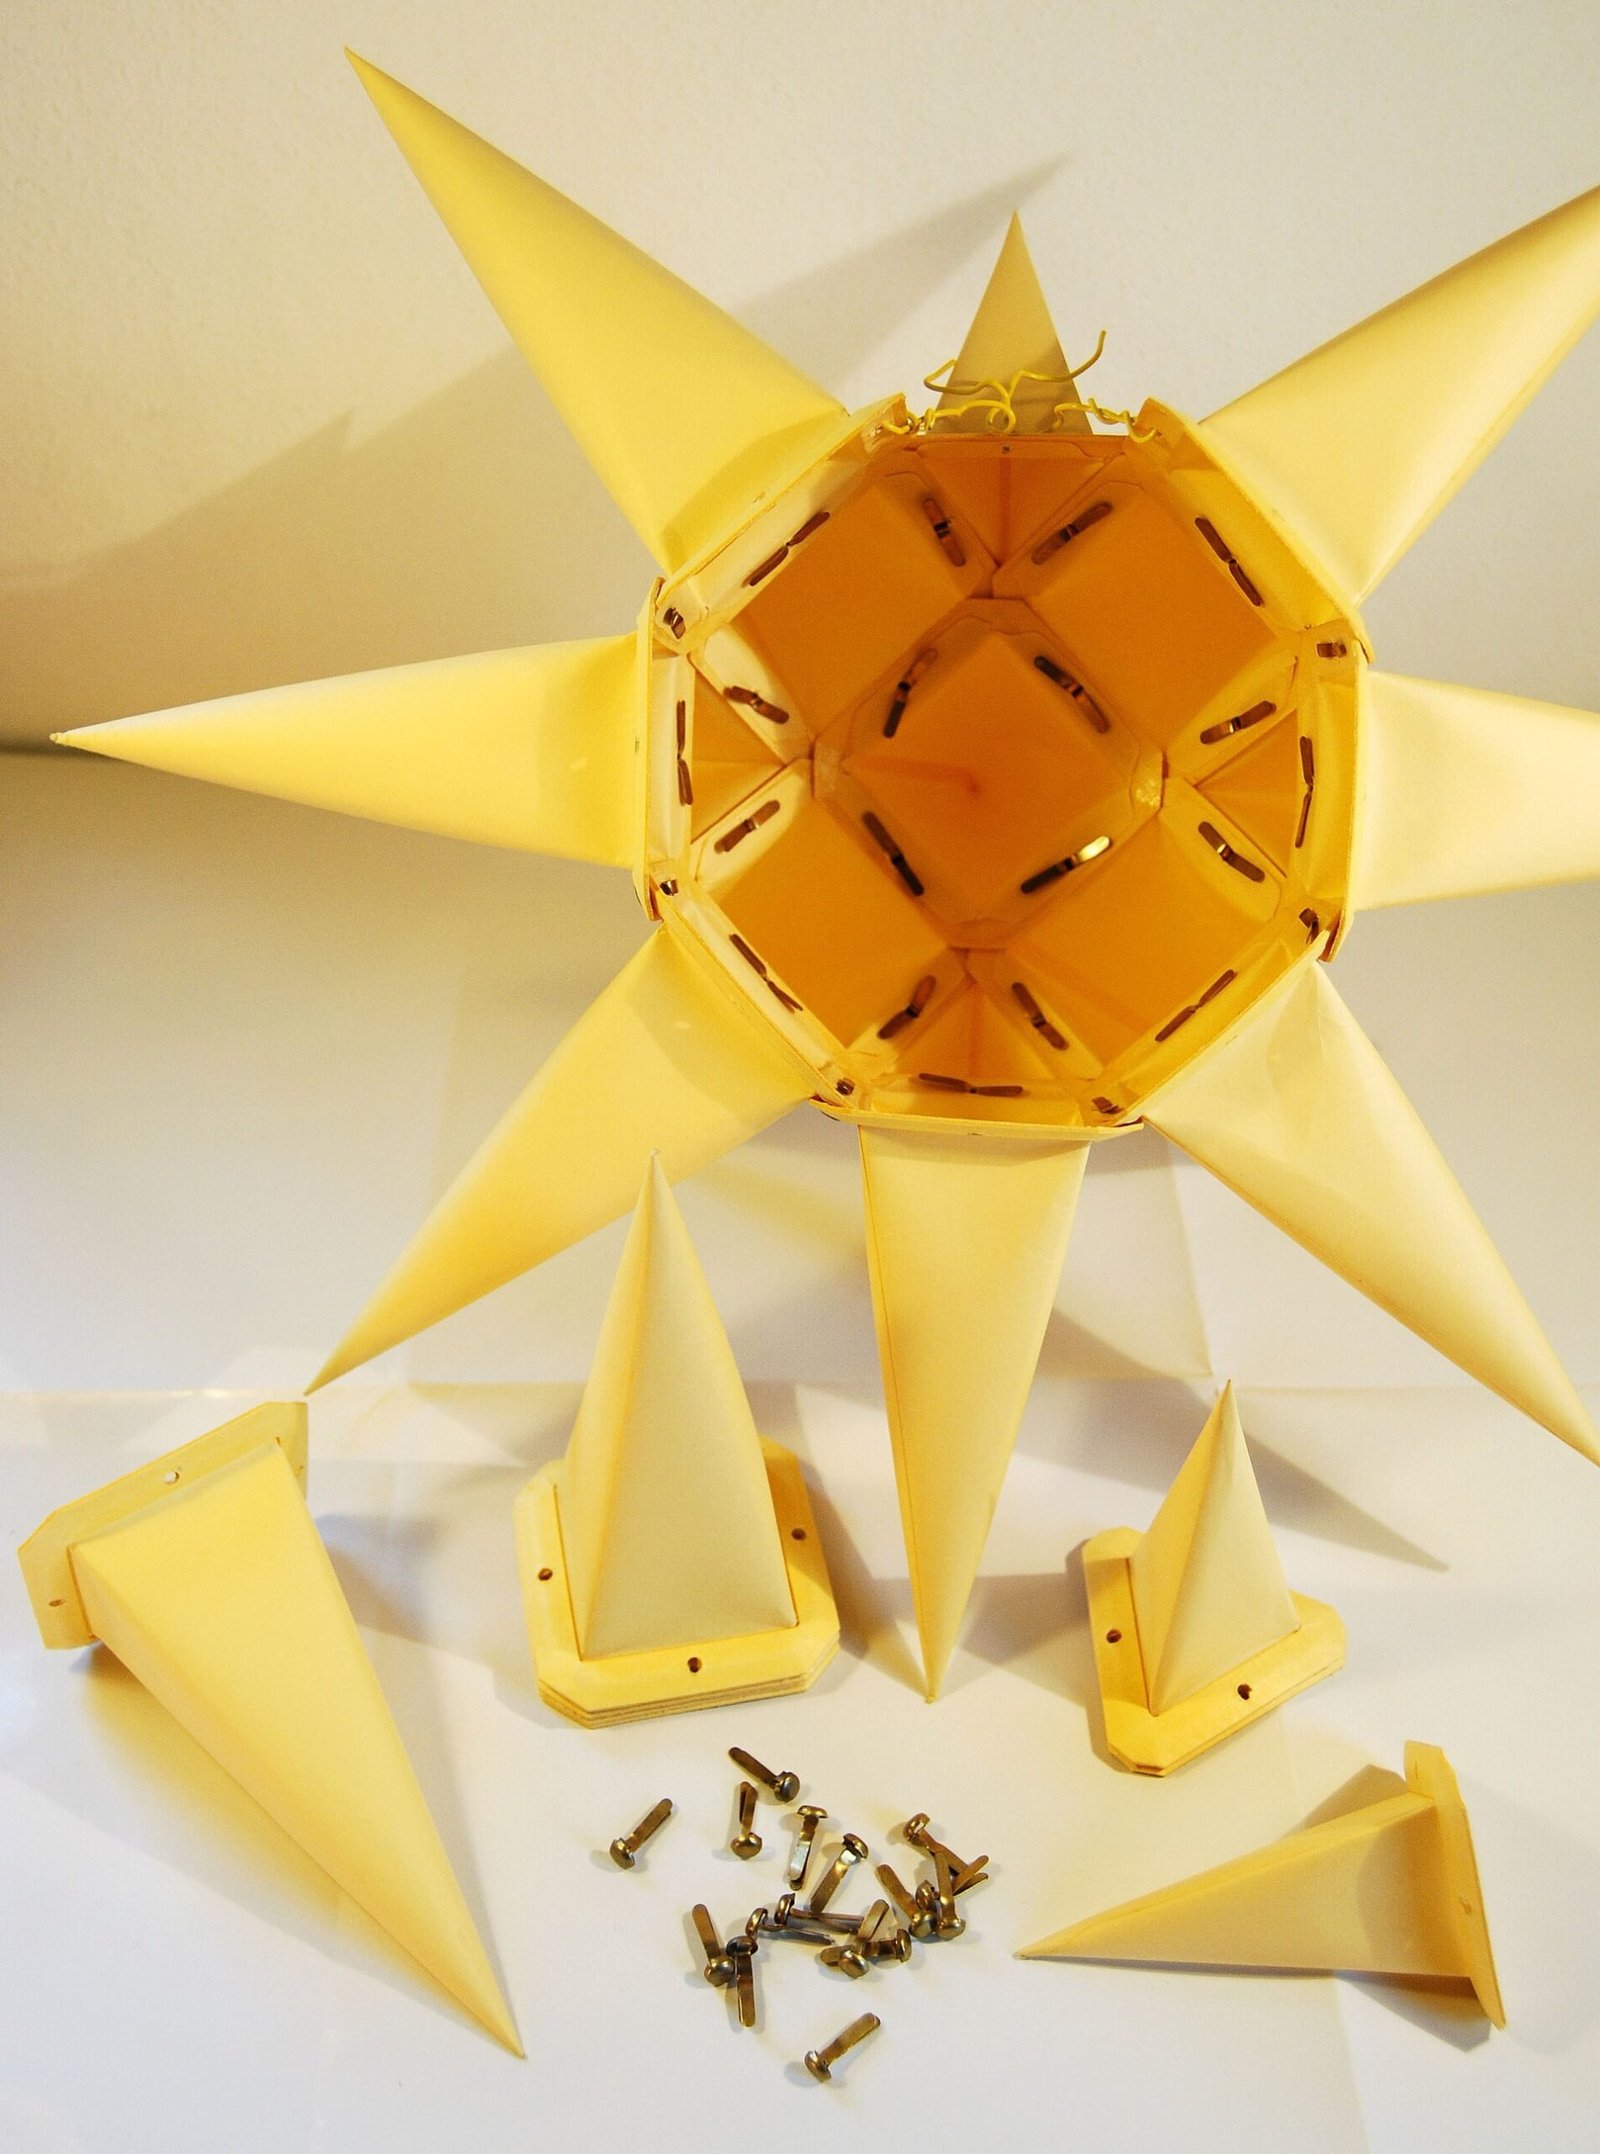
Assembly is where your flat points become a glowing star. Start by joining points into rings: glue the side flaps of adjacent points together, forming a band that will become the star’s equator. Most designs build two halves, top and bottom, each a ring of points angled upward, then join the halves. Apply glue sparingly to the tabs, press firmly, and hold with clothespins or binder clips while each joint sets. Work patiently around the ring, checking symmetry as you go. Leave one section open to insert the lights before closing the final seam. Rushing the glue is the top cause of collapsed stars; let each joint cure before stressing it.
Gluing Tips for a Sturdy Lantern
Strong joints make a lantern that lasts for years. Use tacky craft glue rather than school glue; it grabs faster and holds stronger. Apply thin, even layers; globs of glue warp paper and take forever to dry. For extra strength on large lanterns, reinforce inside seams with small strips of tape. Clothespins and binder clips are invaluable for holding joints while glue sets; keep a dozen handy. Work in a low-humidity environment if possible, since damp air slows drying. If a joint pops, clean off old glue before re-gluing. Patience here pays off in a star that survives storage, hanging, and admiring hands.

Adding a Light Source Safely
Lighting makes the lantern magical, and safety is paramount. Use only battery-operated LED lights inside paper lanterns; real flames are never safe in paper. LED fairy light strings on thin wire tuck easily between points and distribute glow evenly. A single LED tea light or puck light in the center works for smaller stars. Choose warm white LEDs for a cozy traditional glow, or color-changing ones for parties. Secure the battery pack where it is accessible for switching and discreetly hidden, perhaps taped inside near the hanging point with the switch reachable. Test the lights before sealing the star completely.
Hanging Your Star Lantern
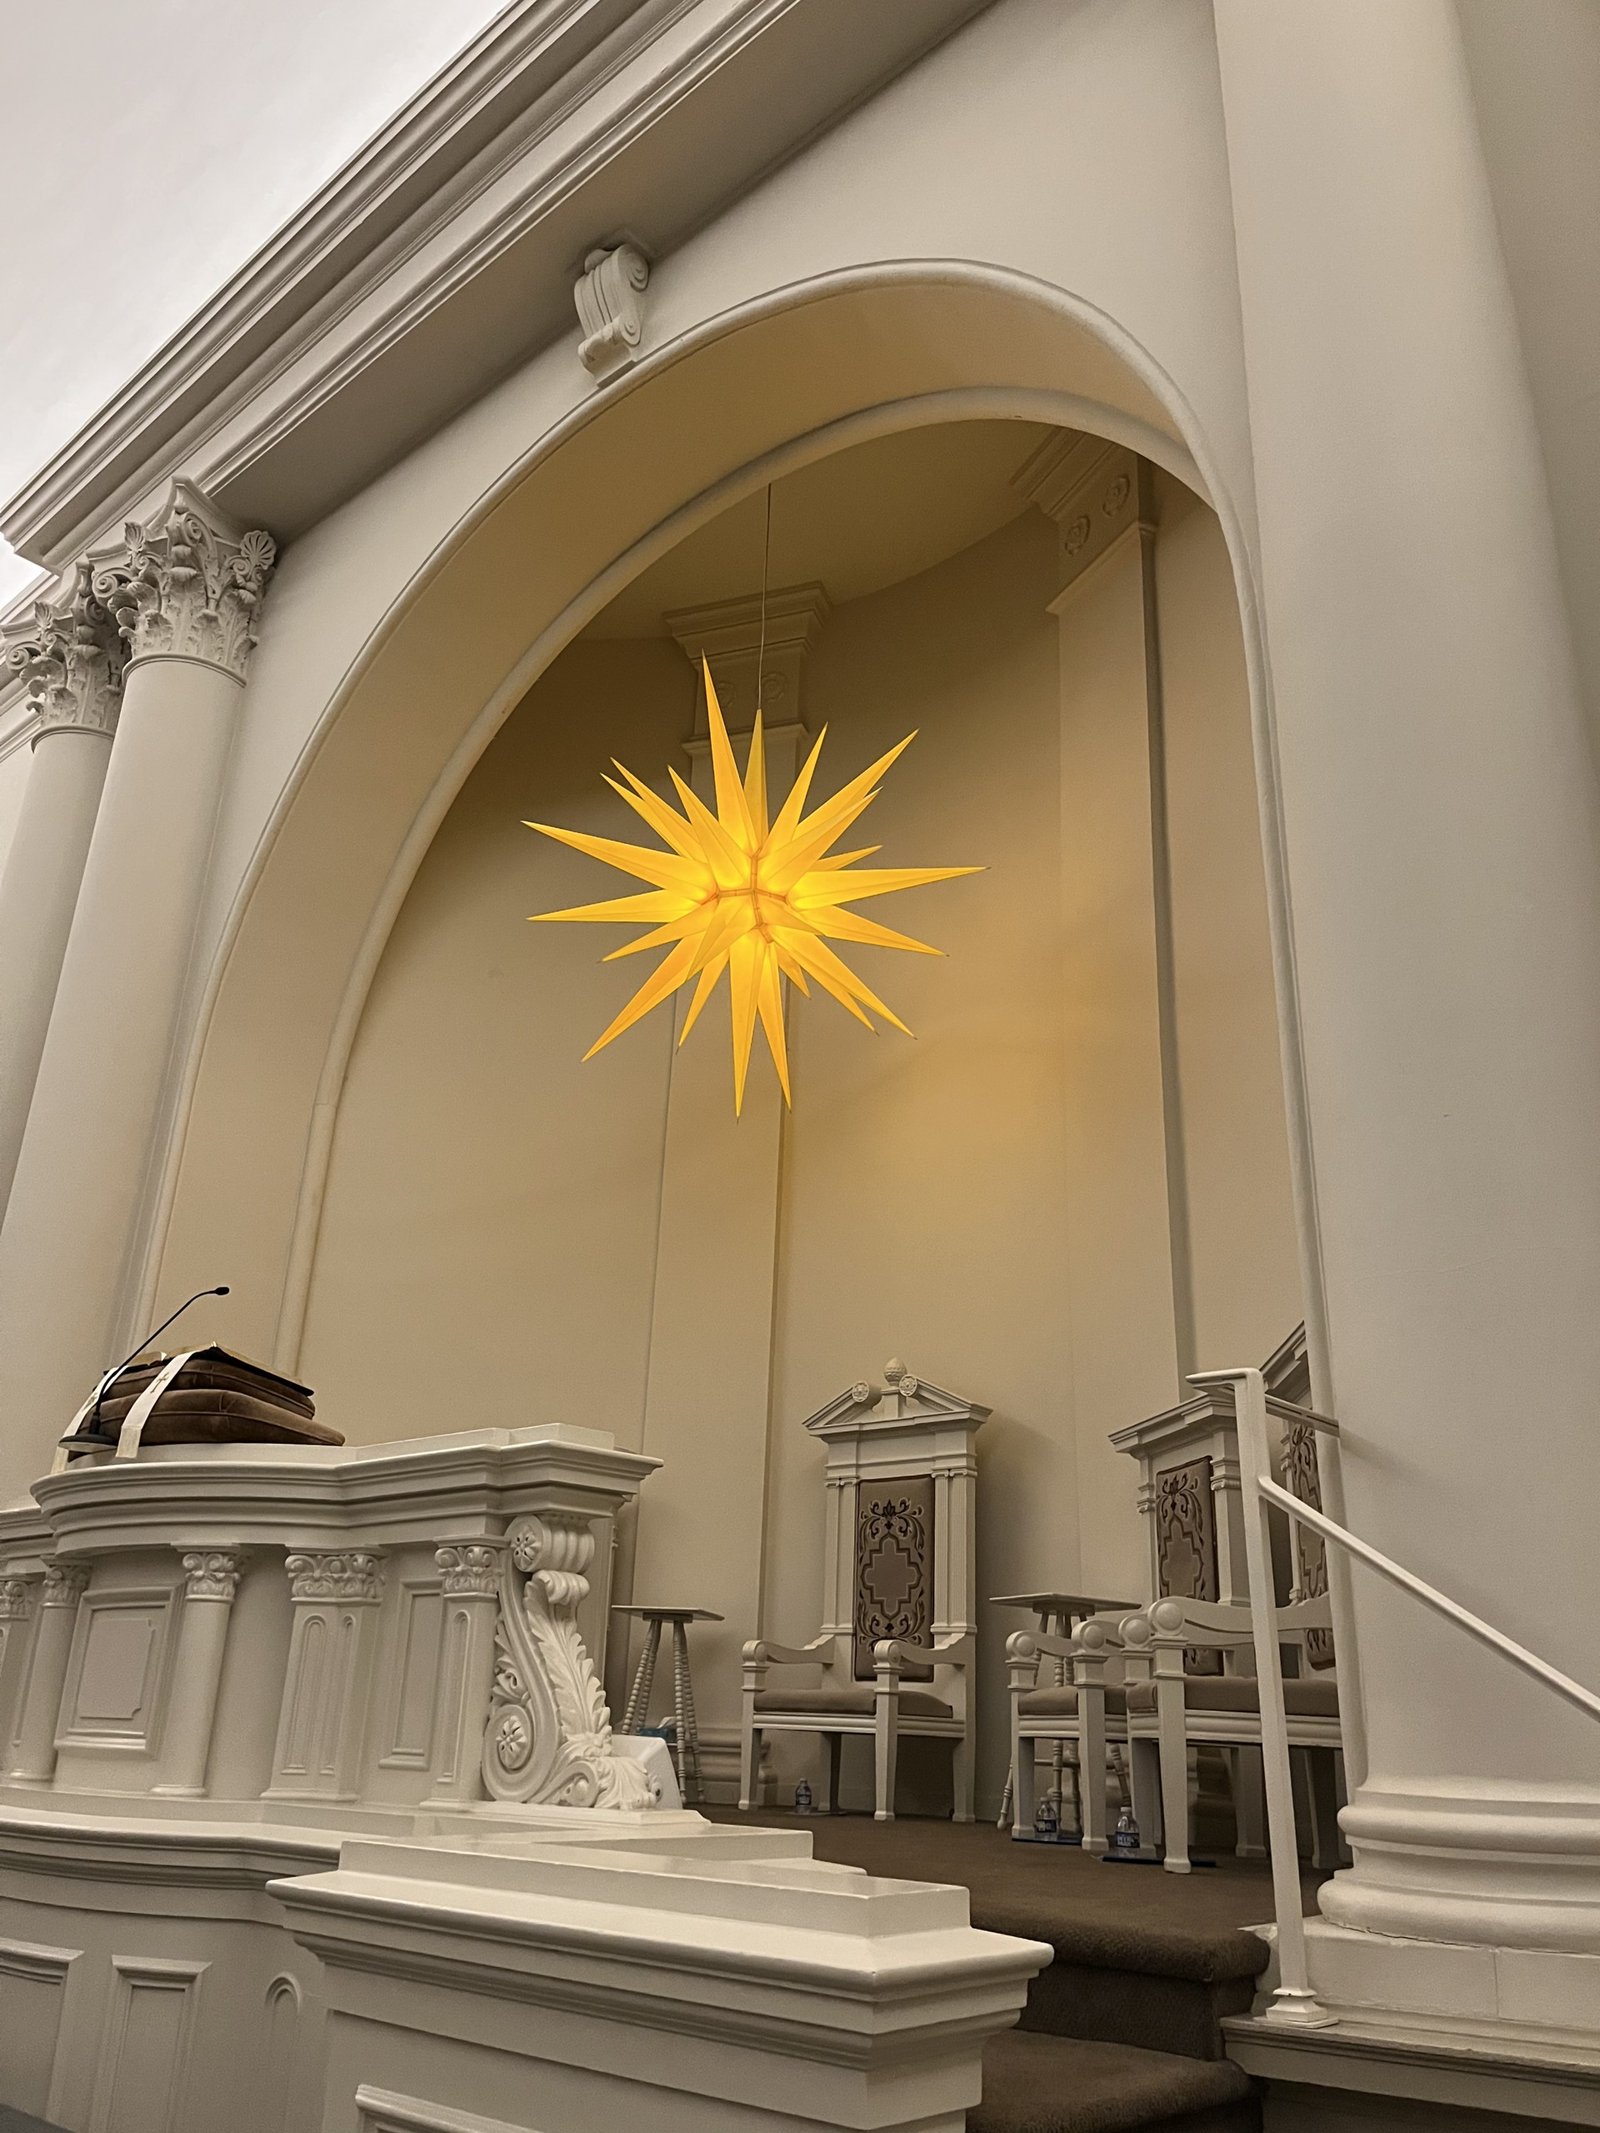
Proper hanging shows off your work and keeps it safe. Thread strong string, fishing line, or ribbon through the top point’s tip, reinforcing the attachment with a dab of glue inside. Hang from ceiling hooks, curtain rods, or sturdy branches; ensure the anchor holds the lantern’s weight, which is light but real. For windows, suction-cup hooks work well. Hang the lantern where it can be admired from multiple angles but will not be bumped; above tables, in window bays, and in room corners are ideal. Keep paper lanterns away from heat sources, sprinklers, and high-traffic doorways. A well-hung star becomes the room’s glowing focal point.
For grouped displays, hang stars at staggered heights rather than in a straight line; varying the drop lengths by six to twelve inches creates a natural, constellation-like arrangement that looks professionally designed. Use clear fishing line for a floating effect, or decorative ribbon in seasonal colors when the hanger itself is part of the look. In front of windows, hang stars at slightly different depths from the glass so they catch light differently through the day. Step back and squint at the arrangement: if the overall shape feels balanced, the individual positions are right.

Window Display Ideas
Star lanterns in windows are a tradition for good reason: they glow for the whole street. Hang a single large star centered in a front window for classic impact, or cluster three graduated sizes at varying heights for a designer look. They shine beautifully from both inside and outside after dark. For the holidays, pair stars with simple greenery garlands and white lights on the sill. Halloween versions in orange and black paper spookify the facade. Change the paper color seasonally while reusing the same hanging hardware. Neighbors will ask where you bought them; saying you made them is the best part.
Outdoor Porch Star Lanterns
Take your stars outside with weather-smart choices. Use synthetic waterproof paper or seal cardstock stars with a clear outdoor sealer. Hang under covered porches where they are sheltered from direct rain. Battery LED lights are essential outdoors; solar fairy lights charged by day glow automatically at dusk. Cluster stars with lanterns and string lights for a magical porch. Bring paper stars inside during storms and heavy wind. Outdoor stars welcome guests with handmade warmth that store-bought decor cannot match, and they photograph beautifully against evening skies. This paper star lantern DIY tutorial scales to porches with just material swaps.

Holiday and Christmas Variations
Christmas is the star lantern’s home season. Make stars in classic red and green, elegant gold and cream, or icy silver and white for different rooms. Add glitter to point tips for sparkle, or use metallic cardstock that shimmers even unlit. Hang a large star as a tree topper alternative, or cluster small stars along a garland. Advent calendars can hide behind numbered stars. White vellum stars with warm LEDs mimic candlelight beautifully on a mantel. Make them a family tradition: each person folds points for one star every December, and your collection grows more meaningful yearly. Handmade stars beat ornaments for sentimental value.
Halloween Star Lantern Ideas
Stars suit spooky season surprisingly well. Craft them in black cardstock with orange LED lights inside for a jack-o’-lantern glow, or in deep purple with green lights for witchy vibes. Cut bat or moon silhouettes from black paper and glue them onto translucent star panels so the shapes glow. Hang clusters at different heights over a party table or porch. Pair with the paper bat and ghost crafts kids love. Halloween stars bring an unexpected, sophisticated element to decor that is usually all pumpkins and skeletons. They prove this paper star lantern DIY tutorial is not just for Christmas.

Making Mini Star Lanterns
Mini stars, three to five inches across, are adorable and versatile. Use the same techniques with smaller diamonds, about two to three inches long, and fewer points. They make charming ornaments, gift toppers, party favors, and garland elements strung together. Mini stars are perfect first projects for kids or craft nights since they finish quickly. Battery tea lights are too big for minis; use single LED fairy light bulbs or leave them unlit as pure decoration. A bowl of mini stars in seasonal colors makes an instant centerpiece. Their small scale forgives minor imperfections, making them ideal practice before a big statement star.
Giant Statement Star Lanterns
Go big with stars eighteen inches or more across for serious drama. Scale up your diamond template proportionally and use heavier cardstock or lightweight foam board for structure. Reinforce every joint with interior tape strips and consider a wire frame inside for very large stars. You will need longer LED strings to light the bigger volume evenly. Giant stars anchor rooms: hang one over a dining table, in a stairwell void, or as event decor. They take more time and materials but deliver proportional wow factor. Photograph the build process; people will not believe a star that impressive is handmade until they see the steps.

Decorating: Paint, Glitter, and Patterns
Personalize your stars with surface decoration. Paint cardstock points before folding with acrylics in ombre, metallic, or patterned designs. Add glitter to still-wet glue along edges for sparkle that catches light. Use patterned scrapbook paper for instant design without painting. Stamp motifs onto plain paper for a custom look. Punch small holes in points to create light patterns when lit; constellations, snowflakes, or simple dots all glow beautifully. Decorate before folding and assembling for the cleanest results. Just keep added layers thin so folds stay crisp and the paper still transmits light nicely.
Kid-Friendly Star Lantern Craft
Simplify the project for young crafters. Pre-cut the diamonds and pre-score fold lines so kids focus on folding and gluing. Use glue sticks instead of liquid glue for less mess. Let kids decorate points with stickers, crayons, and stamps before assembly. An adult should handle craft knives and the final structural gluing, but kids can do most of the fun parts. Mini stars are the best kid scale. The project teaches patience, geometry, and following steps, all while producing something genuinely beautiful. Display their finished stars proudly; the slight wonkiness of a child’s star is pure charm.

Troubleshooting: Common Assembly Problems
Every star-maker hits snags; here are the fixes. Lopsided star: your points vary in size; remake outliers with the template. Joints popping open: not enough drying time or too little glue; re-glue with clips and wait longer. Star collapsing: paper too light or joints too weak; reinforce with interior tape. Points not aligning: check that each ring has the same number of points evenly spaced. Glue warping paper: use less glue and tacky formula. Lights visible as harsh spots: diffuse with tissue paper inside or reposition the string. Most problems trace back to rushing; slow, precise work prevents nearly all of them. Your second star will be dramatically better than your first.
Storing Paper Star Lanterns
Protect your finished stars between seasons. The best storage is hanging them in a closet or from storage-room hooks, which avoids all crushing. If hanging is impossible, nest smaller stars inside larger ones with tissue paper between layers, and store in rigid boxes, never bags. Label boxes with size and color for easy retrieval. Keep them dry; humidity warps paper and weakens glue. Remove batteries from LED lights before long storage to prevent corrosion. With careful storage, a well-made star lasts for many years, making the afternoon you spent folding it an investment in many seasons of glow.

Frequently Asked Questions About Paper Star Lanterns
How long does one star take? A medium star takes two to four hours including drying time; minis take under an hour. Can I use a real candle? Never; paper and flame are a dangerous combination, so LEDs only. What is the easiest star design for beginners? A simple diamond-point star with twelve to sixteen points in medium cardstock. Will they survive outdoors? Only with waterproof materials and shelter from rain. Can kids make them? Yes, with pre-cut pieces and adult help on assembly. This paper star lantern DIY tutorial is designed so complete beginners succeed on the first try.

Star Lanterns as Gifts
A handmade star lantern is a gift with real meaning. Make them in the recipient’s favorite colors, add a set of LED lights with batteries included, and package in a rigid box with tissue. Include a handwritten note explaining the tradition or your reason for choosing the colors. They suit housewarmings, holidays, teachers, and anyone who appreciates handmade things. Mini stars make lovely gift toppers that become keepsakes. Because each star takes hours, recipients understand the love invested. In a world of quick purchases, a glowing handmade star stands out as genuinely thoughtful.
Hosting a Star-Making Craft Night
Turn star-making into a social event. Invite friends, pre-cut and pre-score materials for everyone, set up folding stations with good lighting, and provide snacks and music. Demonstrate one point slowly, then let everyone work at their own pace while you circulate to help. Minis or medium stars suit an evening’s work. Guests leave with a finished lantern and a new skill. Provide take-home kits with extra paper for anyone hooked. Craft nights build community around making, and a room full of people folding stars together, chatting and laughing, is its own kind of glow.

Mixing Stars with Other Paper Crafts
Stars play well with other paper decorations. Combine them with paper snowflakes, garlands, and honeycomb balls for full seasonal installations. Hang stars at varying heights among paper lanterns for a festival feel. Pair with origami cranes or stars for an Asian-inspired display. Halloween groupings mix stars with paper bats and ghosts. The shared material creates cohesion across diverse shapes. Paper craft installations are lightweight, affordable, and endlessly customizable; stars as the glowing centerpiece elevate the whole arrangement. Experiment with combinations until you find the mix that makes your space sing.

Advanced Techniques to Try Next
Once the basics click, explore advanced star-making. Try complex geometries like icosahedron-based stars with thirty or more points. Experiment with woven or interlocked points that need no glue. Layer translucent colored panels for stained-glass effects when lit. Build illuminated star chandeliers from multiple joined stars. Explore traditional Moravian star patterns with their distinctive long spikes. Each advanced technique teaches new skills in precision and patience. Online communities of star-makers share patterns and tips generously. The simple star from this paper star lantern DIY tutorial is just the doorway into a rich, rewarding craft.
Final Thoughts on Your Handmade Glow
A paper star lantern is proof that the most beautiful decorations are often handmade. From the first scored fold to the moment you switch on the lights and the whole star glows, the process is as rewarding as the result. Start with a medium star in cardstock, follow the steps patiently, and trust that your hands will learn the rhythm. Hang it where you will see it daily and let it remind you that you made that beautiful thing. Then make another, because one star always leads to more. Happy folding, and enjoy your handmade glow.





I am Talha Sikandar, a professional writer with a passion for general blogging. With years of experience in content writing and research, I founded Meaniingly.com to deliver well-researched, informative, and user-friendly articles on diverse topics.