There is something deeply satisfying about settling in with a hoop, a needle, and a skein of rust-coloured floss as the evenings draw in. Fall cross stitch pattern ideas are having a real moment, and it is easy to see why: cross stitch is one of the most forgiving crafts for beginners, the supplies cost very little, and autumn offers an endless supply of motifs — pumpkins, leaves, acorns, woodland creatures, and harvest sayings that look wonderful stitched in seasonal colours. Whether you are picking up a needle for the first time or you are a seasoned stitcher hunting for fresh charts, autumn is the ideal season to start a project you can finish before the holidays. This guide walks you through everything: the supplies you need, the best fall motifs from beginner minis to ambitious samplers, colour palettes that capture the season, finishing techniques that turn hoops into gifts, and where to find patterns worth your time.

Why Cross Stitch Is Perfect for Autumn
Cross stitch and autumn belong together. As the weather turns and evenings grow longer, a portable, meditative craft becomes the ideal companion for cosy nights in. Unlike crafts that demand a dedicated workspace or expensive equipment, cross stitch travels from sofa to armchair to the passenger seat of a car, and a single project can fill dozens of relaxing hours across the season.
Autumn also supplies the craft’s best subject matter. The season’s iconography — harvest produce, falling leaves, Halloween mischief, Thanksgiving gratitude — translates beautifully into the pixel-like grid of cross stitch. Warm colour palettes of burnt orange, mustard, cranberry, and forest green look rich in thread form, and finished pieces make genuinely thoughtful handmade gifts for the holiday season ahead.
There is a practical rhythm to autumn stitching too. Starting a medium project in September means a finished piece by late October, just in time to display it through the holidays or gift it at Christmas. Many stitchers keep a dedicated “autumn box” of seasonal charts, fabrics, and floss, so each year’s first cool evening becomes a small ritual: choosing this season’s project and casting on the first stitches.
Essential Supplies for Fall Stitching
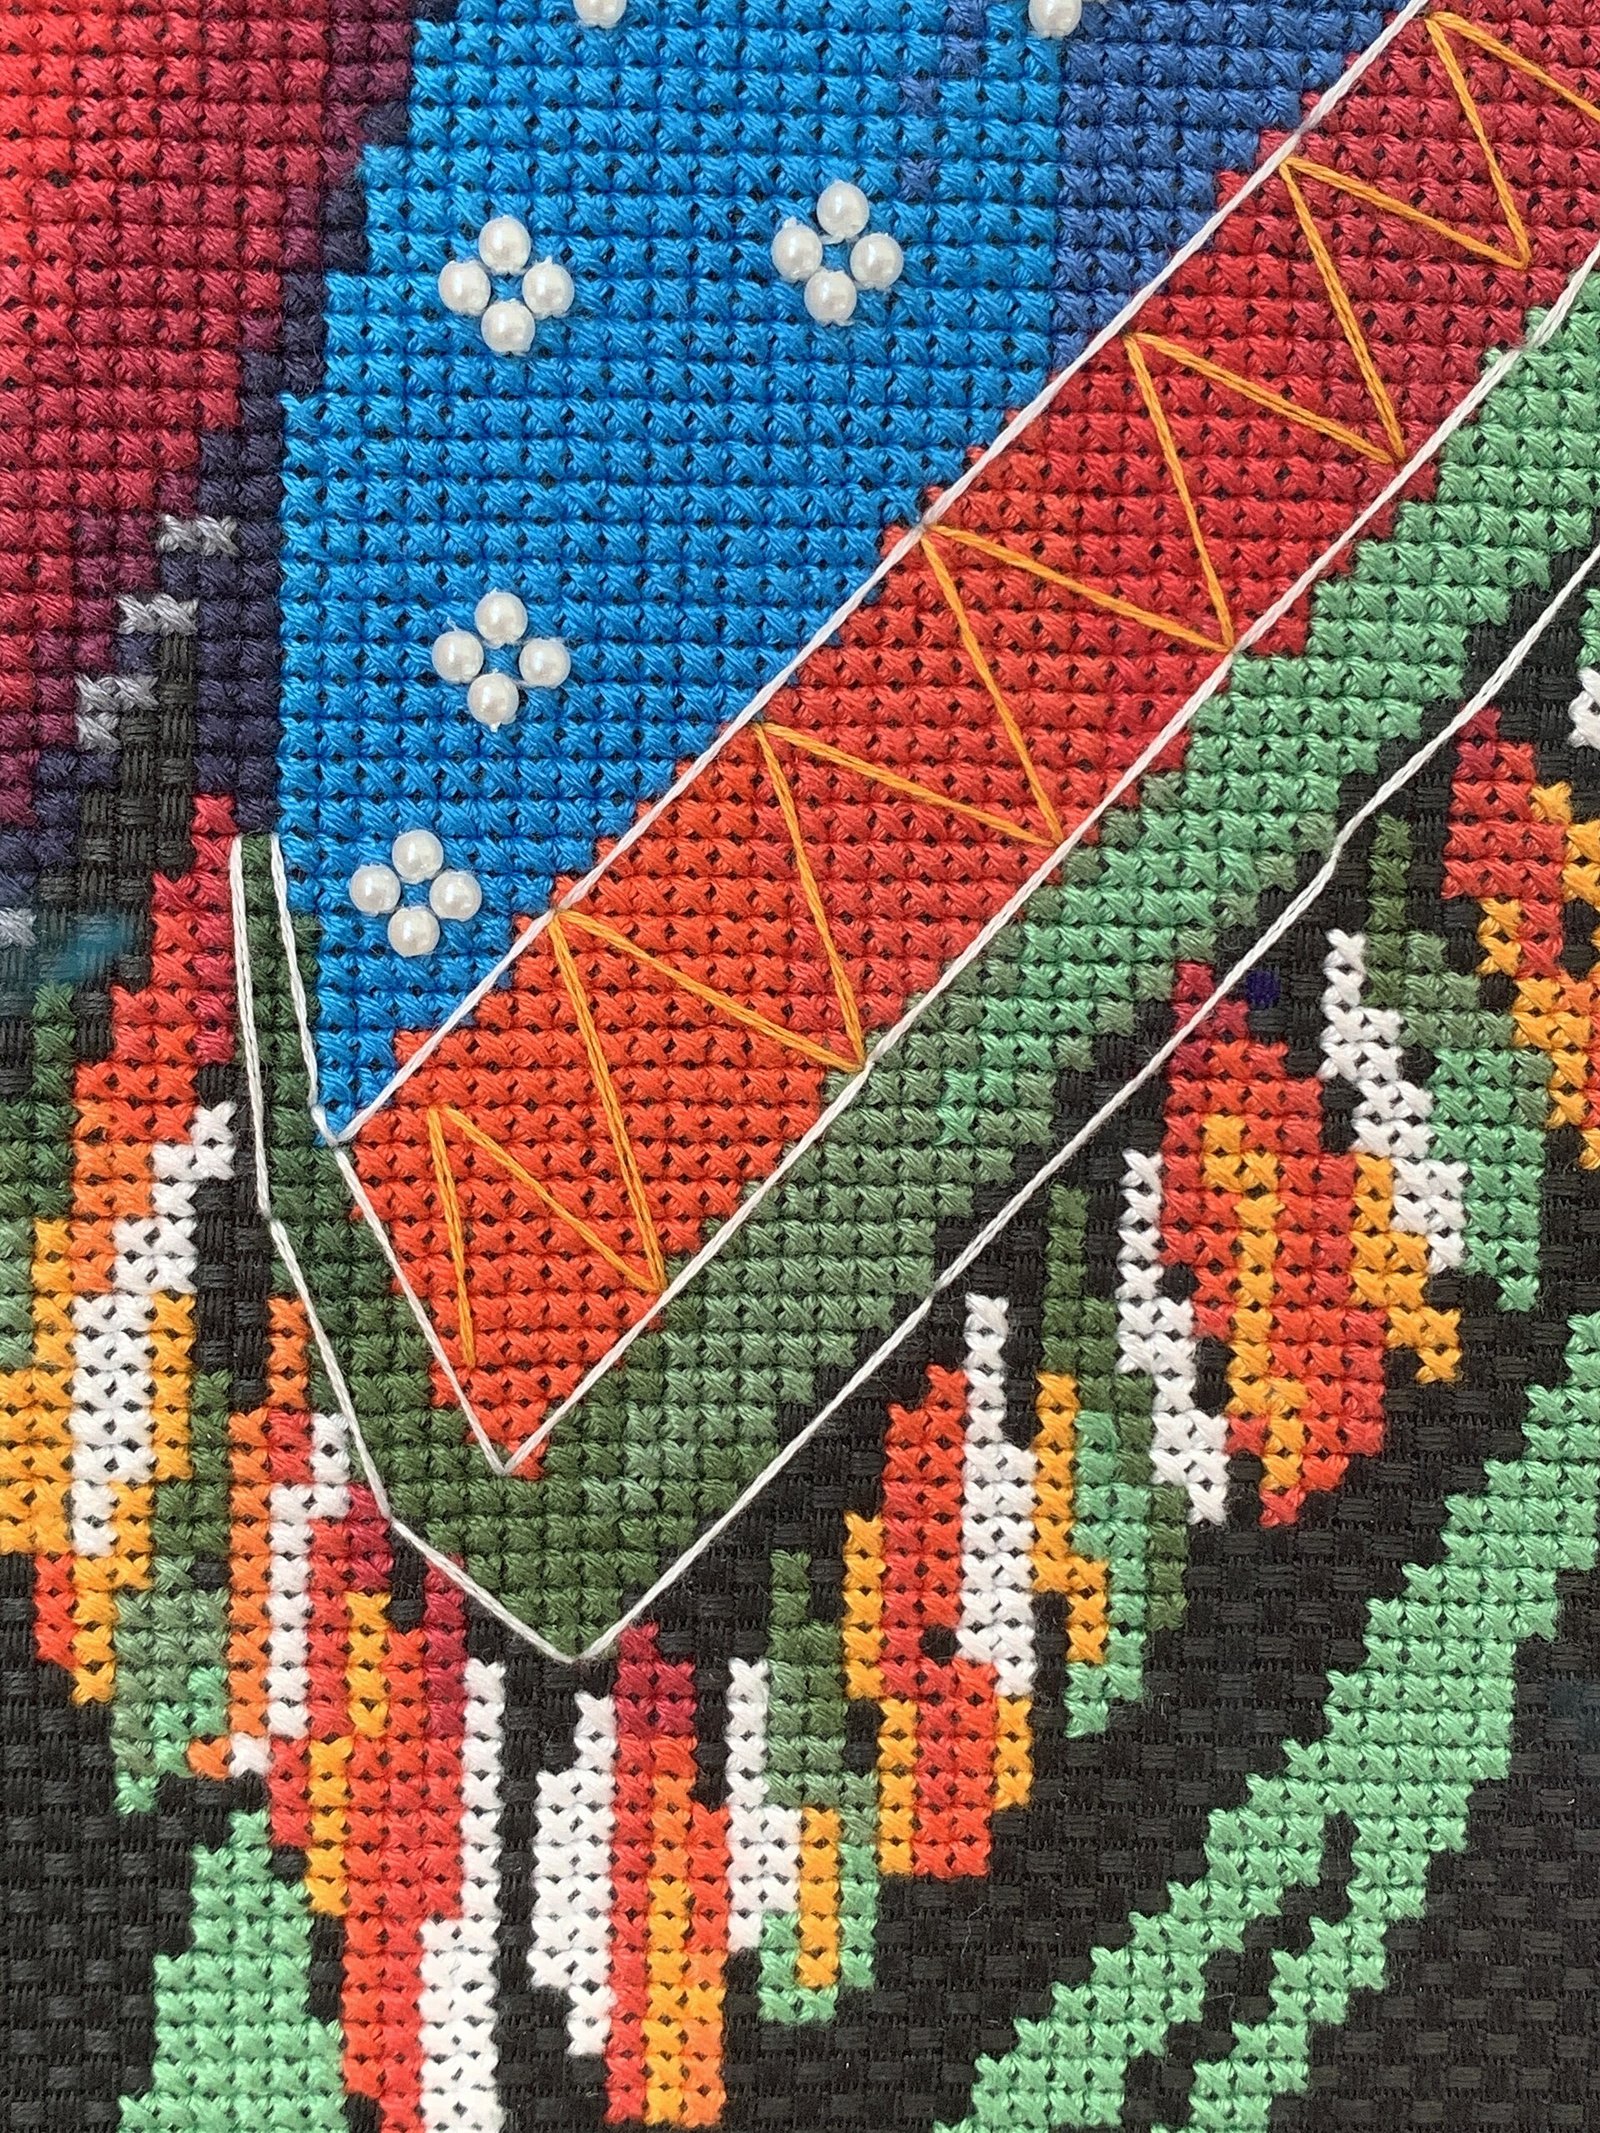
Getting started requires surprisingly little. You will need Aida cloth (14-count is the beginner-friendly standard), embroidery floss in autumn shades, a tapestry needle with a blunt tip and large eye, an embroidery hoop or Q-snap frame to hold the fabric taut, and small sharp scissors. A needle minder — a little enamel pin with a magnet — is a cheap luxury that stops needles disappearing into sofa cushions.
For autumn projects specifically, stock up on floss in rust, pumpkin orange, goldenrod, burgundy, olive, and warm brown, plus cream or oatmeal for backgrounds. Buy one extra skein of your main colour; running out mid-project risks dye-lot differences. A simple project bag keeps everything together, and good lighting — a daylight lamp if you stitch at night — protects your eyes during long sessions.
Understanding Patterns, Charts, and Floss
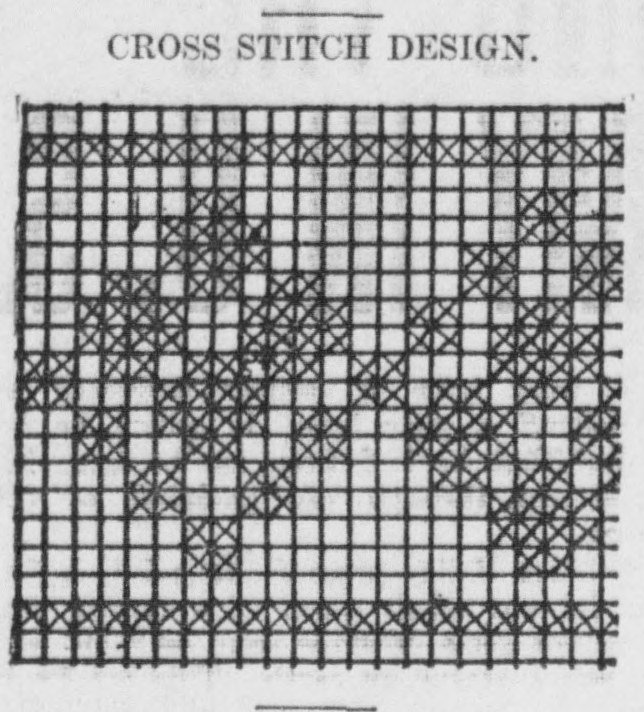
Cross stitch patterns, usually called charts, are grids where each square represents one stitch and each symbol corresponds to a floss colour. Reading a chart is simpler than it looks: find the centre of both your fabric and the chart, and work outward so the design stays centred. Most charts include a key listing the exact floss shades, often with DMC numbers — the industry standard that makes colour matching reliable.
Floss comes in skeins of six divisible strands; for 14-count Aida, most stitchers use two strands at a time. Separate the strands carefully and let them untwist before threading your needle to avoid tangling. Keep your stitch direction consistent — all top stitches slanting the same way — and your finished piece will have that smooth, professional look that separates neat work from messy work.

Cosy Pumpkin Motifs for Beginners
Pumpkins are the quintessential first autumn project: simple shapes, forgiving curves, and instantly recognisable results. A basic pumpkin needs only an oval body stitched in orange, a brown stem, and a green curly vine — achievable in a single evening even for absolute beginners. Small pumpkin motifs also teach the core skills: starting and ending threads, following a chart, and keeping tension even.
Once the basic shape feels easy, try variations: a tall heirloom pumpkin in muted sage, a trio of mini pumpkins in different sizes, or a pumpkin with a stitched face for Halloween. Pumpkin borders make lovely edgings for larger pieces, and a row of tiny pumpkins stitched on a tea towel or apron pocket turns everyday linens into seasonal décor. They are the gateway motif of fall stitching.

Autumn Leaf Designs to Try
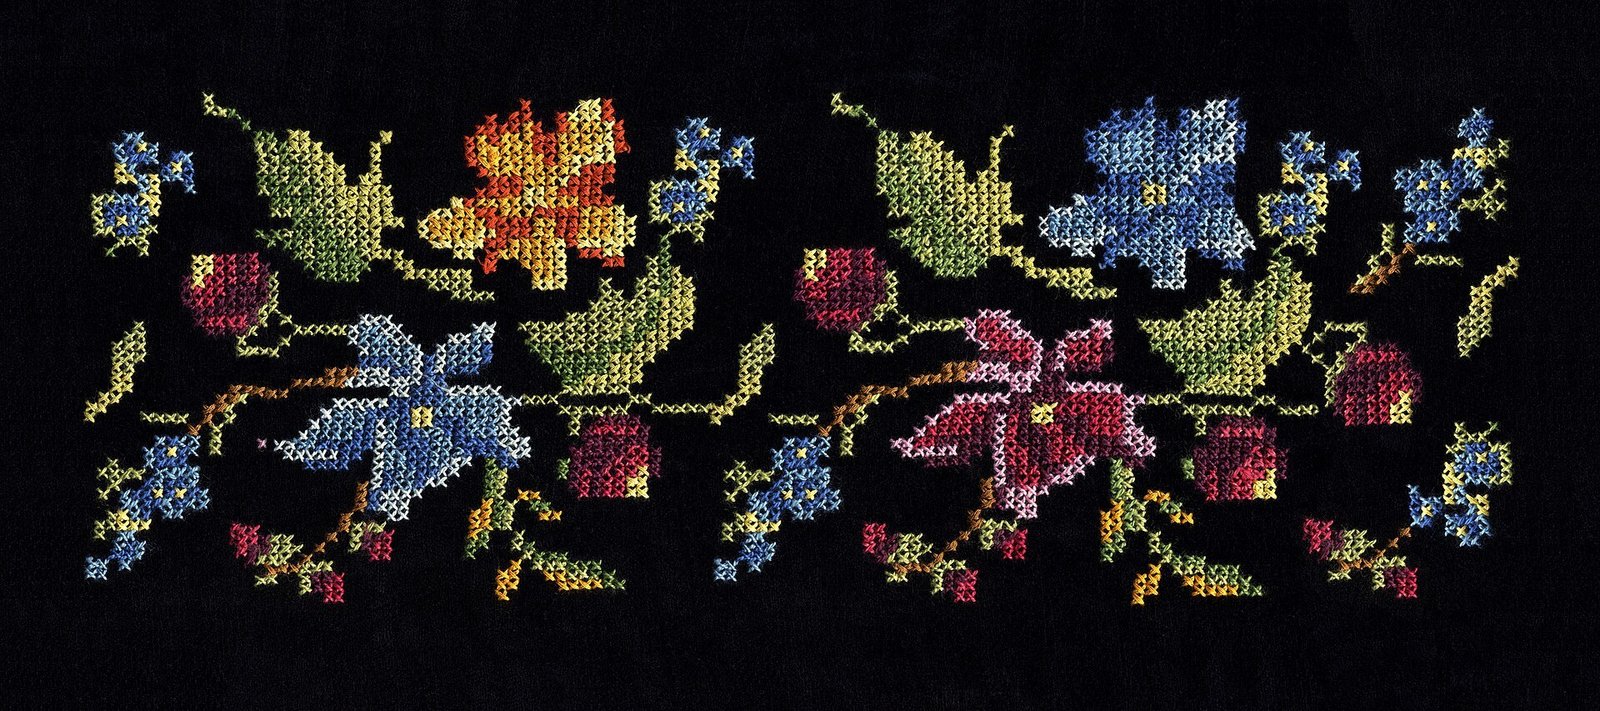
Maple, oak, and birch leaves offer wonderful stitching variety, from simple silhouettes to detailed veined designs. A single large maple leaf in variegated autumn floss makes a striking standalone piece, while scattered small leaves work beautifully as filler motifs around a central design or as a repeating border. Leaf patterns teach you to stitch diagonal lines and gentle curves with confidence.
Experiment with colour: real autumn leaves are never one flat shade, so blend two similar floss colours in the needle or use variegated thread that shifts from gold to rust on its own. A garland of connected leaves stitched across a long strip of Aida becomes a mantel decoration, and individual leaf motifs mounted on cards make charming autumn greeting cards with real handmade impact.
Fall Wreath Cross Stitch Patterns
Wreath designs are among the most popular fall patterns because they frame a space for personalisation — a family name, a year, or a short phrase like “Gather” or “Hello Autumn” in the centre. The wreath itself is a ring of leaves, berries, pumpkins, and acorns, and the circular format looks impressively complex while remaining very stitchable.
When stitching a wreath, work the foliage ring first and add the lettering last so you can centre the text precisely. Choose a background fabric in a soft neutral — oatmeal, sage, or dusty blue — to make the warm wreath colours pop. Finished wreath hoops hang beautifully on front doors (indoors or under a porch roof), and they make exceptional housewarming gifts throughout the autumn months.
Harvest and Thanksgiving Themes
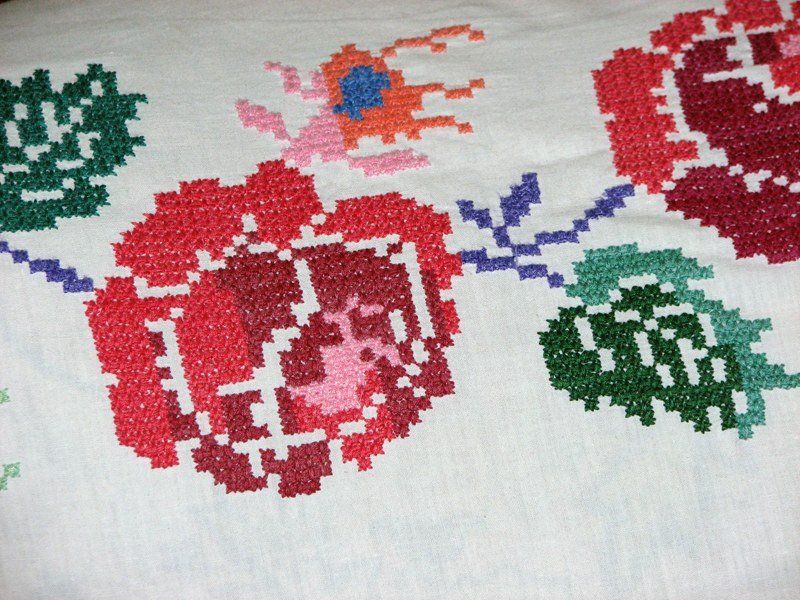
Thanksgiving stitching centres on gratitude and abundance: cornucopias overflowing with produce, sheaves of wheat, turkeys both cute and realistic, and phrases like “Give Thanks” or “Grateful Heart.” These designs tend toward richer, deeper palettes — harvest gold, deep cranberry, chocolate brown — that feel appropriately ceremonial for the holiday table.
A stitched Thanksgiving piece makes a wonderful hostess gift, especially a small hoop or framed piece the host can display year after year. Wheat sheaf motifs are particularly elegant and surprisingly simple, built from repeated straight stitches. If you are stitching for the holiday itself, start by early October; a medium Thanksgiving design typically needs three to four weeks of evening stitching to finish comfortably.
Cute Woodland Animal Patterns
Foxes, hedgehogs, owls, squirrels, and deer are autumn stitching favourites, and their appeal crosses every age group. Woodland animals work wonderfully as nursery décor, children’s gifts, or whimsical additions to your own seasonal display. Designers have created thousands of variations, from realistic shaded foxes to cartoon-simple hedgehogs a child could stitch.
Animal patterns are excellent for practising fractional stitches and subtle colour blending, since fur and feathers need soft transitions. Start with a simple owl or fox face — the symmetrical features are forgiving — before attempting a full-body design. A trio of small woodland animals in matching hoops makes a delightful set, and hedgehog motifs are practically made for autumn with their cosy, hibernation-ready charm.
Halloween Cross Stitch Ideas
Halloween cross stitch splits into two camps: spooky and sweet. Spooky designs feature haunted houses, black cats, bats, witches’ hats, and phrases like “Trick or Treat” in gothic lettering, usually on black or dark navy Aida for maximum drama. Sweet designs use candy corn, smiling ghosts, and pastel pumpkins — perfect for households that prefer charming to chilling.
Stitching on black Aida is a skill in itself: use good lighting, consider a white cloth behind the fabric to make the holes visible, and keep your stitches slightly looser than usual. Glow-in-the-dark floss exists and is tremendous fun for ghost motifs. Start Halloween projects by mid-September at the latest; the holiday’s hard deadline means planning ahead is essential for finishing in time.
Fall Typography and Quote Hoops
Sometimes the words are the design. Typography hoops featuring phrases like “Hello Fall,” “Pumpkin Spice Everything,” “Sweater Weather,” or “Autumn Blessings” are perennially popular because they stitch up quickly and suit any décor style from farmhouse to modern. Lettering is also the most practical skill a stitcher can learn — it unlocks personalisation for every future project.
For crisp lettering, backstitch over your cross-stitched background or stitch the letters entirely in backstitch for a delicate script look. Keep lettering at least three stitches tall for readability, and always count twice before starting a word — nothing is more disheartening than discovering “Autmn” when the hoop is nearly done. Pair the quote with a small motif, like a sprig of leaves, for a finished, balanced composition.
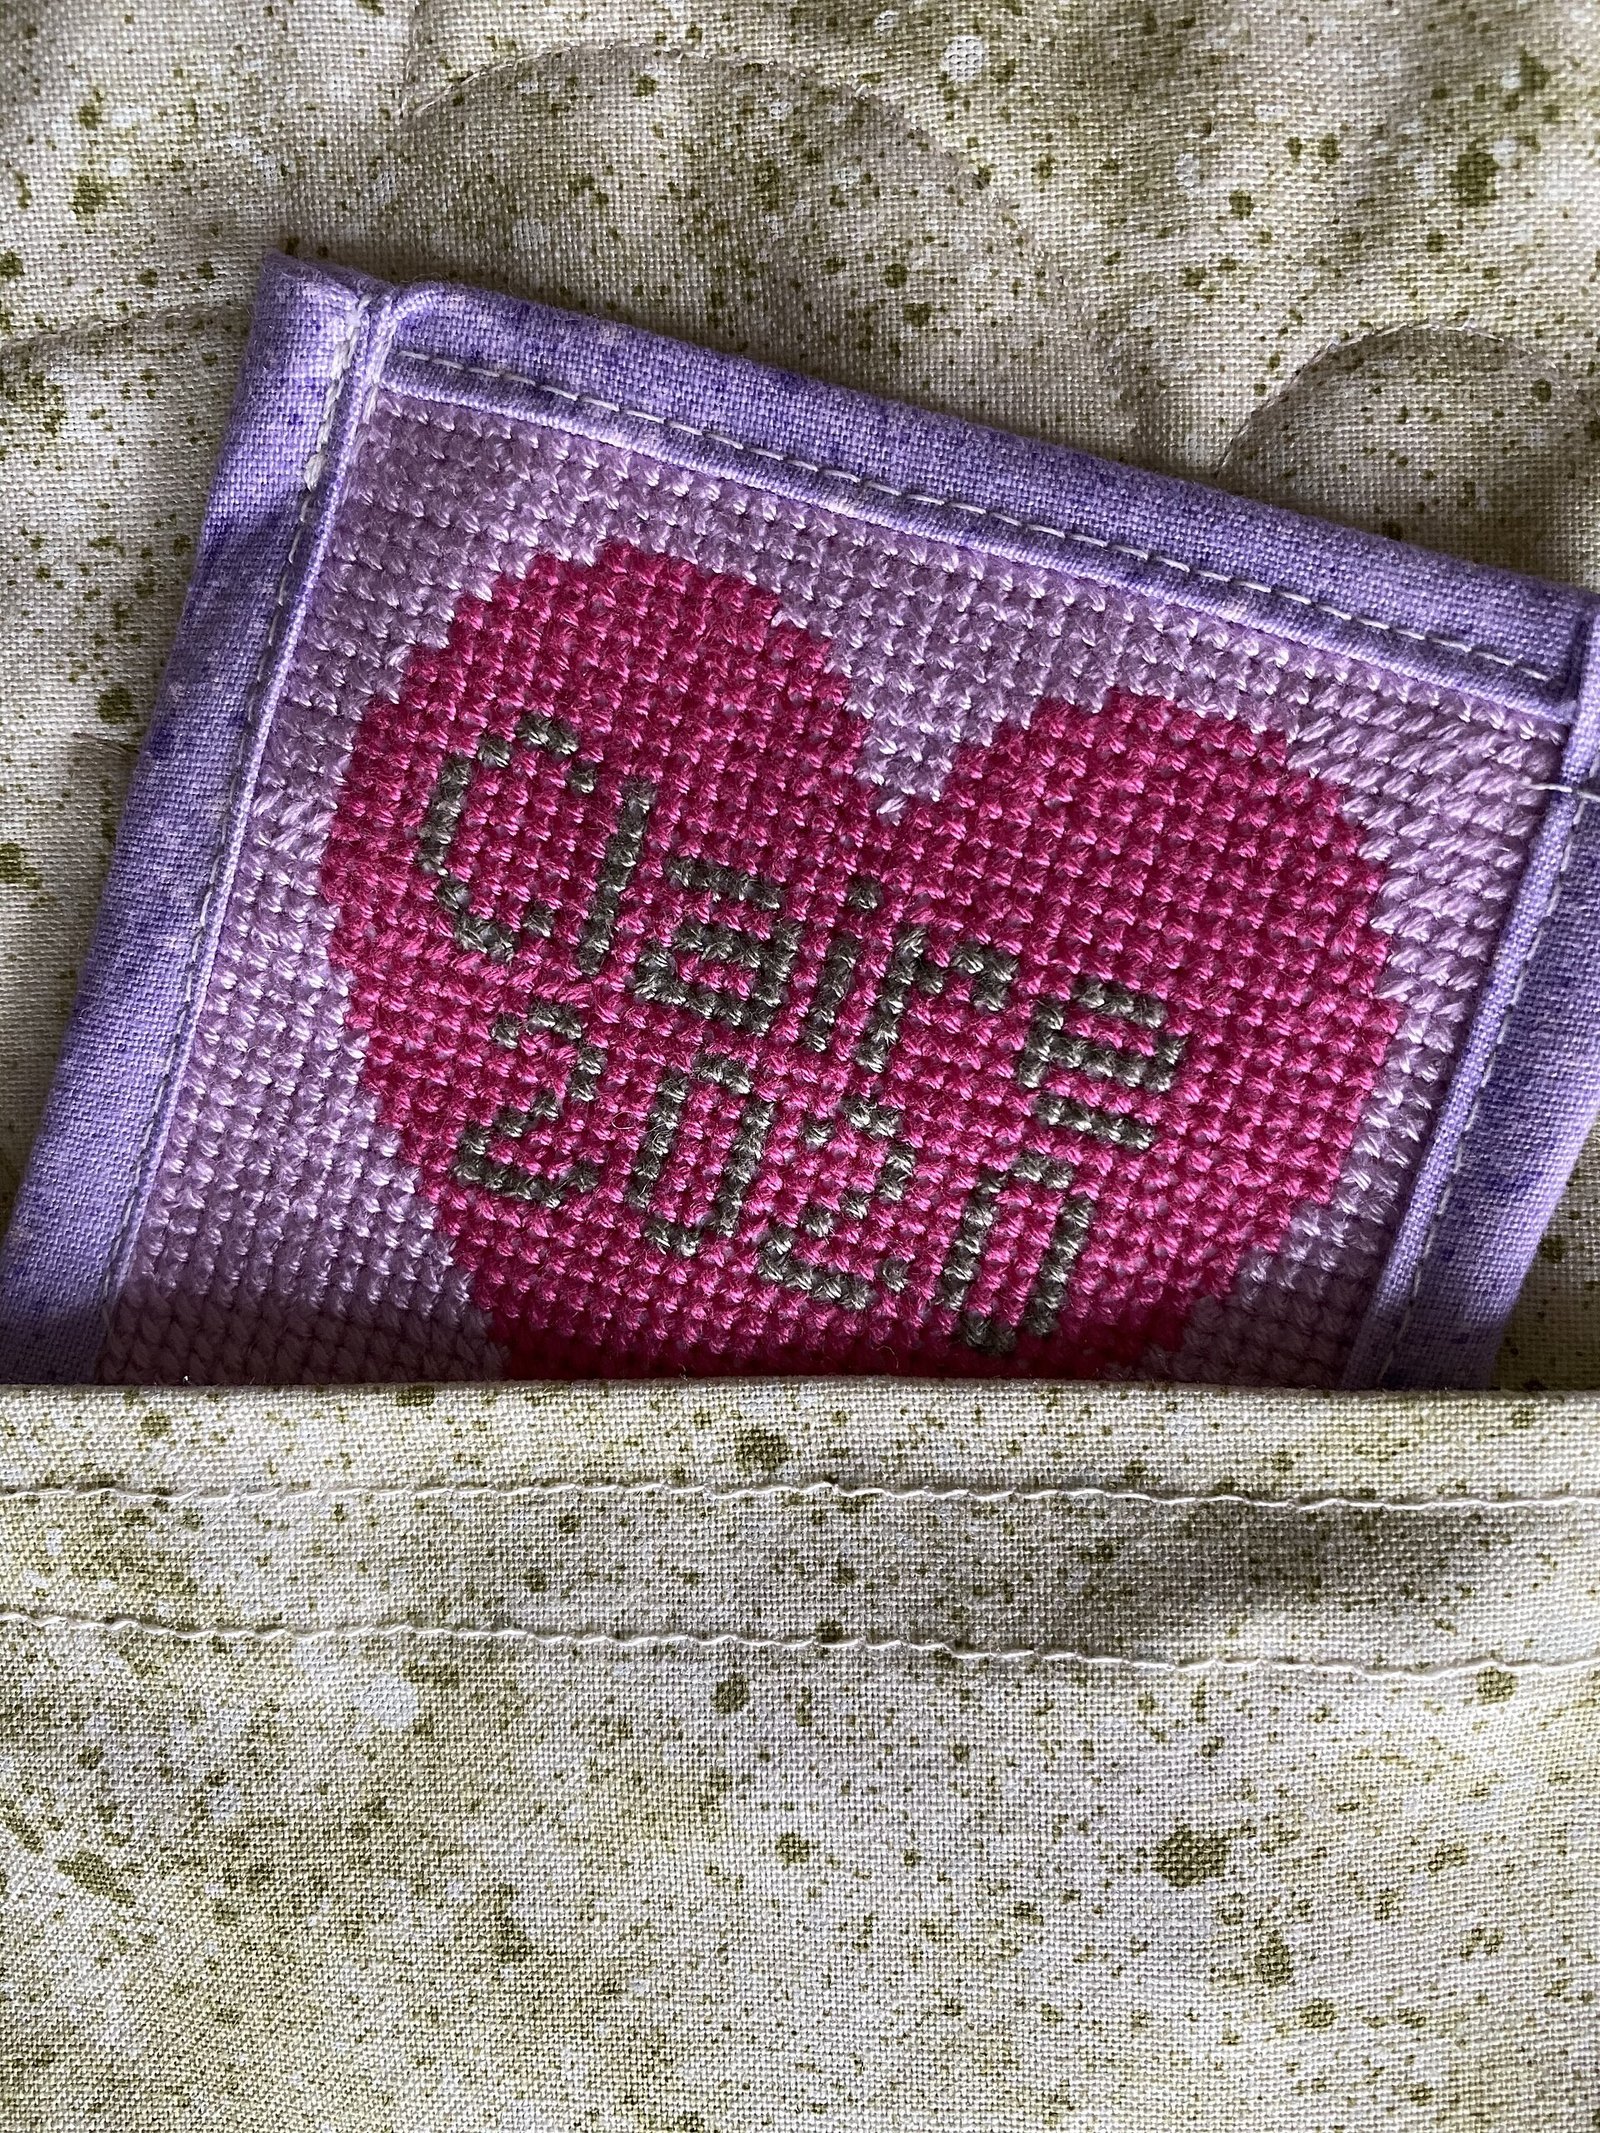
If you plan to gift a typography hoop, consider stitching the recipient’s family name or a meaningful date beneath the main phrase — personalisation transforms a pretty object into a keepsake. Use a slightly contrasting floss for the personalised line so it reads as an intentional detail. And photograph your layout on graph paper first; seeing the whole composition at a glance catches spacing errors before a single stitch is placed.

Mini Patterns for Ornaments and Gifts
Mini patterns — designs under two inches square — are the unsung heroes of autumn stitching. They finish in an evening or two, use up leftover floss, and become ornaments, gift tags, bookmarks, and stocking fillers. A set of mini pumpkins, leaves, and acorns stitched on small cuts of Aida can be finished as hanging ornaments with felt backing and a ribbon loop.
Minis are also the ideal way to test a new designer’s style before committing to a large chart, and they make low-pressure practice for beginners. Stitch a dozen across October and you will have handmade Christmas gifts ready before December arrives. Package them in a kraft box with tissue, and a handful of tiny stitched ornaments becomes a gift that looks far more expensive than it was.

Seasonal Table Runner Designs
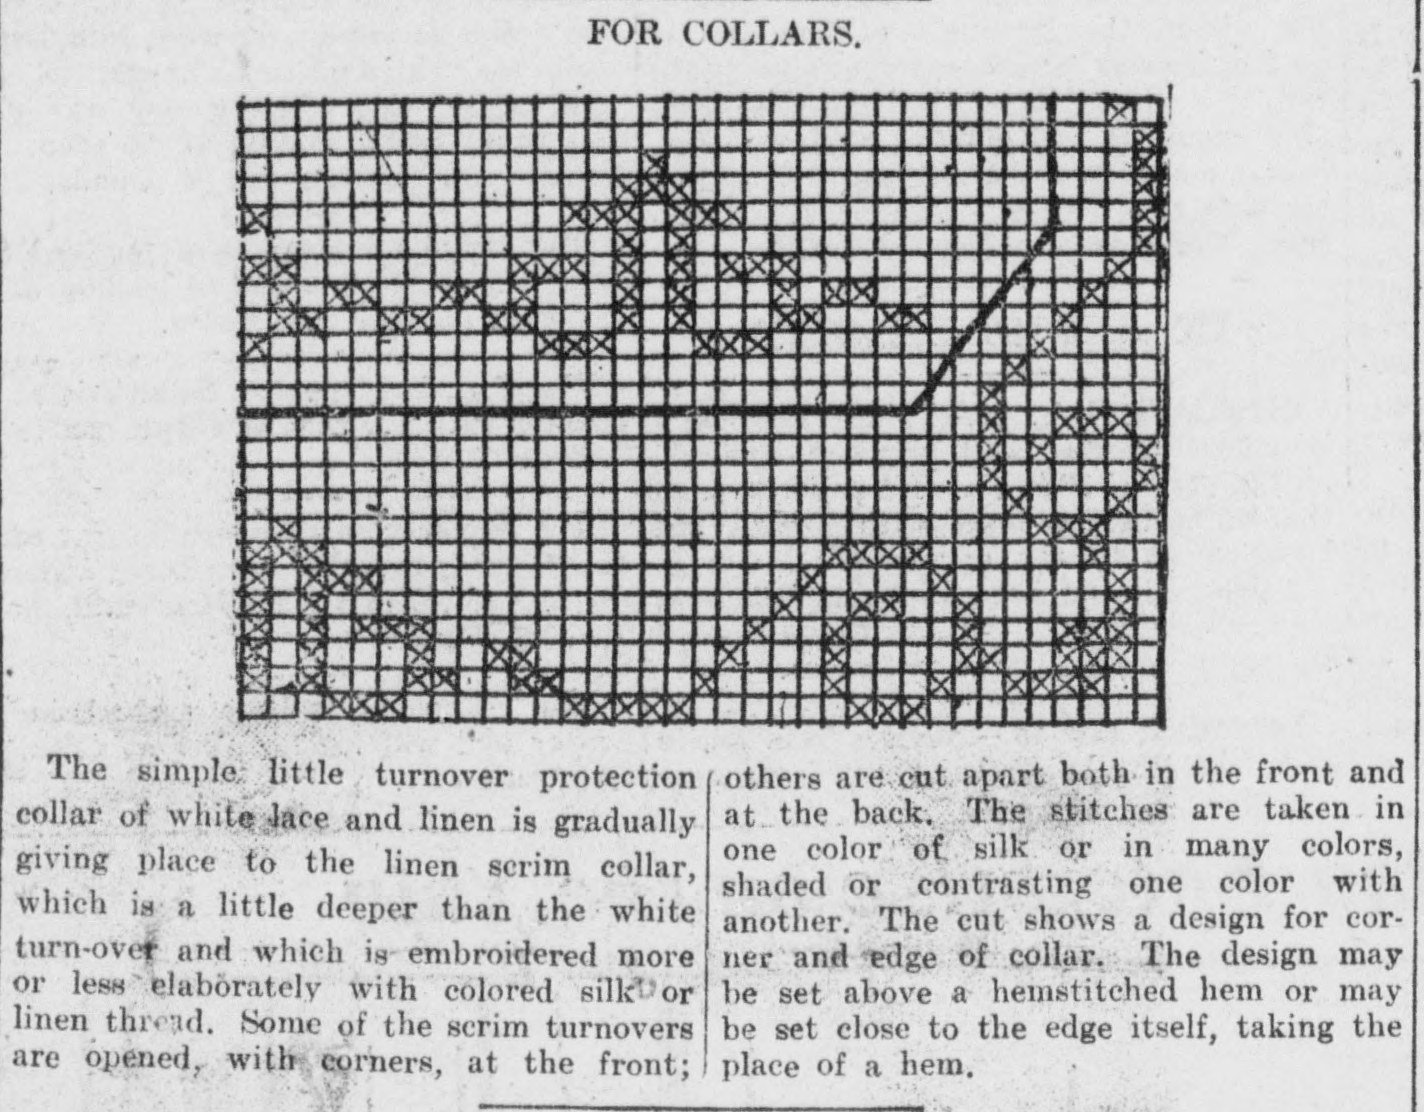
For stitchers ready for a bigger commitment, a table runner is a showpiece project. Long bands of Aida or linen are stitched with repeating autumn motifs — falling leaves, pumpkin vines, or geometric harvest patterns — and finished with hemmed edges or fringe. A runner transforms a dining table for the whole season and becomes a family heirloom with use.
Plan carefully: measure your table first, and choose a repeating border pattern rather than one giant central motif, which is far more forgiving to stitch over weeks. Work in sections and keep the fabric rolled rather than folded to avoid crease marks. A table runner is a genuine multi-week project, so start in early autumn and enjoy the slow, rhythmic progress — it is the stitching equivalent of a long, satisfying novel.
Choosing Your Autumn Colour Palette
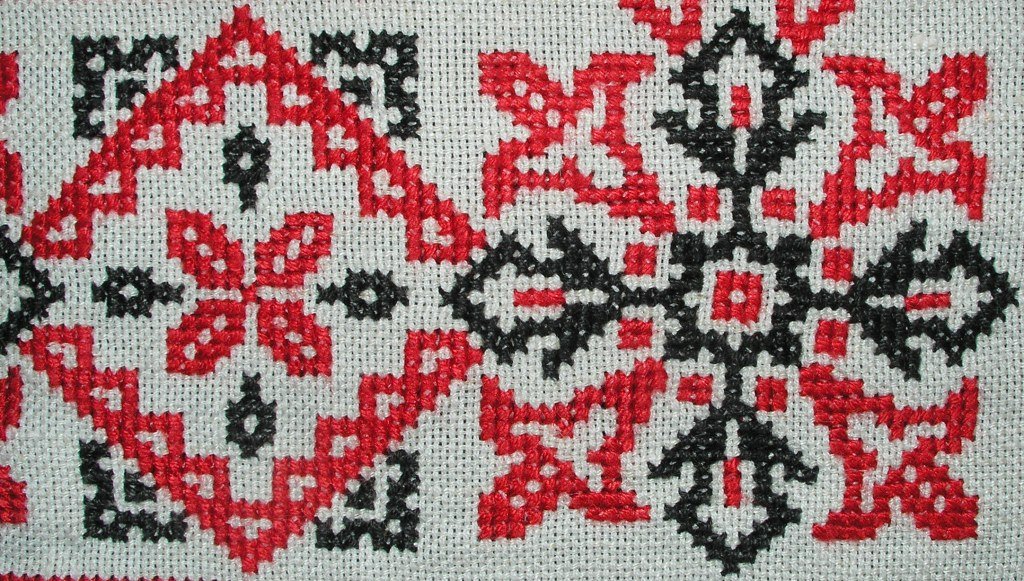
Autumn palettes fall into three families, and choosing one gives your project instant cohesion. The classic harvest palette — burnt orange, goldenrod, cranberry, chocolate, and forest green — is warm and traditional. The muted vintage palette — dusty rose, sage, oatmeal, faded terracotta — suits farmhouse and shabby-chic décor. The moody palette — plum, charcoal, deep teal, mustard — feels modern and dramatic.
Limit yourself to five or six colours for small projects; restraint reads as sophistication in thread. When substituting shades, keep the value contrast the same — a dark outline colour and light fill colours — so the design stays legible. Photograph your floss choices together before starting; the camera reveals clashes the eye misses. And remember that autumn light is golden, so colours look warmer in situ than under harsh indoor bulbs.

Aida Cloth Counts Explained
Aida’s “count” tells you how many stitches fit in one inch: 14-count is the standard beginner fabric, 16-count is slightly finer, and 18-count produces detailed, delicate work. Higher counts mean smaller stitches and more detail, but they also demand better eyesight and more patience. For most fall projects, 14-count hits the sweet spot of manageability and attractive results.
Fabric colour matters as much as count. Cream and oatmeal flatter traditional autumn designs, while hand-dyed fabrics in mottled rust, sage, or stormy grey add artisanal character — though they cost more. Always cut your fabric at least three inches larger than the design on every side to allow for hooping and framing. And wash your hands before stitching on light fabrics; thread oils and everyday grime show quickly on cream Aida.

Tips for Neat, Even Stitches
Neat stitching is mostly about consistency. Keep every stitch’s top leg slanting the same direction, maintain even tension — not so tight the fabric puckers, not so loose the stitches flop — and work row by row rather than jumping around the chart. These three habits alone will elevate a beginner’s work to near-professional standards.
Other refinements: use shorter thread lengths (about 45 centimetres) to reduce tangling and wear, “railroad” your stitches by passing the needle between the two strands on the way down for perfectly flat coverage, and avoid carrying thread across long empty spaces on the back, which can show through light fabric. Press finished work face-down on a fluffy towel with a warm iron to crisp the stitches without flattening them.
Framing and Finishing Your Hoop Art
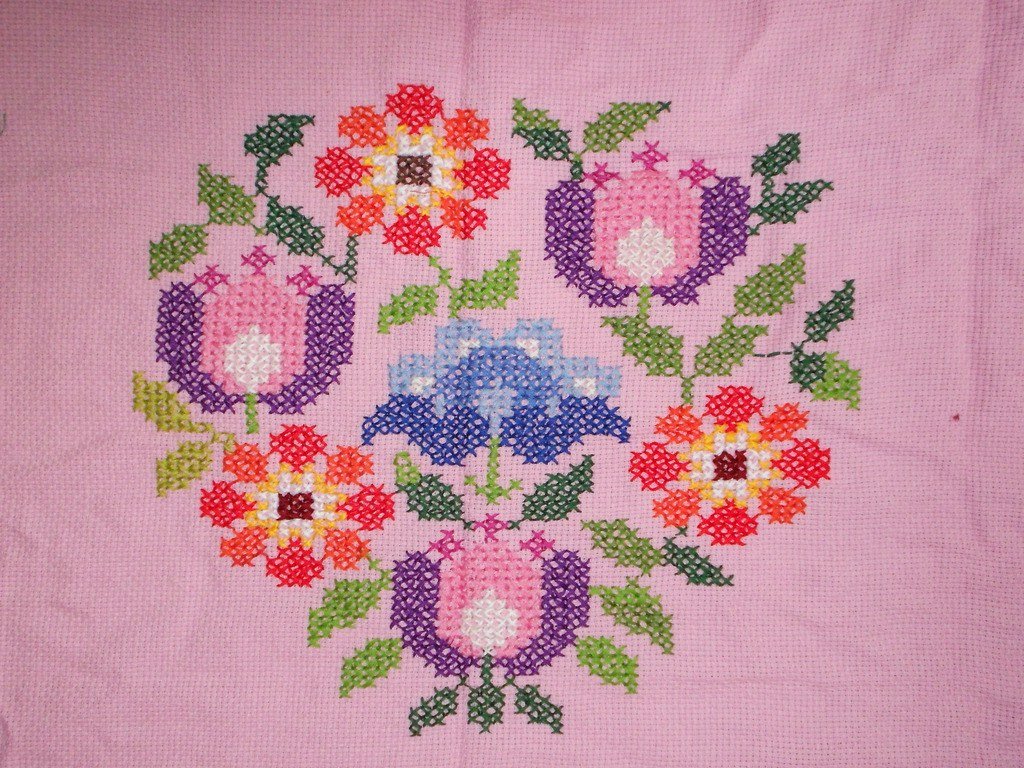
How you finish a piece determines whether it looks handmade-charming or handmade-awkward. The simplest finish is leaving the work in its hoop: trim the excess fabric, gather it behind with a running stitch, and cover the back with a felt circle glued in place. A ribbon bow on the hoop’s screw adds a polished touch for gifting.
For a more formal look, frame the piece under glass in a standard frame — lacing the fabric over acid-free board gives a taut, gallery-quality finish. Stretch the fabric evenly and pin before lacing to avoid warping the design. Whatever finish you choose, sign and date the back; years from now, that little note will be the most precious part of the piece.
Turning Stitches into Cushions and Stockings
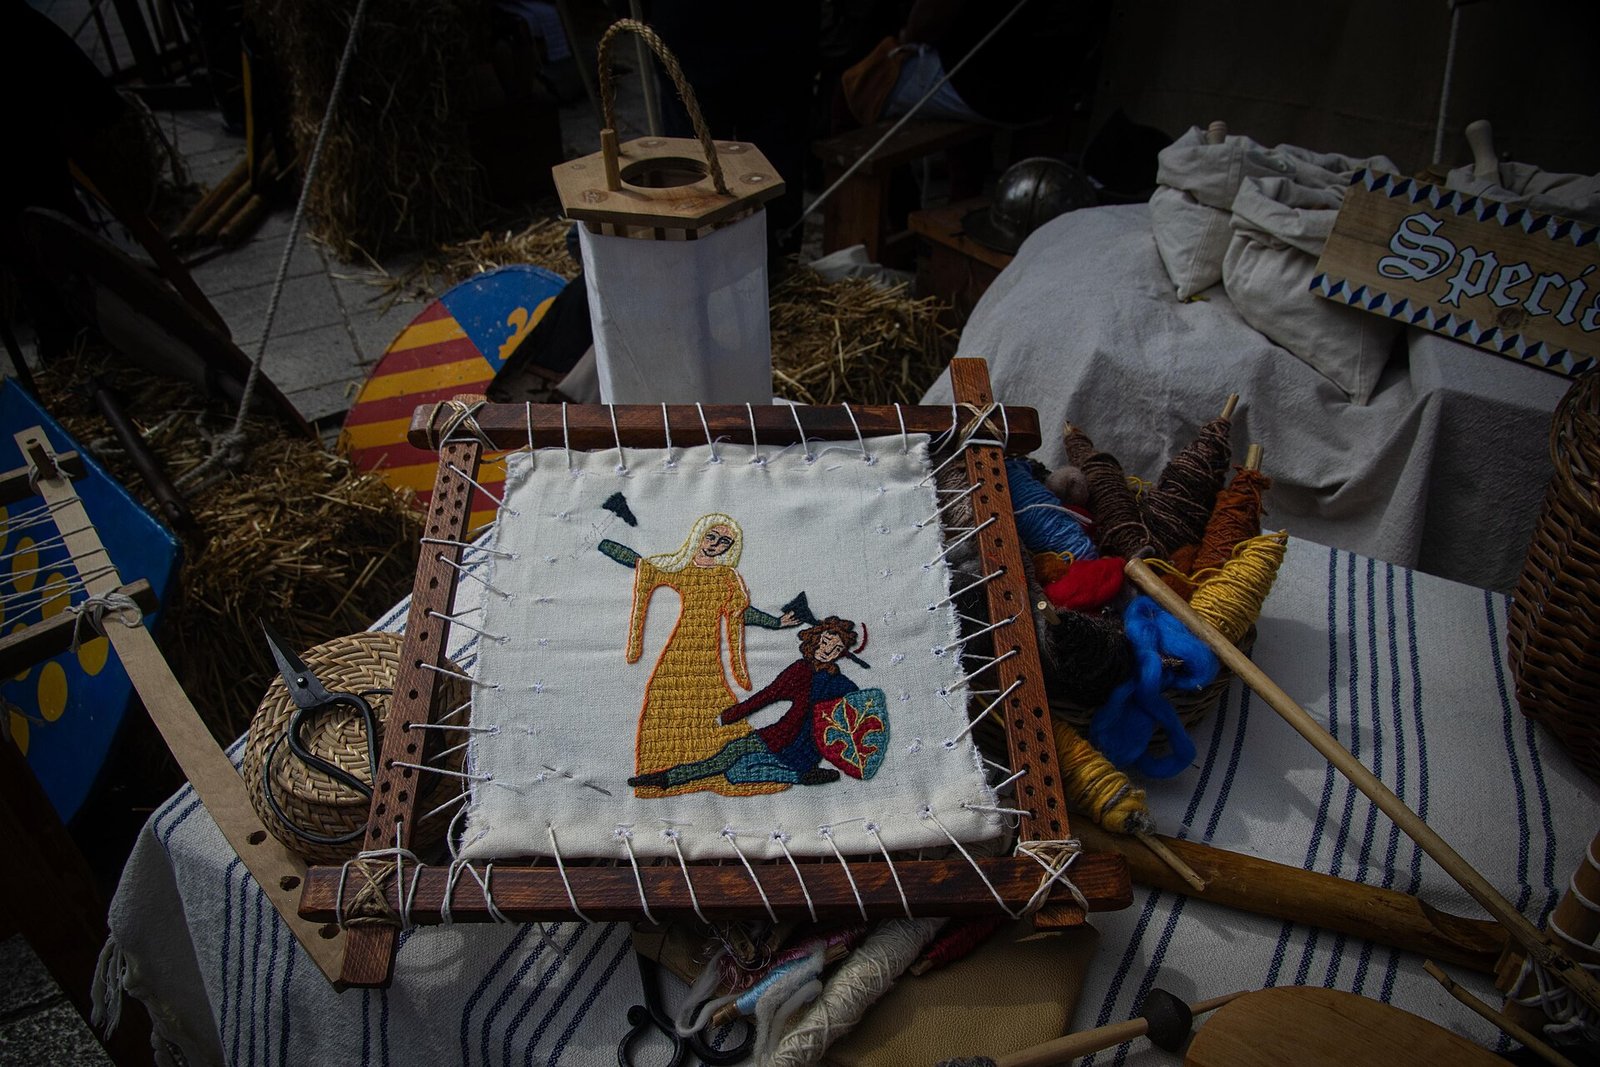
Cross stitch need not stay flat. A stitched autumn panel becomes a cushion front with minimal sewing: back the Aida with iron-on interfacing for stability, then sew it to a cushion back in coordinating fabric. Envelope-style backs need no zips and make the cover removable for washing — important for anything that will actually be used.
Christmas stockings are the classic advanced finish, and autumn is the time to start one for December. Stitch a festive panel — a woodland scene or a row of mini motifs — then cut the stocking shape with a seam allowance and line it in cotton. The stitched front elevates a simple stocking into an heirloom. Start now; stockings take longer than you think, and December-you will be grateful.
Free vs Paid Patterns: Where to Look
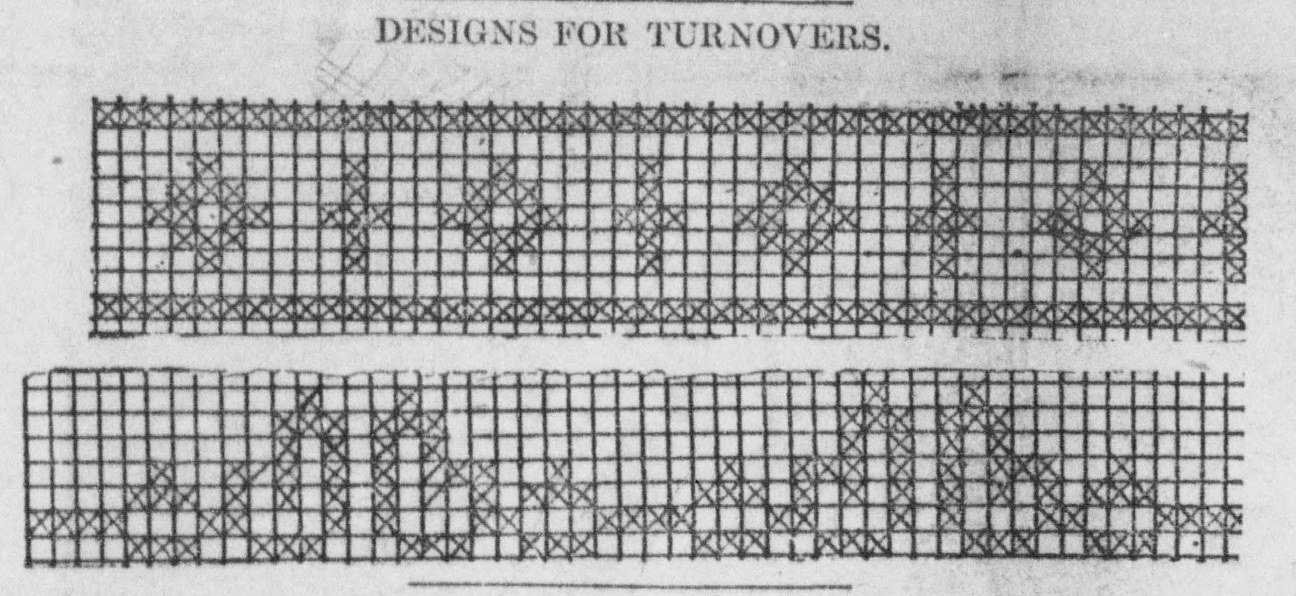
The internet overflows with free fall charts — designer blogs, craft sites, and stitching communities share hundreds of mini patterns and samplers at no cost. Free patterns are excellent for practice and small gifts, though quality varies; look for charts with clear symbols, a complete floss key, and finished-size information before you invest stitching hours.
Paid patterns, typically a few pounds from independent designers, usually offer better charting, more thorough instructions, and original artwork you will not see everywhere. Supporting designers keeps the craft’s creative ecosystem alive. Whatever the source, save or print the chart and keep it with the project — digital files have a way of vanishing, and a half-finished piece without its chart is a tragedy.

Stitching with Kids This Autumn
Cross stitch is a wonderful first needlecraft for children, and autumn motifs are the perfect bait. Start kids on plastic canvas rather than Aida — the large holes are easy to see and the stiff material needs no hoop. Blunt tapestry needles and short lengths of yarn or thick floss complete the kit, and simple shapes like pumpkins or leaves give quick, rewarding results.
Keep sessions short — twenty minutes is plenty for younger children — and celebrate finished pieces by displaying them prominately. Stitching teaches counting, patience, and fine motor skills disguised as fun. A child who stitches a mini pumpkin in October may well ask for a bigger project by Christmas, and you will have started a crafter for life.
Caring for and Storing Finished Pieces
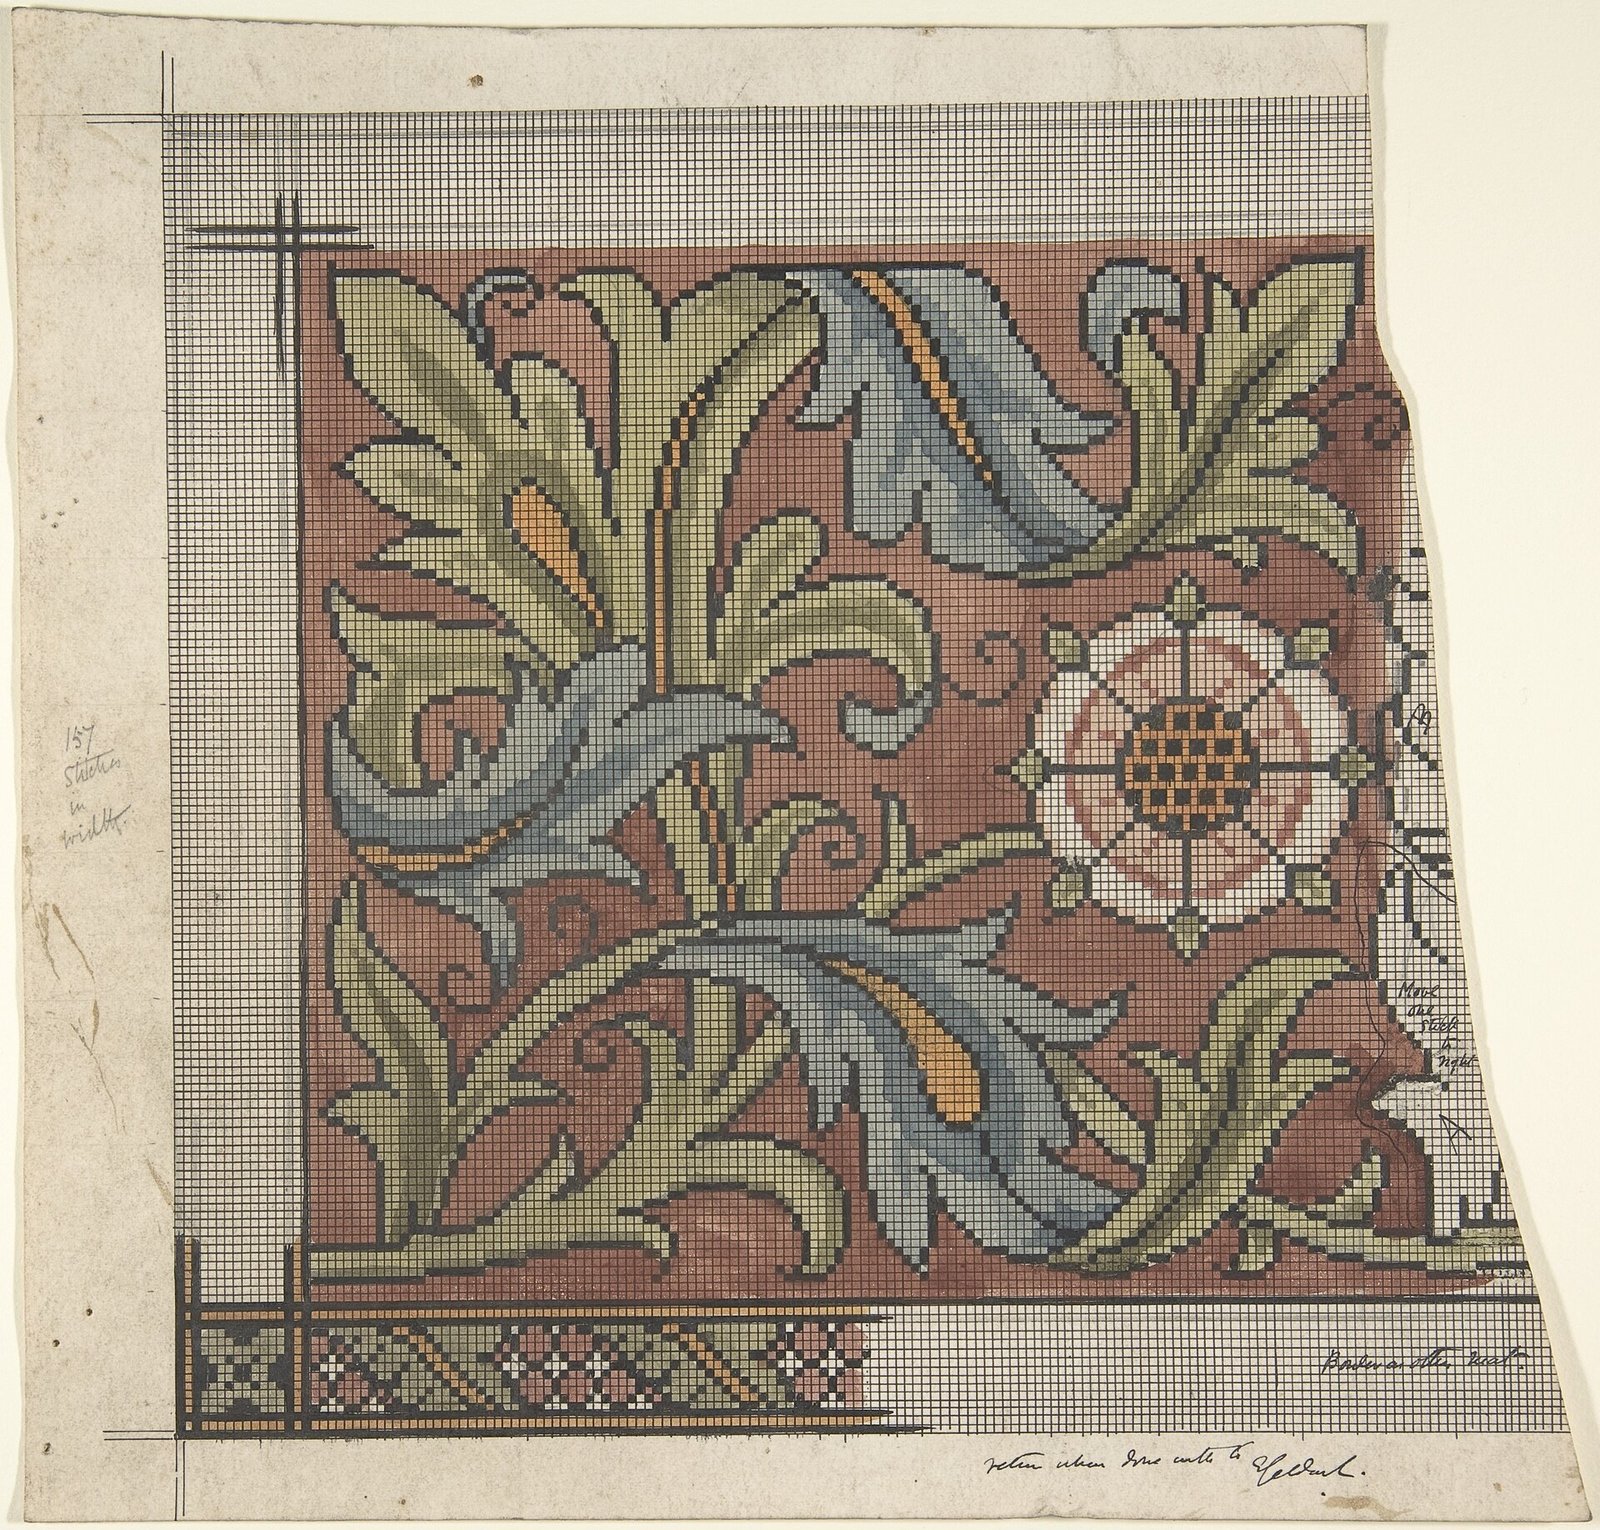
Finished cross stitch deserves proper care. Wash pieces gently by hand in cool water with a mild soap, never wring them, and roll in a clean towel to remove moisture before pressing face-down on a padded surface. Keep finished work out of prolonged direct sunlight, which fades floss over time — a real consideration for seasonal pieces displayed near bright windows.
Store off-season pieces flat or rolled in acid-free tissue, away from damp and moths; cedar blocks in the storage box add protection and a pleasant scent. Hoop art can hang year-round in a hallway, but framed autumn pieces often get rotated with the seasons — photograph each one before packing it away so you remember what you have. With basic care, your stitching will outlast you, becoming the kind of heirloom future generations fight over fondly.

I am Talha Sikandar, a professional writer with a passion for general blogging. With years of experience in content writing and research, I founded Meaniingly.com to deliver well-researched, informative, and user-friendly articles on diverse topics.