This Halloween, the most talked-about haunted houses are not the ones with the biggest store-bought displays. They are the homes where every garland was strung by hand, every pumpkin was carved or painted at the kitchen table, and every candlelit corner tells a small story. Searches for Halloween decorations DIY ideas have exploded this year, and the reason is simple: handmade Halloween decor looks better, costs less, and gives your home a personality no mass-produced skeleton can match.
In this guide, you will find twenty complete projects, from classic jack-o’-lanterns perfected to no-carve pumpkin designs, paper garlands, spooky wreaths, glowing luminaries, and full room transformations. Every project includes a materials list and clear step-by-step instructions, with options for kids, renters, and anyone working on a tight budget. Pick one project for a weekend afternoon, or work through the whole list through October and turn your entire home into the costume.

Why DIY Halloween Decor Wins in 2026
Walk through any craft store in October and you will see the same plastic ghosts and identical pumpkin stacks in every cart. DIY Halloween decorations break that sameness. When you make it yourself, the scale, the colors, and the spookiness level are all yours to control, which means your porch does not look like your neighbor’s porch. Handmade pieces also photograph beautifully, which matters when Halloween content dominates social feeds all month.
The budget argument is just as strong. A convincing haunted entryway built from dollar-store supplies, foraged branches, and pumpkins from the grocery store can cost less than a single animatronic decoration, and it will look more intentional. DIY also lets you decorate gradually: start with the porch in early October, add interior touches mid-month, and finish with party tablescapes in the final week, spreading both the cost and the fun across the season.
Finally, there is the experience itself. Carving pumpkins with family, stringing garlands while a spooky playlist hums in the background, and lighting candles on Halloween night are the memories people keep. The decorations fade; the ritual of making them together does not. That is the real reason handmade Halloween keeps trending upward year after year.
The 2026 DIY Toolkit: Materials to Gather First
Before you start any project, assemble a Halloween craft kit so you are never mid-project and missing glue. The essentials: a hot glue gun with extra sticks, black and orange acrylic paint, a set of detail brushes, painter’s tape, twine and black ribbon, battery-operated tea lights and fairy lights, cheesecloth, black cardstock, and a pumpkin carving kit with serrated saws. Add a can of matte black spray paint and a can of metallic gold, and you can transform almost any thrifted object into Halloween decor.
Forage before you buy. Bare branches, pinecones, dried corn stalks, and interestingly shaped sticks are free and look more authentically spooky than plastic equivalents. Grocery stores are a goldmine in October: mini pumpkins, gourds, apples, and even cauliflower can become decor. Keep a “Halloween box” where you toss interesting finds all year, and by October you will have a head start without spending a cent.
Safety supplies matter too, especially with kids involved. Keep LED candles instead of real flames anywhere near cheesecloth or paper, use craft knives only with a cutting mat, and ventilate well when spray painting. A fifteen-minute supply run now prevents a dozen interrupted projects later, and having everything in one caddy makes it easy to craft in any room of the house.
Classic Jack-o’-Lanterns, Perfected
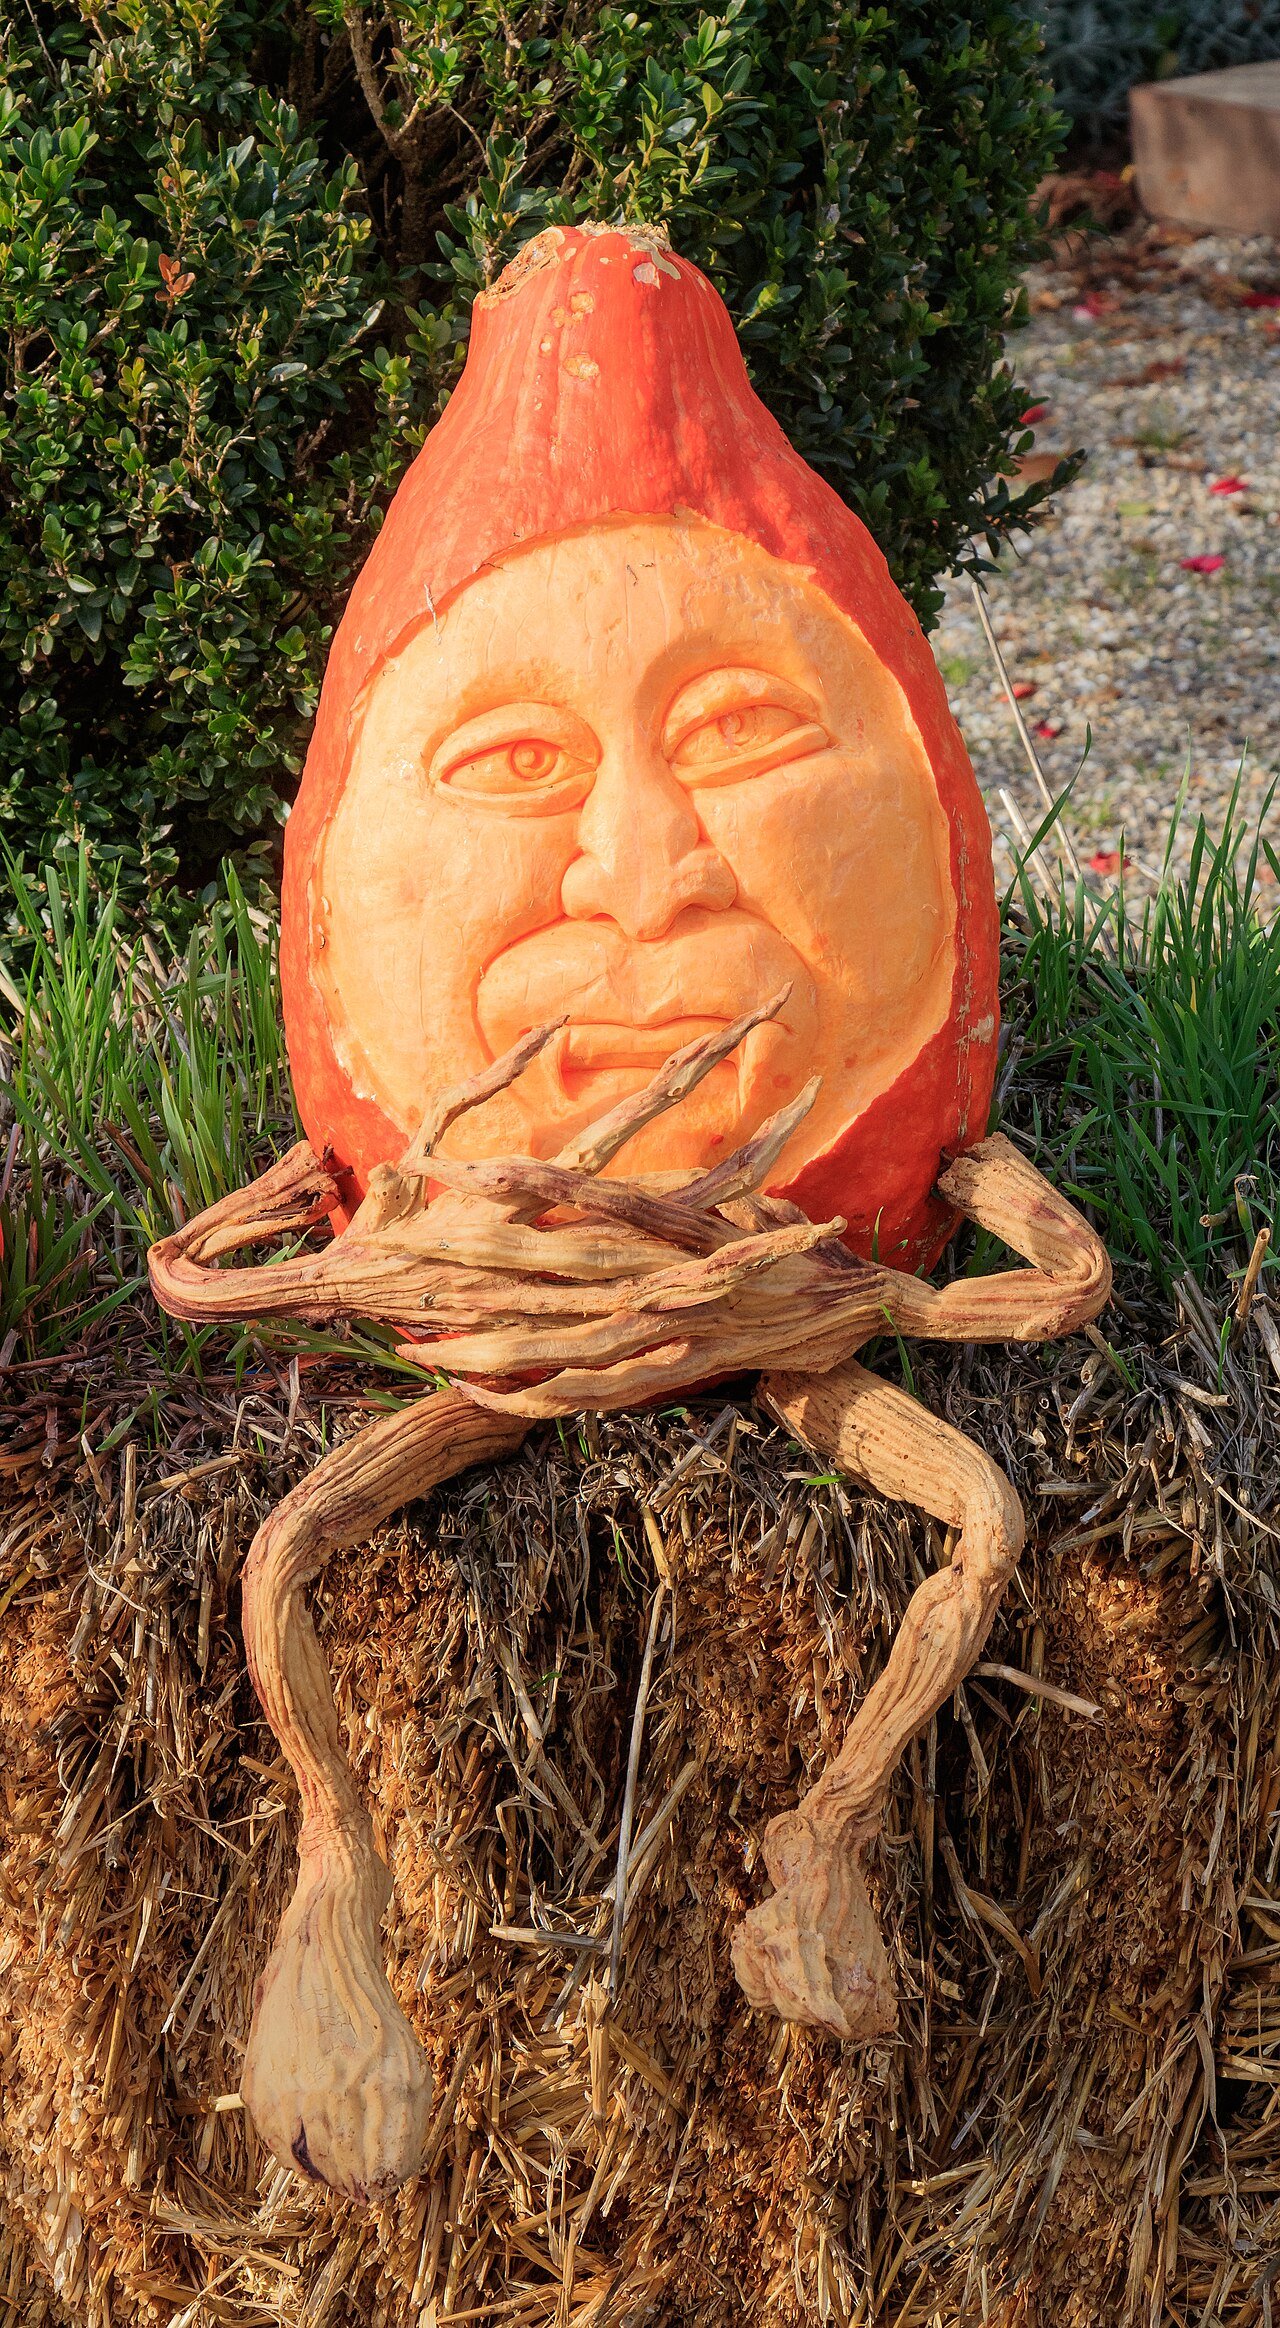
The jack-o’-lantern is the foundation of Halloween decorating, and a few professional tricks take yours from lopsided to spectacular. Choose pumpkins with flat bottoms so they sit steady, and pick them up to check for soft spots before buying. Cut the opening in the bottom rather than the top: the pumpkin sits over the light like a lampshade, the stem stays intact for looks, and the lid never falls in.
Draw your design on paper first, then transfer it with a pushpin, poking dots along the lines. Saw with steady, short strokes, pushing the blade in and out rather than dragging it sideways, and save every cut piece in case you need to patch a mistake. Scrape the inner walls to about an inch thick where you will carve detail; thinner walls let more light through and make intricate cuts far easier.
Make your lanterns last. Rub petroleum jelly on all cut edges to seal in moisture, and soak the whole pumpkin for a few hours in a bucket of cold water with a spoonful of bleach to slow mold. Display carved pumpkins in shade during the day and light them only after dark. With these steps, a carved pumpkin easily survives the full week before Halloween instead of collapsing after three days.
No-Carve Pumpkin Decorating
Carving is not mandatory, and some of the most striking pumpkin displays involve no knives at all. Painted pumpkins last for weeks instead of days, which means you can decorate in late September and still look fresh on the thirty-first. Start with clean, dry pumpkins and a coat of spray primer; it gives acrylic paint something to grip and prevents chipping.
Try these no-carve techniques: sponge-paint pumpkins matte black and add gold geometric patterns with a stencil; wrap white pumpkins in black lace and secure it with pins for instant elegance; or decoupage napkins with bat and moon motifs onto small pumpkins using craft glue thinned with water. A bowl of mixed mini pumpkins in black, white, and metallic gold needs no skill at all and looks like a stylist arranged it.
For a modern look, drill patterns instead of carving faces. Use a power drill with small bits to make constellations of holes, then tuck a string of fairy lights inside; the pumpkin glows like a starry sky. Studs, thumbtacks pressed in swirling patterns, and glued-on faux spiders all add texture without a single saw cut, and every one of these pumpkins is fully kid-safe to make.

Mini Pumpkin Crafts for Every Room
Mini pumpkins are the secret weapon of Halloween decorating: cheap, adorable, and endlessly versatile. Buy them by the bag and scatter them everywhere a little autumn mischief is welcome. A row of mini pumpkins marching along a windowsill, a cluster filling a dough bowl on the coffee table, or one tucked beside every place setting at dinner instantly says Halloween without any effort.
Give them personality with simple transformations. Glue on googly eyes for a kid-approved monster army, paint them to look like tiny candy corn with bands of white, orange, and yellow, or write guests’ names on white minis with a gold paint pen to use as place cards. Stack three minis with glue dots to make tabletop topiaries, largest on the bottom, and top the stack with a faux crow or a sprig of dried wheat.
Mini pumpkins also solve the “bare shelf” problem. Line them along a mantel between candles, fill a glass hurricane vase with them for a zero-skill centerpiece, or hot-glue them to a grapevine wreath base for a door decoration that takes twenty minutes. When the season ends, the unpainted ones can go straight to the compost, making them the most guilt-free decor you own.
Painted Pumpkins: Modern Patterns
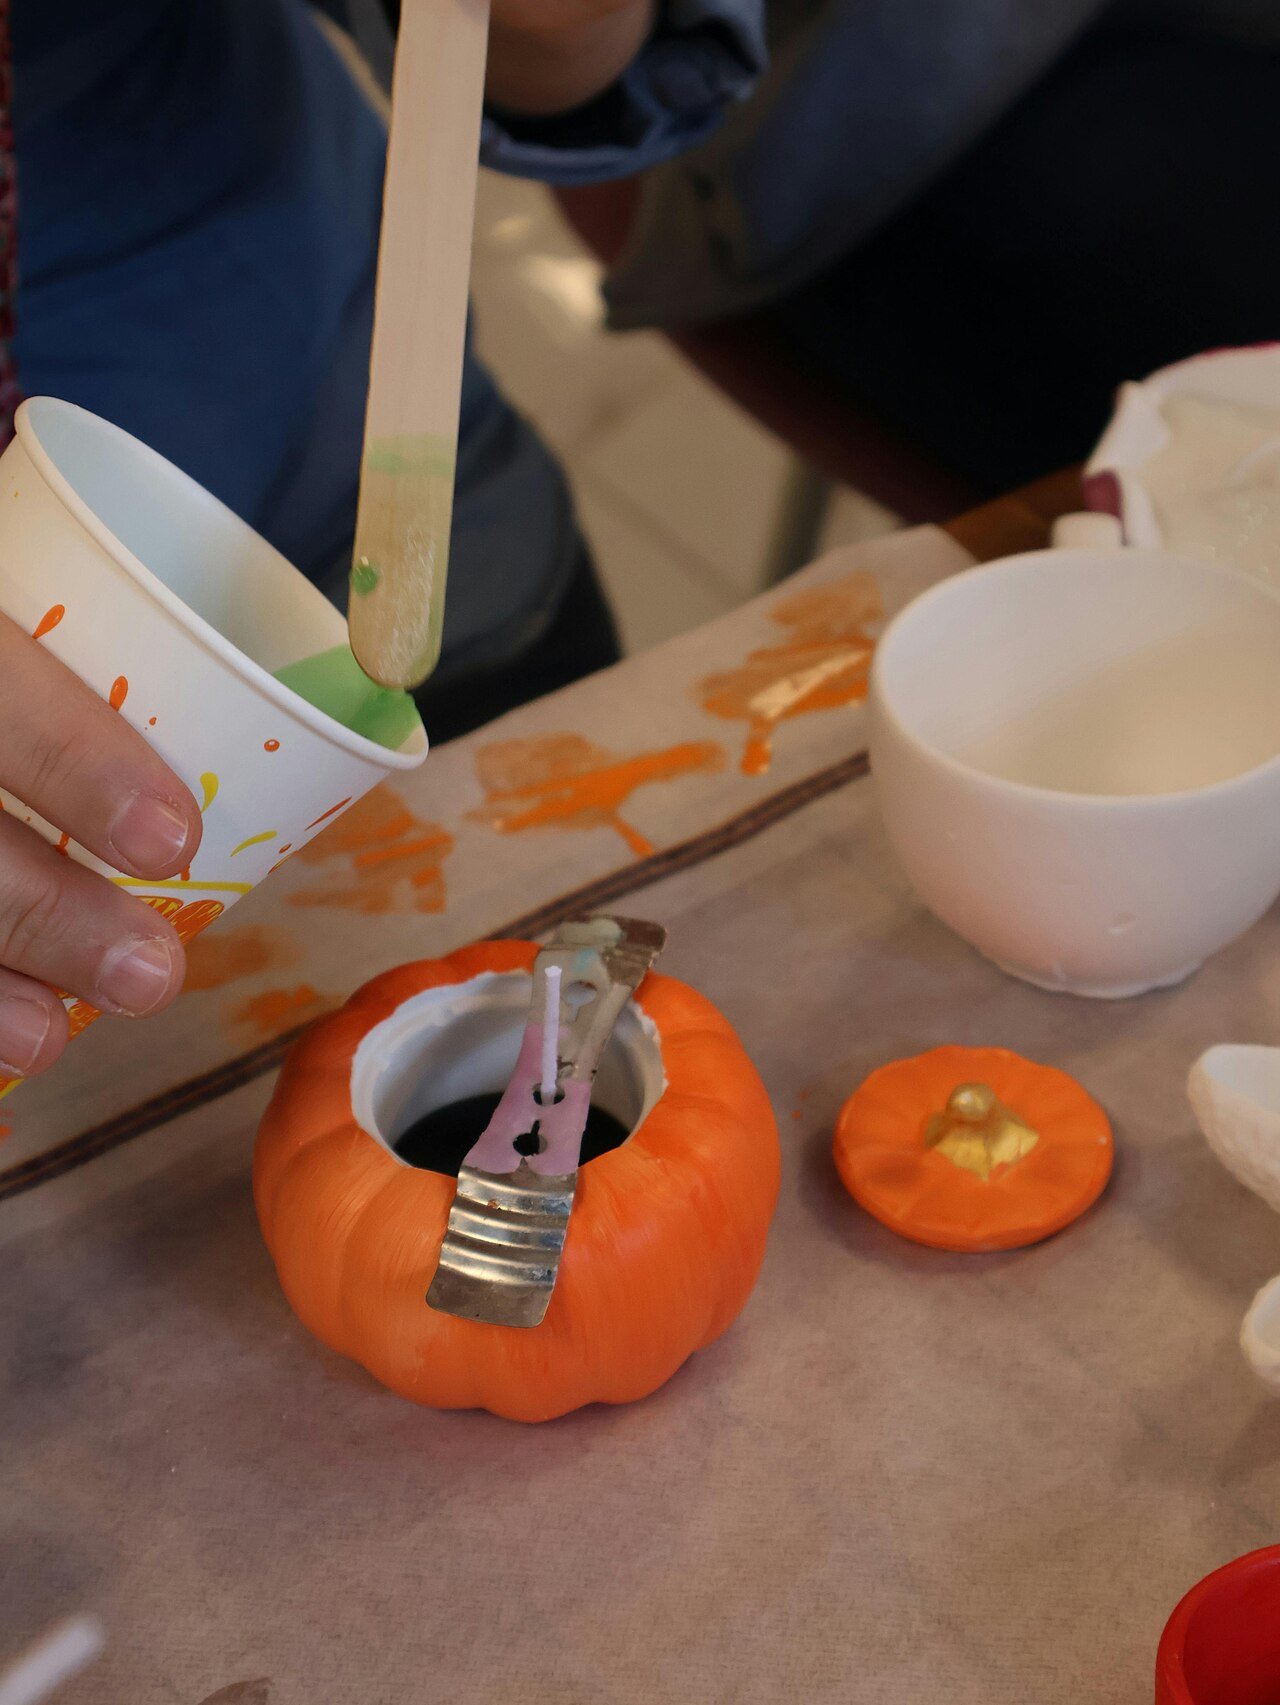
Painted pumpkins are where Halloween meets modern interior style. The trick is a restrained palette: choose two or three colors that match your home, such as black, cream, and copper, and paint every pumpkin in the display in only those shades. The result reads as sophisticated Halloween rather than a craft explosion, and it coordinates with furniture you already own.
Patterns that always work: bold stripes in alternating colors, polka dots in graduated sizes, and simple faces drawn in a single confident line style. For stripes, wrap rubber bands around the pumpkin as guides and paint between them. For dots, use the eraser end of a pencil dipped in paint for perfect circles. Metallic paint pens add fine details like spiderwebs and constellations without any brush skill.
Seal your work with a clear matte spray sealer so the pumpkins survive porch humidity and curious fingers. Arrange painted pumpkins in odd-numbered groups, varying the heights with books or crates underneath, and mix in one real carved jack-o’-lantern for contrast. Photograph the arrangement before Halloween night; painted pumpkins are the ones guests will ask about.
Pumpkin Topiaries and Stacked Displays
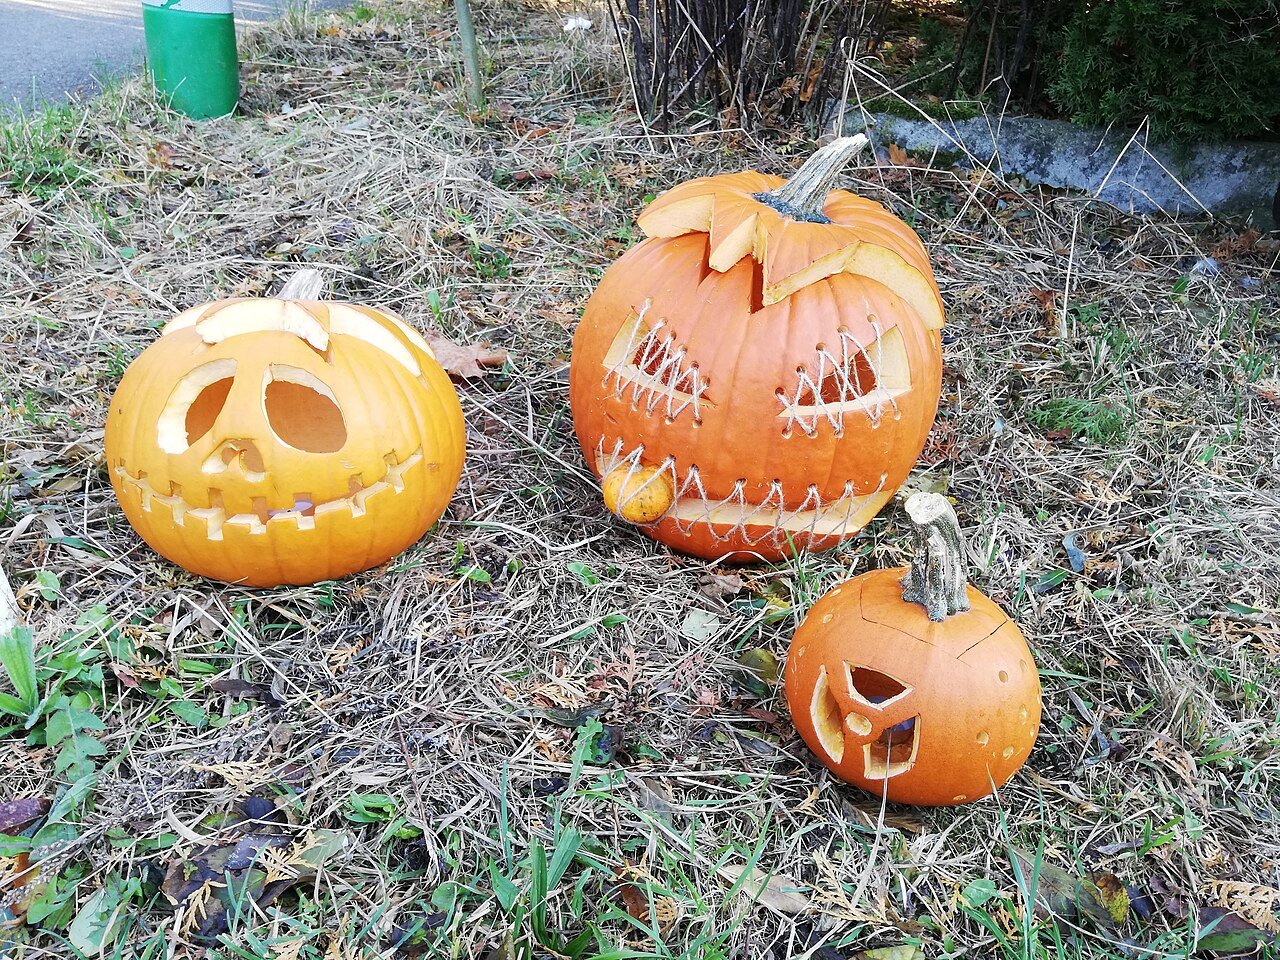
Stacked pumpkin topiaries give you height and drama without any carving skill. You need three pumpkins in graduated sizes, a wooden dowel or broom handle, and a heavy planter or urn. Push the dowel through the center of each pumpkin, largest at the bottom, and set the stack in the planter filled with soil or sand for stability.
Style the stack to suit your theme. For classic Halloween, use orange pumpkins with black ribbon tied between the layers and a witch hat on top. For a modern look, spray all three pumpkins the same color, matte black or antique white, and tuck preserved moss around the joints. For a harvest feel, alternate pumpkin colors and weave faux autumn leaves through the gaps.
Flank your front door with a matching pair for instant symmetry, or make a single tall topiary as the centerpiece of a porch vignette. At night, wrap the dowel with a string of orange fairy lights before stacking so light glows between the pumpkins. These displays last for weeks since nothing is cut open, and the whole project takes under thirty minutes.
DIY Halloween Garlands
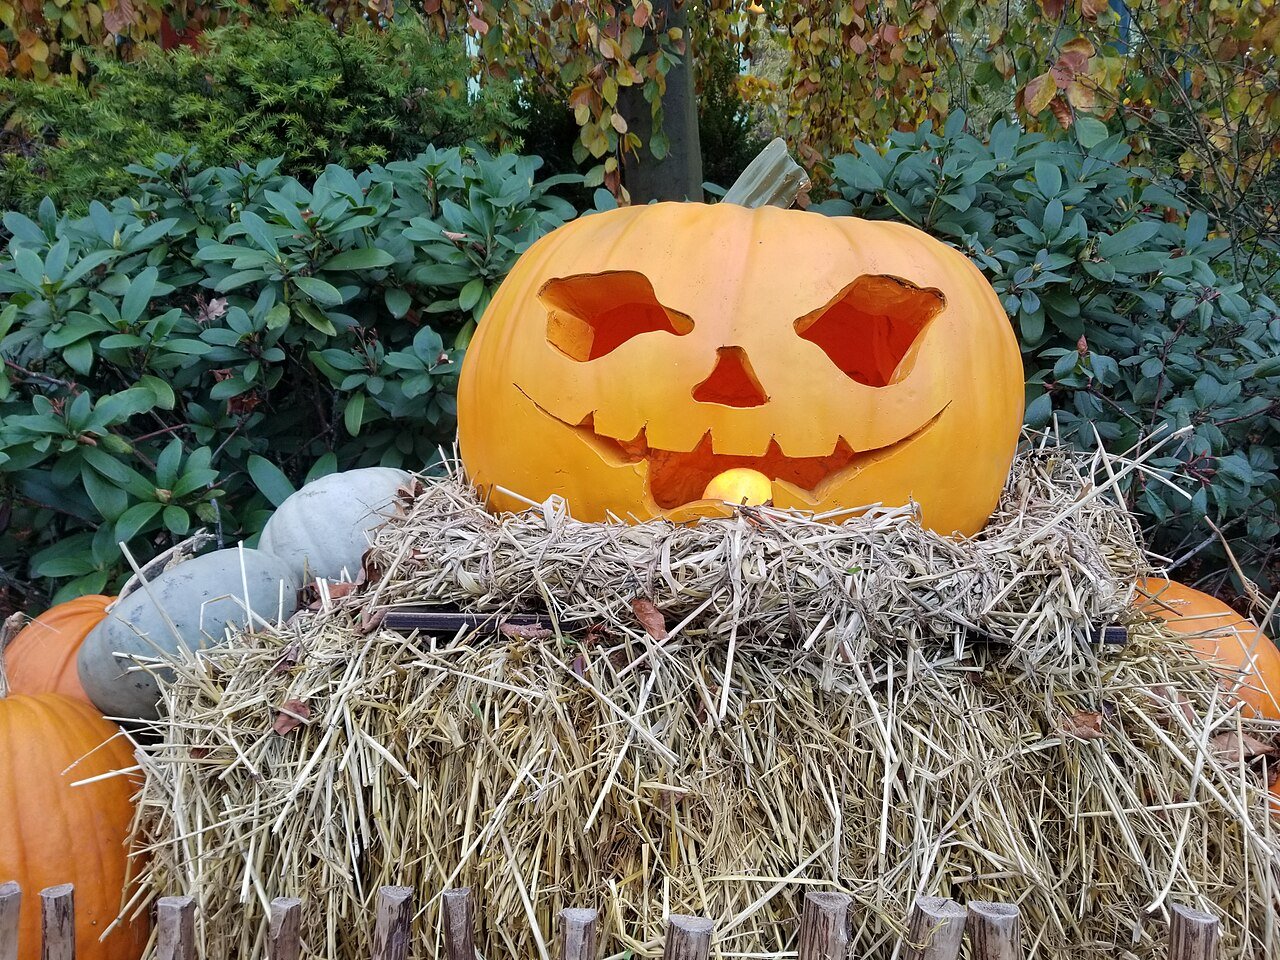
Garlands are the fastest way to make a whole house feel decorated, because one long strand transforms a mantel, doorway, or staircase. The easiest impressive garland uses dried orange slices, cinnamon sticks, and small faux pumpkins threaded on twine with a large needle. It smells like autumn, costs very little, and suits both Halloween and Thanksgiving.
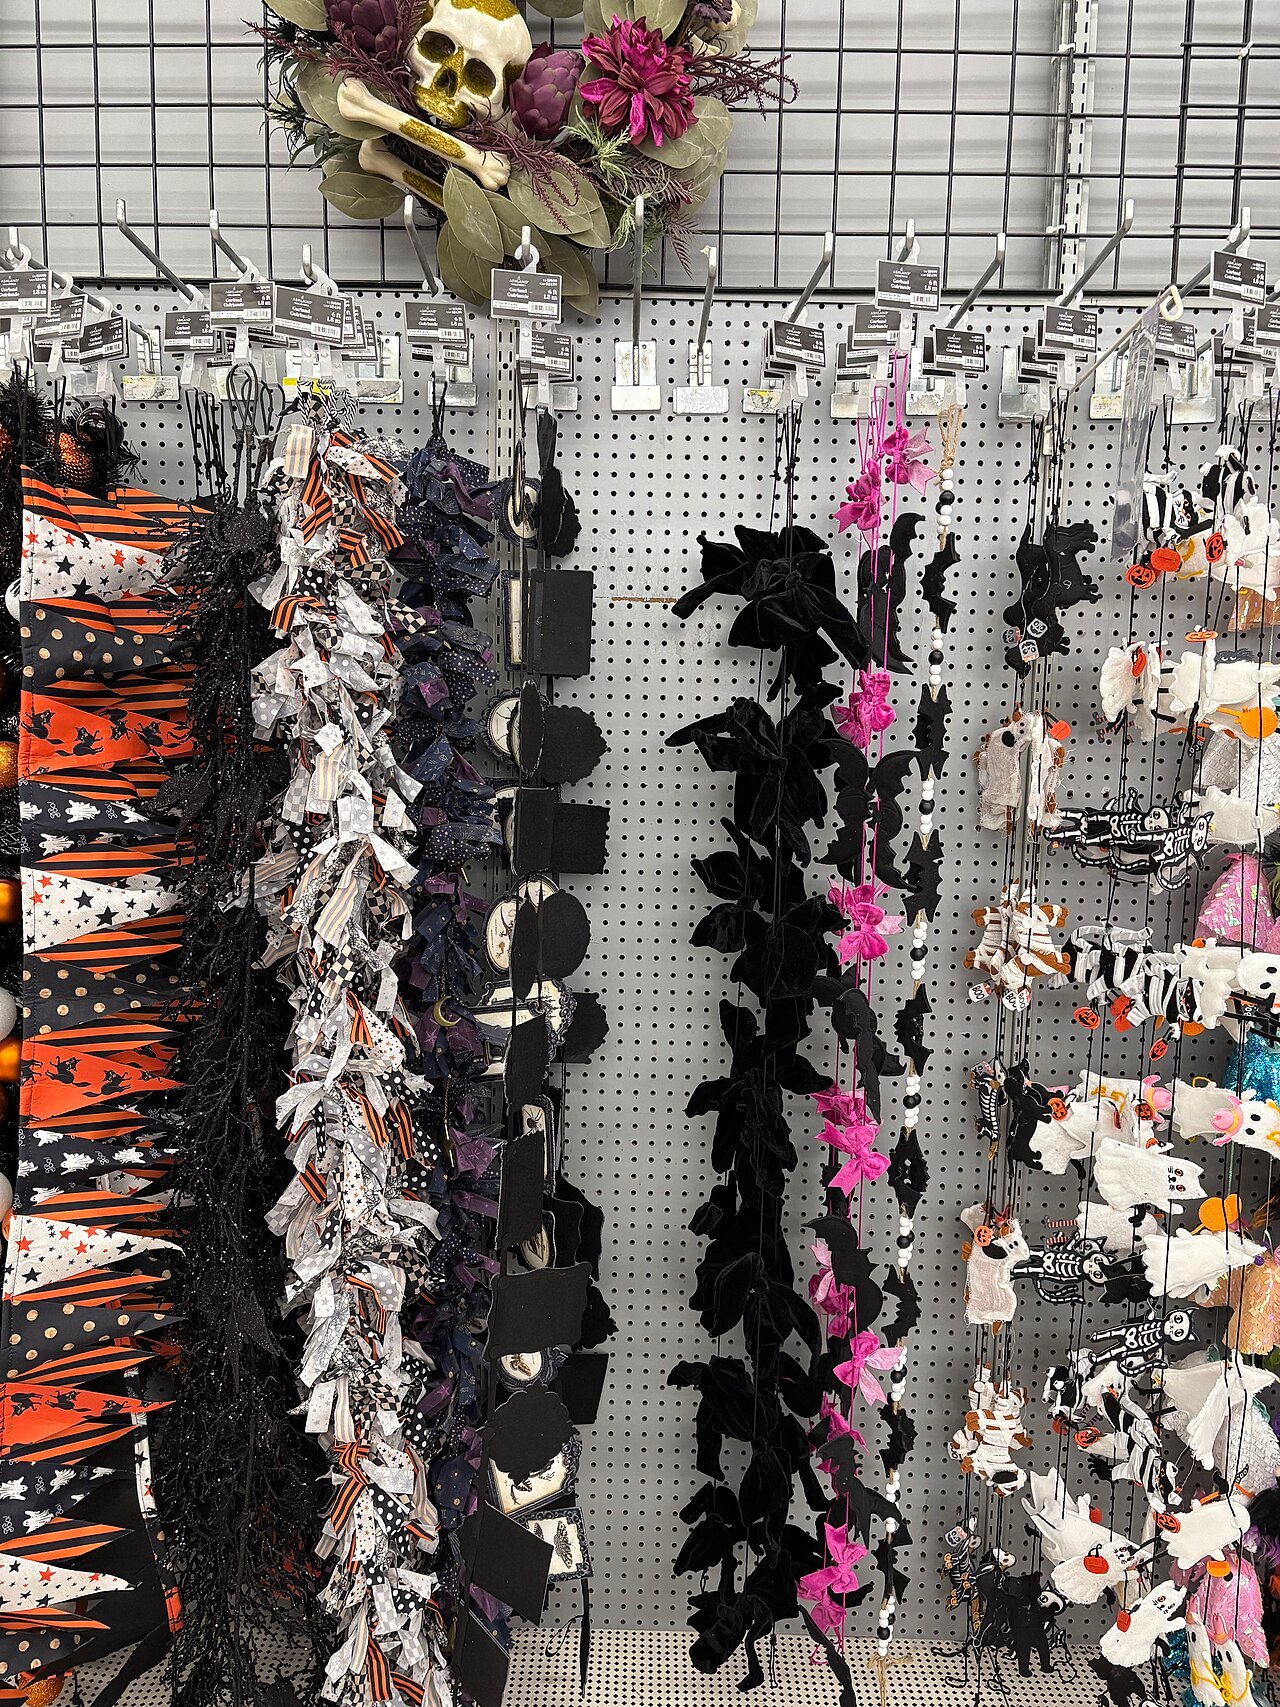
For a spookier strand, cut bat shapes from black cardstock using a simple template, fold the wings slightly for dimension, and clip them to a length of twine with mini clothespins. Alternate the bats with orange paper circles or small pom-poms. Hang the garland with a slight swag in the middle, never pulled taut, and let a few bats dangle lower on longer strings for movement.
Fabric garlands last for years. Cut strips of black, orange, and purple fabric about an inch wide and eight inches long, and tie them in knots along a length of twine, pushing the knots tight together for a full, shaggy look. Make it six to eight feet long for a mantel or twelve feet for a staircase. Store it in a pillowcase to prevent tangling, and it will come out ready to hang next October.
Paper Bat and Ghost Garlands
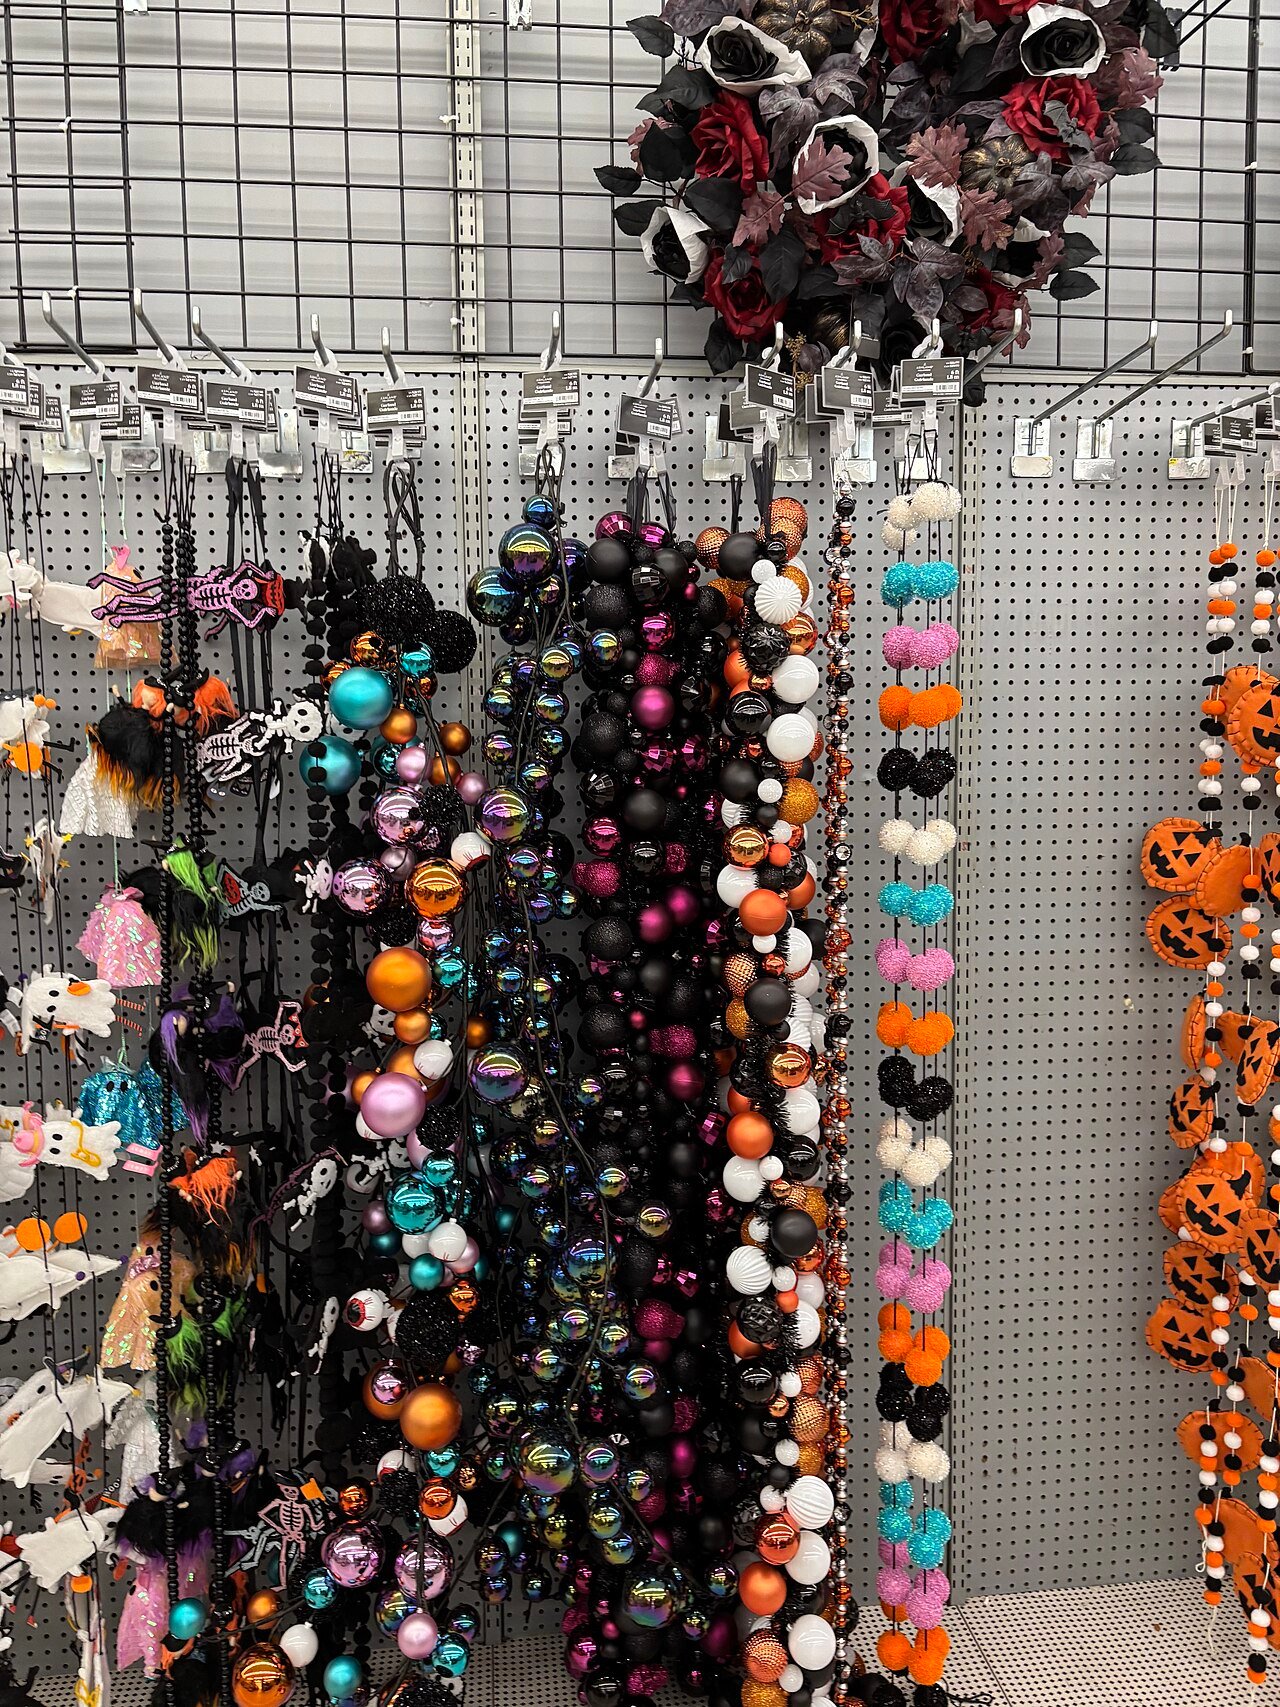
Bats are the unofficial mascot of DIY Halloween, and a bat garland is a project even total beginners can nail. Fold black cardstock in half, draw half a bat against the fold, and cut once to get a symmetrical bat. Make twenty or thirty in two or three sizes. A bone folder or the back of a spoon creased down the body gives each bat a dimensional center ridge so the wings lift.
String them on clear fishing line with small pieces of tape for a floating effect, or use black twine for a bolder look. Hang strands in doorways at varying heights so guests brush through a flurry of bats, or tape them inside windows facing out so the whole street sees the swarm. Add tiny red rhinestone eyes with craft glue if you want them extra creepy after dark.
Ghost garlands use the same principle with white materials. Cut ghost shapes from white felt or coffee filters, draw simple oval eyes and mouths with a black marker, and string them along twine. Alternate ghosts and bats on one long strand for a classic mixed garland, or keep them separate for themed rooms. Both garlands fold flat into an envelope for storage.
Spooky Wreaths from Scratch
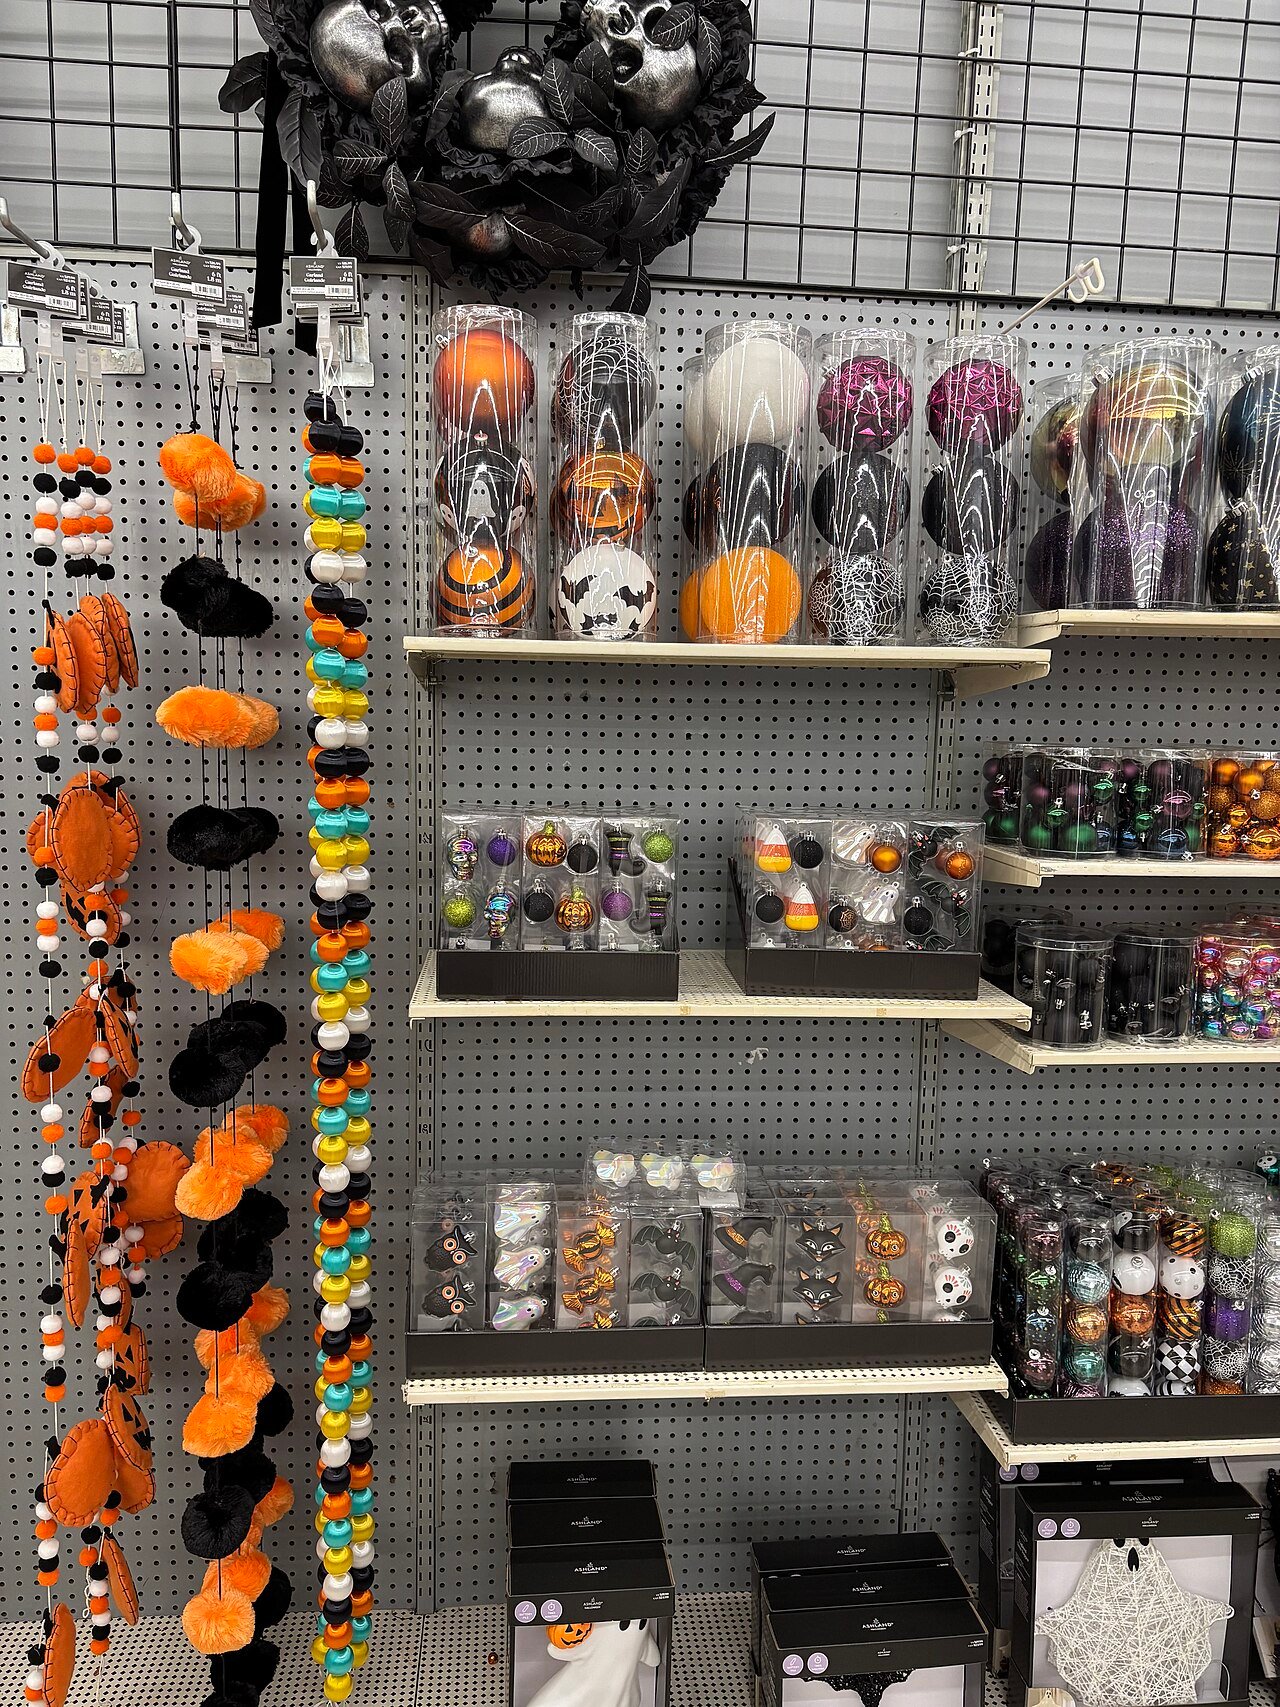
A Halloween wreath on the front door sets the tone before anyone steps inside. Start with a grapevine or foam wreath base, which you can reuse every year. For a creepy-elegant wreath, spray the grapevine base matte black, then hot-glue clusters of faux black roses, dark purple berries, and a few plastic spiders. Finish with a tattered black ribbon bow wired to the top.
Kids love the googly-eye wreath: wrap a foam base in black yarn until fully covered, then glue on googly eyes in every size you can find, packing them edge to edge. It is silly rather than scary, takes about an hour, and survives the whole season. For a harvest-witch look, attach mini pumpkins, dried wheat, and pheasant feathers to a grapevine base with floral wire.
Hang the wreath with a wide ribbon looped over the door and secured inside with an adhesive hook, so there is no damage to the door itself. If your door gets direct sun, choose a foam base over grapevine, since glued elements hold better on foam in heat. Make two wreaths while you have the supplies out; the second one takes half the time and gives you a matching interior piece.

Candlelight: DIY Lanterns and Luminaries
Nothing says Halloween like candlelight, and DIY luminaries multiply that glow all over your home. The classic paper-bag luminary gets a Halloween upgrade: cut bat or moon shapes out of black paper bags, fold the tops down an inch for stability, add two inches of sand to each bag, and set a battery tea light inside. Line them along walkways, stairs, or the mantel.
Tin-can lanterns look far more expensive than they are. Fill empty cans with water and freeze them solid, then use a hammer and nail to punch patterns of holes through the icy support. Let the ice melt, spray the cans matte black, and drop in a tea light. Punch jack-o’-lantern faces, stars, or the word BOO; the light shining through the holes is genuinely magical.
For tabletops, wrap glass jars in cheesecloth secured with twine for instant mummy lanterns, or paint jars with orange glass paint and draw faces with a black paint pen. Always use LED candles inside anything flammable, and cluster luminaries in odd numbers at different heights. Candlelight is the single cheapest way to make Halloween decor feel cinematic.

Mason Jar Ghost Lights
Mason jar ghosts are a five-minute craft with maximum charm. You need white frosted glass spray or white acrylic paint, black adhesive vinyl or a paint pen, and LED tea lights. Coat the outside of each jar with two thin layers of white, letting each dry fully, then add two oval eyes and a round open mouth. Drop in the tea light and screw the ring band back on without the lid.
Make a family of ghosts in different jar sizes and heights, and group them on a windowsill or along a hallway runner. For variation, paint some jars with vampire faces, adding red felt triangles as fangs, or wrap orange ribbon around the neck for a pumpkin-ghost hybrid. The frosted glass diffuses the LED light into a soft, genuinely ghostly glow.
These jars work indoors and on covered porches, and they pack away safely with a sheet of tissue between each one. Kids can do every step except the spray painting, which makes this the perfect rainy-October-afternoon project. Line a whole staircase with them on Halloween night and your entryway will look professionally styled.

Window Silhouettes That Stop Traffic
Window silhouettes turn your whole house into a Halloween display visible from the street. The method is simple: cut spooky shapes from black poster board or cardstock, tape them to the inside of your windows, and backlight the room so the shapes glow. Witches on broomsticks, bare trees, haunted houses, and cats with arched backs are all one template search away.
Scale matters. Measure your windows first and size the silhouettes to fill at least two-thirds of the glass; small shapes get lost from the sidewalk. Use painter’s tape on the glass so nothing damages the window, and place a lamp or string lights a few feet behind the window for even backlighting. Turn off overhead lights in that room so the silhouette stays crisp.
Coordinate multiple windows into one scene: a haunted house in the big living room window, bats streaming from it across the smaller windows, and a full moon, cut from white paper and lit from behind, in the upstairs window. Neighbors will slow down to look, and you will have built the whole effect for the price of poster board and tape.
A Haunted Entryway on a Budget
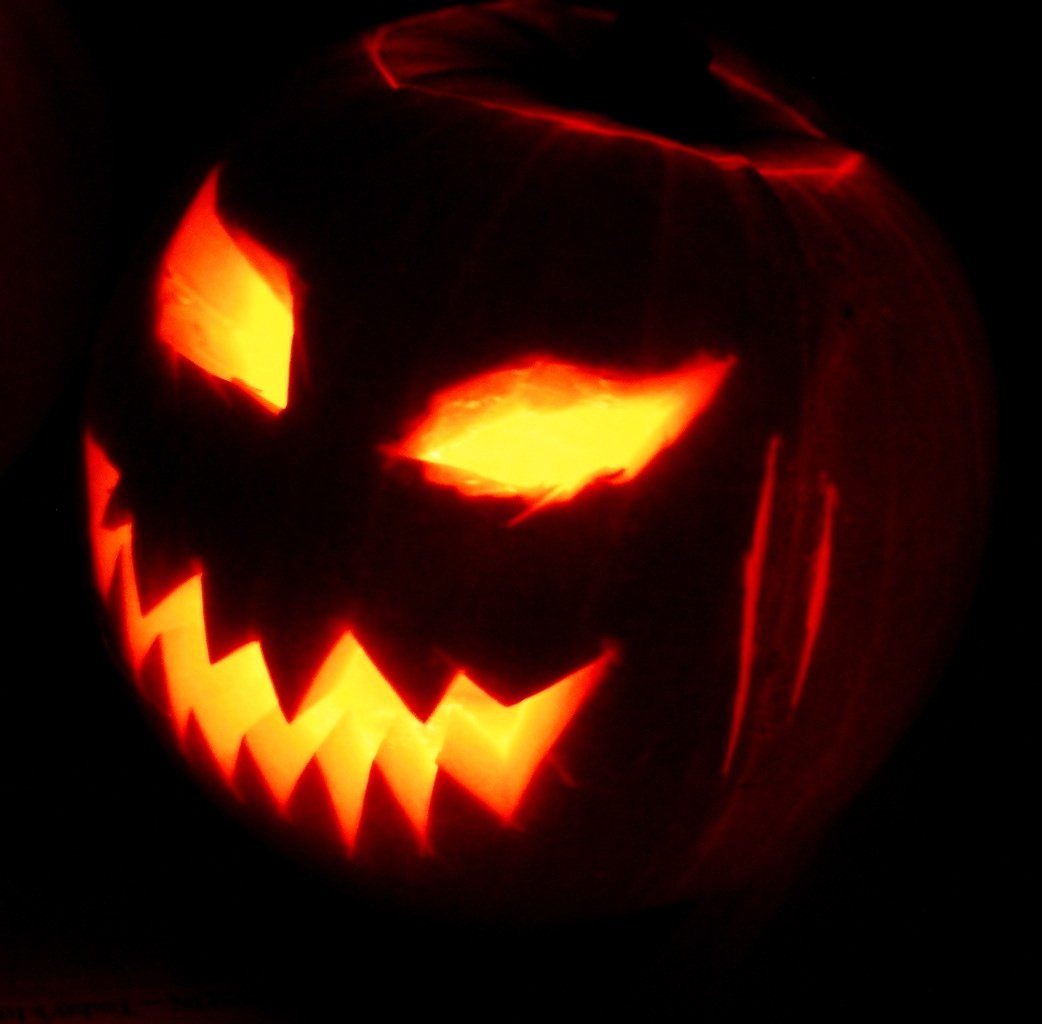
Your entryway is the handshake of your Halloween home, and it does not need expensive props to feel haunted. Start by clearing everything non-seasonal off the porch, then build in layers from the ground up: a black or orange doormat, flanked by pumpkin stacks, with a wreath on the door and a garland overhead. This layered formula works at any budget.
Add height with what you have. An old ladder draped with cheesecloth and strung with lights becomes a display shelf for pumpkins and lanterns. Hang paper bats from the porch ceiling at different lengths with fishing line so they flutter in the breeze. Drape cheesecloth over bushes and pull it into points; it reads as giant spiderwebs from the sidewalk.
The final touch is sound and light. A small Bluetooth speaker hidden behind the pumpkins playing creaking-door and wind sounds, plus one spotlight aimed up at the house in purple or orange, transforms a nice porch into a haunted one. Total cost can stay under thirty dollars if you thrift and forage, and the whole entryway assembles in a single afternoon.
Mantel Styling, Layer by Layer
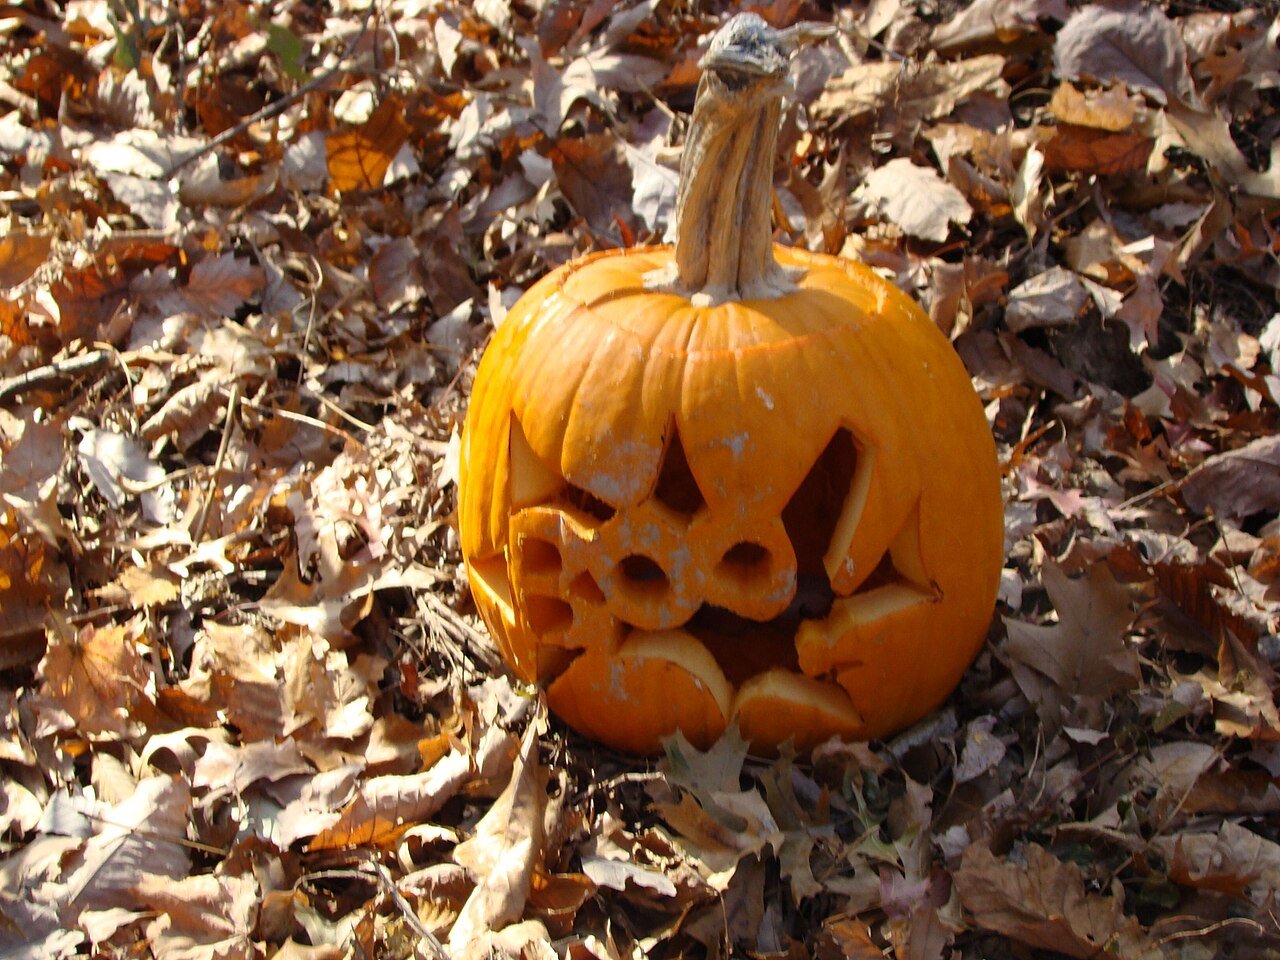
The mantel is Halloween’s indoor stage, and professionals style it in layers. Start with an anchor: a garland draped along the mantel shelf, real or faux. Add height at the ends with tall candlesticks, stacked books, or branches in vases, keeping the two sides roughly symmetrical. Fill the middle with a cluster of pumpkins, lanterns, and framed spooky art at varying depths.
Work in your palette of three colors maximum. Black, white, and orange is classic; black, gold, and deep purple feels luxurious; all-white pumpkins with silver accents reads modern and ghostly. Repeat each color at least three times across the mantel so the eye travels. Tuck fairy lights through the garland last, and the whole arrangement glows from within after dark.
Do not forget the wall above and the hearth below. A large round mirror or a gallery of vintage Halloween prints anchors the wall, while the hearth gets a basket of pinecones, a stack of pumpkins, and one oversized lantern. Step back and squint: if you see a pleasing triangle of shapes with no big gaps, the mantel is done.

Halloween Tablescapes for Parties
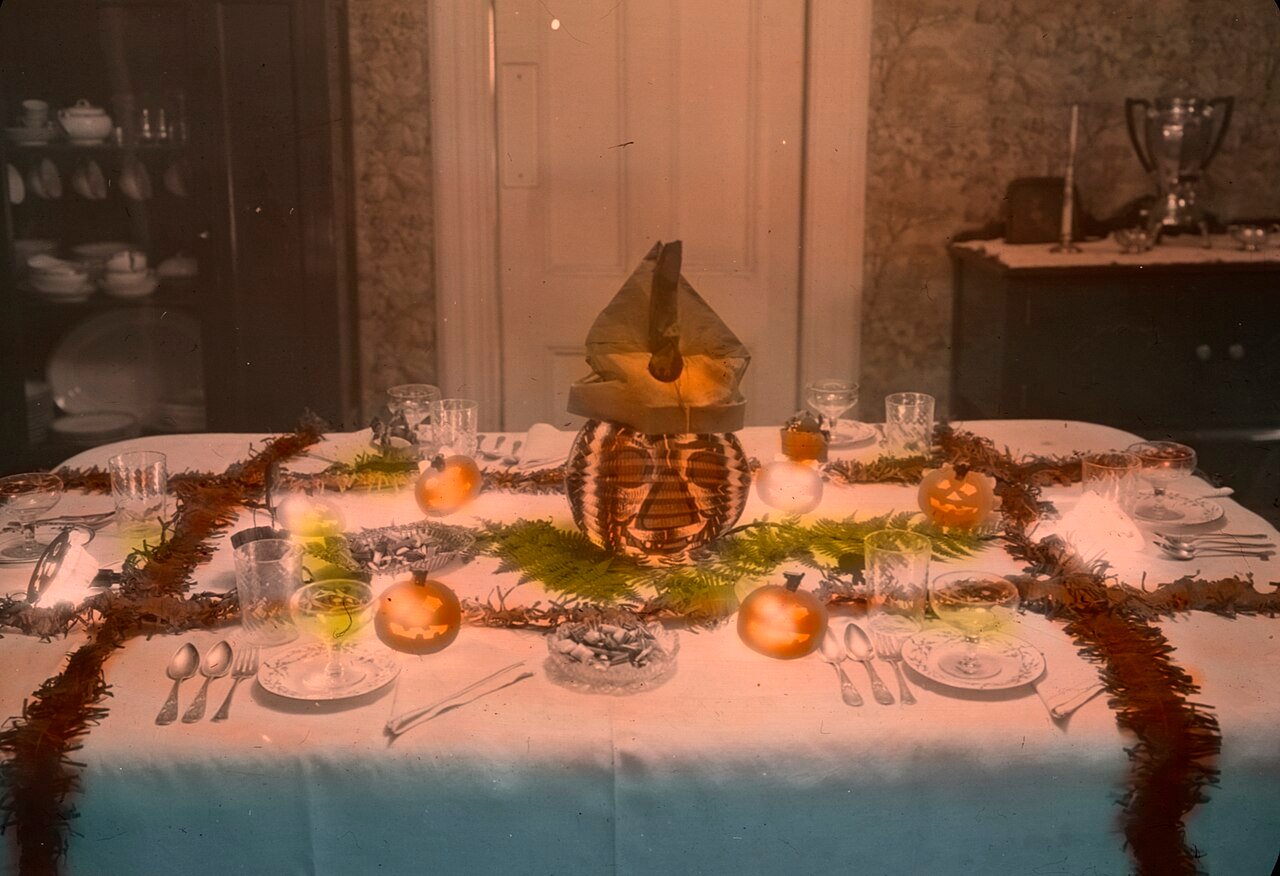
A Halloween party table should feel abundant and a little bit wicked. Start with a tablecloth in black or deep purple, then layer a runner of cheesecloth pulled into tatters down the center. Build height down the middle with candlesticks, apothecary jars filled with candy, and small pumpkins, keeping the ends lower so guests can see each other across the table.
Place settings do the storytelling. Black plates on orange chargers, a sprig of dried wheat tied with twine on each napkin, and a mini pumpkin with the guest’s name written in gold pen. Scatter plastic spiders and a few fallen leaves across the runner, and tuck LED tea lights between the dishes so faces glow warmly. Keep food on a separate sideboard so the table stays beautiful all night.
The centerpiece formula that never fails: something tall, something glowing, something natural. A tall branch sprayed black in a vase, surrounded by glowing mason jar ghosts and scattered mini pumpkins, hits all three notes. Build the tablescape the day before the party, photograph it, and you will have content worth sharing before a single guest arrives.
DIY Pillow Covers and Soft Furnishings
Textiles are how the whole house “wears” the Halloween costume, and pillow covers are the easiest swap in the book. Envelope-style covers need no zipper: cut fabric to wrap your pillow insert with a six-inch overlap, hem the short edges, fold, and sew two straight seams. A beginner finishes one in twenty minutes.
Choose fabrics with pumpkin motifs, black-and-orange buffalo check, spiderweb prints, or simple solids in Halloween colors. No-sew options work too: wrap pillows in Halloween fabric like gifts and tie the corners with ribbon, or use iron-on vinyl to add a bat or “BOO” to plain black covers. Swap the covers onto your existing inserts and store them flat when the season ends.
Extend the textile transformation beyond pillows. Drape a black throw over the sofa arm, swap in orange or purple curtains in one room, and lay a Halloween runner on the dining table. These soft changes affect every room guests walk through, and because nothing is glued or painted, the whole house returns to normal on November first with one laundry load.

Kid-Friendly Crafts (No Sharp Tools)
Halloween crafting with kids works best when every step is safe and the results are quick. Googly-eye monsters lead the list: give each child a mini pumpkin, a glue stick, and a pile of googly eyes, and let them create. Add pipe-cleaner arms and felt mouths for older kids. The pumpkins double as their own trick-or-treat table decorations.
Paper plate masks are endlessly entertaining. Cut eye holes in paper plates, let kids paint them as monsters, cats, or pumpkins, and attach a popsicle stick as a handle. Handprint ghosts, made by painting little hands white and pressing them onto black paper, become garlands or greeting cards. Toilet paper roll bats, painted black with folded wings and glued eyes, take five minutes each.
Set up a craft station with a washable tablecloth, smocks, and all supplies in reach, and let kids work at their own pace while you handle the sharp tools nearby on your own projects. Display their finished crafts prominently, at kid eye level on the mantel or taped to the front windows. Halloween they helped decorate is Halloween they will remember.

Weatherproofing Outdoor DIY Decor
Outdoor Halloween decor battles rain, wind, and sun, so build weather resistance in from the start. Seal painted pumpkins and wooden signs with outdoor polyurethane, and choose exterior-grade spray paint for anything that lives on the porch all month. Weigh down lightweight displays with sandbags hidden inside planters or behind hay bales.
Wind is the biggest destroyer of DIY displays. Anchor inflatables and lightweight figures with tent stakes and guy lines, not just the included tethers. Hang porch decor with wire rather than string, and bring paper garlands and cheesecloth webs inside during storms; they take minutes to rehang and last the whole season if you do. Battery-operated lights keep working through power flickers and are safer than extension cords in wet weather.
Plan for the end of the month too. Real pumpkins that freeze and thaw turn to mush, so move carved jack-o’-lanterns to a sheltered spot if a hard freeze is forecast, or compost them and replace with fresh ones for the final weekend. A ten-minute weather check each evening in the last week of October saves your best pieces for Halloween night itself.
Storage: Packing It Away for Next Year
The unglamorous final project determines whether next October starts with excitement or a tangled mess. Pack while you are still in the Halloween spirit, ideally the first weekend of November. Clean everything first: wipe pumpkins’ paint dust off shelves, shake out cheesecloth, and remove batteries from every LED light so they do not corrode in storage.
Use clear plastic bins, one per category: one for pumpkin decor, one for garlands and wreaths, one for lights, one for tableware. Wrap fragile pieces in tissue or old t-shirts, coil string lights around cardboard to prevent tangles, and store wreaths in dedicated wreath bags or hung on hooks inside the bin. Label every bin on two sides with large, clear writing.
Keep a running note on your phone of what to buy or make next year: which garland frayed, which lights died, what the neighbors did that you admired. Toss anything broken beyond quick repair; Halloween decor is abundant and cheap, and storage space is not. Next October, you will open organized bins instead of a mystery box, and decorating will feel like reuniting with old friends.
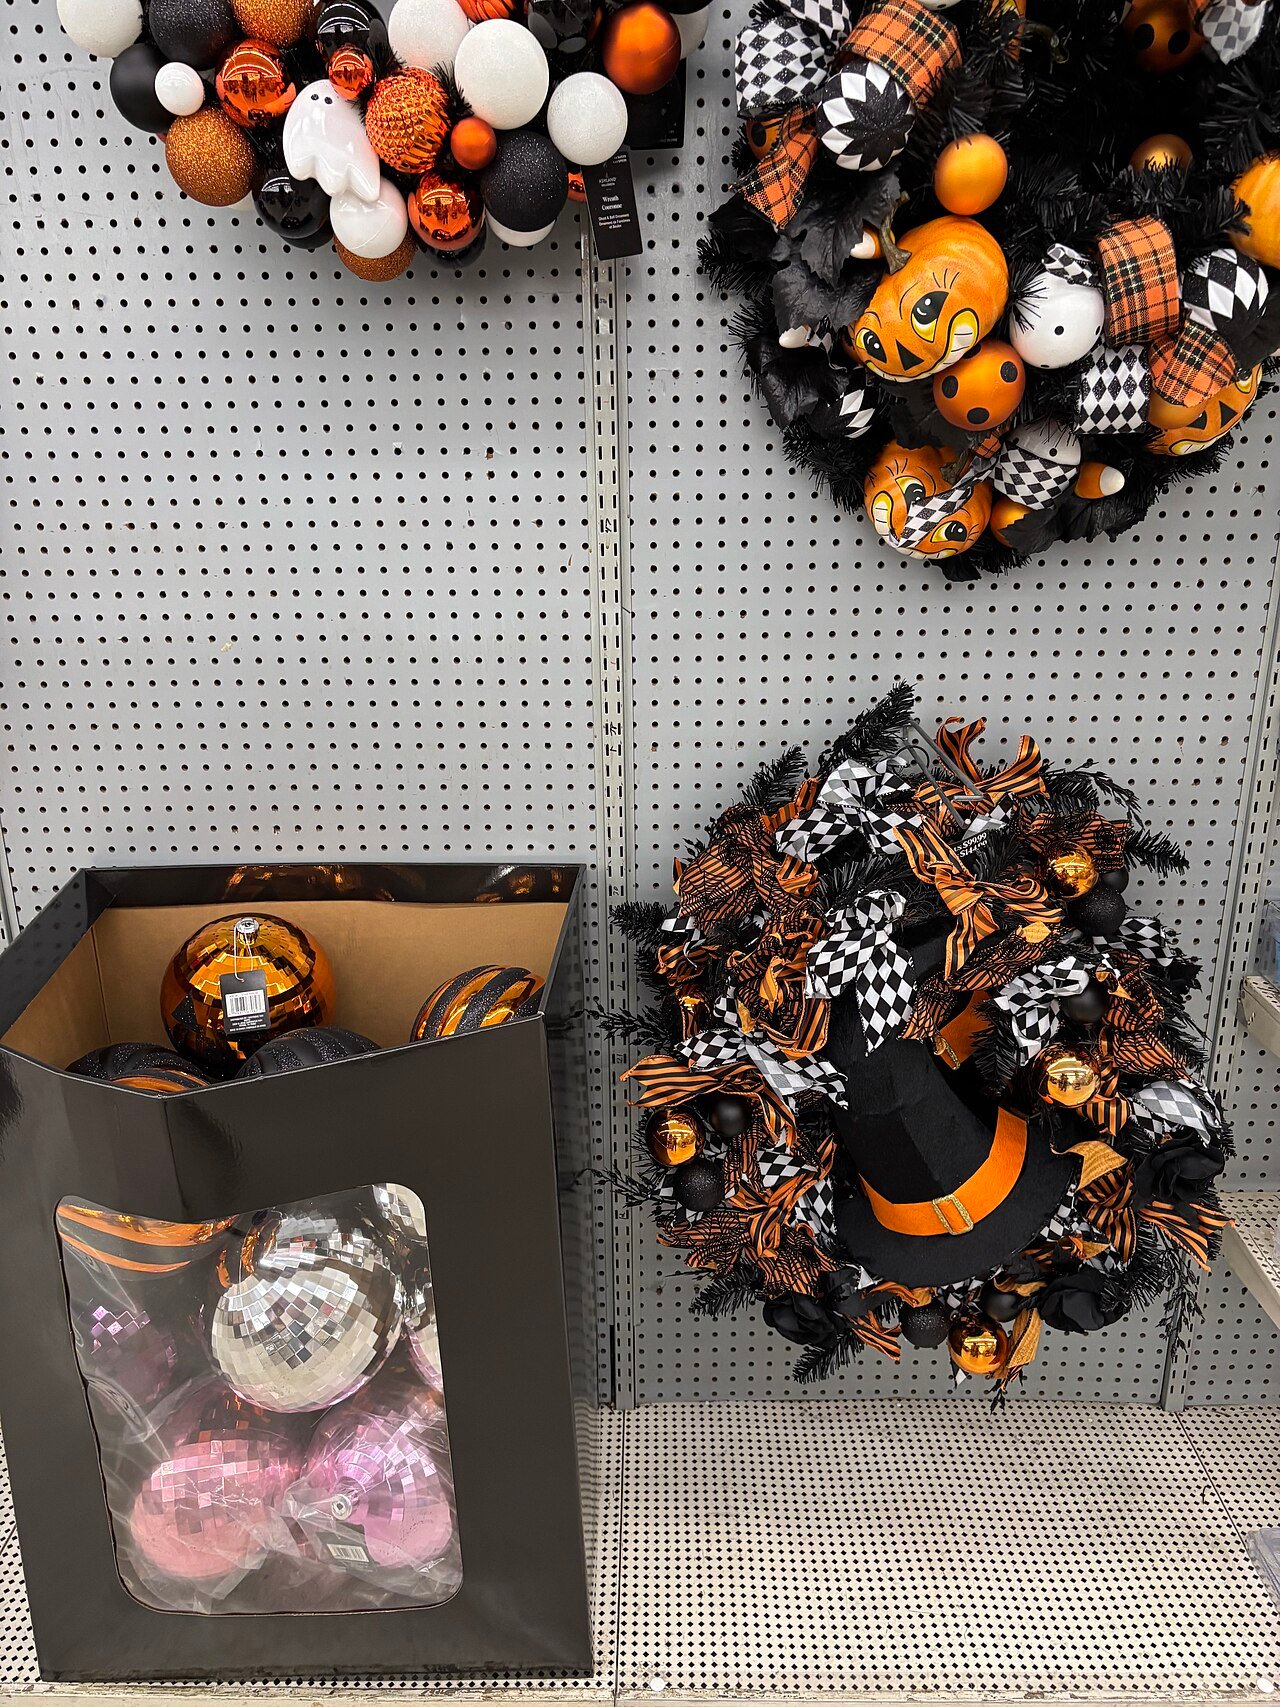
Twenty projects, one haunted home, and a season of making memories: that is the real magic of Halloween decorations DIY ideas. Start with whichever project caught your eye, gather your materials this weekend, and let the house dress up for its favorite holiday. Share your creations, tag your inspiration, and have the spookiest, craftiest Halloween yet.

I am Talha Sikandar, a professional writer with a passion for general blogging. With years of experience in content writing and research, I founded Meaniingly.com to deliver well-researched, informative, and user-friendly articles on diverse topics.