Some Halloween treats are spooky, some are sweet — but ghost cupcakes manage to be both at once, and that is exactly why they are surging across kitchens this Halloween. These adorable little spirits, piped in swirls of white frosting with the simplest of faces, turn an ordinary batch of cupcakes into the star of any party table. They are easy enough for beginners, fun enough for kids to help with, and impressive enough to anchor a whole dessert spread. Whether you want classic sheet ghosts, chocolate-based haunted versions, or mini two-bite cuties, these ghost cupcake decorating ideas will walk you through every technique, flavor, and presentation trick you need for a frightfully cute Halloween.
Why Ghost Cupcakes Are Halloween’s Cutest Trend
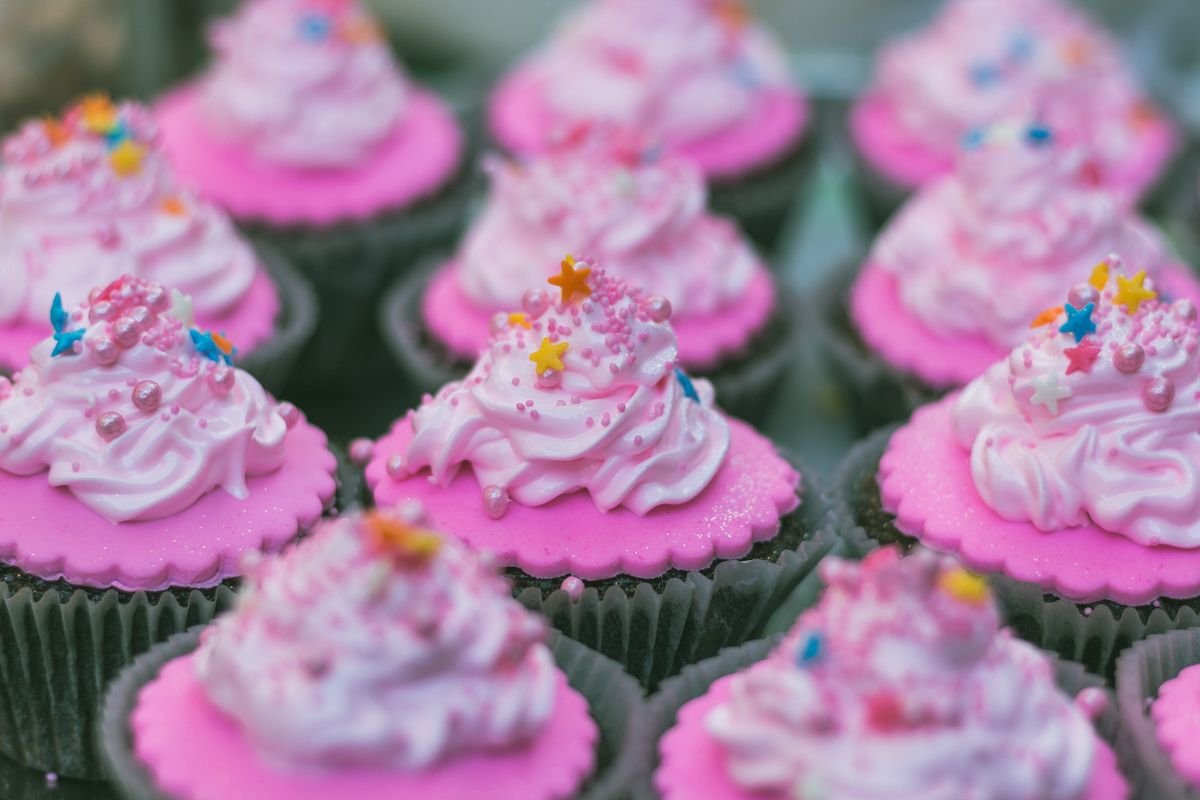
Ghost cupcakes have floated to the top of Halloween baking trends for one simple reason: maximum charm for minimum effort. The design is essentially a swirl of white frosting with two eyes — a technique a total beginner can learn in minutes — yet the result looks bakery-professional. In a season of elaborate haunted houses and sculpted cakes, their simplicity feels fresh and irresistibly cute.
They are also endlessly versatile. Ghosts suit every Halloween aesthetic, from kid-friendly classroom parties to elegant monochrome dessert tables. The same piping technique works on any cupcake flavor, in any size, with faces ranging from spooky to silly. And because they are individual portions, they are perfect for parties — no cutting, no plates, no mess.
Best of all, ghost cupcakes invite participation. Kids as young as four can pipe a wobbly ghost (the wobblier the cuter, honestly) and draw faces with total creative freedom. They are the rare Halloween project that is genuinely fun to make, not just to eat.
Essential Tools and Supplies
You do not need professional equipment, but a few key tools make ghost cupcakes dramatically easier. First, piping bags — reusable silicone or disposable plastic both work — and a large round piping tip (Wilton 1A or Ateco 808 are the classics for sheet ghosts). A coupler lets you swap tips without changing bags, which is handy if you are making multiple styles.
Beyond piping, gather an offset spatula for smoothing, a cupcake corer or small spoon if you plan filled cupcakes, and black gel food coloring or an edible marker for faces. Candy eyes are a fun shortcut, though hand-drawn faces look more charming. A turntable is optional but genuinely helpful for smooth, even swirls.
For baking itself: a standard 12-cup muffin tin, paper liners (white or Halloween-themed), a cookie scoop for even batter portions, and a wire cooling rack. Line up everything before you start — piping goes fast once the frosting is ready, and you do not want to hunt for tips with a full bag in hand.
Choosing Your Cupcake Base: Flavors That Shine
The ghost is the star, but the cupcake underneath matters. Classic vanilla or white cake is the traditional pairing — its light crumb and color keep the focus on the decoration, and it is a crowd-pleaser for mixed-age parties. Use a reliable vanilla recipe with butter, not just oil, for the best flavor.
Chocolate cupcakes create a wonderful contrast: dark cake, white ghost, dramatic and delicious. The flavor pairing of chocolate with vanilla buttercream is universally loved. For fall warmth, spice cake or pumpkin cupcakes bring seasonal flavor that fits Halloween perfectly.
Whatever flavor you choose, bake for even, flat tops — domed cupcakes make piping trickier. Fill liners two-thirds full, avoid overbaking (check two minutes early), and cool completely before frosting. Warm cupcakes melt buttercream into a sad puddle, and no ghost can survive that.
The Perfect White Frosting: Three Reliable Recipes
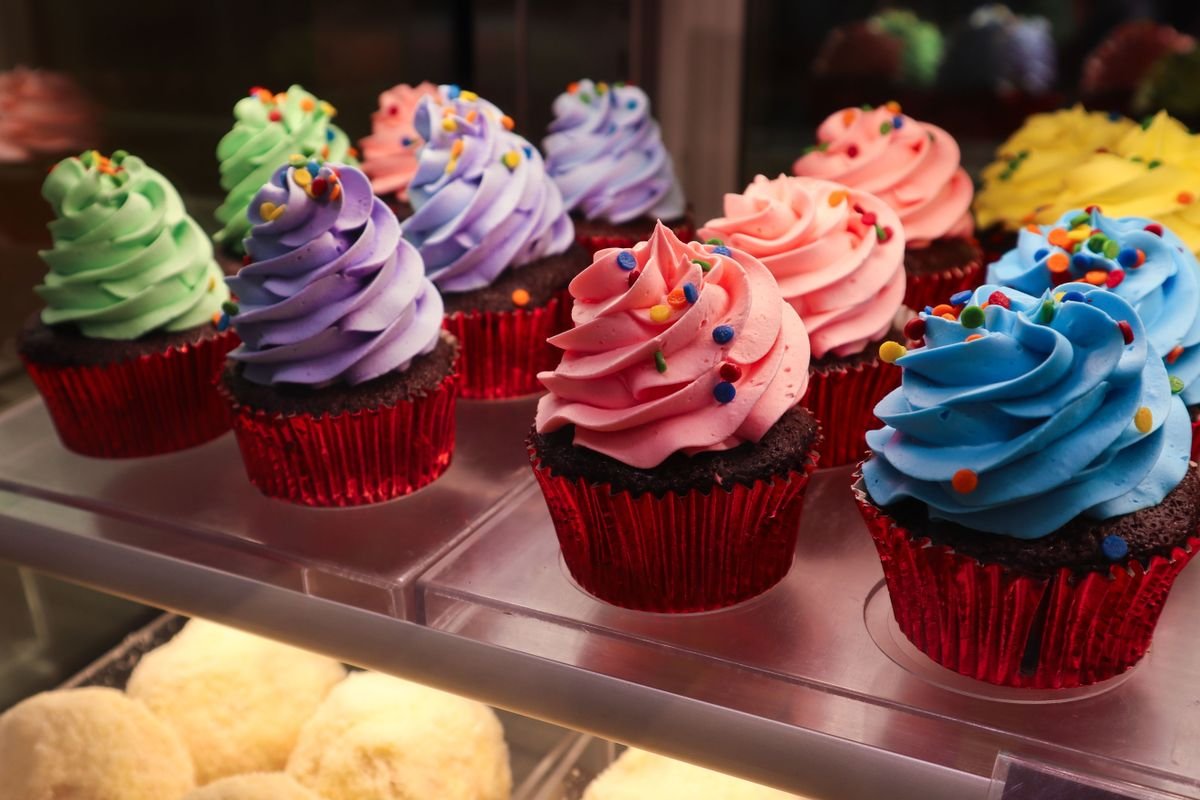
Ghost piping demands a frosting that holds its shape: American buttercream is the easiest and most stable choice. Beat 1 cup softened butter with 4 cups powdered sugar, 2 tablespoons milk or cream, 2 teaspoons vanilla, and a pinch of salt until fluffy. It crusts lightly, which helps ghosts keep their swirls.
For a less sweet option, try Swiss meringue buttercream: silky, smooth, and pipeable, though it takes more effort. Whip 4 egg whites with 1 cup sugar over simmering water until 160°F, then whip to stiff peaks and beat in 1½ cups butter. The result is elegant and holds detail beautifully.
In a hurry? Cream cheese frosting tinted white works, but it is softer — chill piped cupcakes 20 minutes to set the shape. Whatever you use, keep it bright white: even a hint of yellow from butter or vanilla reads as “dingy ghost,” so use clear vanilla extract if you have it.

Piping the Classic Sheet Ghost: Step by Step
The iconic sheet ghost is one continuous swirl, and the technique is simpler than it looks. Fit a large round tip (1A) on your bag and fill it two-thirds with white frosting. Hold the bag perpendicular to the cupcake, tip just above the surface, and squeeze with steady pressure.
Start at the outer edge and pipe a wide base ring, then spiral upward in slightly smaller circles, easing off pressure as you rise to form a soft peak — like a little Hershey’s kiss wearing a sheet. The whole motion takes about five seconds per cupcake once you find your rhythm. Practice on parchment first; your third ghost will look dramatically better than your first.
Key tips: keep the bag upright, not angled, for symmetrical ghosts. If a swirl flops, scrape it off and redo — buttercream is forgiving. Work in a cool kitchen; warm hands melt frosting, so take breaks or chill the bag for five minutes if your ghosts start to slump.
Drawing Cute Ghost Faces
The face is what turns a frosting swirl into a character, and you have options. Black gel food coloring with a fine round tip or toothpick gives the most control — two oval eyes and a small “o” mouth for the classic surprised ghost. Gel beats liquid coloring here; it is more pigmented and will not bleed into the frosting.
Edible ink markers are the easiest tool of all: just draw directly on the set frosting like a pen. They are perfect for kids and for anyone nervous about piping. For a 3D look, press in mini chocolate chips (pointy side in) for eyes and a regular chip for the mouth — instant, adorable, and delicious.
Vary the expressions across your batch: sleepy eyes, happy smiles, spooky brows, even tiny fangs drawn with white gel on a chocolate mouth. A whole crowd of ghosts with different personalities is far more charming than twelve identical ones. Let kids design the faces — their wobbly, off-center expressions are always the cutest.

Mini Ghost Cupcakes for Parties
Mini cupcakes are the ultimate party format: two bites, no commitment, and a platter of tiny ghosts is unbearably cute. Use a mini muffin tin with mini liners, fill just half-full, and bake 9–11 minutes. One standard batch of batter makes about 48 minis.
Pipe with a smaller round tip (Wilton 12 or 1M star for a textured sheet) and scale the swirl down — a single smooth pull usually does it. Faces go on with a toothpick dipped in gel color; candy eyes would overwhelm these little guys. Keep the design simple: the small scale does the charming work for you.
Minis are ideal for classroom parties, office treats, and dessert tables where guests sample many things. Arrange them crowded together on a black platter — a “haunted gathering” of dozens of tiny ghosts makes a stunning visual with almost no extra effort.
Midnight Chocolate Ghost Cupcakes
For a moodier take, pipe white ghosts onto dark chocolate cupcakes frosted with chocolate buttercream “night sky.” The contrast is striking: pale spirits floating over midnight. Use black cocoa powder in the frosting for the deepest color without bitterness.
Decorate the dark base first — a swoop of chocolate frosting, maybe a sprinkle of edible stars or silver dragees — then pipe the white ghost on top. Draw the face in black gel; on white frosting over dark cake, the faces pop beautifully. A pinch of black sanding sugar around the base adds texture.
These are the grown-up ghost cupcake: rich, dramatic, and perfect for evening parties. Serve on a dark slate or black cake stand with a few LED tea lights around for a haunted-graveyard glow that photographs gorgeously.

Pumpkin Spice Ghost Cupcakes
Combine two fall icons: pumpkin spice cake with ghost frosting. The warm, spiced crumb under cool vanilla buttercream is a flavor match made in heaven. Use canned pumpkin puree (not pie filling) and a blend of cinnamon, ginger, nutmeg, and cloves.
For extra flair, add a “pumpkin patch” base: frost the cupcake with orange-tinted buttercream grass using a grass tip, then pipe the white ghost rising from it. A tiny pretzel “stem” and green leaf complete the pumpkin illusion. It is a two-tone design that always gets compliments.
Top tip: pumpkin batter is wet, so do not overfill liners and add two extra minutes of bake time. These cupcakes stay moist for days, making them the best make-ahead option in this whole guide — bake Thursday, decorate Saturday, party-ready.

Meringue Ghost Toppers
For a crisp, airy alternative, pipe ghosts from Swiss meringue and bake them into crunchy toppers. Whip 3 egg whites with ¾ cup sugar to stiff, glossy peaks, pipe ghost shapes onto parchment, and bake at 200°F for 90 minutes until dry. They lift right off.
Draw faces with edible marker after cooling, then perch each meringue ghost on a frosted cupcake. The textural contrast — crunchy meringue, soft cake, creamy frosting — is delightful, and the toppers can be made a week ahead and stored airtight.
These read as extra-fancy with minimal skill: the oven does the work. Make a few spare ghosts; they are fragile and irresistible to snack on. For a shortcut version, buy premade meringue kisses and draw faces on them — nearly as cute in a tenth of the time.

Fondant Ghost Decorations
Fondant ghosts give a smooth, polished look that piped buttercream cannot match. Roll white fondant to ⅛-inch thickness, cut circles with a round cookie cutter, and drape each over a small ball of frosting or a cake pop stick base to form the classic sheet shape. Let them set 30 minutes.
Draw faces with edible markers once firm. Fondant ghosts sit beautifully on any frosted cupcake and hold up well at room temperature for hours — a real advantage for outdoor parties or warm venues where buttercream would wilt.
Short on time? Marshmallow fondant (melted marshmallows kneaded with powdered sugar) tastes far better than store-bought and takes ten minutes. Tinting is unnecessary — ghosts are white — which makes this one of the simplest fondant projects in all of baking.

Ghost Cupcakes Kids Can Decorate Themselves
Turn decorating into the party activity: set up a ghost cupcake bar and let kids do the work. Pre-pipe plain white swirls (or even just smooth-dome frosted cupcakes), then lay out face supplies — edible markers, candy eyes, chocolate chips, gel tubes — and let creativity run wild.
Keep it manageable: one frosting color, three to four face options, and a printed example sheet for inspiration. Aprons or smocks save costumes, and a damp cloth per child handles sticky fingers. Expect glorious chaos; the results are always charming.
This works brilliantly as a classroom or birthday activity because every child takes home something they made. Box each cupcake in a small bakery box with a sticker — instant party favor, zero extra shopping. Budget about 15–20 minutes for decorating plus tasting time.
Troubleshooting: Fixing Piping Problems
Ghost looking more like a blob? The usual culprit is warm frosting. Chill the piping bag 10 minutes and try again — buttercream firms up fast in the fridge. If your kitchen is hot, work in small batches, keeping the main bowl chilled.
Swirls cracking or rough? Your frosting may be too stiff; beat in milk a teaspoon at a time until it pipes smoothly. Tails drooping instead of standing? Too soft — add powdered sugar a quarter cup at a time. Air bubbles causing sputters? Squeeze the bag firmly and massage out bubbles before you start.
Asymmetric ghosts usually mean a tilted bag — keep it vertical and let the frosting fall straight down. And remember the golden rule: the first two are practice. By ghost five you will have the motion memorized, and by ghost twelve you will be piping like you have done it for years.

Make-Ahead and Storage Guide
Ghost cupcakes are party-friendly because so much can be done ahead. Unfrosted cupcakes keep 2 days at room temperature in an airtight container, or freeze up to a month wrapped individually. Thaw at room temperature for an hour — never microwave.
Buttercream can be made 5 days ahead and refrigerated; re-whip before using to restore fluffiness. Fully decorated cupcakes keep 2 days refrigerated in a covered container — the ghosts hold their shape beautifully when cold. Bring to room temperature 30 minutes before serving for the best texture.
Do not freeze decorated cupcakes: condensation ruins faces and frosting weeps on thawing. If you must work far ahead, freeze the baked cupcakes and make frosting fresh, then decorate the day before. Your future self will thank you.

Transporting Cupcakes Without Casualties
Nothing is sadder than a tray of decapitated ghosts. For safe transport, use a cupcake carrier with individual wells — the single best investment for any baker who travels with treats. No carrier? A deep baking pan with a non-slip liner works: place cupcakes snugly so they cannot slide.
Keep the car cool and drive like your ghosts depend on it — because they do. Avoid stacking, avoid direct sun, and never put the tray in the trunk on a warm day. In summer heat, freeze decorated cupcakes 20 minutes before travel so the frosting is firm.
For long trips, transport unfrosted and pipe on arrival — it takes ten minutes and guarantees perfect ghosts. Bring faces supplies and do the fun part at the venue; guests love watching the transformation happen.

Stunning Party Presentation Ideas
Display turns good cupcakes into a showpiece. A tiered stand is the classic: ghosts cascading down three levels looks abundant and lets guests grab easily. For drama, use a black stand — white ghosts against black is the highest-contrast, most Halloween look there is.
Get creative with the theme: arrange cupcakes as a ghost “family” on a faux tombstone platter, nestle them in a bed of black crinkle paper inside a cauldron, or line them along a eucalyptus-and-fairy-light table runner for an elegant haunted-garden feel. Small chalkboard signs with punny names (“Boo Batter,” “Spooky Swirl”) add charm.
Lighting matters: a few LED candles or string lights near the display make white frosting glow. Photograph the table before guests arrive — it will never look this perfect again, and you will want the memory.

Building a Full Halloween Dessert Table
Ghost cupcakes anchor a spread beautifully. Surround them with complementary treats in a black-white-orange palette: chocolate-dipped pretzel “broomsticks,” orange macarons, ghost meringues, candy corn in apothecary jars, and a simple chocolate sheet cake for slicing.
Vary heights and textures: tall cake stand, low platters, jars of candy, a punch bowl of “witches’ brew” (green sherbet punch). Add non-edible decor — mini pumpkins, faux spiderwebs, dried flowers — to fill gaps. The rule: every gap gets candy, every height gets used.
Label everything, especially for allergies. A dessert table is self-serve chaos; clear tags (“contains nuts,” “gluten-free”) let everyone indulge safely. End the table with take-home boxes — guests will want ghosts for later, guaranteed.

Dietary Variations: Gluten-Free and Vegan Ghosts
Everyone deserves a ghost. For gluten-free, use a 1:1 gluten-free flour blend in your favorite vanilla recipe — modern blends perform beautifully in cupcakes. Add an extra egg yolk for structure if the crumb seems fragile.
Vegan ghosts are very achievable: replace butter with vegan butter sticks (not tub spread) in both cake and American buttercream, use plant milk, and swap eggs with ¼ cup applesauce or aquafaba per egg. The frosting pipes just as well — vegan buttercream holds swirls nicely when chilled.
For nut allergies, keep the whole batch nut-free and say so on the label — it is a huge relief for parents. Whatever the variation, decorate identically; nobody should feel their cupcake is the “special” one. Invisible inclusion is the goal.

Ten Flavor Twists to Try Next
Once you have mastered the classic, experiment. Fan favorites: red velvet with cream cheese ghosts, lemon cupcakes with lemon buttercream spirits, salted caramel filled with caramel-drizzle ghosts, cookies-and-cream with crushed Oreo “dirt” bases, and strawberry with pink-tinted ghosts for a “pinkoween” twist.
More adventurous: matcha green tea cake with white chocolate ghosts, chai-spiced with cinnamon buttercream, blackberry with deep purple bases, espresso with mocha ghosts, and funfetti — because a ghost rising from sprinkles is pure joy.
The technique never changes, only the canvas. Keep a notebook of your hits; by next Halloween you will have a signature ghost cupcake lineup friends request by name.

FAQs and Final Pro Tips
How far ahead can I decorate? Two days refrigerated is the sweet spot. Can I use canned frosting? In a pinch, yes — whip it first to add air, and chill piped cupcakes to firm up. The ghosts will be softer but still cute. What if I have no piping tips? Snip the corner off a zip-top bag for a workable round opening.
How do I get frosting really white? Use clear vanilla extract, all-shortening buttercream, or a drop of violet gel color to cancel yellow tones (color theory works in frosting too). Can kids eat the faces? Edible markers, gel colors, and candy eyes are all food-safe — just check labels for allergens.
Final wisdom: embrace imperfection. Slightly lopsided ghosts with crooked smiles are the ones people photograph and remember. Bake with joy, pipe with confidence, and have the happiest of Halloweens.

I am Talha Sikandar, a professional writer with a passion for general blogging. With years of experience in content writing and research, I founded Meaniingly.com to deliver well-researched, informative, and user-friendly articles on diverse topics.