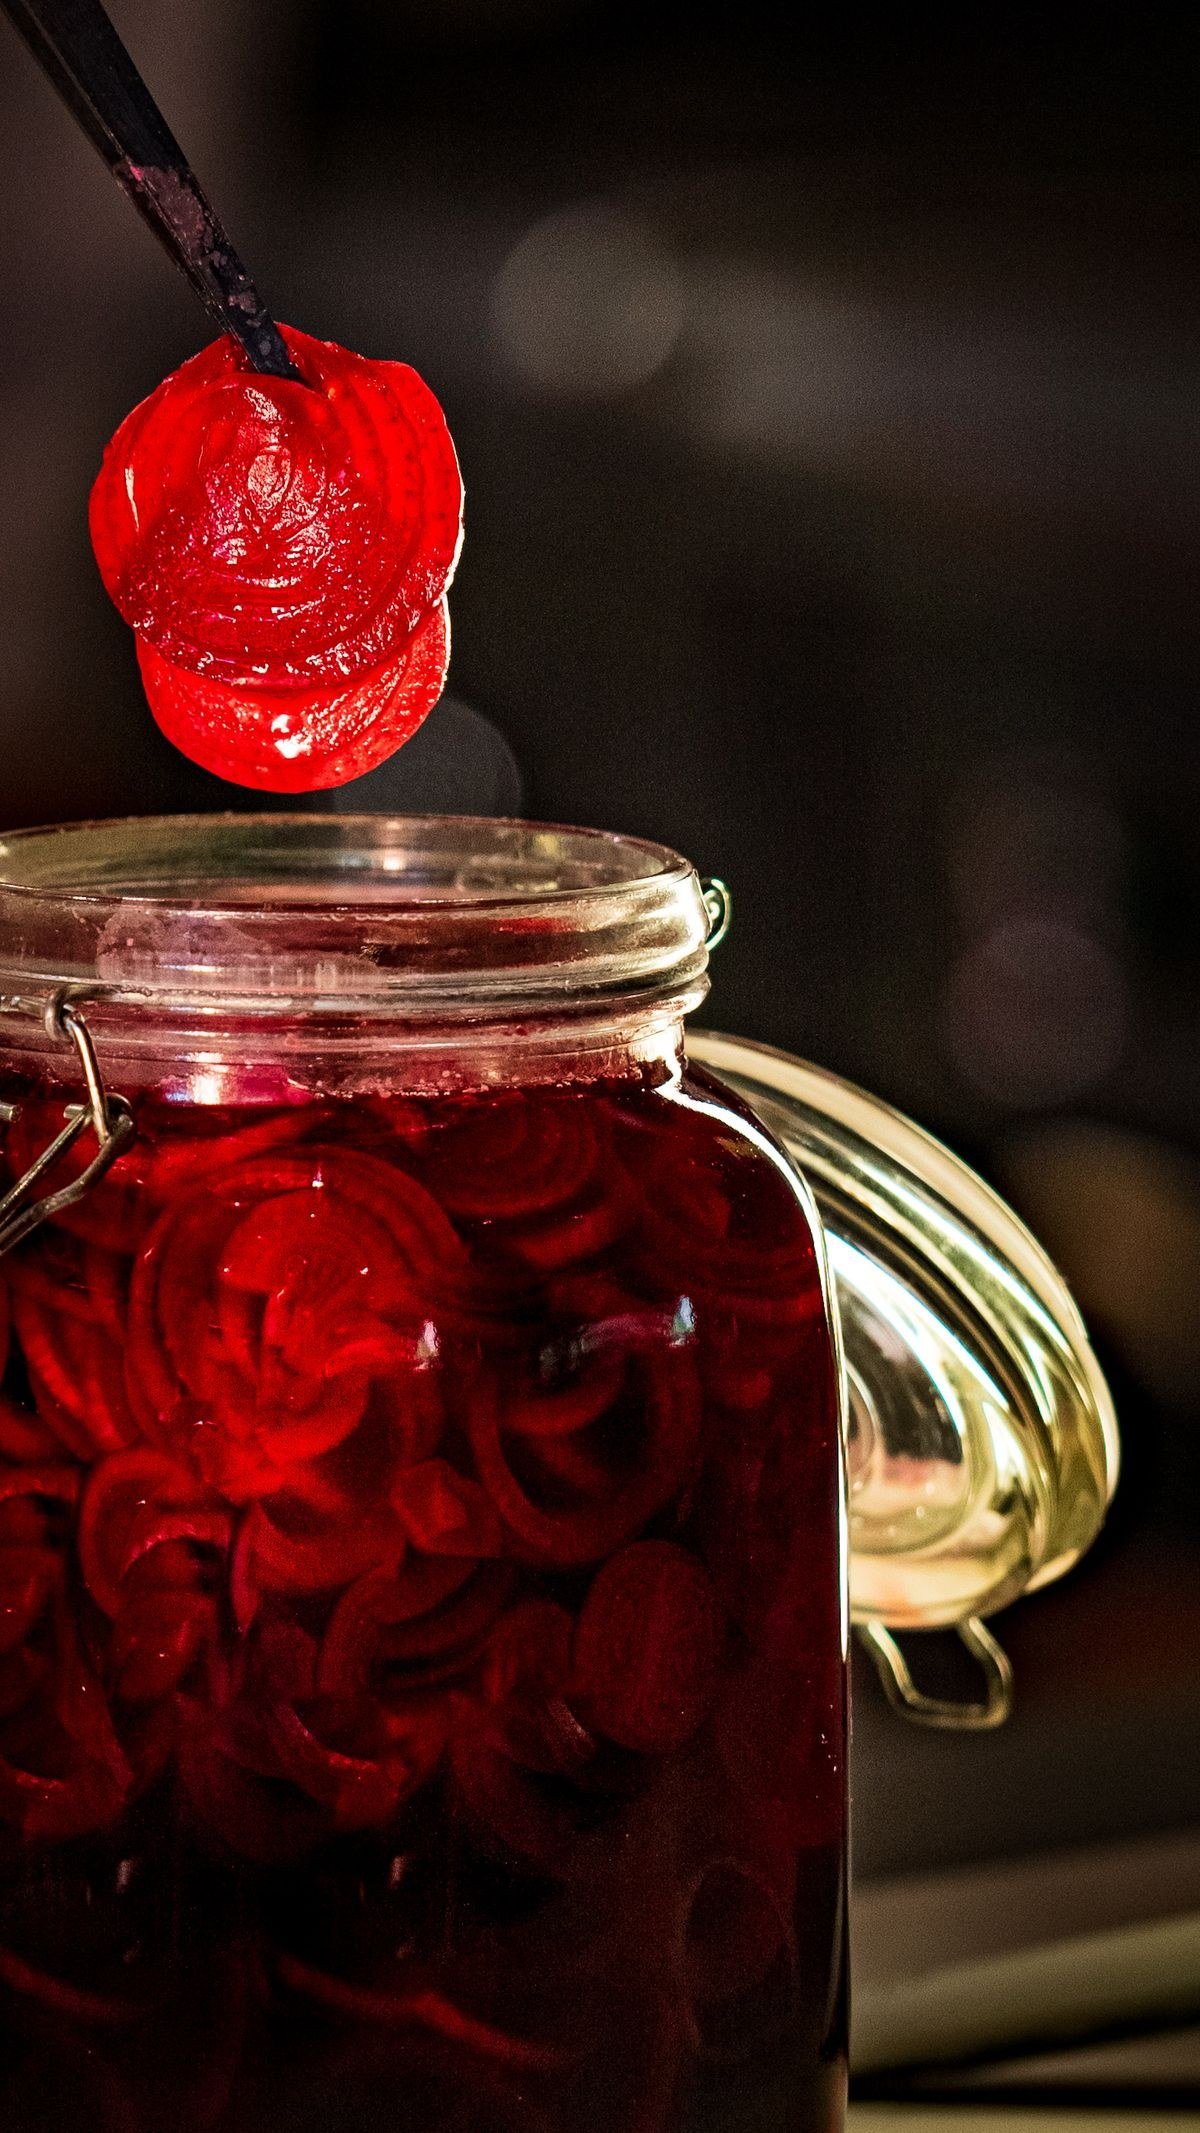
There are few pantry treasures as satisfying as a jar of ruby-red pickled beets, glowing like jewels on the shelf. Sweet, tangy, and earthy all at once, home-canned pickled beets beat anything from the store — and the canning process is far less intimidating than it sounds. This complete guide covers everything from selecting beets to safe water-bath canning, with a classic pickled beets recipe, flavor variations, and troubleshooting, so your jars seal perfectly and taste incredible all year.
Why Can Pickled Beets at Home
Home-canned pickled beets taste brighter and fresher than commercial versions, and you control the sweetness, vinegar bite, and spices. Beets are also one of the most economical vegetables to preserve — a big harvest or a farmers’ market haul becomes months of salads, sides, and gifts. Canning them is a perfect beginner project: beets are naturally acidic-friendly when pickled in vinegar, and the water-bath method needs no pressure canner. Plus, those jewel-toned jars make your pantry look like an artisan shop.
Fall is prime beet-canning season — roots are sweetest after light frosts. Buy in bulk from farmers’ markets for the best prices, often half of grocery cost. A twenty-pound haul sounds like a lot until you see it shrink into jars. Canning with friends splits the work and the harvest. One autumn weekend stocks the pantry for a year.
Choosing the Best Beets for Pickling
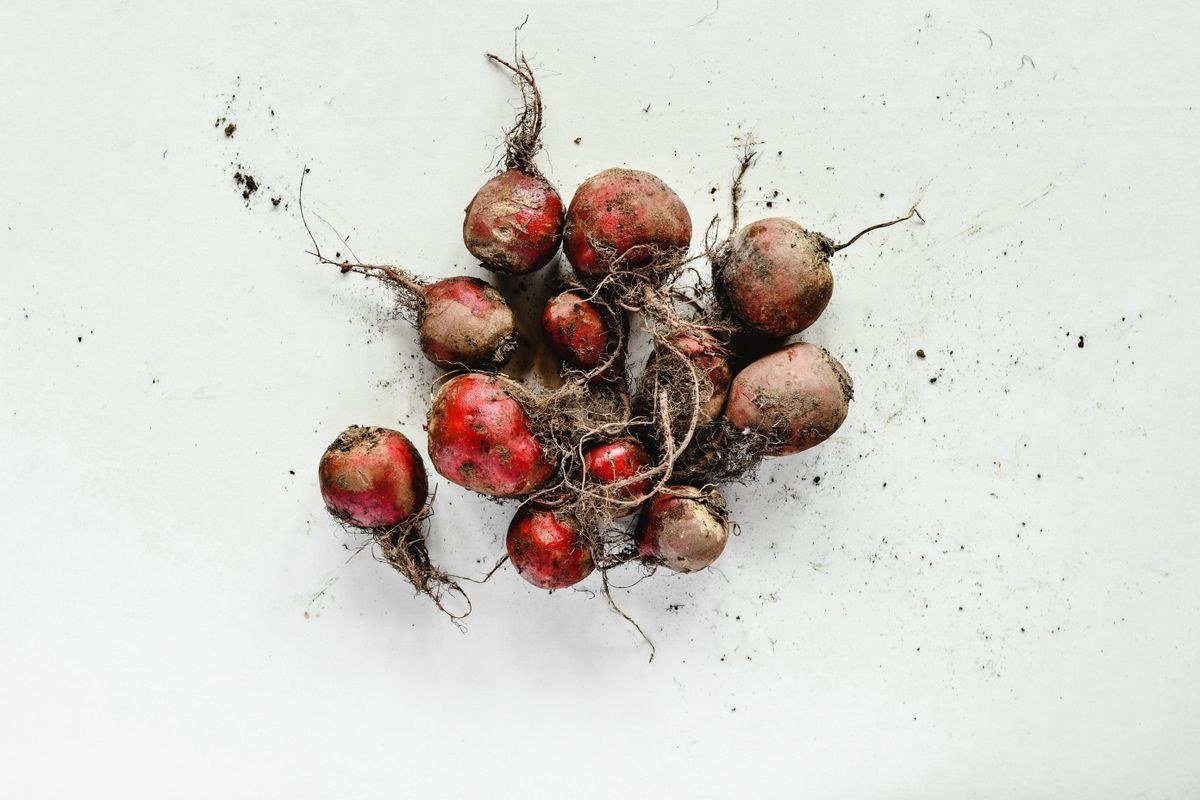
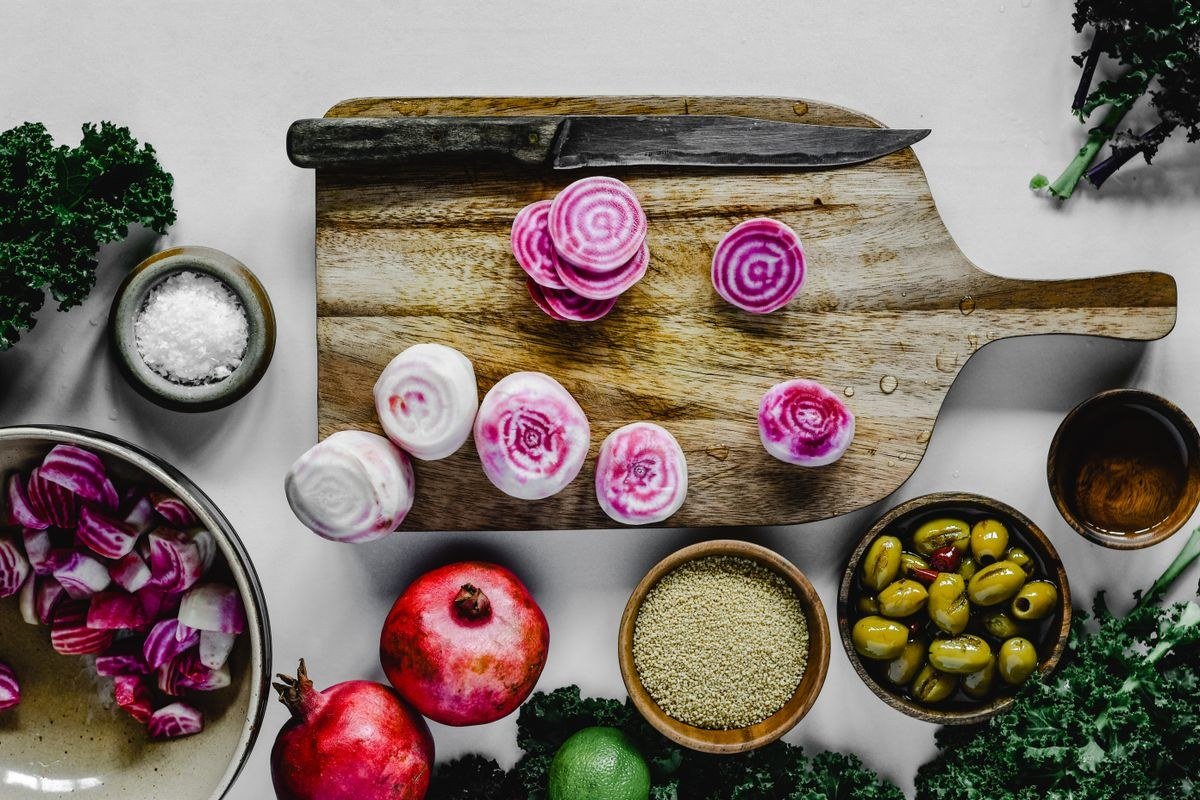
Choose small to medium beets, about 1 to 2 inches in diameter — they are more tender and pickle more evenly than giant woody ones. Look for firm, smooth roots with fresh-looking greens attached, a sign of recent harvest. Avoid beets with soft spots or excessive scarring. Both red and golden beets pickle beautifully, though golden beets produce a milder, honey-toned jar. Chioggia beets with their candy stripes look stunning but fade to pink in the brine. For uniform jars, sort beets by size before cooking so they finish at the same time.
Uniform size means uniform cooking, so sort beets into batches before boiling. Golf-ball to tennis-ball size is ideal; larger roots often have woody cores. Twist off greens rather than cutting to minimize bleeding, and save those greens — they are delicious and nutritious. Freshness matters: limp beets make soft pickles.
Food Safety: Canning Rules You Must Follow
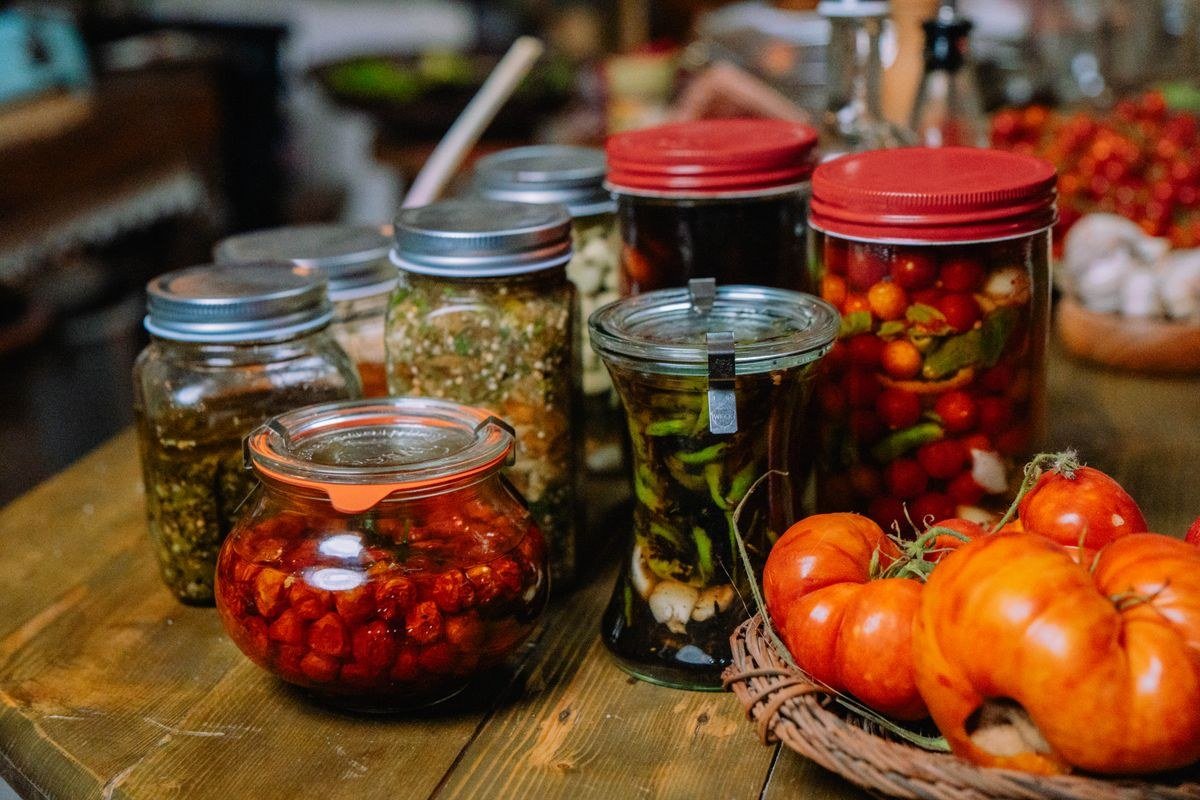
Safety is non-negotiable in canning. Pickled beets are safely water-bath canned only because the recipe includes enough vinegar to make the brine acidic — never reduce the vinegar or increase the beets beyond tested ratios. Always use a tested recipe from a trusted source, process for the full recommended time adjusted for your altitude, and ensure jars seal. If a jar fails to seal, refrigerate and eat within a few weeks rather than reprocessing indefinitely. When in doubt, consult the National Center for Home Food Preservation guidelines.
Botulism cannot grow in properly acidified pickles, which is why the vinegar ratio is sacred. Never swap in vinegar below five percent acidity, and never add extra low-acid ingredients beyond tested amounts without checking guidelines. Altitude adjustments are about safety, not texture. When any step feels uncertain, the National Center for Home Food Preservation has definitive answers.
Equipment Checklist for Water-Bath Canning
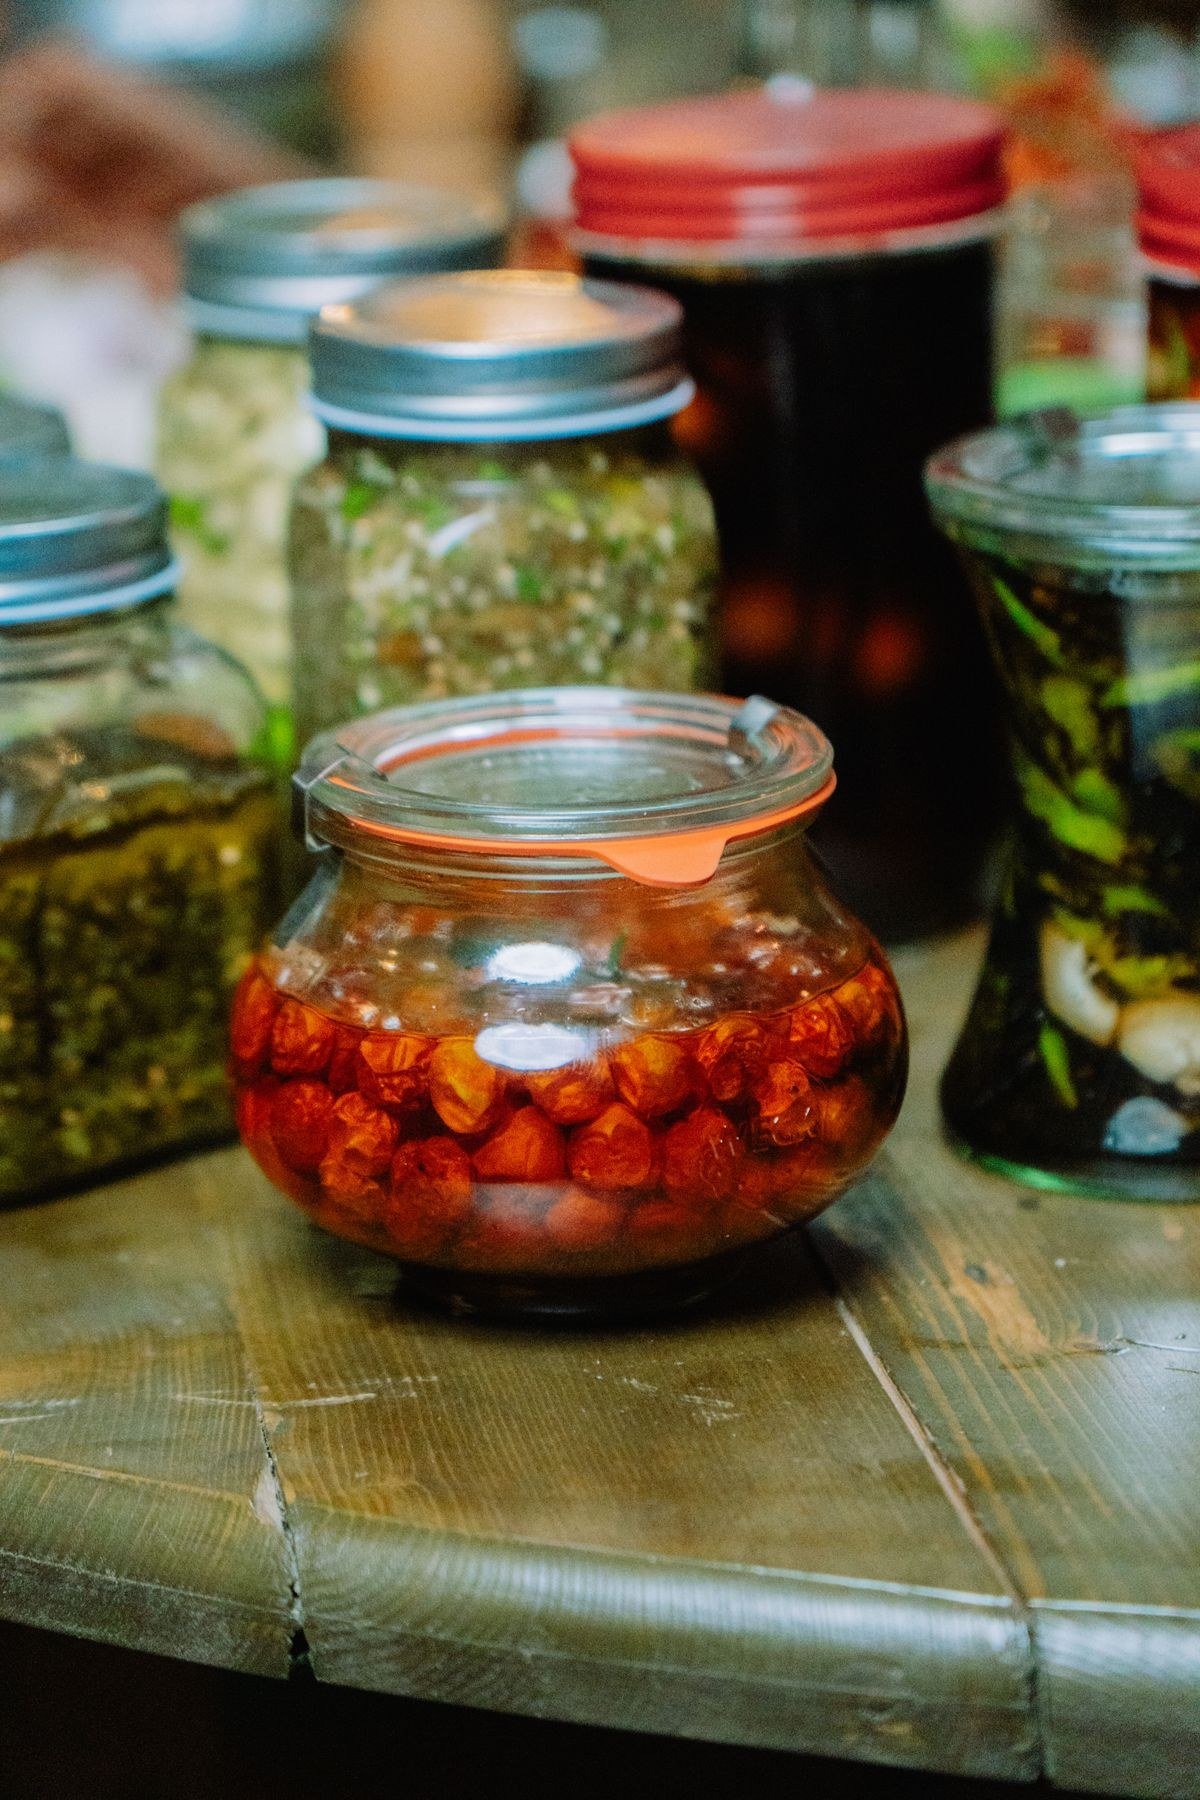
You will need a water-bath canner or a deep stockpot with a rack, pint or quart mason jars with new lids and bands, a jar lifter, a wide-mouth funnel, a bubble remover or chopstick, and a lid wand or tongs. A kitchen timer and clean towels round out the kit. Jars can be reused indefinitely if free of chips and cracks, but lids must be new every time for a reliable seal. Wash everything in hot soapy water before you start. Having all equipment staged before the beets finish cooking makes the whole process calm instead of chaotic.
A rack is essential — jars directly on the pot bottom can crack from thermal shock, and a folded kitchen towel works in a pinch. The jar lifter is the tool you will use most, so buy a sturdy model rather than a cheap one that slips. A headspace measuring tool seems fussy until you realize consistent headspace means consistent seals. Good tools make canning relaxing instead of stressful.
Preparing and Cooking the Beets
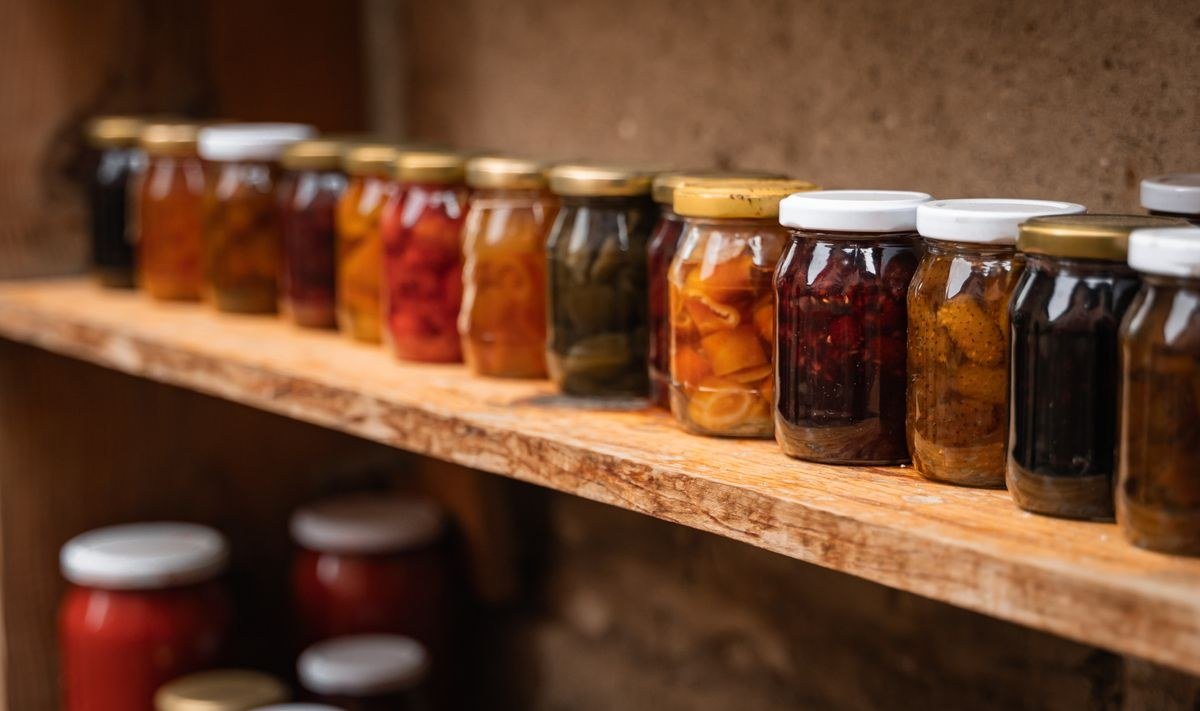
Scrub beets well but leave an inch of stem and the root tail intact — this prevents bleeding during cooking. Boil or roast until fork-tender: boiling takes 25 to 45 minutes depending on size, roasting at 400°F takes 45 to 60 minutes wrapped in foil. Roasting concentrates sweetness, while boiling is faster for big batches. Cool slightly, then slip the skins off with your hands — they slide right off cooked beets. Wear gloves unless you want pink hands for days. Trim the tops and tails, then slice into quarter-inch rounds or dice as you prefer.
Roasting concentrates sugars for deeper flavor, but boiling is faster and keeps colors brighter. Either way, do not peel before cooking — the skins slip off effortlessly afterward, and pre-peeling bleeds color into the water. Cook until a knife slides in with slight resistance, since they soften further in processing. Work in batches to keep everything hot for packing.
Classic Pickled Beets Canning Recipe
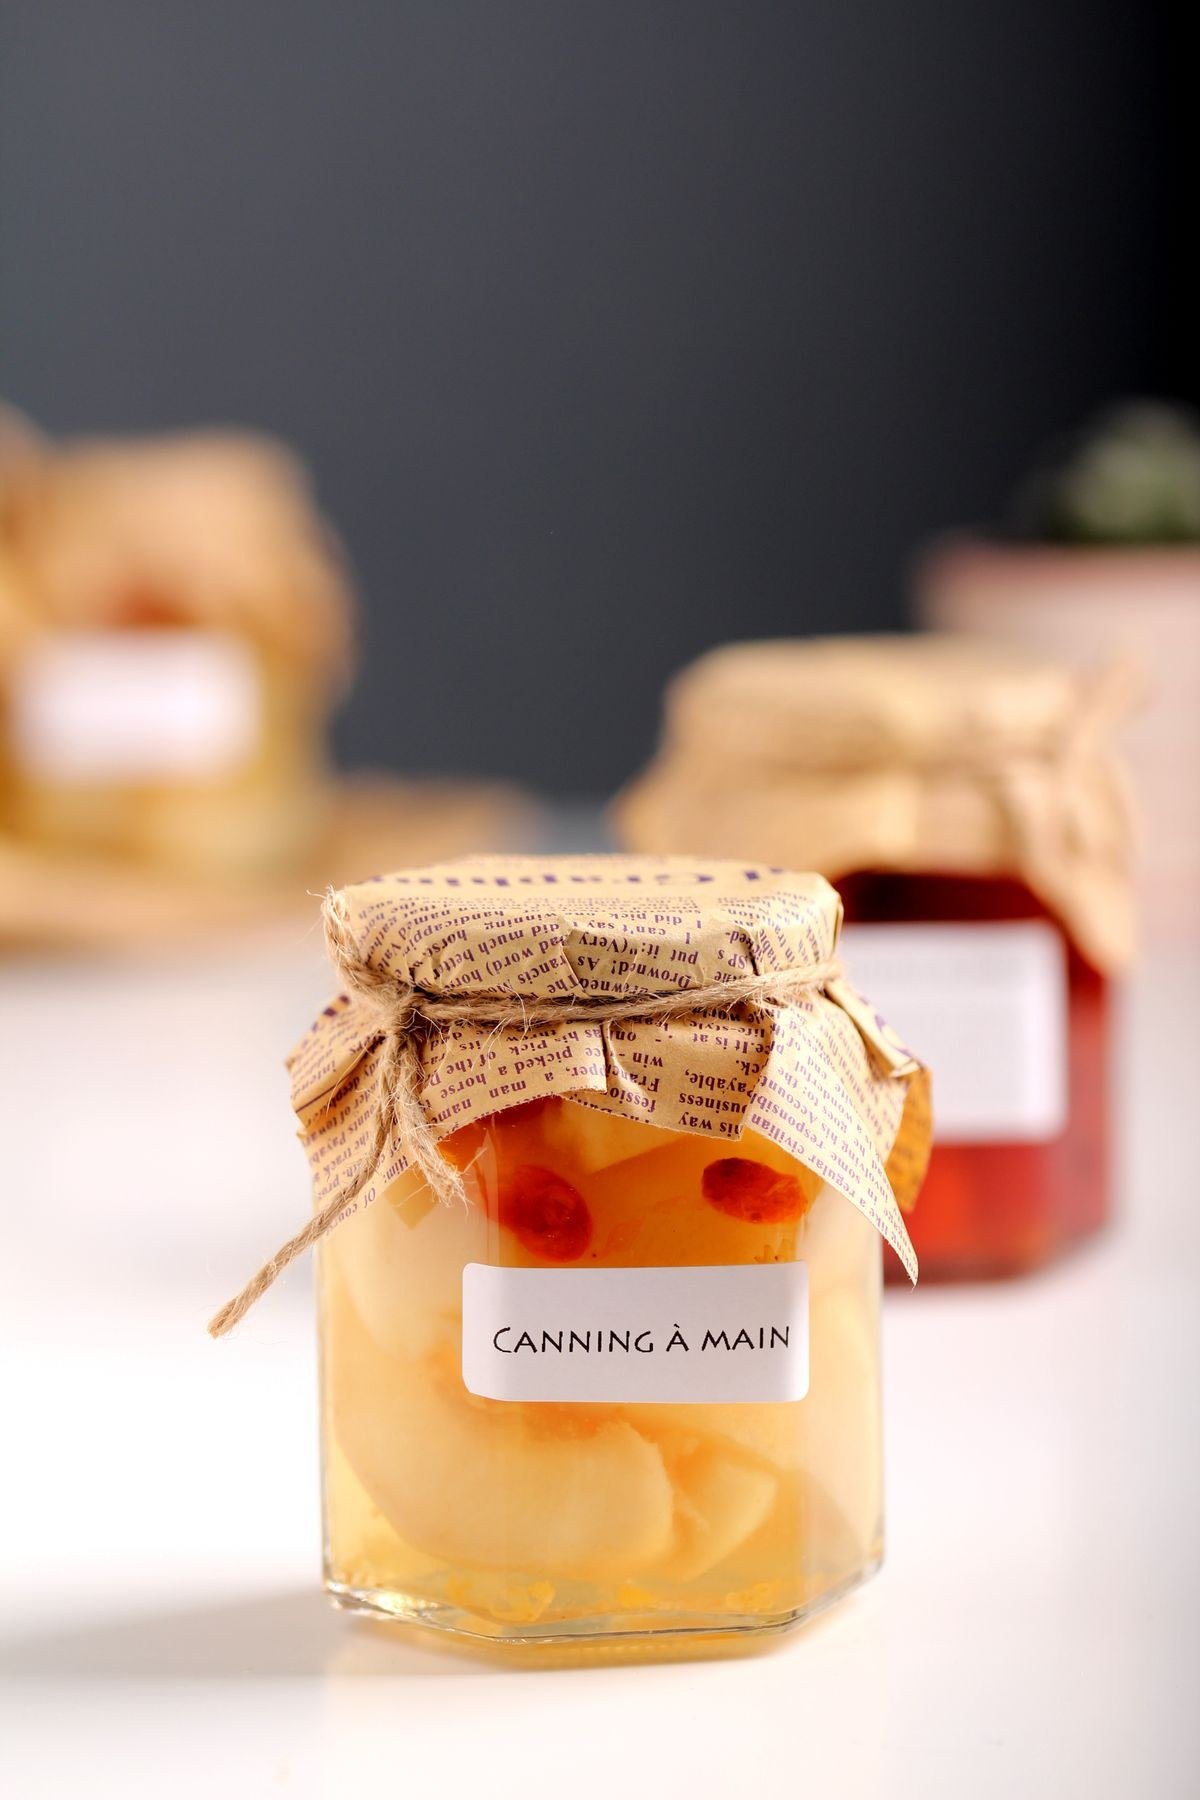
For about 7 pints: cook 5 pounds of beets as above, then pack hot slices into hot sterilized pint jars, leaving half an inch of headspace. Make the brine: combine 2 cups apple cider vinegar, 2 cups water, 1 and a half cups sugar, 1 tablespoon pickling salt, 2 teaspoons whole cloves, 2 teaspoons allspice berries, and 3 cinnamon sticks. Bring to a boil, simmer 5 minutes, then ladle over beets, maintaining headspace. Remove air bubbles, wipe rims, apply lids, and process in a boiling water bath for 30 minutes (pints), adjusting for altitude. Cool 12 hours, check seals, and store.
Hot pack — packing hot beets with boiling brine into hot jars — is the only safe method here, because cold packing risks under-processing. Keep beets hot in their cooking liquid while you work, and reboil the brine if it cools. The sizzle when brine hits the jar is the sound of a good seal starting. Work steadily but without rushing.
Making the Perfect Pickling Brine
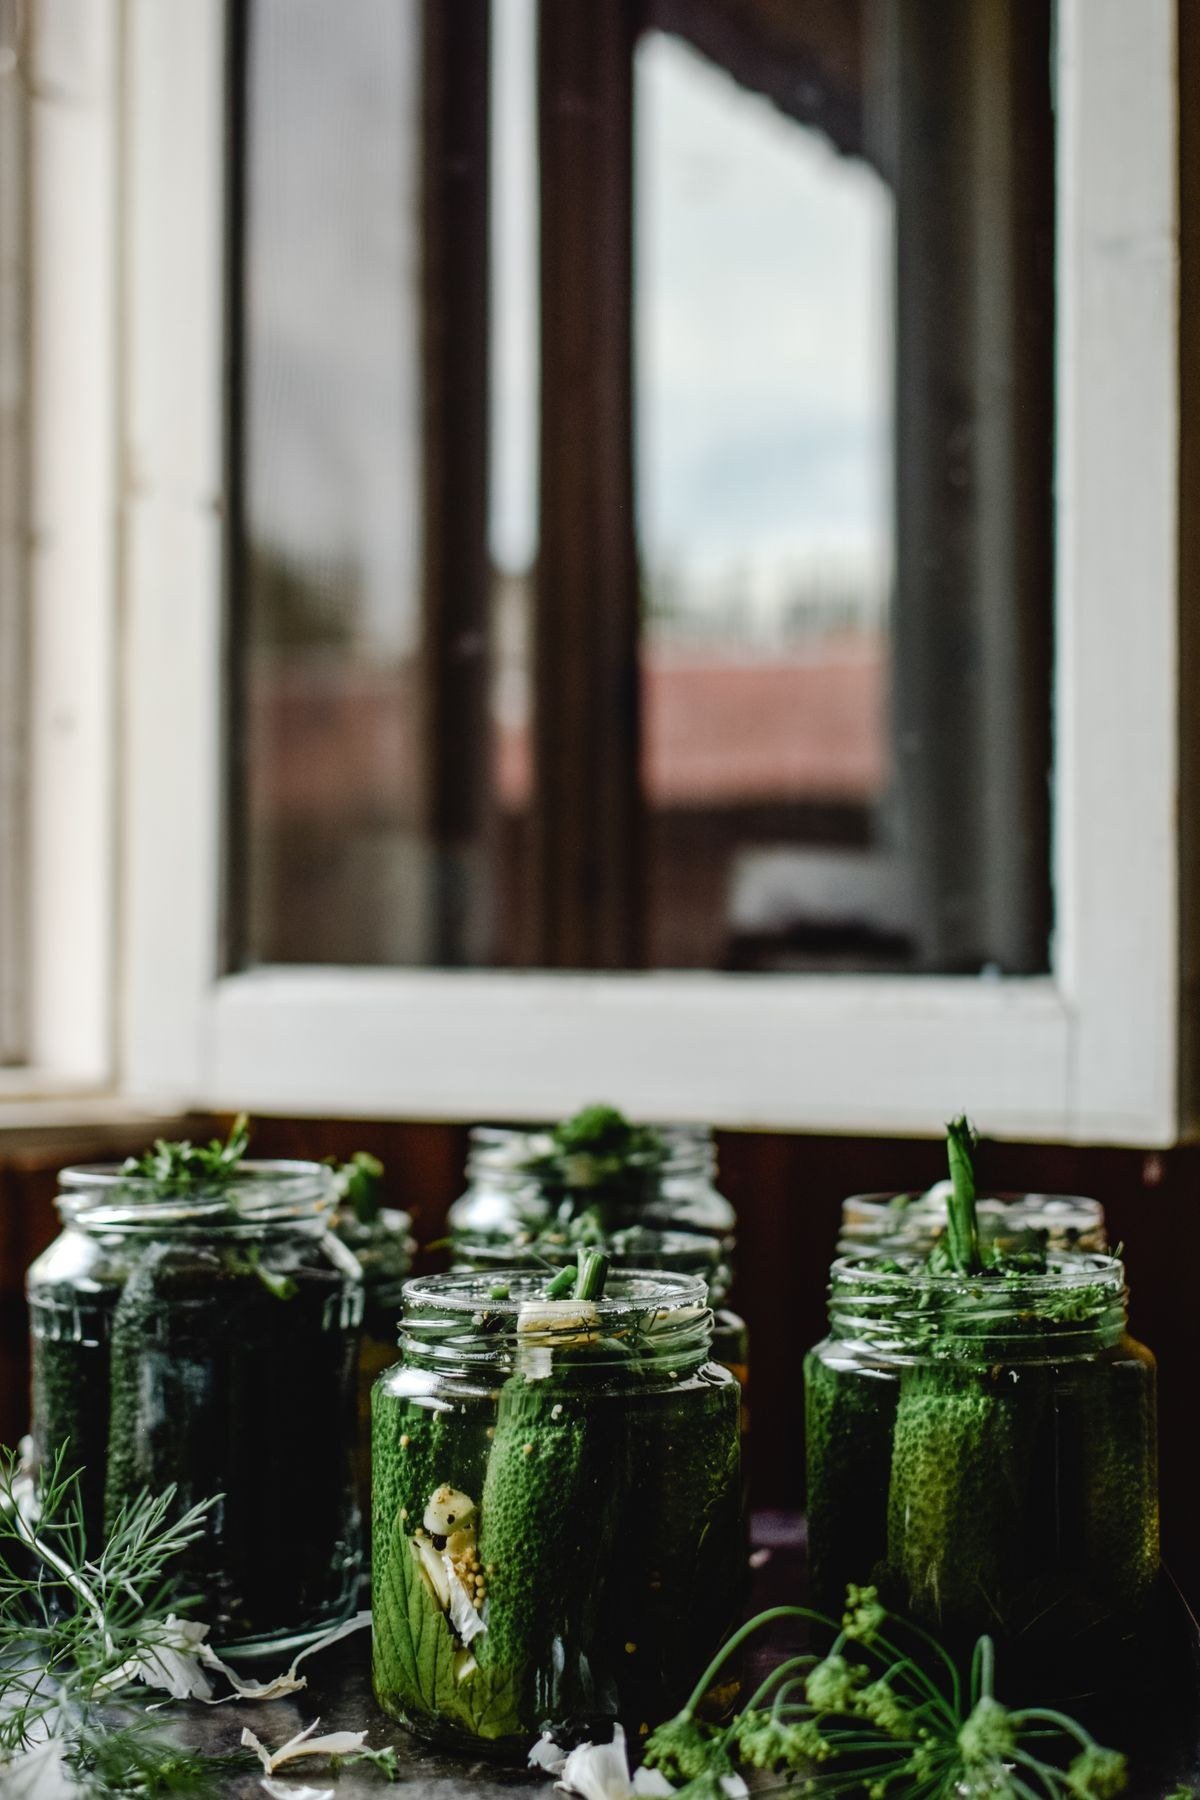
The brine is where flavor lives. Use vinegar with at least 5% acidity — apple cider vinegar gives mellow fruitiness, white vinegar gives a sharper bite. Never reduce the vinegar-to-water ratio in a tested recipe; safety depends on it. Sugar balances the earthiness — start with the recipe amount and adjust future batches to taste. Pickling or canning salt is essential; table salt’s anti-caking agents cloud brine. Toast whole spices briefly before adding to bloom their flavor. Always bring brine to a full boil before ladling to ensure it is hot enough to start the sealing process.
Cider vinegar’s mellow fruitiness flatters beets’ earthiness, while white vinegar gives a sharper, cleaner bite. Never use homemade vinegar of unknown acidity. Sugar does more than sweeten — it balances vinegar’s harshness and helps texture. Brown sugar adds caramel notes. Taste your brine before ladling; it should make you pucker pleasantly.
Spice Variations to Try
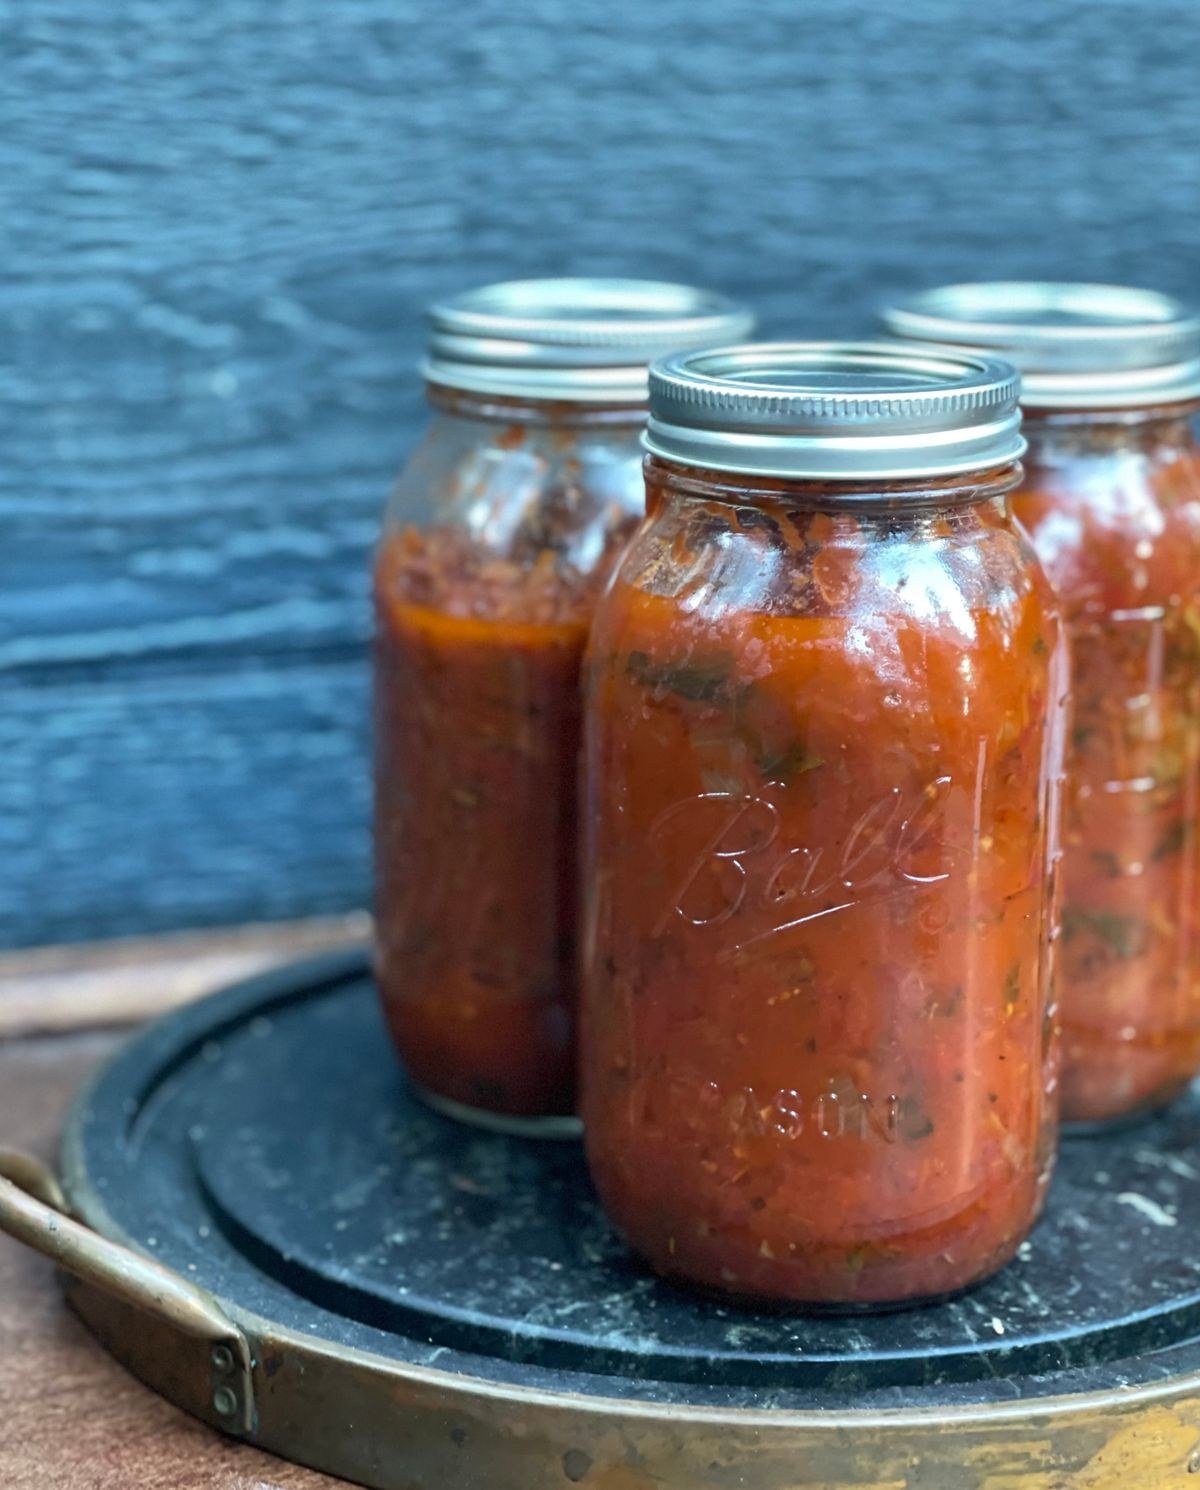
Once you master the classic, experiment. Add a split vanilla bean for luxurious warmth, star anise and ginger for an Asian-inspired jar, or mustard seeds and dill for a savory deli style. A dried chile in each jar gives gentle heat. Bay leaves add subtle depth. Keep the vinegar, water, salt, and sugar ratios identical and only swap the spices — that keeps the recipe safely acidic. Label experimental batches clearly with the variation and date. Tasting notes after a month of curing will guide next year’s tweaks.
Whole spices stay in the jar beautifully and look gorgeous; ground spices cloud the brine. Tie ground spices in cheesecloth if you prefer their flavor without the haze. A split vanilla bean transforms plain beets into something luxurious. Record every experiment, because next year’s perfect batch depends on this year’s notes. Small jars are ideal for testing wild ideas.
Quick Refrigerator Pickled Beets
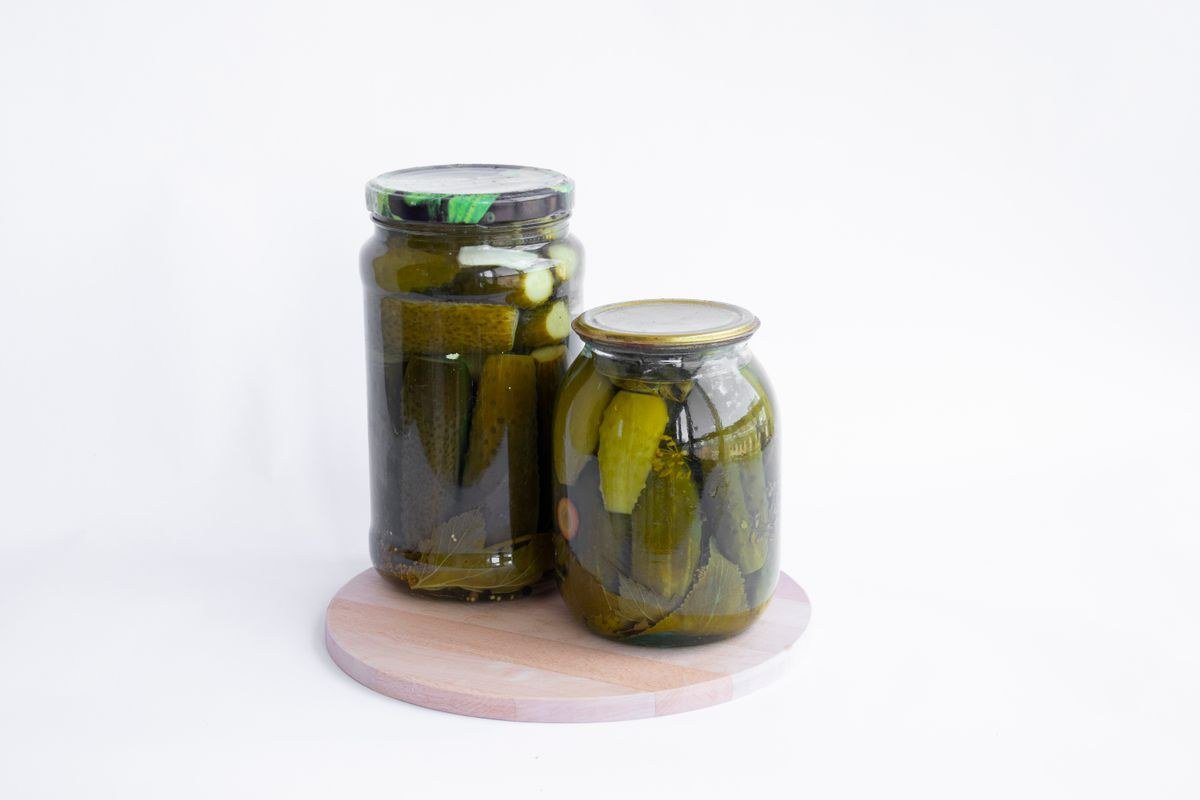
Not ready to can? Refrigerator beets deliver the flavor with zero processing. Pack cooked sliced beets into clean jars, pour over boiling brine (same ratios as the canned recipe), cool, and refrigerate. They are ready in 48 hours and keep for up to two months refrigerated. This is the perfect method for small batches, recipe testing, or beets that did not fit in the canner. You can also play freely with flavors here since refrigeration — not acidity — is doing the preserving work.
Refrigerator pickles are the low-commitment gateway to canning. They let you test spice combinations before committing to a canner load, and the flavor develops in days rather than weeks. Keep them in the fridge door where you will see and eat them. They rarely last the full two months — which tells you everything about their appeal.
Packing Jars for the Best Results
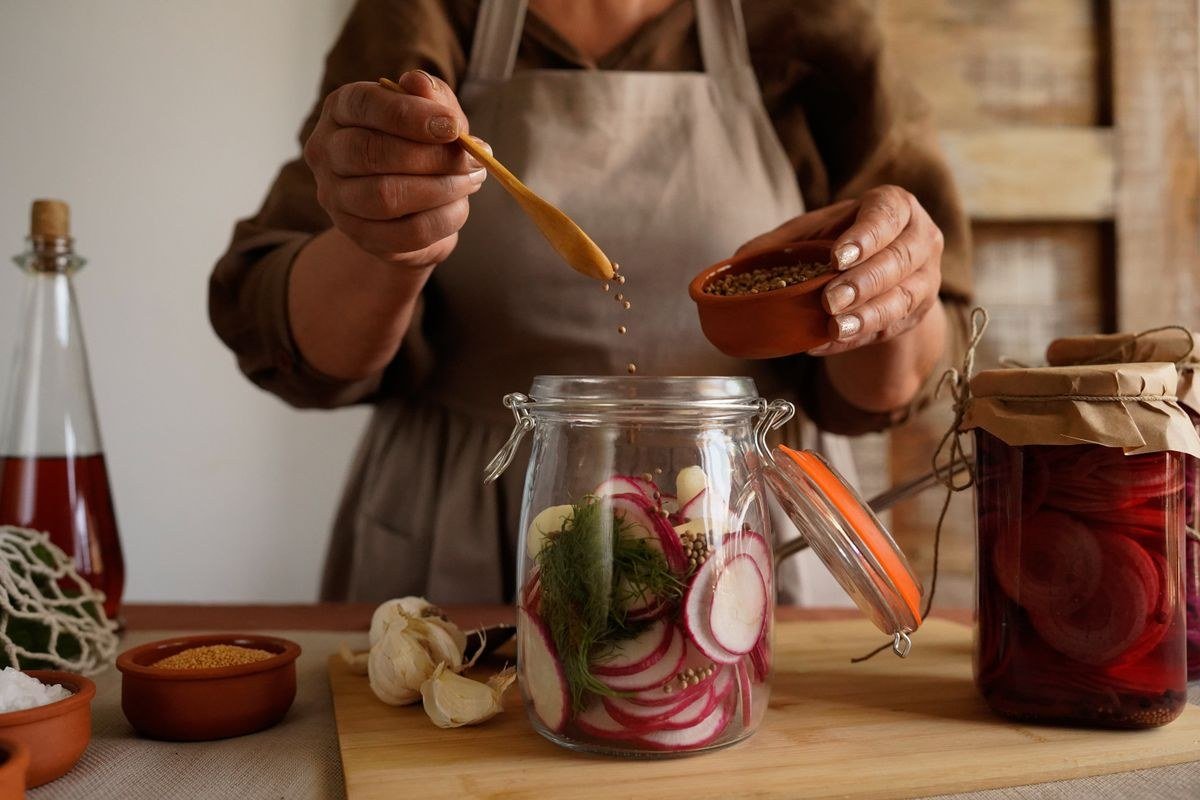
Pack beets snugly but not crushed — tight packing keeps them submerged and looking abundant. Leave the specified headspace (usually half an inch for beets) so jars seal properly. After ladling brine, run a bubble remover around the inside edge; trapped air bubbles can harbor spoilage and displace brine. Wipe rims meticulously with a vinegar-dampened cloth — even a drop of brine residue can prevent sealing. Center lids and screw bands fingertip-tight: too loose leaks, too tight prevents air from escaping during processing.
Tight packing prevents floating — beets that bob above the brine discolor and spoil faster. But do not crush them; damaged slices turn mushy. The half-inch headspace is calibrated for beets’ expansion during processing. A chopstick works perfectly as a bubble remover. Meticulous rims are the cheapest insurance for a perfect seal rate.
Processing Times and Altitude Adjustments
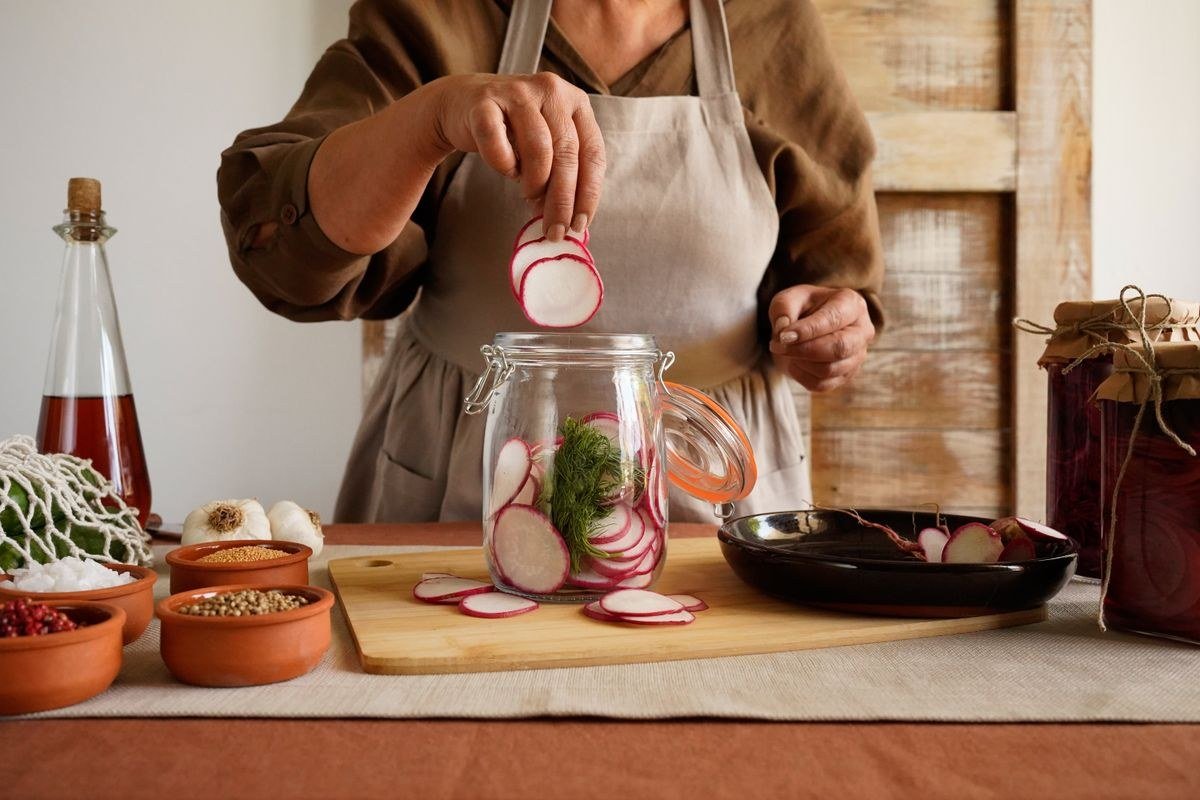
Process pint jars of pickled beets for 30 minutes in boiling water, measured from when the water returns to a full rolling boil. Altitude matters: add 5 minutes for 1,001–3,000 feet, 10 minutes for 3,001–6,000 feet, and 15 minutes above 6,000 feet. Keep at least an inch of water over jar tops throughout, adding boiling water if needed. Start timing only at a full boil — a simmer does not count. Under-processing is the most common safety mistake in home canning, so set a timer and respect it.
Water must stay at a full rolling boil for the entire processing time — a lazy simmer does not reach the needed temperature throughout. Do not start timing until the boil returns after adding jars. Keep a kettle of boiling water handy to top up the canner. At altitude the boiling point drops, which is exactly why extra minutes are required.
Cooling, Testing Seals, and Storing
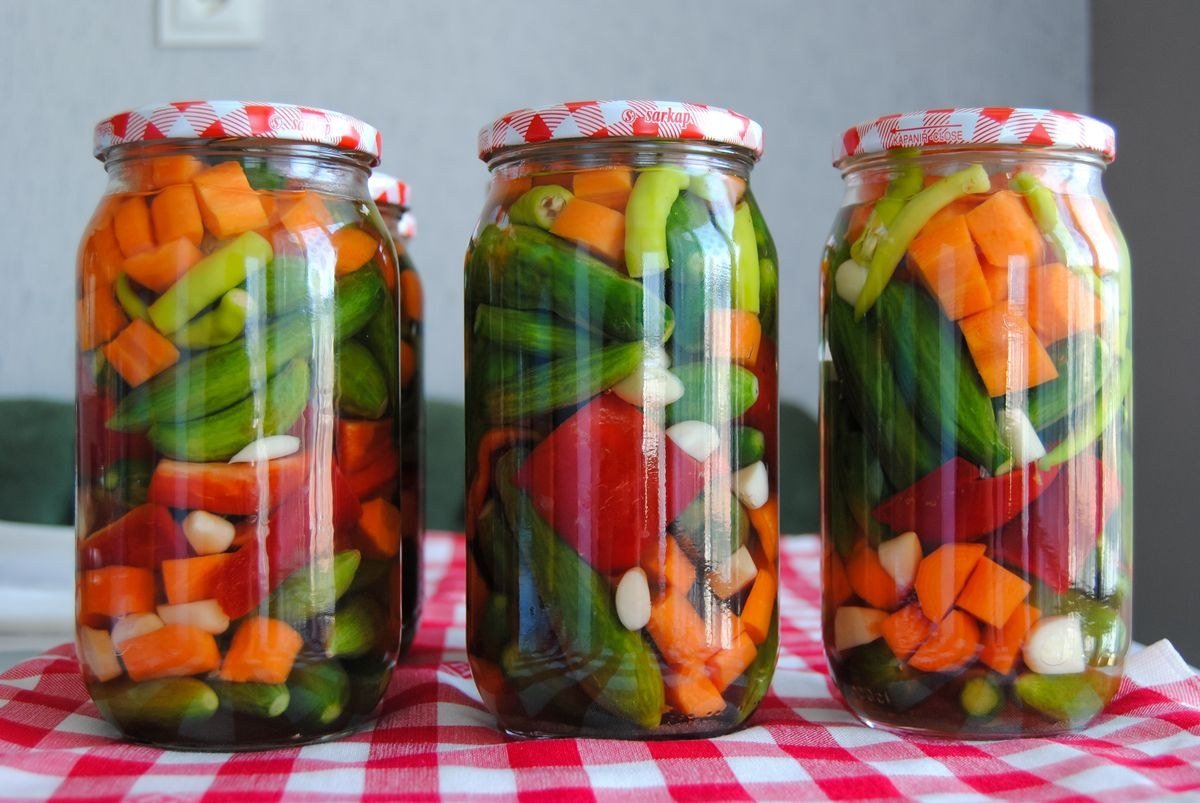
After processing, turn off the heat, wait 5 minutes, then lift jars straight up onto a towel-lined counter with space between them. Leave undisturbed for 12 to 24 hours — you will hear the satisfying pings as lids seal. Test each seal by pressing the lid center; it should not flex or pop. Remove bands, wipe jars, label with contents and date, and store in a cool, dark place. Sealed jars keep for 12 to 18 months. Any unsealed jars go straight to the fridge and get eaten within a month.
Resist touching jars during the cooling period, because movement can break fragile forming seals. The pinging concert over the first hour is deeply satisfying. After twenty-four hours, remove bands to check for hidden leaks and prevent rust. Store without bands so a failed seal reveals itself. A jar that unseals in storage announces itself with a pop and off smell.
How Long Before You Eat Them
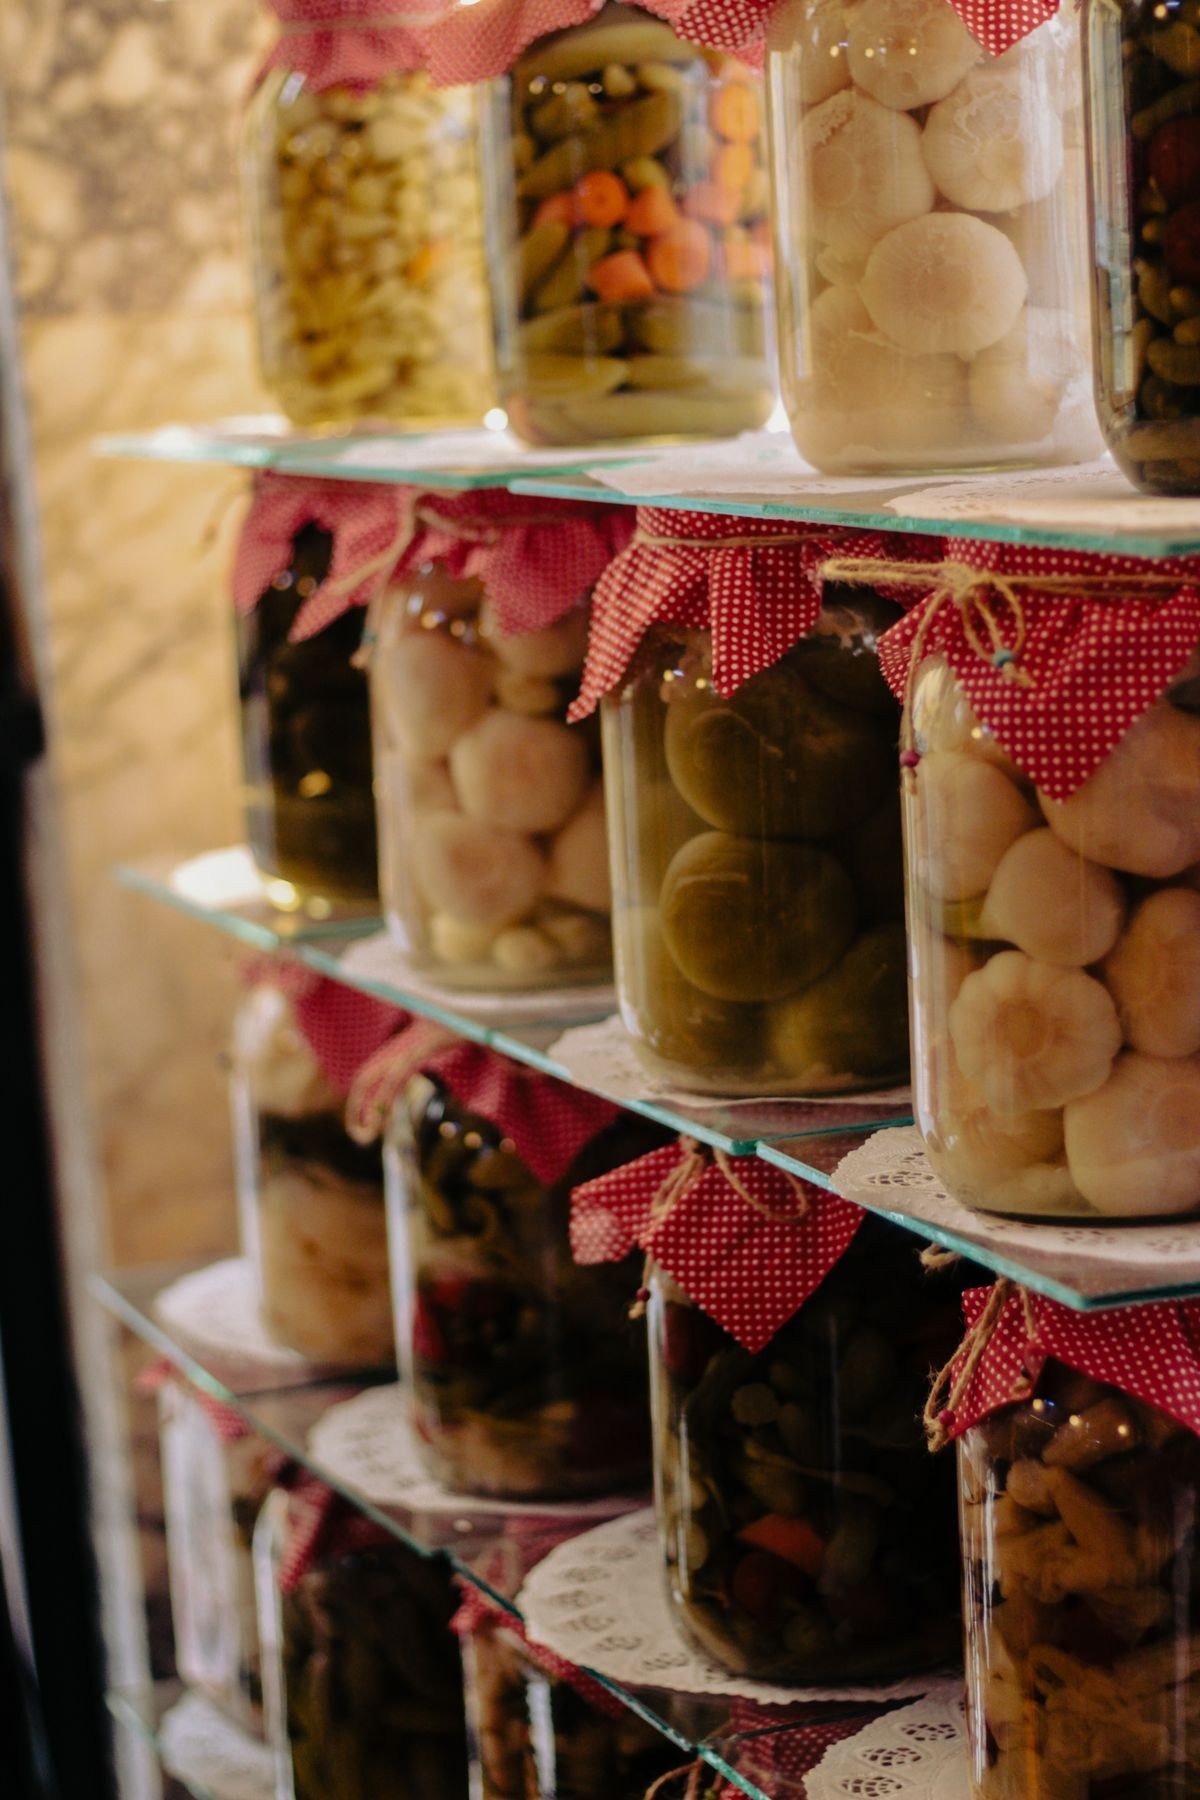
Patience pays: pickled beets need at least 2 to 4 weeks of curing before the flavors fully penetrate. Crack a jar early and the centers may still taste plainly earthy. Mark your calendar and hide the jars if you lack willpower. Peak flavor arrives around 2 to 3 months. This curing time is why canners make big batches in harvest season — by the holidays, the jars are at their glorious best and ready for gifting. Refrigerator versions are the exception; they are ready in days since you will eat them quickly anyway.
Curing transforms the jar: raw vinegar sharpness mellows, spices permeate, and sweetness balances. Taste one jar at one month and another at three to learn your preference. Cooler storage slows curing, while room-temperature pantries are ideal. Mark the open-after date on the lid when you shelve them. Anticipation is part of the pleasure.
Serving Ideas for Pickled Beets
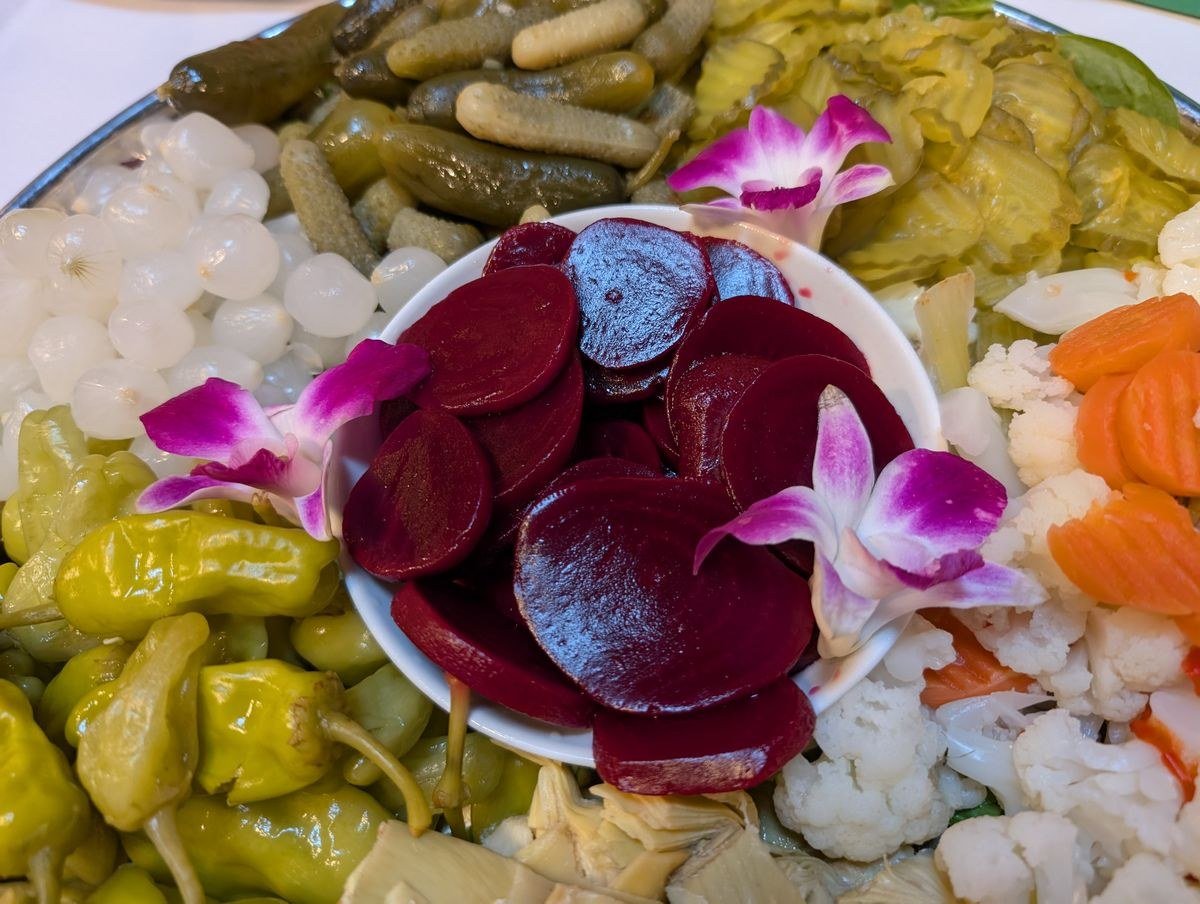
Pickled beets elevate countless dishes. Toss them into salads with goat cheese, walnuts, and arugula — the classic bistro combination. Chop into grain bowls, layer on sandwiches, or serve alongside roasted meats as a bright counterpoint. Dice them into potato salad for stunning color, or blend into hummus for a magenta showstopper. Straight from the jar as a tangy side, they cut through rich winter meals beautifully. Keep a jar in the fridge once opened; they last for months and improve everyday meals effortlessly.
Pickled beets are the secret weapon of winter salads — their acidity brightens heavy cold-weather food. Dice them into grain bowls for color and tang, or blend into hummus for a showstopping magenta dip. They pair beautifully with goat cheese, walnuts, citrus, and dark greens. Keep an open jar in the fridge all winter; you will reach for it constantly.
Troubleshooting: Soft, Cloudy, or Unsealed Jars
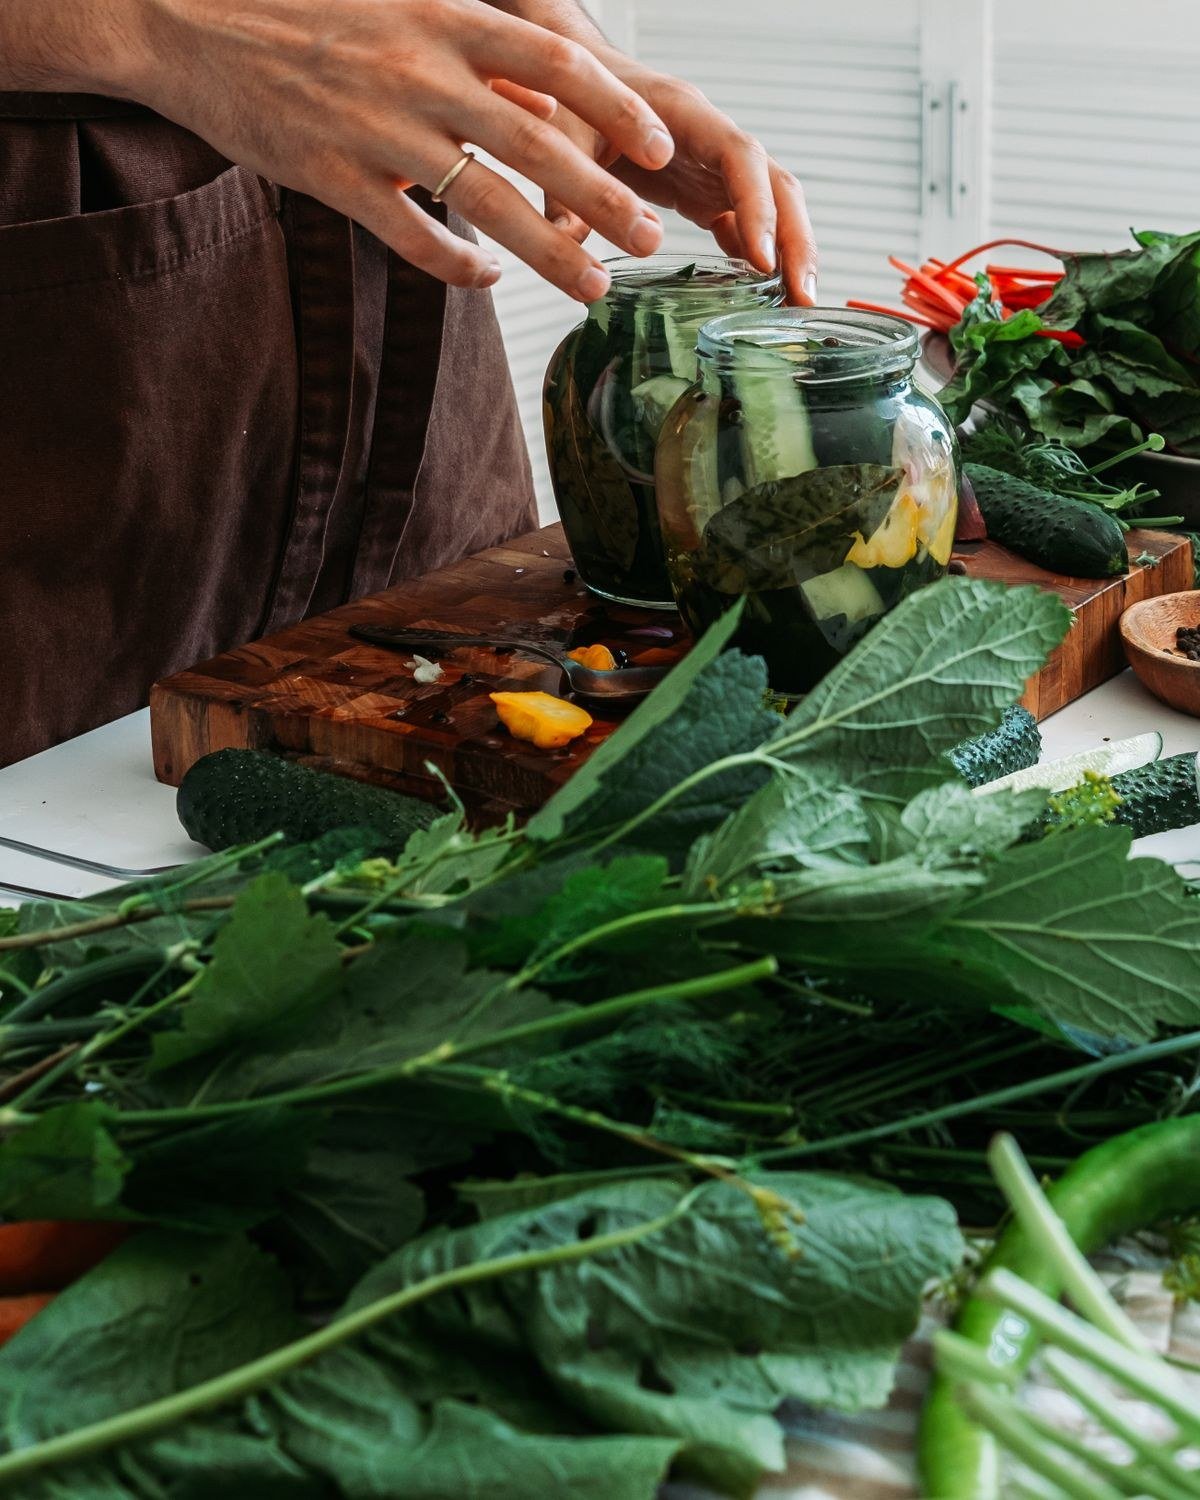
Soft beets usually mean overcooking before packing or over-processing — cook just until fork-tender. Cloudy brine often comes from table salt, hard water minerals, or spices breaking down; it is usually harmless but use pickling salt and filtered water to prevent it. Siphoning (liquid loss during processing) happens when jars cool too fast or headspace was wrong — as long as jars sealed and at least half the liquid remains, they are safe. Unsealed jars: check for chips on the rim, old lids, or food residue. Never taste-test a jar with a bulging lid or off smell.
Soft beets often trace back to overcooking before packing — remember they cook again in the canner. Pink-tinged brine is normal; truly cloudy brine suggests hard water or table salt. Siphoning usually means the canner cooled too quickly or jars were overfilled. Each flaw teaches a lesson, and even imperfect jars are usually safe if sealed.
Scaling the Recipe for Big Harvests
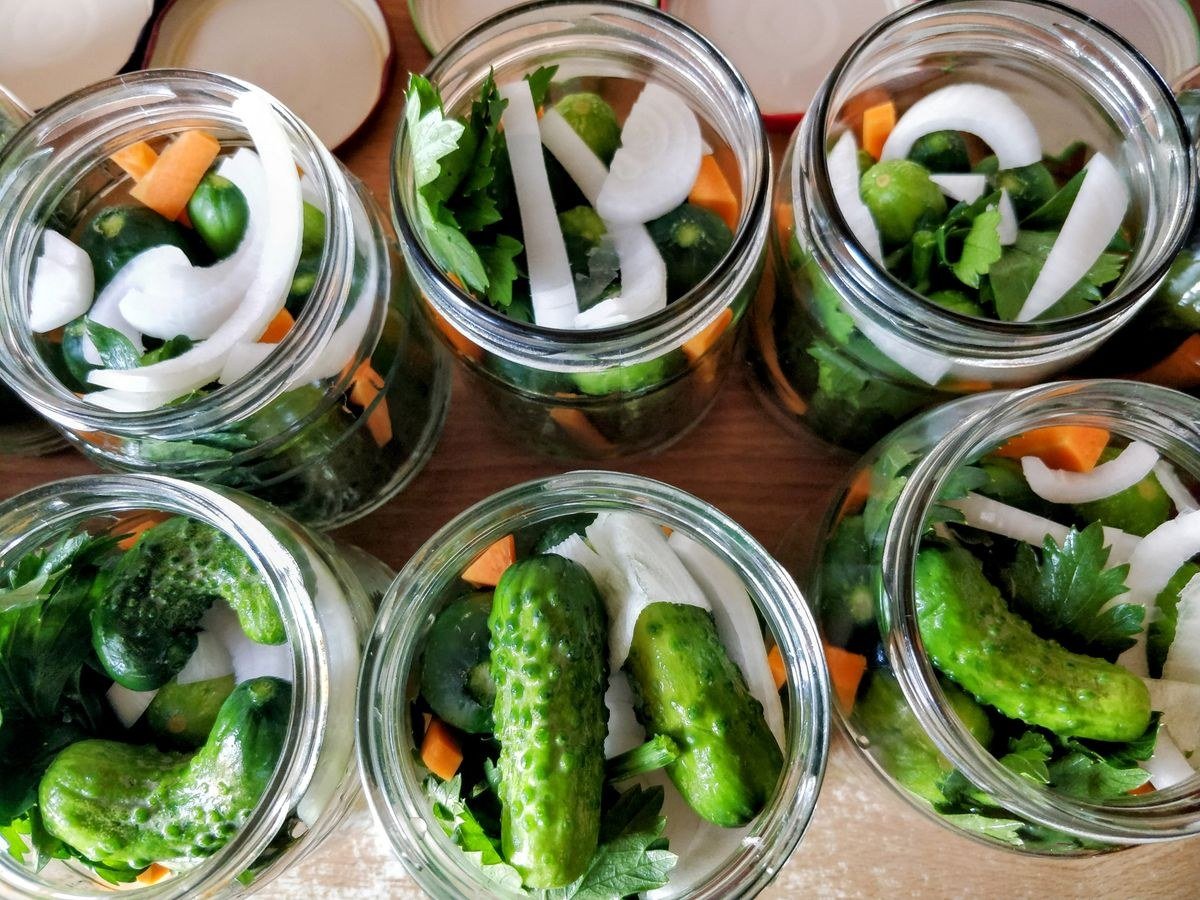
A bumper crop needs a plan. The recipe scales linearly — just keep the brine ratios exact and work in batches your canner can handle (usually 7 pints per load). Cook beets in large stockpots, and keep packed jars hot in a low oven while the canner cycles. Enlist help: one person cooks and peels, another packs jars, a third manages brine and timing. A full day can put up 20+ pints. Remember that processing times do not change with batch size — each canner load gets its full time regardless of how many jars are inside.
An assembly line beats chaos: one person washes, one cooks and peels, one packs, one manages brine and the canner. Keep a hot holding pot of beets simmering gently so packing never waits. Label as you go, because mystery jars are a real phenomenon. A big harvest day is exhausting but produces a year’s worth of pride.
Gifting Home-Canned Beets
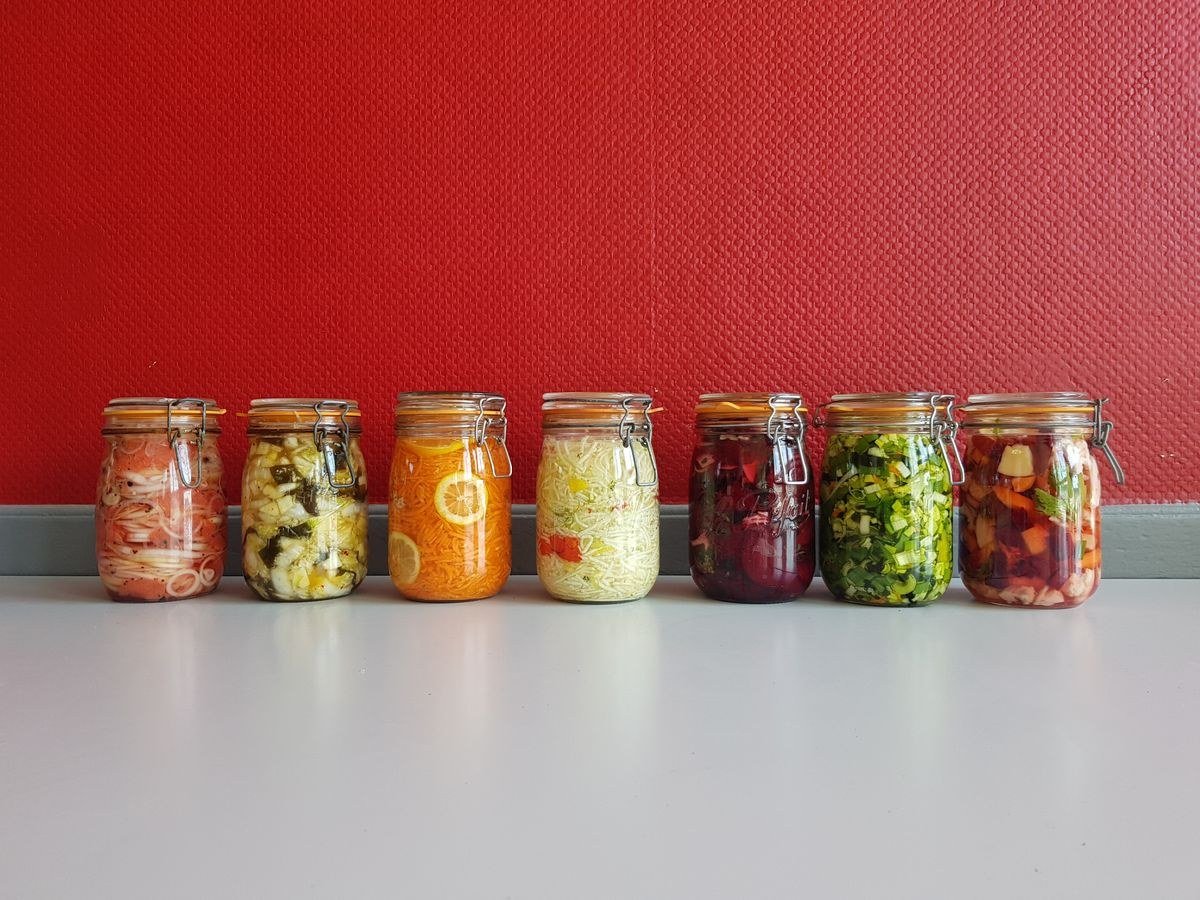
Canned beets make gorgeous gifts. Dress jars with a fabric circle under the band, twine, and a handwritten label noting the spice blend and date. Pair with a jar of pickled onions or a loaf of bread for a complete present. Include a small card with serving suggestions — many recipients have never cooked with pickled beets. Holiday timing is perfect since fall-canned beets hit peak flavor by December. Homemade canned goods signal care in a way store gifts rarely match, and they cost just pennies per jar.
Fabric jar covers — a circle of cloth under the band — make gifts look artisanal instantly. Include the recipe or at least the spice profile on the tag. Pair with homemade crackers or bread for a complete food gift. Canned goods gift best in the first six months when flavors are vibrant. Everyone loves receiving something you made with your hands.
Using Beet Greens and Scraps
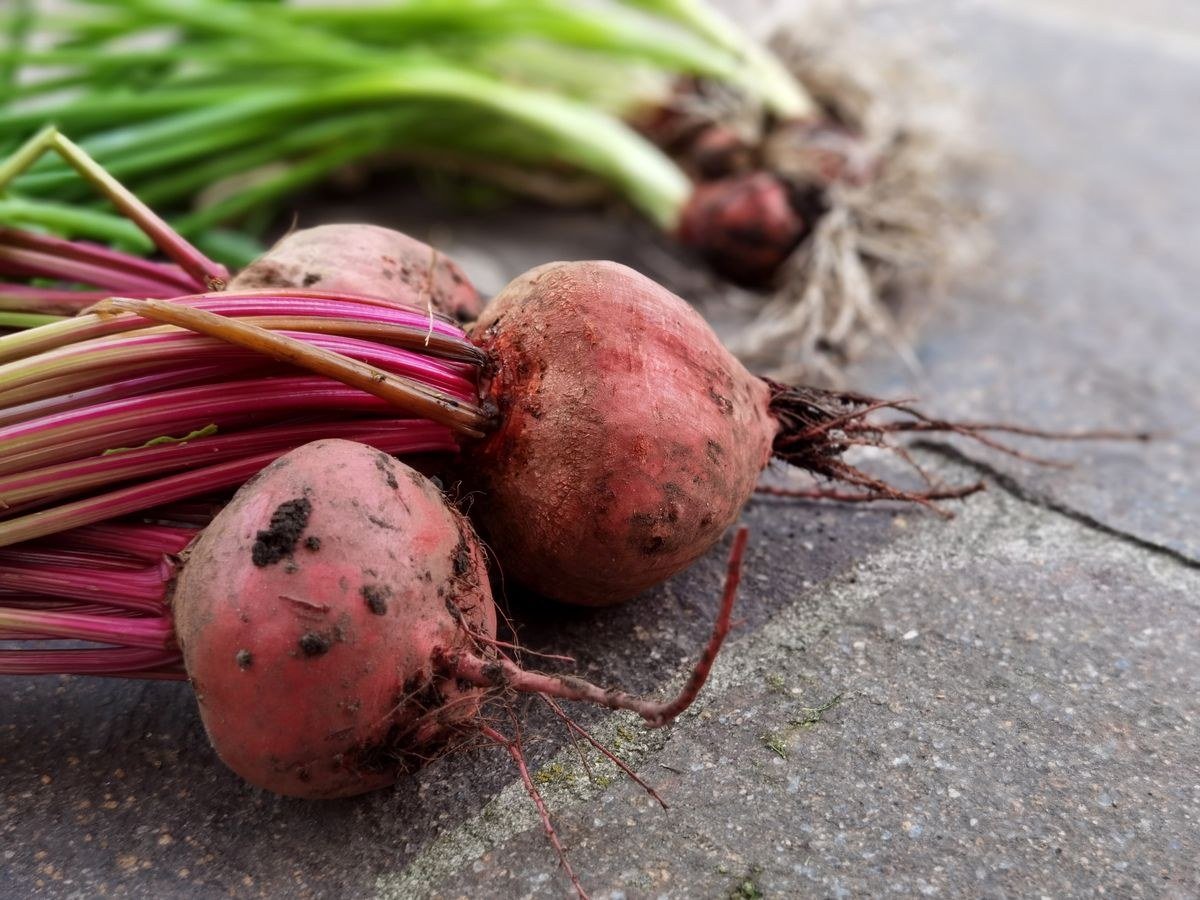
Do not waste the tops. Beet greens sauté beautifully with garlic and olive oil, tasting like a milder Swiss chard. Young leaves go straight into salads. The cooking liquid from boiled beets makes a stunning natural dye for eggs, frosting, or fabric — and a vibrant base for borscht. Even the peels can go to the compost or be simmered into a concentrated dye bath. A zero-waste approach honors the harvest and stretches your food dollar, turning what many toss into bonus dishes and projects.
Beet greens cook exactly like chard — saute with garlic, wilt into soups, or chop into frittatas. The stems pickle beautifully alongside the roots. Beet cooking liquid dyes eggs a stunning pink for deviled eggs. Even the thinnings from the garden are edible as microgreens. True zero-waste cooking honors the whole plant.
Storing Opened Jars and Leftovers
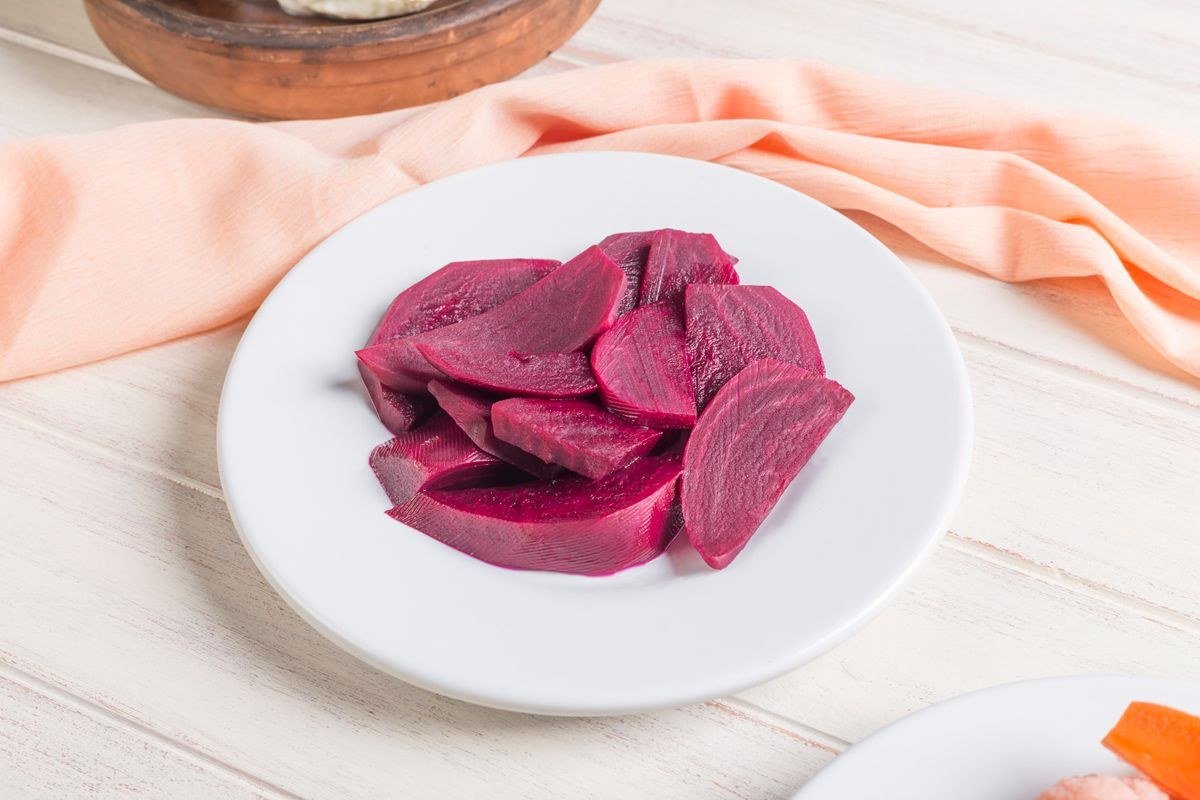
Once opened, refrigerate pickled beets and keep them submerged in their brine — they last for months, though quality is best within 3 to 4 months. Always use a clean fork to avoid introducing bacteria. The brine itself is liquid gold: use it to pickle hard-boiled eggs (they turn gorgeously pink), splash into salad dressings, or add to marinades. If brine runs low, top up with a little vinegar. Never return unused portions to the sealed jar, and discard anything with off odors or visible mold.
The brine is too good to waste — pickle sliced onions or hard-boiled eggs in it for bonus jars. A splash brightens salad dressings and marinades, and some cooks sip it as a tangy tonic. Keep opened jars’ beets submerged, because exposed surfaces dull. When the beets are gone, the brine’s second life begins.
Your Canning Day Game Plan
A smooth canning day starts the night before: wash jars, check lids, and stage equipment. Morning: scrub and cook beets. While they cook, prepare brine and heat the canner. Peel, slice, pack, ladle, and process in steady batches. Clean as you go — beet juice stains everything it touches. By afternoon, rows of ruby jars cool on the counter, pinging their success. Label, date, and shelve them, then mark your calendar for the first taste in a month. You have just captured harvest season in glass — few kitchen projects feel this rewarding.
Prep the night before: wash jars, stage equipment, read the recipe twice. Morning is for cooking beets; midday for packing and processing. Clean as you go, because beet juice stains counters, clothes, and cutting boards. Finish by labeling every jar before you forget the variations. A well-run canning day ends with pride, not exhaustion.

I am Talha Sikandar, a professional writer with a passion for general blogging. With years of experience in content writing and research, I founded Meaniingly.com to deliver well-researched, informative, and user-friendly articles on diverse topics.