Family photo wall decor ideas
Why a Family Photo Wall Matters
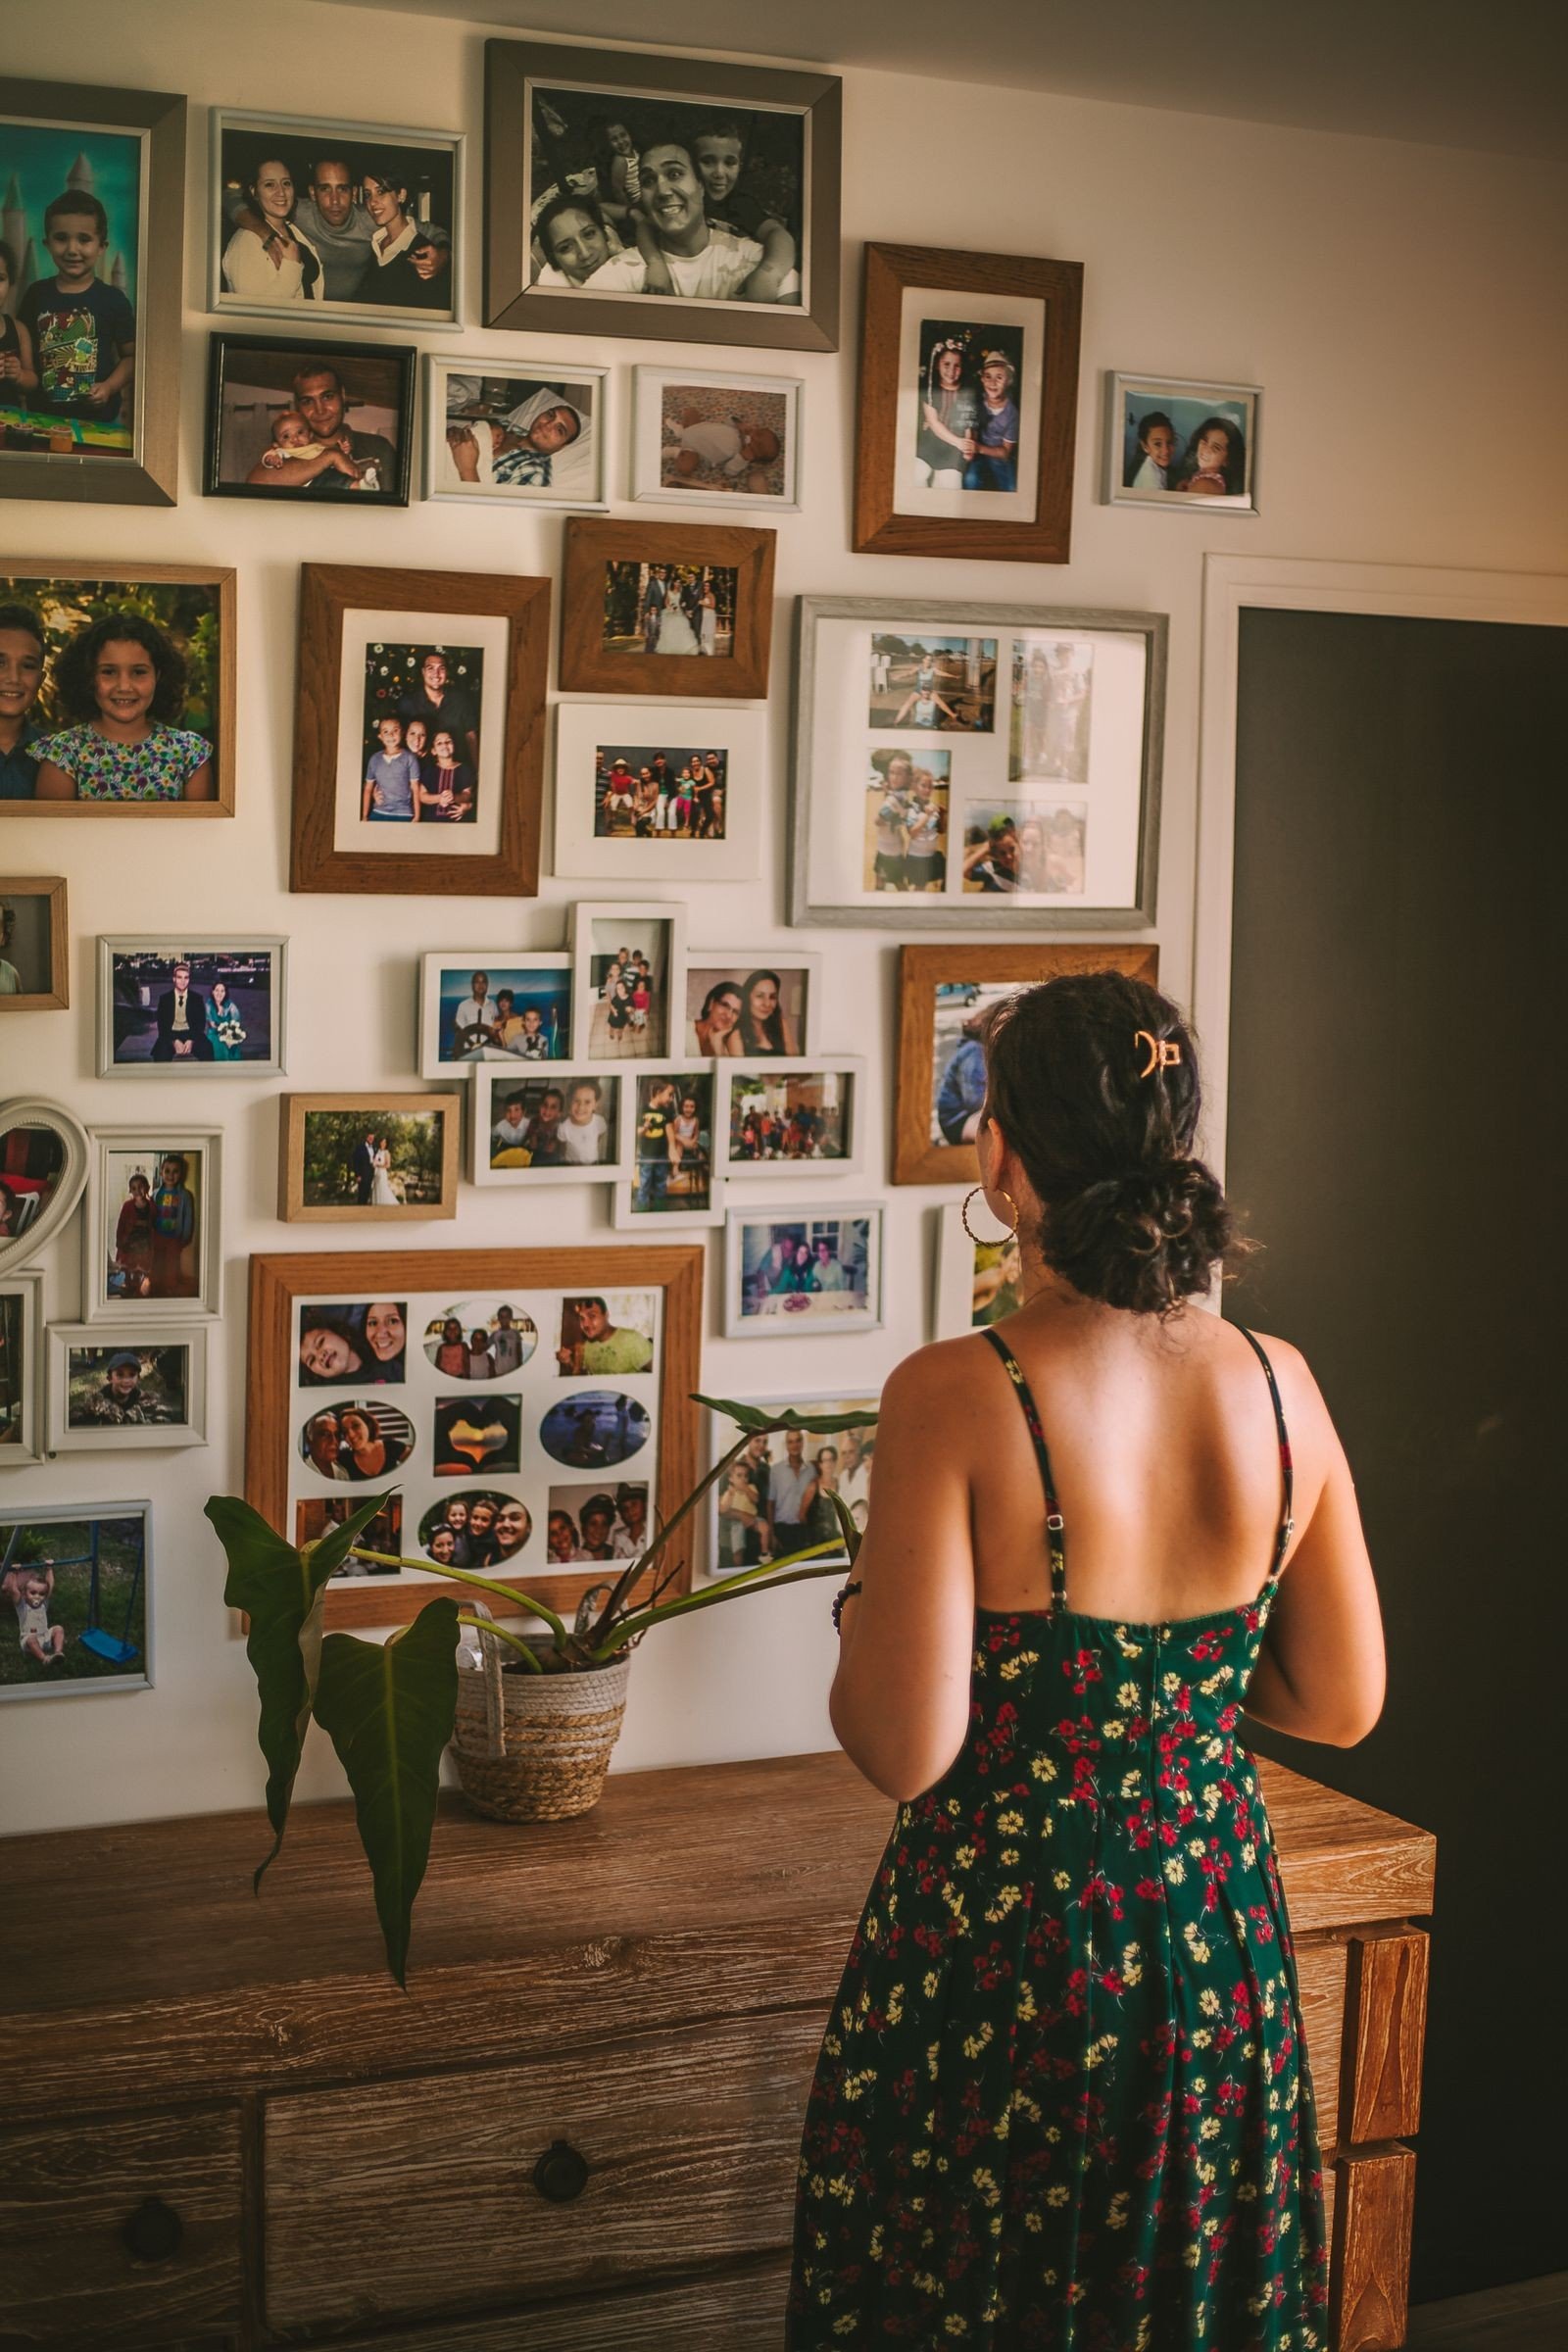
A family photo wall turns a house into a home by putting your story on display. Every frame holds a memory: a first birthday, a graduation, a holiday, a quiet everyday moment that became precious with time. Walking past those faces each day reminds everyone in the household of who they are and where they belong. It is one of the simplest and most meaningful ways to decorate, because the art is your own life.
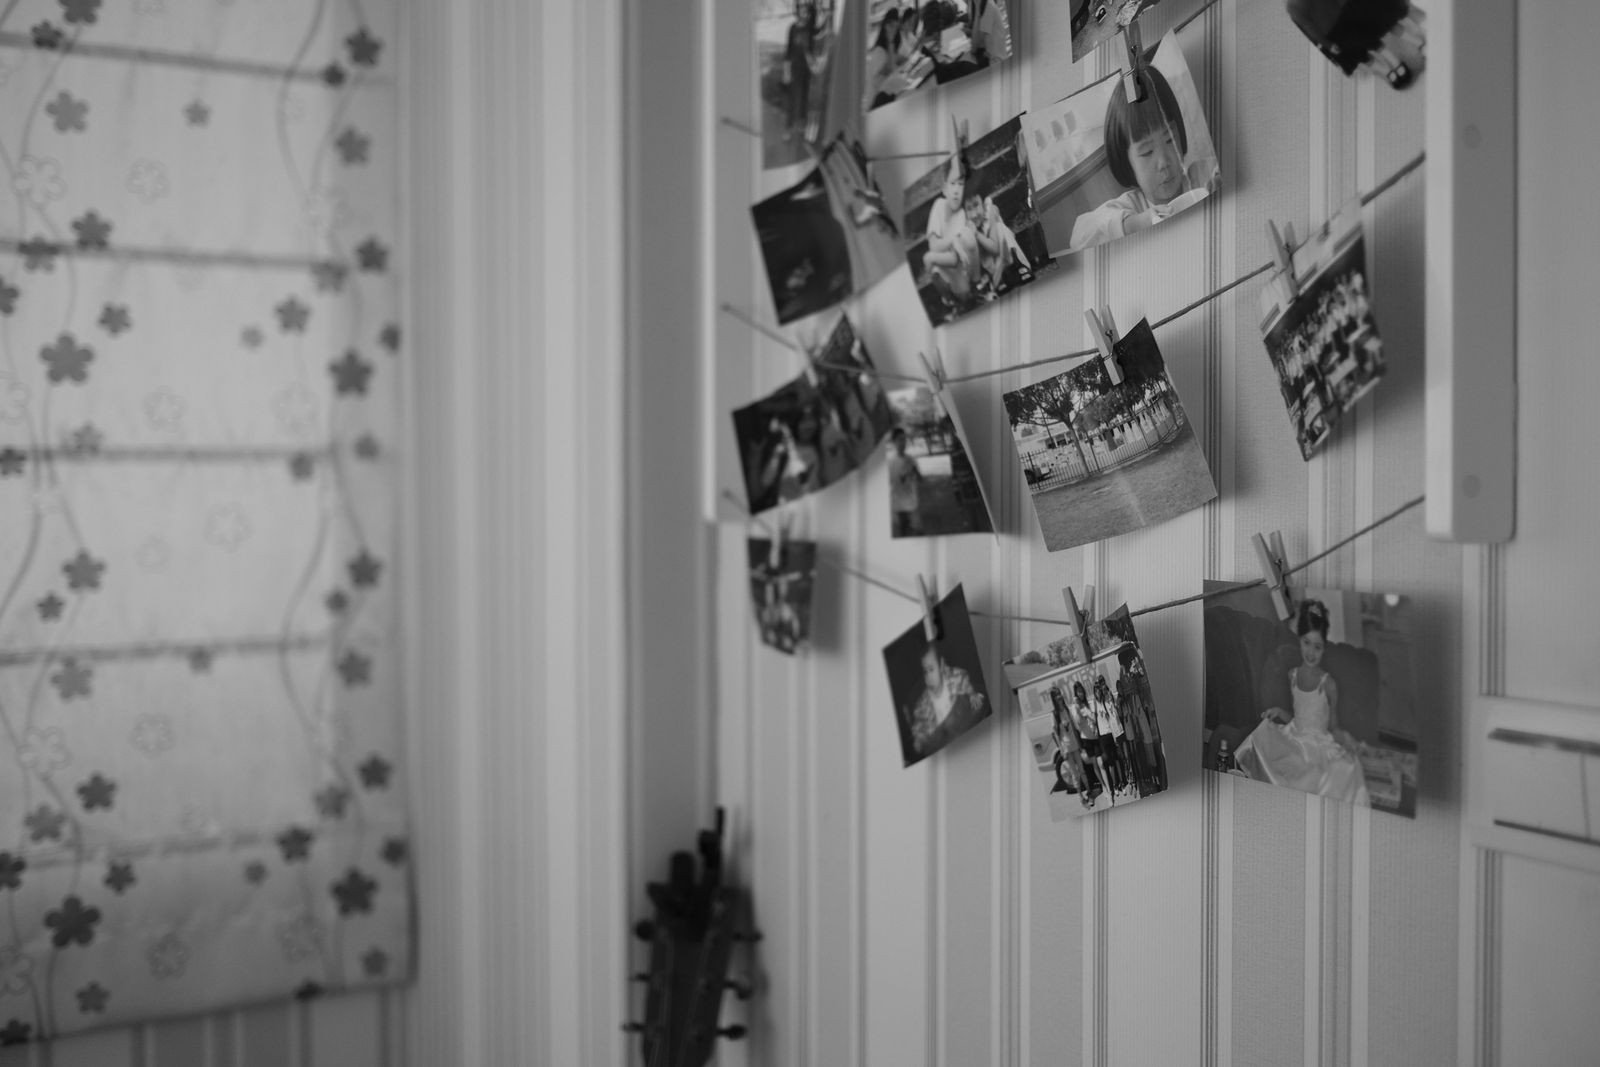
Beyond sentiment, a photo wall adds warmth, personality, and visual interest to a room in a way that shop-bought art never can. Guests linger over it, children point out themselves at different ages, and conversations start naturally. Whether it fills an entire staircase or a single hallway nook, a well-planned photo wall becomes the emotional heart of the home, evolving as your family grows.
Choosing the Right Wall for Your Display
The first decision is location. Hallways, staircases, and living room feature walls are classic choices because they are seen often and offer long, uninterrupted runs. A staircase wall is especially effective, since the rising line of the stairs creates a natural flow for the arrangement. Living rooms work well above a sofa or console, while a dining room wall gives guests something lovely to look at over dinner.
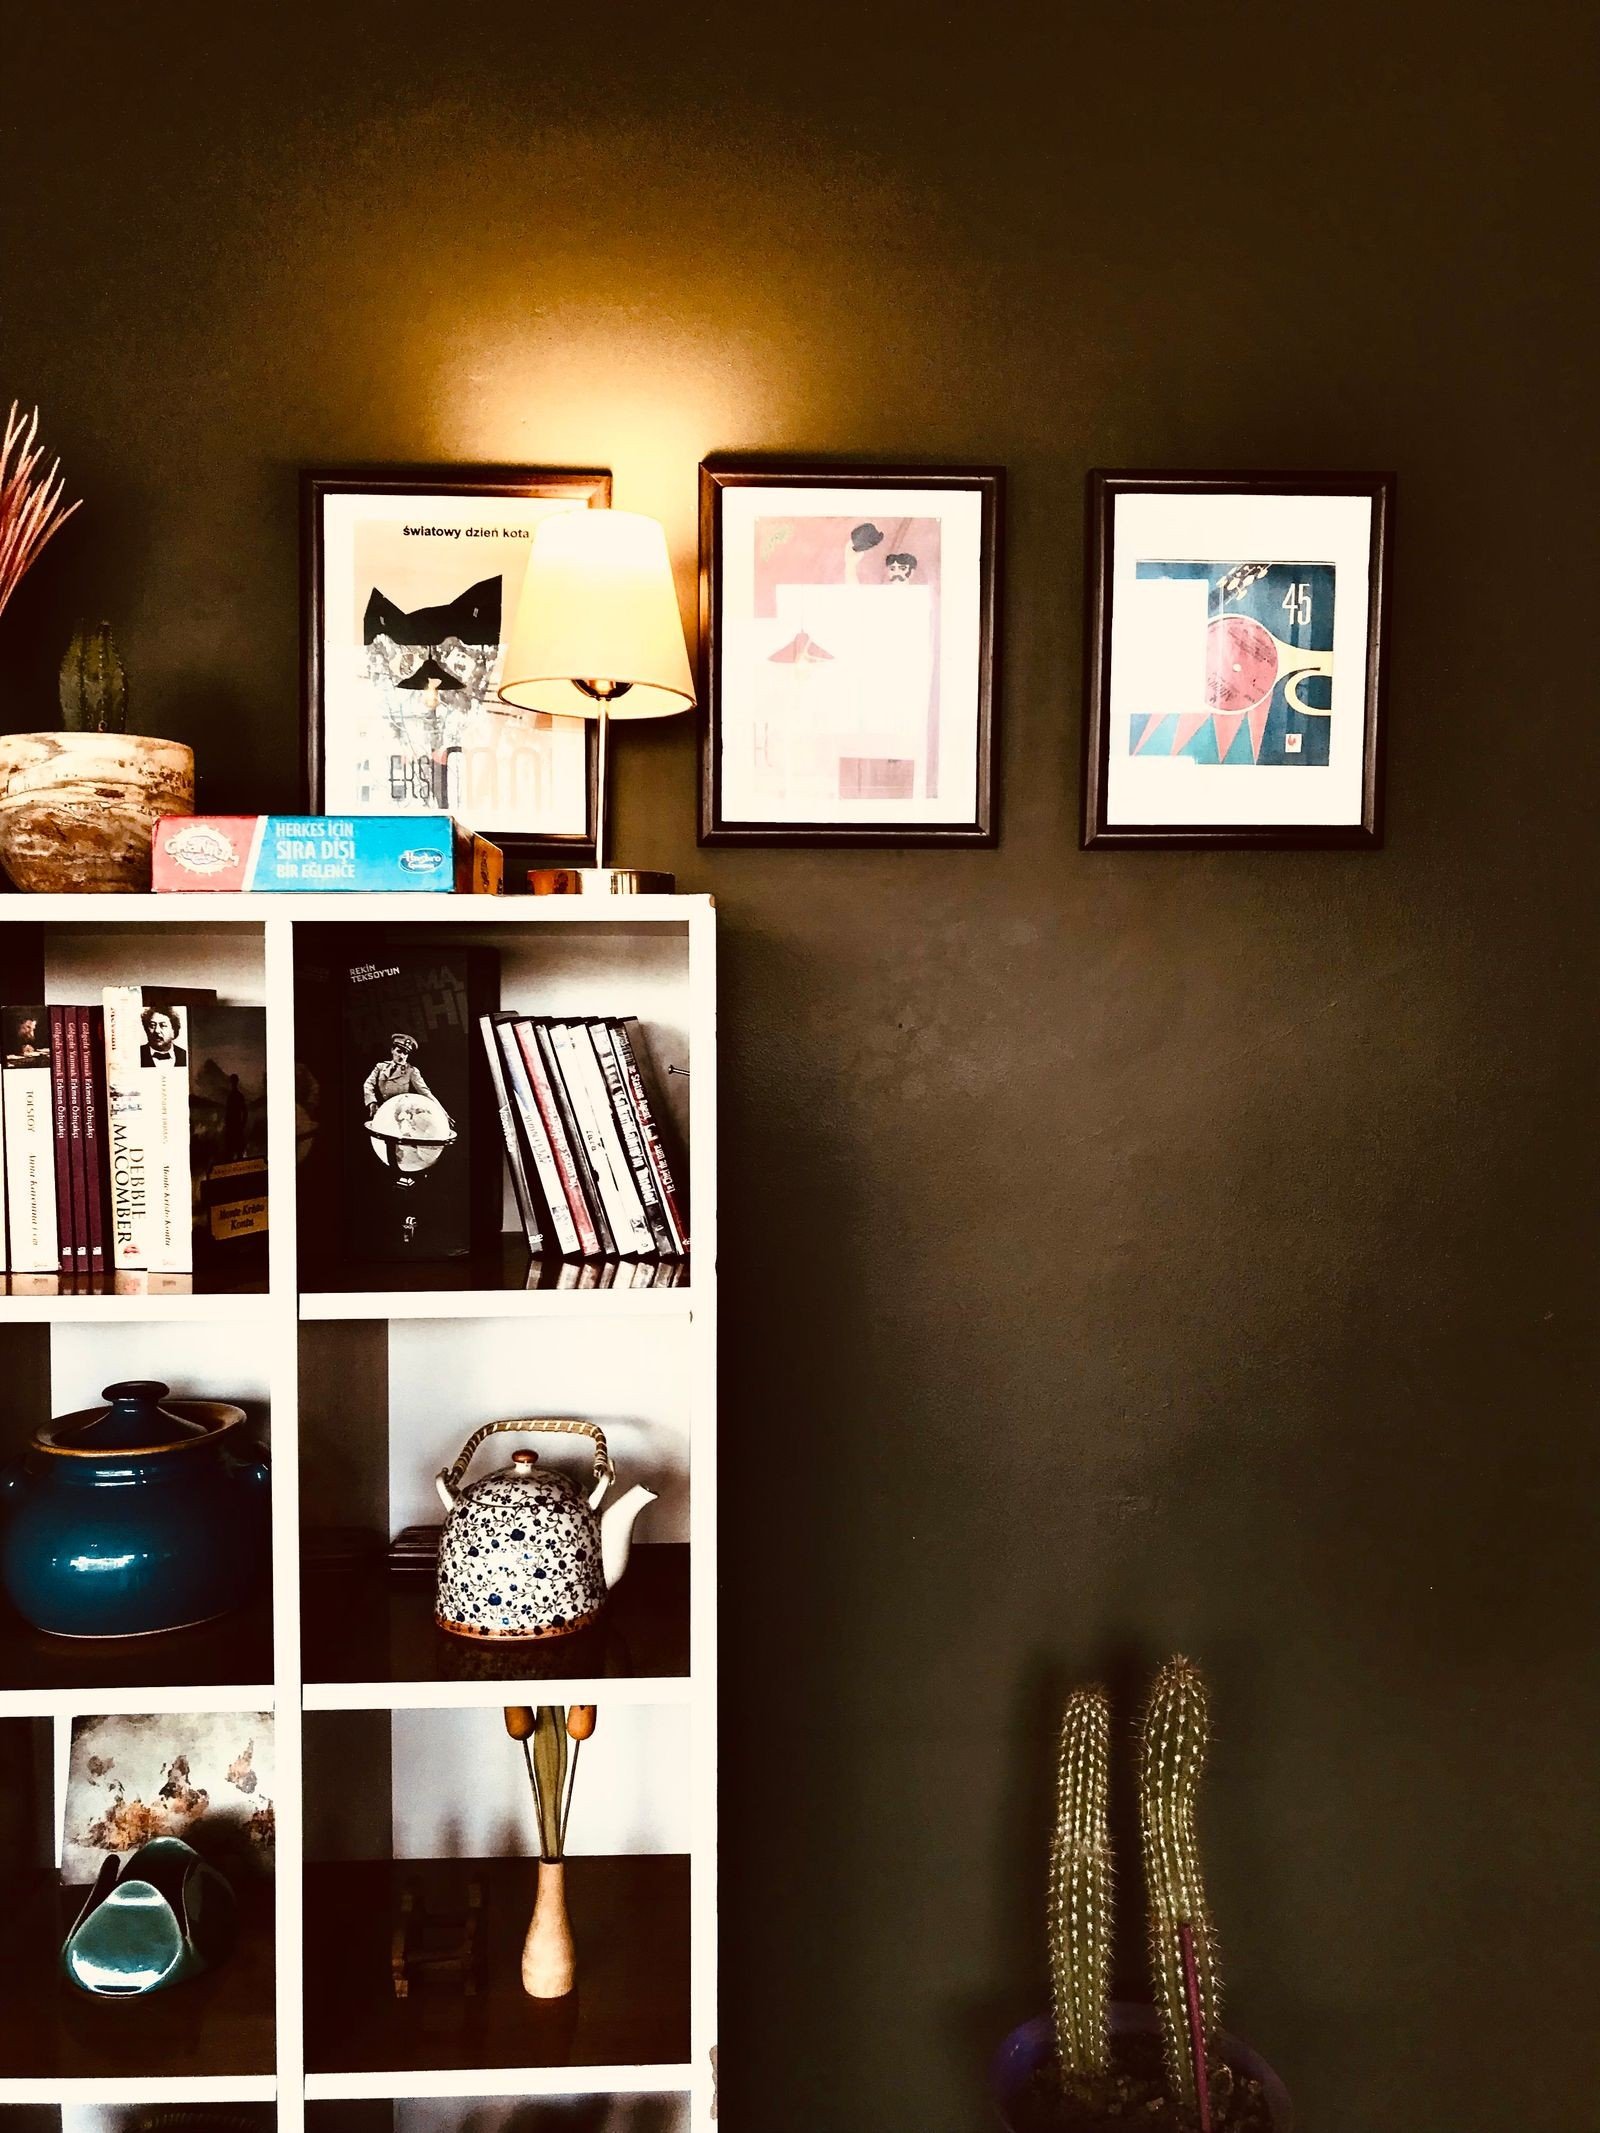
Consider light and traffic before committing. Avoid walls in direct harsh sunlight, which fades prints over time, and choose a spot where people can step back and actually look at the photos. Measure the space carefully and note doors, switches, and furniture that will shape the layout. A wall that feels empty or awkward is often the perfect candidate for a photo display.
Lighting changes everything about a photo wall. A wall that receives soft, indirect daylight will make prints glow naturally, while a dark corner may need picture lights to do the same job. Walk past your chosen wall at different times of day before committing, and notice how the light moves across it. The best wall is one that looks inviting in both morning light and evening lamplight.
Planning Your Layout Before Hanging
Planning on paper saves holes in the wall. Lay your frames out on the floor in the arrangement you intend, or cut paper templates the size of each frame and tape them to the wall first. This lets you adjust spacing and balance without commitment. Aim for consistent gaps of two to four inches between frames, and keep the centre of the arrangement at eye level, roughly 57 inches from the floor.
Start with the largest frame as your anchor, usually near the centre, and build outward. Step back frequently to check the overall shape: a rectangle, a loose cluster, or a grid all work, as long as the arrangement feels intentional. Photograph your floor layout before you begin hanging so you can recreate it exactly on the wall.
Mixing Frame Styles and Sizes
A mix of frame sizes creates a lively, collected-over-time feel, while a single frame style looks calm and gallery-like. Both approaches work; the key is consistency in at least one element. If you mix sizes, keep the frame colour consistent, such as all black or all natural wood. If you mix colours, keep the sizes similar so the display still feels cohesive.
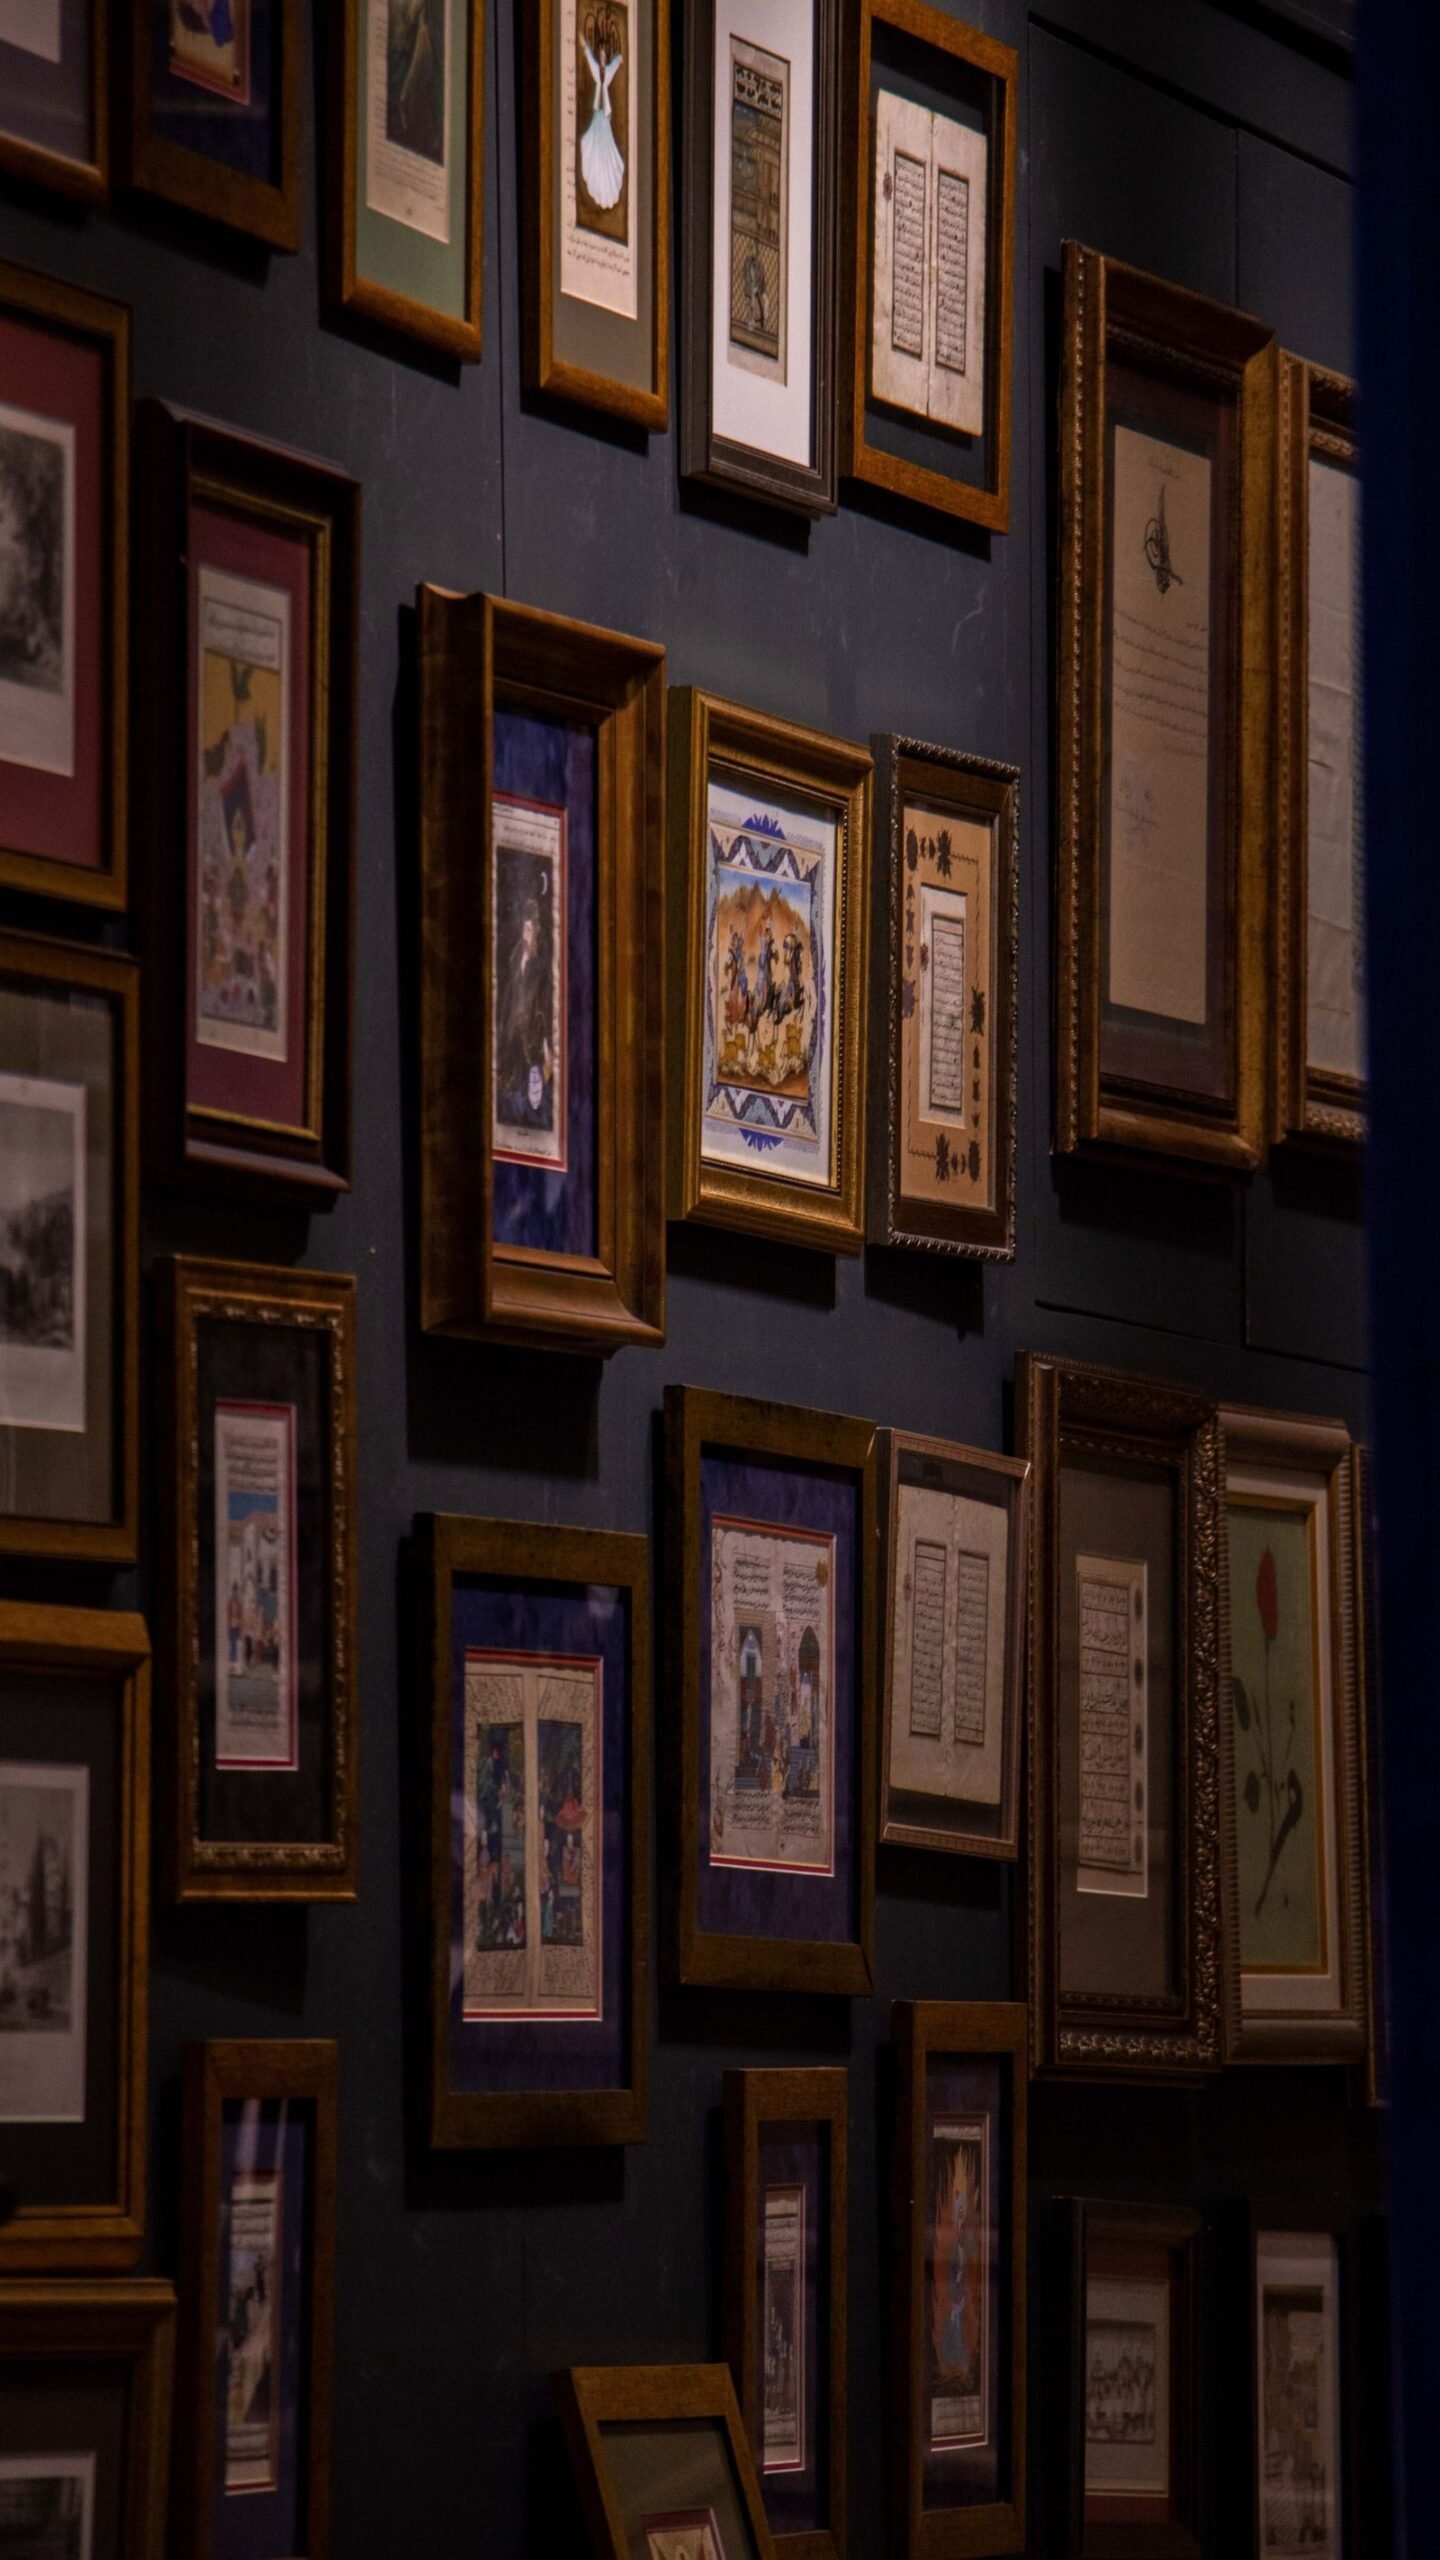
Include a few larger statement frames among smaller ones to give the eye places to rest. Very small frames can get lost, so group them in clusters or use larger mats to give them presence. A unifying mat colour, usually white or cream, ties different frames together beautifully and makes the photographs themselves the stars of the display.
When mixing frame finishes, a good rule is to limit yourself to two finishes, such as black and natural wood, rather than five or six. Two finishes feel curated, while many finishes can feel accidental. If you already own a jumble of frames, spray-painting them in one or two colours is an inexpensive weekend project that instantly unifies the whole display.
Selecting and Printing Your Best Photos
Choosing photos is the most enjoyable part of the project. Pick images that tell your family’s story across time: candid laughs, milestones, holidays, and everyday moments. Mix group shots with close-ups and include different generations so the wall feels like a true family history. Avoid using only posed portraits; the candid shots are usually the ones people love most.
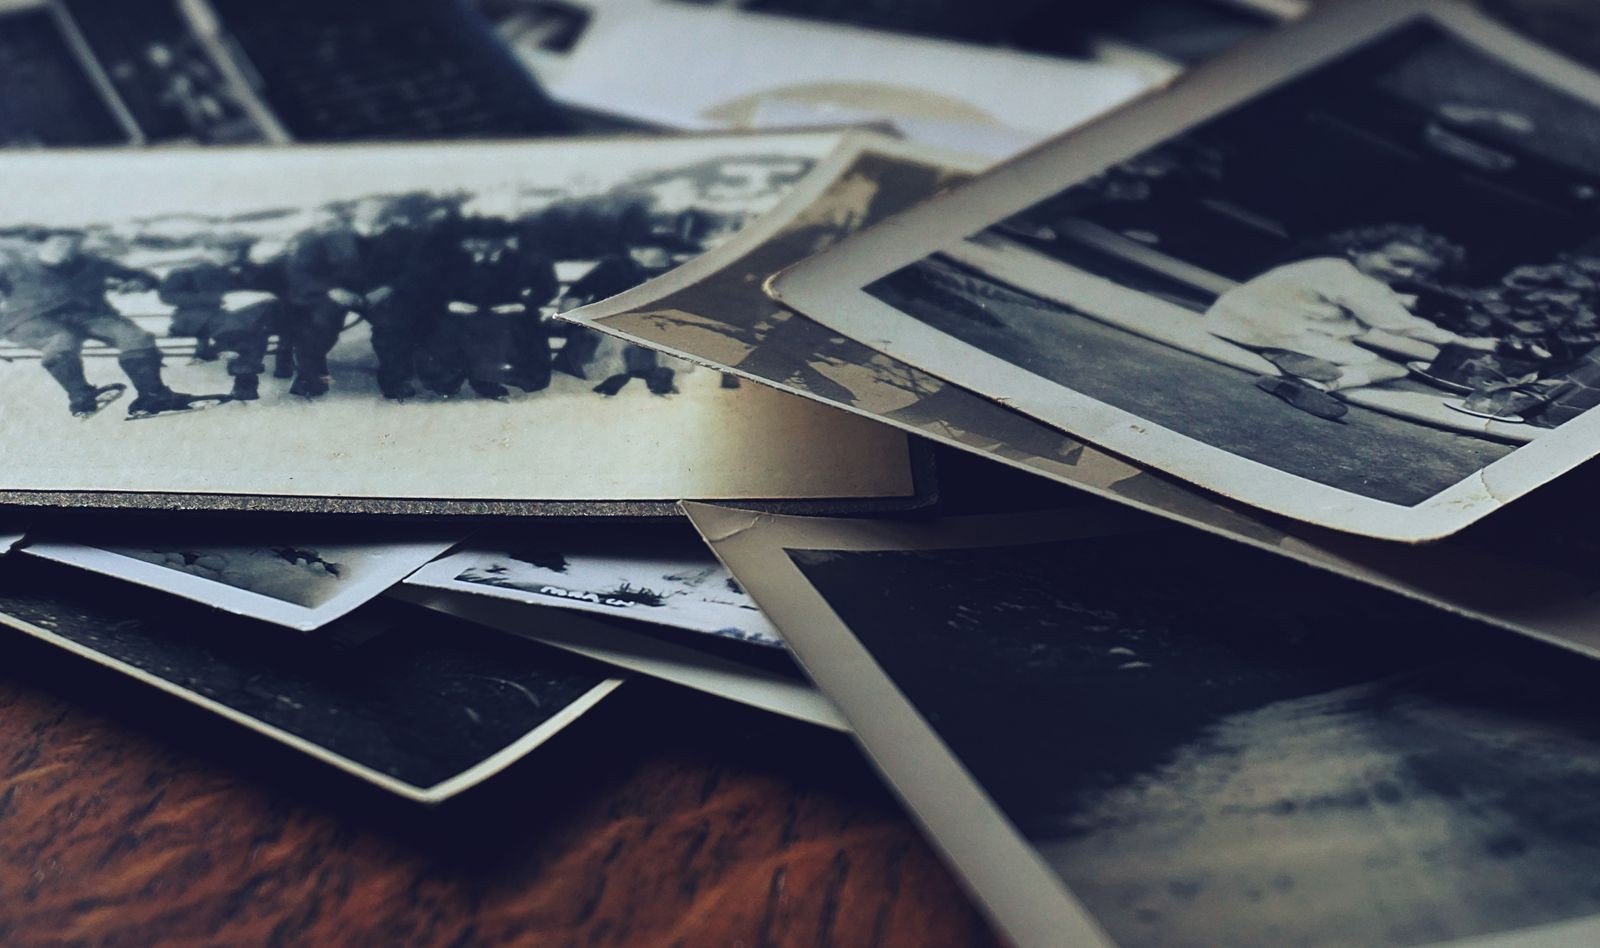
Print quality matters enormously. Use a reputable lab or a good home printer with proper photo paper, and print at a resolution that suits the frame size. Black and white prints give a timeless, cohesive look and hide colour clashes between photos taken years apart. Colour prints feel warm and lively. Either choice works, but sticking to one treatment across the wall creates harmony.
Gallery Grid Layouts for a Clean Look
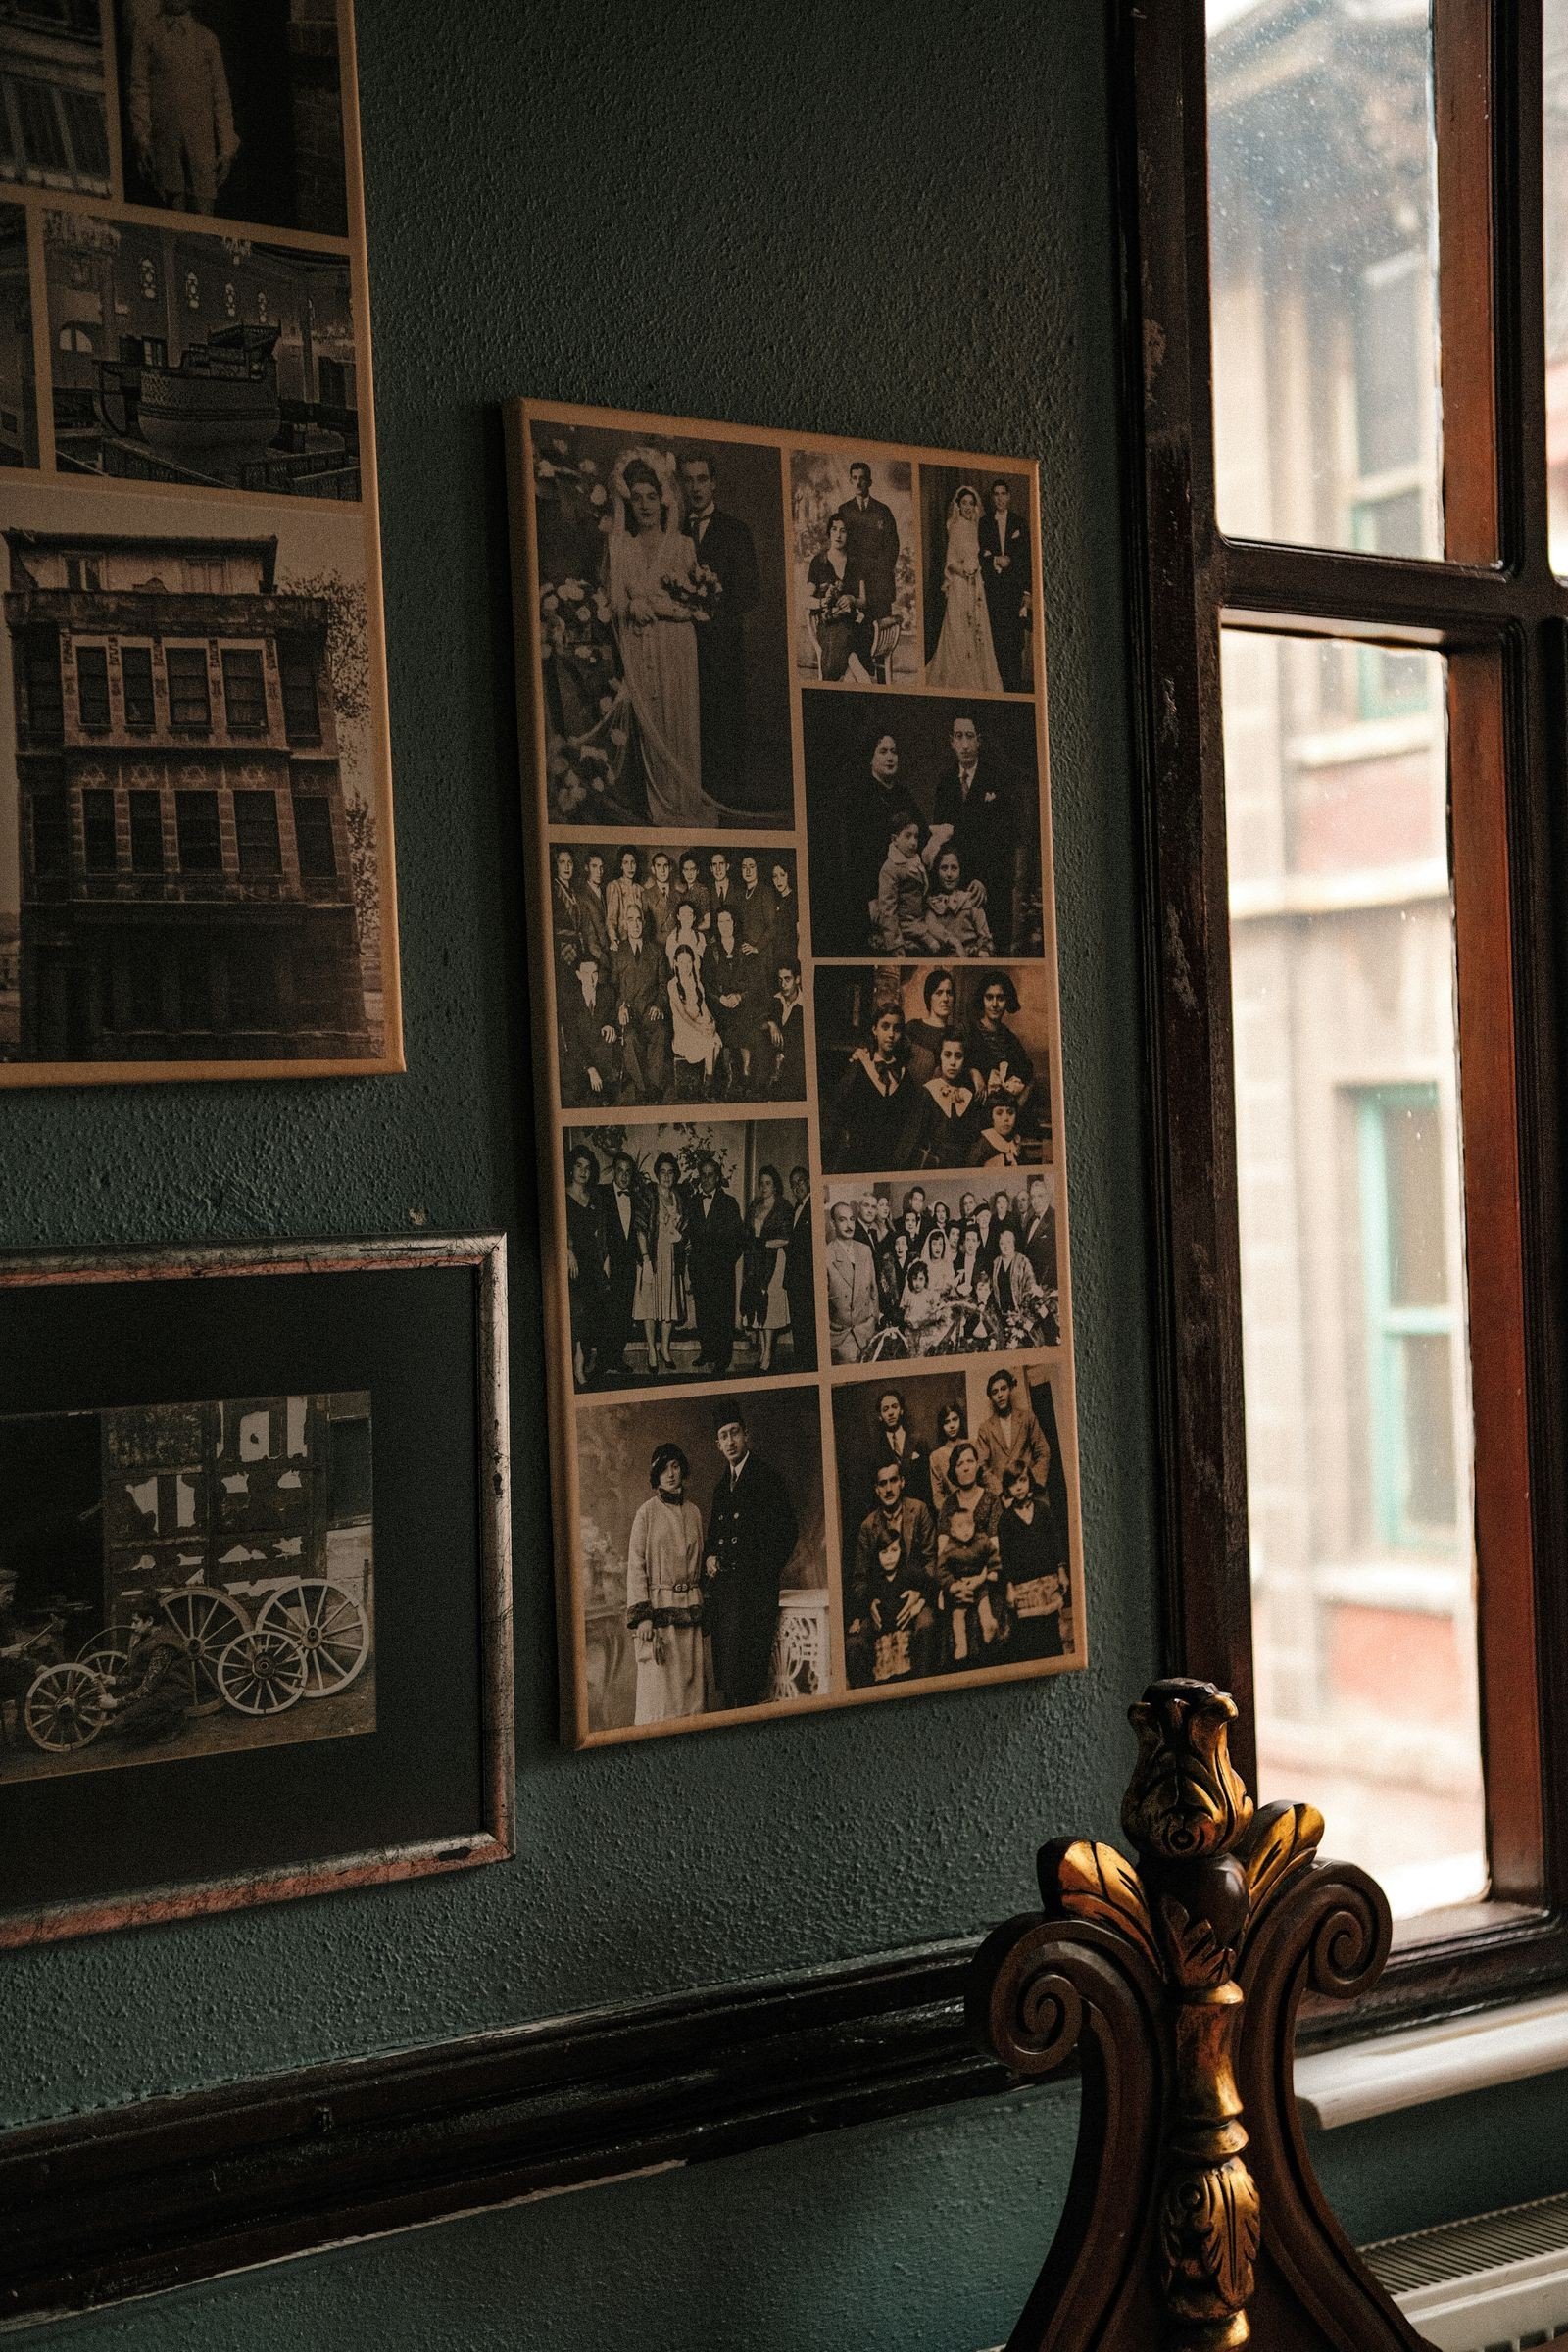
A grid layout is perfect if you love order and symmetry. Equal-sized frames hung in straight rows and columns create a calm, museum-like display that suits modern interiors. A grid of nine or twelve frames above a sofa makes a striking focal point, and it is easy to extend later by adding another row or column when new photos arrive.
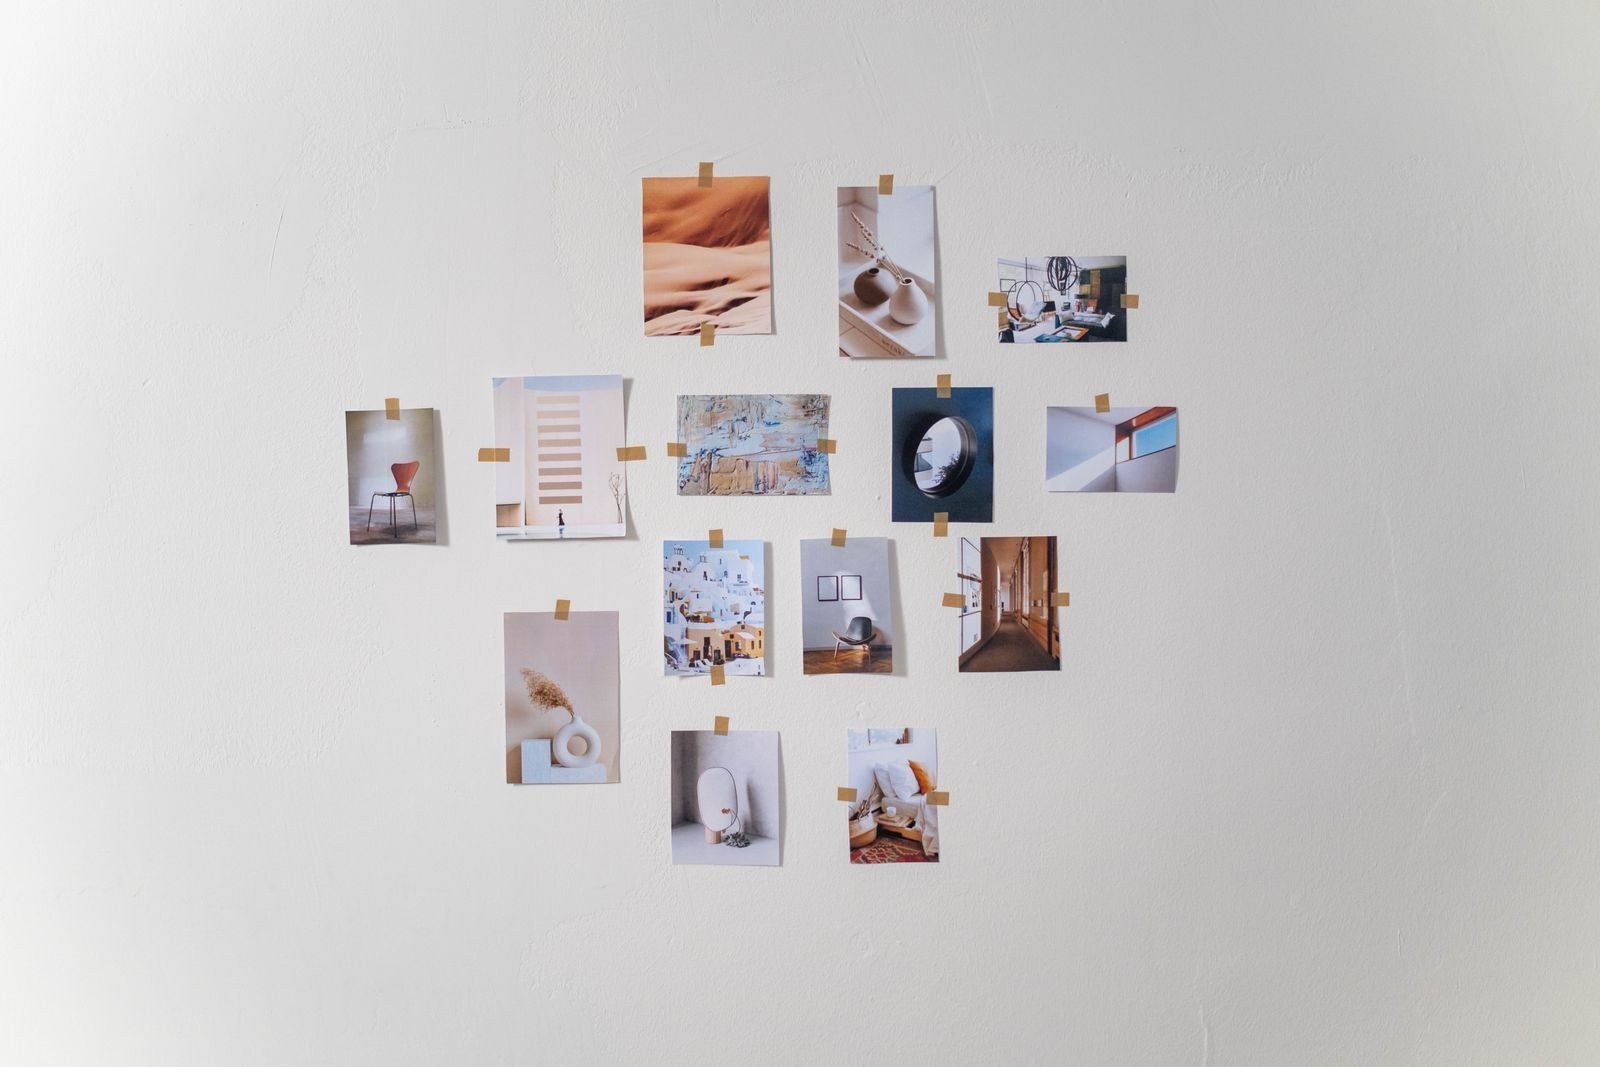
Precision matters in a grid: use a level, a measuring tape, and a template to keep spacing exact. Even a half-inch difference is noticeable in a strict grid. Choose identical frames and mats for the cleanest effect, and use the same photo treatment, either all colour or all black and white, so the grid reads as one intentional piece rather than a collection.
A grid does not have to be square. A wide rectangular grid of twelve frames, four across and three down, suits a long wall above a sofa beautifully, while a tall grid of six frames, two across and three down, fits a narrow hallway wall. Choose the grid shape that matches your wall proportions, and the display will look like it was made for the space.
Salon Style: The Eclectic Cluster
Salon style means a dense, eclectic cluster of frames in different sizes, shapes, and finishes, hung close together for a collected, artistic feel. This style suits traditional homes, creative families, and walls that need a lot of personality. It also grows gracefully: new frames can join the cluster whenever a new memory deserves a place.
The secret to salon style is a shared anchor, such as a consistent mat colour or a repeated frame finish, that stops the mix from looking chaotic. Start from the centre and work outward, filling gaps as you go. Step back often, since a cluster that looks balanced from a distance may need small adjustments up close. Imperfection is part of the charm.
Staircase Photo Wall Ideas
A staircase wall is one of the most rewarding places for family photos, because you pass it every day and the diagonal line of the stairs gives the display natural movement. Hang frames so they follow the slope of the staircase, keeping the bottom of each frame roughly the same distance above each step. This creates a flowing ribbon of memories that rises with you.
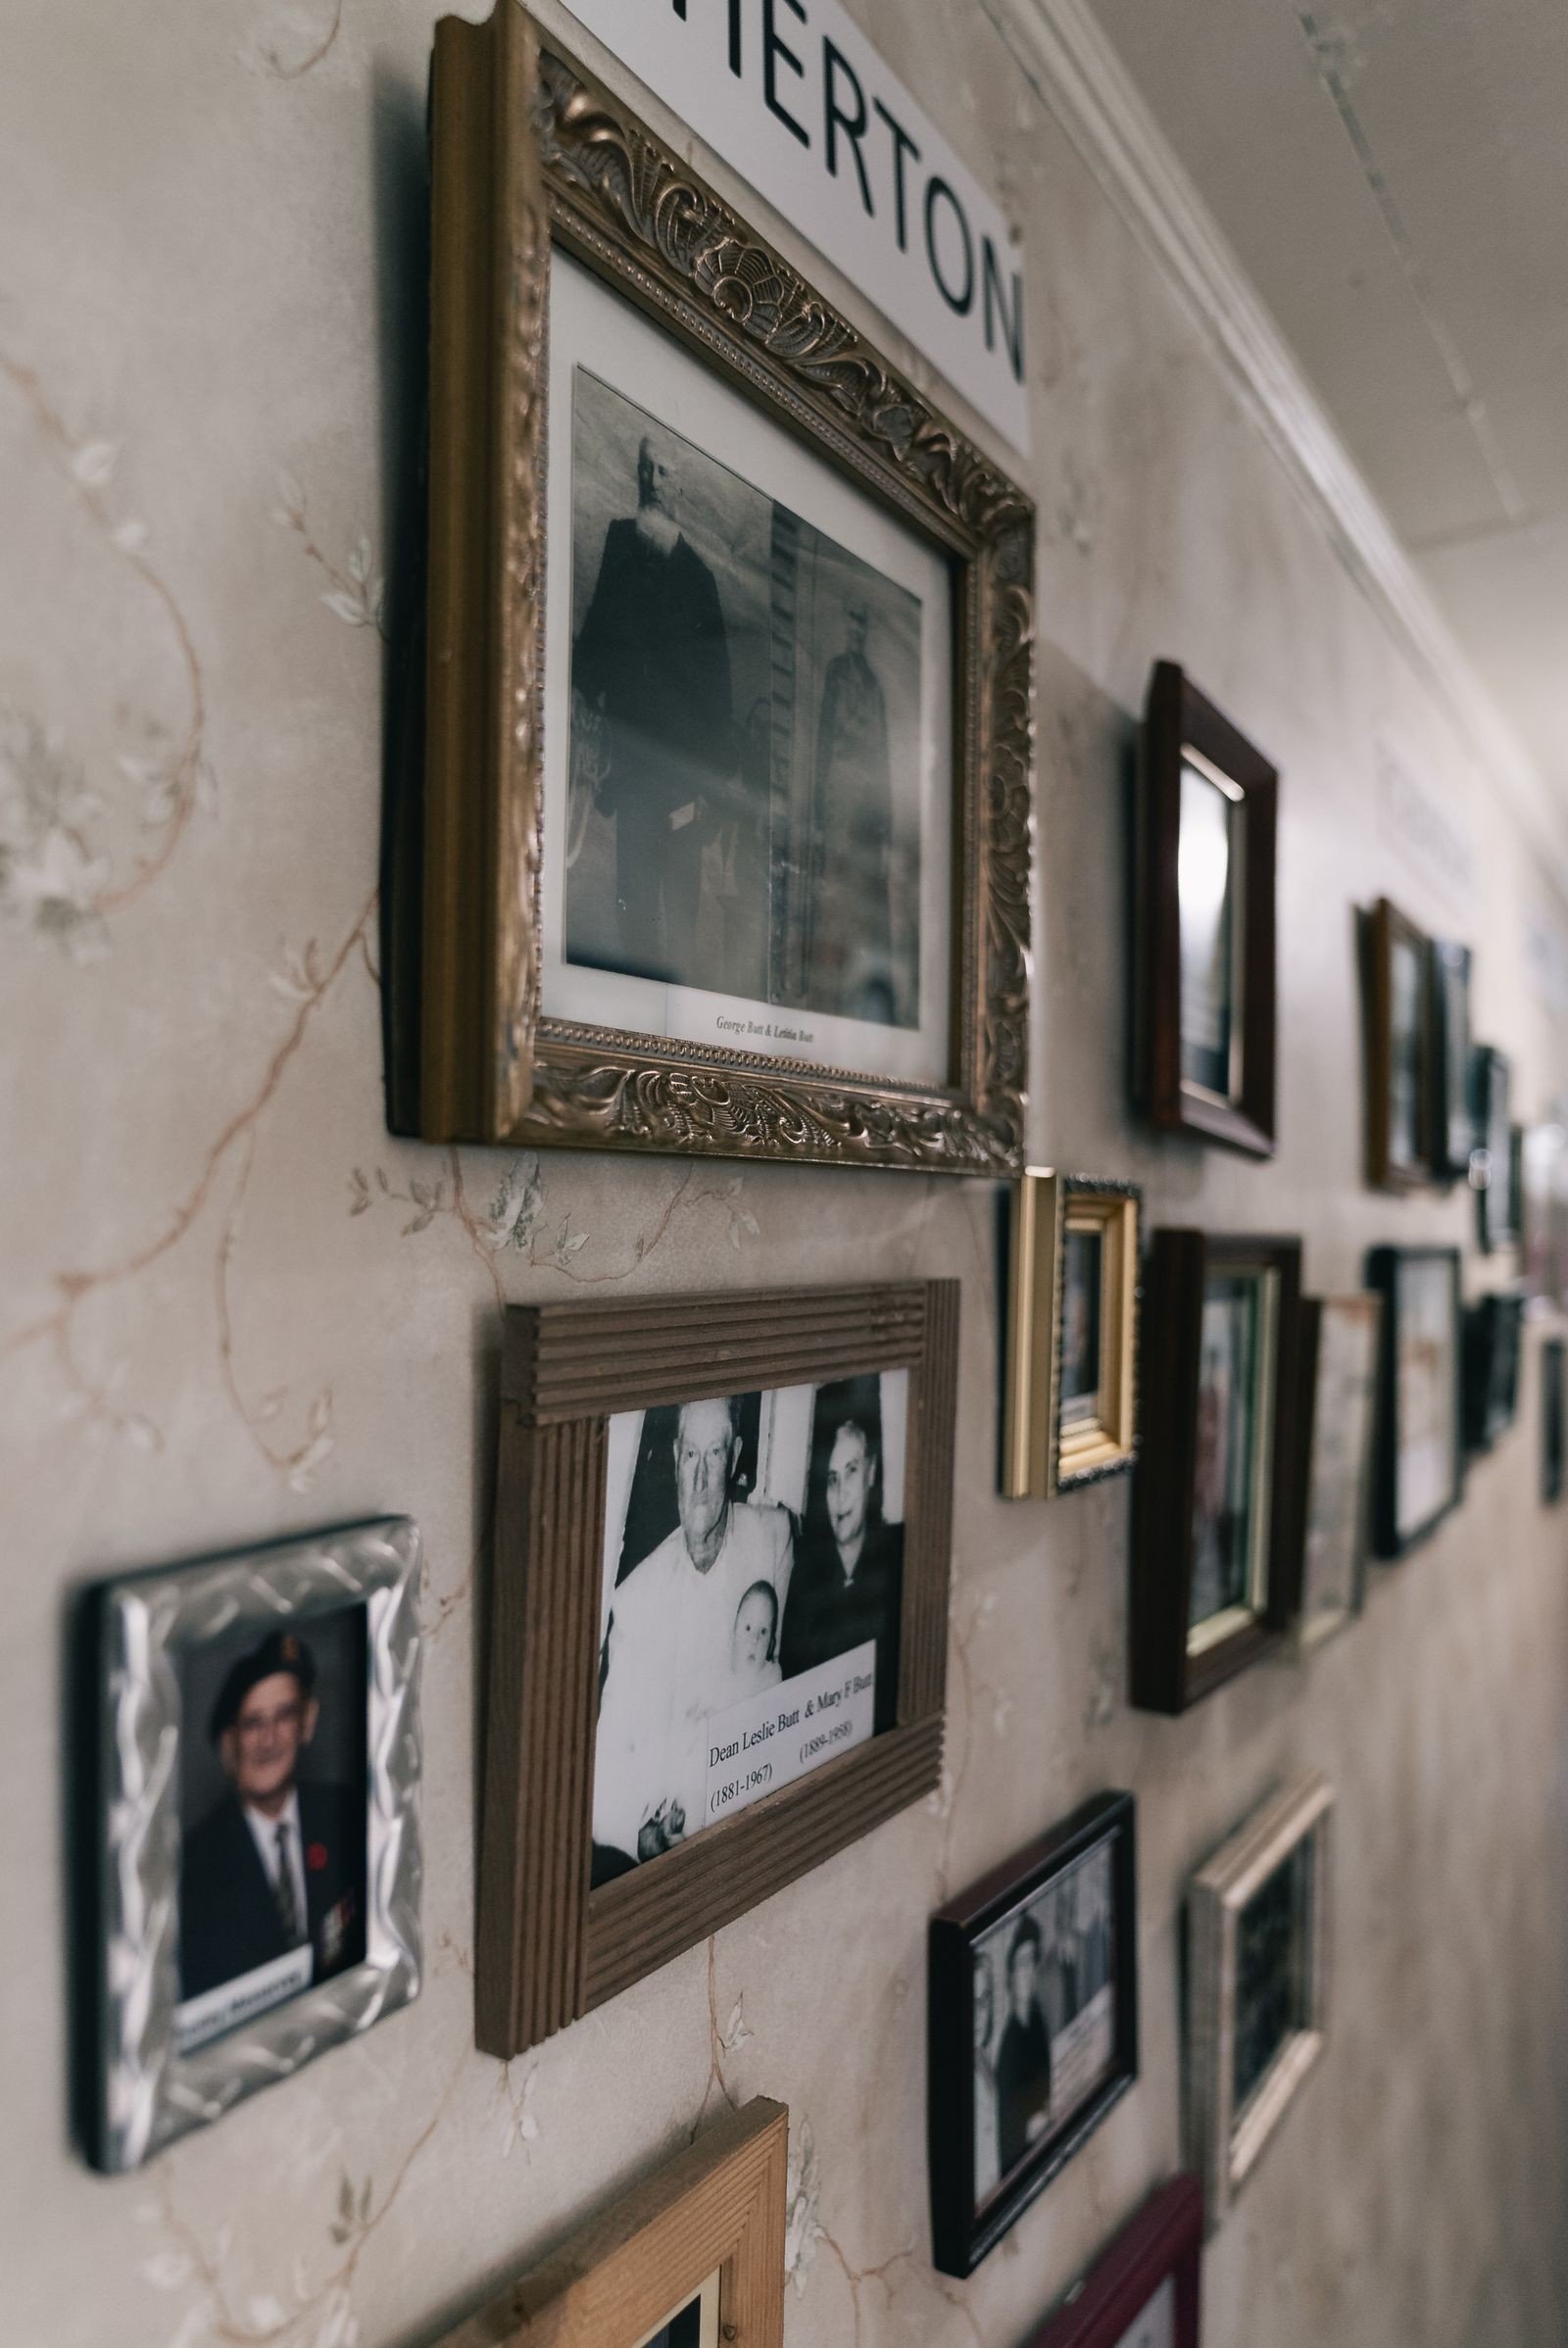
Chronological order works beautifully on stairs: start with older generations or early years at the bottom and move toward recent photos at the top, so climbing the stairs feels like walking through time. Alternatively, group by theme, such as holidays on one flight and milestones on another. Keep frames secure, since stair walls vibrate with footsteps.
On staircases, safety comes first. Use proper wall anchors for every frame, since stair walls take vibration from footsteps, and avoid glass-fronted frames on lower steps where children might bump them. Acrylic glazing is lighter and safer in these spots, and it looks just as clear as glass once hung. Secure hanging keeps the display beautiful and worry-free.
Hallway Gallery Ideas
Hallways are often the most underused walls in a home, and a photo gallery transforms them from passageways into destinations. A single long row at eye level creates a clean gallery feel, while a double row suits taller walls. In a narrow hallway, keep frames relatively flat to the wall and avoid deep or protruding frames that catch shoulders.
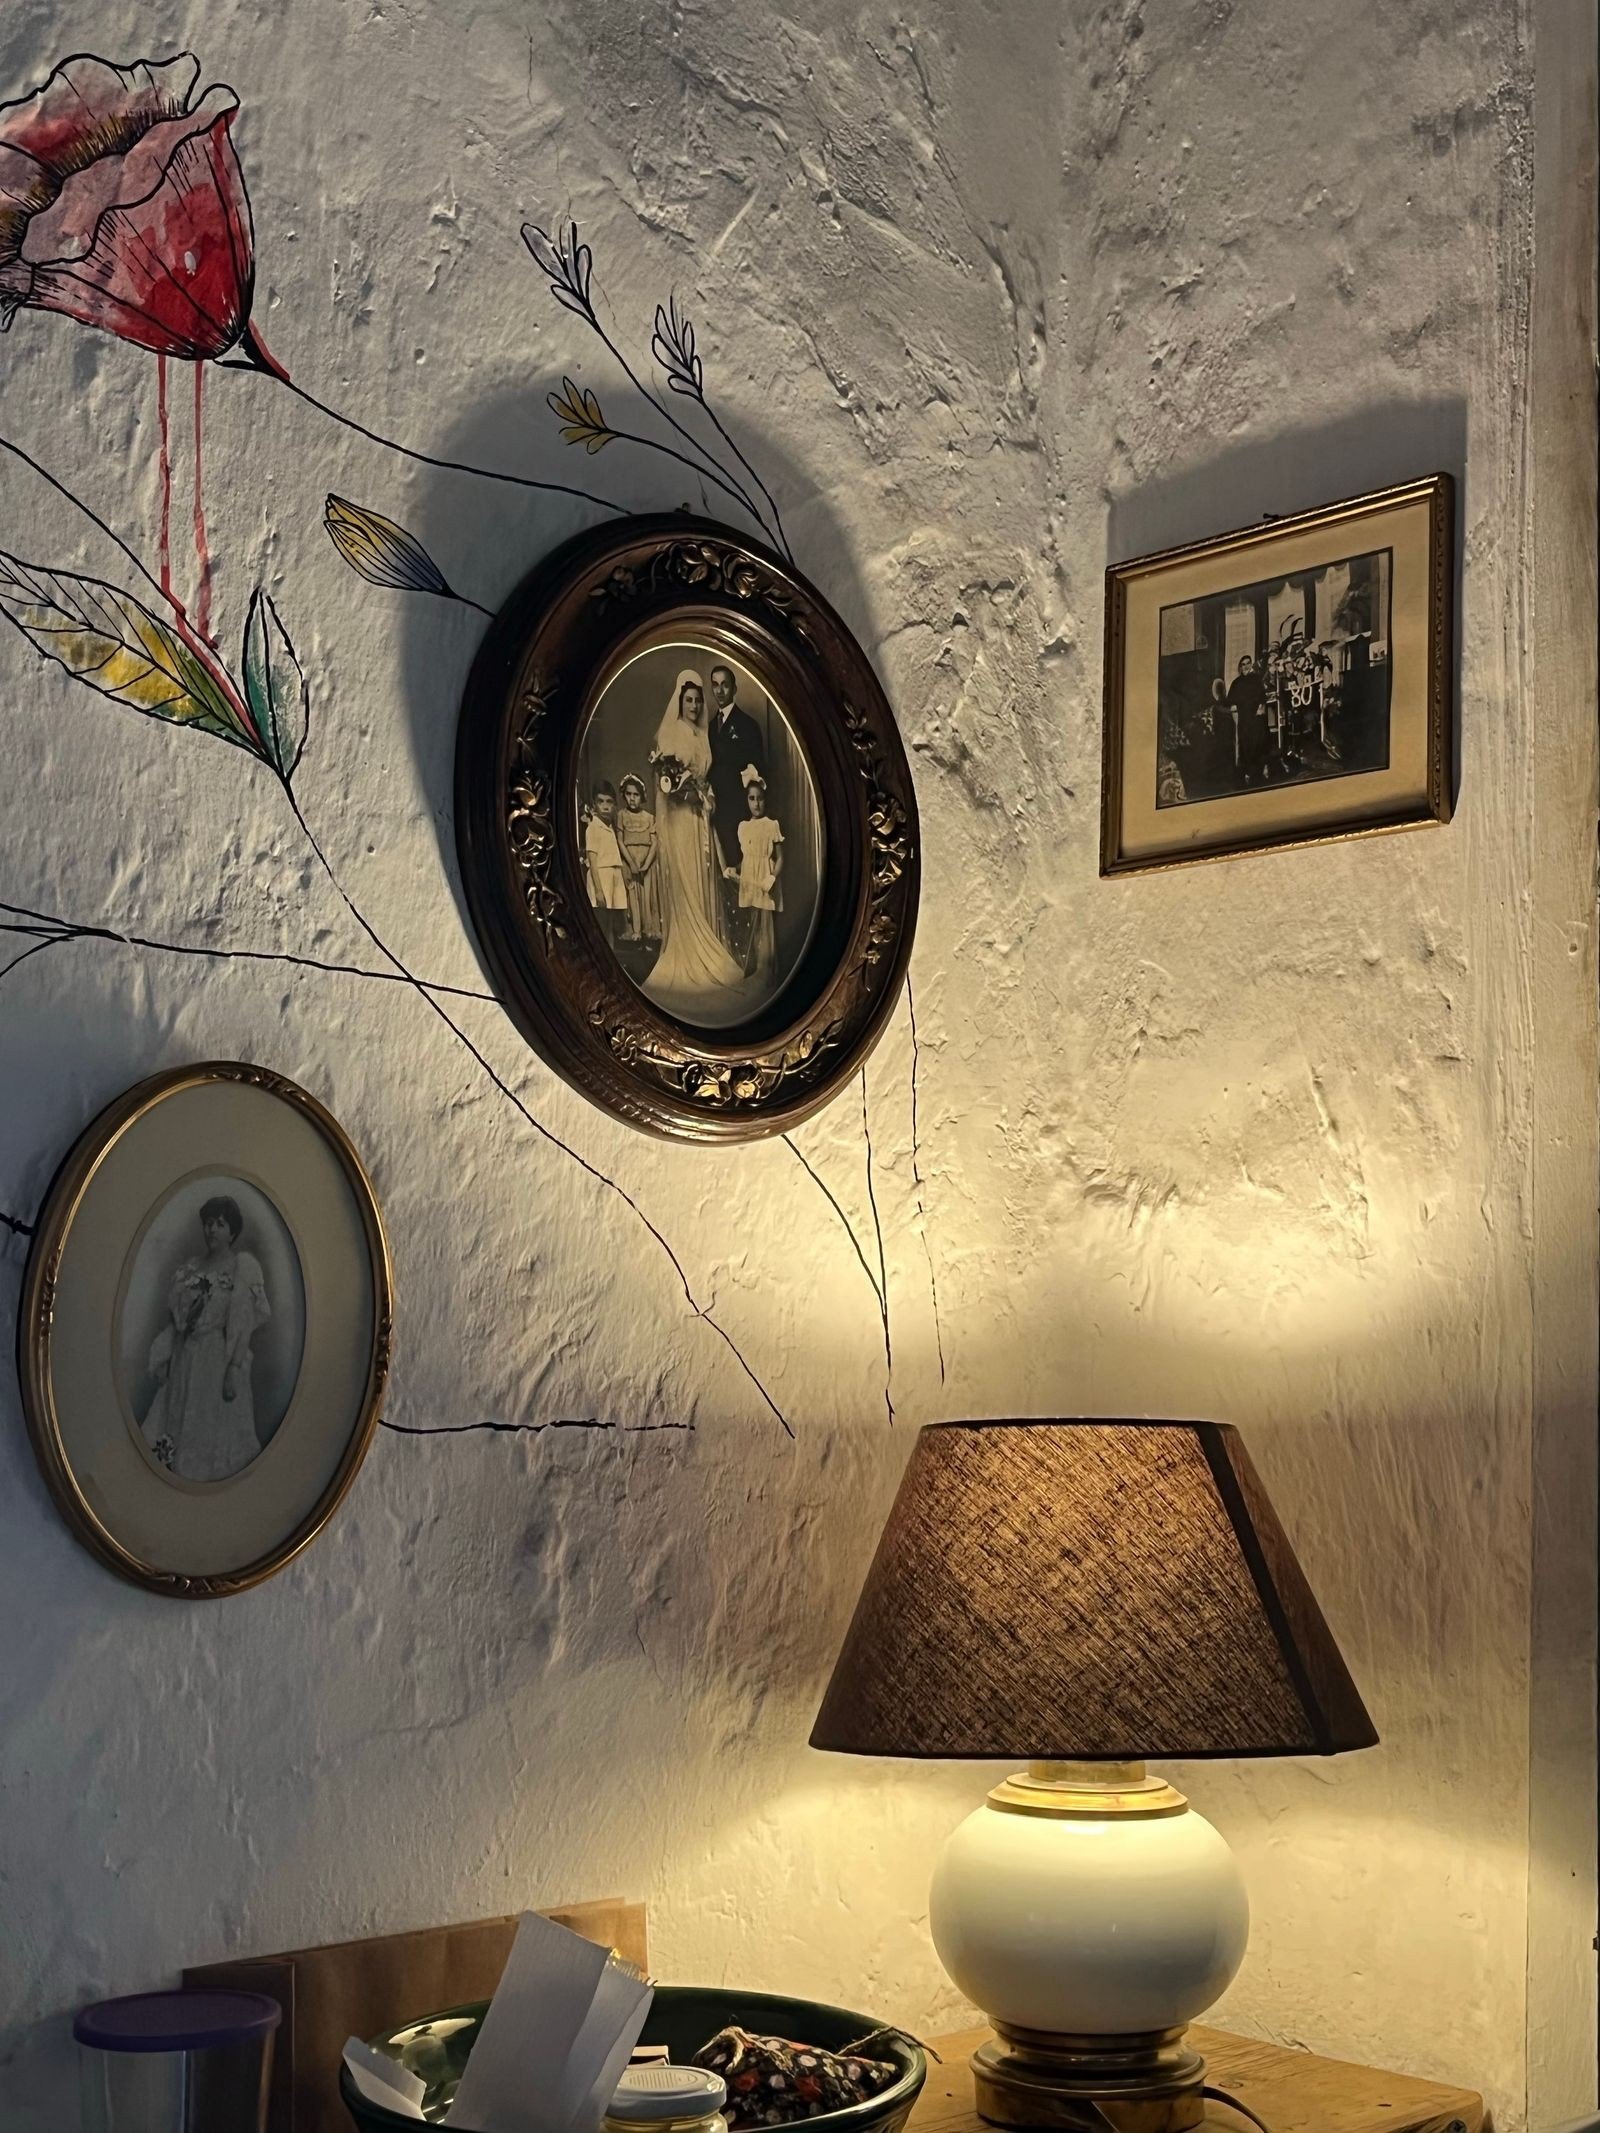
Good lighting makes a hallway gallery shine. If natural light is limited, add picture lights or slim LED strips above the frames. A runner rug and a narrow console can complete the gallery feeling. Hallway displays also work well as a rotating exhibition: swap photos seasonally so the walk never gets stale.
Adding Shelves and Ledges
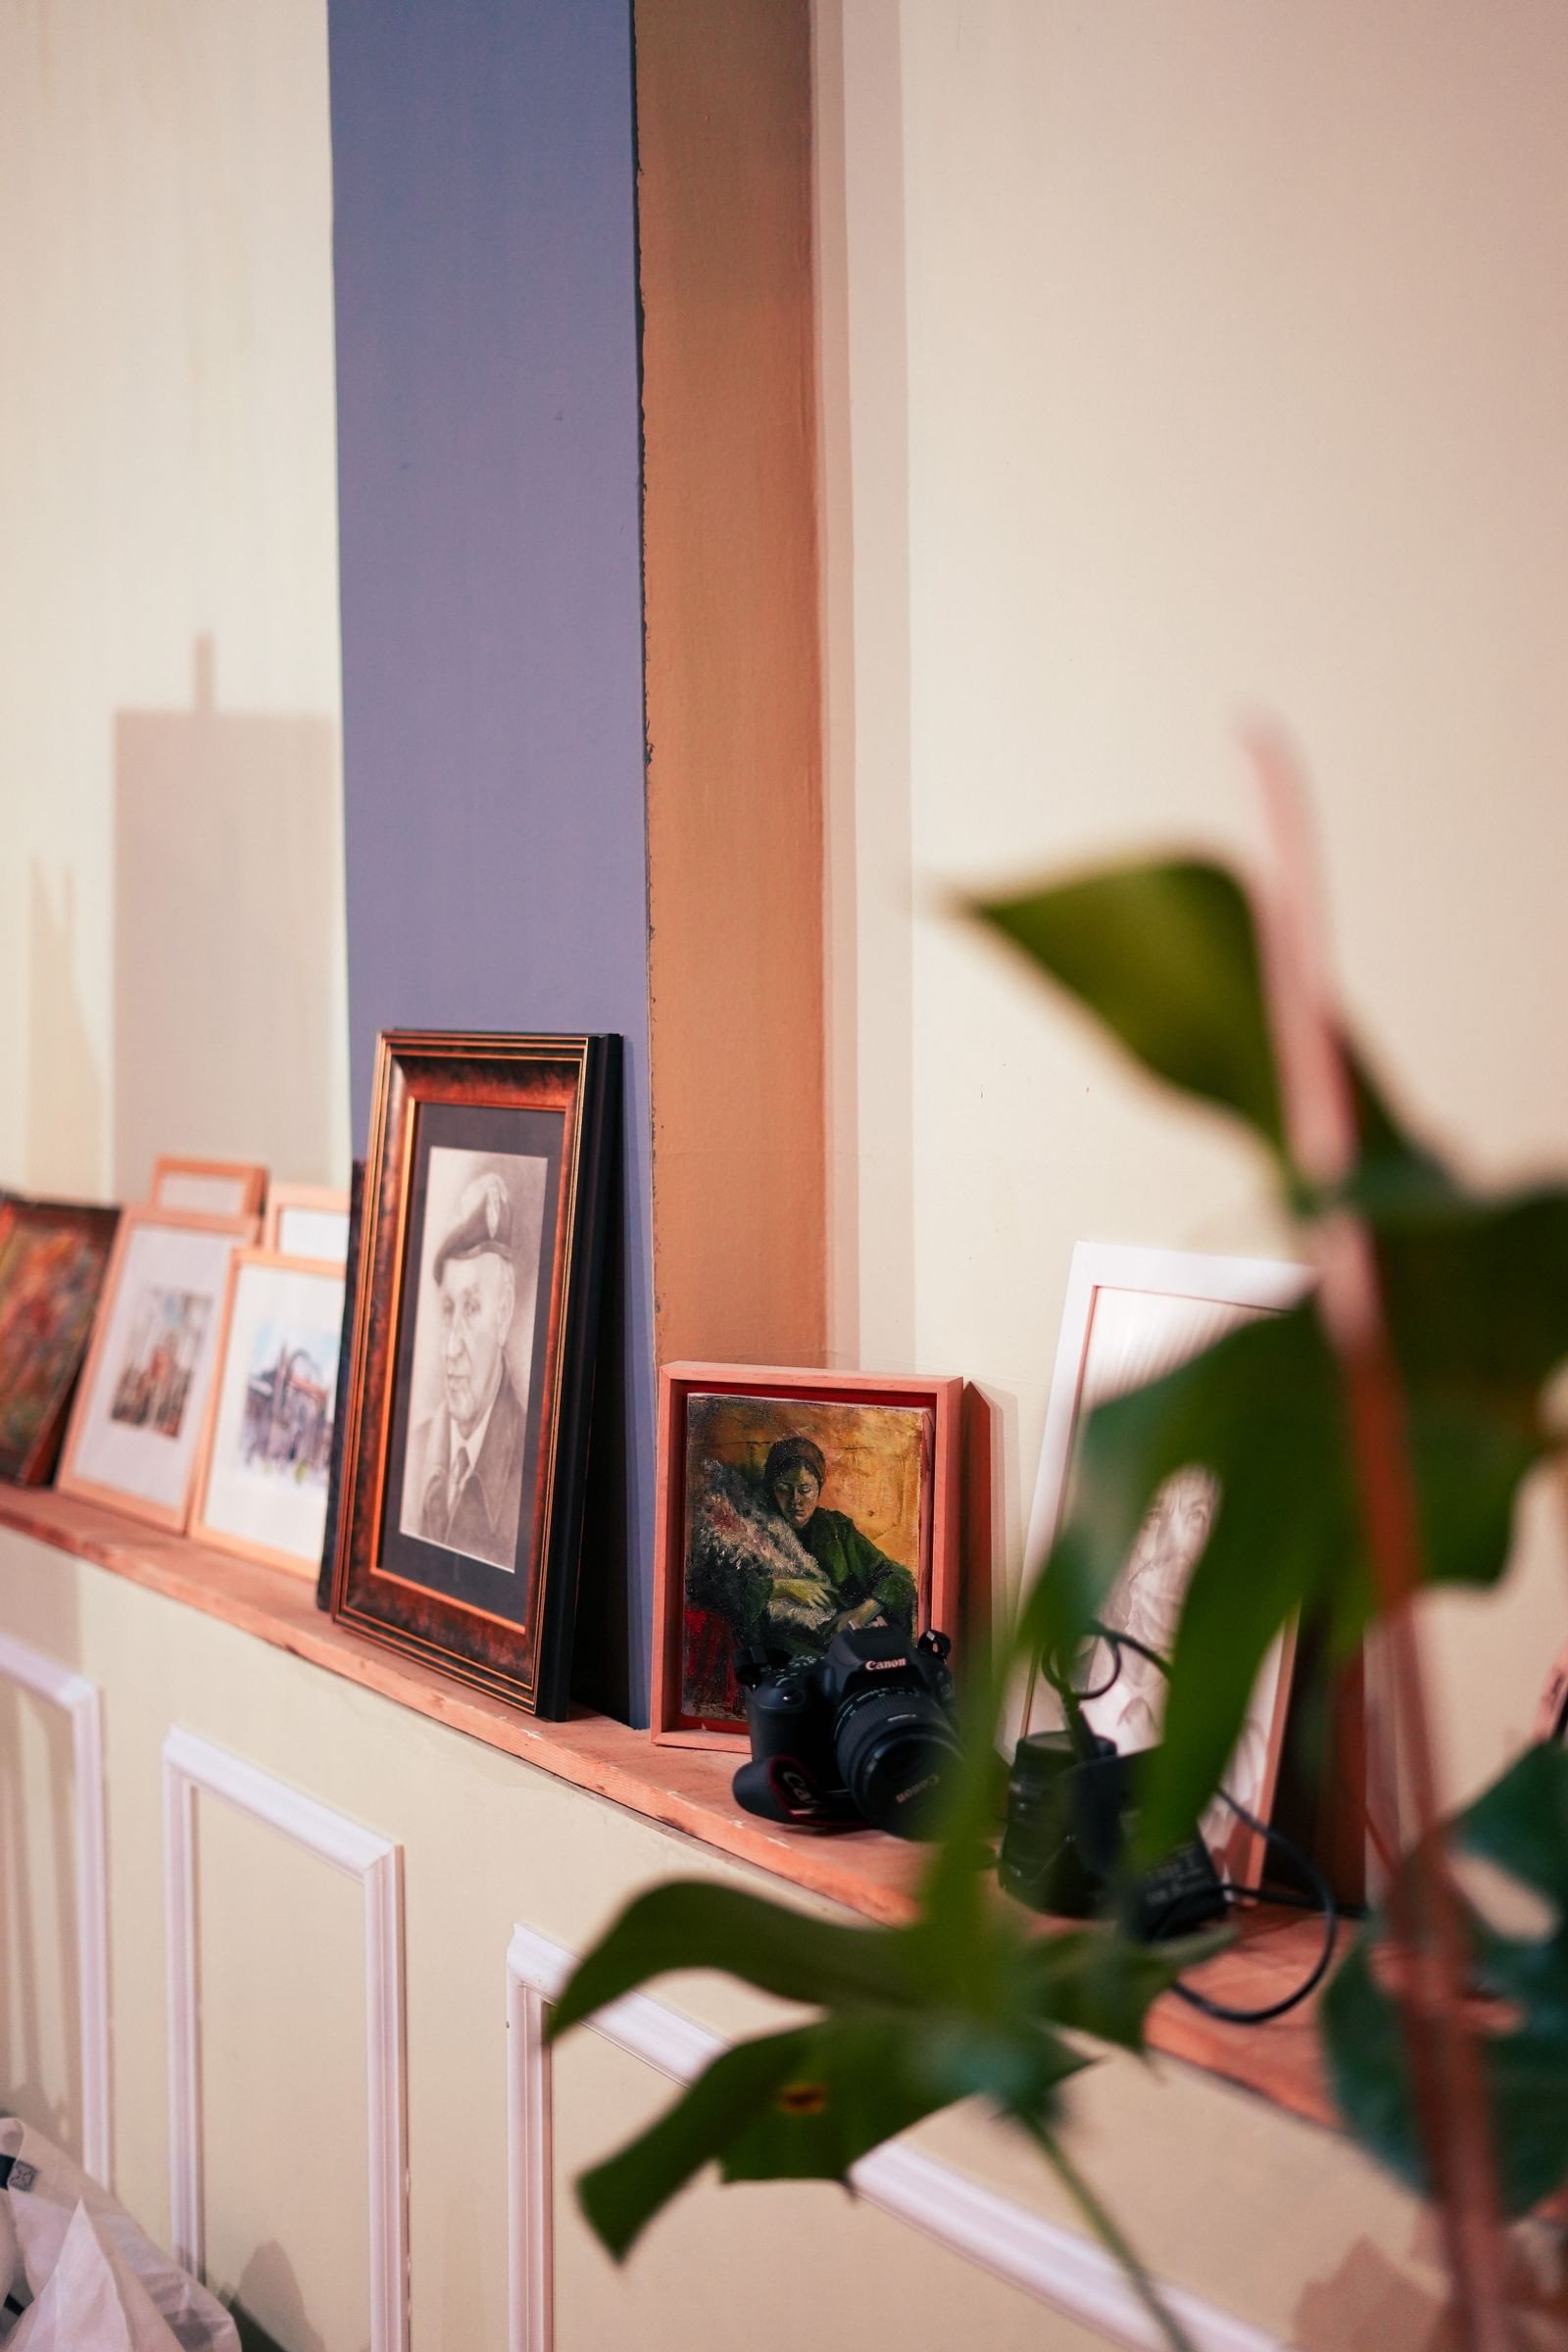
Picture ledges are a flexible alternative to hanging every frame. A long shelf lets you lean frames against the wall, layering larger frames behind smaller ones for depth. The huge advantage is easy change: you can swap, add, or rearrange photos in minutes without new holes. Ledges also let you mix in small plants, candles, or keepsakes between frames.
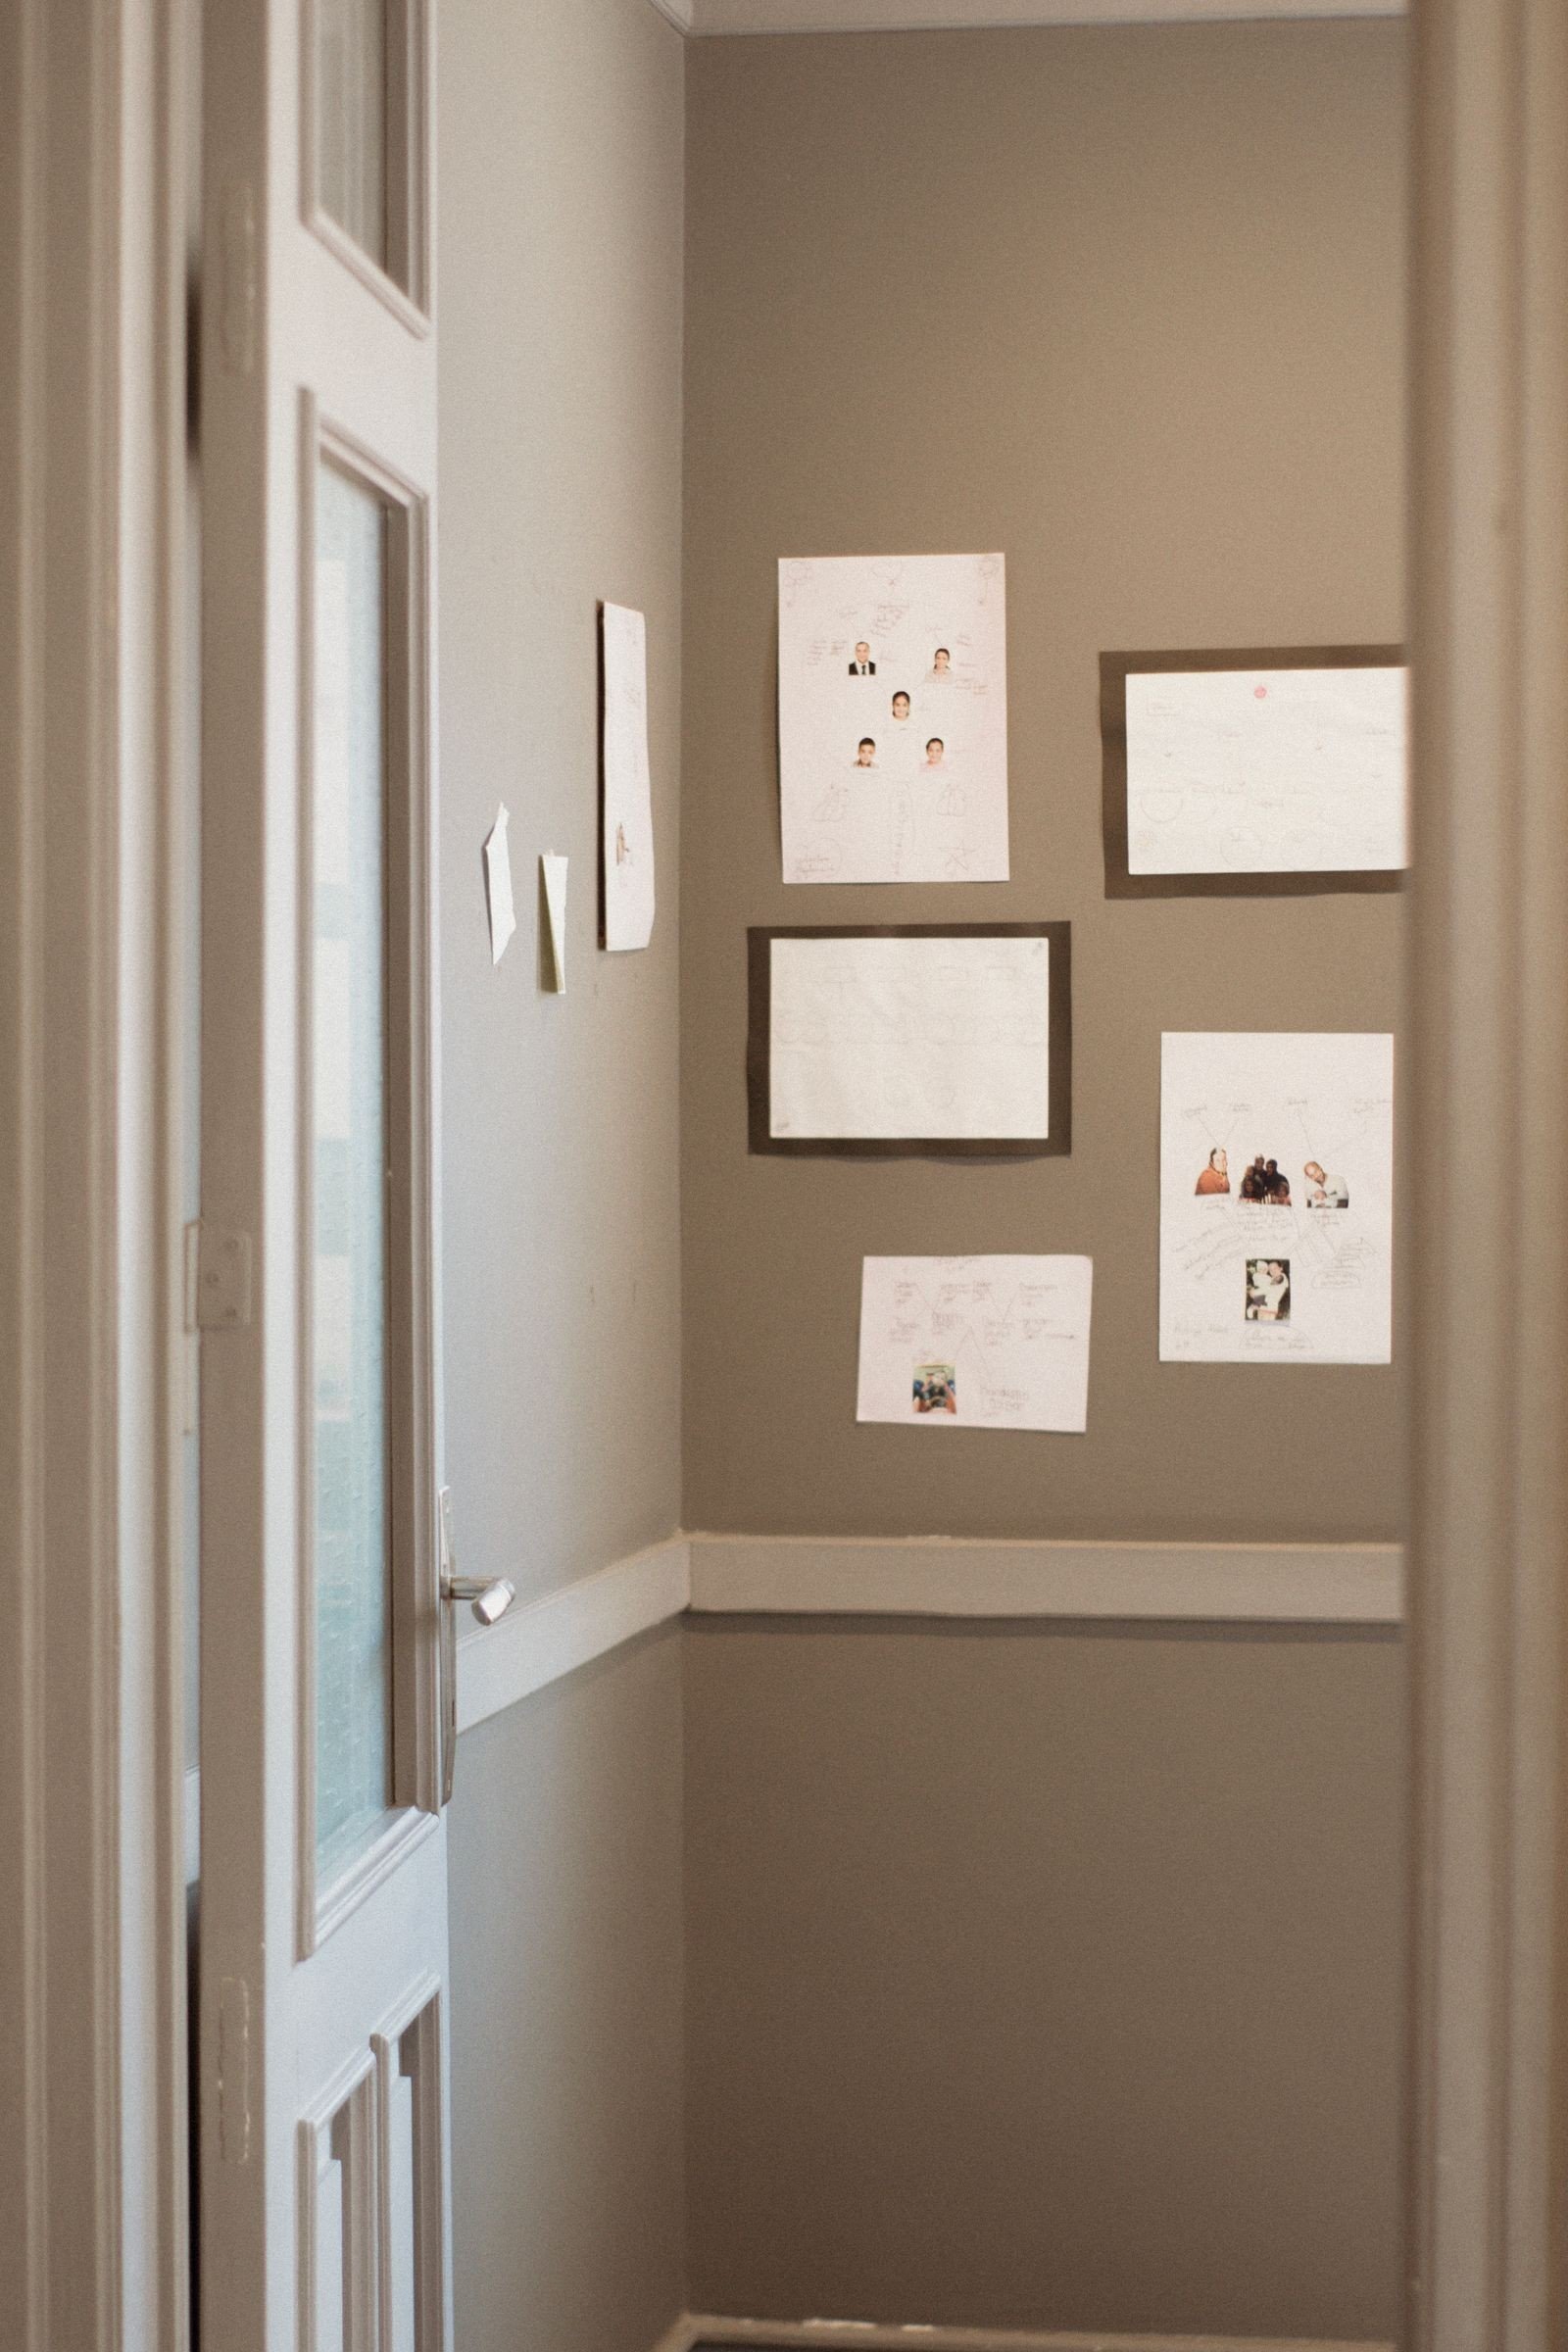
Install ledges at a height where the frames are easy to see, usually with the shelf itself around eye level or slightly above. Use two or three parallel ledges for a fuller display, staggering the frames so each one is visible. Secure heavy frames and keep ledges out of high-traffic bump zones, especially in homes with small children.
Picture ledges are also ideal for renters, since a single long shelf needs only a few screws, far fewer holes than hanging twenty separate frames. When you move out, filling two or three holes is much easier than repairing a whole gallery wall. Ledges give renters the same gallery feeling with a fraction of the wall damage, which landlords appreciate too.
Themed Photo Walls by Occasion
Themed walls give a display focus and make choosing photos easier. A travel wall gathers holiday adventures, a milestones wall celebrates graduations and weddings, and a generations wall honours grandparents and ancestors. A children’s wall, hung at a lower height, lets little ones enjoy their own pictures and feel proud of their place in the family.
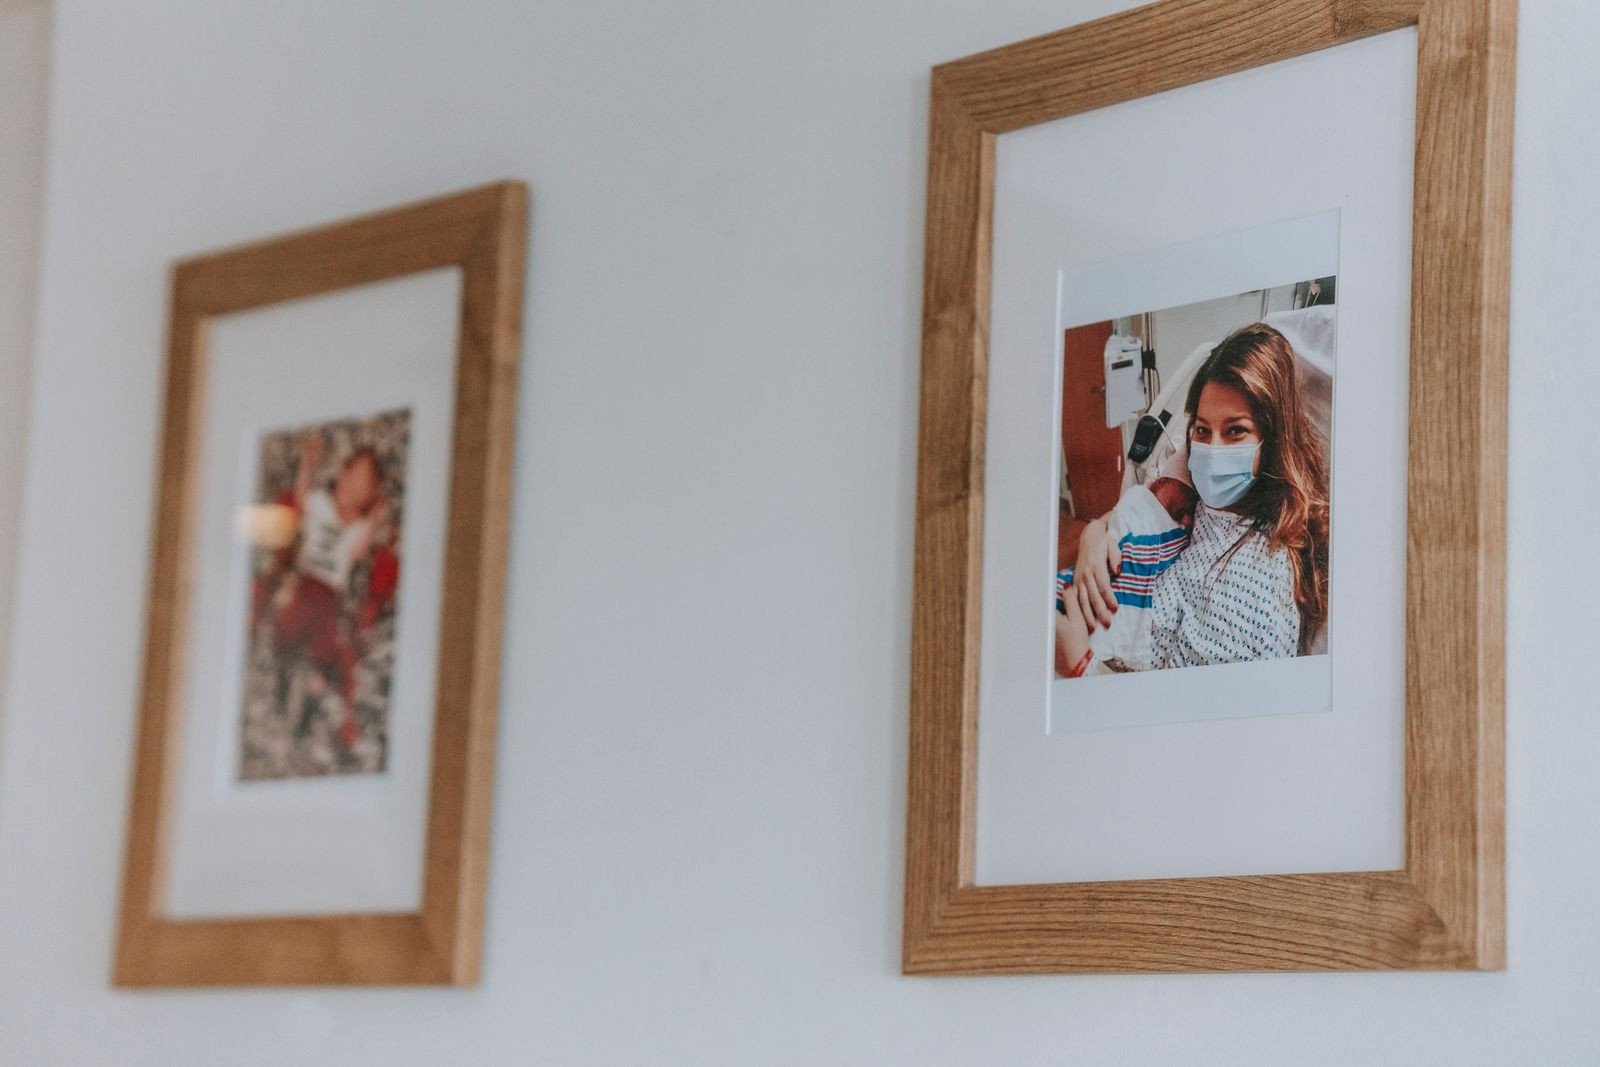
Themes can also be seasonal: a summer wall of beach days, or a winter wall of festive gatherings. Small props, like a map, a ticket stub, or a dried flower, can join the frames to deepen the theme. A themed wall tells a clearer story than a random mix, and it makes the display feel curated rather than accidental.
Black and White vs Colour Photos
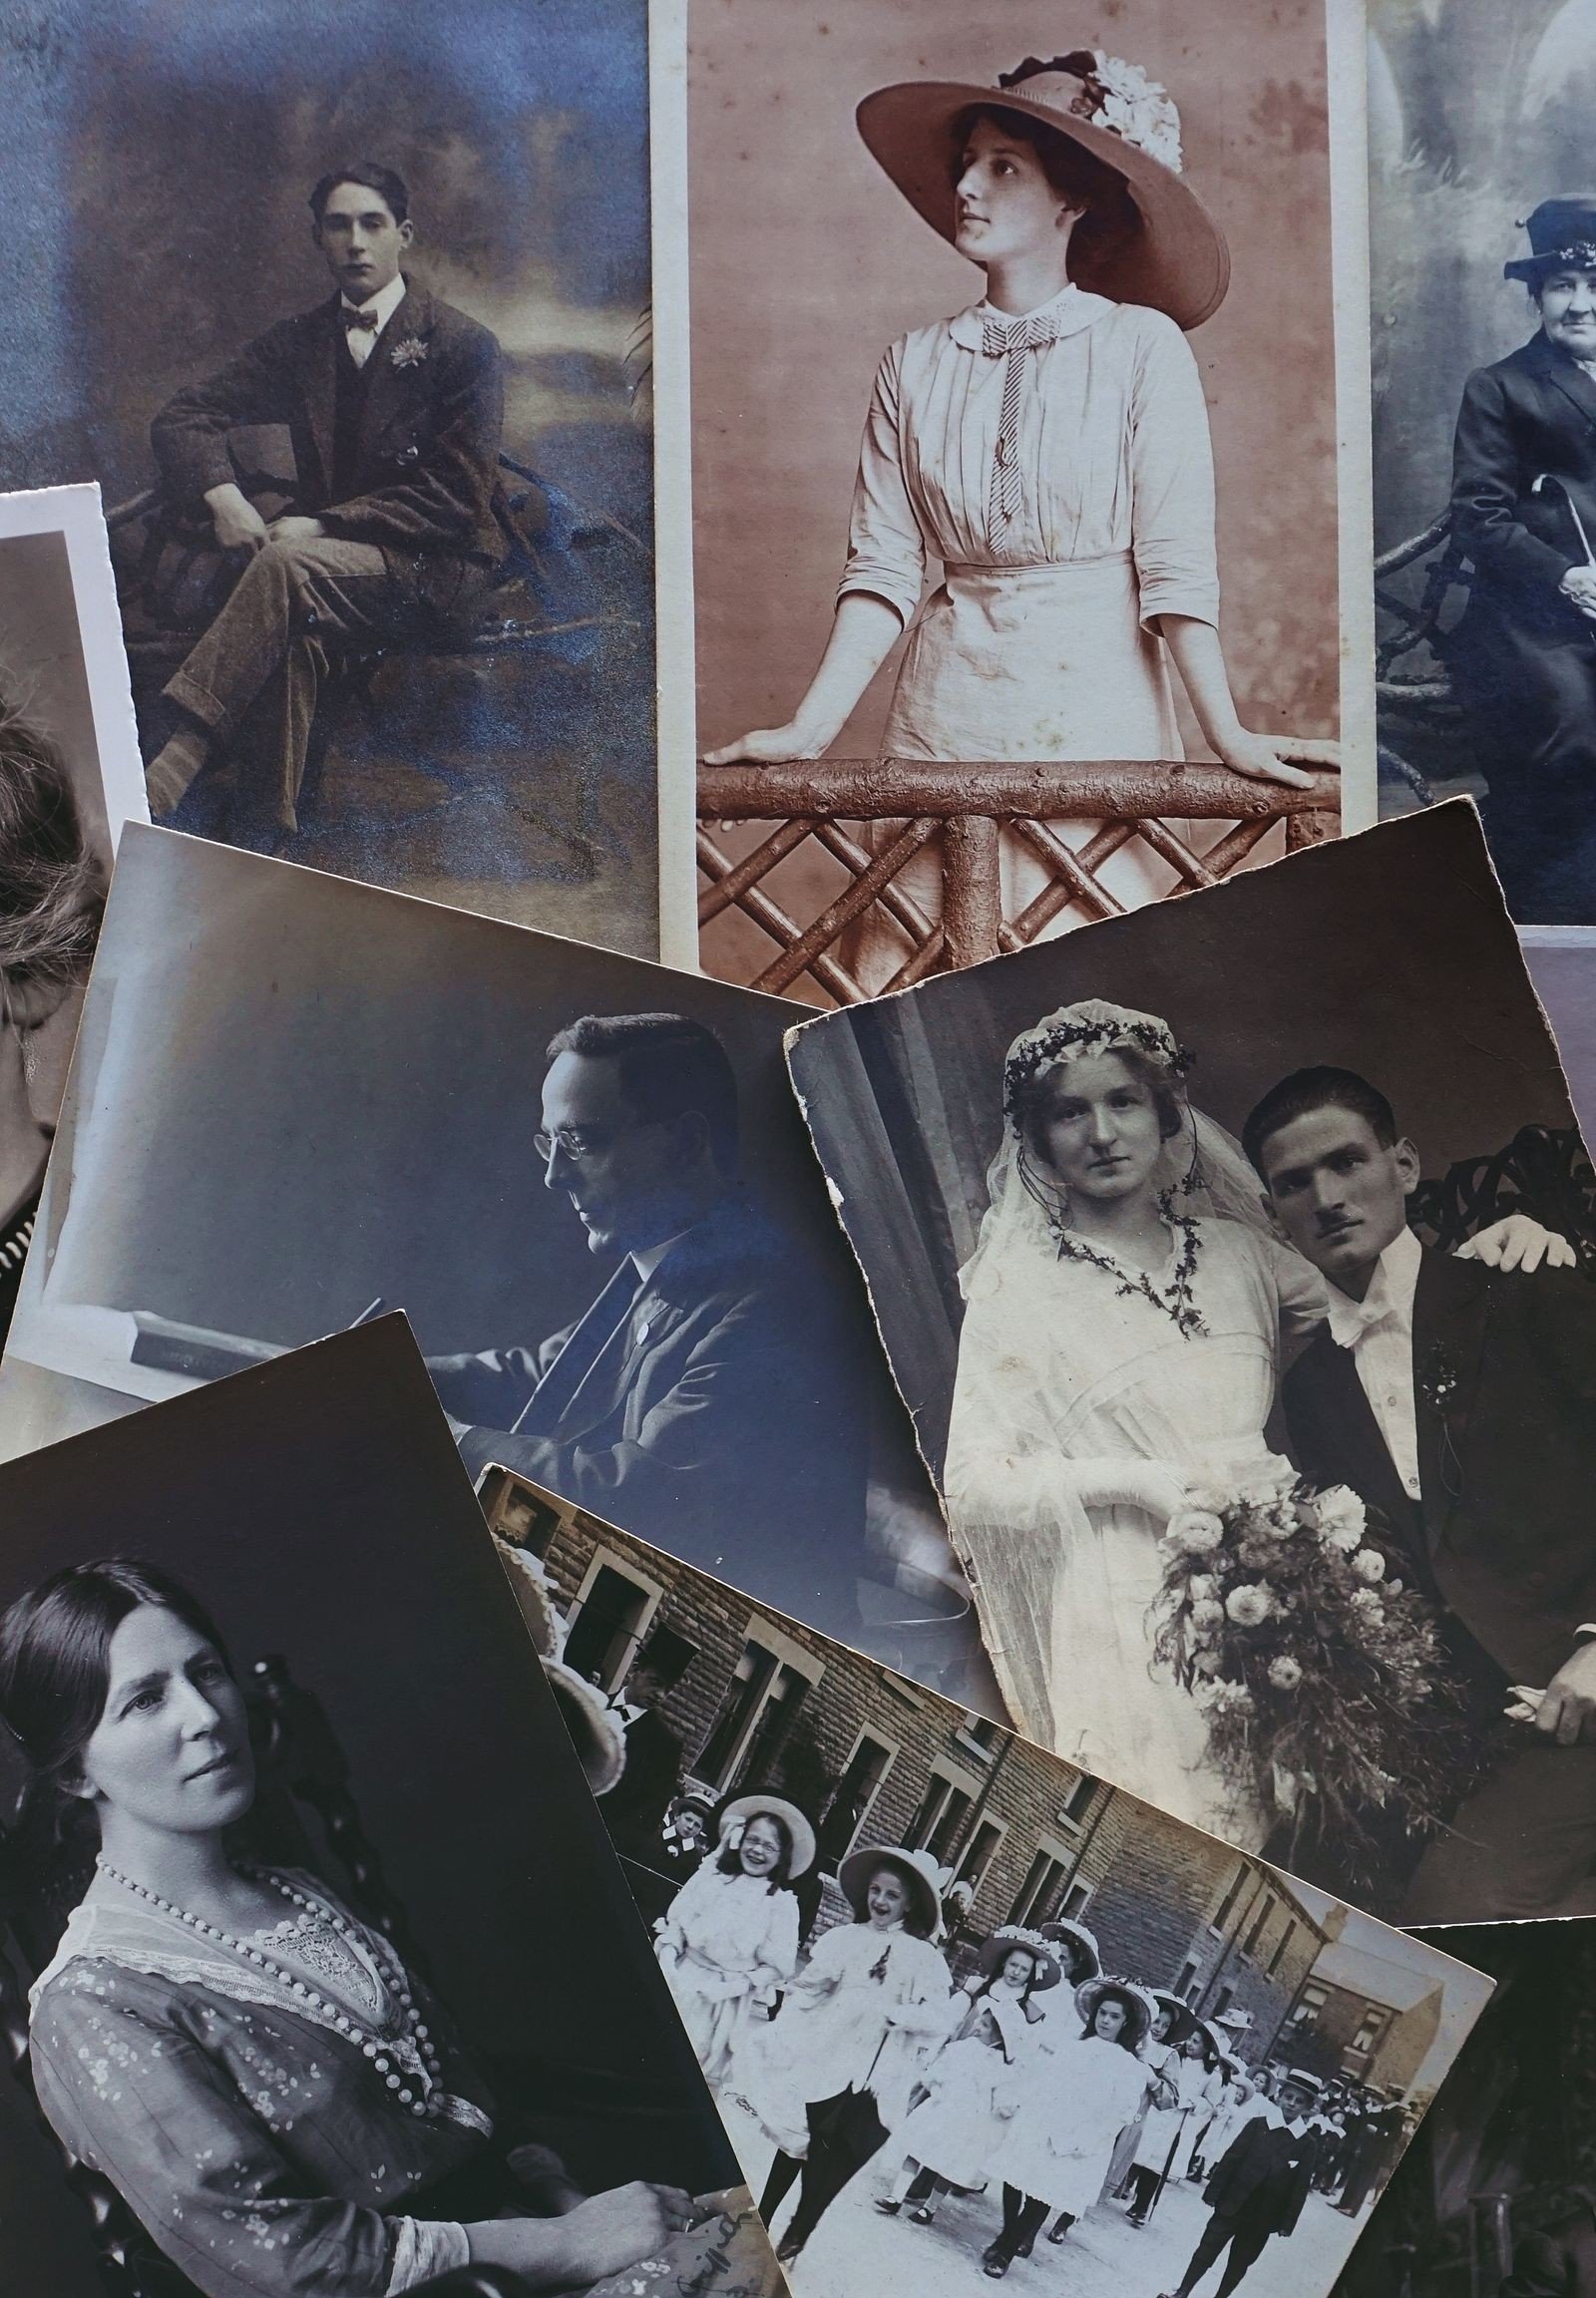
Choosing between black and white and colour is one of the biggest aesthetic decisions. Black and white prints feel timeless, unify photos from different eras and cameras, and suit formal or minimalist rooms. They also hide clashing colour casts from old film photos. A fully monochrome wall looks sophisticated and intentional.
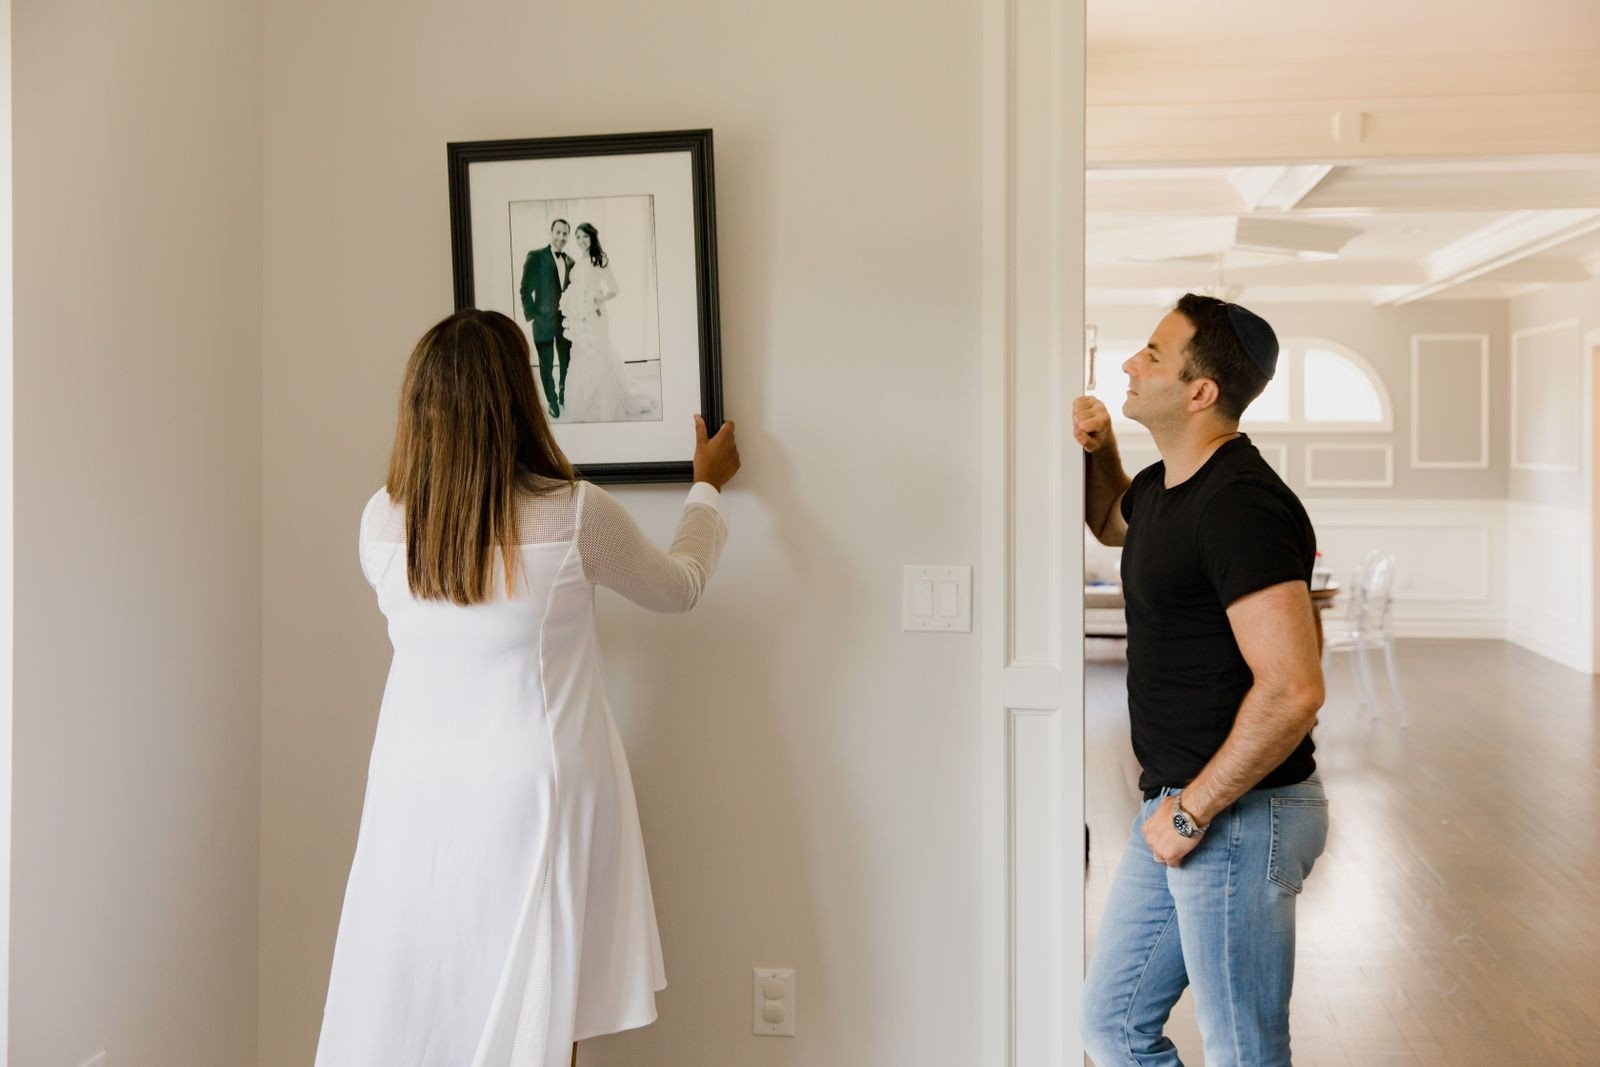
Colour prints feel warm, joyful, and true to life, especially for children’s photos and travel pictures. If you mix colour and black and white, use consistent frames and mats to hold the display together. Some families convert older colour photos to black and white for cohesion while keeping recent favourites in colour, creating a gentle blend of past and present.
If you choose black and white prints, ask the lab to use a true neutral black and white process rather than a colour print with the colour removed, which can leave a yellow or blue cast. A proper monochrome print has rich blacks, clean whites, and smooth grey tones that make old and new photos sit together harmoniously on the same wall.
Incorporating Children’s Artwork and Keepsakes
A family wall becomes even more personal when it includes more than photographs. Children’s drawings, handprints, wedding invitations, and small keepsakes can sit alongside photos in matching frames. A child’s first drawing in a proper frame tells them their creativity matters, and it adds colour and charm that no photograph can replicate.
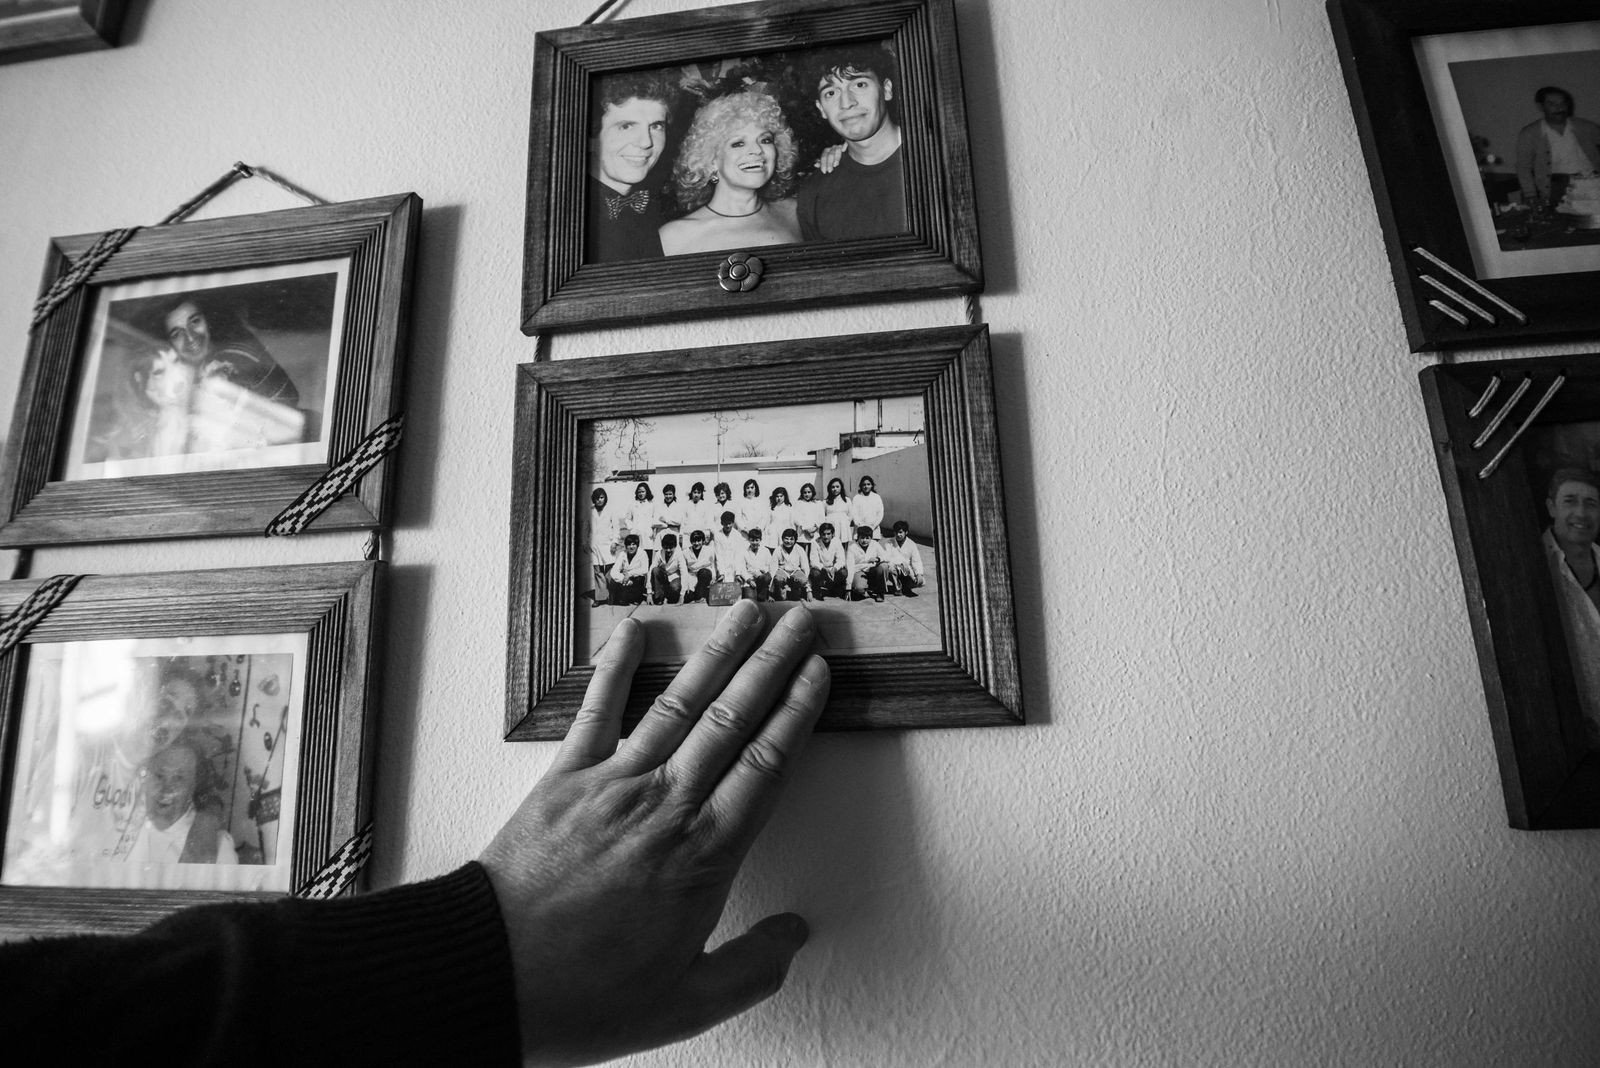
Use shadow boxes for three-dimensional keepsakes like baby shoes, medals, or shells from a family holiday. Keep the overall palette calm so the keepsakes enhance rather than clutter the display. Rotating children’s art as they grow keeps the wall current and gives kids a reason to run to the wall to see their latest work displayed.
Lighting Your Photo Wall
Lighting transforms a photo wall from flat to gallery-worthy. Picture lights mounted above frames cast a warm, focused glow that makes each photo pop. Track lighting works for longer walls, letting you aim individual spots at key frames. Battery-operated LED picture lights are an easy retrofit where wiring is difficult, and they come in styles to match any frame.
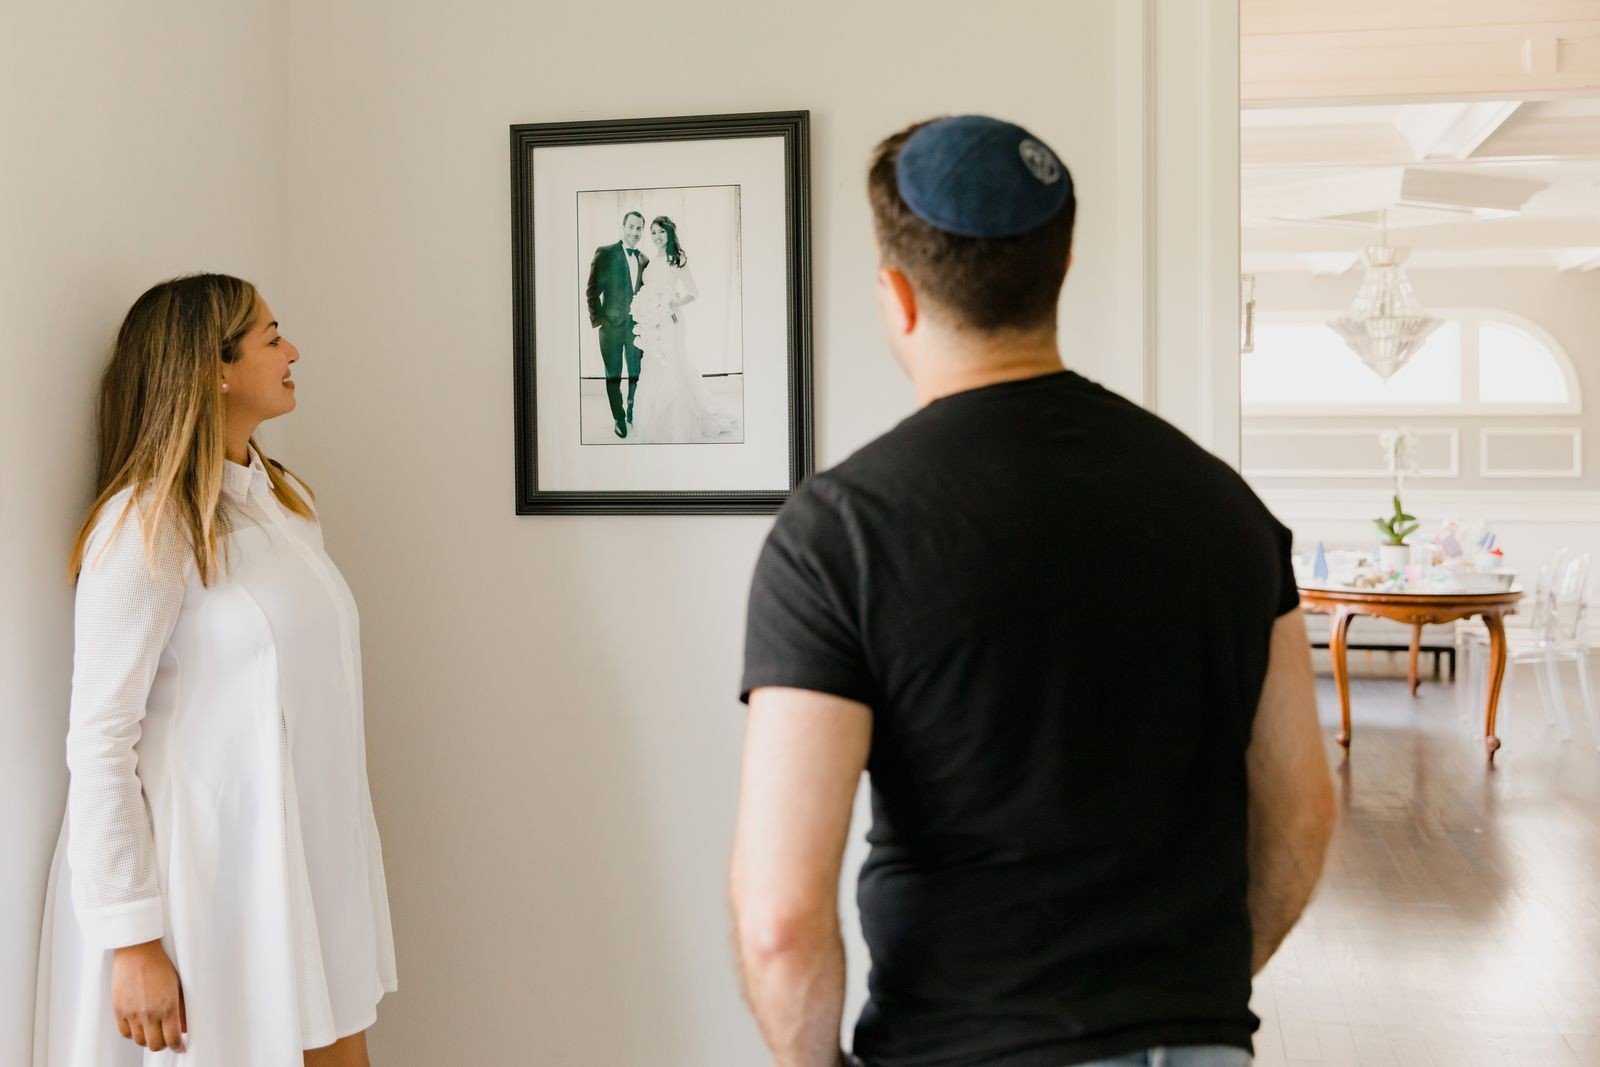
Avoid harsh overhead lighting that creates glare on glass. Warm white light, around 2700 Kelvin, flatters skin tones and feels homely. If your wall gets natural light, use UV-protective glass or acrylic to slow fading. Good lighting also means the wall looks beautiful in the evening, when families are actually home to enjoy it.
When hanging a wall in a room with high ceilings, resist the urge to centre the arrangement on the wall itself. Centre it at eye level for the people using the room, leaving the space above it empty or filled with a separate, larger piece. Art hung for the ceiling rather than the eye always feels distant and disconnected from the room.
Budget-Friendly Photo Wall Ideas
A beautiful photo wall does not need a big budget. Uniform frames from discount stores, spray-painted in one colour, look far more expensive than they are. Printing in standard sizes keeps costs down, and a large mat with a small print makes an affordable photo look gallery-sized. Thrifted frames, cleaned and repainted, add character for very little money.
Start small and grow the wall over time rather than buying everything at once. Printable art, washi tape frames for children’s rooms, and clip frames are all low-cost options. The most important investment is print quality: even inexpensive frames look wonderful when the photographs inside are sharp, well-chosen, and full of feeling.
Large Statement Pieces and Canvas Prints
Sometimes one large piece anchors a wall better than many small frames. A big canvas print of a favourite family portrait, a panoramic holiday shot, or a multi-panel triptych creates an instant focal point. Canvas prints have no glass, so there is no glare, and their soft texture suits relaxed living spaces beautifully.
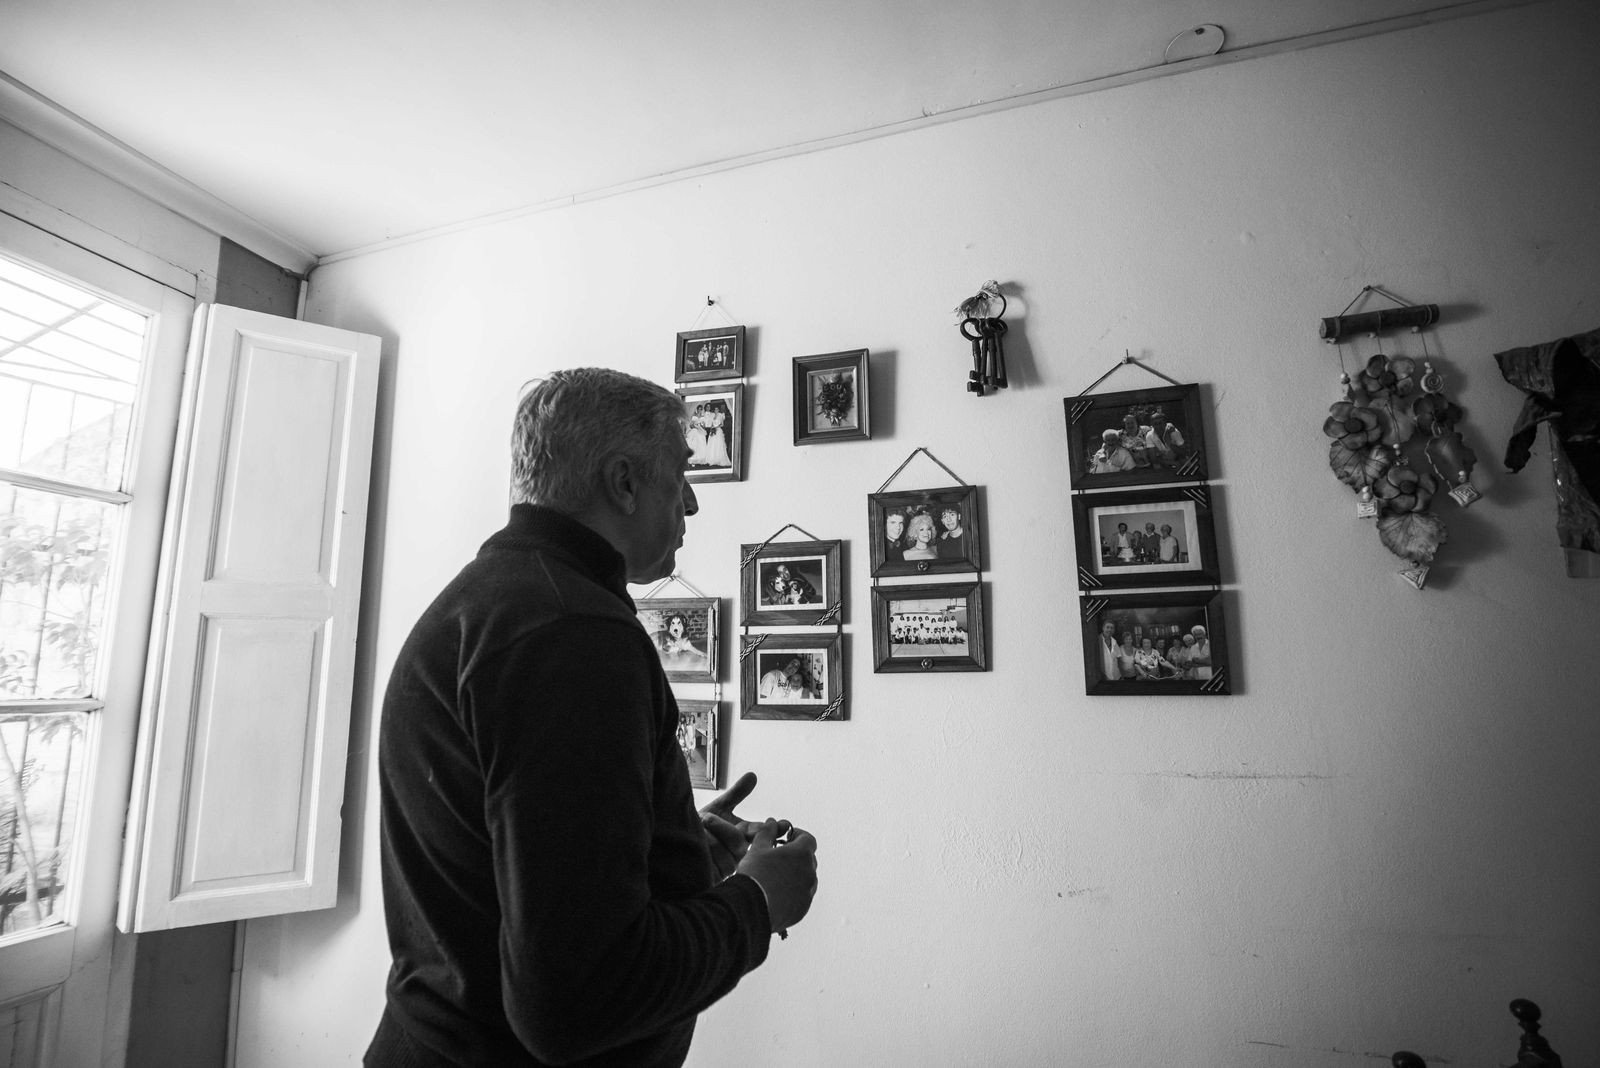
Pair a statement piece with a few smaller frames to keep the wall feeling personal rather than commercial. Hang large pieces securely with proper wall anchors, especially on plasterboard, and centre them over furniture with about six to eight inches of space above a sofa or console. One bold piece can carry a whole room.
Canvas prints need different care from framed prints. Dust them gently with a dry microfibre cloth, never with a wet cloth or cleaning spray, which can damage the coating. Keep canvases out of direct sunlight and away from radiators, since heat and light fade the inks over time. With gentle care, a canvas family portrait can look beautiful for decades.
Seasonal and Rotating Displays
A rotating display keeps a photo wall alive. Use clip frames, ledges, or magnetic systems so photos can be swapped without tools. Rotate seasonally: beach holidays in summer, cosy gatherings in winter, school milestones in autumn. This keeps the wall feeling fresh and gives older photos a rest from light exposure.
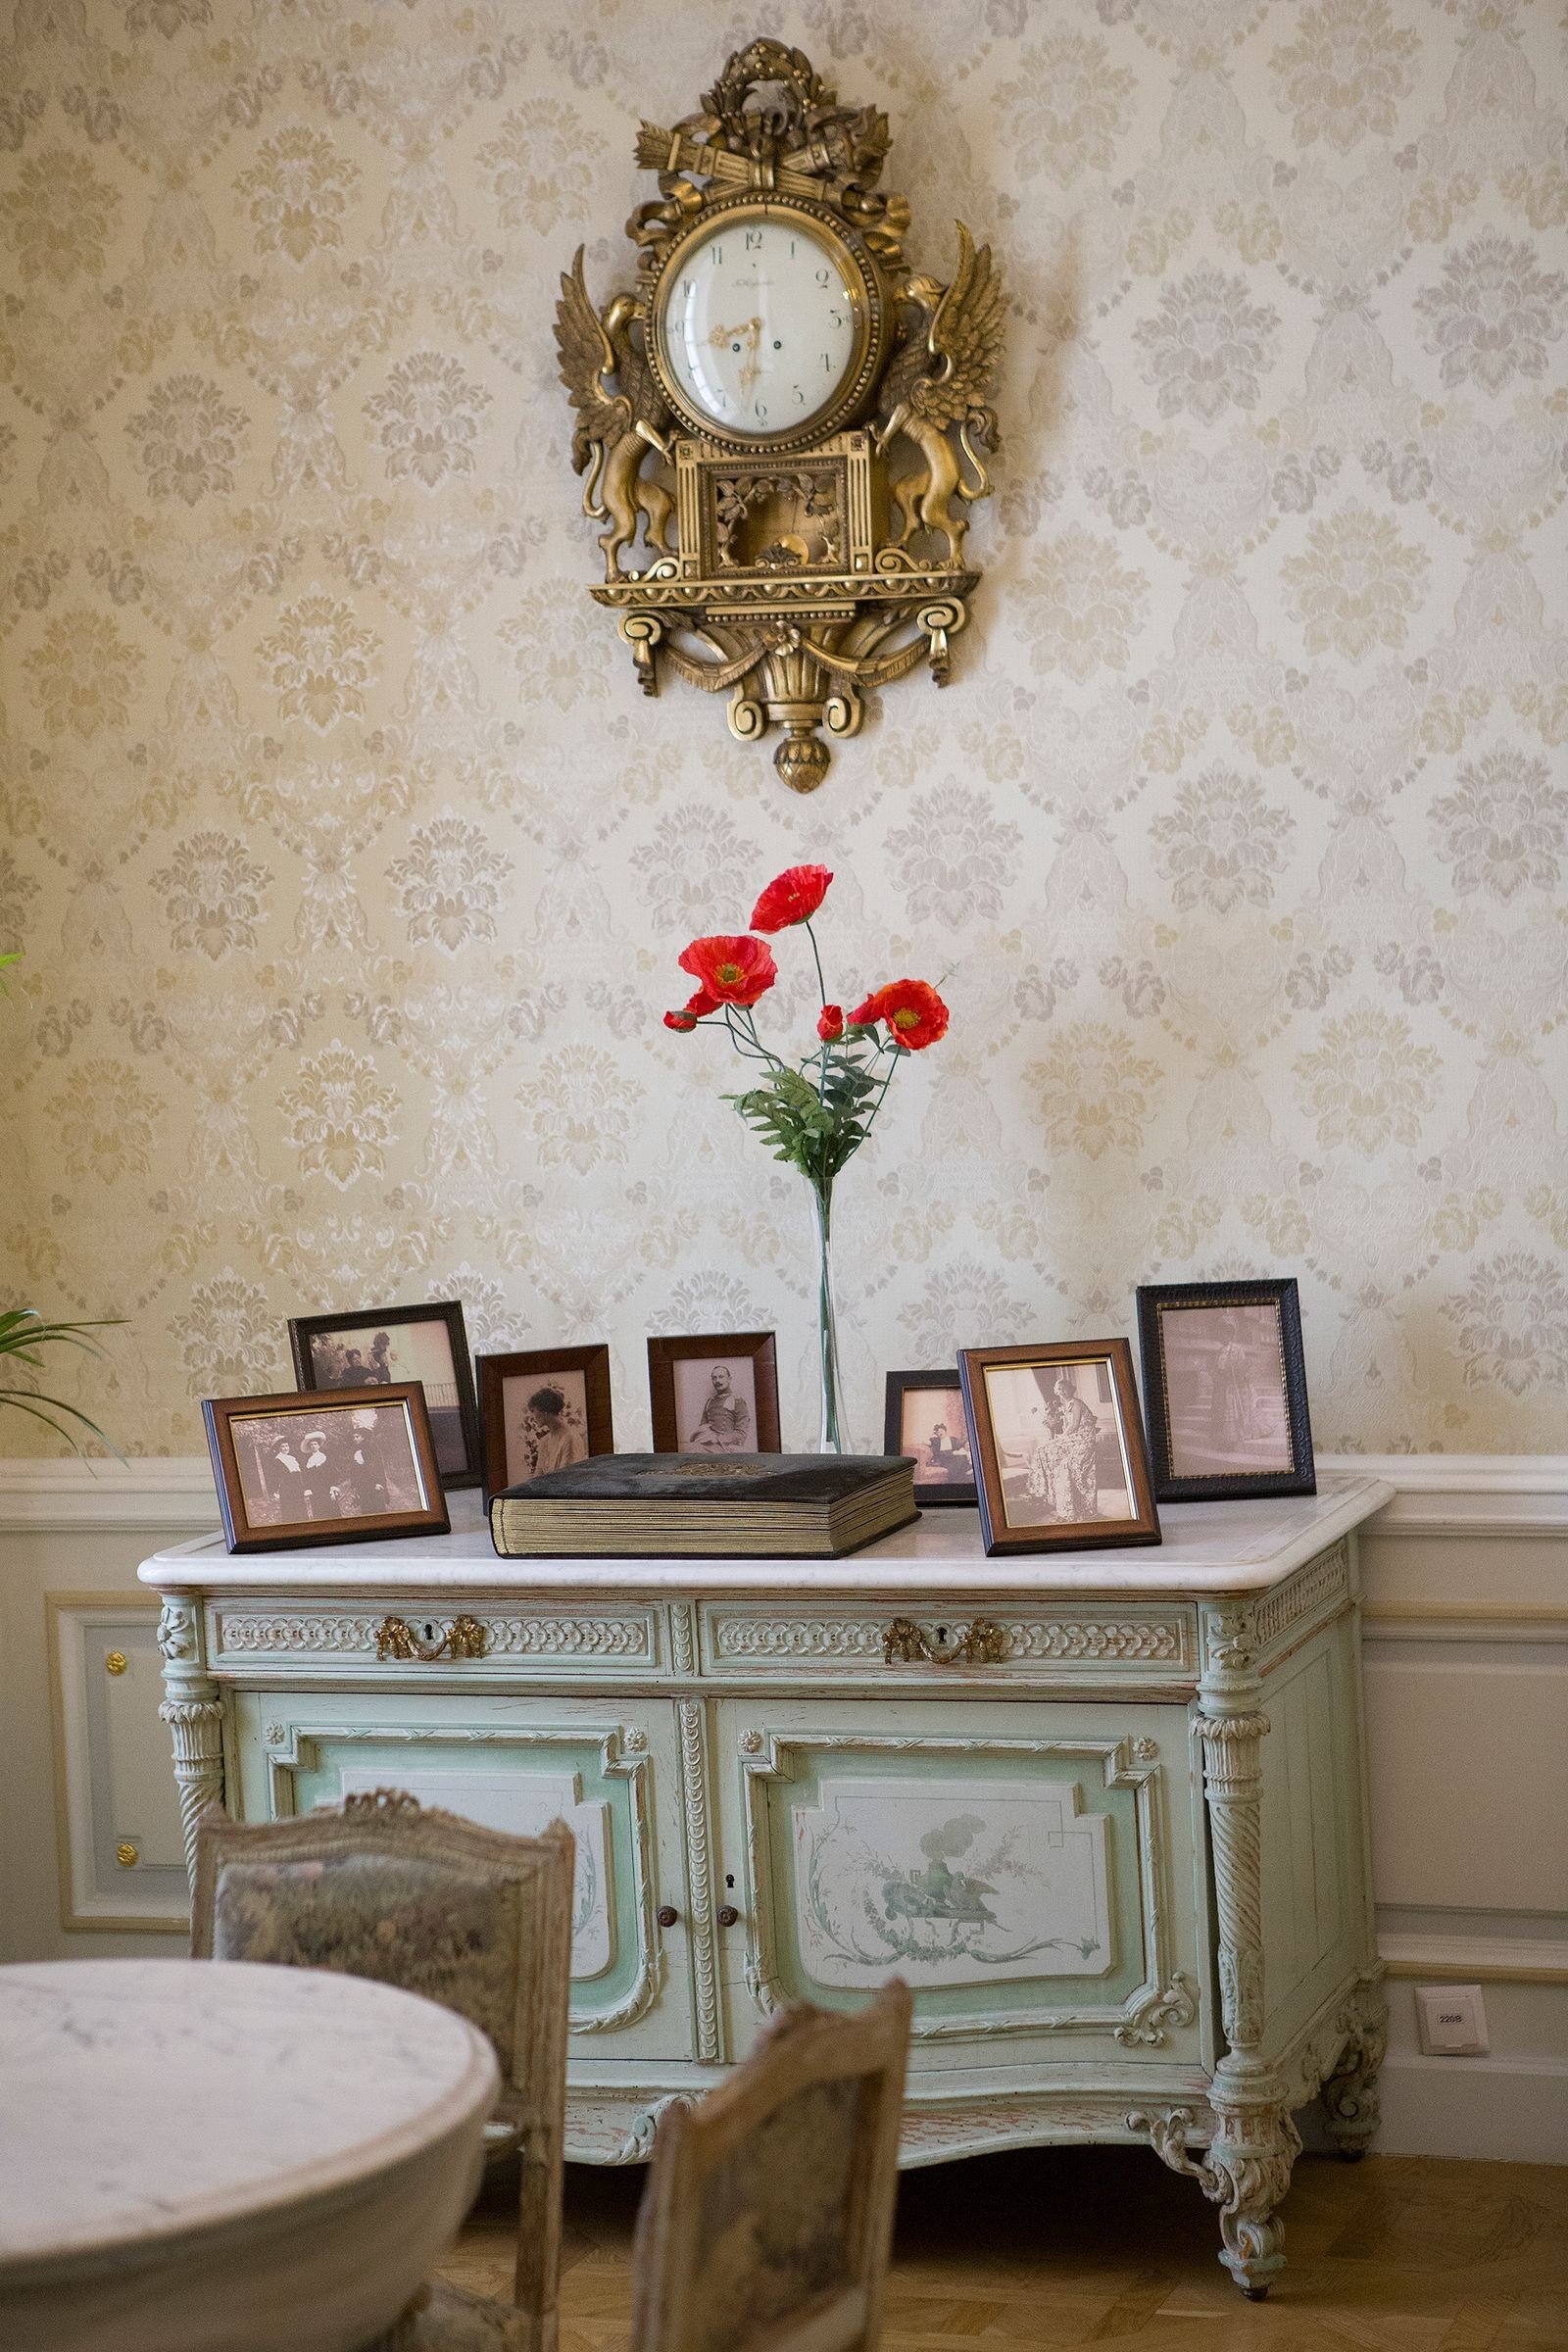
Rotating also solves the problem of too many beloved photos for one wall. Keep a curated set on display and an archive of prints ready to swap in. Children especially enjoy seeing new pictures appear, and the ritual of choosing the next rotation can become a lovely family tradition in itself.
Common Mistakes to Avoid
The most common mistake is hanging frames too high, so people must crane their necks to see them. Keep the centre at eye level. The second is spacing frames too far apart, which breaks the sense of a single display; two to four inches is ideal. The third is using too many different frame styles with no unifying element, which reads as clutter rather than collection.
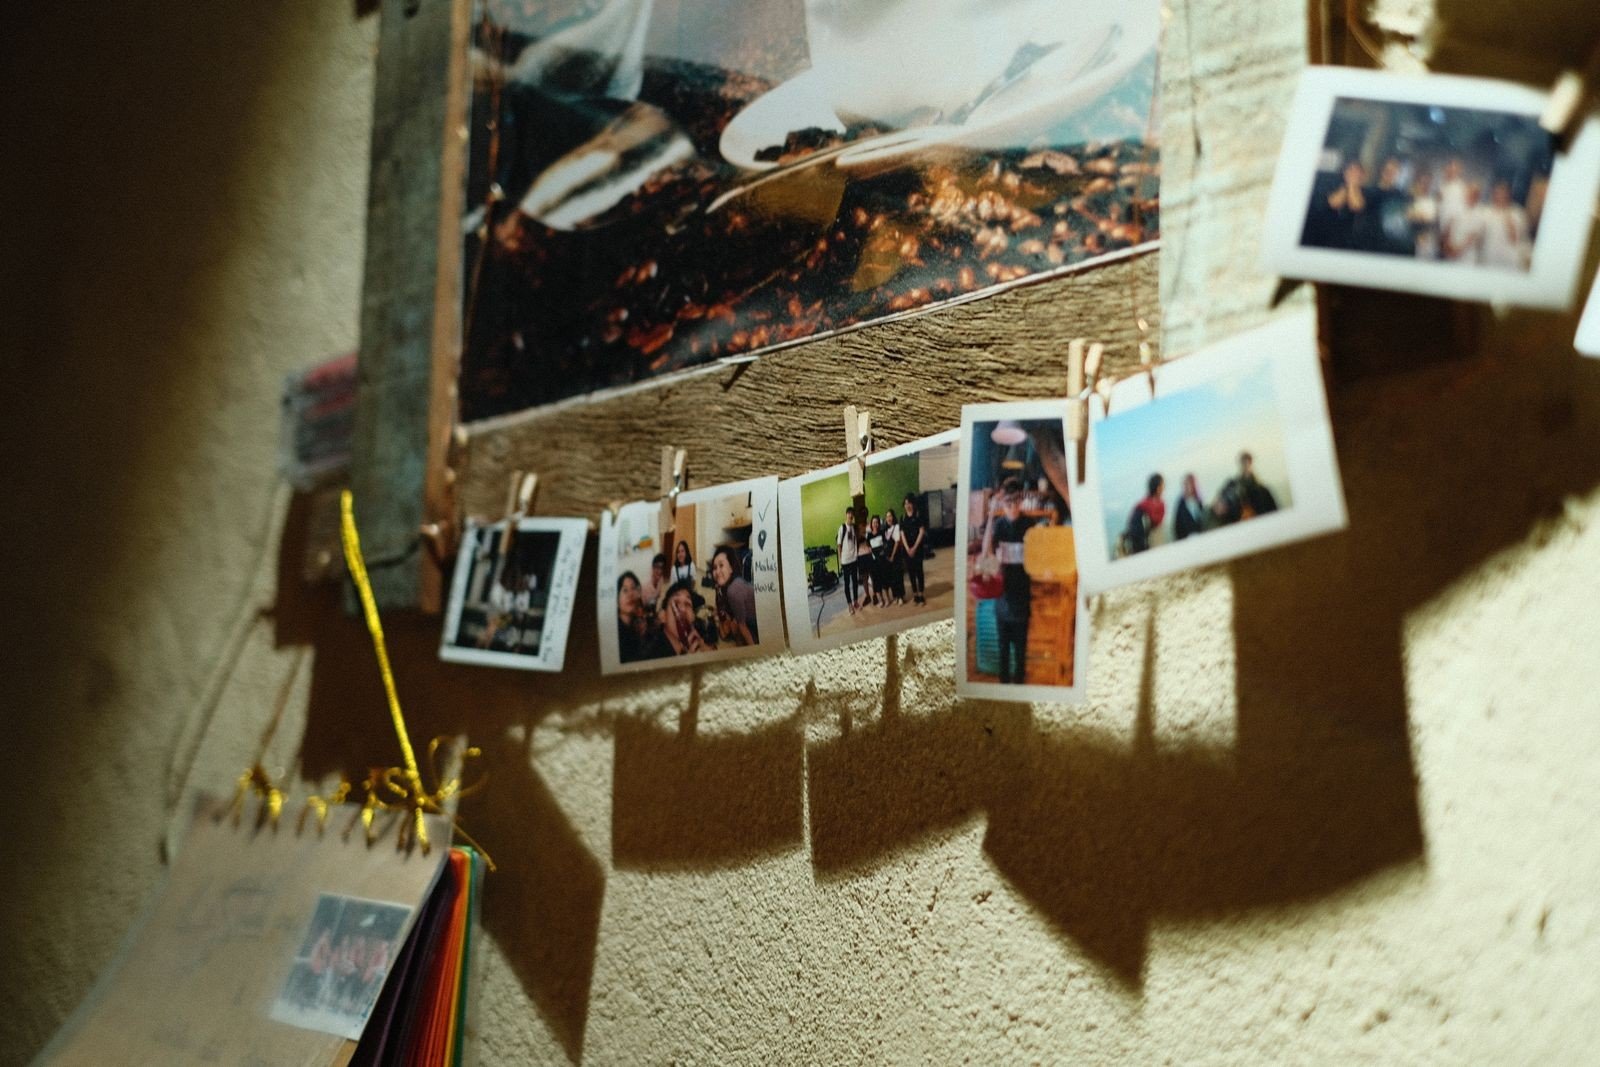
Other pitfalls include tiny prints in huge frames, which look lost, and poor-quality prints that pixelate when enlarged. Avoid hanging heavy frames with adhesive strips alone, and do not place precious originals in direct sunlight. A little planning prevents all of these mistakes and gives you a wall that looks intentional from the start.
Maintaining and Updating Your Wall
A photo wall needs occasional care. Dust frames monthly with a soft cloth, clean glass with a gentle cleaner, and check that hanging hardware stays secure, especially on stair walls. Replace any faded prints, and straighten frames after cleaning or after children have bumped them. These small habits keep the display looking fresh for years.
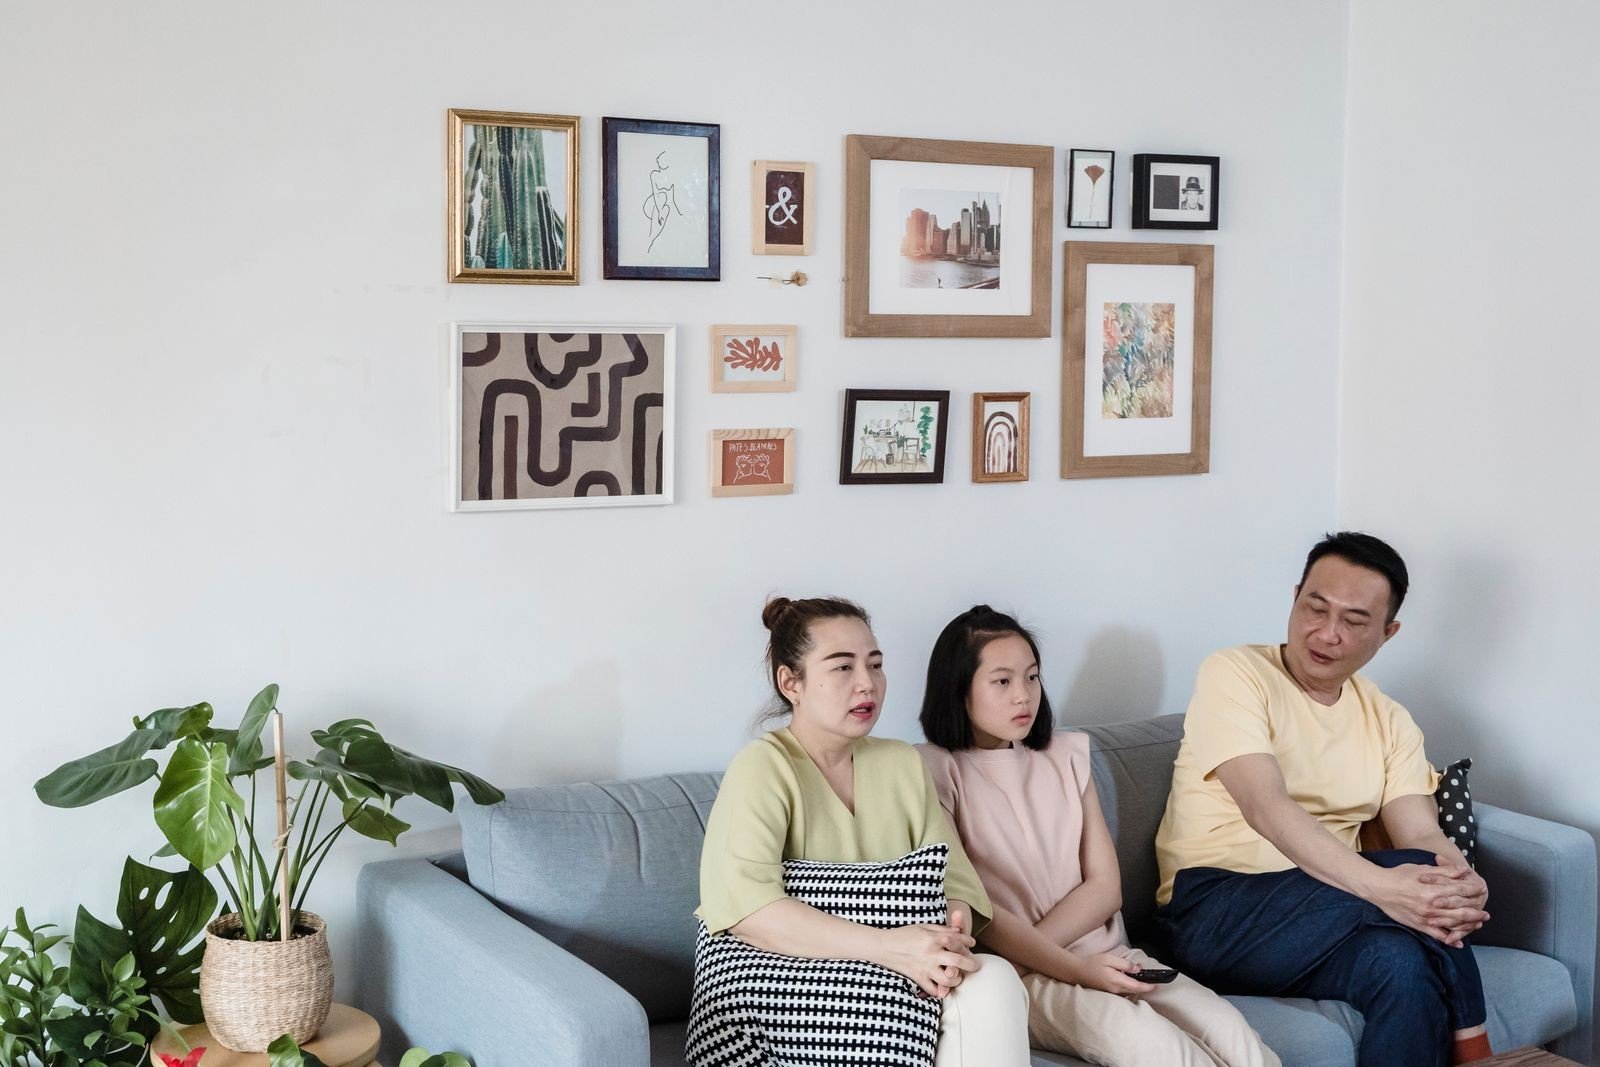
Update the wall as life happens: add graduations, new babies, and new adventures, and retire a few older photos to an album or a second wall. A living wall that grows with the family stays meaningful, while a frozen display slowly becomes background. Let the wall evolve, and it will always reflect who your family is now.
Final Inspiration for Your Family Wall
There is no single right way to build a family photo wall, only the way that feels like your family. Start with the photos you love most, choose a wall you pass every day, and hang the first frame. The rest will follow naturally, one memory at a time, until the wall becomes one of the most loved features of your home.
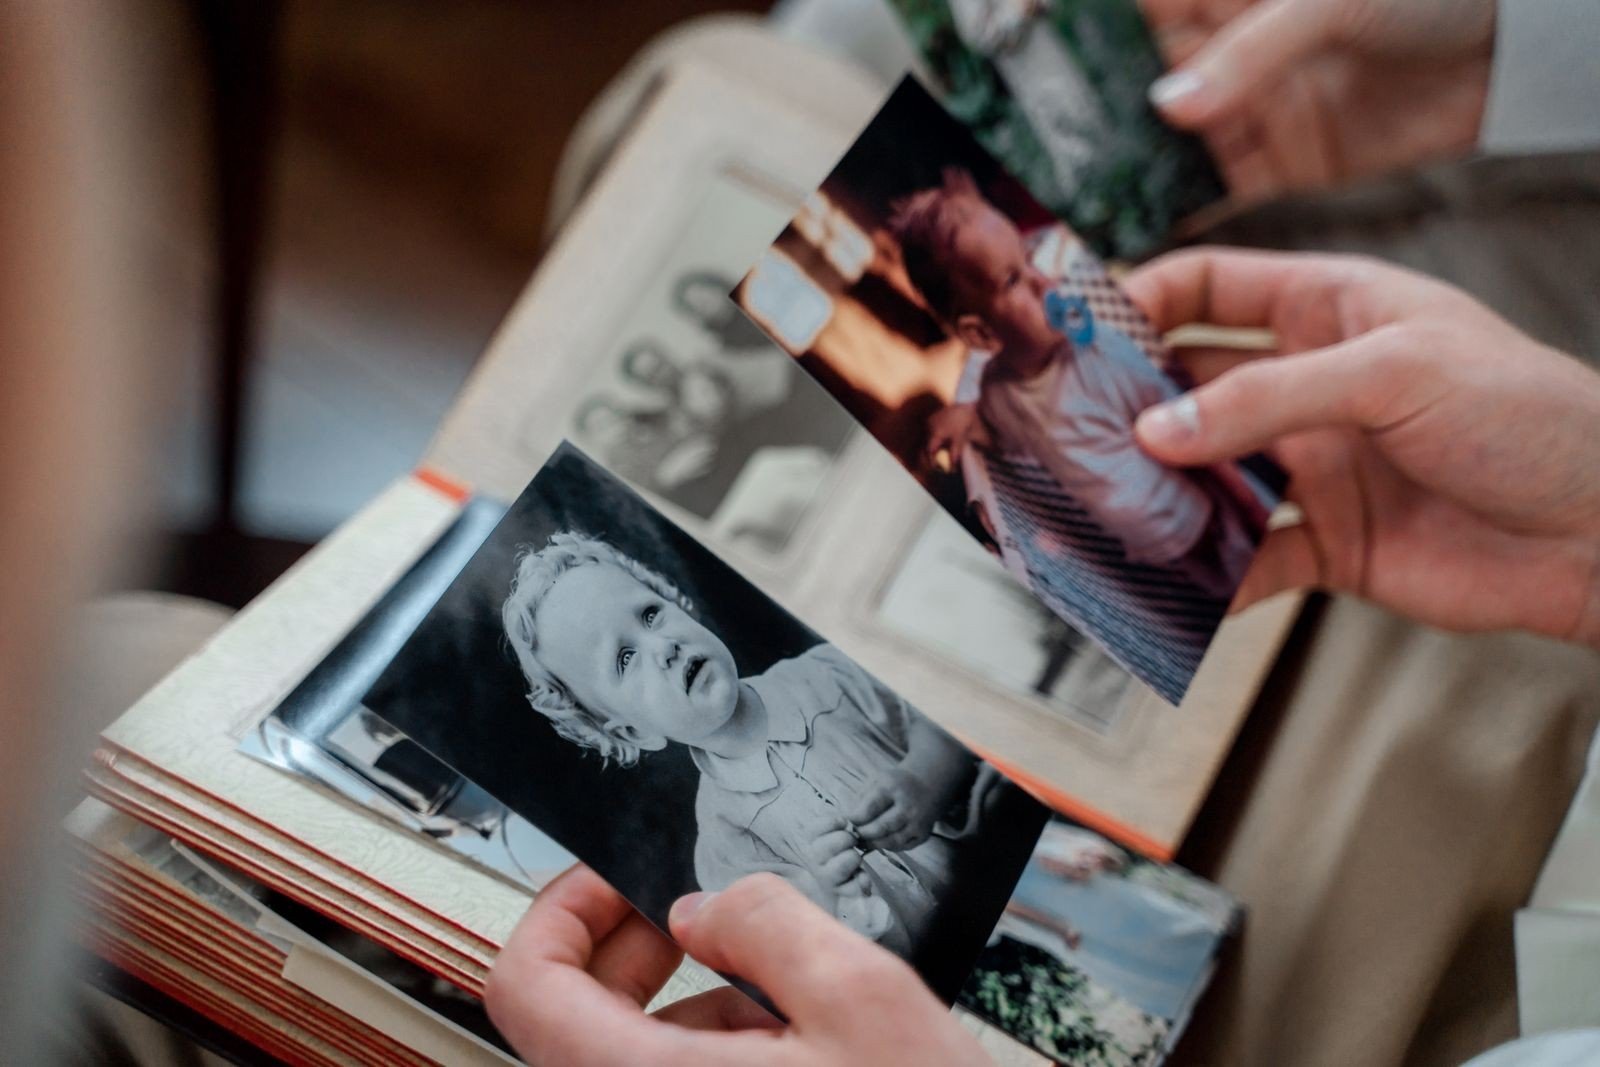
Do not wait for perfect frames or a perfect occasion. The imperfect, growing, heartfelt wall beats the planned-but-never-started one every time. Gather your prints, invite the family to choose favourites, and begin today. Years from now, you will be glad you did.

I am Talha Sikandar, a professional writer with a passion for general blogging. With years of experience in content writing and research, I founded Meaniingly.com to deliver well-researched, informative, and user-friendly articles on diverse topics.