Cabbage dumplings recipe
There is a particular satisfaction in pleating a dumpling shut with your own hands — the wrapper thin and elastic, the filling savory and juicy. Cabbage dumplings are the backbone of home-style Chinese cooking: cabbage keeps the filling moist without greasiness, it is cheap and available year-round, and it pairs beautifully with pork, chicken, shrimp, or tofu. This recipe covers mixing a tender wrapper dough, salting the cabbage properly (the step most beginners skip), folding five different pleats, and cooking your dumplings four ways — pan-fried, steamed, boiled, and air-fried — with exact ratios, resting times, and the small fixes that turn good dumplings into great ones.
Why Cabbage Dumplings Deserve a Spot in Your Kitchen
Ask any home cook who grew up folding dumplings and they will tell you the same thing: the filling matters more than the fold. Cabbage releases moisture slowly as it cooks, basting the meat from the inside and keeping every bite juicy — it brings its own moisture, you just have to manage it. A head of napa cabbage costs very little yet yields filling for sixty or more dumplings, making this one of the most economical impressive meals you can make. The flavor is mild and slightly sweet, pairing well with ginger, scallion, garlic, and white pepper. Cabbage dumplings also freeze exceptionally well, so one relaxed afternoon of folding stocks your freezer with weeks of fast dinners. Once you taste a homemade dumpling — chewy wrapper, juicy filling, black vinegar dip — the store-bought bag loses its appeal for good.
The Ingredients You’ll Need for Perfect Cabbage Dumplings
For the wrappers, you need just all-purpose flour, water, and a pinch of salt — about 300 grams of flour to 160 milliliters of water for roughly 40 wrappers. For the filling, the classic ratio is 500 grams of ground pork (not too lean; 20 percent fat is ideal), 400 grams of finely chopped napa cabbage, three sliced scallions, a tablespoon of grated ginger, two cloves of minced garlic, two tablespoons of soy sauce, one tablespoon of Shaoxing wine, a teaspoon of sesame oil, a teaspoon of salt, half a teaspoon of white pepper, and a teaspoon of sugar, plus cornstarch for dusting and black vinegar, soy sauce, and chili oil for serving. Beyond a rolling pin, a large bowl, and a skillet or steamer, no specialty equipment is needed. Store-bought round wrappers work fine — but try homemade dough at least once, because the chew is noticeably better.
Choosing the Right Cabbage (and How to Prep It)
Napa cabbage is the traditional choice and, frankly, the best one for this recipe. Its leaves are tender, its flavor is sweet and mild, and it wilts down without turning stringy. Regular green cabbage works in a pinch, but it is denser and needs finer chopping plus a longer salting time. Savoy cabbage is a fine middle ground. Whichever you use, pick a head that feels heavy for its size with crisp, unblemished leaves. To prep, quarter the cabbage lengthwise, cut out the dense core, and slice it into thin ribbons before chopping crosswise into pieces roughly the size of grains of rice — small enough to fold neatly, large enough to keep some texture. Rinse the chopped cabbage in cold water and spin or pat it dry before salting; excess surface water dilutes the filling. One medium head of napa (about 800 grams whole) gives you the 400 grams of chopped cabbage this recipe needs after coring and trimming.
Making the Dumpling Dough From Scratch
Homemade dumpling dough sounds like a project, but it is ten minutes of actual work plus resting time. Whisk 300 grams of all-purpose flour with half a teaspoon of salt in a large bowl. Pour in 160 milliliters of just-boiled water while stirring with chopsticks — the hot water partially cooks the starch, giving you a wrapper that is tender yet strong. When the mixture looks shaggy, switch to your hands and knead for eight to ten minutes until the dough is smooth and springs back lightly when poked. Cover it with a damp towel or plastic wrap and rest it for at least 30 minutes (an hour is better); resting relaxes the gluten so the wrappers roll thin without springing back. To portion, roll the dough into a long rope about 2.5 centimeters thick and cut it into 10-gram pieces — a kitchen scale helps, but eyeballing uniform pieces works fine. Keep the pieces covered while you roll each into a 10-centimeter circle, slightly thicker in the center and thin at the edges.
The Secret to a Juicy, Flavorful Filling
Juiciness comes from three things: fat, water management, and emulsion. Start with ground pork that has real fat — 80/20 is the sweet spot — because lean meat makes dry dumplings no matter what else you do. Salt and squeeze the chopped cabbage so you control exactly how much moisture goes into the mix. Then stir the filling in one direction for three to four minutes until tacky and cohesive; this develops the proteins into a paste that traps juices during cooking. For extra juiciness, beat in two to three tablespoons of cold water or stock, a spoonful at a time. Always fry a tiny test patty to check seasoning before folding the batch.
Pork vs. Chicken vs. Vegetarian: Picking Your Protein
Pork is the classic for a reason: its fat content and mild flavor make the most forgiving, juicy dumpling. Choose ground pork shoulder or belly blends over lean loin. Chicken works well too — use thigh meat rather than breast, and consider adding a tablespoon of oil or an extra splash of stock since chicken is leaner. For a vegetarian version, replace the meat with a combination of crumbled firm tofu (pressed well), finely chopped shiitake mushrooms, and grated carrot; add an extra teaspoon of sesame oil and a spoonful of mushroom soy sauce for depth. Shrimp and cabbage is another beloved combination — chop the shrimp coarsely rather than mincing so you get bouncy bites, and reduce the salt slightly since shrimp brings its own salinity. Whichever protein you choose, keep the total filling weight and the cabbage ratio the same, and always cook a test piece to check seasoning before committing to the whole batch.
How to Salt and Squeeze Cabbage the Right Way
This is the step that separates juicy dumplings from soggy ones. Toss your 400 grams of chopped cabbage with one teaspoon of salt and let it sit for 15 to 20 minutes. The salt draws out a surprising amount of water — often a quarter cup or more. Now squeeze: grab handfuls of the cabbage and wring them out over the sink or a bowl until no more liquid streams out. Be thorough but not obsessive; you want the cabbage damp, not bone-dry, because some moisture is what makes the filling juicy. If you skip this step, the filling releases water as it cooks, the wrappers turn gummy, and the dumplings can burst. If you are using regular green cabbage instead of napa, salt it for a full 30 minutes and squeeze twice. One more tip: save the squeezed cabbage liquid. A spoonful whisked into your dipping sauce adds a subtle savory note, and the rest can go into soup stock.
Step-by-Step: Mixing and Resting the Filling
With your cabbage salted and squeezed, combine it in a large bowl with the ground pork, scallions, ginger, and garlic. Add the soy sauce, Shaoxing wine, sesame oil, white pepper, sugar, and remaining salt. Now stir — and keep stirring in the same direction for three to four minutes. You are looking for a visible change: the mixture goes from loose and separate to sticky and unified, pulling away from the sides of the bowl slightly. This is the protein emulsion forming, and it is what keeps the filling cohesive and juicy. If you want extra juiciness, beat in two tablespoons of cold water or stock one spoonful at a time during the last minute of stirring. Cover the bowl and refrigerate the filling for at least 20 minutes (up to overnight). Chilling firms up the fat, which makes the filling easier to portion and helps it stay juicy during cooking. Cold filling on room-temperature wrappers also folds more neatly.
How to Fold Dumplings: 5 Beginner-Friendly Pleats
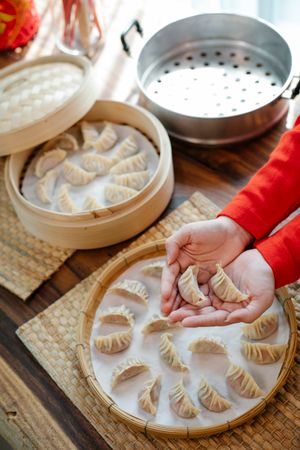
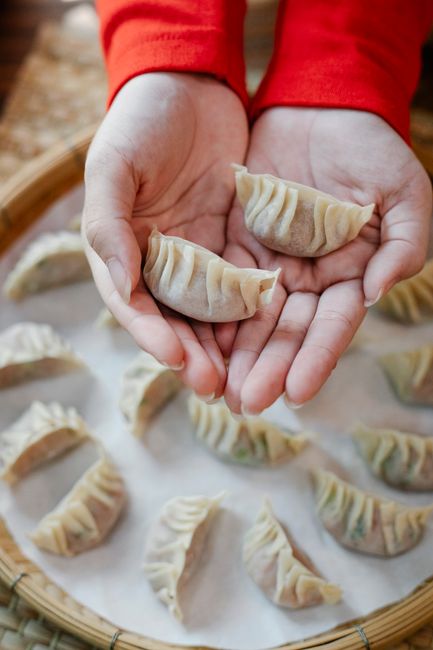
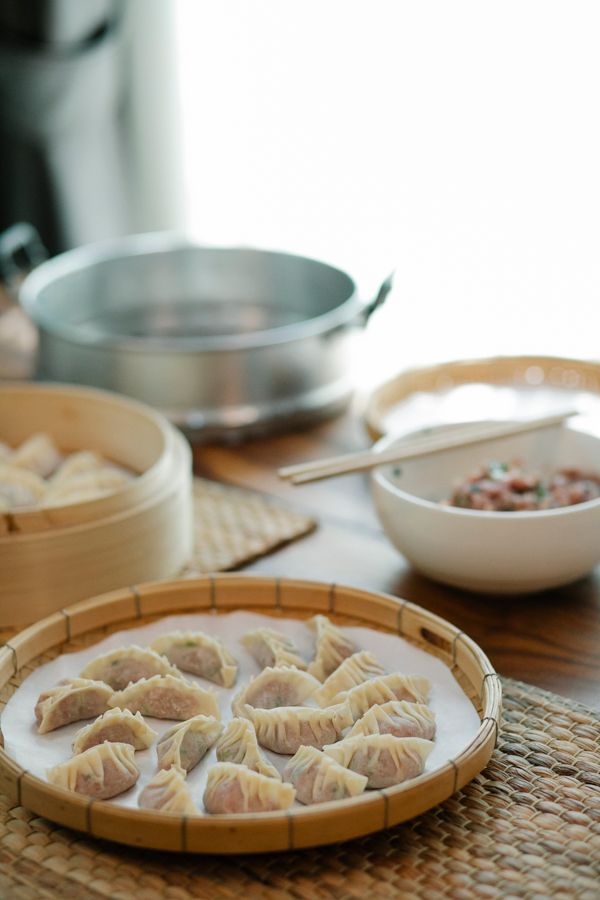
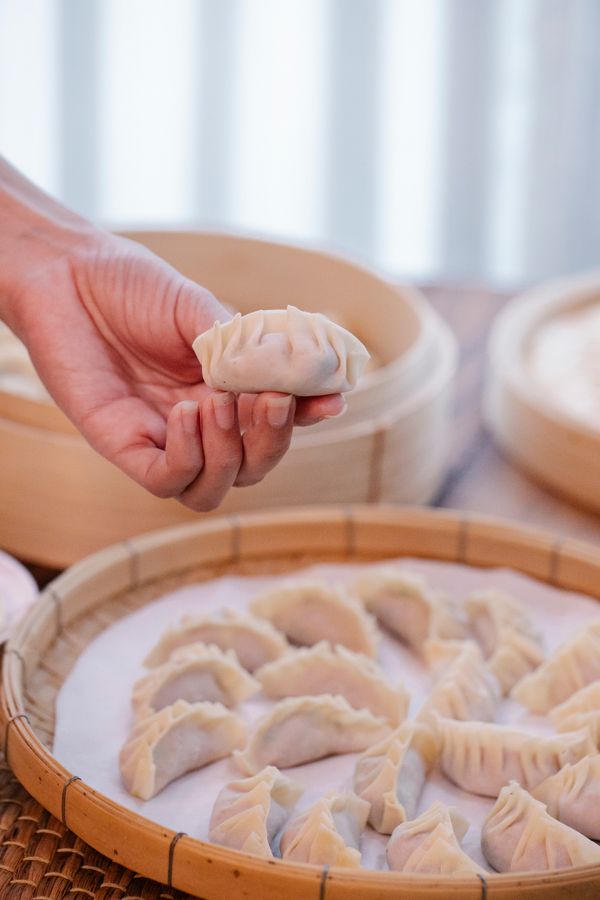
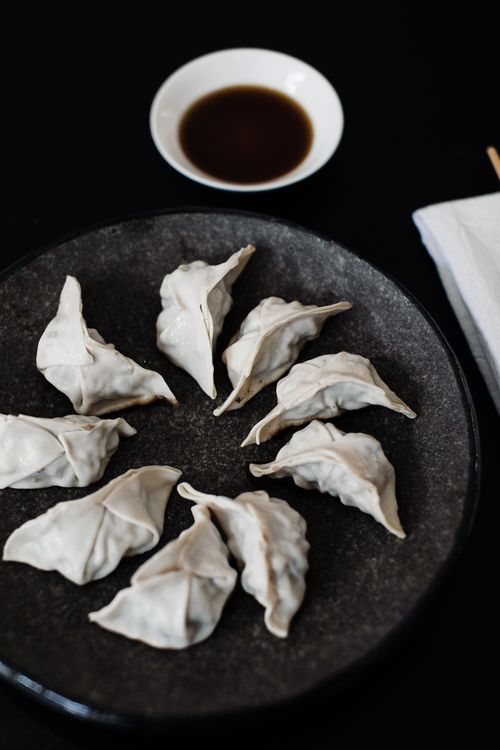
Folding looks intimidating until your tenth dumpling; by your thirtieth you will have a rhythm. Start with the simple half-moon: a tablespoon of filling in the center, moisten the edge, fold in half, and press firmly to seal. The pleated crescent is the classic — five to seven small pleats along one edge, pressed into the opposite side. The triangle fold seals three corners for a plump shape that is great for boiling. The round purse gathers the wrapper up and twists to seal, beautiful when steamed. None needs to be perfect; an ugly but well-sealed dumpling tastes exactly as good as a pretty one. Work with six wrappers at a time, keeping the rest covered so they do not dry out.
The Classic Half-Moon Fold, Explained
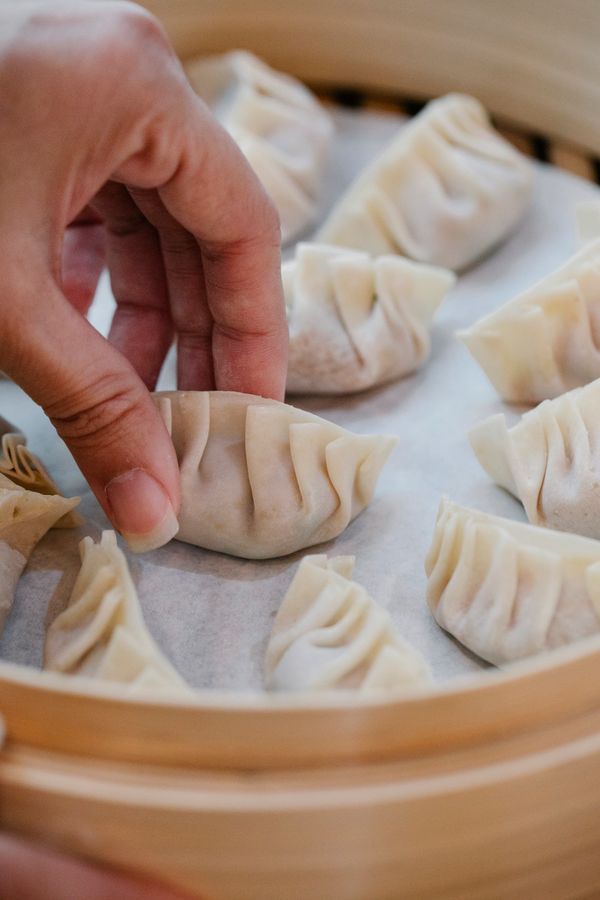
Hold a wrapper in your non-dominant hand and place one level tablespoon of filling just below center — resist overfilling, the number one cause of bursting. Run a damp fingertip around the edge; this is the glue. Fold in half and pinch the top center shut. Starting from the center and working outward, make small pleats in the front edge only, pressing each firmly against the flat back edge, then repeat on the other side. You should get a crescent that sits upright, plump in the middle. Press out air pockets as you seal — trapped air expands and can split the wrapper. If one tears, patch it with water and a scrap of dough. Speed comes with practice, but slow, careful folds produce delicious dumplings.
Sealing Tricks So Your Dumplings Never Burst

Burst dumplings are almost always a sealing problem, not a recipe problem. First, keep filling away from the sealing edge — even a smear of grease prevents the dough from sticking to itself, so wipe the rim with a damp finger if needed. Second, use water as your adhesive on homemade wrappers, which can dry out while you work; store-bought wrappers are usually moist enough on their own. Third, press firmly and go over the seal twice, squeezing out air as you go. Fourth, do not overfill: one tablespoon per standard wrapper is plenty, and the dumpling should close without stretching the dough taut. If your kitchen is warm or you are folding slowly, keep assembled dumplings under a damp towel so the exposed dough does not dry and crack. Finally, dust your tray with flour or cornstarch and do not let dumplings touch each other — they will fuse together and tear when you try to separate them. A well-sealed dumpling feels slightly firm and shows no gaps along the crimped edge.
Pan-Frying: Crispy Gyoza-Style Bottoms
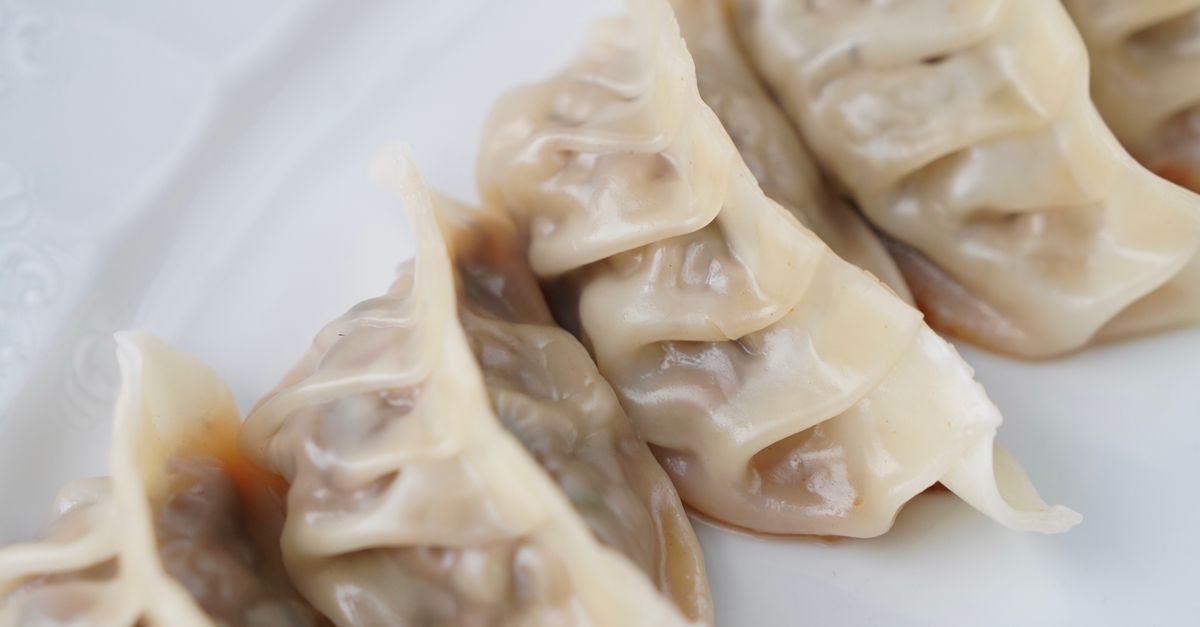
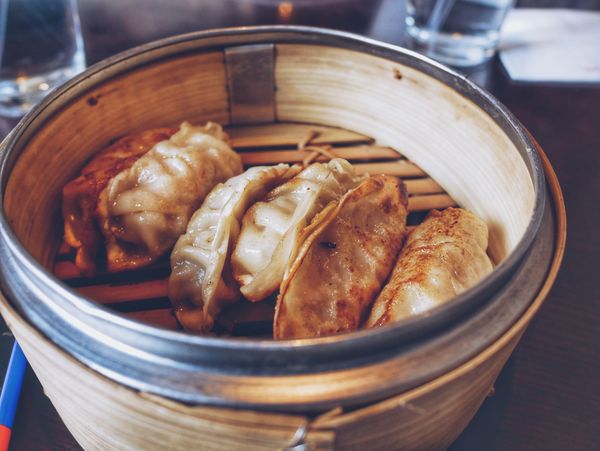
Pan-frying — the potsticker method — gives you the best of both worlds: a shattering crisp bottom and a tender steamed top. Heat two tablespoons of neutral oil in a large nonstick or well-seasoned skillet over medium-high heat. Arrange the dumplings flat-side down in a single layer without crowding, and fry undisturbed for two to three minutes until the bottoms are deep golden. Now add 120 milliliters of water (about half a cup) and immediately clamp on a tight lid — the water will steam violently, so stand back. Reduce the heat to medium and steam for six to eight minutes until the water has evaporated and the wrappers look translucent. Remove the lid, drizzle in a teaspoon of sesame oil, and let the bottoms re-crisp for one to two minutes. For a lacy skirt, whisk a teaspoon of flour into the water first; the starch forms a delicate crispy lattice. Slide the batch out with a spatula and serve bottom-side up.
Steaming for Tender, Delicate Dumplings
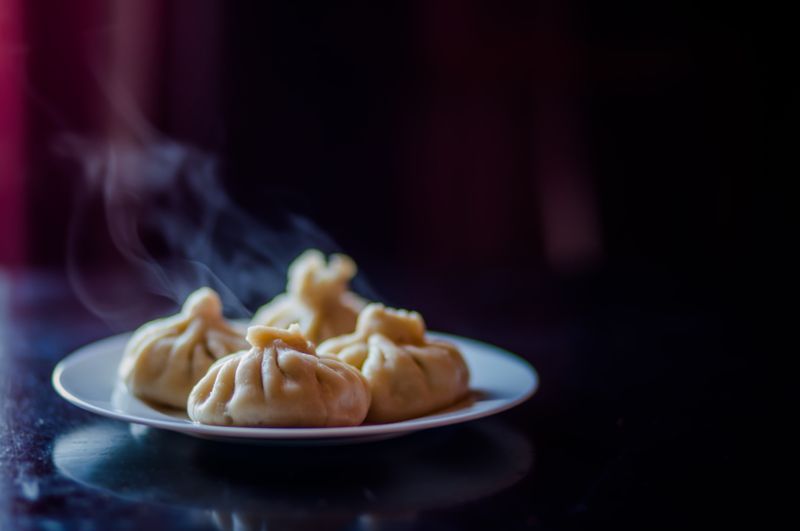
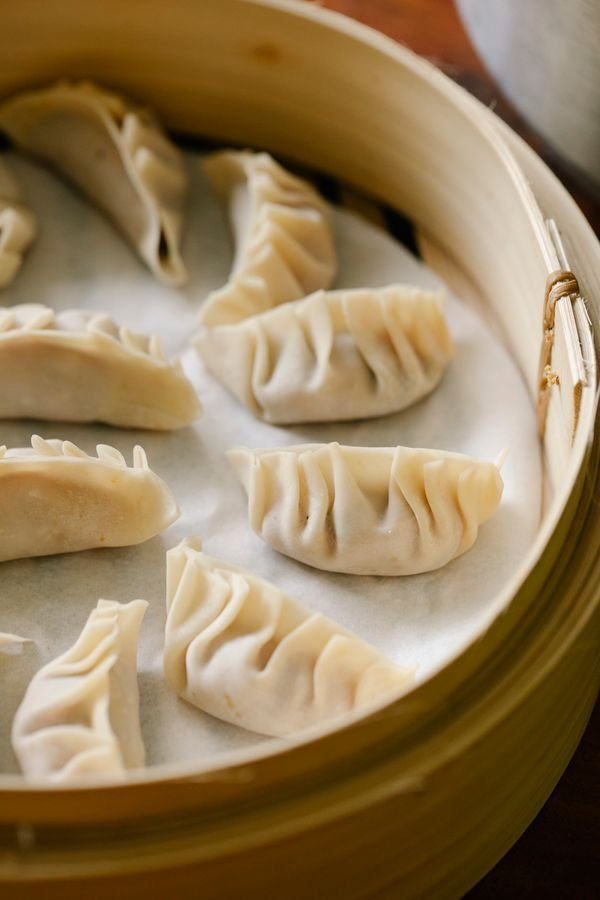
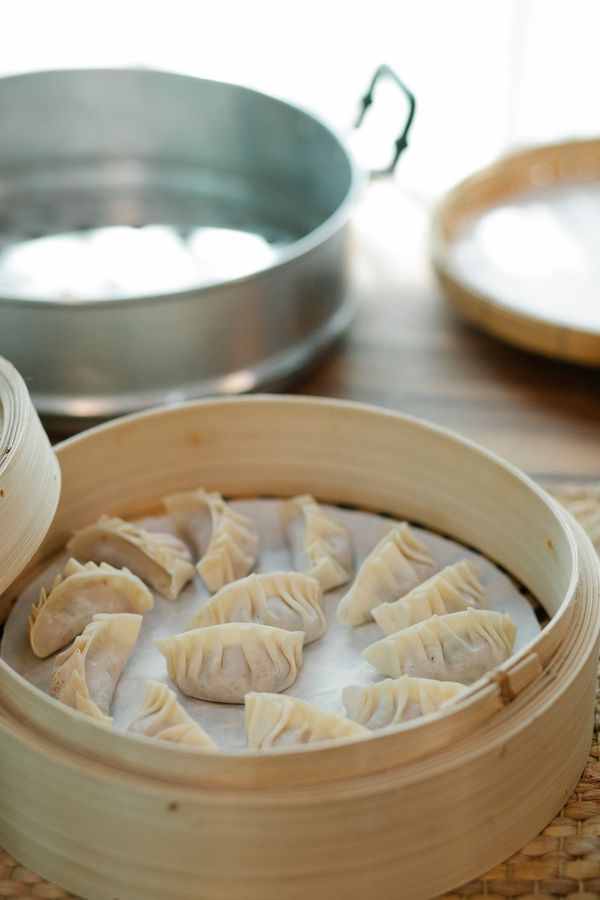
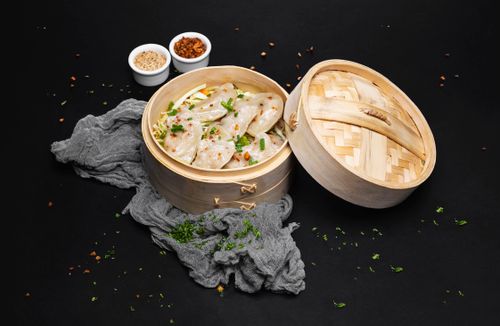
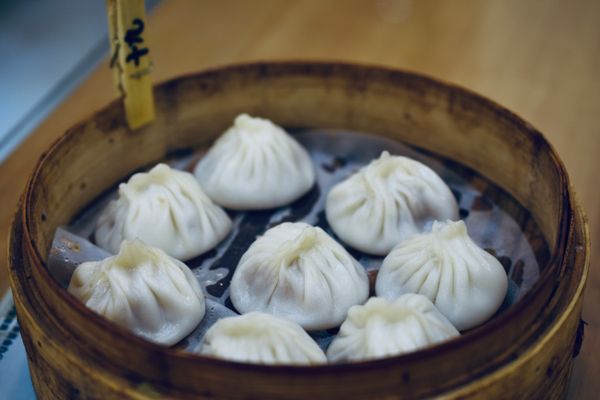
Steaming is the gentlest method and the best way to taste the pure flavor of your filling. Line a bamboo steamer with cabbage leaves or perforated parchment — never place dumplings directly on the bamboo, or they will stick and tear. Bring the water in your wok or pot to a rolling boil first, then set the steamer over it and arrange the dumplings at least two centimeters apart; they expand as they cook. Steam fresh dumplings for eight to ten minutes, frozen ones for twelve to fourteen, keeping the lid on the whole time. Resist peeking during the first five minutes, since the temperature drop can make wrappers gummy. The dumplings are done when the wrappers look slightly translucent and feel firm but springy to a gentle poke. Let them rest in the steamer with the lid ajar for one minute before lifting them out — this prevents the shock of cool air from wrinkling the skins. Serve immediately with black vinegar and ginger slivers.
Boiling Like a Pro (The Cold-Water Method)
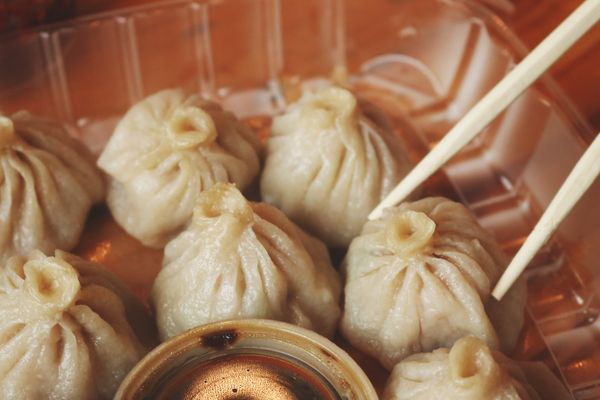
Boiled dumplings are the everyday workhorse of northern Chinese home cooking, and the traditional method uses three additions of cold water. Bring a large pot of water to a full boil — use plenty of water so the dumplings can move freely. Gently lower in the dumplings, stirring once immediately with the back of a spoon to prevent sticking. When the water returns to a boil, add one cup of cold water. Repeat this twice more, for three cold-water additions total. The dumplings are done when they all float to the surface and the wrappers look slightly puffy and translucent, usually eight to ten minutes for fresh and a bit longer for frozen. The cold water keeps the boil gentle so the wrappers cook through without the violent bubbling that bursts them. Scoop them out with a slotted spoon, let them drain for thirty seconds, and serve hot. Boiled dumplings pair especially well with a simple dipping sauce of black vinegar, a splash of soy, and chili oil.
Air Fryer Dumplings: A Modern Shortcut
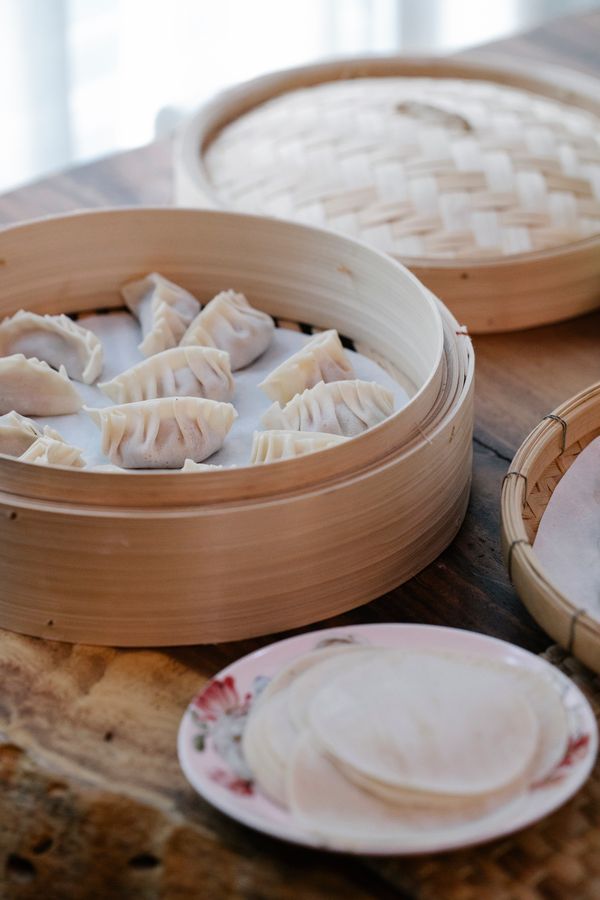
The air fryer will not replace a skillet for true potsticker crunch, but it is a genuinely good hands-off option, especially for frozen dumplings. Preheat the air fryer to 190°C (375°F) for three minutes. Lightly spray the basket and the dumplings with oil — this is essential, since air-fried wrappers dry out without it. Arrange the dumplings in a single layer with space between them and cook for eight to ten minutes, flipping halfway through, until golden and crisp. Frozen dumplings go straight in from the freezer; just add two to three minutes. The texture lands somewhere between fried and baked: crisp edges, chewy wrapper, fully cooked filling. They are excellent for weeknight dinners when you do not want to stand over a stove. Serve with the same dipping sauces, and note that air-fried dumplings cool and firm up faster than pan-fried ones, so get them to the table quickly. For extra crunch, finish with a 60-second blast at 200°C (400°F).
The Ultimate Dumpling Dipping Sauces
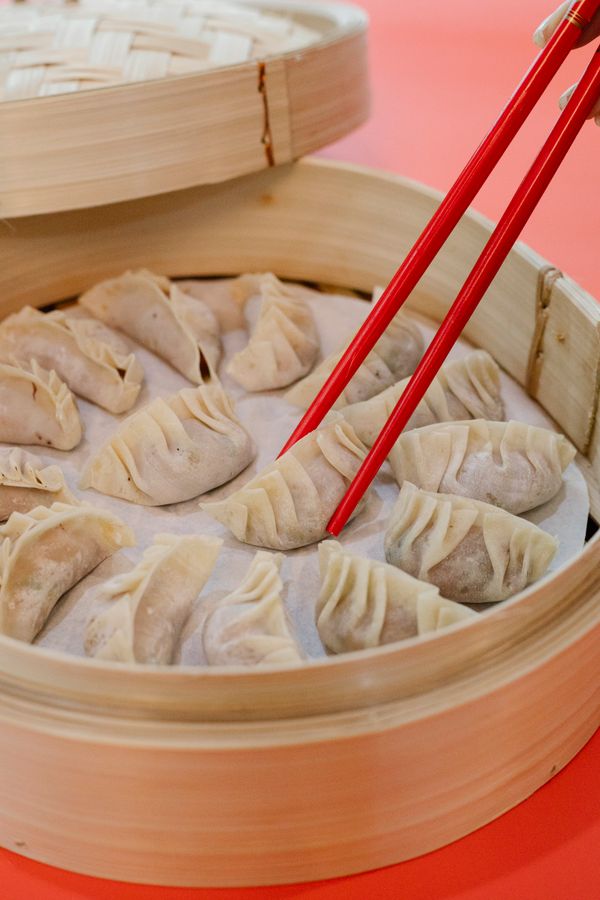
A great dipping sauce is non-negotiable. The classic northern Chinese dip is two parts black vinegar (Chinkiang) to one part light soy sauce, with slivers of fresh ginger — the vinegar’s malty tang cuts the pork’s richness beautifully. For heat, spoon chili oil over the top or mix in chili crisp. A ginger-scallion oil (minced ginger and scallion warmed in hot oil with salt) is fragrant with steamed dumplings. For a creamy option, whisk sesame paste with soy, vinegar, and warm water until pourable, then add garlic and chili. Set out two or three sauces for a crowd and let people mix their own; leftovers keep a week refrigerated.
Make-Ahead and Freezing Guide
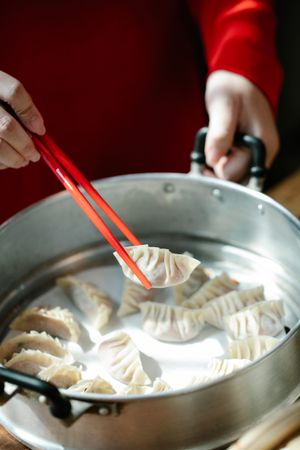
Arrange freshly folded dumplings on a parchment-lined, floured baking sheet without touching. Freeze until solid — about two hours — then transfer to freezer bags with as much air pressed out as possible. They keep up to three months. Cook straight from frozen; never thaw first, since thawed wrappers get sticky and tear — just add two to four minutes to the fresh cooking time. Uncooked filling keeps 24 hours refrigerated, and well-wrapped dough keeps two days (it may darken slightly). Label bags with the date and filling type for easy choosing later.
Common Dumpling Mistakes and How to Fix Them
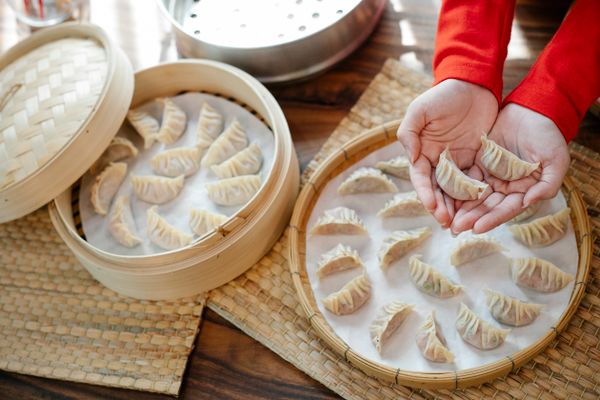
Soggy filling means the cabbage was not squeezed enough — salt longer and wring harder next time. Tough wrappers mean under-rested dough or rolling too thick; rest a full hour and roll edges thinner than the center. Bursting in the pot is usually overfilling or weak seals — use a level tablespoon and double-press every seam. Sticking is fixed with cabbage-leaf liners, parchment, or flour dusting. Burnt bottoms with raw filling means heat too high; use medium heat and a proper lid-steaming stage. Bland filling means under-seasoning — always fry a test patty first. And a tightly sealed plain half-moon beats a leaky fancy pleat every time.
Serving Ideas: Turning Dumplings Into a Full Meal
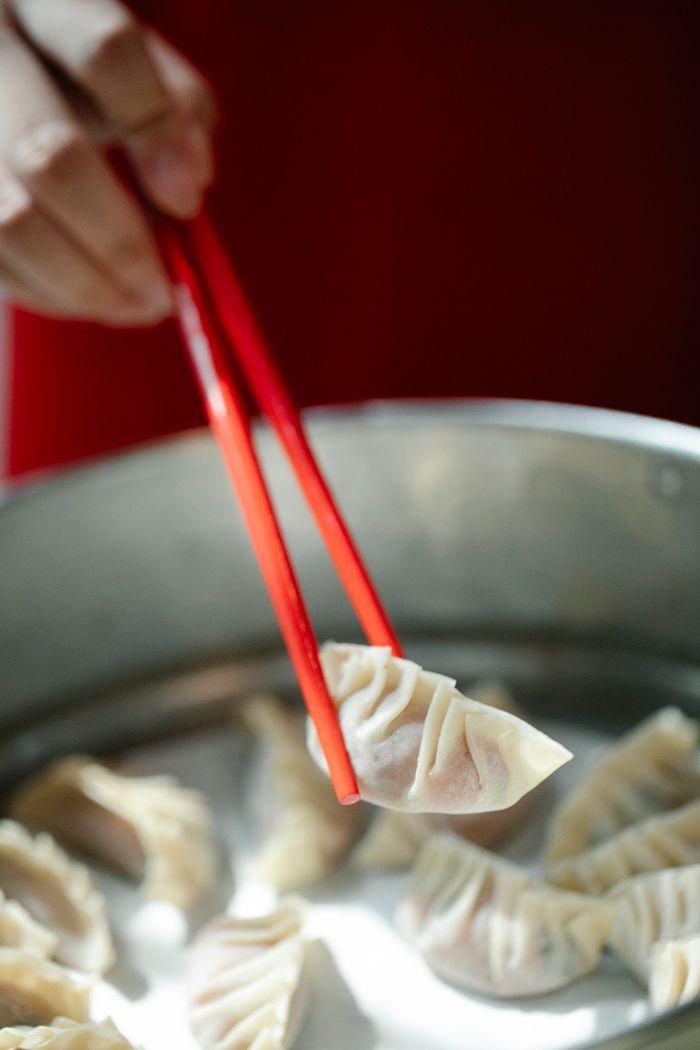
Twelve to fifteen dumplings per person makes a satisfying main, and simple sides turn it into a feast. Hot-and-sour or egg-drop soup makes a perfect starter from pantry staples. Smashed cucumber salad with garlic, vinegar, and sesame oil adds cool crunch against the rich dumplings. For greens, garlic-sautéed bok choy takes five minutes. Feeding a crowd? Set up a dumpling party: filling, wrappers, and a quick folding demo, then let guests pleat their own. Jasmine tea is traditional, but a cold lager or dry Riesling pairs wonderfully. Finish with orange slices or red-bean soup to cleanse the palate.
FAQs About Homemade Cabbage Dumplings

Can I use store-bought wrappers? Absolutely. Look for thin, round white wrappers in the refrigerated section. They save significant time, though homemade dough has a chewier, more tender bite.
How do I keep dumplings from sticking together? Dust the tray generously with flour or cornstarch, keep dumplings from touching, and for steaming, line the basket with cabbage leaves or parchment.
Can I make the filling ahead? Yes — the mixed filling keeps for 24 hours refrigerated. In fact, an overnight rest deepens the flavor. Just keep it well covered.
Why did my dumplings fall apart when boiling? Usually overfilling or weak seals. Use one tablespoon of filling, press seals twice, and use the gentle cold-water boiling method described above.
How many dumplings does this recipe make? About 40 to 45 dumplings, serving 3 to 4 people as a main course. Double the recipe if you want a freezer stash — the effort barely increases.

I am Talha Sikandar, a professional writer with a passion for general blogging. With years of experience in content writing and research, I founded Meaniingly.com to deliver well-researched, informative, and user-friendly articles on diverse topics.