Monster eye deviled eggs recipe
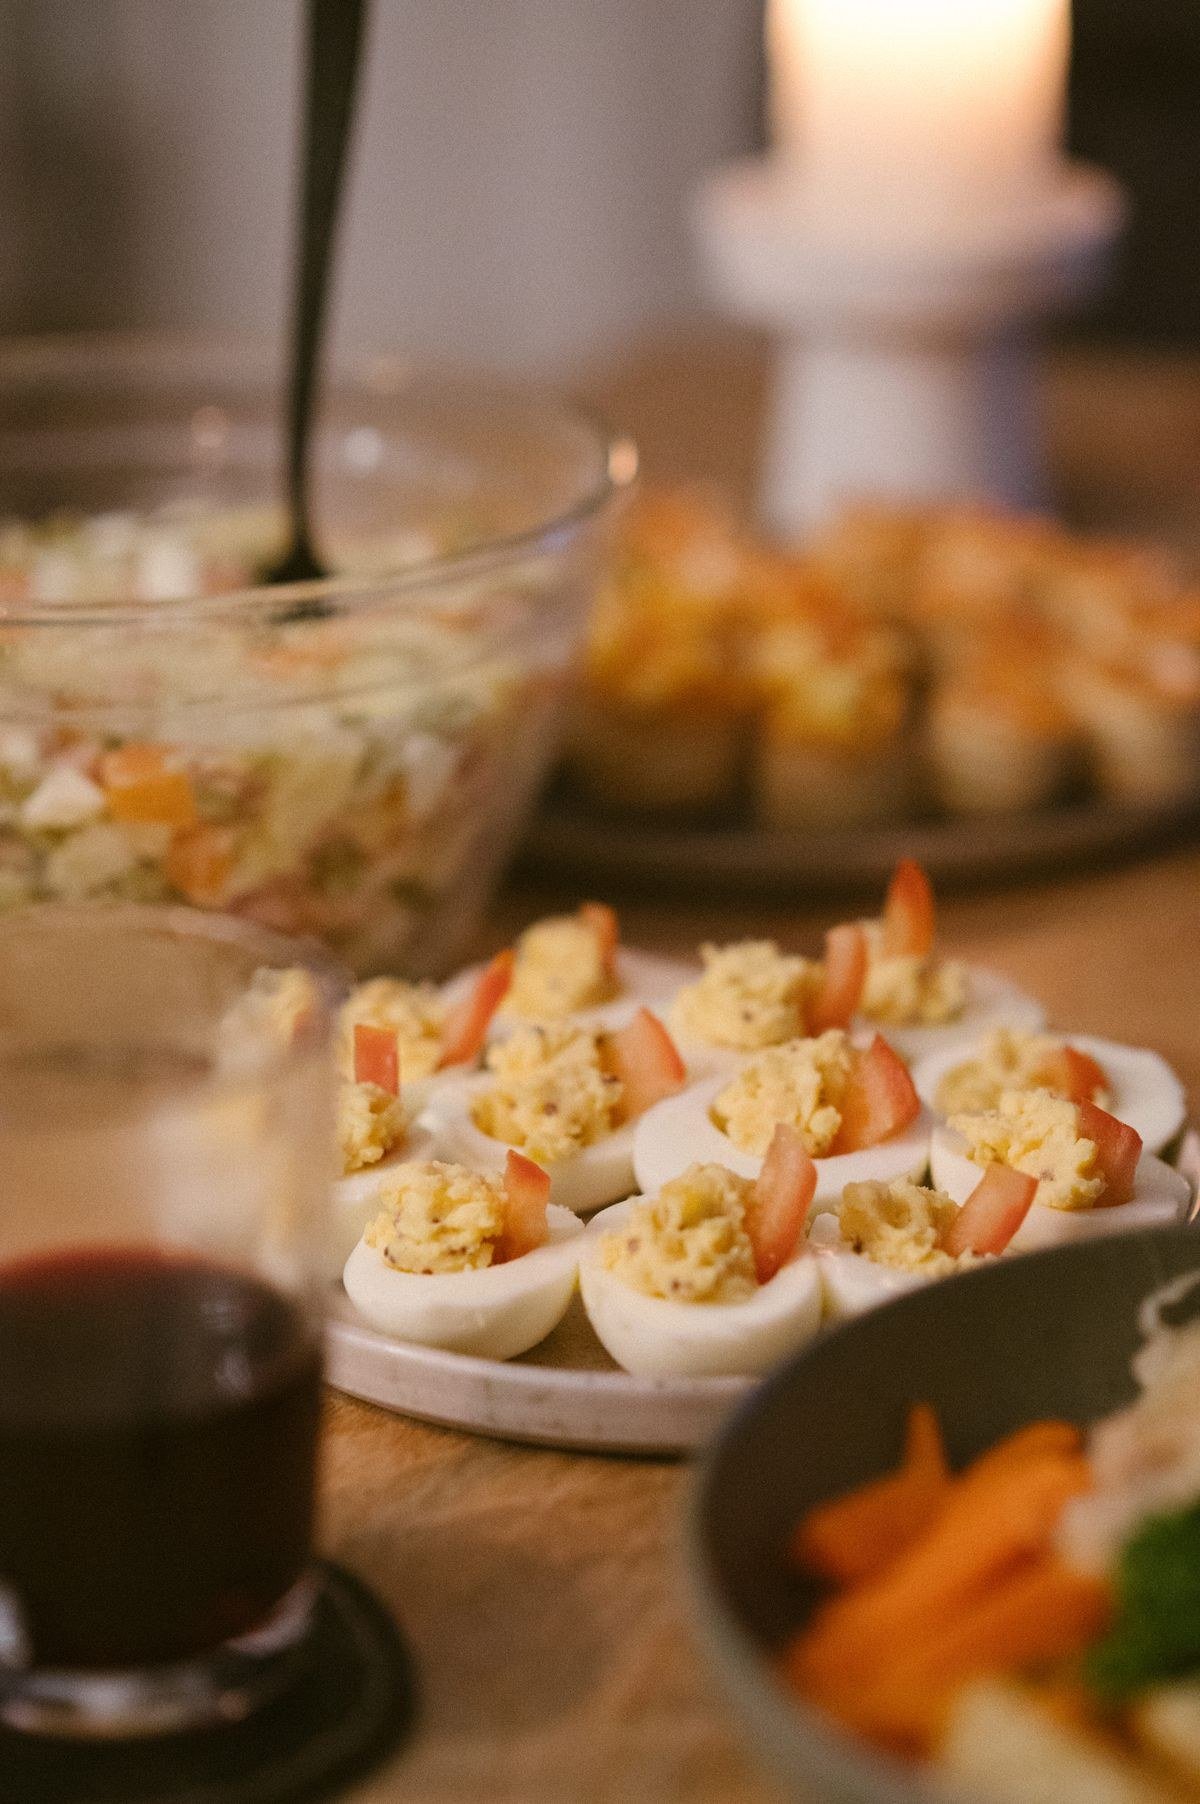
Monster eye deviled eggs recipe is the Halloween party snack that guests reach for first, creepy, cute, and delicious all at once. Classic creamy deviled eggs are transformed into googly monster eyes with a few simple garnishes, making them the perfect addition to any spooky spread. They are easy to make ahead, simple to transport, and endlessly customisable, from mild and kid-friendly to spicy for grown-up palates. In this guide you will find how to boil and peel eggs perfectly, whip up a smooth, flavourful filling, assemble convincing monster eyes, and present them beautifully, plus variations, make-ahead tips, and troubleshooting for flawless results.
1. Choosing and Boiling the Eggs
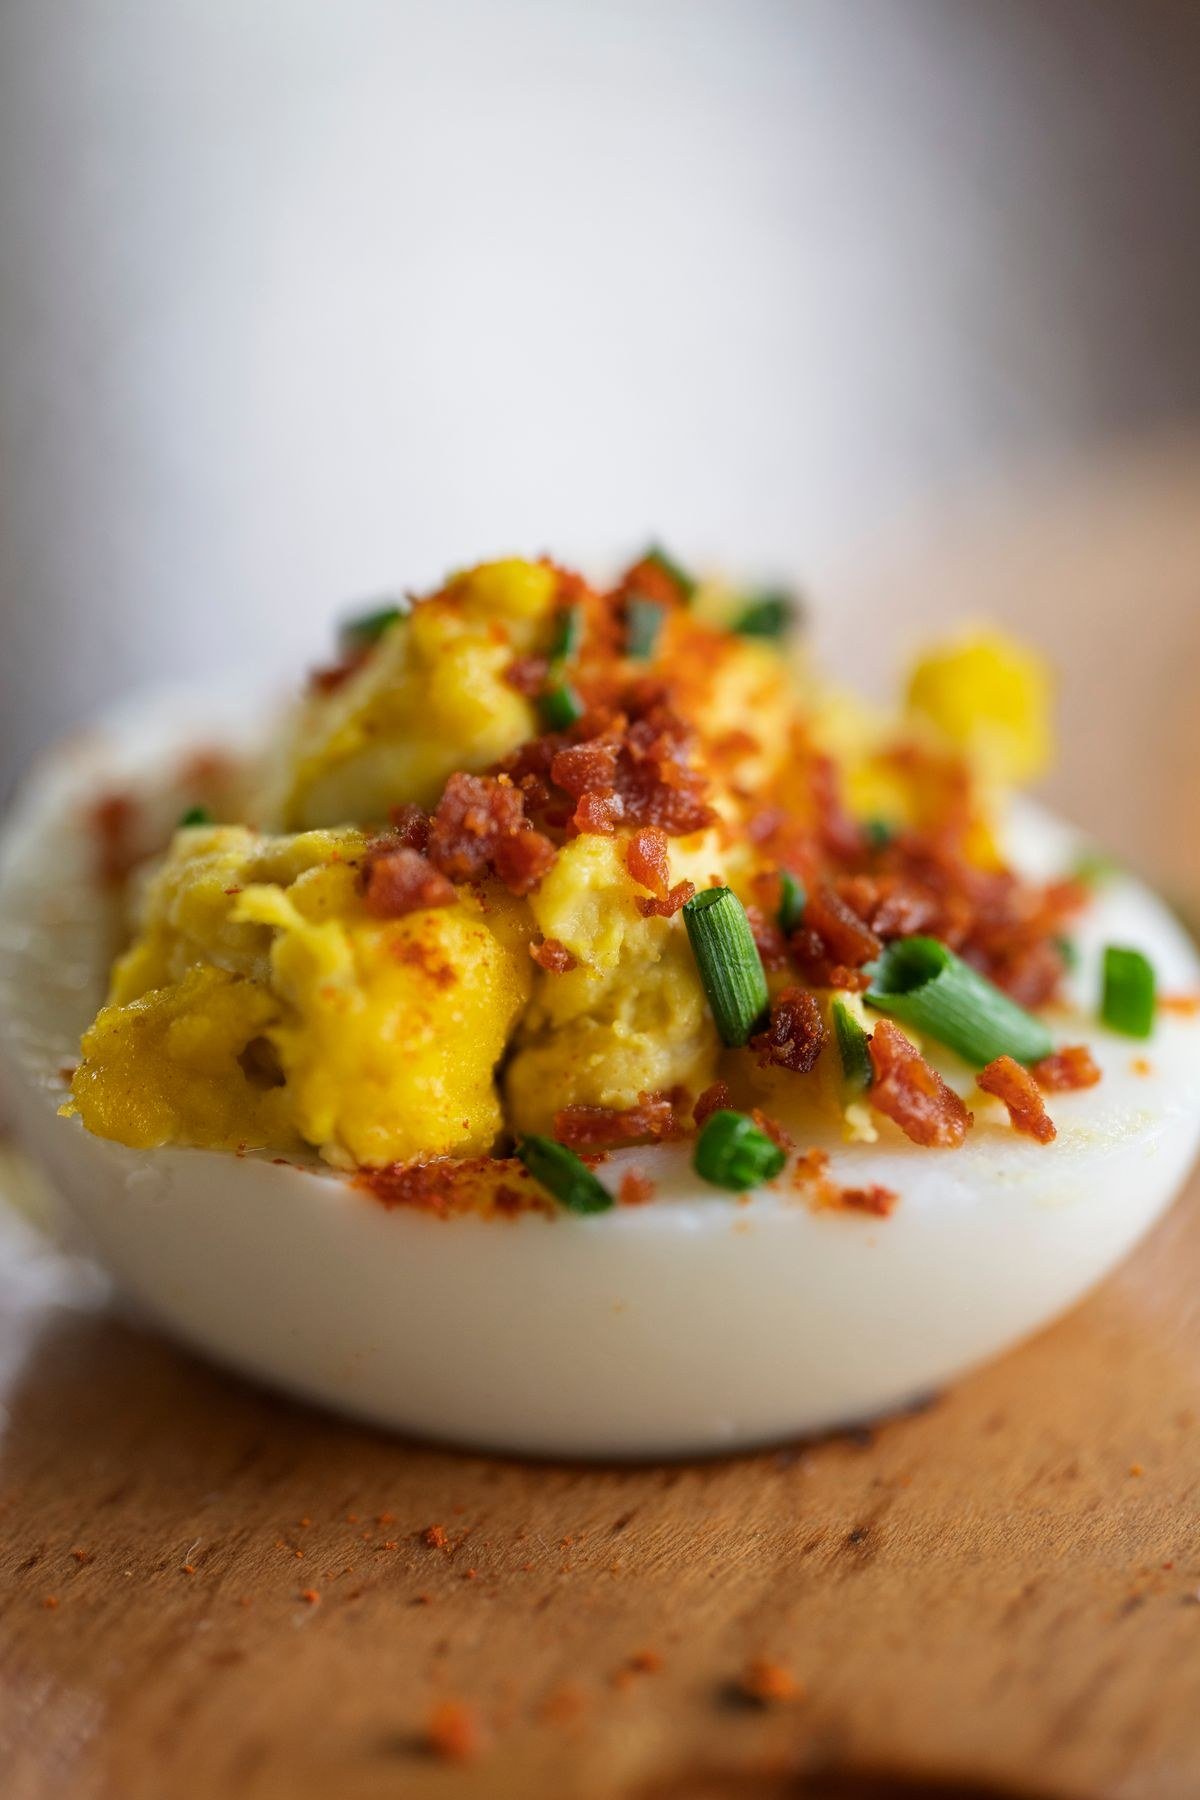
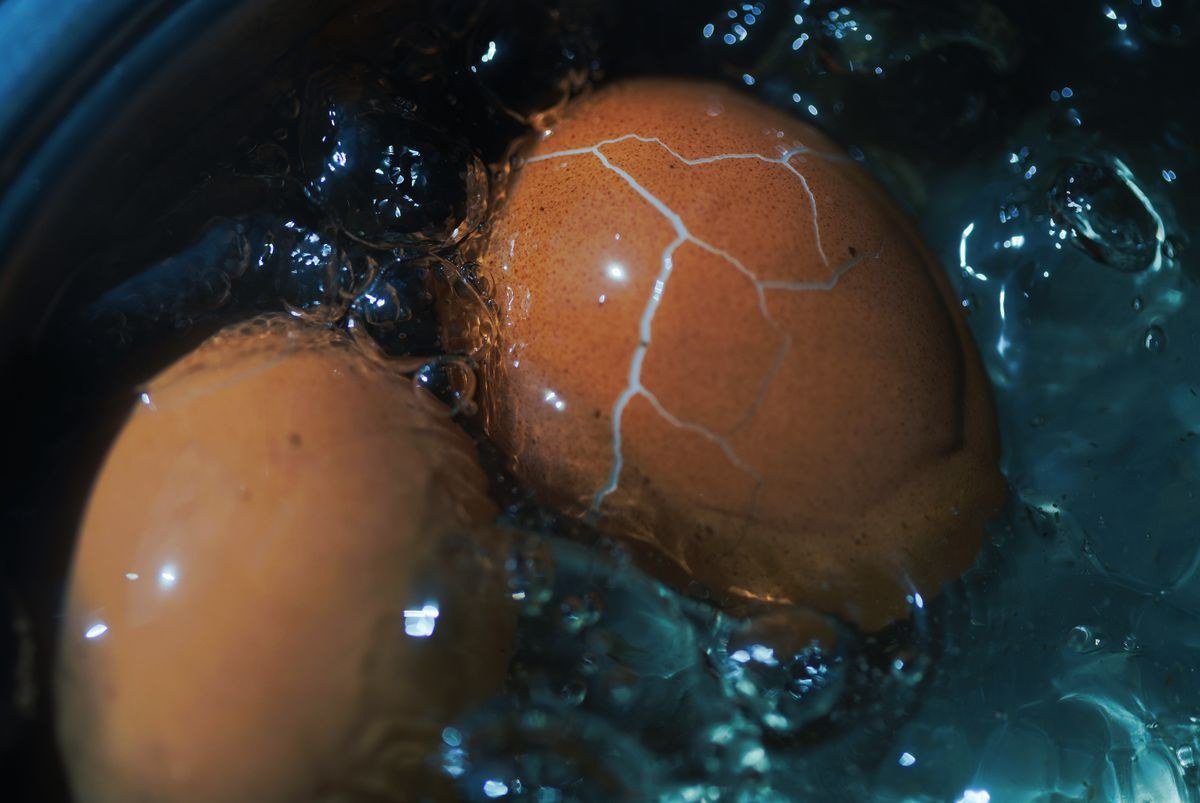
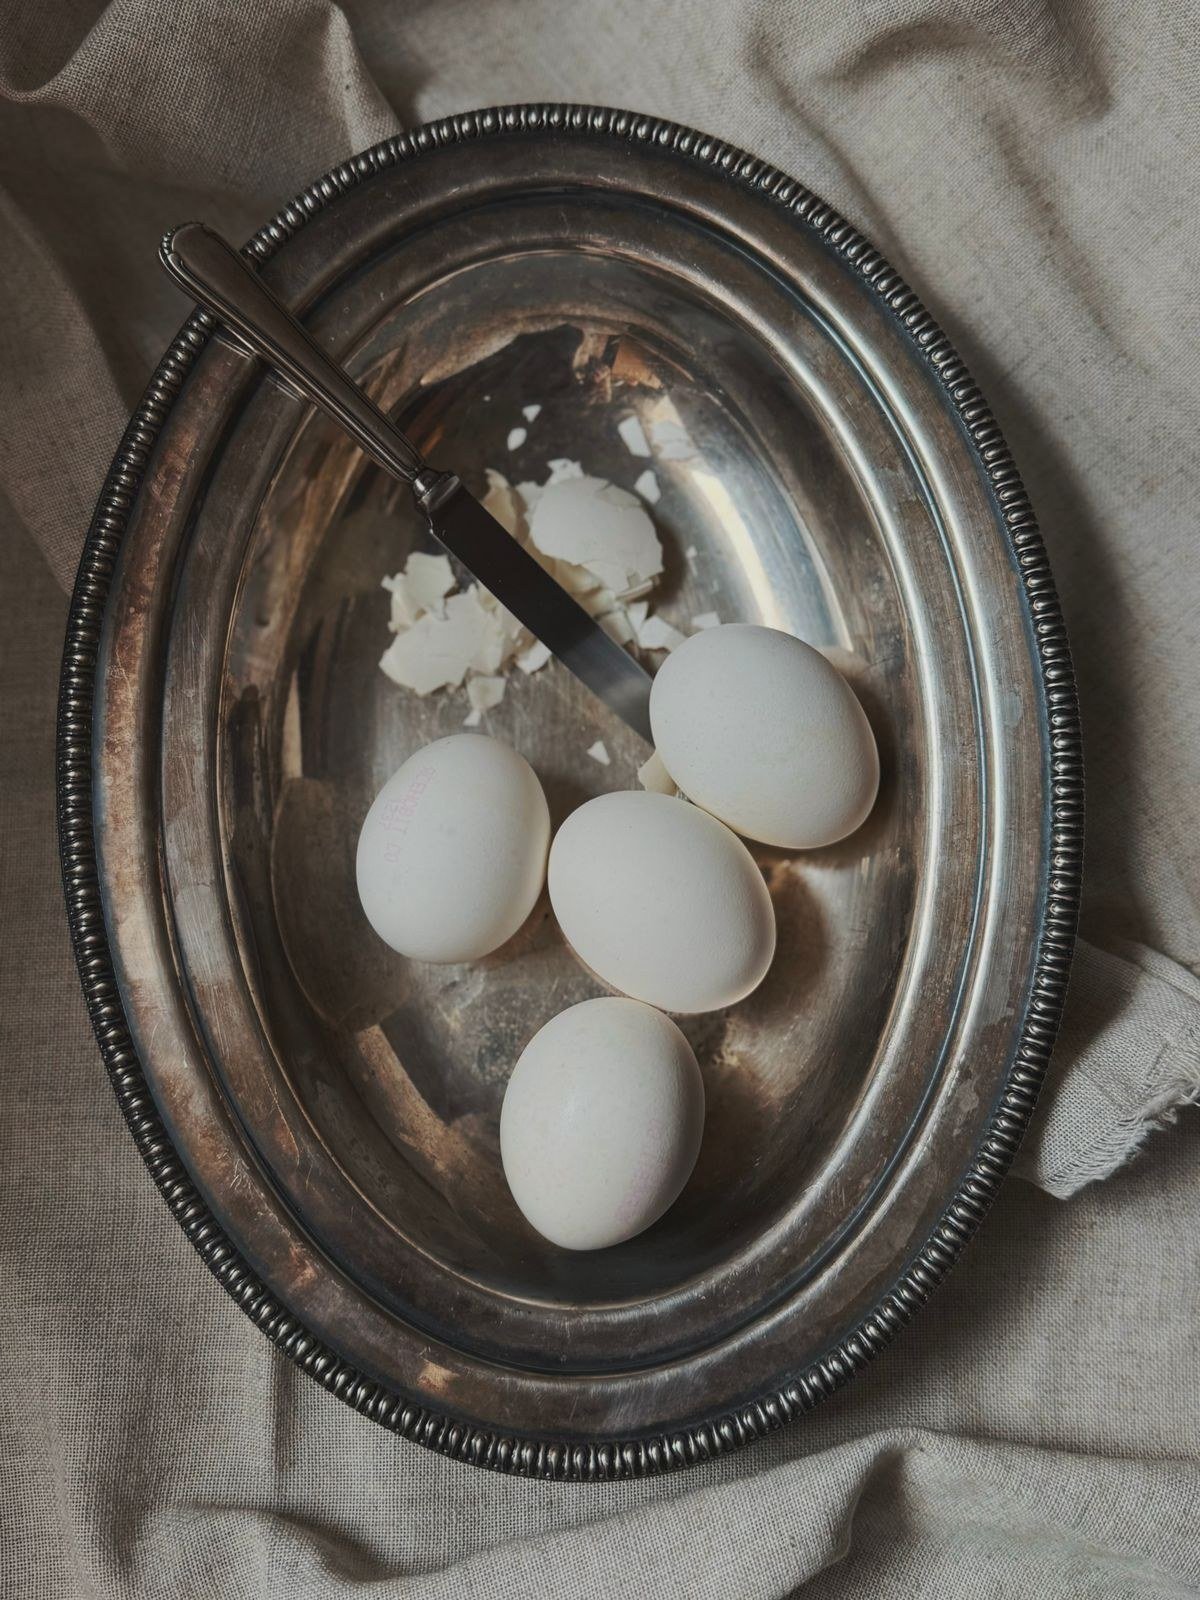
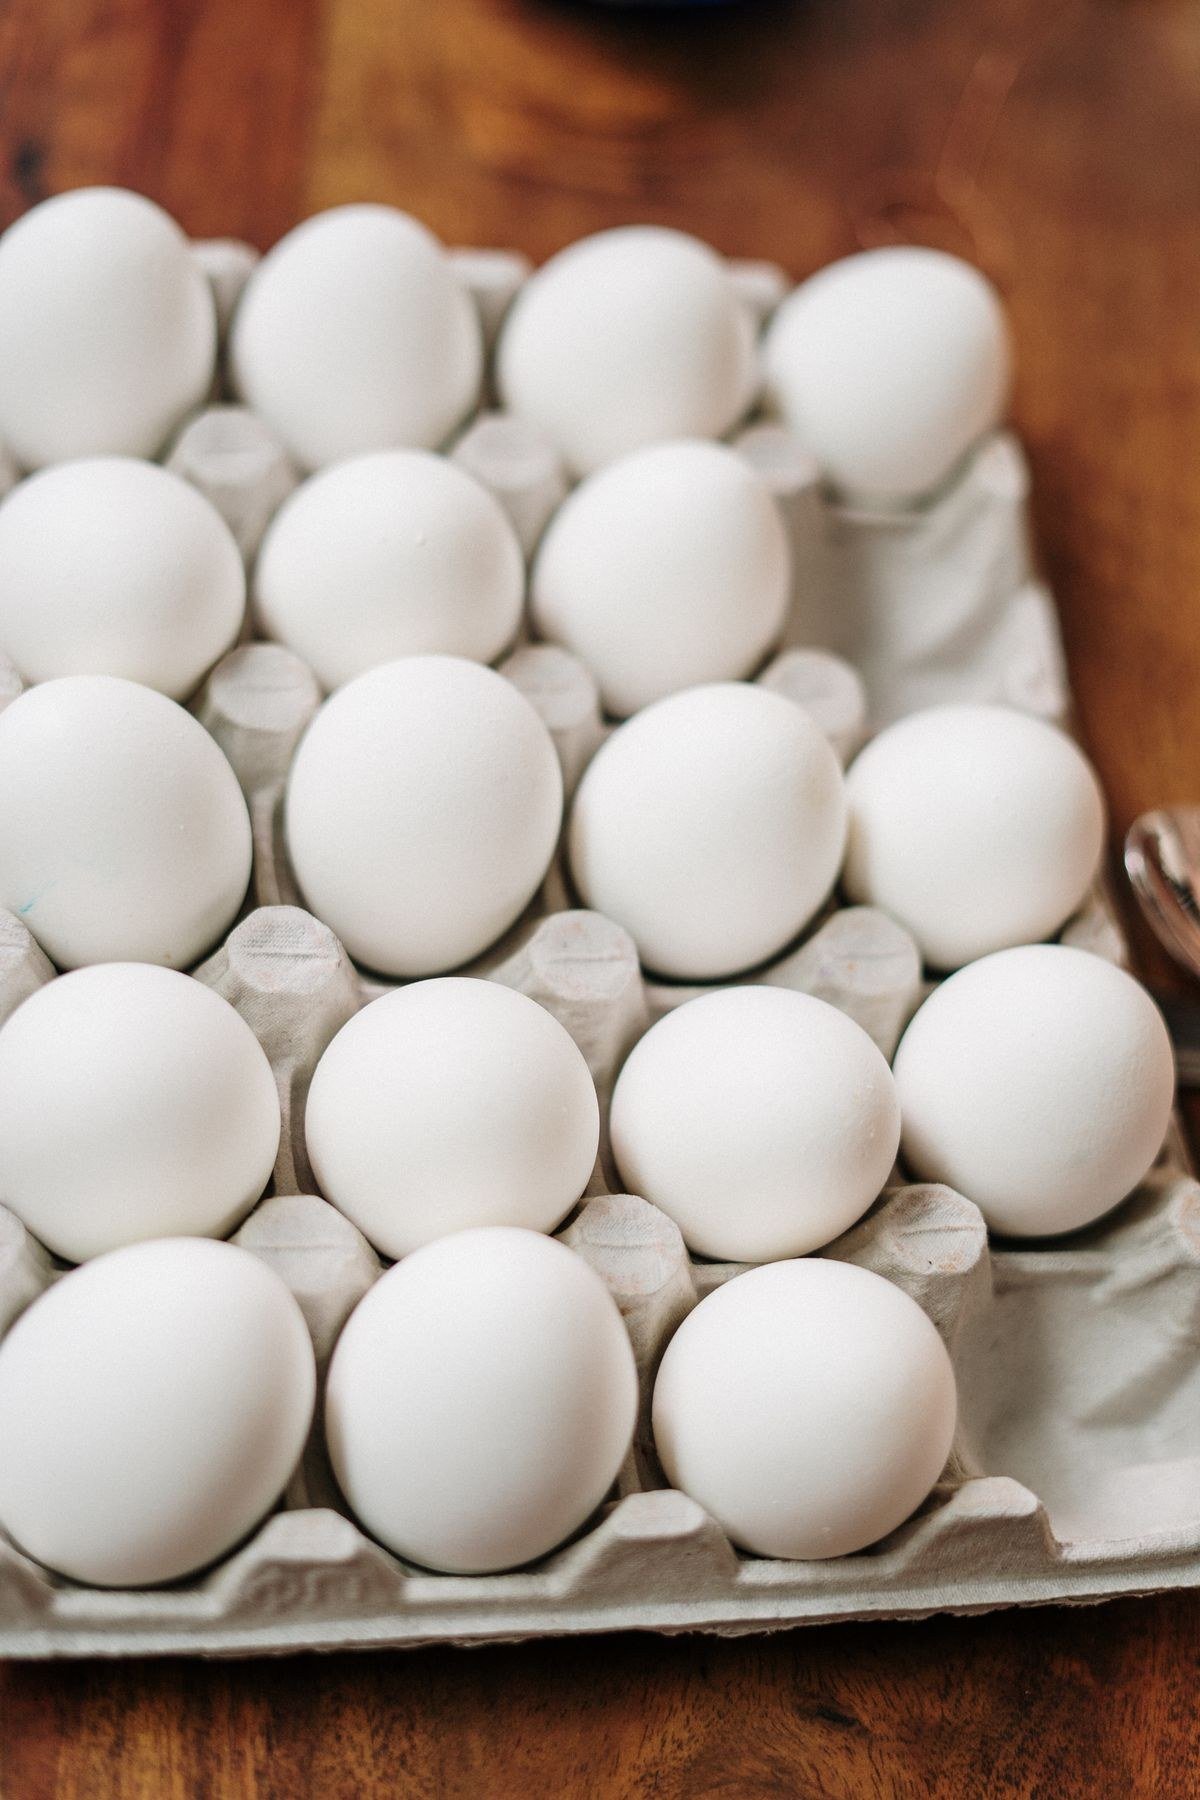
Great deviled eggs start with properly boiled eggs. Use eggs that are a few days old rather than very fresh, as slightly older eggs peel more easily. Place the eggs in a single layer in a saucepan, cover with cold water by about an inch, and bring to a gentle boil. Once boiling, cover the pan, remove it from the heat, and let the eggs sit for ten to twelve minutes. This gentle method avoids the green ring around the yolk that comes from overcooking.
After the resting time, transfer the eggs immediately to a bowl of ice water and let them cool completely. The shock of cold water stops the cooking and helps the shells release. For a party batch, twelve eggs makes twenty-four deviled egg halves, a good number for a medium gathering. Scale up or down as needed, keeping the same method. For the neatest results, boil a couple of extra eggs beyond what you need, since there is almost always one that peels badly, and spares mean you never have to serve a torn white.
2. Peeling Without Tearing the Whites
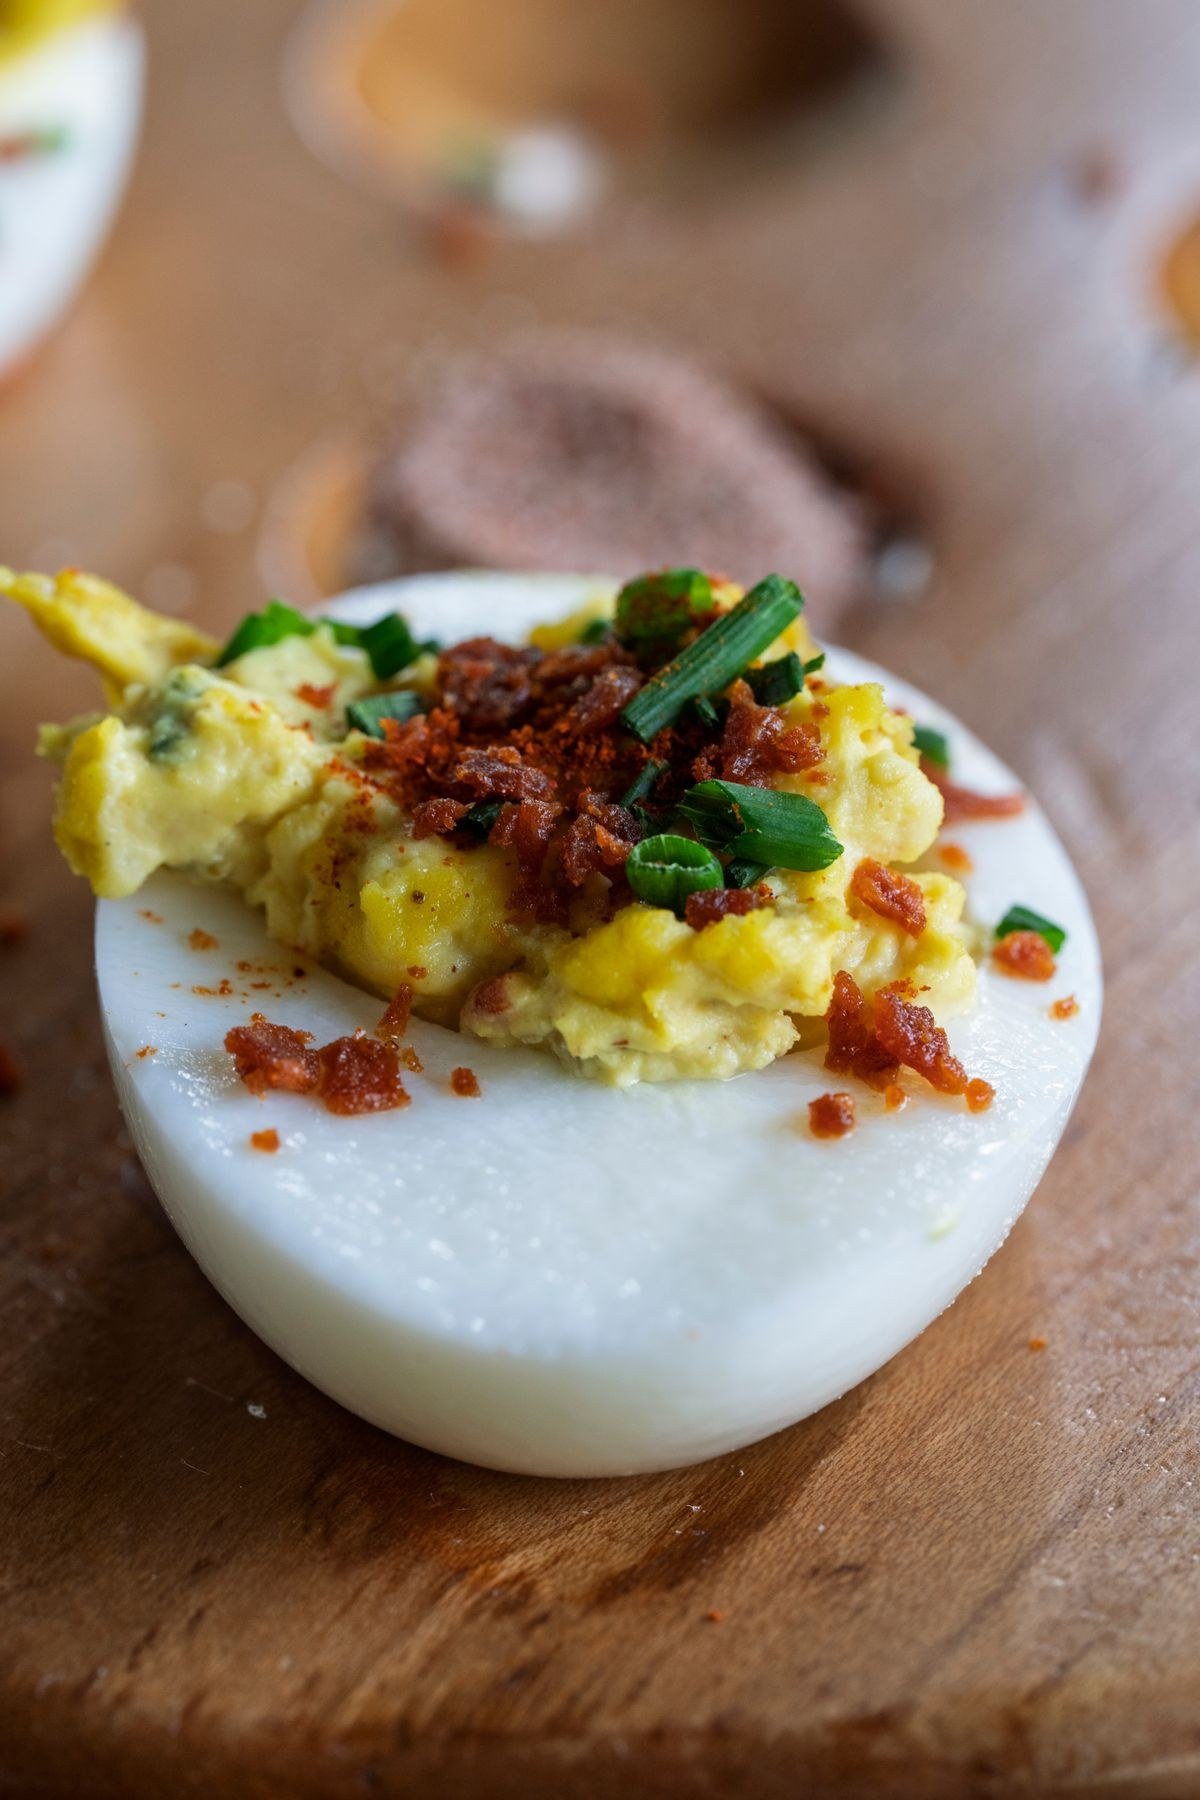
Peeling is where many deviled egg makers struggle, but a few tricks help. Crack the cooled egg gently all over by rolling it on a countertop, then peel under running water or in a bowl of water, which helps the shell slip away. Start peeling from the wider end, where the air pocket sits, and work slowly. If a little white tears, do not worry, the filling and garnish will cover small imperfections.
For the smoothest whites, avoid overcooking, which makes the whites rubbery and prone to tearing. If you are making a large batch, peel the eggs the day before and store the whites and yolks separately in the fridge. This also saves time on party day, when you can simply fill and garnish. If a shell sticks stubbornly, crack the egg again and roll it gently under your palm, since a finely cracked shell releases far more easily than one cracked in only a few places.
3. The Classic Creamy Filling
The classic deviled egg filling is simple and delicious. Mash the yolks with mayonnaise, a teaspoon of mustard, a splash of vinegar or lemon juice, and a pinch of salt and pepper, until smooth and creamy. The filling should be thick enough to hold its shape when piped, but soft enough to eat easily. Taste and adjust, a little more mustard for tang, a little more mayonnaise for richness.
For the smoothest filling, press the yolks through a fine sieve before mixing, which removes any lumps. Alternatively, blend the filling briefly in a food processor. A smooth filling pipes beautifully and looks professional, which matters when the eggs are also a decoration. Keep the filling chilled until you are ready to assemble. If the filling tastes a little sharp, add a pinch of sugar or a spoonful more mayonnaise, since cold fillings need careful balancing, and a small adjustment can transform the flavour.
4. Colouring the Filling for Monsters
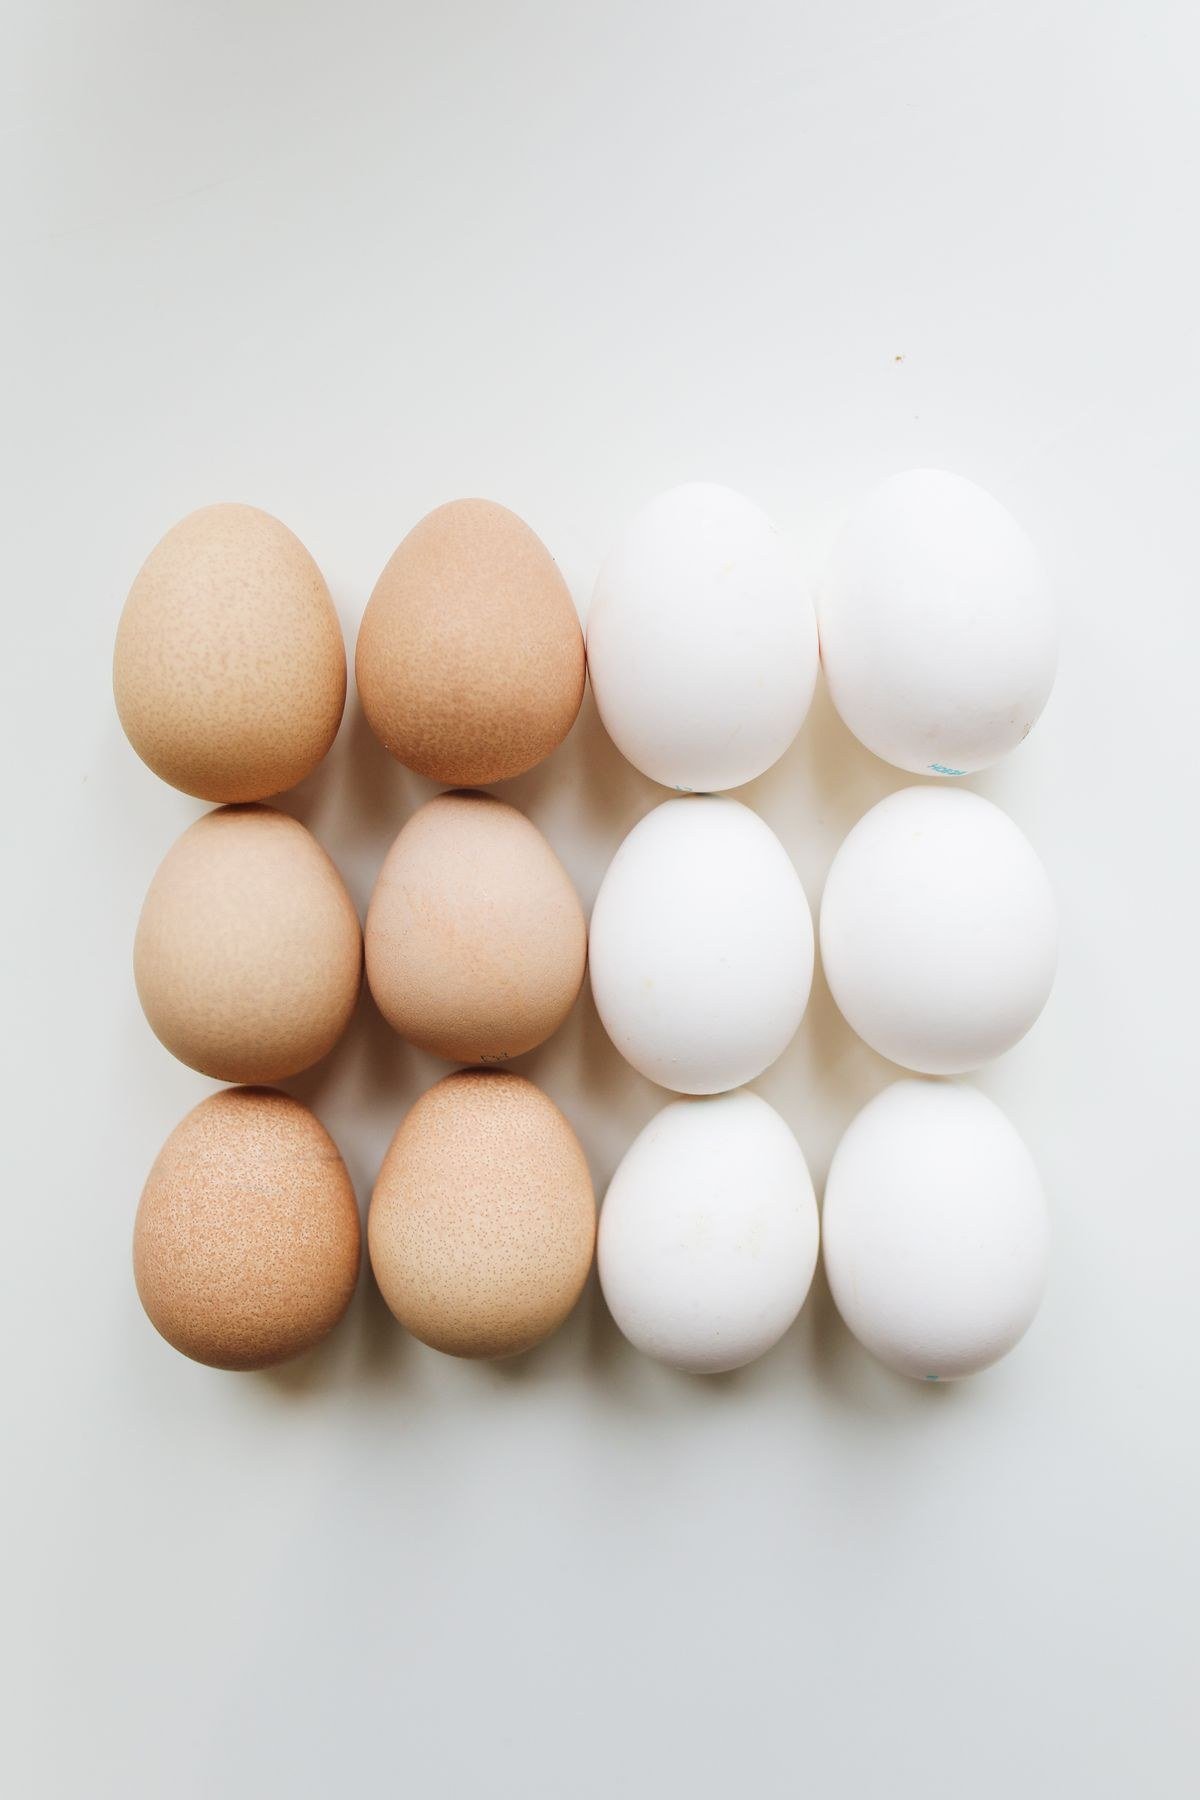
Monster eyes look best with colourful fillings. A drop or two of green food colouring turns the classic filling into a suitably monstrous green, while a little yellow creates a sickly, spooky shade. For a natural option, blend a small amount of avocado or spinach puree into the filling for green colour, or use a pinch of turmeric for yellow. The colour should be vivid but still appetising.
Mix the colouring gradually, a little at a time, until you reach the shade you want. Different monsters can have different coloured fillings, green, yellow, even purple with a little beetroot juice, for a varied monster platter. Keep a little plain filling aside for guests who prefer the classic look, so everyone has an option.
5. Assembling the Monster Eyes
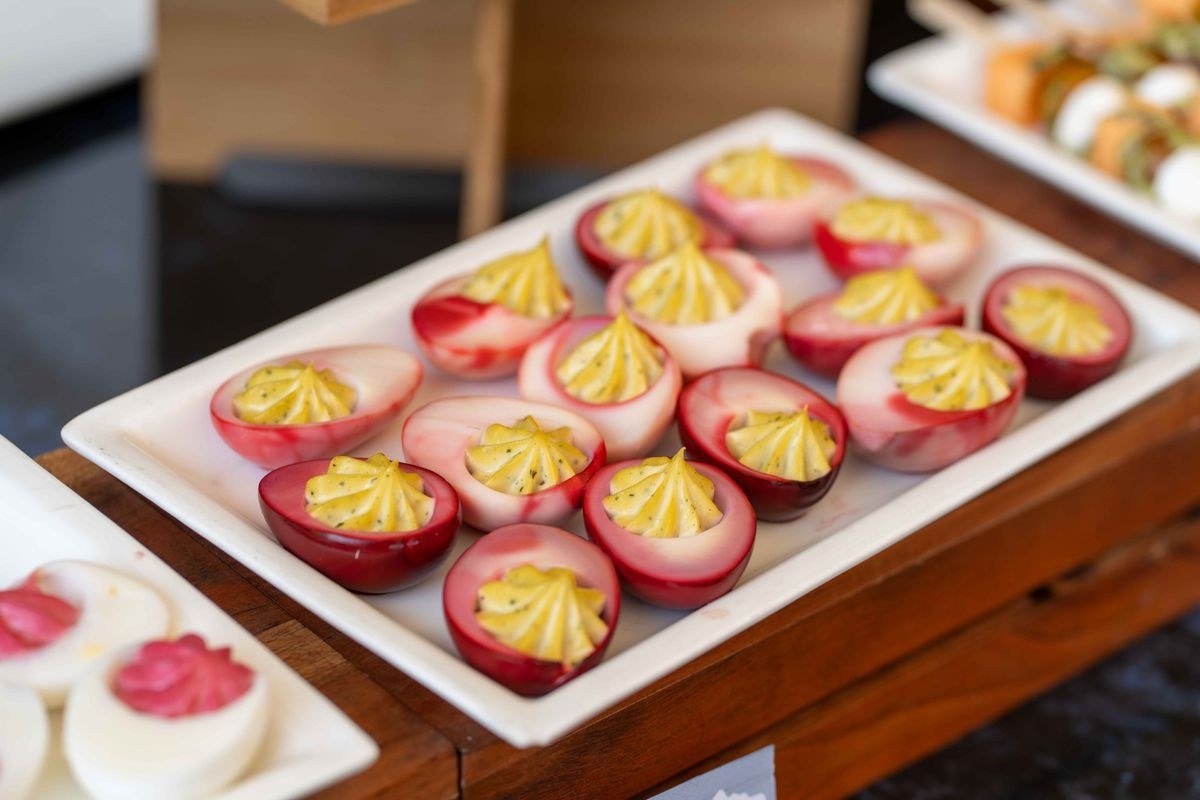
Assembling the monster eyes is the fun part. Pipe or spoon the coloured filling into the egg white halves, mounding it slightly. Then place a small round garnish in the centre to act as the eyeball, a slice of black olive makes a perfect pupil, while a small round of cheese or a cherry tomato half can serve as the coloured iris. A tiny dot of mayonnaise or sour cream in the centre of the olive adds a highlight that makes the eye look alive.
For a bloodshot effect, draw thin lines of red food colouring or a little paprika-tinted mayonnaise radiating from the centre, using a toothpick. Keep the lines thin and irregular for a realistic, creepy effect. Each egg becomes a unique monster, which is part of the charm, so do not aim for identical eyes. For the most convincing eyes, vary the direction each monster looks, since a platter of eyes all staring the same way looks far less lively than a crowd of monsters glancing in different directions.

6. Olive Eyes and Other Eyeball Ideas
Black olives are the classic monster eye pupil, but there are many alternatives. A slice of green olive with a black olive centre creates a two-tone eye. A small ball of mozzarella with an olive pupil looks like a classic eyeball. Cherry tomato halves, with the cut side up and an olive in the centre, make bloodshot-looking eyes that are wonderfully creepy.
For a sweet-and-savoury twist, a small round of red pepper can serve as the iris. Experiment with a few styles on a test batch to see which you like best. Mixing styles on one platter, some olive eyes, some tomato eyes, some cheese eyes, creates a delightfully varied monster family that guests will enjoy choosing from. For a platter with real variety, make one batch of olive eyes, one of tomato eyes, and one of cheese eyes, since guests enjoy comparing the monsters and choosing a favourite.
7. Piping Tips for a Professional Finish
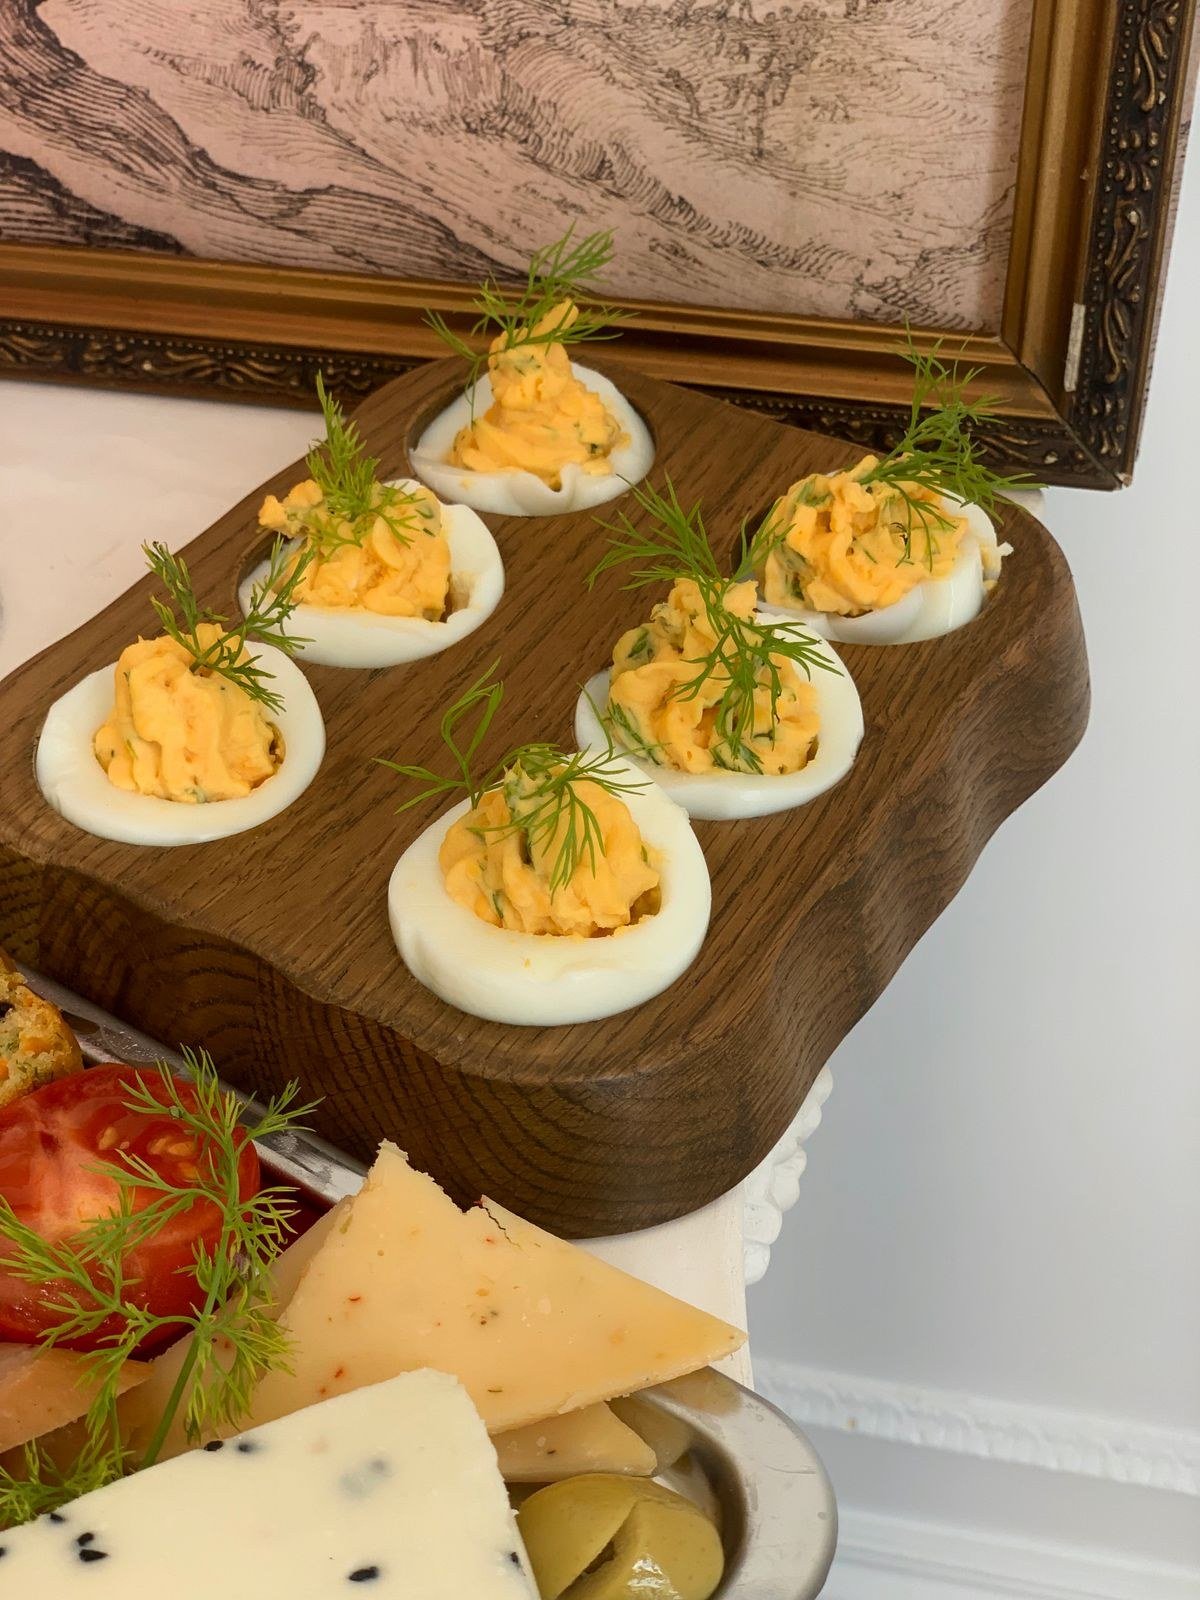
Piping the filling gives deviled eggs a polished, professional look. Use a piping bag with a large star tip for a decorative swirl, or a plain round tip for a smooth dome. If you do not have a piping bag, a sturdy zip-top bag with a corner snipped off works just as well. Fill the bag, twist the top closed, and pipe with steady, even pressure.
Practice on a plate first if you are new to piping. A tall, generous mound of filling looks best for monster eyes, as it provides a good base for the eyeball garnish. If the filling is too soft to hold its shape, chill it for thirty minutes before piping. A neat, consistent pipe makes the whole platter look impressive.
8. Spicy Monster Eggs for Adults
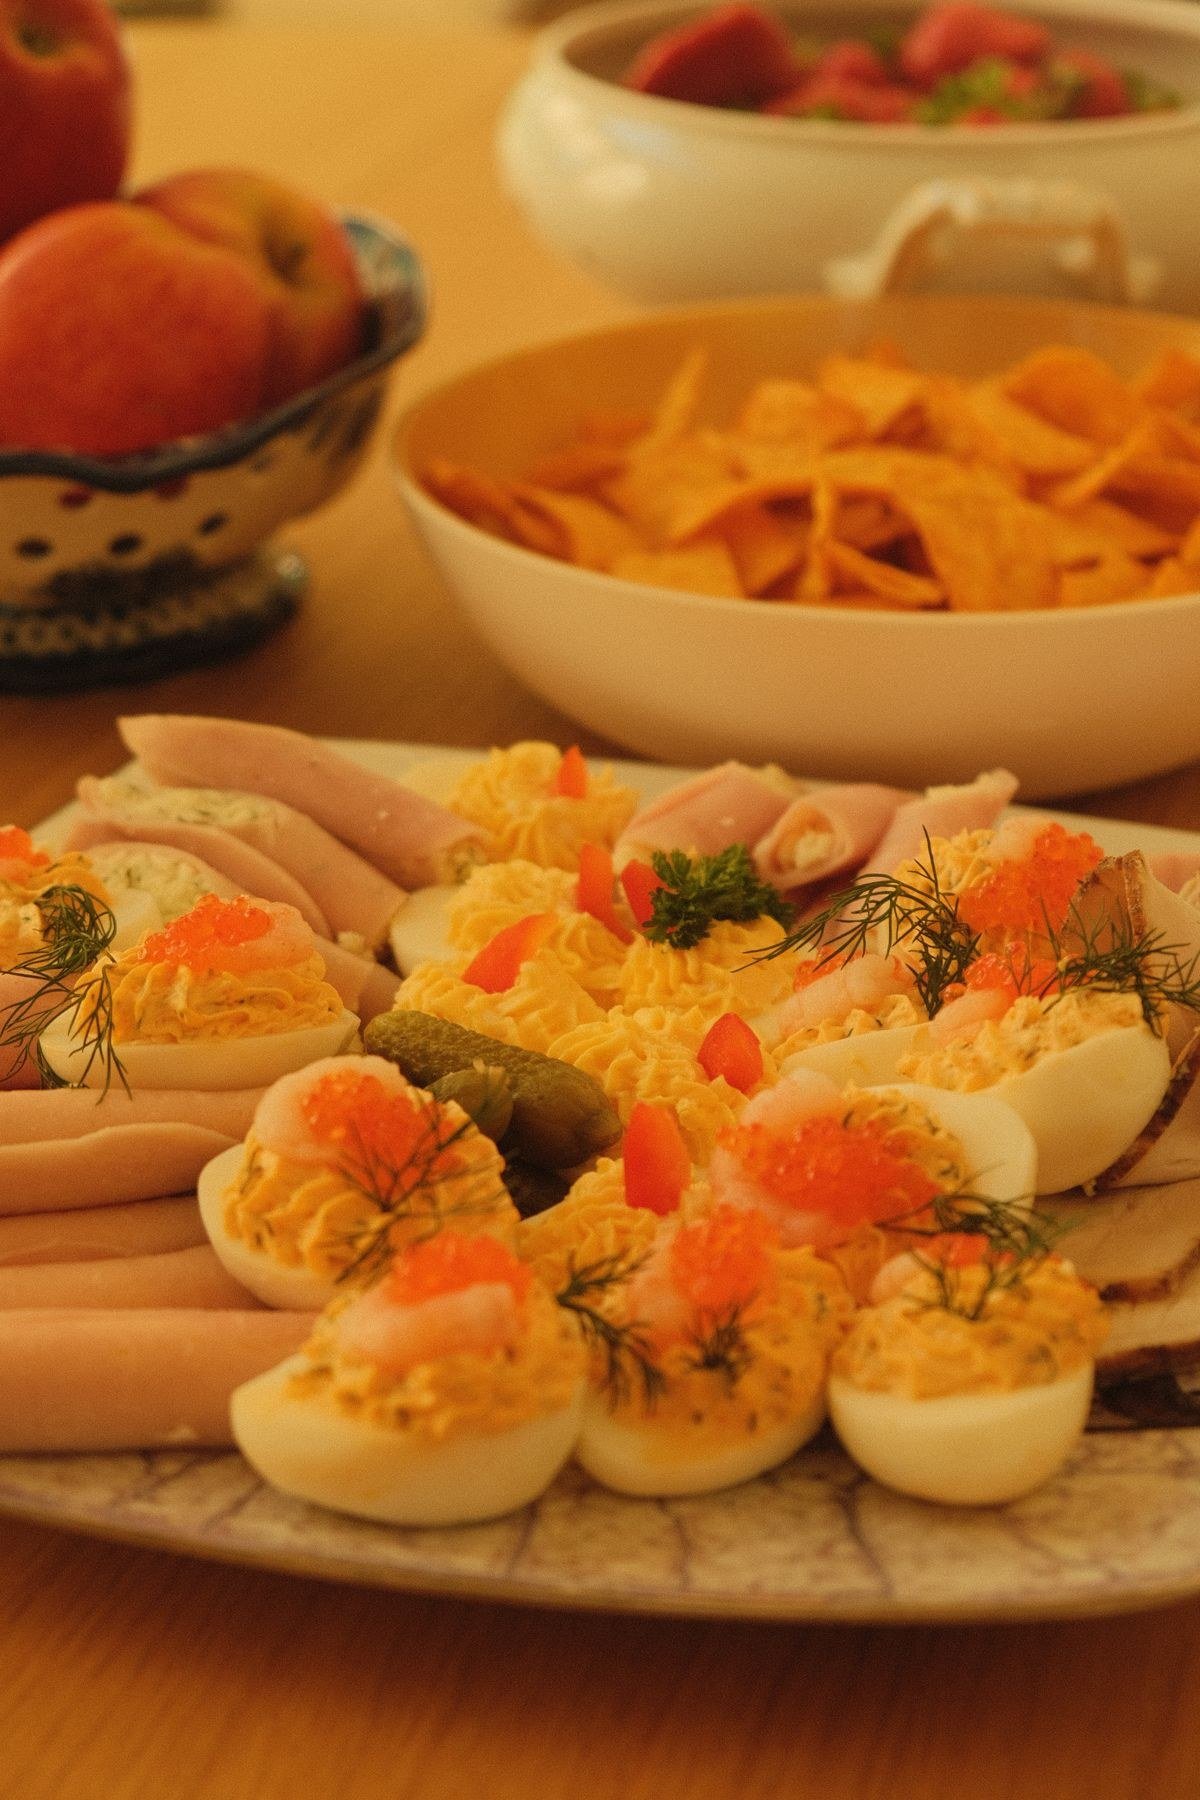
For grown-up guests, a spicy filling adds excitement. Add a little hot sauce, finely diced jalapeño, or a pinch of cayenne to the yolk mixture. Smoked paprika gives a warm, smoky heat, while a dash of sriracha adds both spice and colour. Keep the heat moderate, so the eggs remain enjoyable rather than overwhelming.
When serving both mild and spicy versions at a party, mark the spicy ones clearly, perhaps with a red pepper garnish or a small flag. This way, children and guests who prefer mild flavours can choose safely. Spicy monster eggs pair beautifully with cooling drinks and creamy dips on a Halloween buffet.
9. Kid-Friendly Monster Eggs
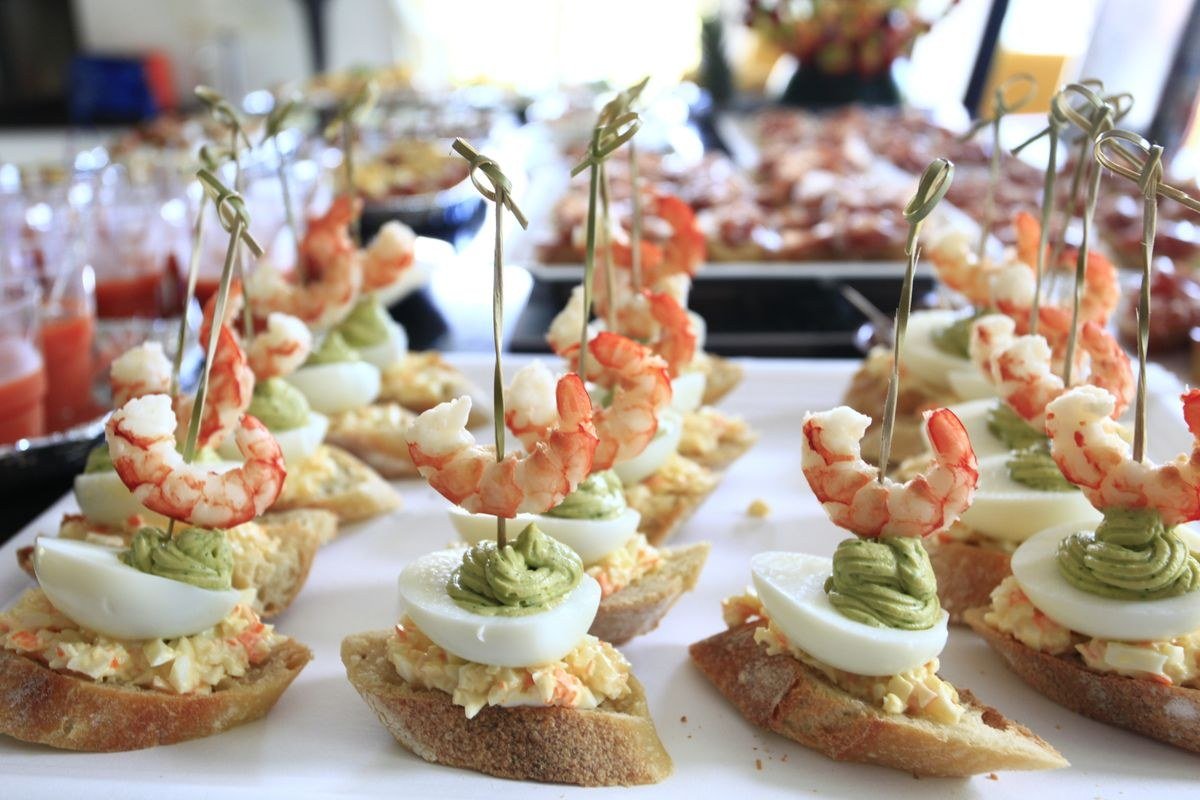
Children love monster eye deviled eggs, especially when they can help make them. Keep the filling mild and familiar, classic mayonnaise and mustard, with a fun green colour. Let children place the olive eyes and add the highlights, turning assembly into a party activity. The hands-on fun makes children more likely to try and enjoy the eggs.
For very young children, keep the garnishes simple and avoid small, hard pieces that could be a choking hazard. Larger olive slices are safer than tiny pieces. Serve the eggs on a fun, Halloween-themed platter, and give the monsters silly names, which adds to the playful atmosphere.
10. Making Them Ahead of Time
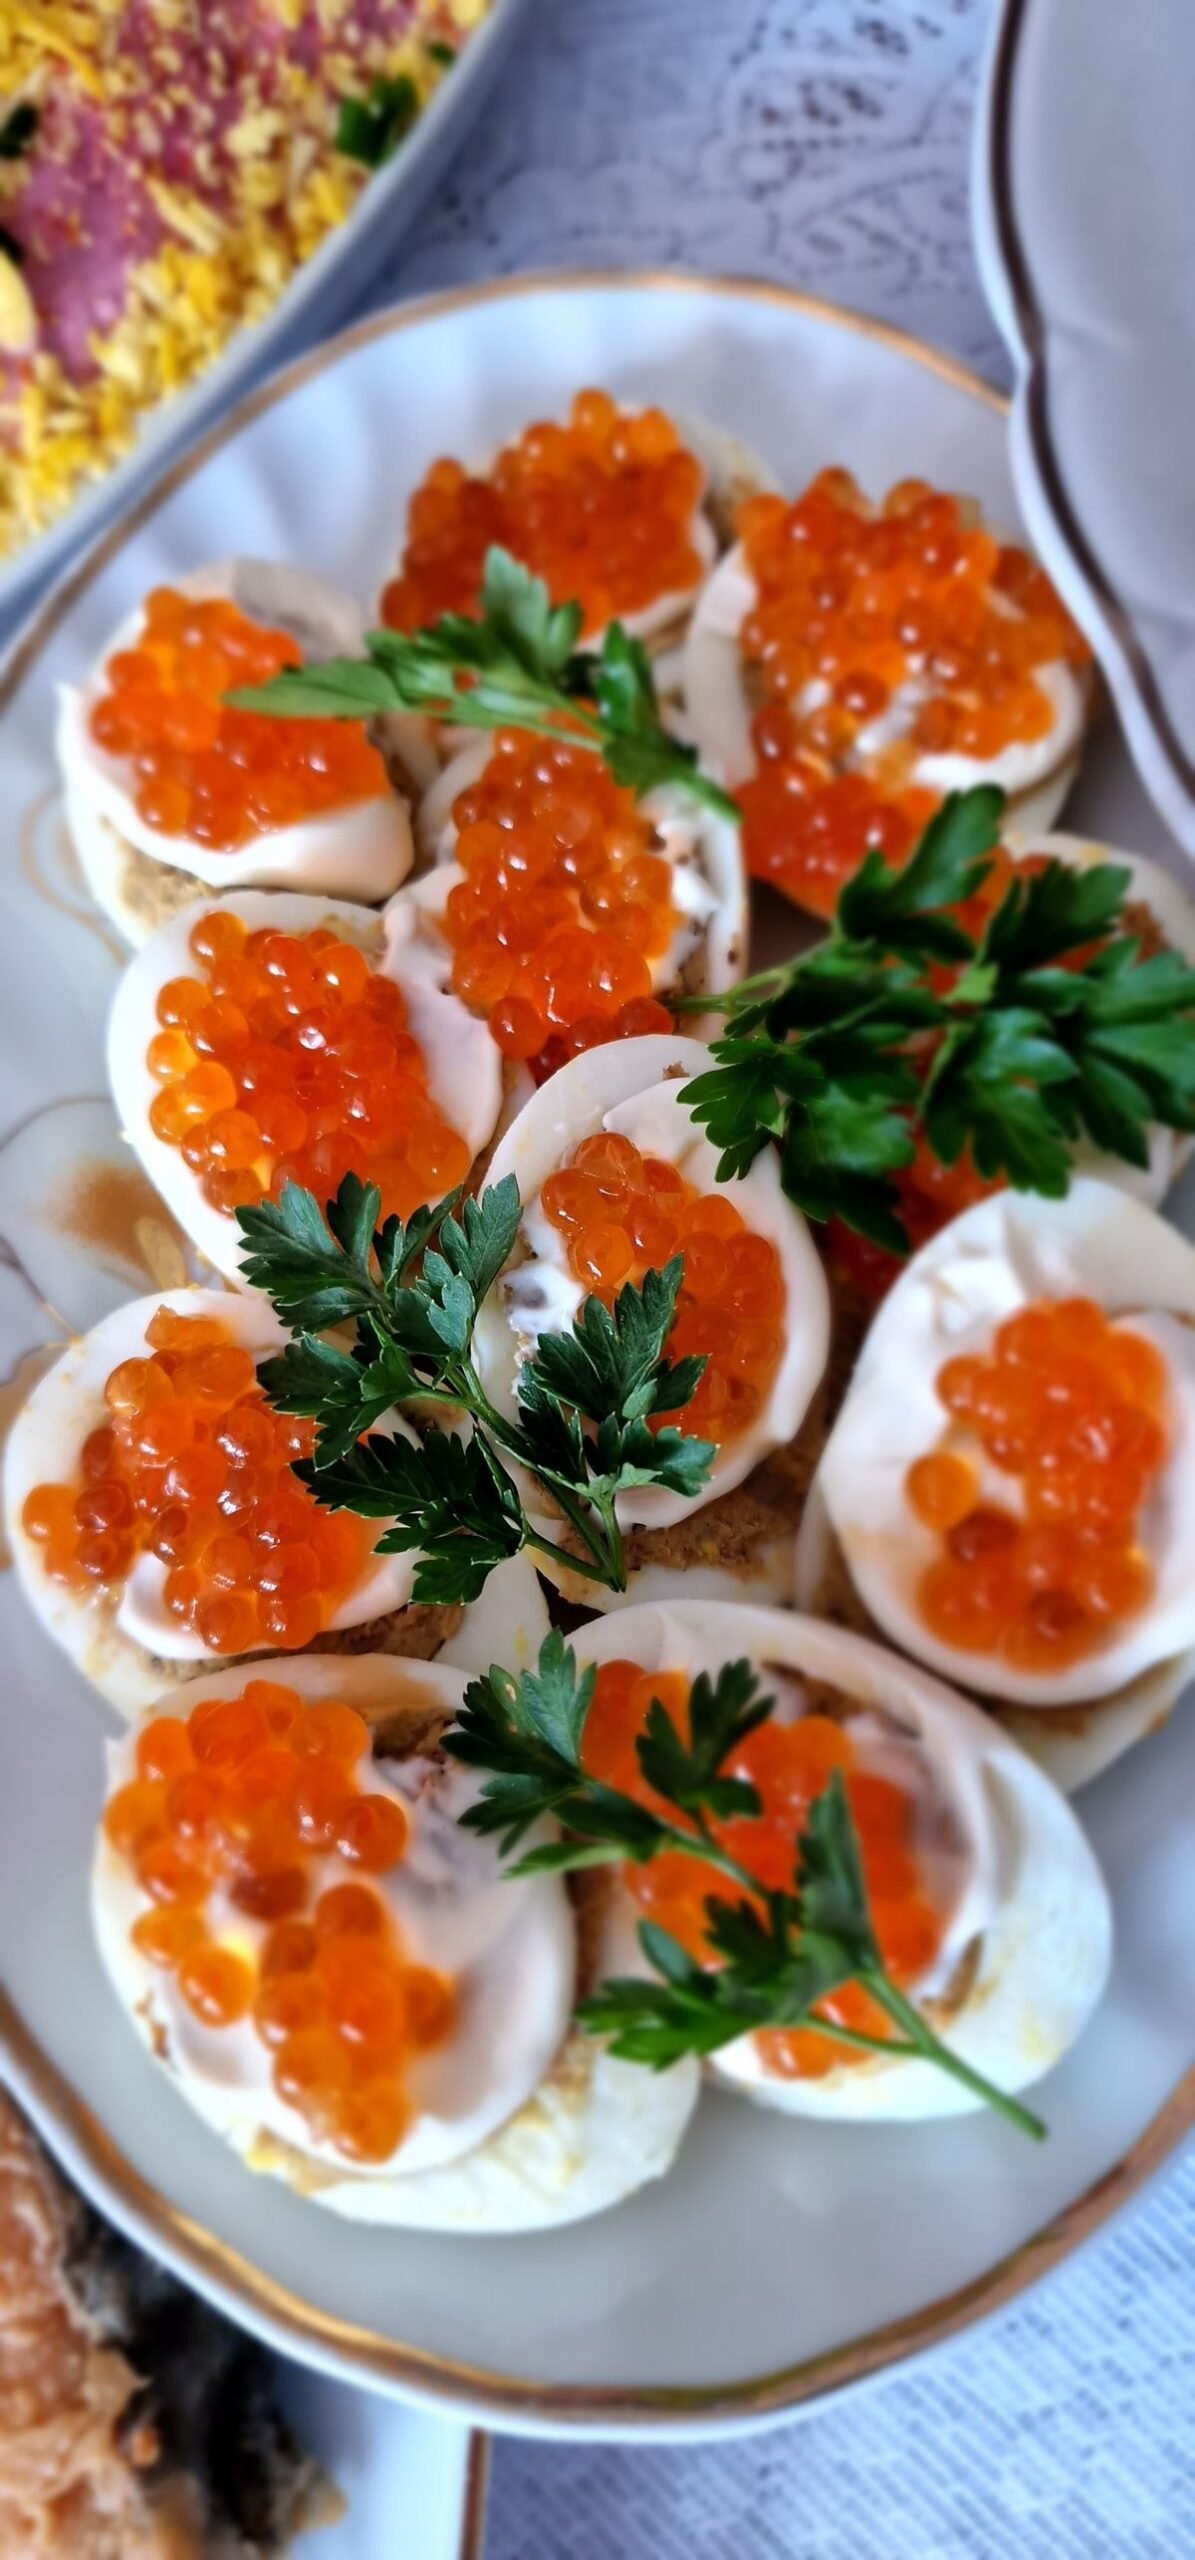
Deviled eggs are ideal for making ahead. Boil and peel the eggs up to two days in advance, storing the whites and the filling separately in airtight containers in the fridge. Assemble the eggs on the day of the party, or up to a few hours before, keeping them chilled until serving. This keeps the whites firm and the filling fresh.
Assembled deviled eggs should not sit at room temperature for more than two hours, so keep them refrigerated until guests arrive. If transporting them to a party, use a deviled egg carrier or a container with a tight lid, placing the eggs in a single layer. A little damp paper towel in the container helps keep them fresh during transport. If you are short of fridge space, store the whites in one container and the filling in a piping bag, since a bag takes up far less room than a bowl and can go straight to piping when you are ready.
11. Presenting a Monster Platter
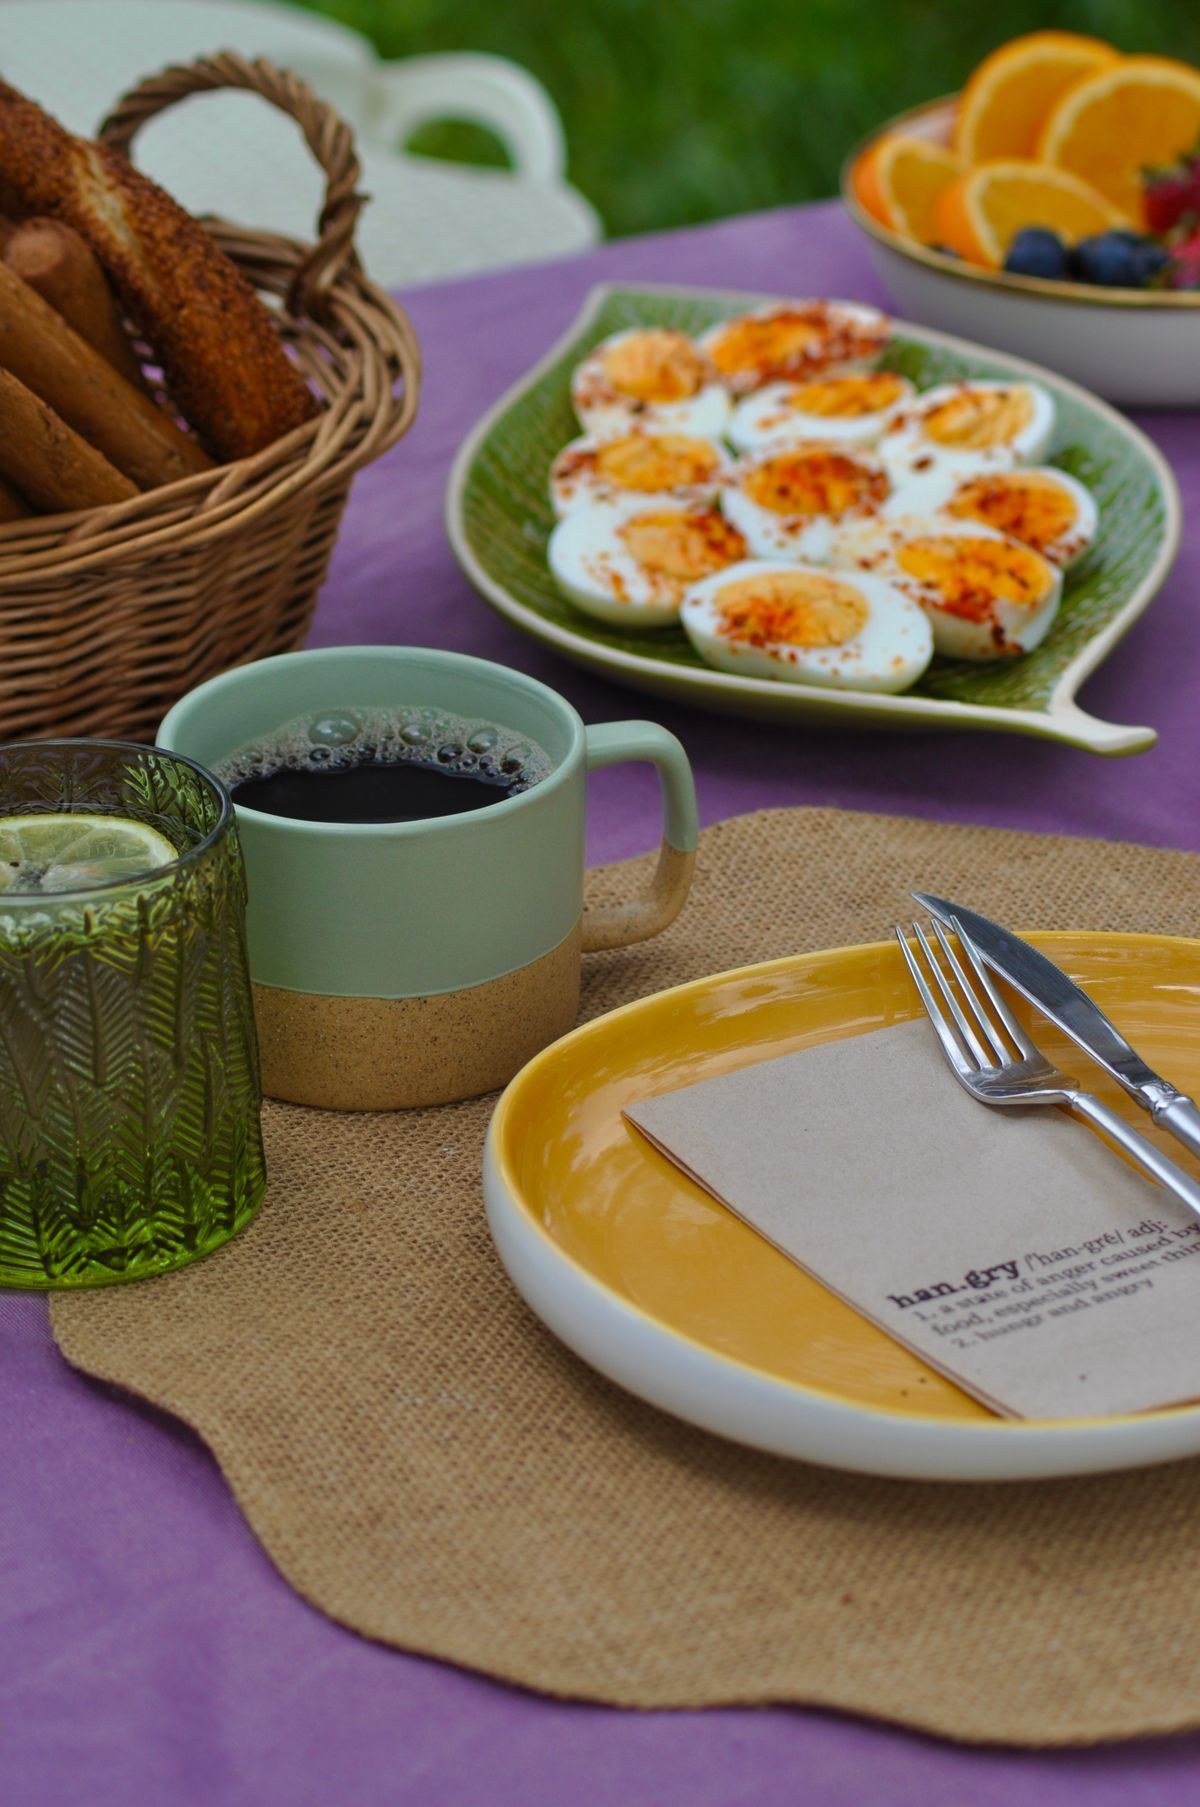
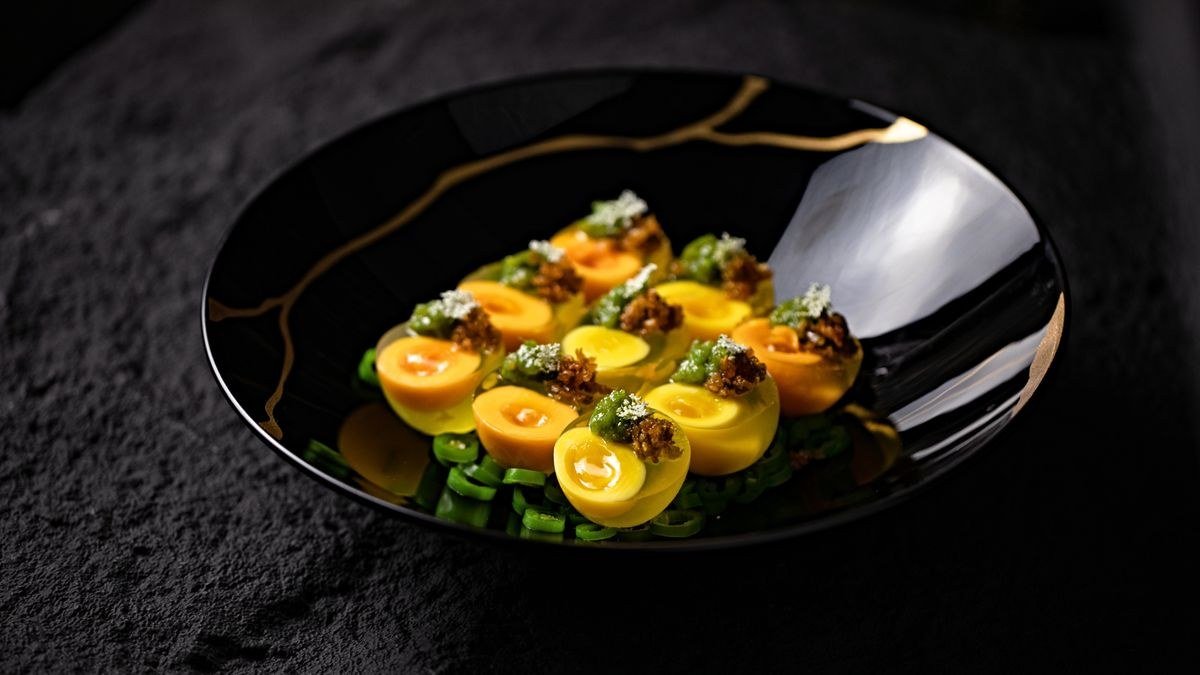
Presentation turns deviled eggs from a snack into a centrepiece. Arrange the monster eyes on a dark platter or a bed of lettuce leaves, which makes the colours pop. Add a few plastic spiders or Halloween decorations around the platter, keeping them away from direct contact with the food, for a spooky display. A sign labelling the dish as monster eyes adds to the fun.
Group the eggs by monster type or colour for a tidy look, or scatter them randomly for a chaotic monster gathering. Either way, the platter will draw guests in. For a buffet, place the platter near the start of the table, where it can catch the eye, and provide small plates and napkins nearby.

12. Flavour Variations to Try
Beyond the classic filling, there are many flavour variations worth trying. A curry-flavoured filling, with a little curry powder and a pinch of turmeric, gives a warm, golden monster. A herbed filling, with fresh dill or chives mixed in, tastes fresh and light. A smoky filling, with smoked paprika and a little bacon-style seasoning, adds depth for savoury lovers.
For a tangy twist, add a little pickle relish or finely diced pickled onion to the filling. For richness, a spoonful of cream cheese makes the filling extra smooth. Try one variation per party, alongside the classic, so guests can compare. Small batches of different flavours make the platter more interesting without much extra work.
13. Dietary Variations and Allergies
Deviled eggs are naturally gluten-free, which makes them suitable for many guests. For egg-free guests, this dish is not suitable, so offer an alternative Halloween snack alongside. For dairy-free guests, check that the mayonnaise and garnishes are dairy-free, most mayonnaise is, but cheese garnishes are not. Label the platter clearly with ingredients for guests with allergies.
For vegetarian guests, deviled eggs are usually suitable, but check if any meat-based garnishes, such as bacon bits, have been added. Keep a separate, plain batch for guests with dietary needs, prepared with clean utensils to avoid cross-contamination. Clear labelling helps everyone enjoy the party safely.
14. Pairing with Other Halloween Foods
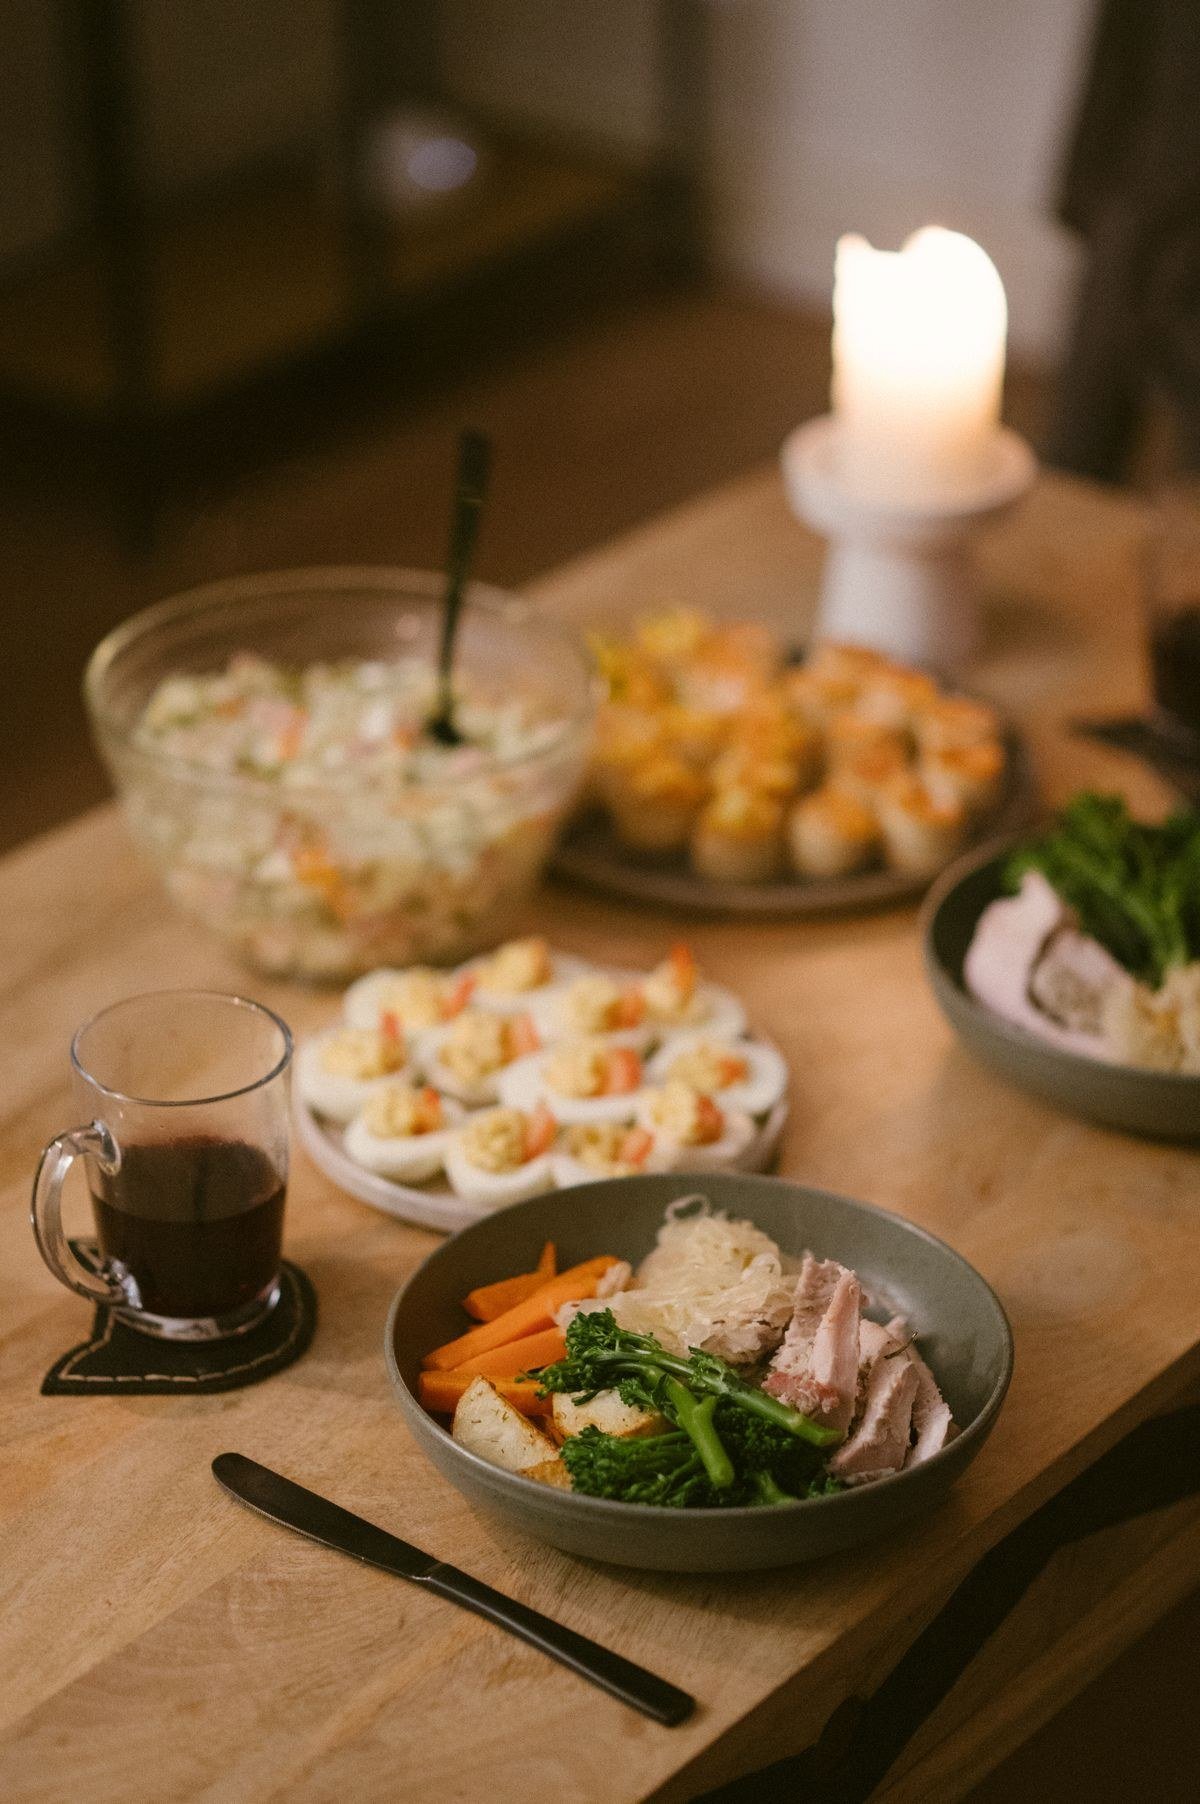
Monster eye deviled eggs pair beautifully with other Halloween dishes. Serve them alongside spooky pumpkin soup, mummy-wrapped pastries, and a Halloween cheese board for a complete spooky spread. Their creamy, savoury flavour balances sweeter Halloween treats like cupcakes and candy, giving the menu variety.
For drinks, sparkling apple cider, pumpkin-spiced drinks, or a simple punch all complement deviled eggs well. Keep the menu balanced with a mix of savoury and sweet, hot and cold, so guests can graze happily. The monster eggs, as a savoury anchor, help the spread feel like a real meal rather than just treats. A small printed menu card listing the dishes, including any allergens, is a thoughtful touch at a buffet, since guests with dietary needs can then help themselves with confidence.
15. Transporting Deviled Eggs Safely
Transporting deviled eggs requires a little care. Use a container with individual compartments if possible, or place the eggs in a single layer in a shallow container with a tight-fitting lid. Keep the container cool with an ice pack, especially on warm days, and avoid stacking containers on top of the eggs.
If you are travelling a long distance, transport the whites and filling separately and assemble at the destination. This is the safest option and guarantees the eggs look fresh on arrival. Bring the garnishes in a small separate container, and assemble quickly on site with a piping bag or spoon.
16. Scaling the Recipe for a Crowd
Scaling deviled eggs for a large party is straightforward. Allow two to three egg halves per guest as part of a buffet, or four to six halves per guest if the eggs are a main snack. For fifty guests, you might need around twelve dozen eggs, which sounds like a lot but is manageable when boiled in batches.
Boil the eggs in several pots or in batches, and enlist help for peeling if the quantity is large. Mix the filling in a large bowl, tasting as you go, and pipe assembly-line style. A crowd-sized batch of monster eyes makes a spectacular platter that guests will photograph and remember.
17. Troubleshooting Common Problems
If the filling is too runny, add a little more mashed yolk or a spoonful of cream cheese to thicken it. If it is too thick, add mayonnaise a teaspoon at a time until it pipes smoothly. If the whites tear during peeling, use the torn side down on the platter, and let the filling cover the damage. Small imperfections disappear once the monster eyes are assembled.
If the eggs taste bland, a little more salt, mustard, or vinegar usually fixes it. Taste the filling before piping, and adjust boldly, cold foods need slightly more seasoning than hot foods to taste flavourful. If the colouring looks dull, add a drop more food colouring or a natural colour ingredient until the shade is vivid. If an egg white cracks while peeling, turn the damaged side down on the platter and pipe generously over the top, since the filling and garnish will hide most imperfections completely.

18. Storing Leftovers
Leftover deviled eggs keep in the fridge for up to two days in an airtight container, though they are best eaten the same day. Store them in a single layer, covered, and keep them chilled. The garnishes may soften slightly, but the flavour remains good. Do not freeze deviled eggs, as the texture of the whites becomes unpleasant.
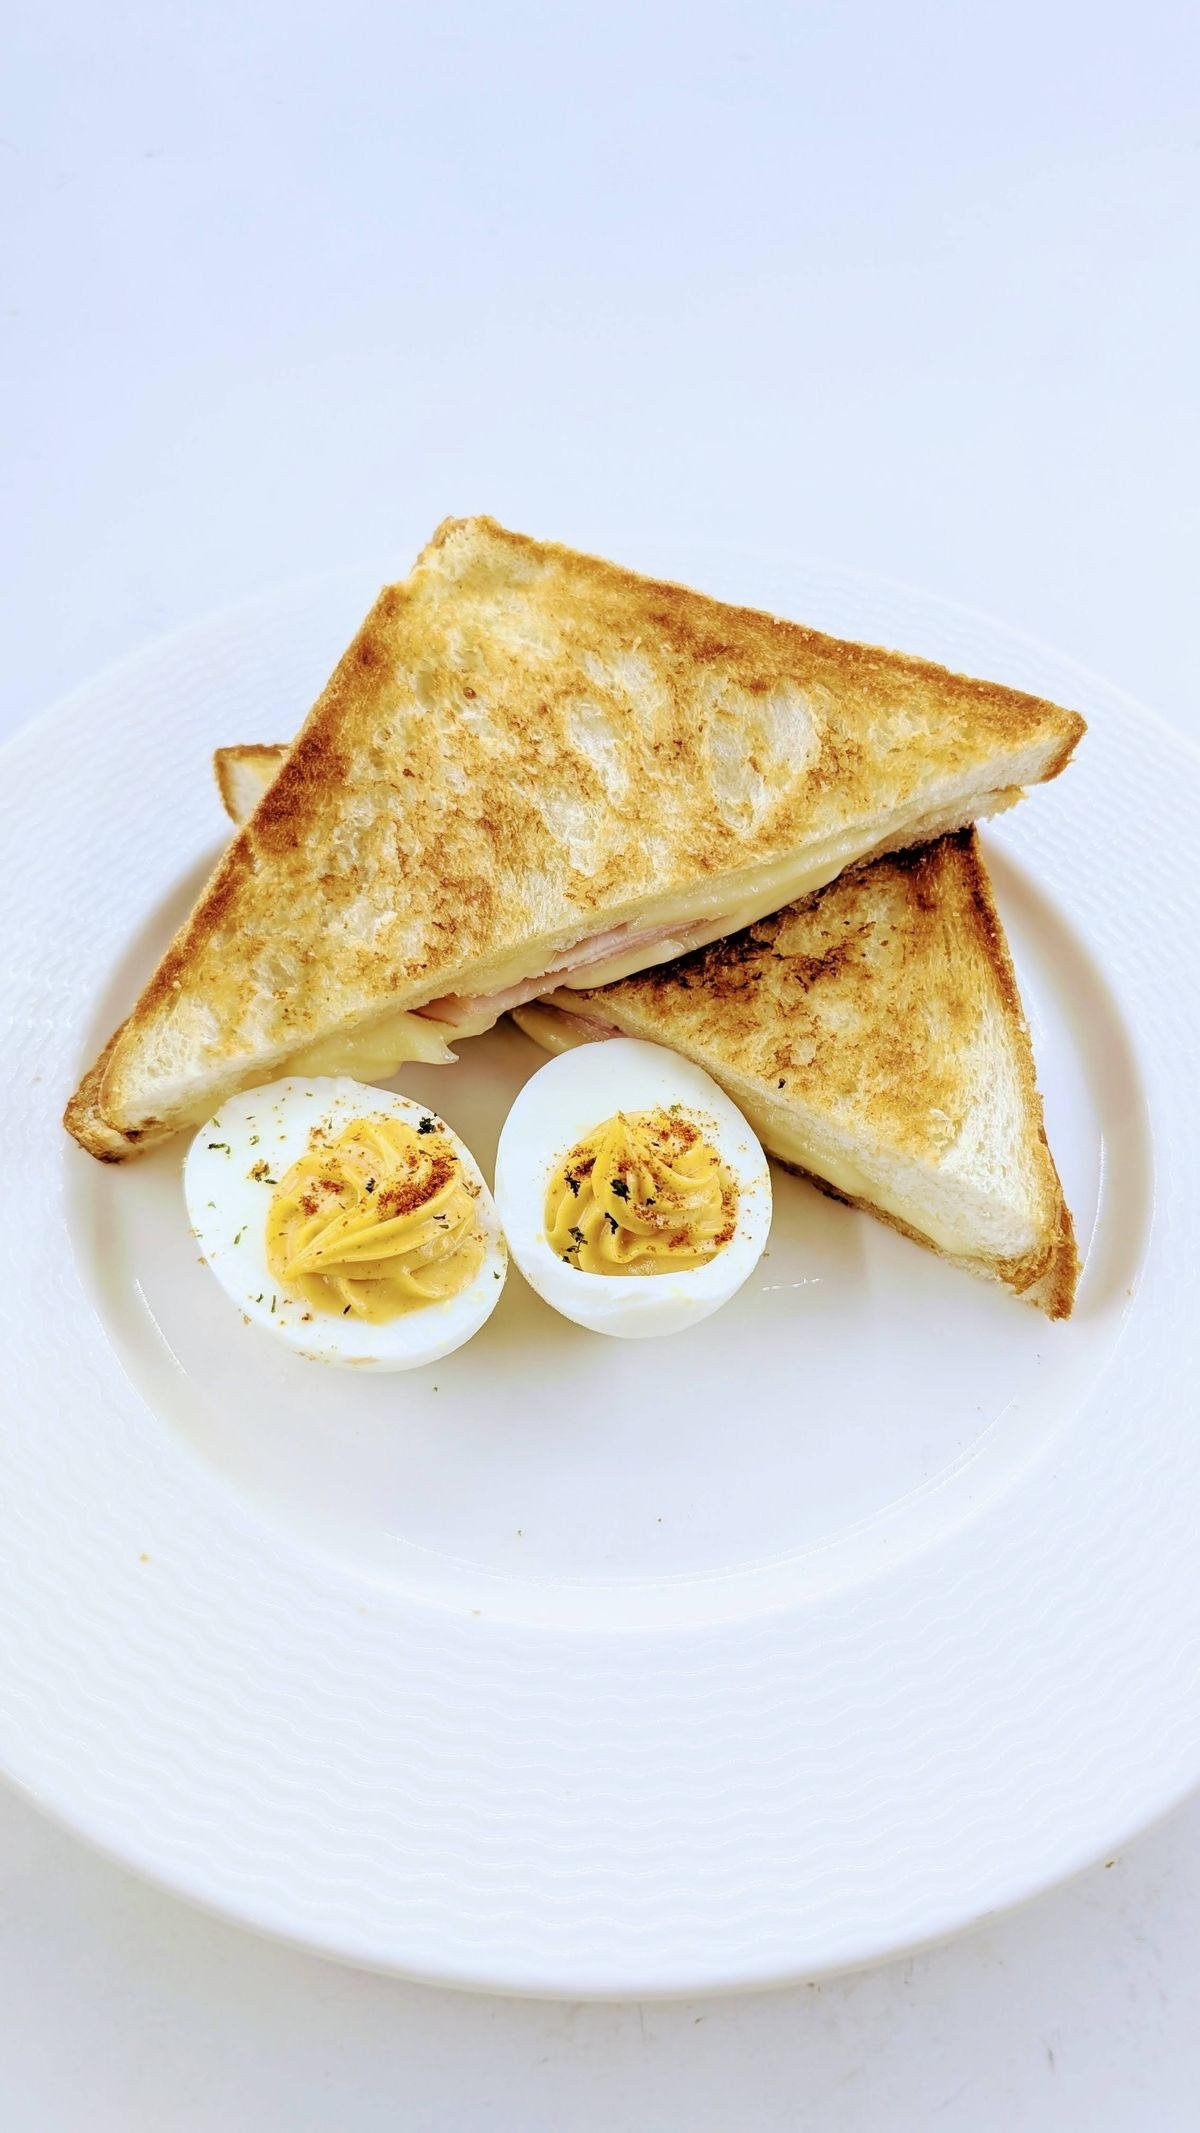
For a quick second use, chop leftover deviled eggs and mix them into a sandwich filling or a salad. The creamy, seasoned filling makes a delicious sandwich spread. Label leftovers with the date, and discard any eggs that have been at room temperature for more than two hours.
19. Fun Monster Names and Themes
Give your monster eggs personality with fun names. Green eggs can be Frankenstein’s monsters, red-tinged eggs can be vampires, and purple eggs can be one-eyed aliens. A small sign with the monster names adds humour and helps guests choose. For a children’s party, let the children name the monsters themselves, which adds to the fun.
Theme the whole platter around the monsters, with a spooky backdrop, a few toy spiders, and a dark tablecloth. The storytelling element turns a simple snack into an experience. Guests, especially children, will remember the monster eggs long after the party, and may ask for the recipe.
20. Why Monster Eyes Are a Halloween Classic
Monster eye deviled eggs have become a Halloween classic because they combine everything a party snack should be: easy, delicious, visually striking, and fun. They are familiar enough that guests know what to expect, yet spooky enough to feel special. The creamy filling, the colourful monsters, and the playful presentation make them a hit with every age group.
Whether you make a small batch for family or a large platter for a party, monster eye deviled eggs deliver delight with minimal effort. They prove that Halloween food does not need to be complicated to be memorable. With a little creativity and a steady hand, you can create a platter of monsters that guests will love, photograph, and ask about for years to come.

I am Talha Sikandar, a professional writer with a passion for general blogging. With years of experience in content writing and research, I founded Meaniingly.com to deliver well-researched, informative, and user-friendly articles on diverse topics.