Silver eyeliner makeup tutorial
Silver eyeliner is one of the most exciting makeup trends of the season, because it instantly adds light, drama, and a futuristic edge to any look. Unlike classic black liner, which defines and darkens, silver liner brightens the eyes, catches the light beautifully, and works across every skin tone and eye colour. It can be subtle enough for daytime, with a thin metallic line along the lashes, or bold enough for a party, with a graphic wing and shimmering inner corners. This tutorial will guide you step by step, from choosing the right silver formula to mastering wings, graphic shapes, and long-lasting application. You will also find tips on pairing silver liner with eyeshadow, lashes, and lip colours, plus variations for different eye shapes and mistakes to avoid, so you can wear silver liner with total confidence.

1. Why Silver Eyeliner Works
Silver eyeliner works because metallic finishes reflect light, making the eyes appear larger, brighter, and more awake. While black liner can sometimes close off the eyes, especially on smaller eyes, silver opens them up by drawing light to the lash line and inner corners. This makes it an excellent choice for evening events, photography, and occasions when you want your eyes to be the focal point. Silver also complements a wide range of colours, from cool blues and greys to warm neutrals and bold reds. Metallic pigment reflects light onto the surrounding skin, which is why silver liner can make tired eyes look brighter and more awake, even with minimal other makeup.
Another advantage is versatility. Silver liner can be worn alone for a minimalist, modern look, or layered over eyeshadow for a more dramatic effect. It suits every age and style, from a subtle shimmer for work to a full graphic wing for a night out. Once you understand the basic techniques, silver liner becomes one of the most useful tools in your makeup collection.

2. Choosing the Right Silver Formula
Silver liners come in pencils, liquids, gels, and pens, and each has distinct advantages. Pencils are easiest for beginners, because they allow soft, blendable lines and easy correction. Liquid liners give the sharpest, most precise wings and the most intense metallic finish, but require a steadier hand. Gel liners in pots offer a balance of precision and blendability, while felt-tip pens are convenient for quick application and travel. Pencils forgive wobbly lines and blend easily, while liquids deliver sharper wings, so beginners should start with a pencil and progress to liquid once confident.
Consider your skill level, eye shape, and occasion when choosing. For your first silver look, a pencil or pen is forgiving and easy to control. For a party wing, a liquid or gel formula will deliver sharper lines and longer wear. Always test the formula on your hand first to check the colour payoff: some silvers lean cool and icy, while others lean warm and champagne-like.

3. Preparing Your Eyes
Preparation is essential for long-lasting liner. Start with clean, moisturised eyelids, then apply an eyeshadow primer or a light layer of concealer to create a smooth, even base. Primer prevents creasing, stops metallic pigment from fading, and helps the liner grip the skin. If you have oily eyelids, set the primer with a light dusting of translucent powder or a skin-toned eyeshadow before applying liner. Primer also prevents metallic pigment from settling into fine lines, and a light dusting of powder over primer gives pencil and liquid liners a smoother surface.
Take a moment to assess your eye shape in a mirror, noting your crease, lash line, and outer corners. Understanding your eye shape helps you place the wing correctly, rather than copying a tutorial designed for a different shape. Good preparation takes only a minute, but it makes the difference between liner that lasts all evening and liner that smudges within an hour.

4. The Classic Silver Lash Line
The classic silver lash line is the simplest way to wear this trend. Using a pencil or pen, draw a thin line as close to your upper lashes as possible, starting from the inner corner and moving outward. Keep the line thin at the inner corner and slightly thicker towards the outer corner, which creates a natural lifting effect. Use short, connected strokes rather than one long line, for better control. Short, overlapping strokes along the lashes give far more control than one long sweep, and a cotton bud can tidy the outer edge without removing the whole line.
If the line looks uneven, gently smudge it with a small brush or cotton bud for a softer finish, or clean up the edges with a pointed cotton bud dipped in makeup remover. A thin silver line pairs beautifully with mascara and a neutral lip, making it perfect for daytime or office wear. It is also an excellent first step before attempting a wing.

5. Mastering the Silver Wing
The silver wing is the signature party look, and it is easier than it appears with the right technique. Start by drawing a small line from the outer corner of your eye, angled upwards towards the end of your eyebrow. Then draw a second line from the tip of that wing back towards the centre of your eyelid, creating a triangle shape. Fill in the triangle, then connect it to your lash line for a clean, sharp wing. Drawing the wing with eyes open, looking straight ahead, ensures the shape remains visible and symmetrical when your face is relaxed, not just when eyes are closed.
For symmetry, work on both eyes in stages: draw the outer lines on both eyes first, check they match, then fill them in. If one wing is longer, shorten it rather than lengthening the other, to avoid overly dramatic wings. Tape or a business card held at the outer corner can guide the angle for beginners. With practice, the wing becomes quick and intuitive.

6. Silver on the Lower Lash Line
Silver on the lower lash line adds brightness and makes the eyes appear larger, but it must be applied lightly. Use a pencil or a small brush to place a thin line along the outer two-thirds of the lower lash line, then soften it with a brush so it blends into the skin. Avoid a heavy, unblended line on the lower lashes, which can look harsh and draw attention to dark circles. A soft, blended lower line adds brightness without harshness, and pairing it with concealer underneath prevents silver from emphasising dark circles or redness.
Pair lower silver liner with a clean upper line or a soft wing for balance. If you have dark circles, apply concealer first and set it lightly, so the silver sits on a smooth base. A touch of silver in the lower waterline, using a safe eye pencil, can further brighten the eyes, but skip this step if your eyes are sensitive or watery.
7. Brightening the Inner Corners
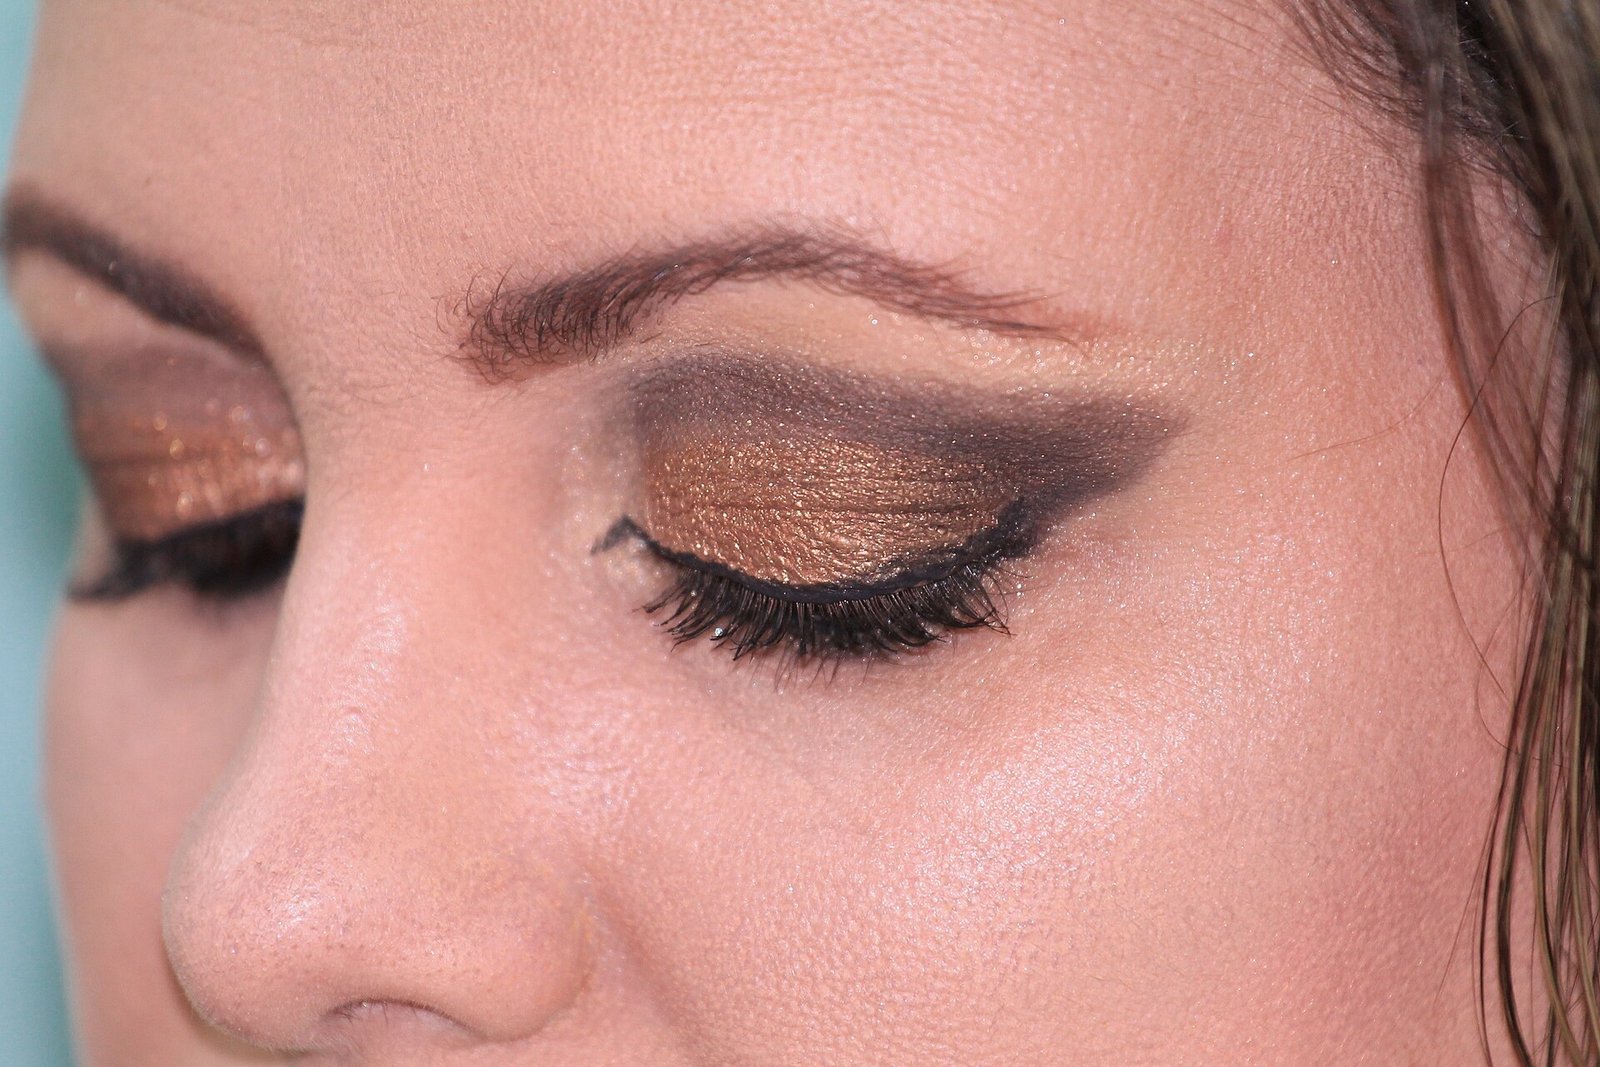
Inner corner highlight is a quick trick that transforms any eye look. Dab a small amount of silver liner or shimmering eyeshadow into the inner corners of your eyes, where the upper and lower lash lines meet. Blend gently with your fingertip or a small brush, keeping the highlight concentrated in the corner rather than spreading it across the whole lid. This instantly makes you look more awake and refreshed. Inner corner highlight works in seconds and suits every eye look, from bare skin and mascara to full evening glamour, making it the most useful silver liner trick.
Inner corner silver pairs beautifully with both natural and dramatic looks, and it is especially effective in photos, where it catches the light. For daytime, use a soft, subtle silver; for evening, a brighter, more metallic shade adds glamour. This single step takes seconds but delivers a noticeable difference.
8. Graphic Silver Liner Looks
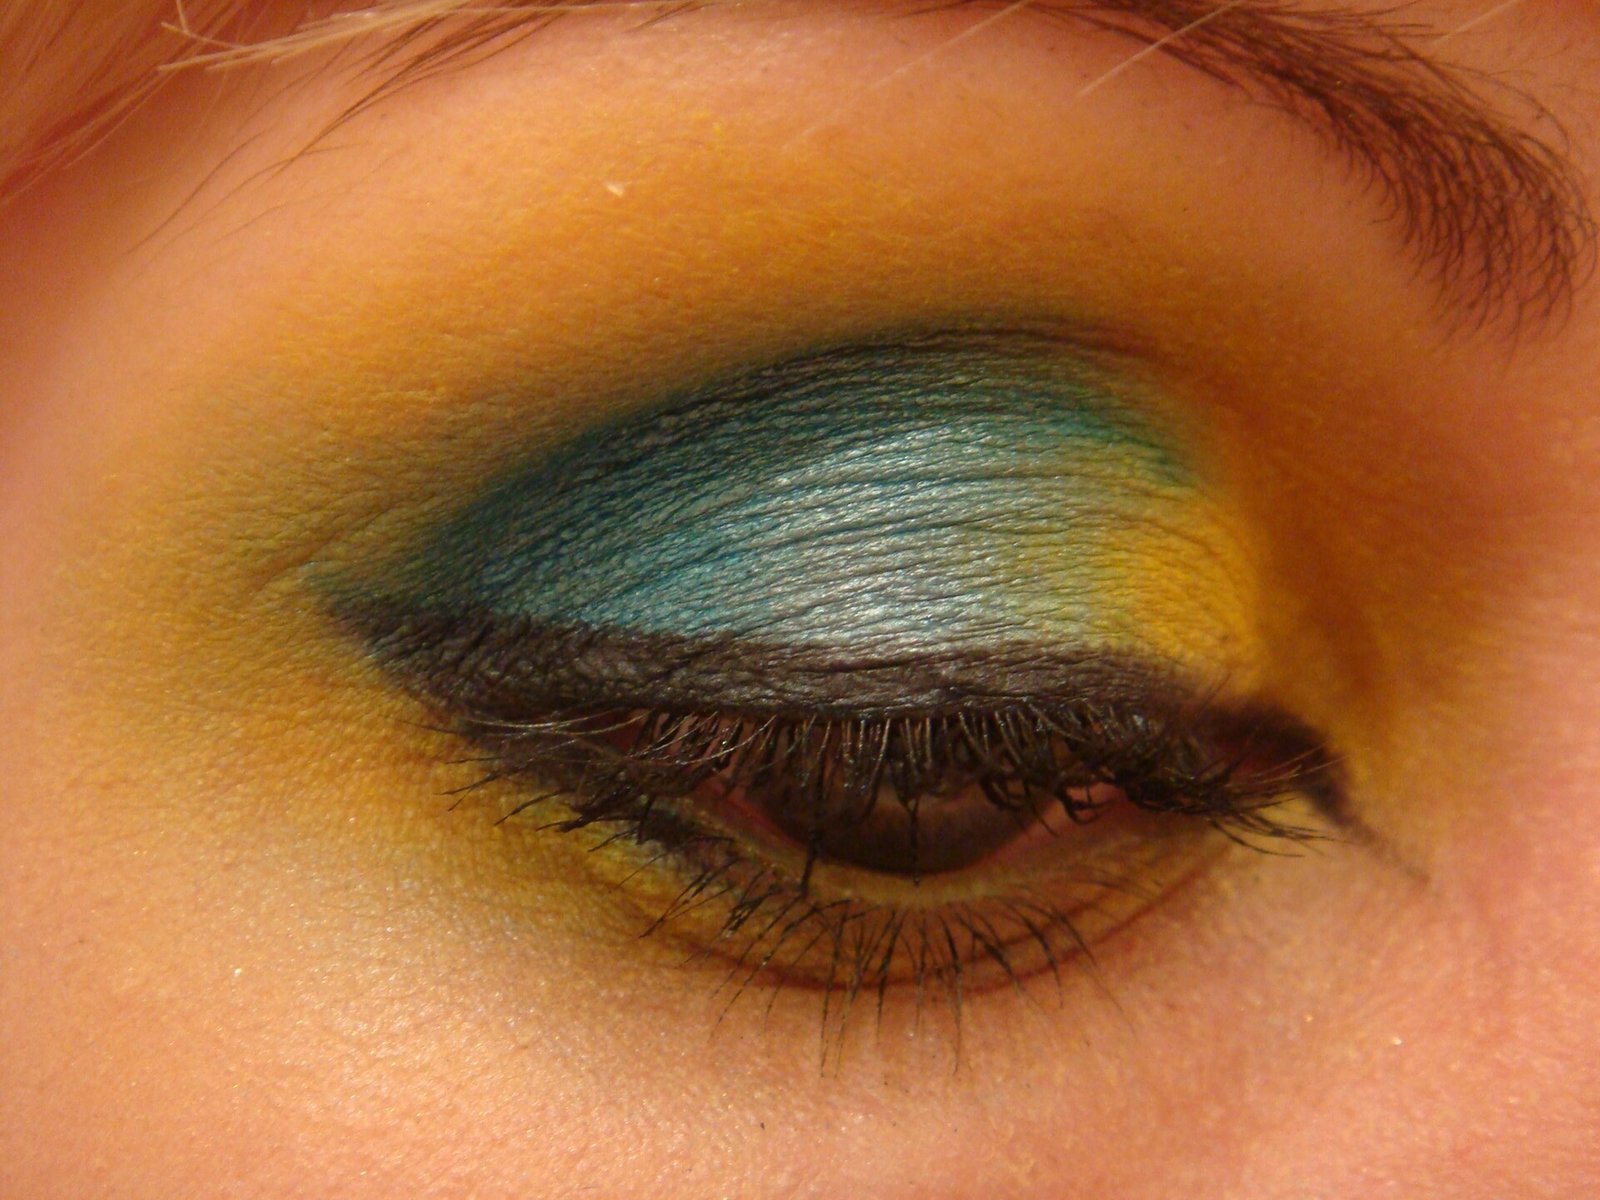
Graphic liner is where silver truly shines. Try a floating crease line, a double wing, or a bold geometric shape above the natural lash line. Use a liquid liner for crisp edges, and sketch the shape lightly first with a pencil, so you can adjust before committing to the final line. Graphic looks are playful and artistic, perfect for parties, photoshoots, and creative occasions. Sketch graphic shapes lightly in pencil first, then trace with liquid liner, so you can adjust angles and symmetry before committing to a bold, visible line.
Keep the rest of your makeup simple when wearing graphic liner, so the eyes remain the focus. A clean base, soft blush, and a neutral lip prevent the look from becoming overwhelming. Graphic liner is also forgiving: asymmetry can be corrected by thickening the thinner side, and bold shapes hide small mistakes better than thin lines do.

9. Pairing Silver Liner with Eyeshadow
Silver liner pairs beautifully with many eyeshadow colours. For a cool, icy look, combine it with grey, blue, or lavender shadows. For a warmer contrast, pair it with taupe, bronze, or soft brown shadows, which make the silver pop. A neutral matte shadow across the lid creates a clean canvas that lets the metallic line stand out, while a shimmering shadow adds extra dimension. Matte neutral shadow creates a clean canvas for silver, while shimmer shadow layered underneath adds depth, provided the liner remains crisp and clearly visible.
When combining liner and shadow, apply shadow first, then liner, so the metallic line stays crisp and visible. Blend shadow softly into the crease, avoiding harsh edges that compete with the liner. If you use glitter shadow, apply it after liner with a light hand, so it enhances rather than obscures the silver line.

10. Silver Liner for Different Eye Shapes
Different eye shapes benefit from slightly different silver liner techniques. For hooded eyes, keep the wing shorter and draw it with eyes open, so the shape remains visible when the eye is relaxed. For round eyes, extend the wing slightly outward to elongate the shape. For almond eyes, a classic wing works beautifully, following the natural upward angle of the outer corner. Hooded eyes need shorter wings drawn with eyes open, while round eyes benefit from slightly extended wings that elongate the shape and balance its natural width.
For deep-set eyes, a thin silver line with inner corner highlight opens the eyes without overwhelming them. For monolid eyes, a slightly thicker line with a bold wing ensures the liner remains visible. The key is to adapt the technique to your own eyes, rather than forcing a single method. Experiment in front of a mirror to find your most flattering placement.
11. Adding Lashes and Mascara
Mascara and lashes complete a silver liner look by adding depth and framing the metallic line. Curl your lashes first, then apply two coats of mascara, wiggling the brush at the roots for volume. For a dramatic evening look, add false lashes, choosing a style that enhances rather than hides the liner. Apply lashes after liner, so the band sits neatly along the lash line. Apply false lashes after liner, positioning the band as close to the natural lashes as possible, so the silver line remains visible above the lash band.
If you wear false lashes, keep the silver line slightly thicker, so it remains visible above the lash band. For a natural daytime look, mascara alone is enough, especially with a thin silver line. Always remove lashes gently at the end of the night, and clean reusable lashes for future use.

12. Lip and Cheek Pairings
Silver liner is versatile enough to pair with many lip and cheek colours. For a balanced look, choose a soft nude or pink lip with a natural blush, letting the eyes take centre stage. For a bold evening look, a red or berry lip creates a striking contrast with cool silver, while a peach blush adds warmth to the cheeks. Avoid pairing silver liner with overly frosty lips and cheeks, which can make the whole look feel cold. A nude lip keeps attention on silver eyes for daytime, while a bold red lip creates striking evening contrast, provided blush remains soft and blended.
Consider the occasion: a nude lip suits daytime and work, while a bold lip suits parties and photographs. Keep blush soft and blended, so it complements rather than competes with the eyes. When lips and cheeks are balanced, silver liner looks intentional and polished, not like an isolated experiment.

13. Making Silver Liner Last All Day
Longevity starts with primer, but setting techniques matter too. After applying liner, gently press a matching silver eyeshadow over the line with a small brush to set it and intensify the metallic finish. Finish with a setting spray, holding it at arm’s length and misting lightly over the whole face. Avoid touching or rubbing your eyes throughout the day, which is the most common cause of smudging. Pressing matching silver shadow over the liner sets it, intensifies the metallic finish, and significantly extends wear, especially on oily or hooded eyelids.
For oily eyelids, carry blotting papers and a small brush for touch-ups, rather than layering more product over smudged liner. A quick clean-up with a cotton bud and a fresh thin line restores the look in seconds. With good preparation and setting, silver liner can last from morning meetings to evening events.
14. Silver Liner for Daytime Wear
Silver liner can absolutely work for daytime, when applied subtly. Choose a soft, muted silver pencil, draw a thin line along the upper lashes, and add a touch of inner corner highlight. Skip the dramatic wing and heavy lashes, and pair the look with natural skin, soft blush, and a nude lip. The result is fresh, modern, and office-appropriate. A muted silver pencil with a thin line and inner corner highlight looks fresh and modern at work, without the drama of a sharp wing or false lashes.
Daytime silver liner is especially flattering in natural light, where the metallic sheen looks like a gentle glow rather than a bold statement. It is also a wonderful way to try the trend without committing to a full evening look. Once you feel comfortable with the daytime version, the evening wing will feel much less intimidating.

15. Silver Liner for Evening and Parties
Evening is when silver liner can truly shine. Go bolder with a sharp wing, a graphic shape, or a double line, and layer metallic shadow for extra dimension. Add false lashes, a bold lip, and a touch of highlighter on the cheekbones for a complete party look. Silver catches party lights and camera flashes beautifully, making it ideal for celebrations and photographs. Highly pigmented liquid liner, false lashes, and a bold lip transform silver eyes into a party look that catches camera flashes and low evening lighting beautifully.
For evening wear, choose a highly pigmented liquid or gel liner, and set it well for longevity. Carry a small touch-up kit with liner, cotton buds, and lip colour, so you can refresh the look midway through the night. A bold silver eye is a conversation starter, so wear it with confidence and enjoy the attention.

16. Removing Silver Liner Safely
Proper removal protects your eyes and skin. Use a gentle eye makeup remover or micellar water on a cotton pad, holding it over the closed eye for a few seconds to dissolve the metallic pigment before wiping softly downwards. Avoid scrubbing or pulling the delicate eye area, which can cause irritation and fine lines over time. Repeat with a fresh pad until all silver pigment is gone. Hold remover-soaked cotton over closed eyes for several seconds before wiping, because dissolving metallic pigment first prevents tugging on delicate eye skin.
Follow with your usual cleanser and moisturiser, and give your eyes a break from heavy makeup the next day if they feel sensitive. If you wear contact lenses, remove them before taking off eye makeup, and be extra gentle around the lash line. Good removal habits keep your eyes healthy and ready for your next silver liner experiment.

17. Common Silver Liner Mistakes
Common mistakes include drawing the wing too low, which drags the eyes down, and applying silver liner too thickly on the lower lash line, which can look harsh. Another frequent error is pairing silver liner with too many other metallic products, creating an overly frosty look. Keep the metallic focus on the eyes, and balance the rest of the face with matte or satin finishes. The most common wing error is angling it downwards, which drags the eye down, so always aim the wing towards the tail of the eyebrow for a lifting effect.
Skipping primer is another mistake, because metallic liners fade quickly on bare, oily lids. Finally, avoid forcing symmetry by overcorrecting: if wings differ slightly, thicken the thinner one gently rather than redrawing both repeatedly. Small imperfections are rarely noticeable in real life, especially when you wear the look with confidence.

18. Silver Liner on Mature Skin
Silver liner works beautifully on mature skin, with a few thoughtful adjustments. Choose a softer, less glittery silver, and apply a thin line rather than a thick, heavy wing, which can emphasise texture. Use primer to smooth the lid, and blend the outer edge slightly for a softer finish. Inner corner highlight is especially flattering, as it brightens the eyes without drawing attention to fine lines. Softer, less glittery silver and a thin, blended line flatter mature skin, while inner corner highlight brightens eyes without drawing attention to texture.
Avoid dragging the skin while applying liner; instead, gently lift the brow area with a fingertip for a smooth surface. Pair silver liner with a hydrating base, soft blush, and a creamy lip colour for a fresh, radiant look. Age is no barrier to metallic trends, and silver liner can be one of the most flattering choices for mature eyes.

19. Tools and Brushes You Need
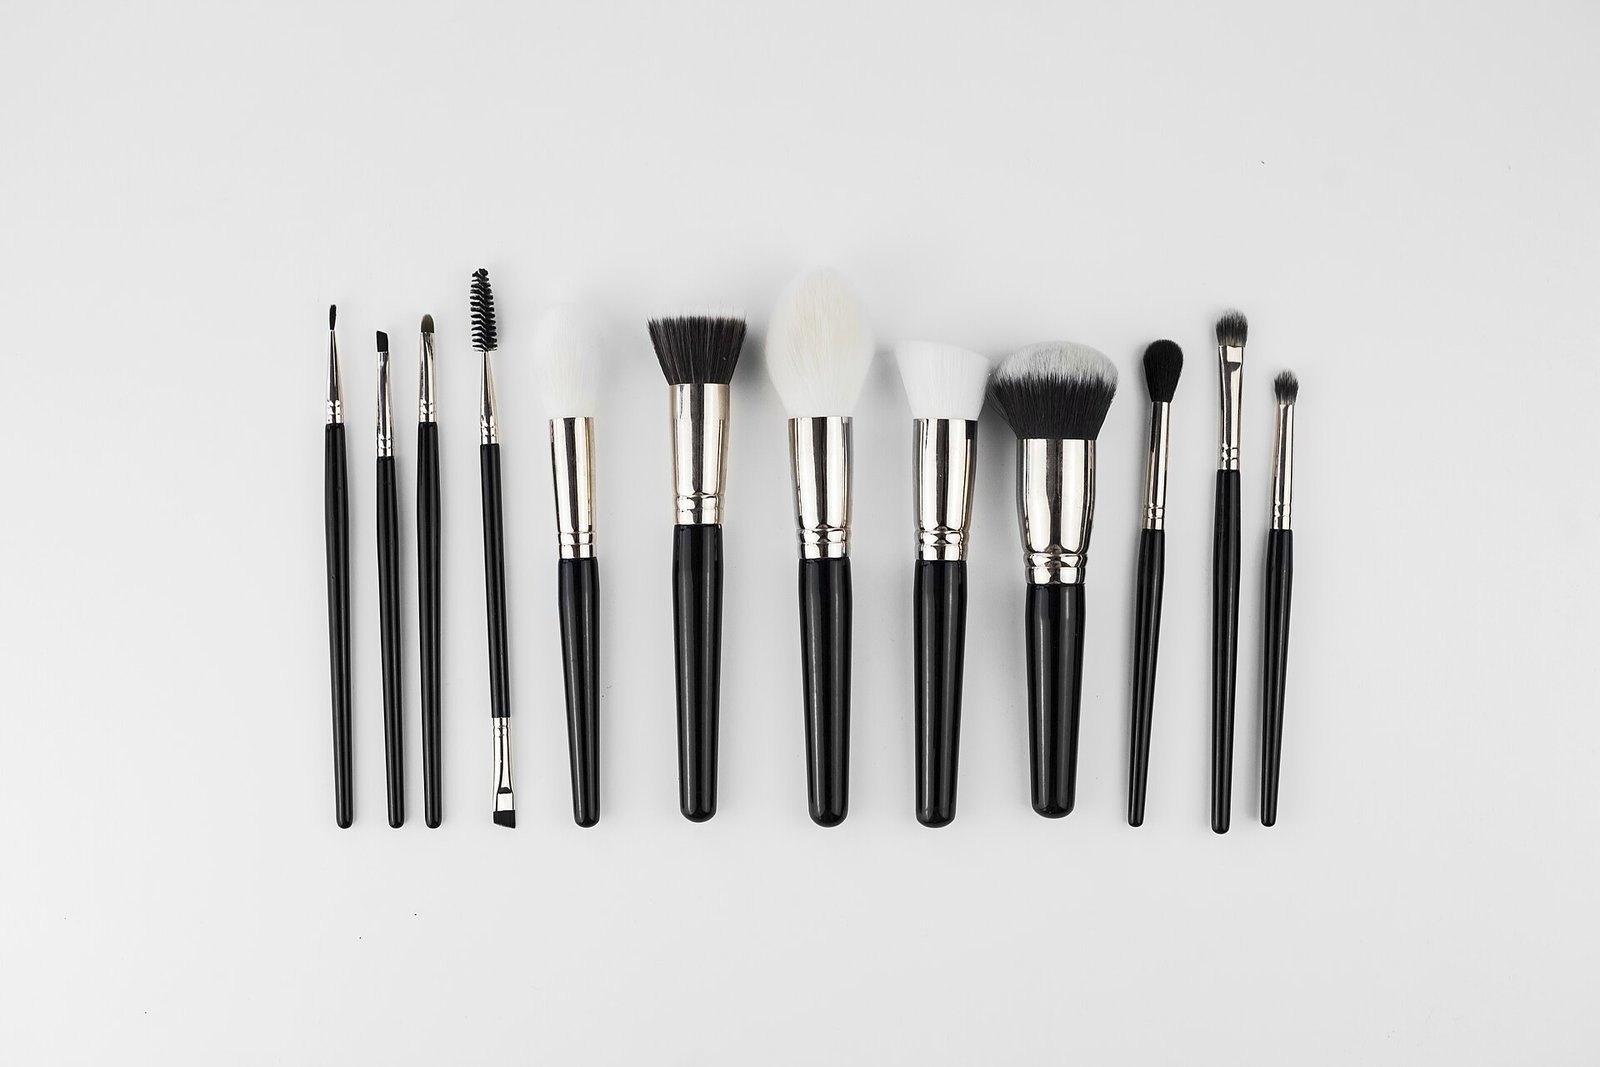
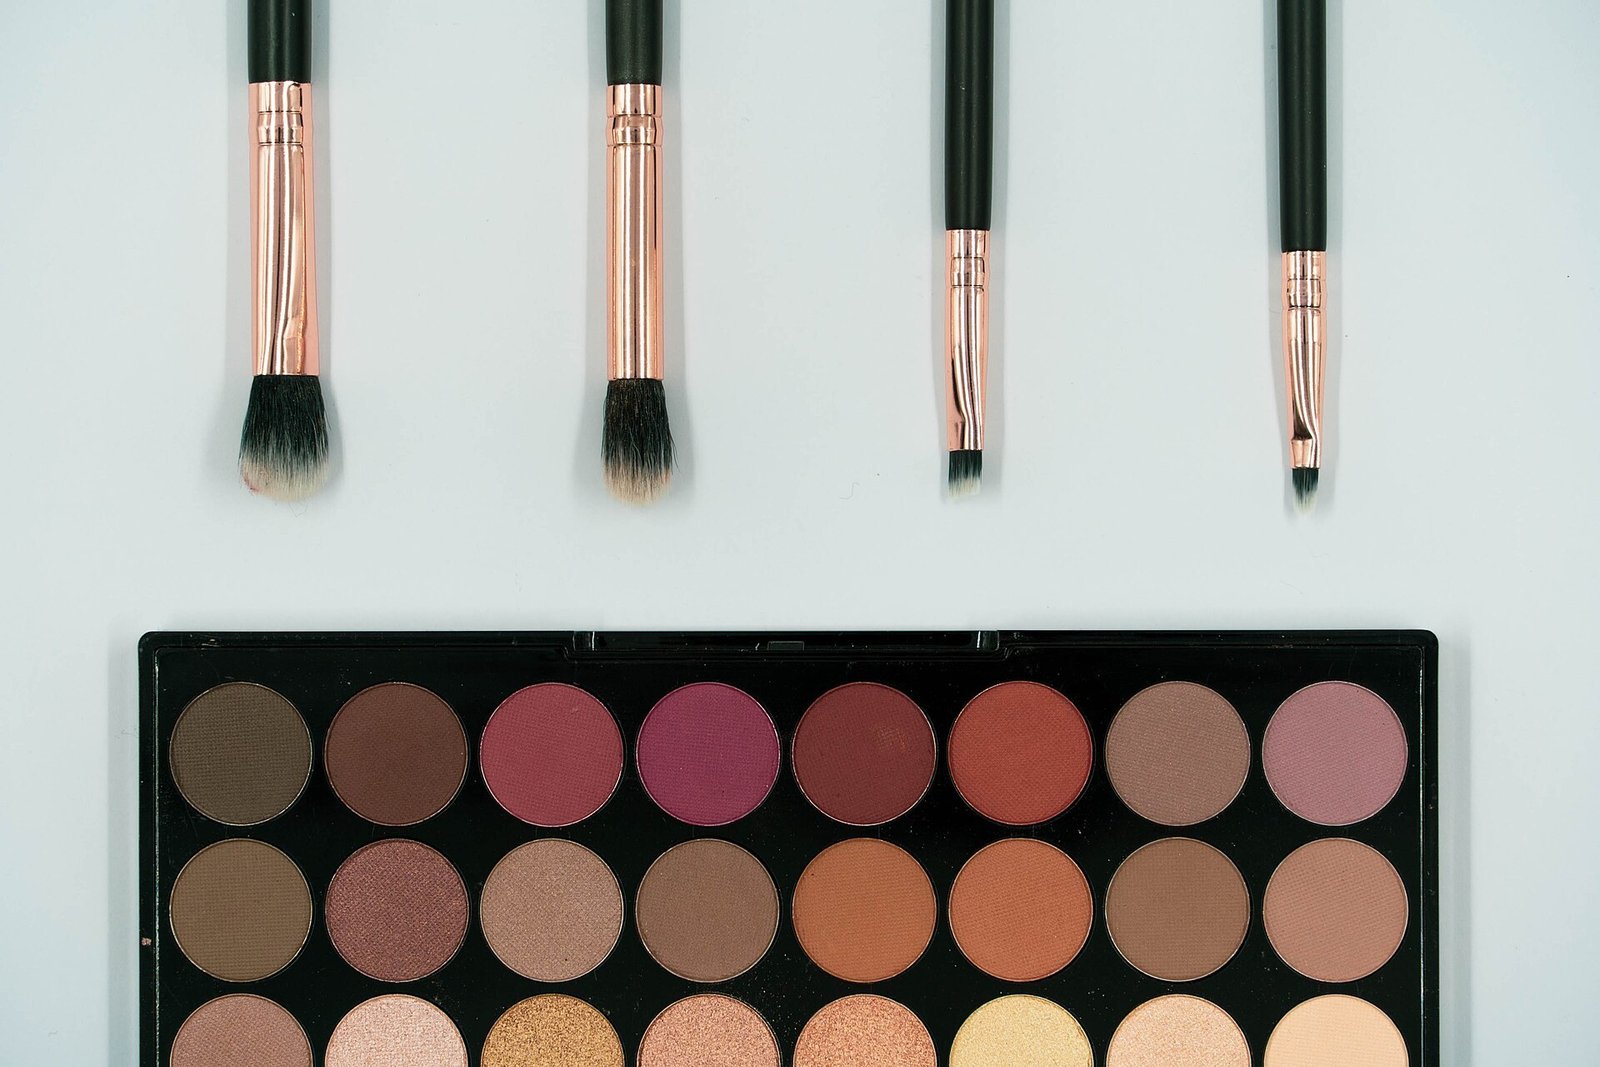
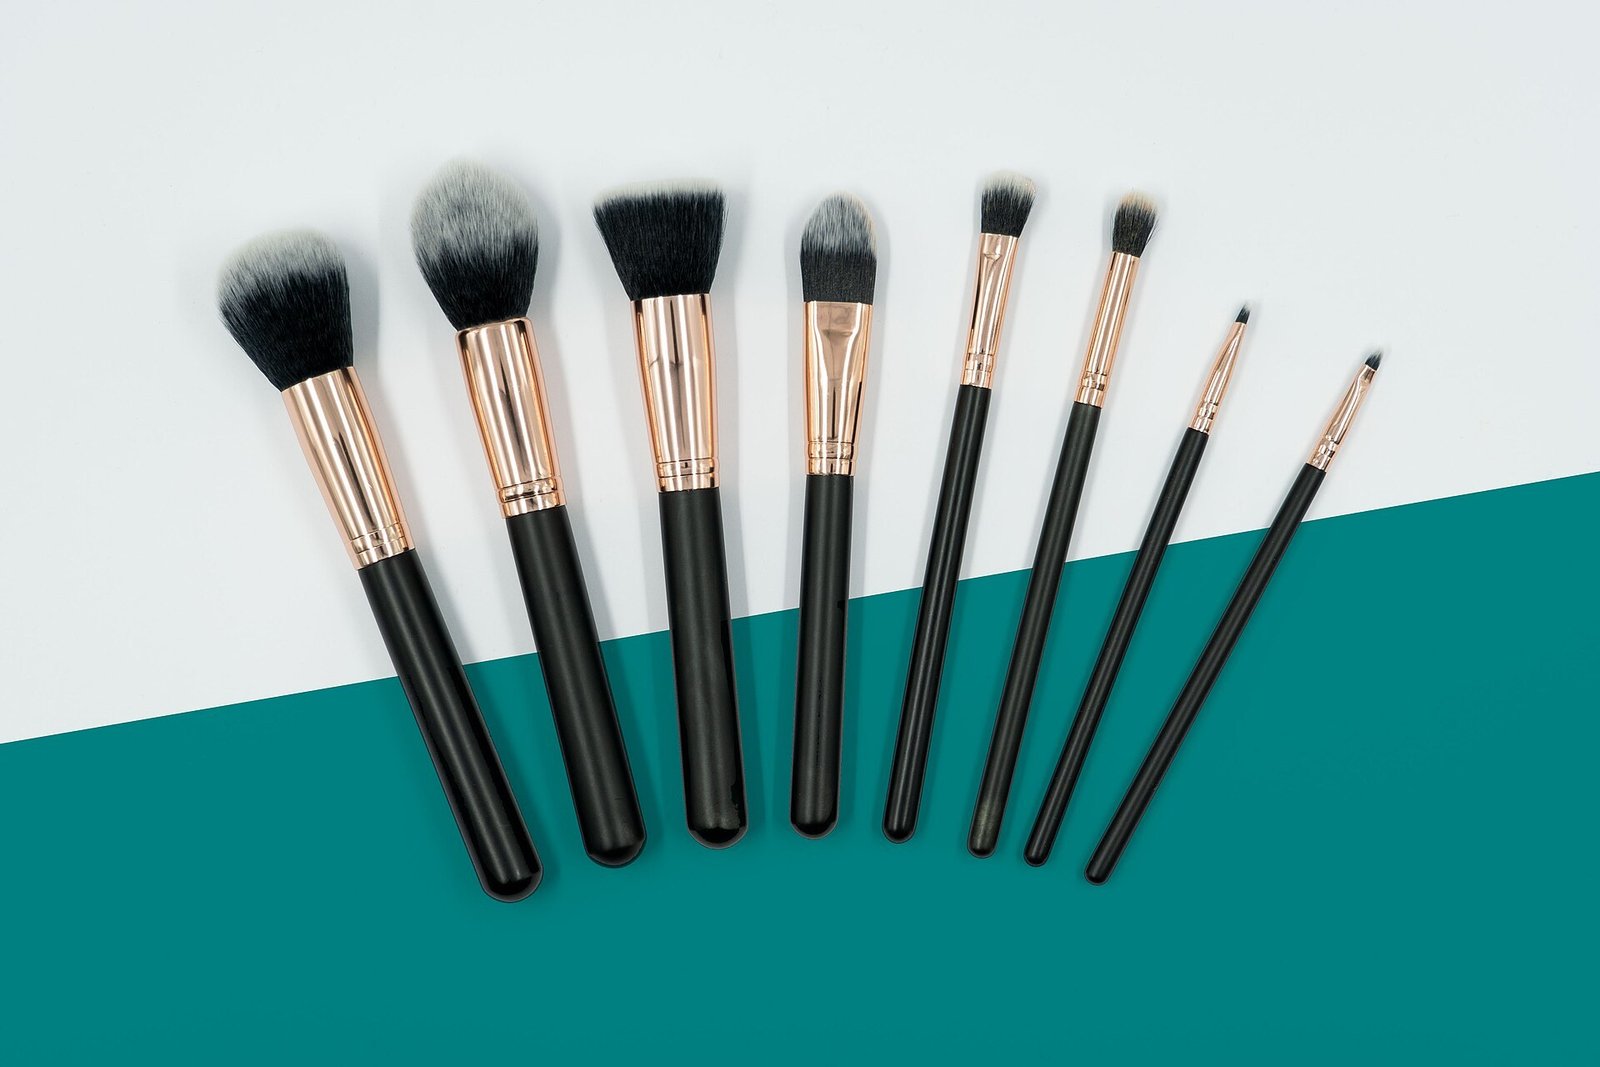
The right tools make silver liner much easier. A small angled brush is ideal for gel liner and for cleaning up edges, while a flat shader brush applies shadow over liner for setting. Cotton buds, both pointed and flat, are essential for corrections, and a good eyelash curler frames the finished look. Invest in a quality sharpener for pencil liners, because a blunt pencil creates thick, uneven lines. A sharpener, an angled brush, and pointed cotton buds are inexpensive essentials, and clean tools prevent patchy application and irritation around the eyes.
Clean your brushes regularly to prevent pigment build-up and irritation, especially when using metallic products. Store liquid liners upright with caps tightly closed, to prevent drying out. Good tools do not need to be expensive, but they should be clean, sharp, and suited to the formula you are using. With the right kit, even beginners can achieve professional-looking results.
20. Your Silver Liner Routine
Putting it all together, your silver liner routine is simple: prime the lids, choose your formula, draw a thin lash line, add a wing or graphic shape if desired, brighten the inner corners, finish with mascara, and set for longevity. Practise the routine a few times at home before wearing it out, starting with the daytime version and progressing to bolder evening looks. Each attempt will feel easier and more natural. Practise the daytime line first, then add a wing, then try graphic shapes, because gradual progress builds confidence far faster than attempting a bold look immediately.
Most importantly, have fun experimenting. Try different wings, shadows, and lip pairings, and discover which silver suits you best. Makeup is a creative playground, and silver liner is one of its most joyful trends. Whether you wear it subtly every day or boldly for special occasions, silver liner will brighten your eyes, lift your look, and add a touch of modern magic to your makeup routine.


I am Talha Sikandar, a professional writer with a passion for general blogging. With years of experience in content writing and research, I founded Meaniingly.com to deliver well-researched, informative, and user-friendly articles on diverse topics.