bendy phone case diy ideas
Squishy, wobbly, and irresistibly touchable — bendy phone cases are the tactile trend taking over craft feeds everywhere. These DIY bendy phone case ideas let you create a soft, flexible, endlessly customisable case using simple materials and beginner-friendly techniques. Whether you want a glossy pastel blob, a gummy-bear-inspired squish, or a case studded with charms, this guide walks you through every method, material, and decorating trick you need to make a phone case that is as fun to hold as it is to look at.

What Exactly Is a Bendy Phone Case?
A bendy phone case is a soft, flexible phone cover with a squishy, almost jelly-like texture that you can bend, squeeze, and poke. Unlike rigid plastic cases, these have a satisfying tactile quality — think stress ball meets phone accessory. The trend grew out of the wider “gummy” aesthetic: translucent colours, candy-like finishes, and playful, touchable surfaces.
Most DIY versions are built on a plain flexible silicone or TPU case base, which is then decorated with squishy elements made from materials like silicone moulding putty, air-dry clay, or resin with a flexible additive. The result is a one-of-a-kind case that protects your phone while doubling as a fidget toy. It is no wonder they are everywhere — they are genuinely delightful to use.
The bendy case trend sits at the intersection of two bigger movements: the return of tactile, sensory objects in a digital world, and the handmade personalisation boom. People are tired of identical mass-produced accessories — a squishy, one-of-a-kind case is a small daily rebellion against the generic.

Materials You’ll Need to Get Started
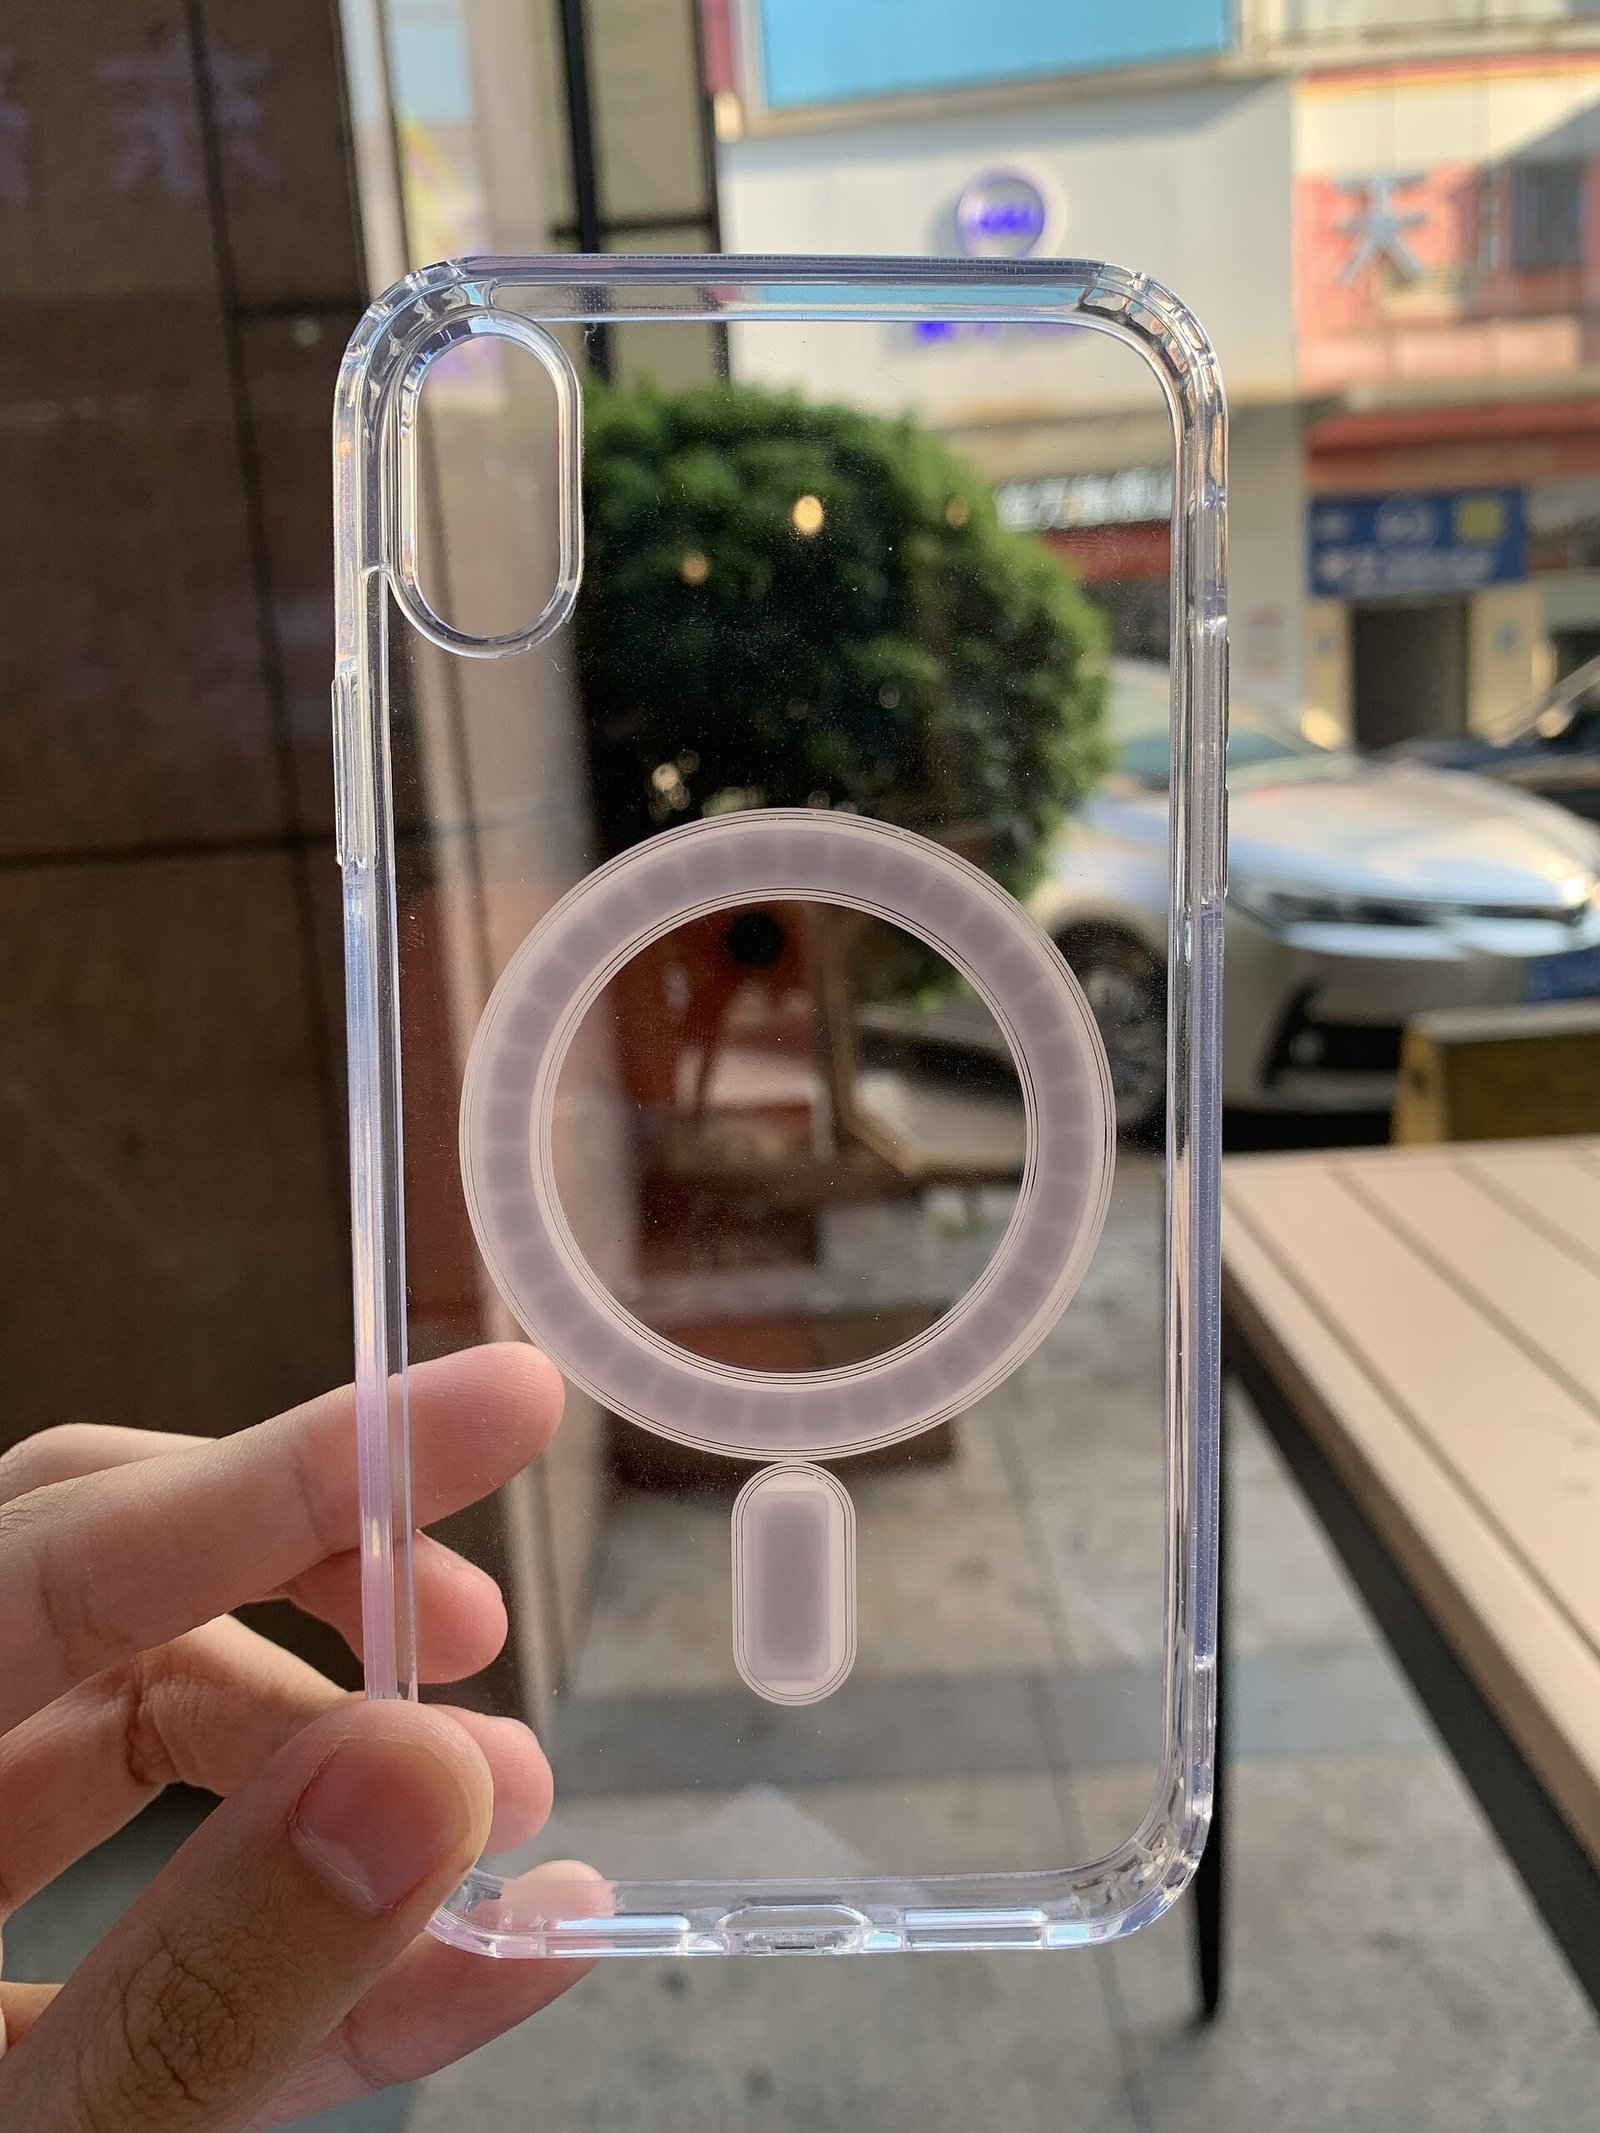
The foundation of every bendy case is a plain, flexible case that fits your phone model precisely — clear silicone or TPU cases are ideal because they are cheap, grippy, and easy to decorate. Beyond the base, the star material is two-part silicone moulding putty, which cures into a soft, rubbery finish that stays flexible permanently.
You will also want a craft knife or small scissors, a non-stick work surface like a silicone mat, and basic decorating supplies: alcohol inks or pigment pastes for colour, small charms, cabochons, and glitter. Keep wet wipes handy — silicone putty picks up every speck of dust. A complete starter kit costs less than a shop-bought designer case.
Silicone moulding putty comes in many brands and formulations — choose one specifically rated as flexible after curing, since some putties set rigid. Read reviews from other crafters before committing to a large pack. The right putty makes the difference between a case that squishes and one that merely sits there.
Choosing the Right Base Case
Not all base cases are equal for this craft. Look for a slim, flexible TPU case with a smooth back — textured or patterned bases make it harder for decorations to adhere evenly. Clear cases are the most versatile because any colour you add shows beautifully, but a white or pastel base works wonderfully for opaque designs.
Fit matters enormously: a case that is even slightly loose will let decorations peel at the edges. Order the exact model for your phone and test the fit before decorating. If you plan to make cases as gifts or to sell, buy bases in multipacks — they are significantly cheaper and you will want spares for experiments.
Measure twice, decorate once: trace your base case onto paper and sketch your design before touching the putty. Planning on paper reveals spacing problems while they are still fixable. Ten minutes of sketching saves hours of regret and wasted material.
The Silicone Putty Method: Step by Step
Silicone moulding putty is the gold standard for bendy cases. Mix equal parts of the two components and knead until the colour is completely uniform — usually about a minute. You then have roughly fifteen to twenty minutes of working time before it begins to set, so have your design planned in advance.
Roll the mixed putty into a thin sheet, lay it over the back of your base case, and trim the excess with a craft knife, leaving a small margin that you press neatly around the edges. Smooth the surface with damp fingers for a professional finish. Leave it to cure for the time specified on the packaging — usually a few hours — before handling.
Knead the putty thoroughly until no streaks remain — under-mixed putty cures unevenly and can stay tacky in patches. The colour should be completely uniform before you start shaping. Proper mixing is the least glamorous and most important step of the whole process.
Creating the Perfect Squishy Texture
The signature squish comes from thickness and material choice. A putty layer of three to four millimetres gives that satisfying give when pressed without feeling bulky in your hand. Thinner layers look sleek but lose the tactile magic; thicker layers feel amazing but can make the phone awkward to hold.
For extra squish, press small air pockets into the putty before it cures — tiny dimples made with the end of a paintbrush create a bubble-wrap effect that is unbelievably fun to poke. Some crafters mix a little clear silicone into coloured putty for a translucent, gummy-bear finish that looks good enough to eat.
Thickness gauges help enormously: roll putty between two stacked coins or lolly sticks to get a perfectly even sheet. Uneven thickness creates weak spots that tear and thick spots that feel bulky. Consistency is what separates amateur results from professional-looking ones.

Pastel Dreams: Soft Colour Palettes
Pastel bendy cases are the most popular style for good reason — soft pinks, lilacs, baby blues, and mints look fresh, photograph beautifully, and suit every outfit. Achieve pastels by mixing a tiny amount of pigment into white or translucent putty; you can always add more, but you cannot take it away.
Try an ombré effect by blending two pastels where they meet, or a marbled look by twisting two colours together lightly before flattening. A sprinkle of fine iridescent glitter pressed into the surface before curing adds a dreamy shimmer. Pastel cases make wonderful gifts because the palette is universally flattering.
Pastel cases suit every season, but they truly shine in spring and summer when light, airy aesthetics dominate. Consider making a small seasonal collection — one pastel, one bright, one neutral — so you can swap cases to match your mood. A wardrobe of cases is the new wardrobe of bags.

Bold and Bright: Neon and Candy Colours
If pastels are not your personality, go bold. Neon pinks, electric limes, and vivid oranges turn your phone into an unmissable statement piece. Neon pigments are widely available for silicone work — a little goes a very long way, so mix cautiously.
Candy-inspired designs are hugely popular: think swirled red-and-white like a peppermint, or layered brights like a stack of gummy sweets. Add glossy dimension by pressing small dome-shaped cabochons into the surface. Bright cases are also practical — you will never lose your phone in your bag again.
Neon pigments can stain hands and work surfaces, so wear gloves and protect your table with a disposable covering. The staining washes off skin within a day but can permanently mark light countertops. A little preparation keeps the crafting fun and the kitchen intact.

Adding Charms, Cabochons, and 3D Details
Three-dimensional decorations are what elevate a bendy case from nice to extraordinary. Press small charms — tiny fruits, stars, bows, cartoon faces — into the putty while it is still soft, pushing them in just far enough to grip firmly without disappearing. Work from the centre outward for balanced placement.
Flat-back cabochons and rhinestones add sparkle; miniature food charms lean into the kawaii aesthetic. Leave a clear margin around the camera cut-out and edges so the case still fits and functions. Less is often more — a few well-placed charms look chic, while total coverage can look cluttered and feel lumpy.
Press charms in at a slight angle rather than straight down — angled placement grips better and looks more dynamic. Vary charm sizes for visual interest, anchoring the design with one larger focal piece. Think of it as arranging flowers: odd numbers and varied heights look most natural.
The Gummy Bear Aesthetic
The gummy look — translucent, glossy, candy-like — is the heart of the bendy case trend. Achieve it with translucent silicone putty tinted with alcohol inks, which give that see-through jelly depth. Layer two translucent colours for a truly gummy-bear glow.
Shape small putty blobs into bears, hearts, or stars and press them onto the case back for a 3D gummy effect. A final wipe with a tiny amount of silicone-safe gloss medium (once cured) enhances the wet-look shine. The result looks delicious — just remember it is decoration, not dessert.
For the glossiest gummy finish, work with slightly damp tools — water prevents sticking and leaves a smoother surface. A final gentle buff with a soft, dry cloth after curing enhances the shine. The wetter the look, the more delicious the result appears.

Textured Designs: Waves, Dots, and Swirls
Texture makes bendy cases irresistible to touch. Create waves by dragging a comb or fork lightly across soft putty; make polka dots by pressing the rounded end of a paintbrush in a regular pattern; form swirls by twisting two colours together and flattening gently.
Fingerprint texture — literally pressing your fingertip repeatedly into the surface — creates an organic, pebbled finish that feels wonderful. Combine textures in zones: smooth centre, dotted border, wavy edge. Textured cases hide minor imperfections beautifully, making this a forgiving technique for beginners.
Texture tools need not be fancy: bottle caps make perfect circles, combs make waves, and fork tines make stripes. Raid your kitchen drawers before buying specialist tools. Improvised tools often create the most interesting and unique textures.
Personalising with Names and Initials
A monogrammed bendy case makes a thoughtful, personal gift. Form letters from thin rolls of contrasting putty and press them gently onto the case back, or use small alphabet charms arranged in a curve. Keep lettering chunky — fine detail gets lost in soft materials.
Position names where they will not be covered by your hand during normal use, typically the upper third of the case. For gifts, match the colour scheme to the recipient’s style. A personalised case feels luxurious and considered, far beyond its modest material cost.
Script-style lettering looks elegant but is hard to read in soft putty — block capitals are clearer and more forgiving. Keep names short; long names overwhelm a phone case. A single initial in a beautiful style often looks classier than a full name.

Seasonal and Themed Designs
Bendy cases are perfect for seasonal crafting. Autumn calls for pumpkin-orange putty with leaf charms; winter suits icy blues with snowflake cabochons; spring loves pastels with flower details. Halloween designs — tiny ghosts, pumpkins, and bats pressed into black or orange putty — are perennial favourites.
Themed cases make excellent party favours or stocking fillers. Because the base technique is quick once learned, you can batch-produce a dozen themed cases in an afternoon. Seasonal designs also photograph wonderfully for anyone sharing their crafts online.
Holiday-themed cases make wonderful craft-fair stock because they sell themselves — shoppers cannot resist seasonal cuteness. Price them slightly higher than everyday designs; the gift market tolerates premium pricing. Seasonal urgency is a crafter’s best friend.
Troubleshooting Common Problems
Putty not sticking to the base? The case surface may be too smooth or dusty — wipe it with rubbing alcohol and let it dry completely before starting. Edges peeling up? You likely trimmed too close; leave a two-millimetre margin and press it firmly around the case edge during application.
Putty setting too fast? You may be working in a warm room or over-kneading; work efficiently and keep mixed putty covered when not actively shaping. Lumpy finish? Smooth with a damp fingertip or a silicone-tipped tool before curing begins. Most problems are fixable if caught during the working window.
If putty sticks to your fingers instead of the case, your hands are too warm or the putty is overworked — cool it briefly in the fridge for five minutes. Cold putty firms up and becomes far easier to handle. Temperature control is a legitimate crafting technique.
Caring for Your Bendy Case
Silicone putty cases are durable but deserve gentle care. Clean with a soft, damp cloth — avoid harsh chemicals or abrasive scrubbers that can dull the finish. The case can handle daily use, but try not to pick at charms or edges out of habit.
Keep the case away from prolonged direct heat, which can soften some putty formulations. If a charm works loose, a tiny dot of flexible craft adhesive reattaches it invisibly. With basic care, a handmade bendy case lasts many months of daily squishing.
Rotate between two cases if you are a heavy squisher — alternating extends the life of both. Think of it as resting the material, like rotating shoes. Your handmade cases will thank you with months of extra service.
Making Cases as Gifts
Handmade bendy cases are brilliant gifts — personal, practical, and impressive. Start by confirming the recipient’s exact phone model; a beautiful case that does not fit is just a paperweight. Choose colours to match their style, or ask subtly about preferences beforehand.
Present the case in a small gift box with tissue paper, and include a little card explaining it is handmade. For extra thoughtfulness, add a matching bendy charm for their bag or keys from leftover putty. Handmade gifts carry meaning that shop-bought ones rarely match.
A handmade case presented in a decorated box with a care card feels like a boutique purchase. Include brief care instructions — it shows professionalism and helps the gift last. Presentation transforms a craft project into a proper present.
Selling Your Bendy Case Creations
If friends keep asking where you bought your case, you might have a small business on your hands. Price by costing your materials, then adding a fair hourly rate for your time — handmade crafts are routinely underpriced, so be honest about what your work is worth.
Photograph cases in bright, natural light against simple backgrounds; short videos showing the squish are irresistible to buyers. Start with made-to-order in popular phone models rather than holding stock. Clear communication about curing times and care keeps customers happy and reviews glowing.
Track which designs sell fastest and double down on them — data beats guesswork even in crafts. A simple spreadsheet of designs, prices, and sales reveals your winners. Successful sellers treat their hobby like the small business it is becoming.
Safety Notes: Materials and Phones
Work in a ventilated area, especially when using alcohol inks or adhesives, and keep all materials away from young children and pets — small charms are choking hazards. Wash hands after crafting, and do not eat or drink while working with uncured putty.
Protect your phone during crafting by keeping it out of the case until everything is fully cured and any adhesives are completely dry. Never block the camera, flash, charging port, or speaker holes with decoration. A beautiful case that muffles your speaker is a failed project.
Keep a dedicated craft apron and wash hands before starting — skin oils and dust are the enemies of a flawless finish. Clean hands, clean tools, clean surface: the three rules of professional-looking results. Sloppiness shows in the final product.
Budget Breakdown: Crafting for Less
Bendy case crafting is refreshingly affordable. A plain TPU base case, a pack of silicone putty, pigments, and a starter selection of charms typically cost less than a single mid-range shop-bought case — and the putty alone makes several cases.
Save money by buying base cases in multipacks, sharing putty and pigment costs with a crafting friend, and raiding your existing charm and bead stash before buying new. The most expensive part of this hobby is usually the phone you are protecting, not the craft itself.
Buy materials in bulk once you know your bestselling designs — multipacks of base cases and larger putty tubs slash per-unit costs. Reinvest early profits into materials rather than pocketing them. Growing the supply stash grows the business.
Levelling Up: Advanced Techniques
Once the basics feel easy, try embedding techniques: press dried flowers or glitter between two thin translucent layers for a suspended, magical effect. Experiment with two-tone marbling, or sculpt tiny putty figures — mushrooms, frogs, clouds — to perch on the case.
Combine materials: a putty base with resin-coated accents (fully cured before attaching) adds glass-like shine to focal points. Try ombré fades across the case back, or a galaxy effect with dark putty, sponge-dabbed lighter colours, and star charms. The learning curve is gentle and the creative ceiling is sky-high.
Try embedding a thin layer of iridescent film between putty layers for a hidden shimmer that reveals itself as the case flexes. Unexpected details delight owners every time they notice them. Secret features turn customers into evangelists.
FAQs: Bendy Phone Case Questions
Will the putty damage my phone? No — the decoration goes on the case, never the phone itself, and fully cured silicone is inert and safe. Always let everything cure completely before fitting the case to your phone.
How long does a case last? With normal use, several months to a year; charms may need occasional re-gluing. Can I remove the decoration and start over? Yes — cured putty usually peels off a smooth TPU base cleanly, so the base case is reusable. Is this craft suitable for kids? Older children can participate with supervision, but the small parts and craft knife work make it best for teens and adults.
The most common beginner mistake is over-decorating — restraint reads as sophistication. Step back frequently and assess the whole design. Knowing when to stop is the hardest and most valuable crafting skill of all.


I am Talha Sikandar, a professional writer with a passion for general blogging. With years of experience in content writing and research, I founded Meaniingly.com to deliver well-researched, informative, and user-friendly articles on diverse topics.