gummy nail art ideas
Gummy nail art is the sweetest trend in manicures right now, and it is impossible not to smile at it. Inspired by jelly sweets and gummy bears, this playful style combines translucent jelly finishes, candy-bright colours, and adorable 3D charms to create nails that look good enough to eat. The trend taps into a wider love of nostalgic, dopamine-bright beauty — nails that are fun first and fashion second. What makes gummy nail art so appealing is its range: you can go all-out with chunky 3D bears and dripping jelly effects, or keep it subtle with a sheer candy-coloured jelly polish that just hints at the trend. It suits short nails and long extensions alike, and it works for every season, though it feels especially perfect for spring and summer. In this guide you will find twenty gummy nail art ideas, from beginner-friendly jelly polishes to advanced 3D charm designs, with practical tips on products, application, and making your candy nails last.

1. Classic Gummy Bear Charms
The definitive gummy nail look starts with actual gummy bear charms. Tiny bear-shaped cabochons in translucent candy colours — red, green, orange, yellow — are glued onto a jelly or nude base for an instantly recognisable sweet-shop effect. Place one bear as an accent on a single nail per hand for a tasteful take, or cover every nail for maximum impact.
Apply charms over fully cured gel or dry regular polish using nail glue or a thick layer of builder gel, then seal around (not over) the charm with top coat to keep it secure. Charms add height to the nail, so they are best on medium to long nails where they have room to sit comfortably. This is the look that launched the trend, and it remains the most joyful. Pair with a sheer pink or milky jelly base so the colourful bears pop against a clean background.
2. Jelly Sandwich Nails
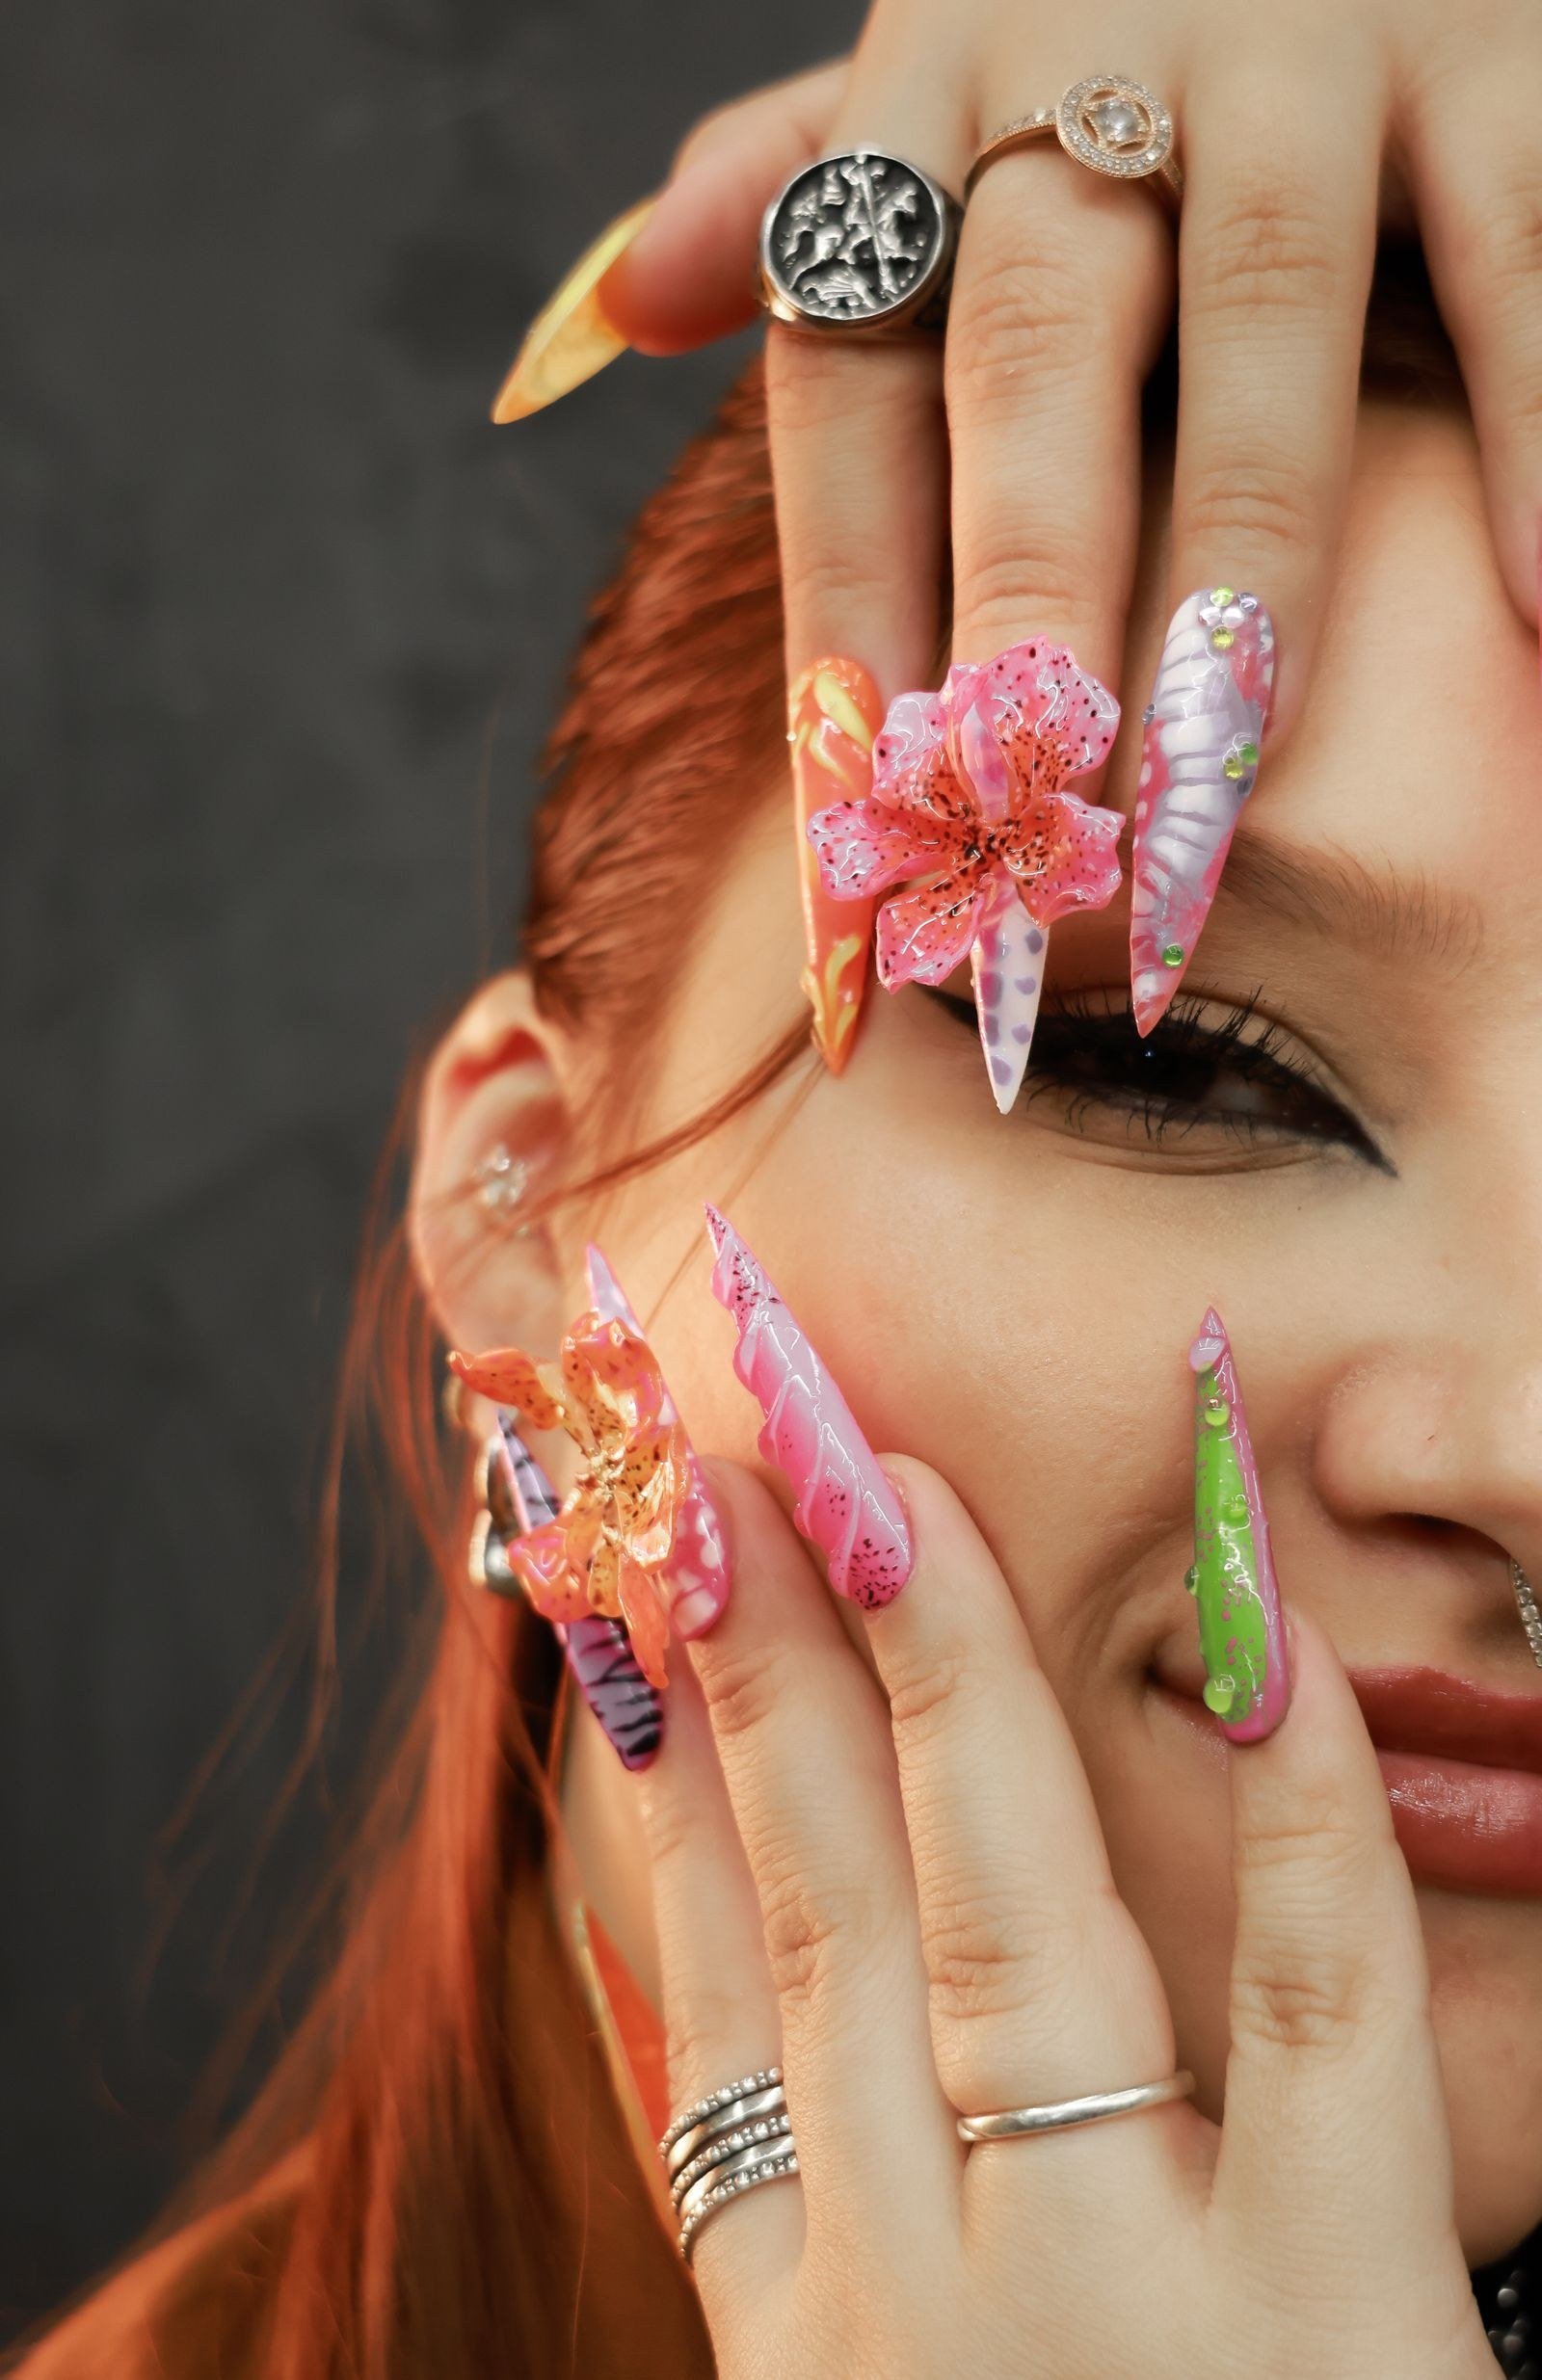
Jelly sandwich nails layer sheer, translucent colour over candy art trapped beneath — like sweets suspended in jelly. Start with a sheer jelly base coat, add small decals, glitters, or tiny fruit slices, then seal everything under another layer of jelly polish. The result has real depth, with the decorations floating inside the translucent layers.
This technique works beautifully with regular polish as well as gel, though gel gives a glassier finish. Build in thin layers and let each one dry or cure fully before adding the next. Popular fillings include tiny hearts, stars, dried flowers, and micro-glitter. The jelly sandwich is more wearable than chunky charms since the nail surface stays smooth, making it a great everyday version of the gummy trend. Choose candy colours — cherry red, grape purple, lime green — for the authentic jelly-sweet effect.

3. Translucent Candy Tips
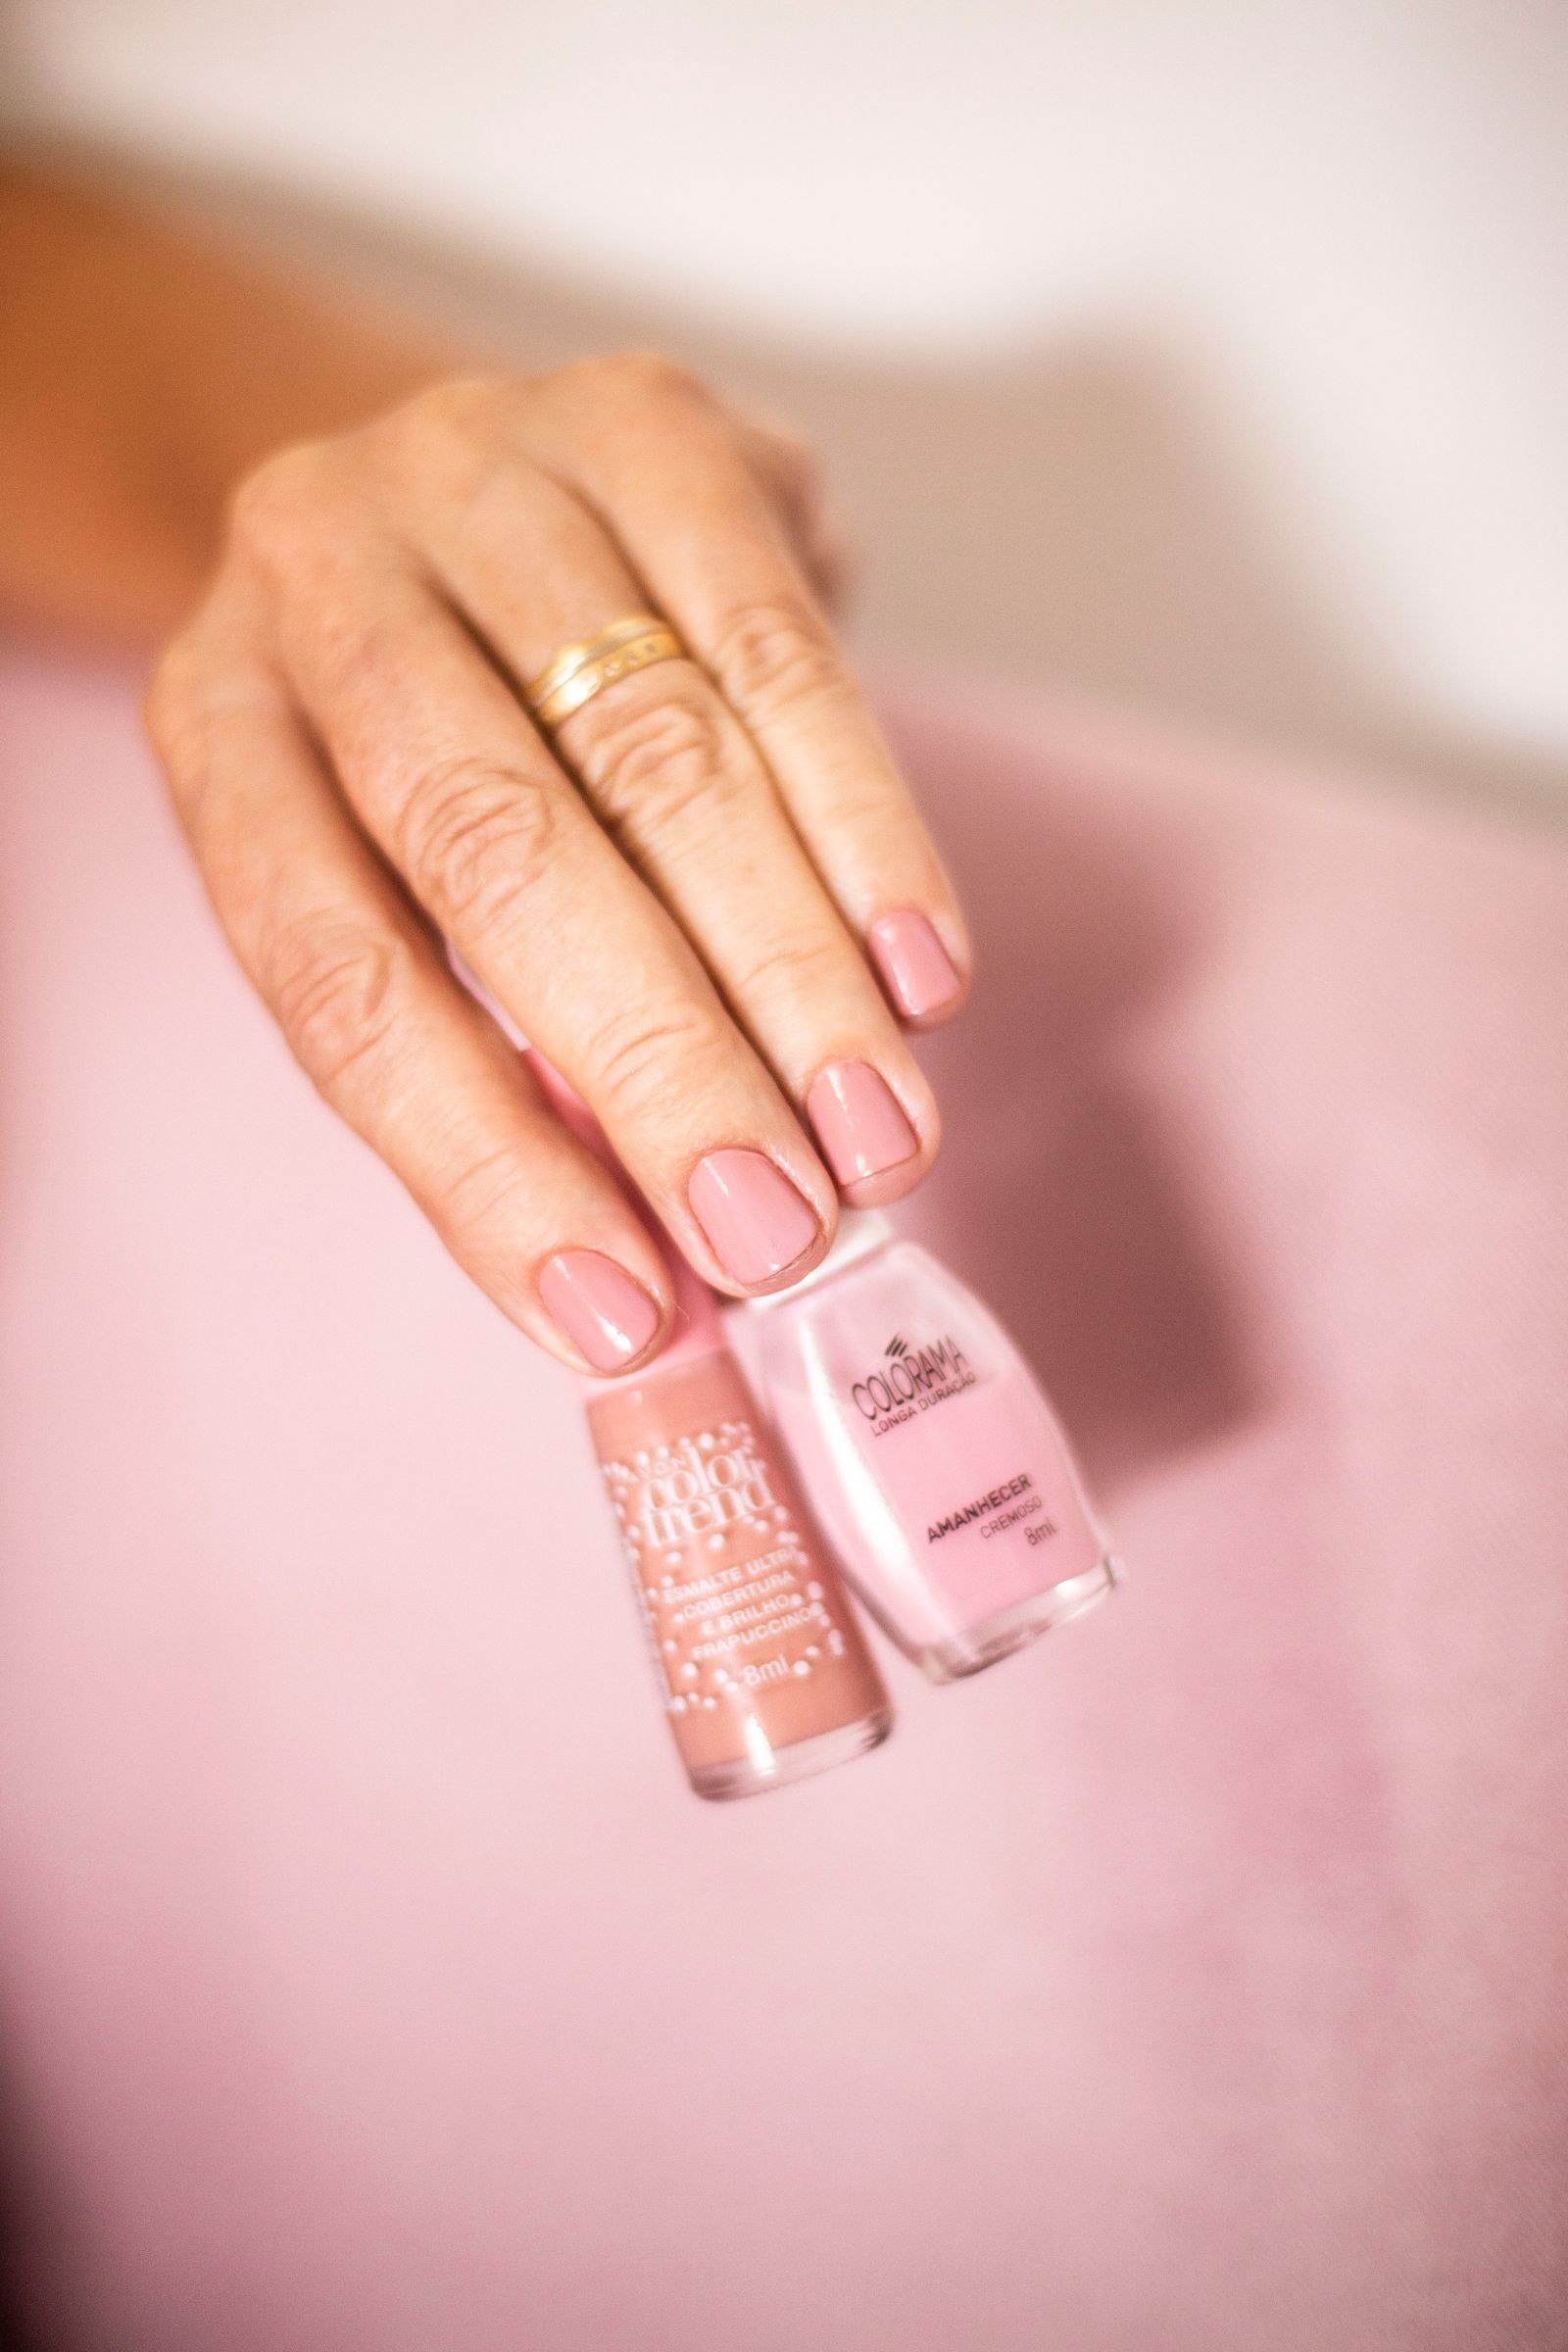
A gummy twist on the French manicure uses translucent jelly polish for the tips instead of white. Paint the nail bed in a milky nude or sheer pink, then add jelly tips in cherry, orange, or mint. The sheer tips look like flavoured jelly and give the classic French shape a playful, modern update.
For the smoothest smile line, use a thin brush or a French tip guide, and build the jelly colour in two thin coats for even translucency. This design suits all nail lengths and shapes but looks especially pretty on almond and oval nails. It is office-friendly while still nodding to the trend — the candy colour reads as a fun polish choice rather than full nail art. Finish with a high-shine top coat to maximise the juicy, jelly-like finish.
4. 3D Gummy Drips
3D drip effects make nails look like melting jelly or dripping syrup. Using builder gel or thick 3D gel, paint drip shapes starting from the cuticle and extending down the nail, then cure. Colour the drips in candy shades over a contrasting base — white drips on pink, or rainbow drips on nude — for a sweet-shop sundae effect.
The key to convincing drips is varying their lengths and rounding the ends so they look liquid rather than painted. A thin detail brush gives the most control. This is an advanced technique best done with gel products, since regular polish will not hold the 3D shape. The result is tactile and eye-catching, perfect for festivals, parties, or whenever you want your nails to be a conversation starter. Keep the rest of the design simple so the drips remain the star.
5. Gummy Worm Accents
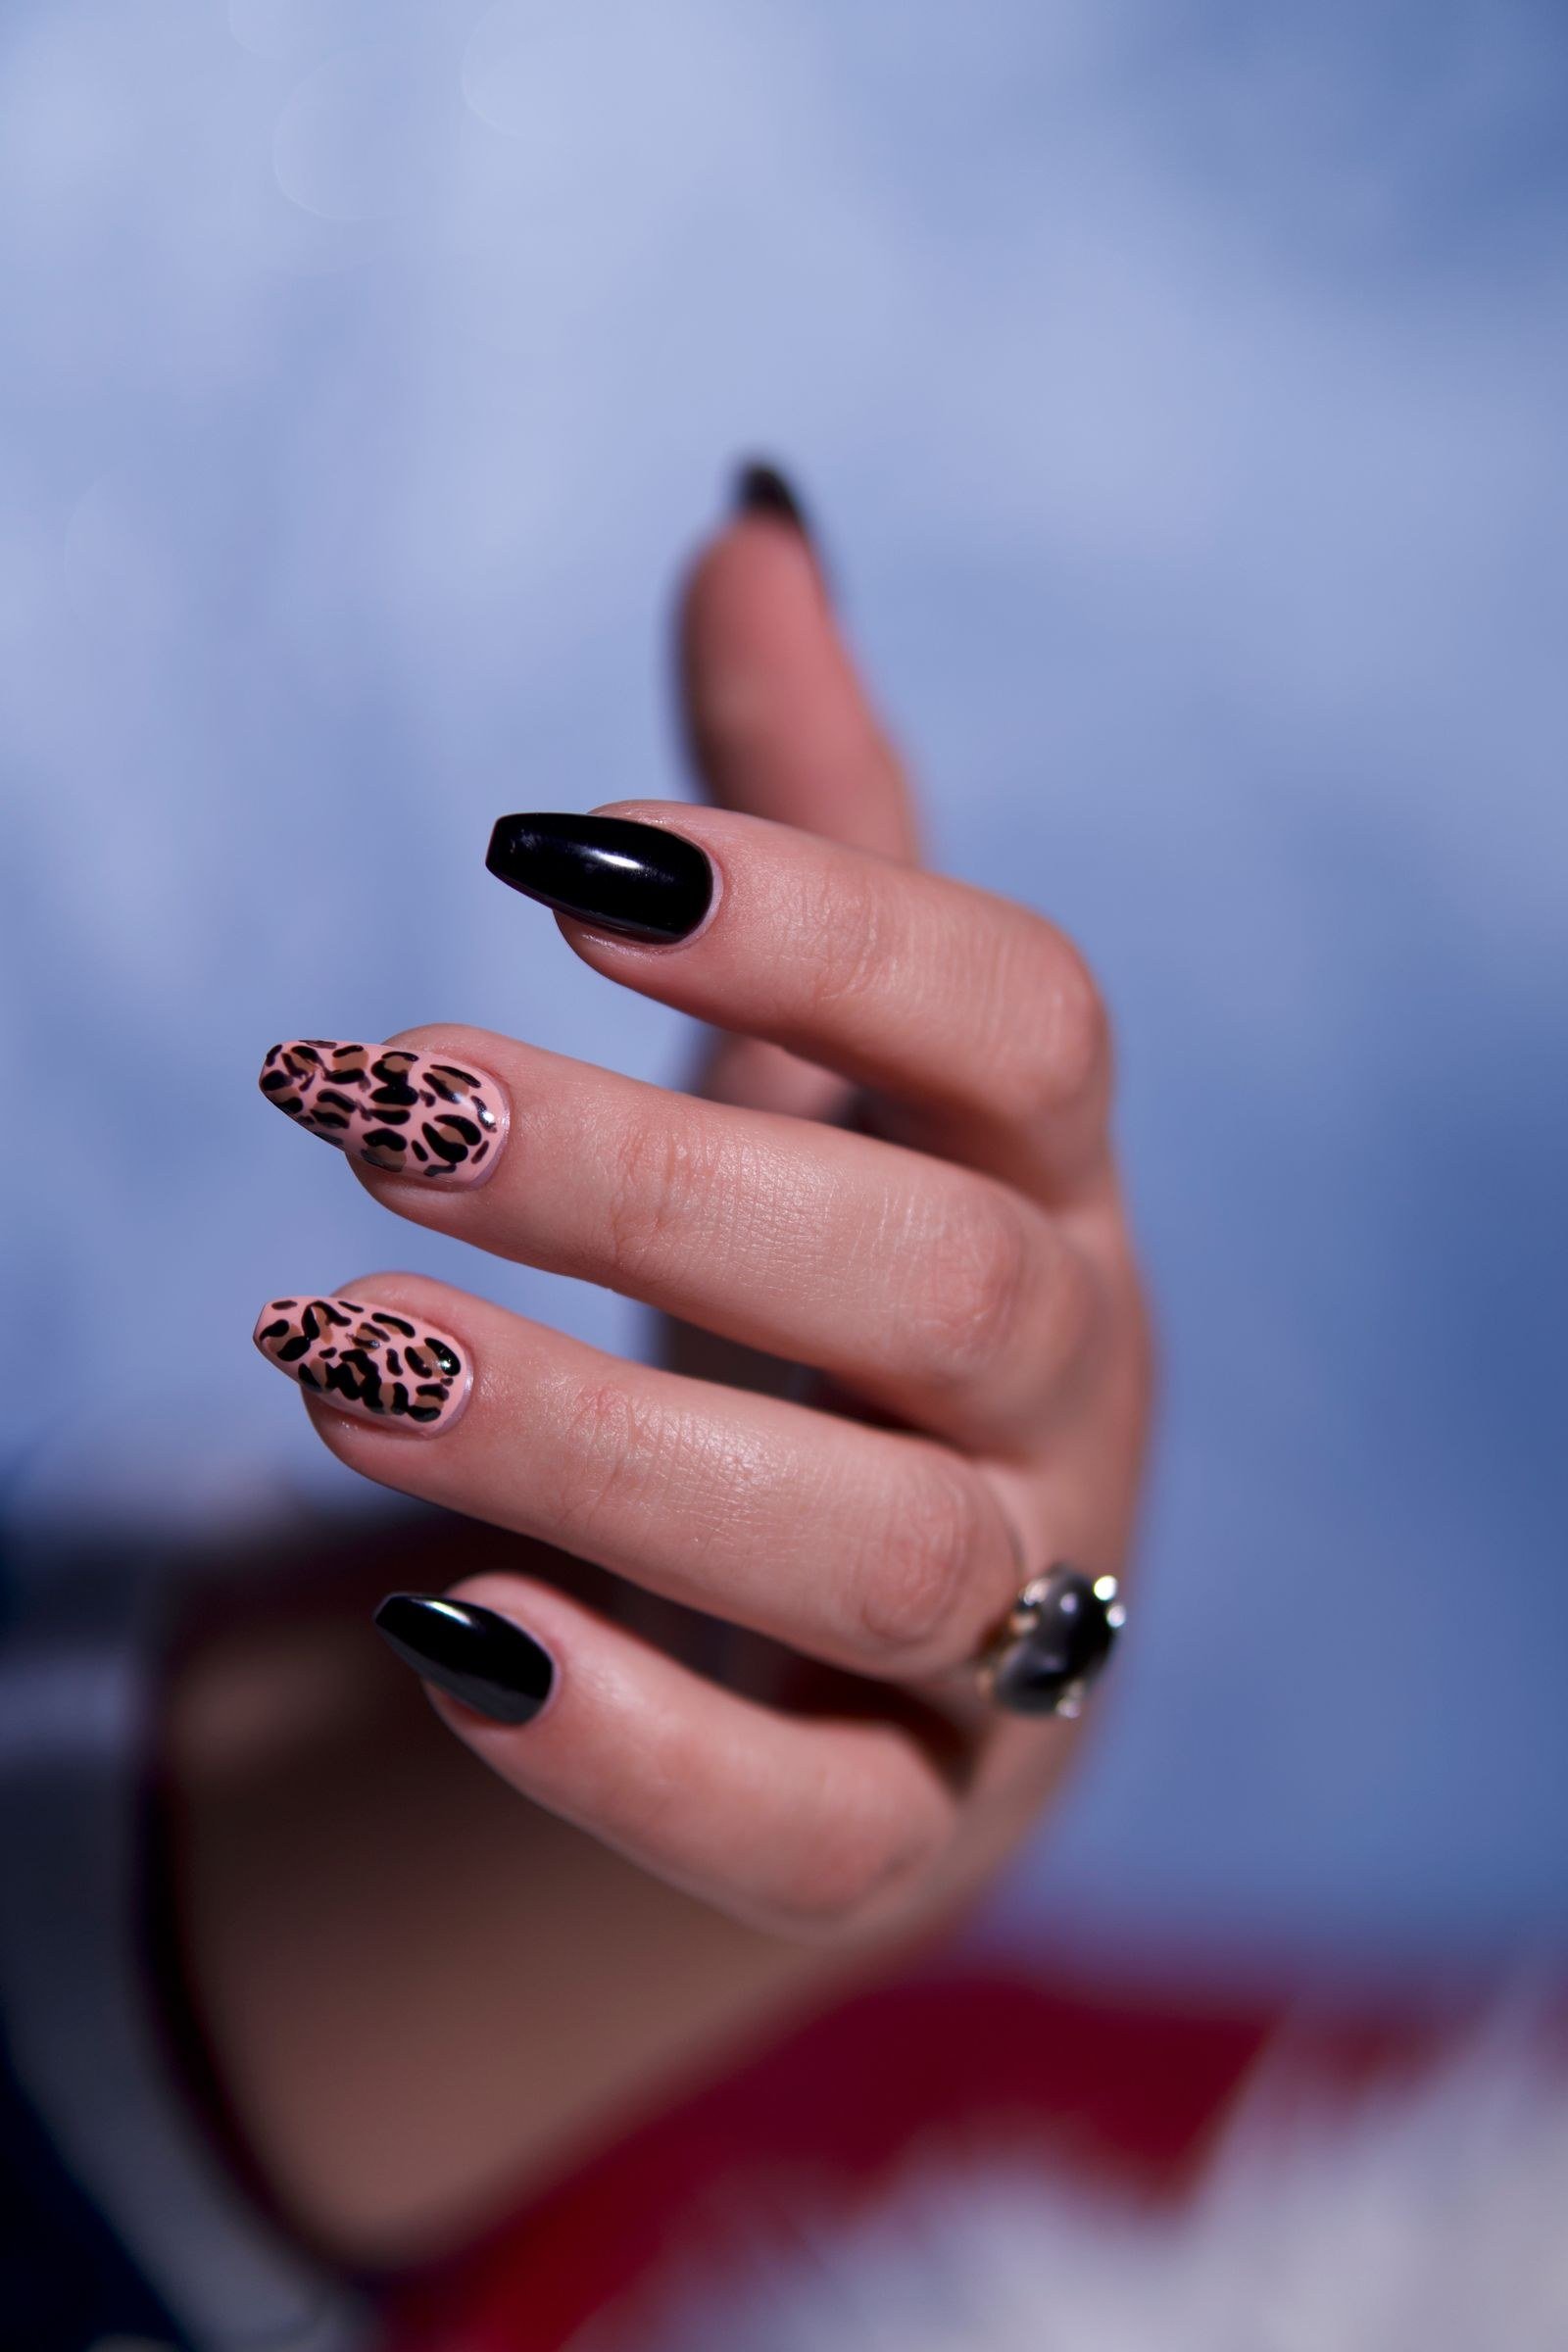
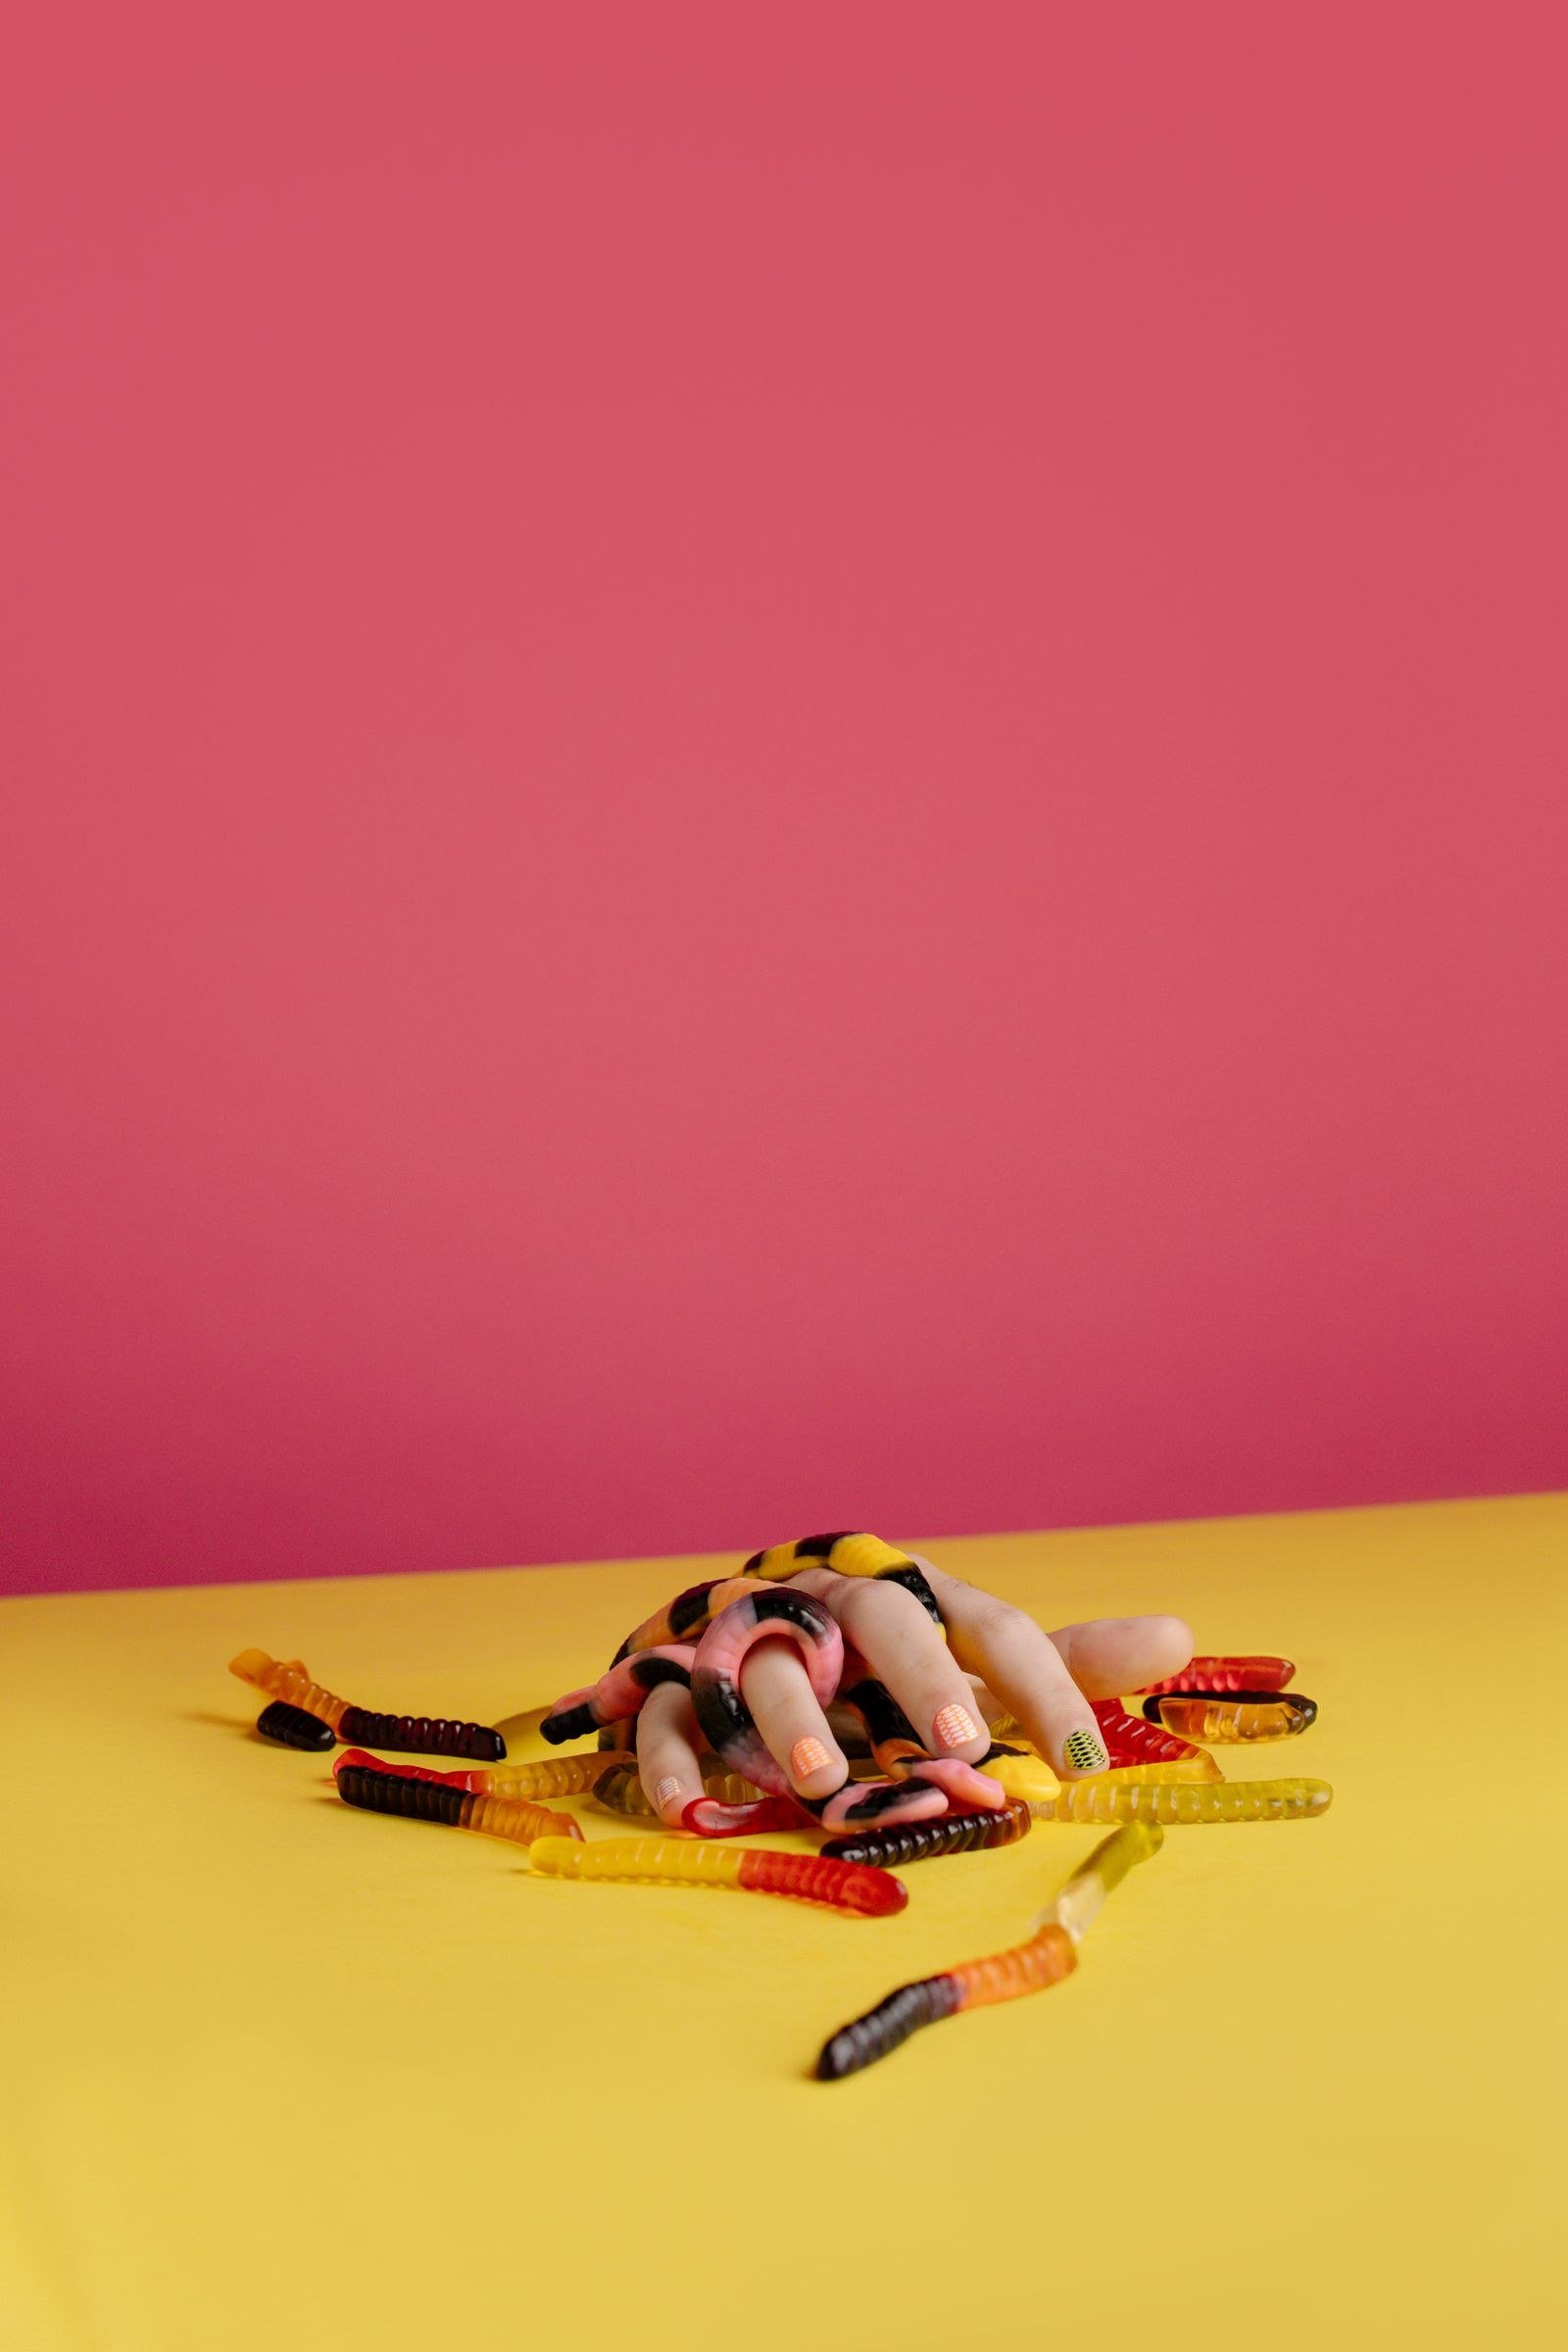
Gummy worm charms bring a wiggly, playful energy to the trend. These elongated, segmented charms in neon candy colours look fantastic curved along the nail or draped across two accent nails. Their shape follows the natural curve of the nail beautifully, making them more comfortable to wear than bulkier charms.
Pair gummy worms with a simple jelly base in a complementary colour — neon worms on milky white, or pastel worms on sheer pink. Because the charms are long, they suit medium to long nails best. Secure with strong nail glue and avoid the very tip of the nail where they are most likely to catch. This design is pure fun and always gets noticed. It is also a great choice for themed parties or festival season when subtlety is not the goal.
6. Pastel Jelly Nails
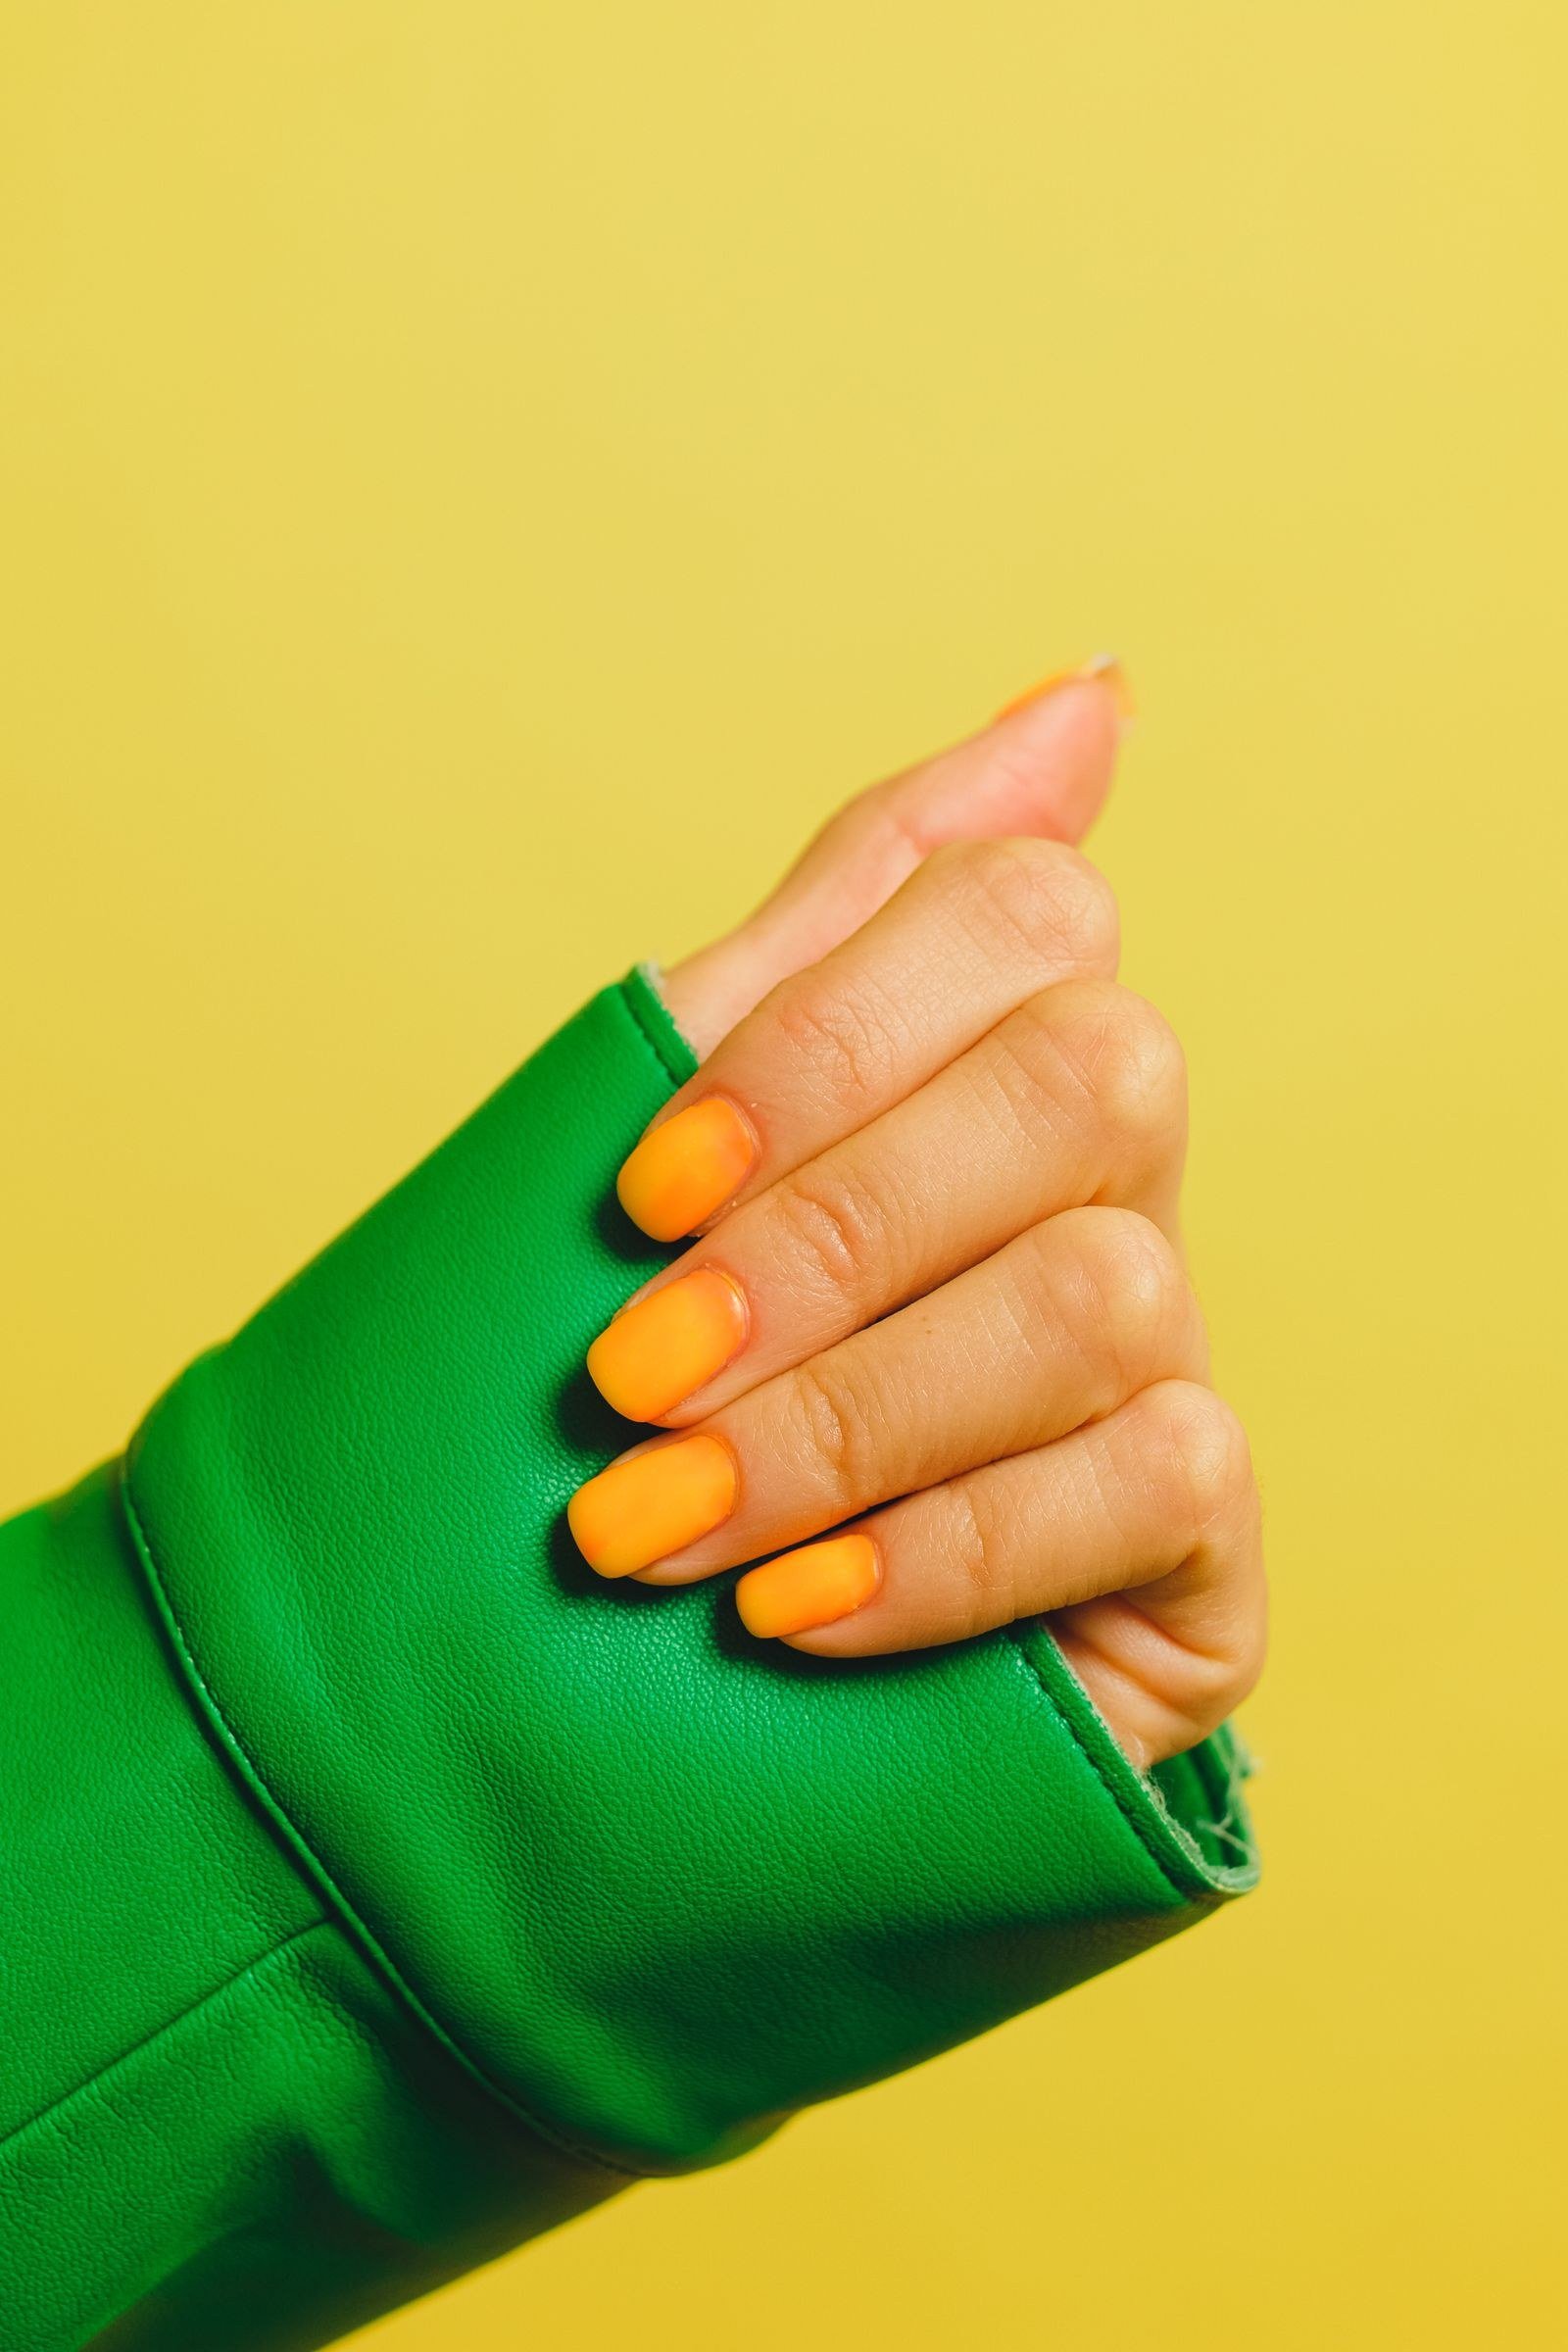
For a softer take on the trend, pastel jelly polishes give a sheer wash of candy colour without any charms or art. Baby pink, lilac, mint, and peach jelly shades create nails that look like frosted sweets — delicate, glossy, and effortlessly pretty. This is the most wearable gummy look and suits every occasion.
Jelly polishes are sheer by nature, so apply three thin coats for even, buildable colour. They also make excellent base colours for nail art, since their translucency adds depth to anything layered on top. Pastel jellies look beautiful on short, natural nails and require no special skills — just polish and top coat. If you love the gummy aesthetic but need something office-appropriate, this is your answer. The juicy, translucent finish still reads as candy-sweet without any overt decoration.

7. Candy Heart Toppers
Tiny candy heart charms or decals are perfect for romantic occasions. Scatter small translucent hearts across a milky jelly base, or place a single larger heart as a statement on each ring finger. Pink, red, and iridescent hearts suit Valentine’s Day, anniversaries, and weddings with a playful dress code.
Flat heart decals sealed under top coat are the most practical option for everyday wear, while 3D heart charms make more impact for events. If using 3D hearts, keep them small and position them away from the free edge to prevent snagging. A sheer pink jelly base with scattered hearts is sweet without being childish, especially on almond-shaped nails. This design proves that gummy nail art can be romantic as well as fun.
8. Sour Candy Matte Texture
Sour gummies have a distinctive sugared coating, and you can recreate that texture on nails. Apply a candy-coloured base, then dust fine sugar-effect glitter or textured powder over a tacky top coat. The result is a frosted, crystalline finish that looks exactly like sour candy coating.
This texture works best as an accent — try it on two nails per hand with smooth jelly polish on the rest for contrast. Neon shades like lime, electric blue, and hot pink sell the sour-candy effect most convincingly. The textured finish is surprisingly durable when sealed properly, though it will feel slightly rough to the touch — that is part of the charm. It is an unexpected, tactile twist on the gummy trend that always sparks conversation.
9. Gummy Fruit Slices
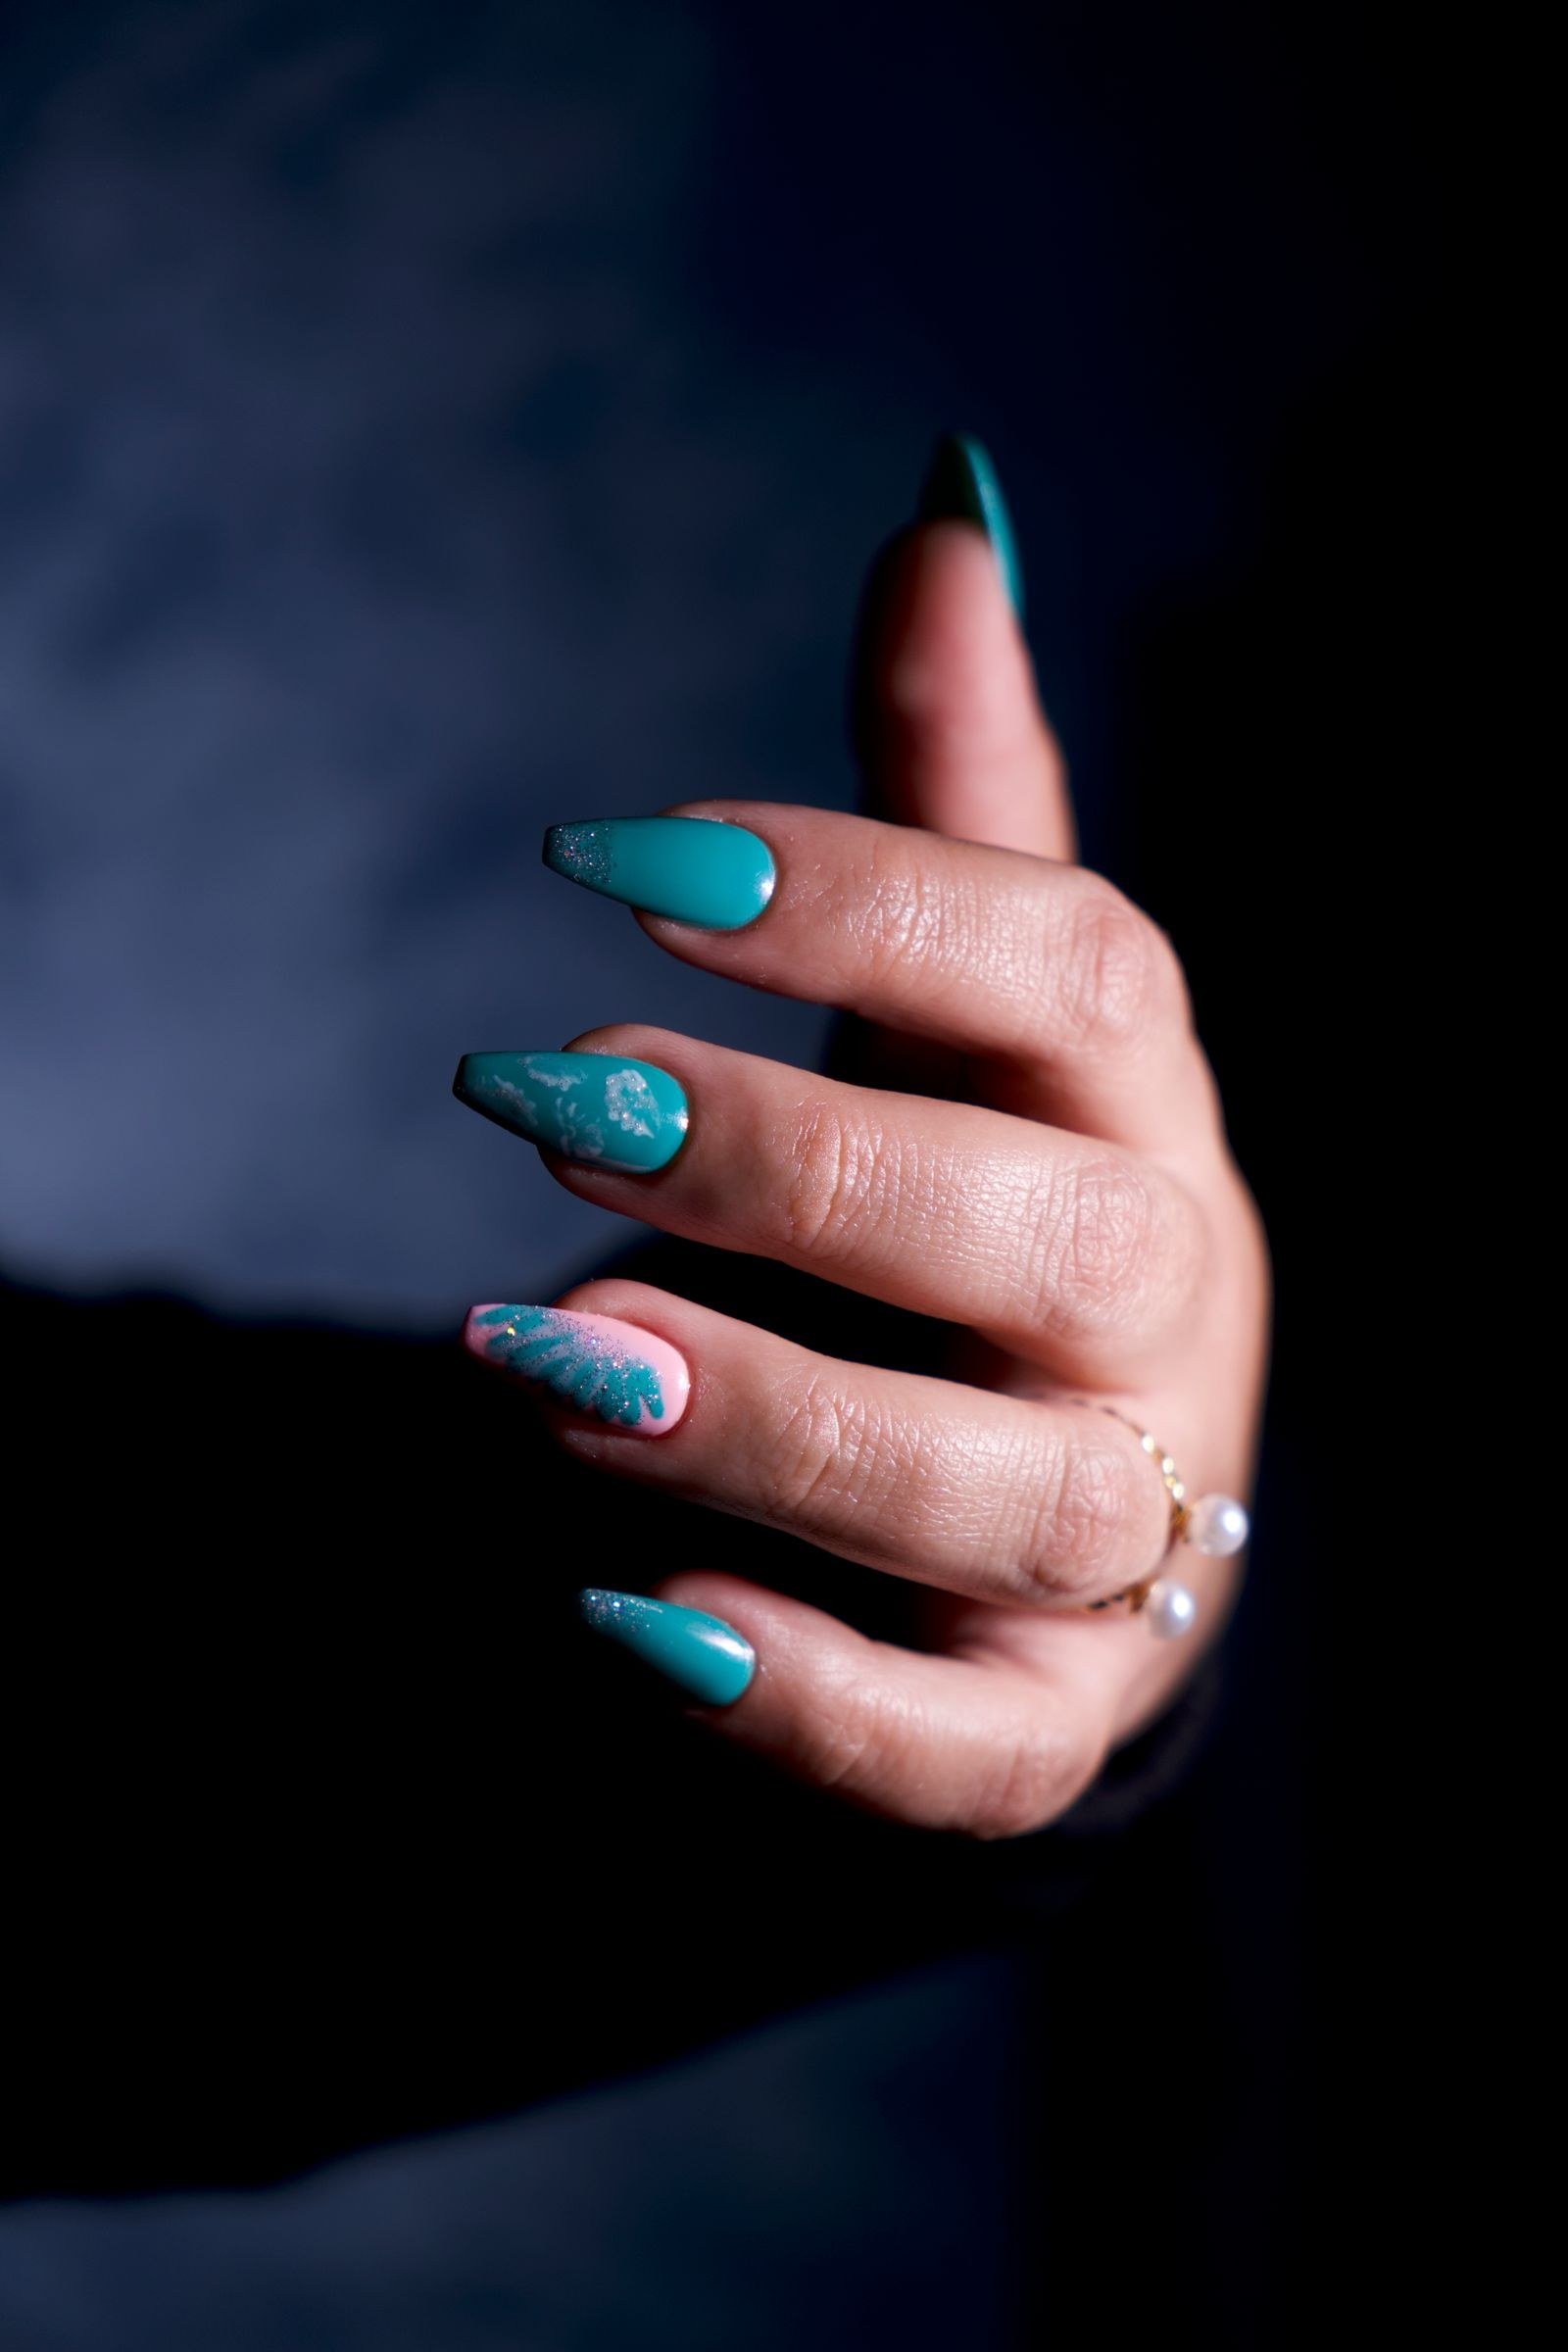
Fruit slice decals — tiny cross-sections of orange, lemon, kiwi, and watermelon — look like the fruit jellies in a sweet shop. Encapsulate them in clear or sheer jelly polish using the jelly sandwich technique so they appear suspended inside the nail. The effect is fresh, summery, and incredibly detailed.
Place one slice per nail, centred, over a milky or clear base. The decals are thin and flexible, so they conform to the nail curve easily. This design is perfect for holidays, summer parties, and beach weddings. It also works beautifully on toenails for a coordinated holiday pedicure. Keep the base sheer so the fruit details show clearly, and always seal with a glossy top coat to enhance the juicy, just-cut fruit appearance.
10. Rainbow Gummy Gradient
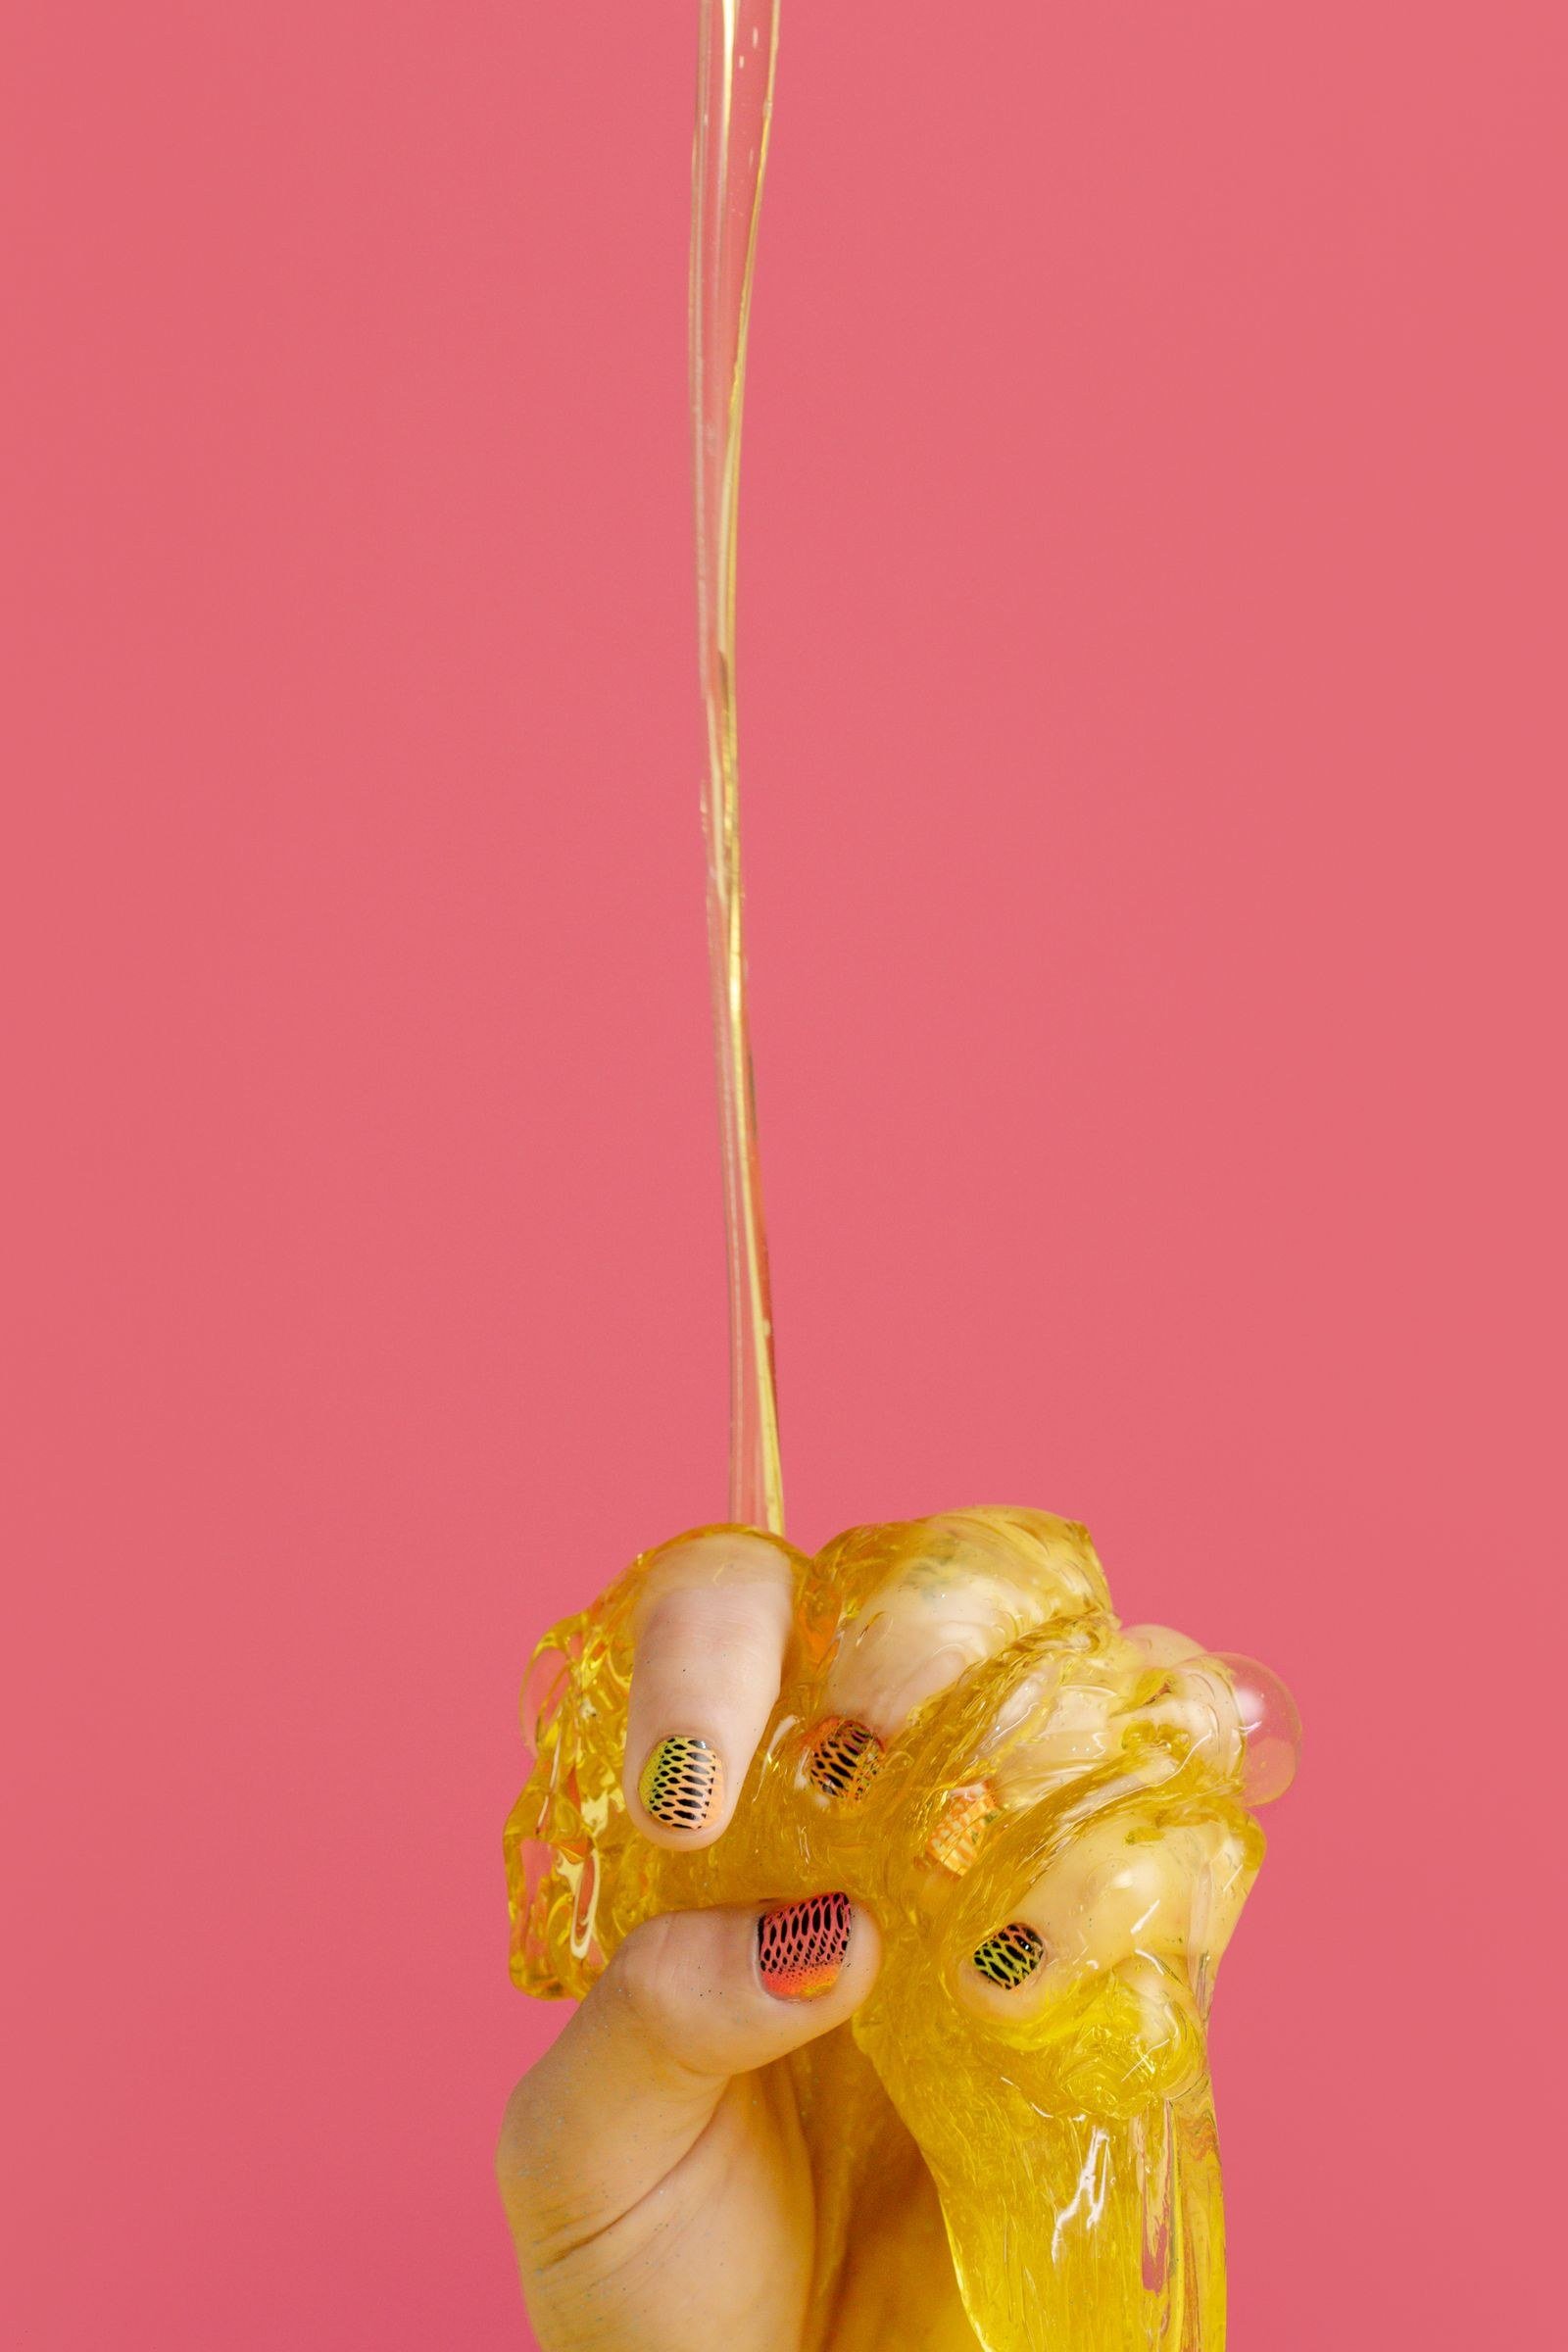
A gradient of jelly colours across all ten nails — red, orange, yellow, green, blue — creates a rainbow gummy effect that is pure joy. Each nail gets a different candy shade in the same sheer jelly finish, unifying the rainbow through texture. It is simple to execute but visually spectacular.
Choose jelly polishes in the same finish and opacity so the gradient looks intentional. Apply the same number of coats to each nail for consistency. This design suits medium-length nails where each colour has room to shine. It is a fantastic festival or Pride look, and it photographs beautifully. For a subtler version, use pastel jelly shades instead of brights — the rainbow effect remains but whispers rather than shouts.

11. Choosing Gummy Charms Safely
Not all nail charms are created equal, and quality matters for both appearance and wear. Look for charms specifically made for nails — they are sized correctly, lightweight, and have flat backs that sit securely. Avoid heavy craft charms, which can pop off and damage the nail. Translucent resin charms look most like real gummies; opaque plastic ones can look cheap.
Check that charm edges are smooth with no sharp points that could scratch skin or snag clothing. Buy from reputable nail supply sellers rather than general craft stores when possible. A good charm should feel light and sit flush against the nail curve. Investing in quality charms means they stay put for the life of your manicure and can even be reused — carefully remove them with an orange stick and store for next time.

12. Jelly Base Coat Essentials
A good jelly polish is the foundation of the gummy trend. True jelly polishes are sheer, buildable, and glossy — they tint the nail rather than covering it opaquely. Look for formulas described as jelly, sheer, or translucent, and test opacity with one coat on a nail wheel or the back of your hand before committing.
Jelly polishes show every ridge and imperfection, so prep the nail well: file smooth, push back cuticles, and apply a ridge-filling base coat if needed. They also stain less than opaque brights, which is a bonus. Keep a core collection of candy shades — cherry, tangerine, lemon, lime, blue raspberry — and you can create endless gummy combinations. Quality jelly polishes self-level beautifully, making them forgiving for beginners.

13. Gummy Nail Art on Short Nails
Gummy nail art is not just for long extensions — short nails can carry the trend beautifully. On short nails, focus on jelly polishes, small decals, and micro-glitter rather than large 3D charms, which can overwhelm a small nail bed. A sheer candy jelly with tiny heart or star decals is adorable and completely practical.
Keep designs simple and let the juicy finish do the talking. One accent charm per hand, kept small and positioned centrally, adds fun without bulk. Short gummy nails are also more durable for everyday life — typing, cooking, and childcare are all easier without towering charms. Round or squoval shapes suit the sweet aesthetic best. This proves the trend is for everyone, regardless of nail length.

14. Making Charms Last
Nothing is sadder than a gummy bear lost on day two. For maximum charm longevity, the application method matters enormously. With gel systems, embed the charm in a bead of builder gel and cure thoroughly — this creates the strongest bond. With regular polish, use dedicated nail glue and allow it to set fully before applying top coat around the charm’s base.
Position charms away from the free edge and sides where they catch on things. Avoid using charmed nails as tools — no opening cans or scraping labels. When washing up, wear gloves to protect both the charms and the adhesive from prolonged water exposure. With careful application and sensible wear, charms can last the full life of a gel manicure. Check charms daily and re-glue at the first sign of lifting rather than waiting for a complete pop-off.
15. Gummy French with a Twist
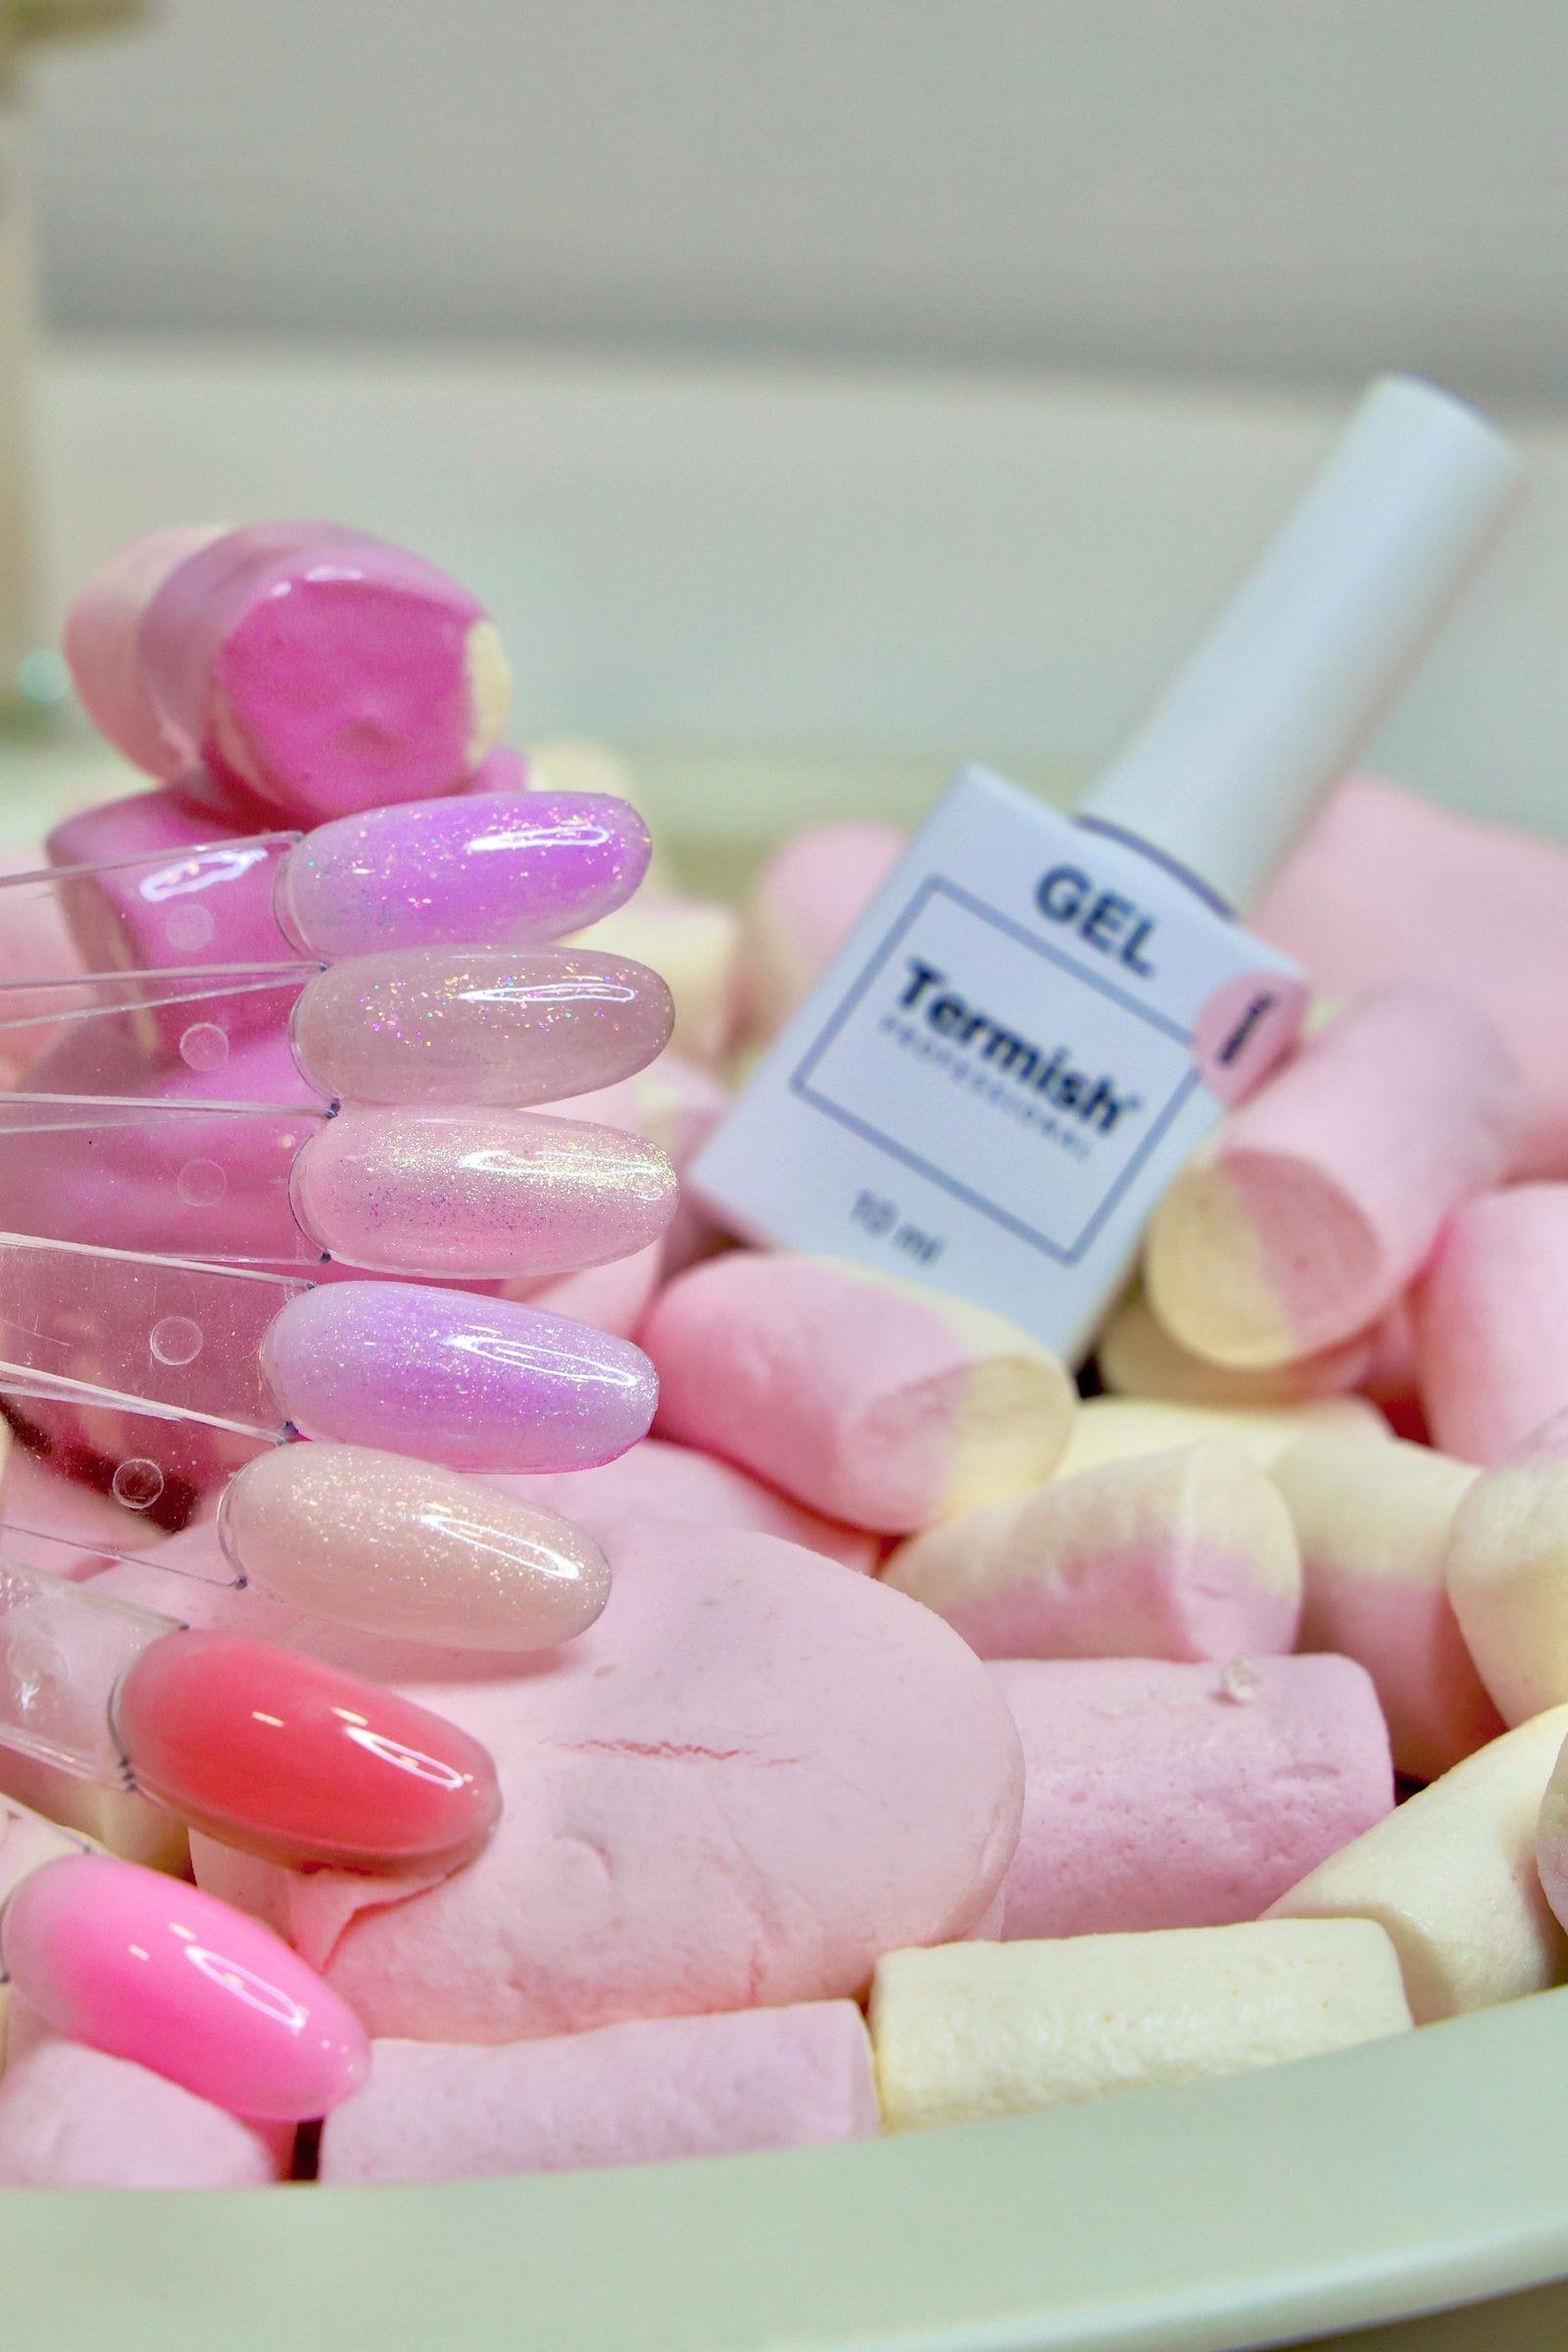
Combine the gummy trend with French tips by adding tiny charms or decals just below the smile line. A classic sheer pink base with white tips becomes instantly playful with a miniature gummy bear sitting at the base of each tip, or tiny candy dots trailing along the smile line.
This design bridges classic and trendy — it is polished enough for events but fun enough to show personality. Keep the charms tiny so the French shape stays elegant. Alternatively, do the tips themselves in jelly colours and add a single charm accent per hand. The contrast between the refined French structure and the playful gummy details is what makes this design so charming. It is an excellent choice for anyone who wants to try the trend without fully committing.
16. Glow in the Dark Gummies
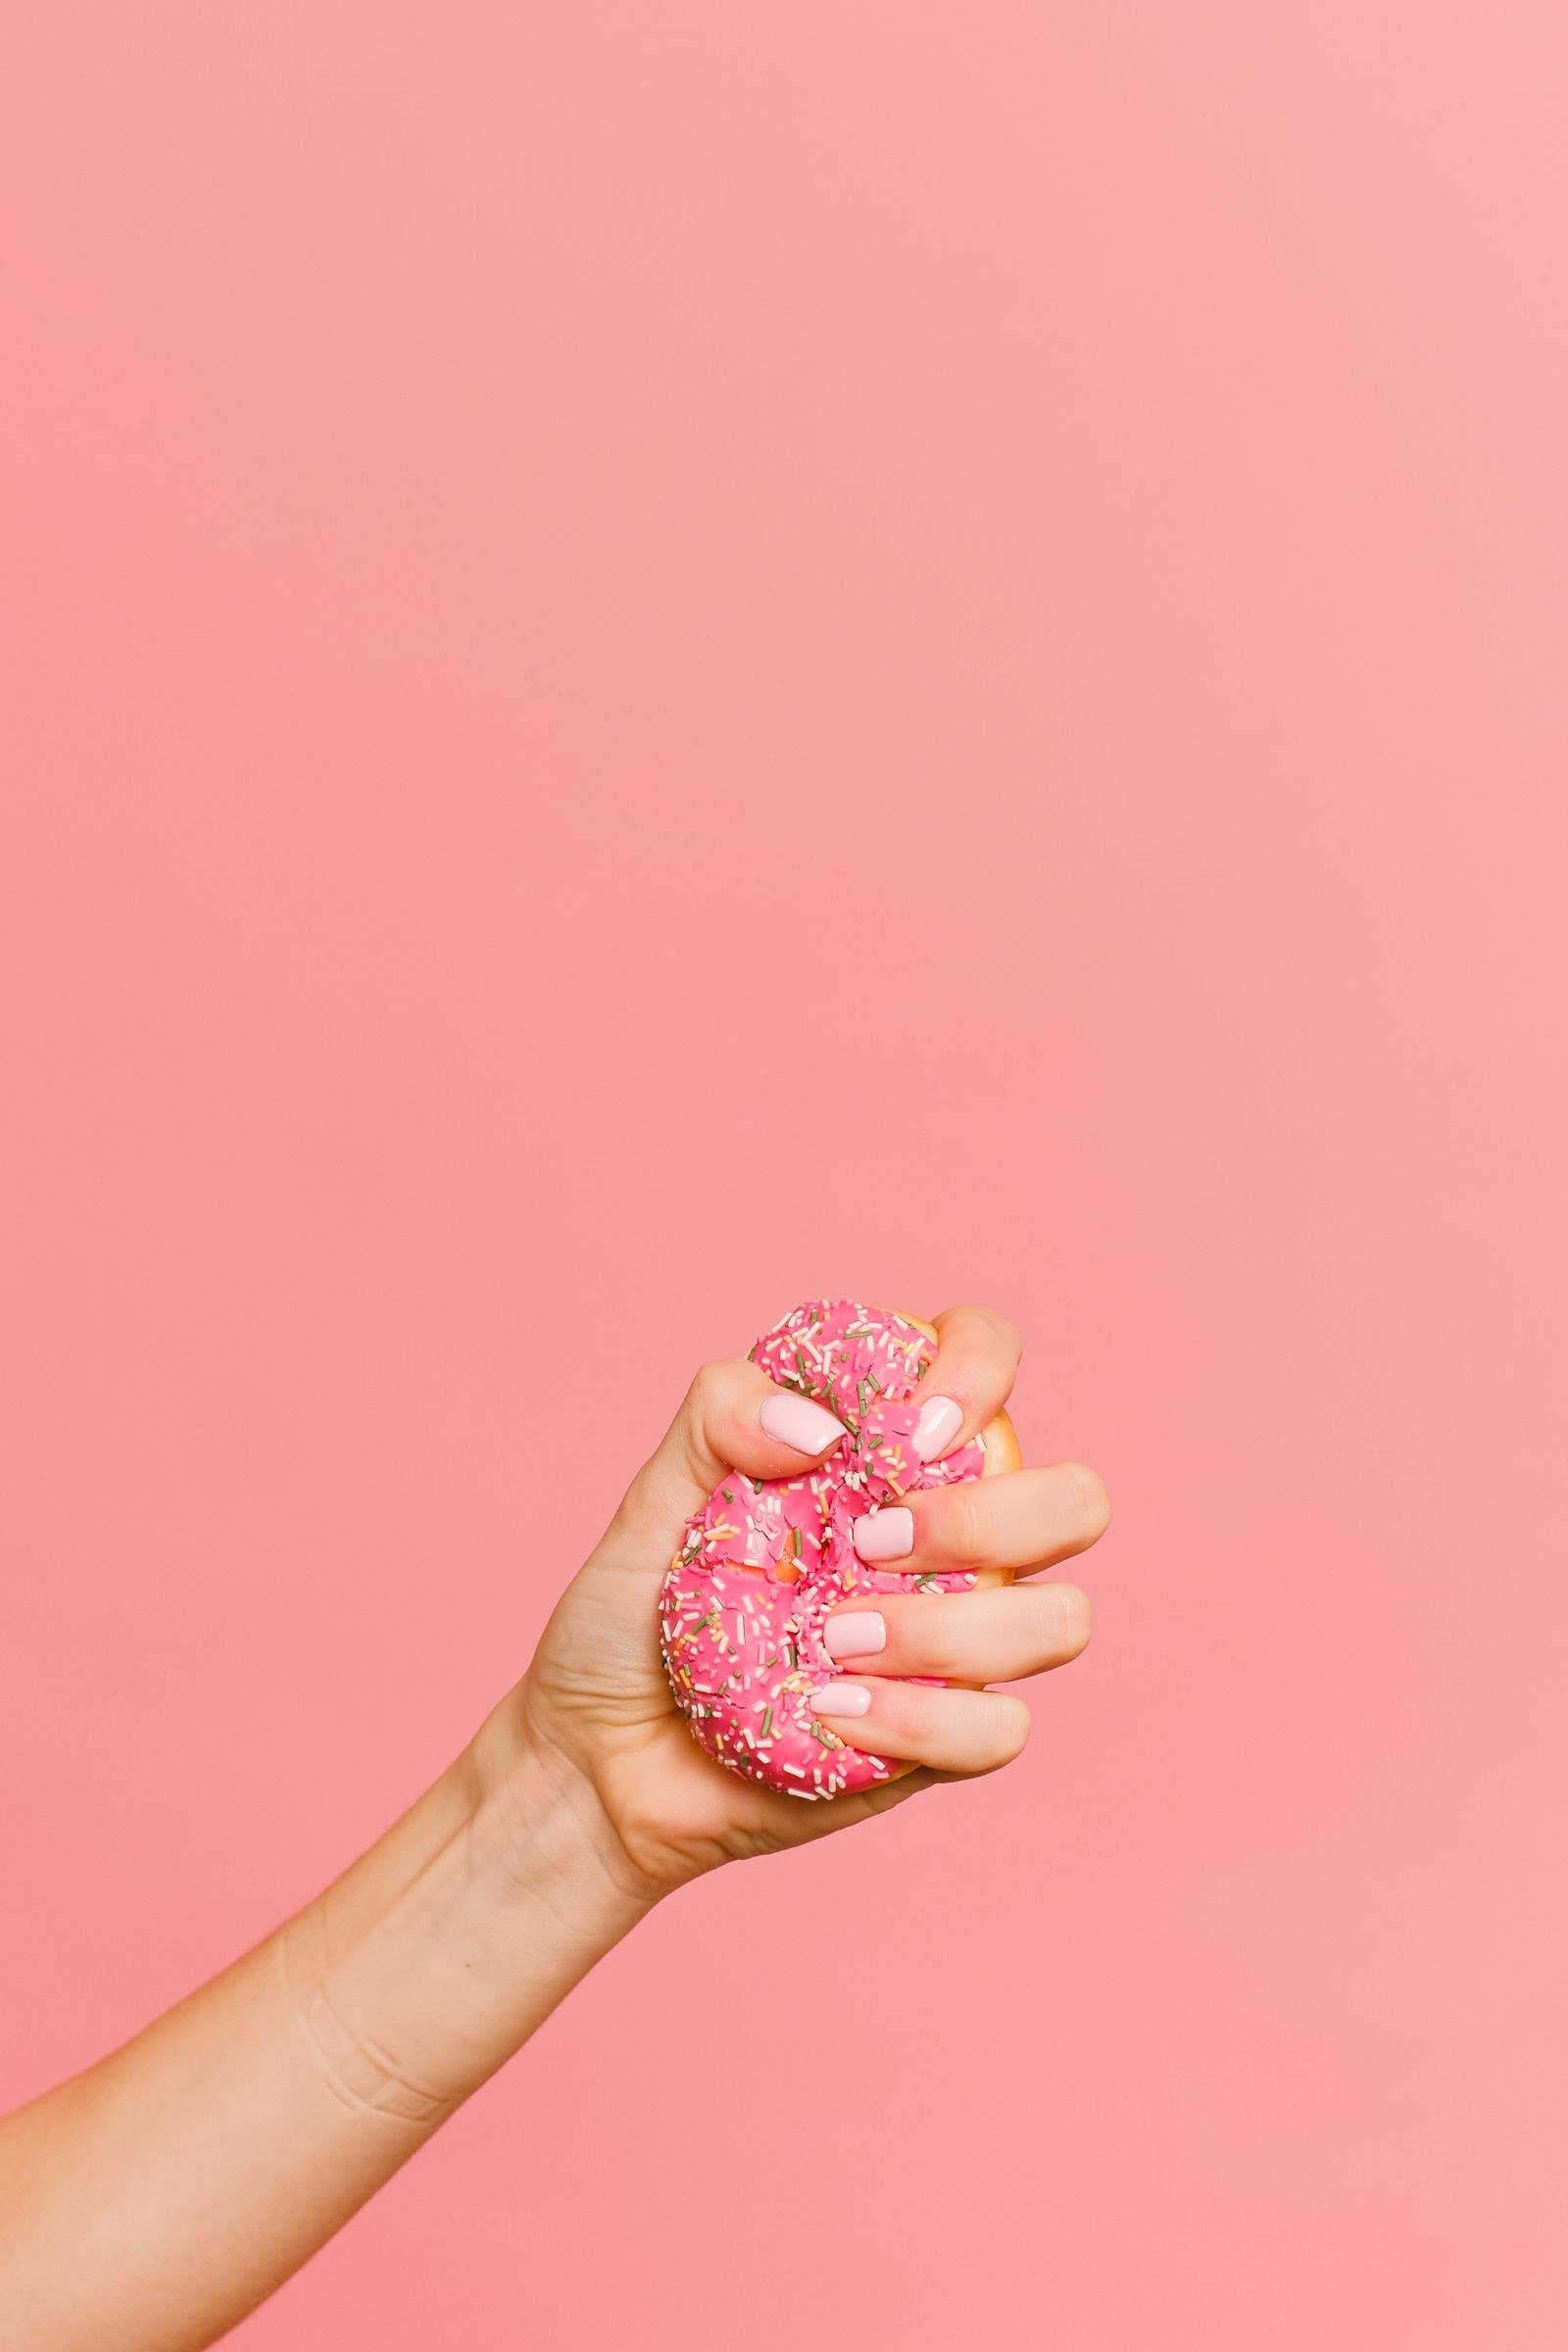
Glow-in-the-dark elements take gummy nails into party territory. Glow pigments mixed into jelly polish, or glow-in-the-dark charms, charge in daylight and emit a soft neon glow in the dark. The effect is magical — your candy nails literally light up.
Apply glow products as a top layer over your colour so the glow is not muted. Charge them under bright light before heading out for the strongest effect. This is perfect for concerts, nightclubs, and evening festivals. Pair with neon jelly shades for a cohesive glow look. Note that glow pigments can slightly alter the colour of the polish in daylight, so test first. These nails are guaranteed to be noticed after dark.
17. Gummy Nail Art for Toes
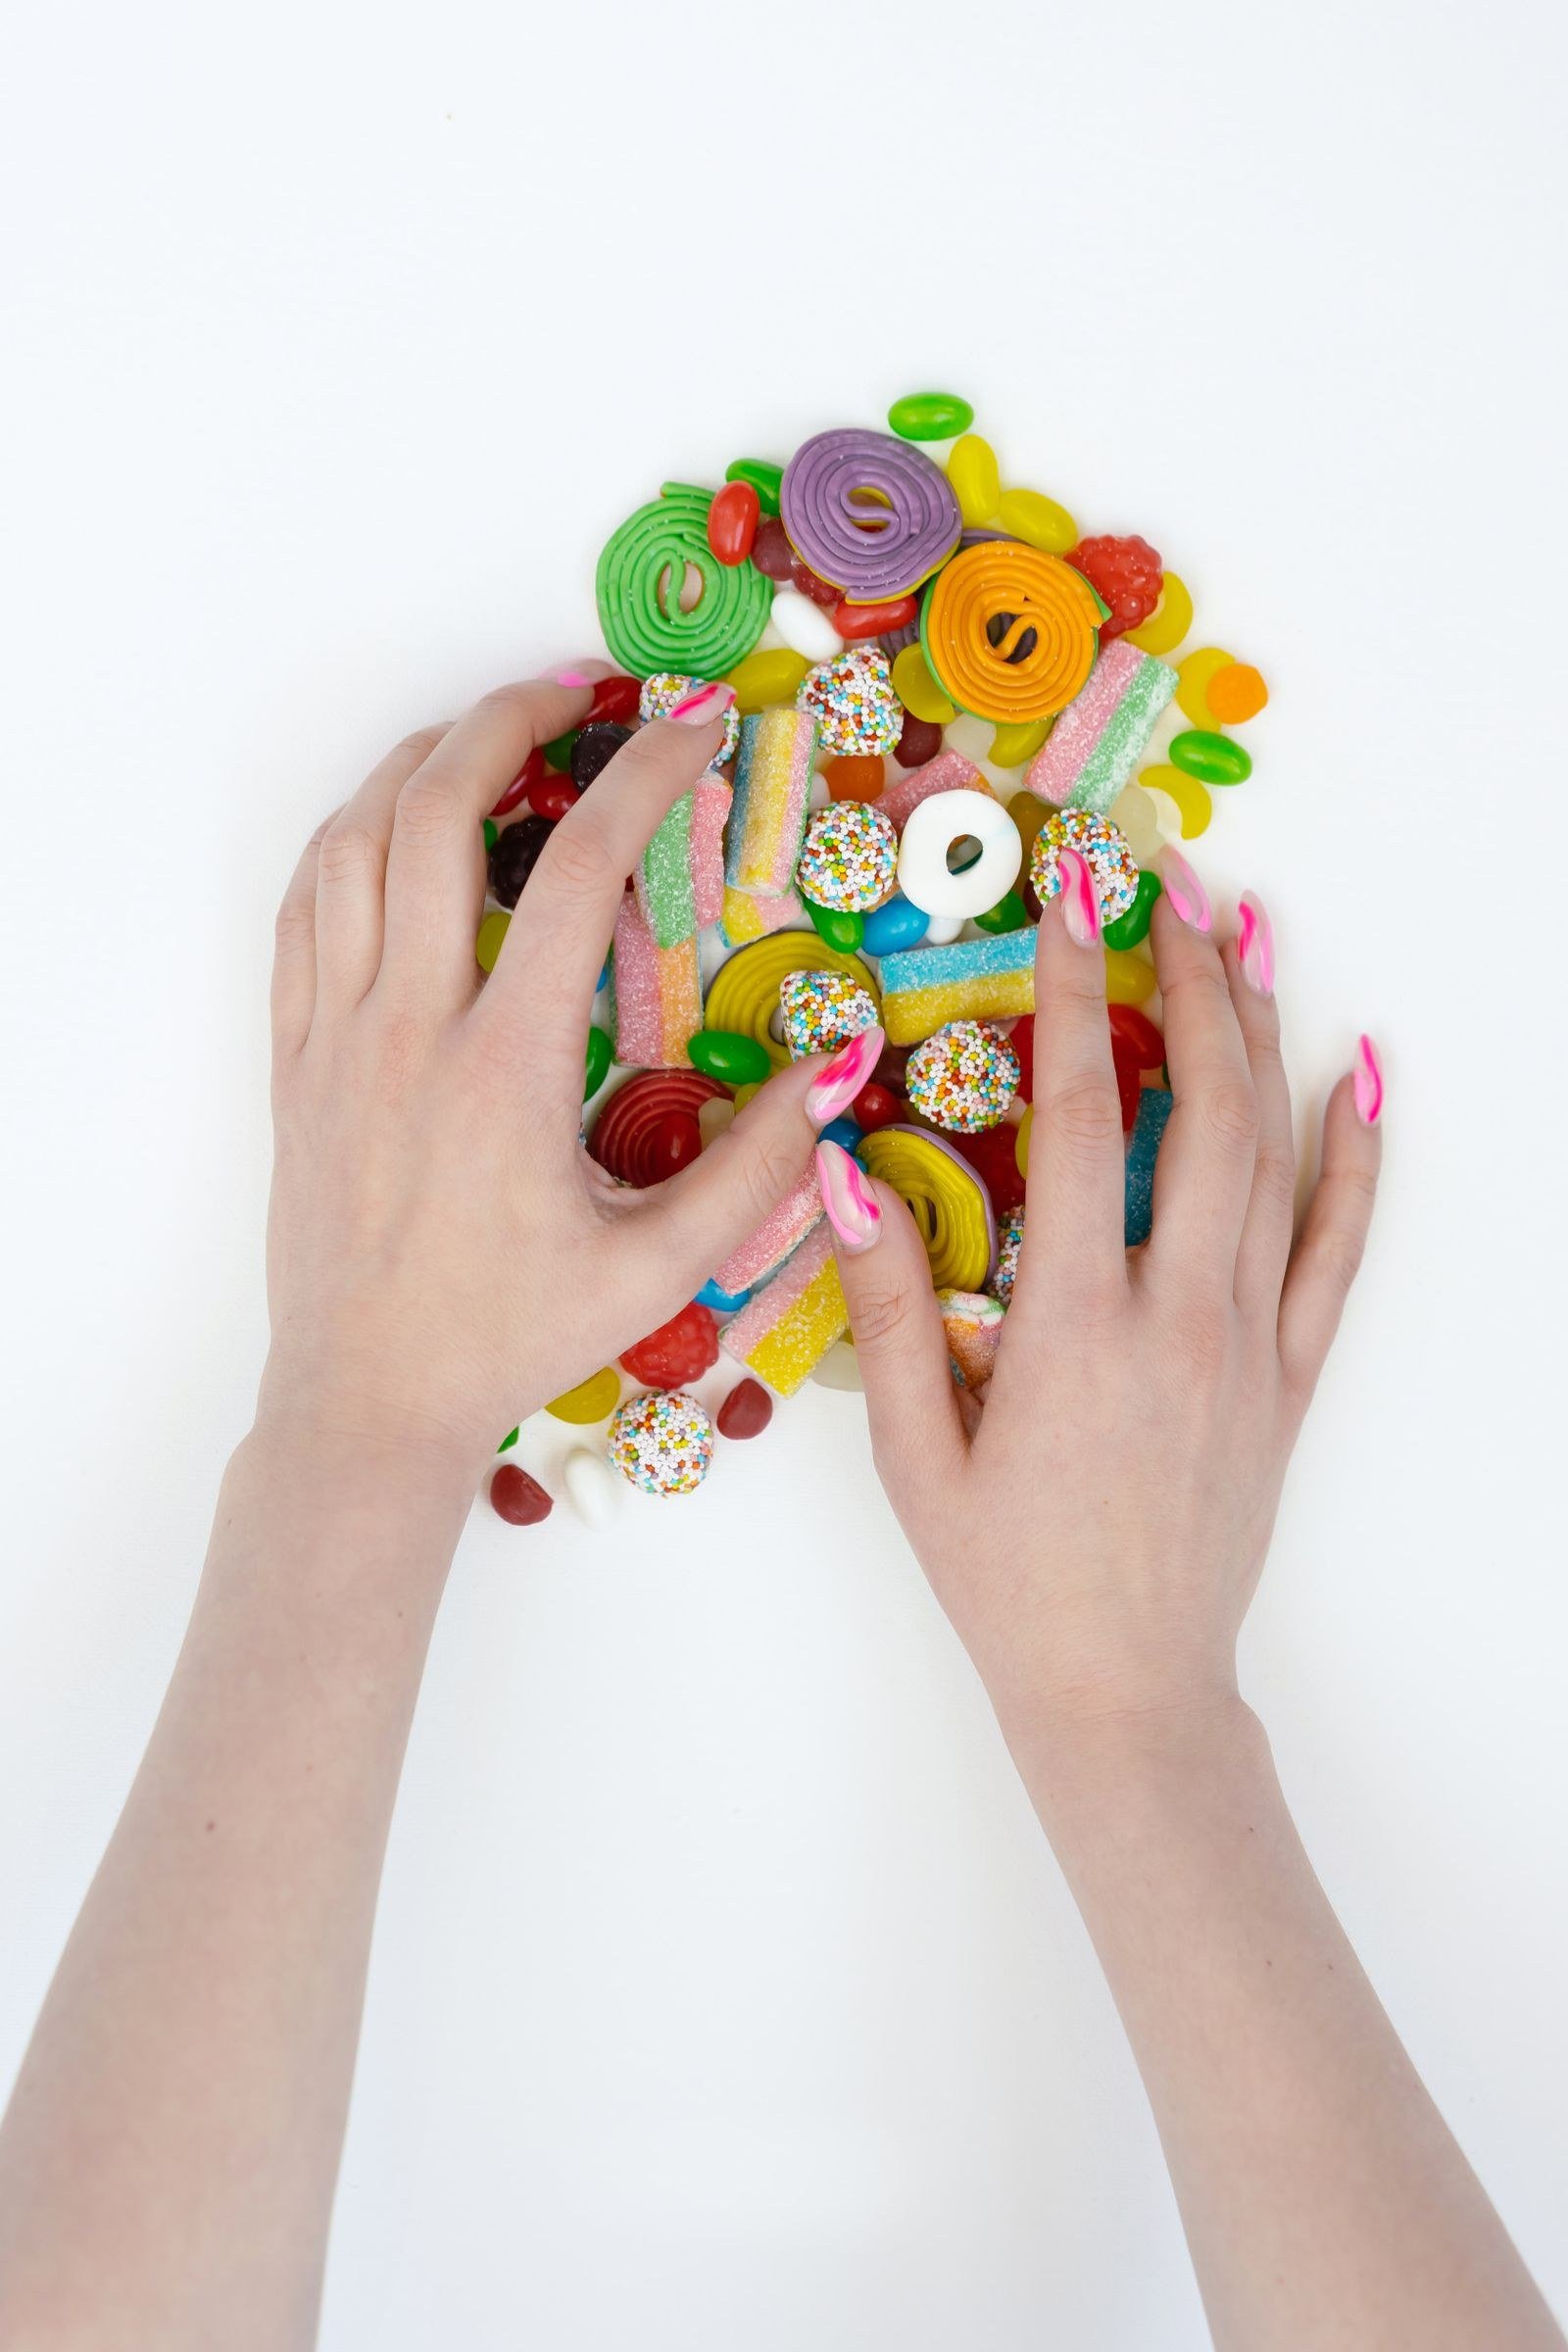
The gummy trend works on toenails too, and it is perfect for summer sandals and holidays. Keep pedicure designs simple — jelly polish in candy colours with a single small decal or charm on each big toe. Toenails are smaller and take more abuse from shoes, so avoid large 3D charms.
Fruit slice decals and tiny hearts work beautifully on toes. Match your pedicure to your manicure for a coordinated look, or choose complementary candy shades. The juicy jelly finish looks especially pretty on feet. As with fingernails, proper prep and a good top coat keep the design lasting through a whole holiday. A gummy pedicure is a small, joyful detail that makes summer footwear even more fun.

18. DIY Versus Salon Gummy Nails
Simple gummy looks — jelly polish, flat decals, small charms with nail glue — are very achievable at home with patience and the right products. Invest in quality jelly polishes, a good top coat, and nail glue, and you can create adorable designs on your kitchen table. Online tutorials make even the jelly sandwich technique accessible to beginners.
Leave complex 3D work, builder gel encapsulation, and intricate drip effects to a professional. A skilled nail technician has the products and curing equipment to make charms last and 3D designs structurally sound. Salon gummy nails also last longer — two to three weeks for gel versus days for regular polish at home. Consider a hybrid approach: get a professional gel base, then add and replace your own charms at home between appointments.

19. Seasonal Gummy Variations
The gummy trend adapts to every season with simple colour and charm swaps. Spring calls for pastel jellies with flower decals; summer for neon shades and fruit slices; autumn for deeper candy tones like cherry and grape with leaf accents; winter for icy blue jellies with snowflake charms and a frosted sugar texture.
Holiday versions are especially fun: tiny pumpkin charms for Halloween, candy cane stripes for Christmas, heart gummies for Valentine’s Day. The base technique stays the same — only the colours and decorations change. This versatility is part of why the trend has endured. Keep a small box of seasonal charms and decals, and you can refresh your gummy nails for every occasion without learning new skills.
20. Safe Removal of 3D Nail Art
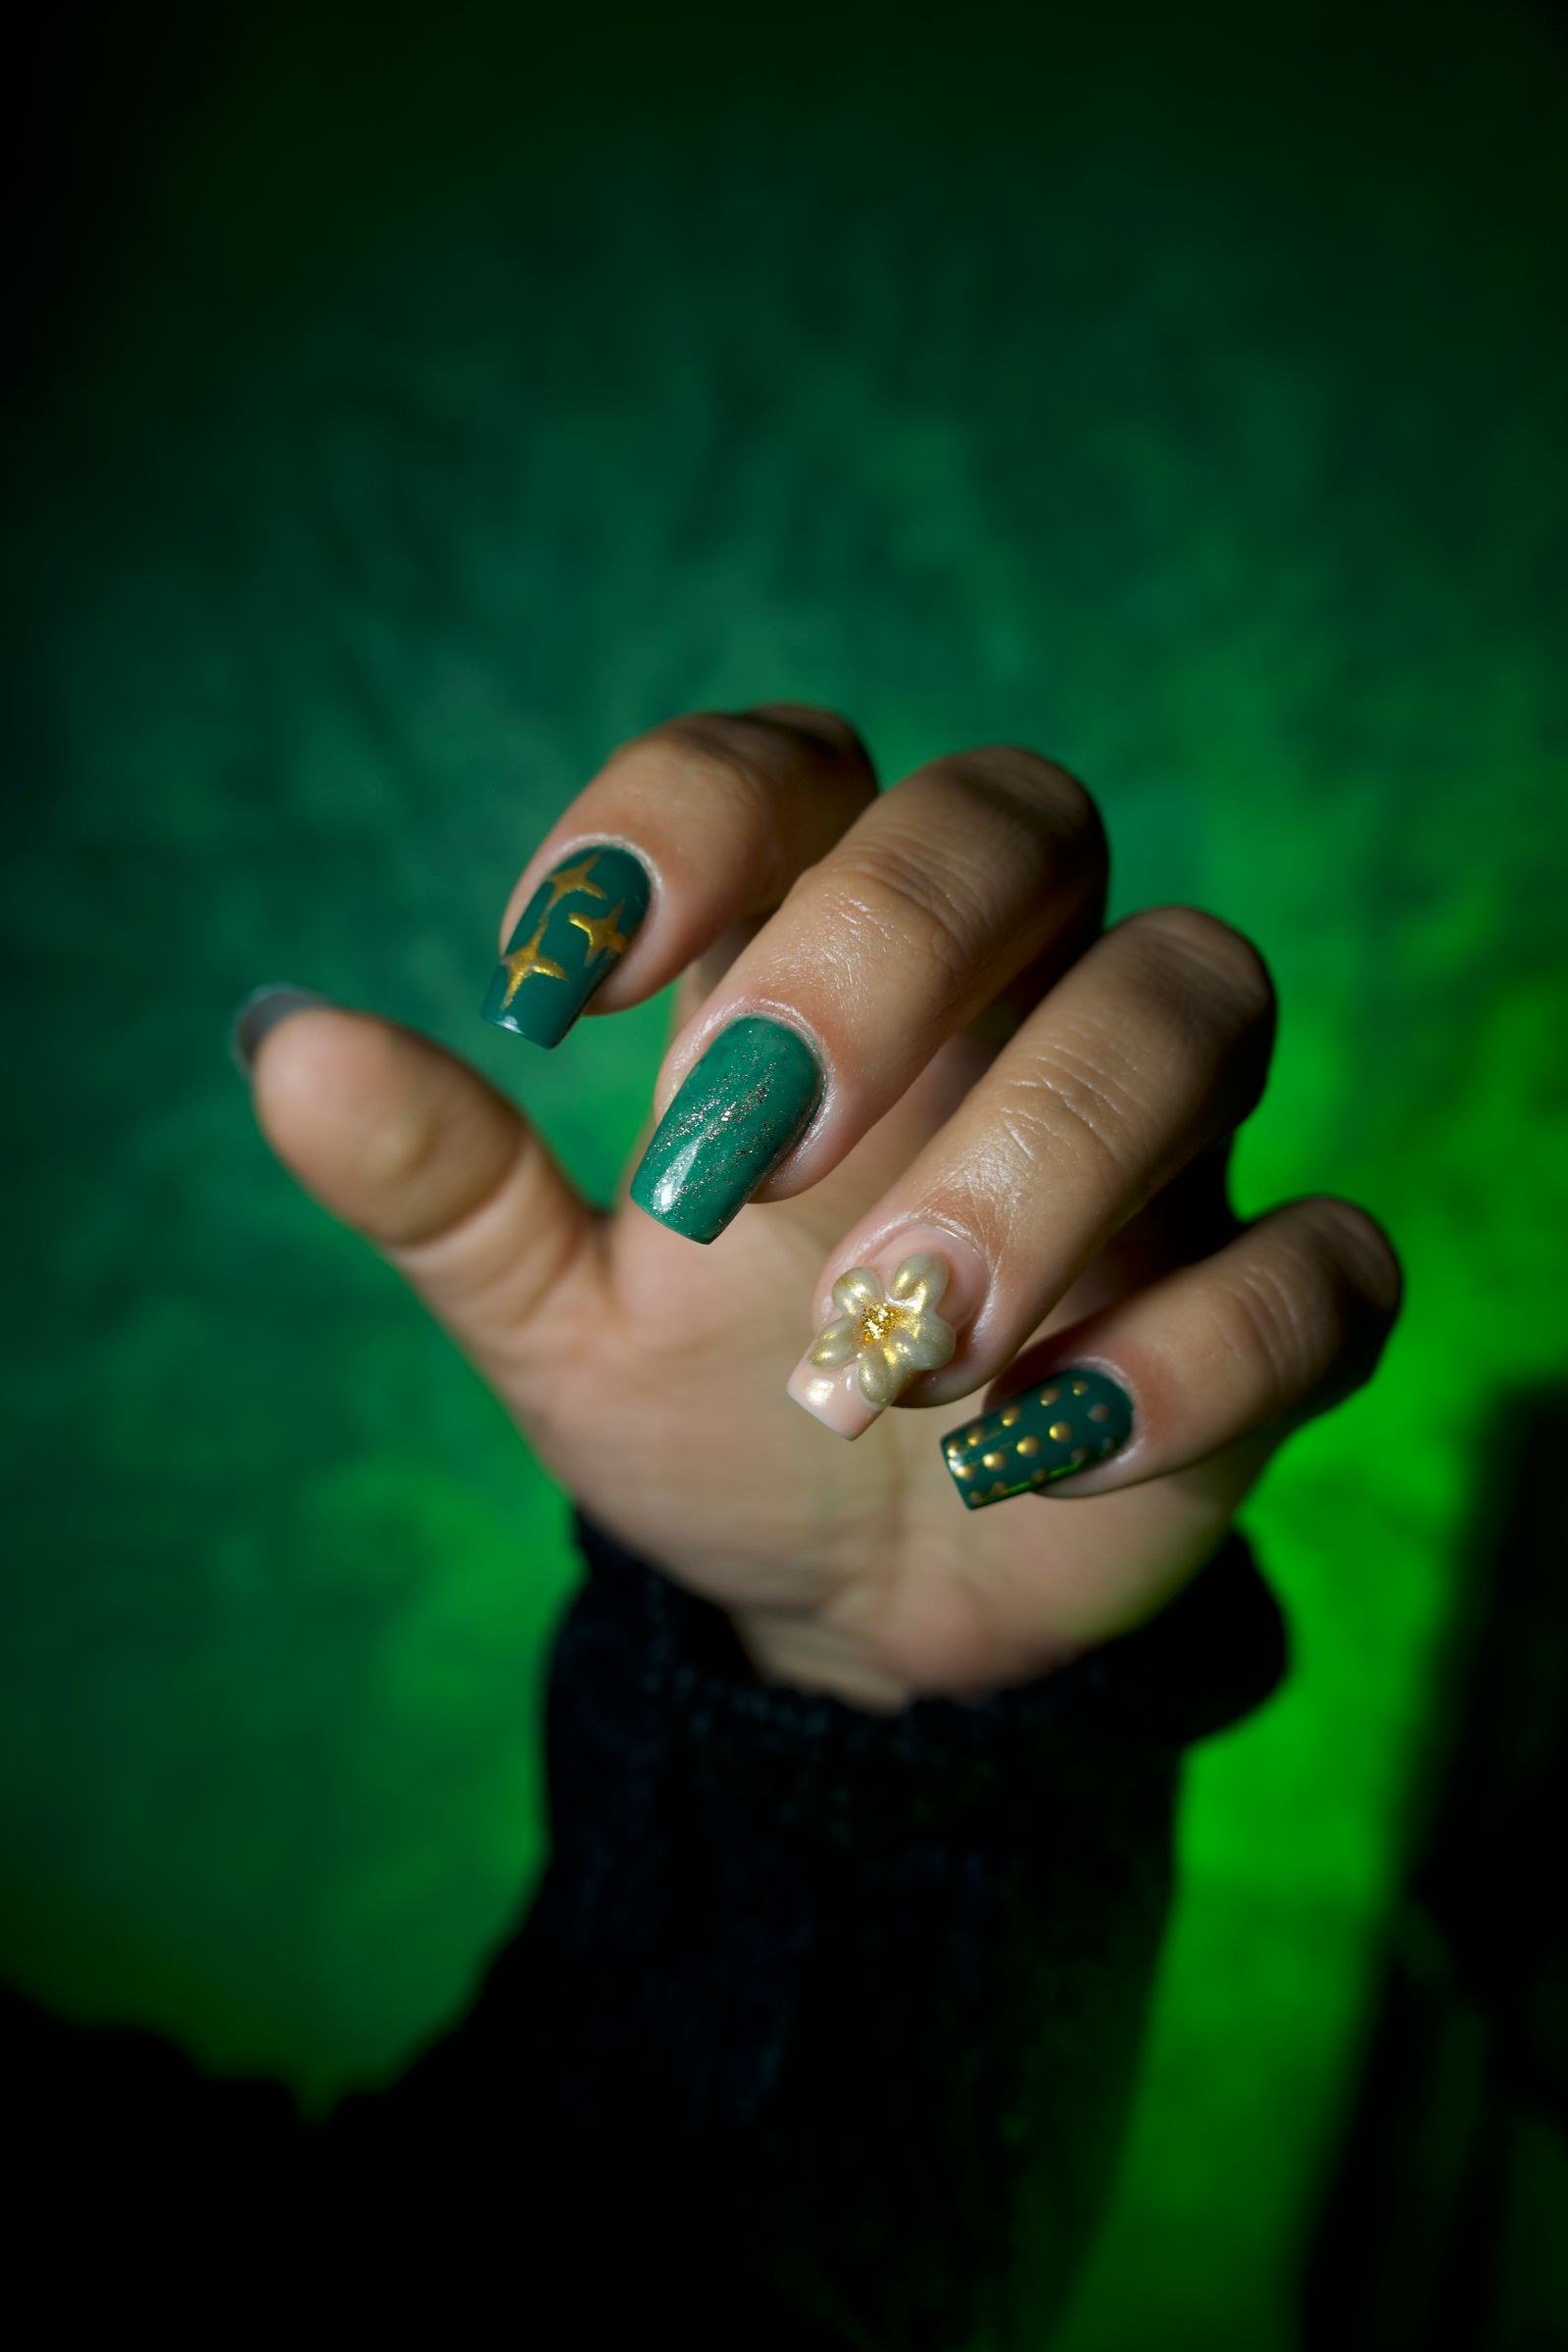
Removing 3D gummy nail art requires patience to avoid damaging the natural nail. Never pull or pry off charms — this can tear layers from the nail surface. Instead, soak in acetone: for gel, wrap each nail in an acetone-soaked cotton pad and foil for 10–15 minutes, then gently push off the softened product with an orange stick.
Charms can often be eased off first with dental floss worked gently underneath, or an orange stick after soaking. For regular polish designs, standard remover works fine, though you may need extra time on glitter and textured finishes. After removal, nourish nails with cuticle oil and give them a break before the next set if they feel thin. Proper removal keeps your natural nails healthy and ready for the next sweet design.


I am Talha Sikandar, a professional writer with a passion for general blogging. With years of experience in content writing and research, I founded Meaniingly.com to deliver well-researched, informative, and user-friendly articles on diverse topics.