Big bows are the defining Christmas decoration of 2026. From ribbon-wrapped trees to oversized velvet bows on wreaths, mantels, and gift boxes, this is the year the bow went maximalist — and the prettiest ones are the ones you make yourself. Velvet ribbon brings a richness that satin and grosgrain simply cannot match: it catches candlelight, holds its loops without flopping, and looks expensive even when the ribbon cost very little. In this guide you will learn everything you need to make DIY velvet bow Christmas ornaments, from the classic single bow to layered wired-ribbon showpieces, bow tree toppers, and gift-box bows — with full materials lists, step-by-step tutorials, and pro tips for bows that look store-bought (only better).
Why Velvet Bows Are Christmas 2026’s Biggest Trend
Every holiday season has a signature look, and this year’s is unmistakable: the oversized velvet bow. Designers are wrapping entire trees in cascading ribbon, tying giant bows on wreaths instead of traditional bows-and-berries clusters, and finishing gift wrap with lush velvet loops rather than fussy curls. The appeal is partly nostalgic — velvet reads as old-world, storybook Christmas — and partly practical: a great bow is faster to make than most ornaments and transforms anything it touches.
Velvet also photographs beautifully, which matters in the Pinterest era. Its matte pile absorbs light softly while the edges catch highlights, giving bows a depth that flat ribbons lack. Best of all, velvet is forgiving for beginners. The fabric’s body hides imperfect folds, wired edges let you sculpt and re-sculpt loops until they look right, and even a simple single-loop bow in a rich jewel tone looks deliberate and chic.
Choosing the Right Velvet Ribbon
Not all velvet ribbon is equal, and the right choice makes bow-making dramatically easier. For ornaments and most bows, choose double-faced velvet ribbon (velvety on both sides) in 1.5-inch (38 mm) or 2.5-inch (63 mm) widths — 2.5-inch is the sweet spot for statement bows. Wired velvet ribbon has thin wire sewn into the edges; it costs slightly more but holds sculpted loops indefinitely and is strongly recommended for tree toppers and large ornaments.
Color-wise, you cannot go wrong with the classics: deep burgundy, forest green, midnight navy, and champagne gold cover nearly every tree palette. For a modern look, try dusty rose, sage, or chocolate brown. Buy ribbon by the spool (10-yard spools are the standard craft-store size) — one spool makes roughly 6–8 medium ornament bows. Avoid ultra-cheap ribbon with a papery backing; it creases permanently and frays the moment you look at it.
Essential Tools and Materials
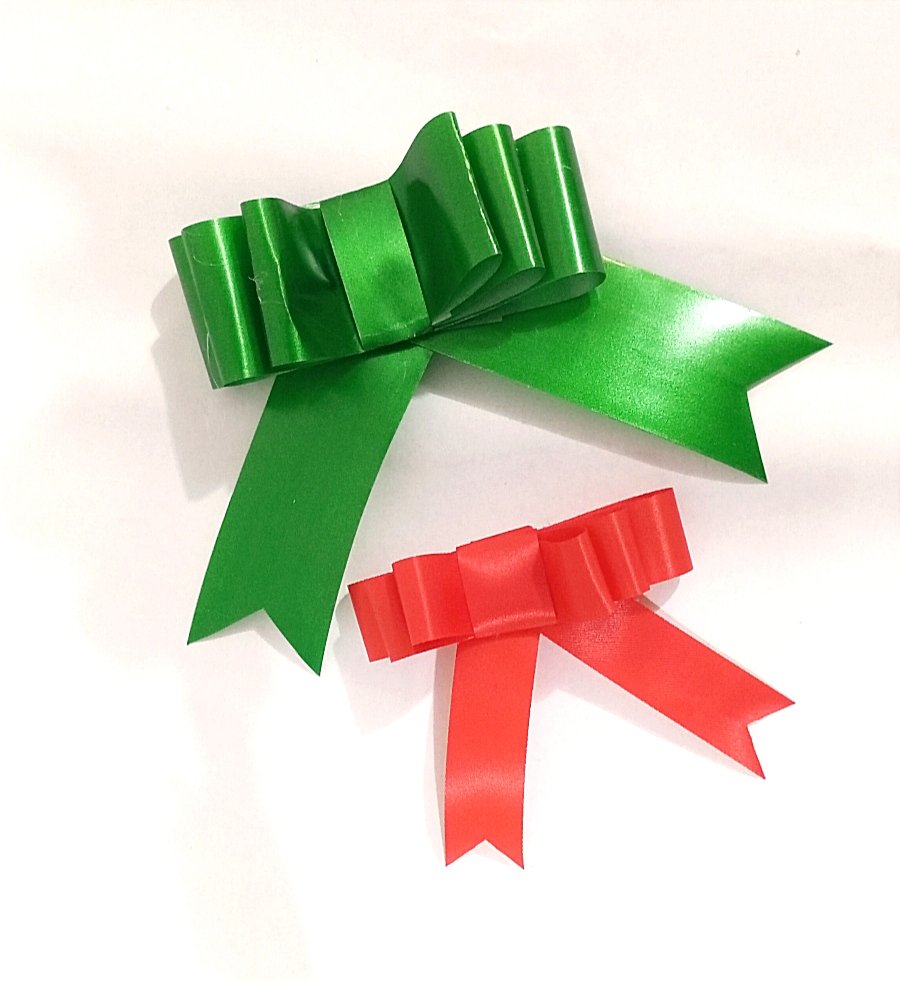
Assemble this kit once and you can make every bow in this guide. You will need: wired or unwired velvet ribbon in your chosen colors and widths; sharp fabric scissors (dull scissors chew velvet edges); floral wire (26-gauge) or thin craft wire; wire cutters; a hot glue gun with glue sticks; a ruler or tape measure; ornament hooks, string, or thin ribbon for hanging; and optional embellishments — small jingle bells, faux berries, pine sprigs, dried orange slices, or vintage-style baubles.
Two more items earn their place: a chenille stem (pipe cleaner) in a matching color makes an excellent temporary bow holder while you learn, and a strip of cardboard cut to your desired loop size works as a bow-making template for perfectly even loops. Keep a lint roller nearby too — velvet sheds, especially when cut, and a quick roll keeps finished bows looking crisp.
Master Technique: The Classic Velvet Bow
Every bow in this guide builds on this foundation, so practice it first. Cut a 24-inch length of 2.5-inch wired velvet ribbon. Find the center and pinch it between your thumb and forefinger. Form the first loop by folding one side up and over to the center, pinching it in place — aim for a 3-inch loop. Repeat on the other side for a matching loop. You now have the classic “bunny ear” shape.
Pinch the center tightly and wrap a 6-inch piece of floral wire around the pinched middle, twisting firmly at the back. Fluff the loops by gently pulling the wired edges into shape, then trim the two tails at an angle (a dovetail or fishtail cut looks most professional: fold the tail in half lengthwise and cut diagonally from the fold outward). Attach an ornament hook through the back wire. This single bow takes under five minutes once practiced — and it is genuinely all you need for a beautiful tree.
Double and Triple Layered Bows
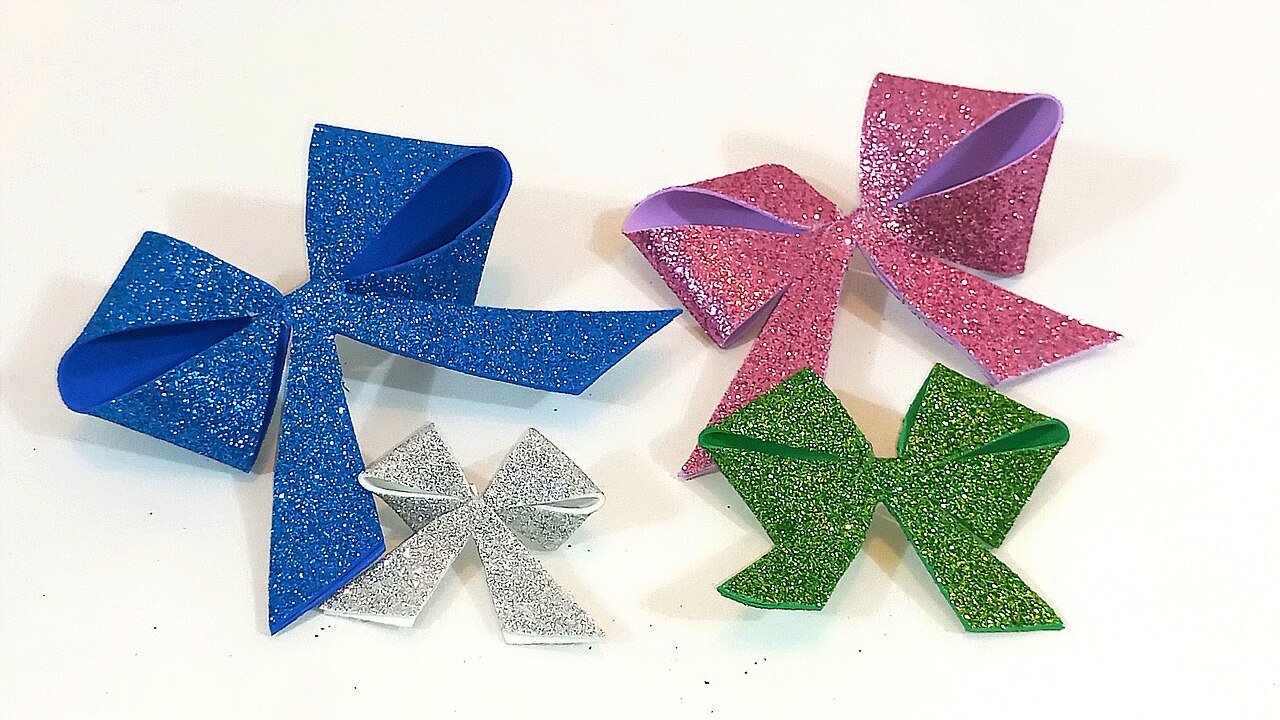
Layered bows are what make a tree look designer-made. The method is simple: make two or three classic bows in graduated sizes (for example, loops of 4 inches, 3 inches, and 2 inches) and stack them, largest at the back, securing all the centers together with one wrapping of floral wire. Offset each layer slightly so the loops fan out rather than sitting directly atop one another.
For extra richness, mix textures: a velvet base layer, a middle layer of sheer organza or burlap, and a small velvet top bow. Or mix widths — a wide 2.5-inch base with a 1.5-inch contrasting topper in gold or cream. Layered bows are ideal focal ornaments: hang them at eye level on the tree’s outer branches where their fullness shows, or cluster three in graduated sizes down the front of the tree for a cascading effect.

Wired Ribbon Bows That Hold Their Shape
Wired ribbon is the beginner’s best friend because it forgives everything. The wire in the edges means you can bend, curl, and reposition loops dozens of times without the bow collapsing — perfect for learning, and perfect for ornaments that will be stored and reused for years. When buying, check that the wire runs the full length of both edges and is not broken or kinked in the spool.
To get the most from wired ribbon, shape after wiring, not before: assemble the bow loosely, secure the center, then sculpt. Curl tails by wrapping them around a pencil or your finger and sliding them off — the wire holds the spiral. For a windswept, high-end look, twist each loop slightly off-axis so the bow looks artfully casual rather than symmetrical. Store wired bows stuffed loosely with tissue paper so the loops keep their shape in the box.
Mini Bow Ornaments for the Whole Tree
A tree dressed entirely in matching mini bows is one of 2026’s freshest looks — and it is far easier than it sounds. Scale the classic bow down: cut 12-inch lengths of 1.5-inch velvet ribbon, make 1.5-inch loops, and finish with short fishtail-cut tails. Each bow takes about three minutes, and a 6-foot tree needs roughly 25–35 for full coverage.
Make it a production line: cut all ribbons first, then form all bows, then wire all centers, then trim all tails. Consistency matters more than perfection — bows that match in size read as intentional. Hang minis deep inside the tree as well as on the tips; the inner bows add surprising depth and make the tree look lush from every angle. Alternate two colors (say, burgundy and champagne) for a classic feel, or go monochrome in forest green for a modern look.
Statement Bow Tree Toppers
Replace the star or angel with a giant bow topper and your tree instantly looks current. You will need 3–4 yards of 4-inch wired velvet ribbon. Make four large loops (6–8 inches each) in a figure-eight pattern, pinching all centers together, then add two more smaller loops on top for fullness. Wire the center firmly with heavy-gauge floral wire, leaving a long wire tail.
Add four long streaming tails (18–24 inches each), wiring them into the center and letting them cascade down the tree — this is what makes a topper look professional rather than perched. Attach the wire tail firmly around the top branches, pushing the bow slightly forward so it faces the room. Fluff every loop outward. A topper bow in deep red velvet with gold inner loops is the definitive 2026 look; for flocked or white trees, try champagne or icy silver-blue.

Velvet Bows with Bauble Centres
Combining a bow with a bauble creates an ornament with twice the presence. Make a classic or double bow, then wire a shatterproof bauble (2–3 inches) into the center front, nestled where the loops meet. The bauble peeks through the loops like a jewel — gold baubles with burgundy velvet and silver with forest green are foolproof pairings.
For a fuller cluster ornament, wire three small baubles together first, then attach the cluster behind the bow so baubles spill out around the loops. Hang these heavier ornaments on strong inner branches, not delicate tips. This style also rescues plain or dated baubles: a tired old gold ball becomes brand-new tucked into fresh velvet. Make them in sets of six or twelve for a coordinated, high-impact tree.
Gift-Box Bows That Outshine the Present
A handmade velvet bow elevates even the simplest kraft-paper wrapping. For gift boxes, make the classic bow with longer, more dramatic tails (12–16 inches) and wire it to a 2-inch loop of the same ribbon that slips around the box’s ribbon cross — or simply hot-glue the finished bow to the package. The bow should be proportional: a 4-inch bow suits a shoebox; go bigger for large gifts.
Try the “bow on bow” gift look: wrap the box in plain paper with a simple satin ribbon cross, then add the velvet bow on top slightly off-center for an artful, unstructured feel. Tuck a sprig of fresh pine, a cinnamon stick, or a dried orange slice under the bow for a finishing touch that smells as good as it looks. Recipients will keep these bows — make a few extra, because they will be requested.

Wreath Bows: The New Front-Door Statement
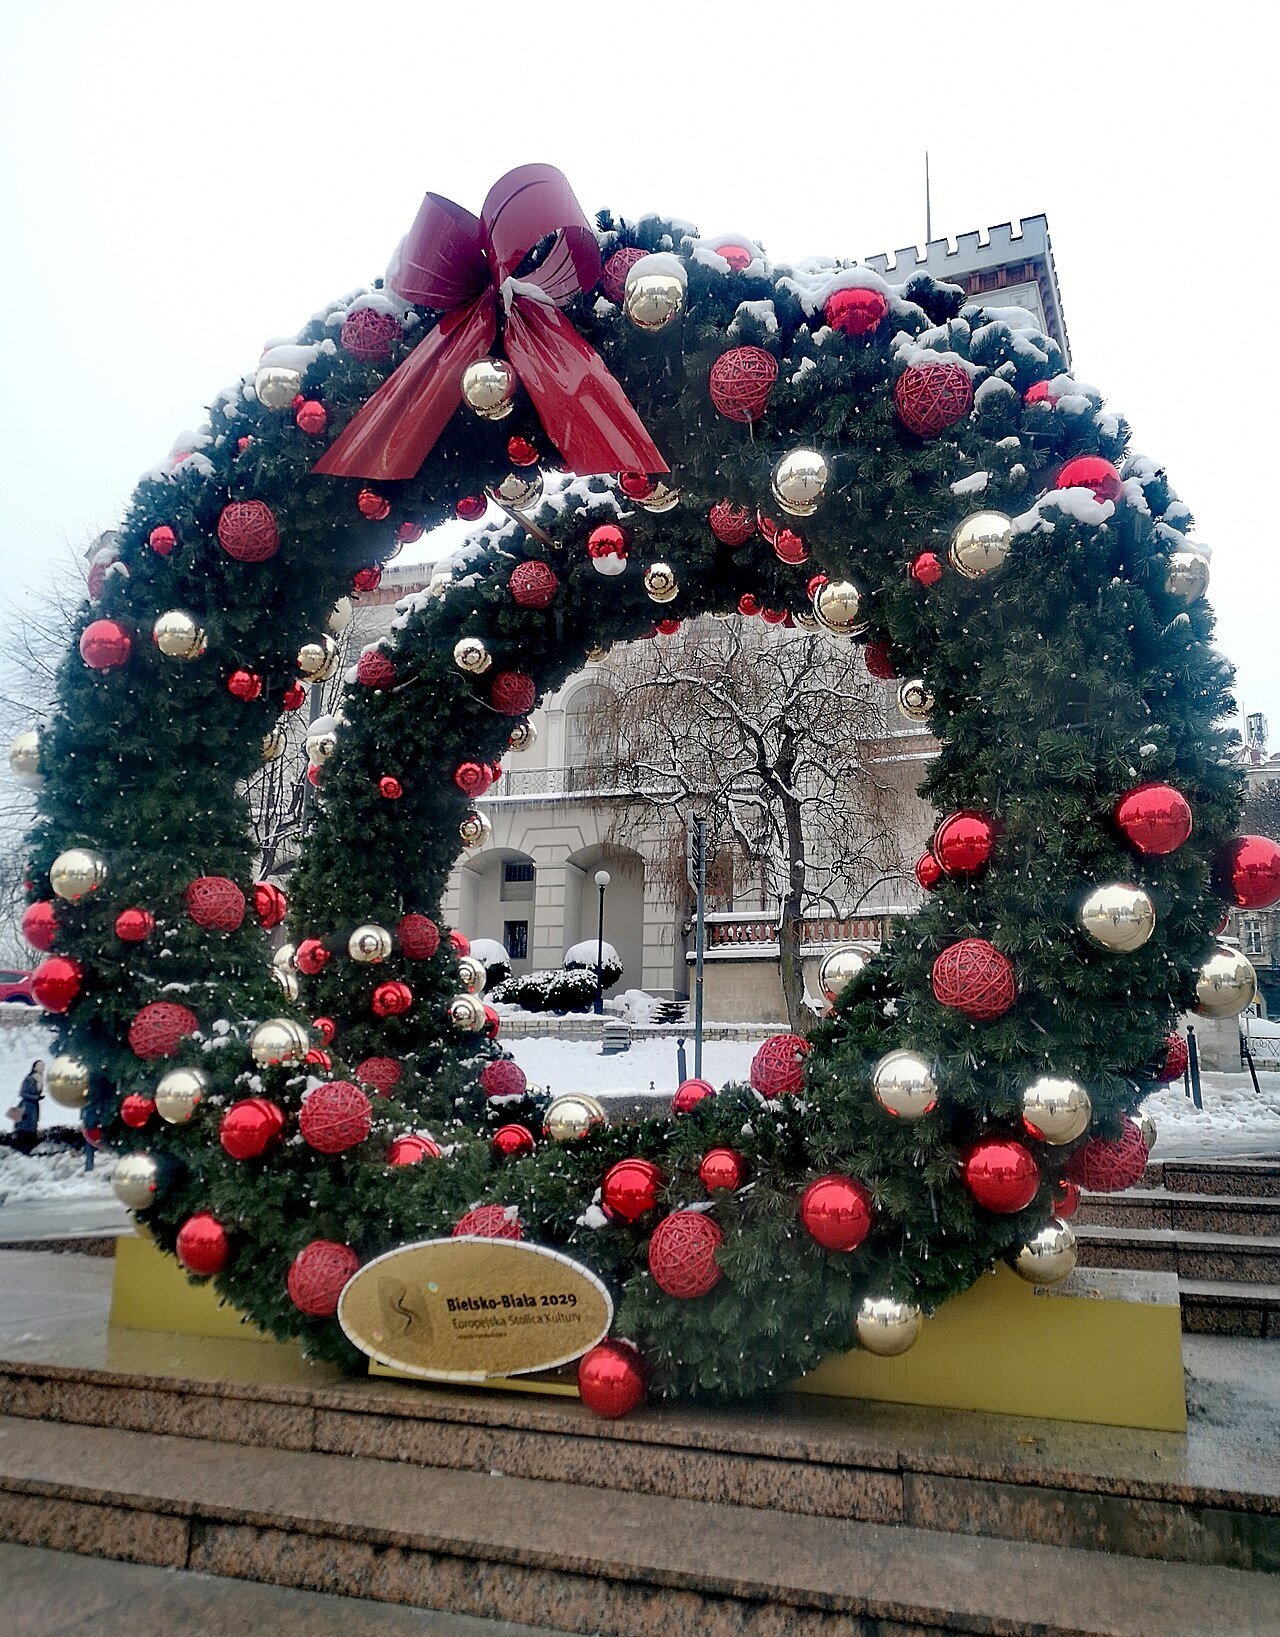
The 2026 wreath trend is refreshingly simple: a lush green wreath with one enormous velvet bow and little else. Make a triple-layered bow with 8–10 inch loops and 24-inch tails using 4-inch wired ribbon, wire it to the top or bottom of the wreath (bottom placement is the current designer favorite), and let the tails stream down over the greenery.
Secure the bow with floral wire threaded through the wreath frame — hot glue alone will not survive wind and weather on an exterior door. For outdoor wreaths, choose polyester velvet ribbon, which resists moisture far better than cotton velvet. Add nothing else, or add just a few pinecones wired into the greenery; the bow is the star. This single-bow wreath takes twenty minutes and looks like it came from a high-end florist.
Mantel and Garland Bows
Repeat your tree’s bow motif along the mantel for a pulled-together room. Make 5–7 medium double bows in your tree’s ribbon and wire them at intervals along a pine garland, alternating with small bauble clusters or fairy lights. The trick is consistent spacing — measure roughly 12 inches between bow centers for a rhythmic, professional look.
For the mantel ends, make two larger bows with long tails that puddle slightly on the mantel surface — this relaxed draping is very 2026. If your garland is on a staircase banister, tie medium bows at each newel post and every third baluster. Use the same ribbon throughout the house (tree, wreath, mantel, gifts) and your whole home will look intentionally designed with minimal effort.

Embellishing Your Bows: Bells, Berries, and Baubles
Plain velvet bows are beautiful; embellished ones are unforgettable. The rule is restraint — one accent per bow. Thread small gold jingle bells onto the center wire before twisting it closed for a bow that chimes gently when the tree is touched. Wire a tiny cluster of faux red berries or a frosted pine sprig behind the bow’s top loops for a traditional touch.
For glamour, hot-glue a vintage-style brooch or a small crystal pick into the bow’s center — thrift stores are full of brooches begging for this second life. Dried orange slices and cinnamon sticks wired behind the loops add scent and a natural texture that contrasts beautifully with plush velvet. Whatever you choose, attach embellishments with wire rather than glue alone; ornaments get handled, and wire survives.
No-Sew Bow Napkin Rings for the Christmas Table
Carry the bow theme to the table with napkin rings that take minutes. Cut 10-inch lengths of 1.5-inch velvet ribbon. Form a small classic bow with 1.5-inch loops, but instead of trimming short tails, leave the tails long, wrap them around a folded napkin, and secure at the back with a dot of hot glue or a small piece of hook-and-loop tape. The bow sits proudly on top of each place setting.
Make them match your tree ribbon for a coordinated tablescape, or contrast — forest green napkin bows on a table with burgundy tree bows nearby looks rich and layered. Add a name tag tucked under each bow for place cards that double as decor. These also make lovely hostess gifts: bundle six in a small box tied with (what else) a velvet bow.
Fixing Common Bow Problems
Floppy loops? You are likely using unwired ribbon for a bow that needs structure — switch to wired, or starch the loops lightly. Uneven loops? Cut a cardboard template at your target loop size and form each loop around it; consistency comes from measurement, not talent. Bow won’t stay pinched? Your center wire is too thin or too loosely twisted — use 26-gauge or heavier and twist firmly with pliers, not fingers.
Fraying edges? Velvet frays less than most fabrics, but cheap ribbon still sheds — seal cut edges with a quick pass of fray-check liquid or a careful touch of a lighter flame on synthetic ribbon only (never on cotton velvet). Bow looks flat? You are under-fluffing: pull each loop’s wired edges apart and forward, rotate the bow, and fluff again. Almost every “bad” bow is just an under-fluffed bow.
Color Palettes That Work Every Time
Choosing colors is where many crafters stall, so here are five palettes that cannot fail. Classic Christmas: burgundy velvet + gold accents on a green tree. Winter Woodland: forest green + champagne + natural pinecones. Modern Blush: dusty rose + cream + soft gold on a flocked tree. Midnight Luxe: navy + silver + ice blue. Rustic Farmhouse: chocolate brown + burlap + cream.
The designer secret is the 60-30-10 rule: 60 percent your main bow color, 30 percent a secondary ribbon or texture, 10 percent metallic accent. Buy your main color in bulk (two or three spools) and the accents in single spools. And remember that velvet deepens every color — a burgundy that looks bright on the spool will read as rich wine on the tree, so you can go slightly brighter at the store than you think you want.
Storing Velvet Bows for Next Year
Handmade bows deserve to last for many Christmases, and storage is everything. Never crush bows flat in a bag — the pile will crease permanently. Instead, stuff each loop loosely with acid-free tissue paper, place bows in a rigid box in a single layer, and separate layers with more tissue. Wired bows hold their shape beautifully this way and need only a quick fluff next December.
Store ribbon spools upright, not stacked, so the ribbon does not develop flat spots. Keep everything in a cool, dry place; damp basements invite mildew on natural-fiber velvet. Toss a lavender sachet in the box to deter moths. Label the box with the color palette inside — future you, pulling out decorations next year, will be grateful for the five seconds this takes now.

Budget Breakdown: Bows vs. Store-Bought Ornaments
Handmade bows are not just prettier — they are dramatically cheaper. A 10-yard spool of quality wired velvet ribbon costs roughly the same as two or three mid-range glass baubles, yet yields 6–8 ornament bows. Dressing a 6-foot tree in 30 mini bows needs about four spools — comparable in price to a single bag of premium ornaments, with a far more distinctive result.
The savings compound: bows store well and reuse for years, ribbon remnants become gift bows and napkin rings, and one spool in a new accent color refreshes last year’s entire set. Where handmade bows truly win, though, is uniqueness — no one else’s tree will look like yours. In a season of mass-produced decor, that handmade signature is the real luxury.
Kid-Friendly Bow Projects
Children love bow-making, with a few adaptations. Skip the hot glue gun (use tacky craft glue or pre-cut adhesive dots) and the sharp fabric scissors (blunt-tipped craft scissors cut ribbon acceptably for small projects). Pre-cut all ribbon lengths and pre-twist the center wires loosely; kids do the fun parts — forming loops, fluffing, choosing colors, and adding embellishments.
Good starter projects: mini bows glued to gift tags, simple single bows tied onto stockings, and “bow wreaths” made by gluing a dozen mini bows around a cardboard ring. Expect charming imperfection — slightly lopsided kid-made bows have a folk-art appeal all their own. These make genuinely touching gifts for grandparents, and the kids will point out “their” bows on the tree all season.

Your 2026 Bow-Making Game Plan
Ready to start? Here is the simplest path to a bow-dressed Christmas. Week one: buy 3–4 spools of wired velvet ribbon in your palette plus the basic toolkit. Week two: practice the classic bow until you can make one in five minutes, then batch-produce mini bows for the tree — put on a holiday film and make it an evening. Week three: tackle the statement pieces — tree topper, wreath bow, and mantel bows.
Week four: gift bows and napkin rings as you wrap presents. Total hands-on time: roughly six to eight hours spread across a month, for a home that looks professionally decorated. Photograph your bows in daylight for the truest color, and save a few for next year’s Pinterest board — because once you have made velvet bows, you will never go back to bare branches. Happy crafting, and merry Christmas.


I am Talha Sikandar, a professional writer with a passion for general blogging. With years of experience in content writing and research, I founded Meaniingly.com to deliver well-researched, informative, and user-friendly articles on diverse topics.