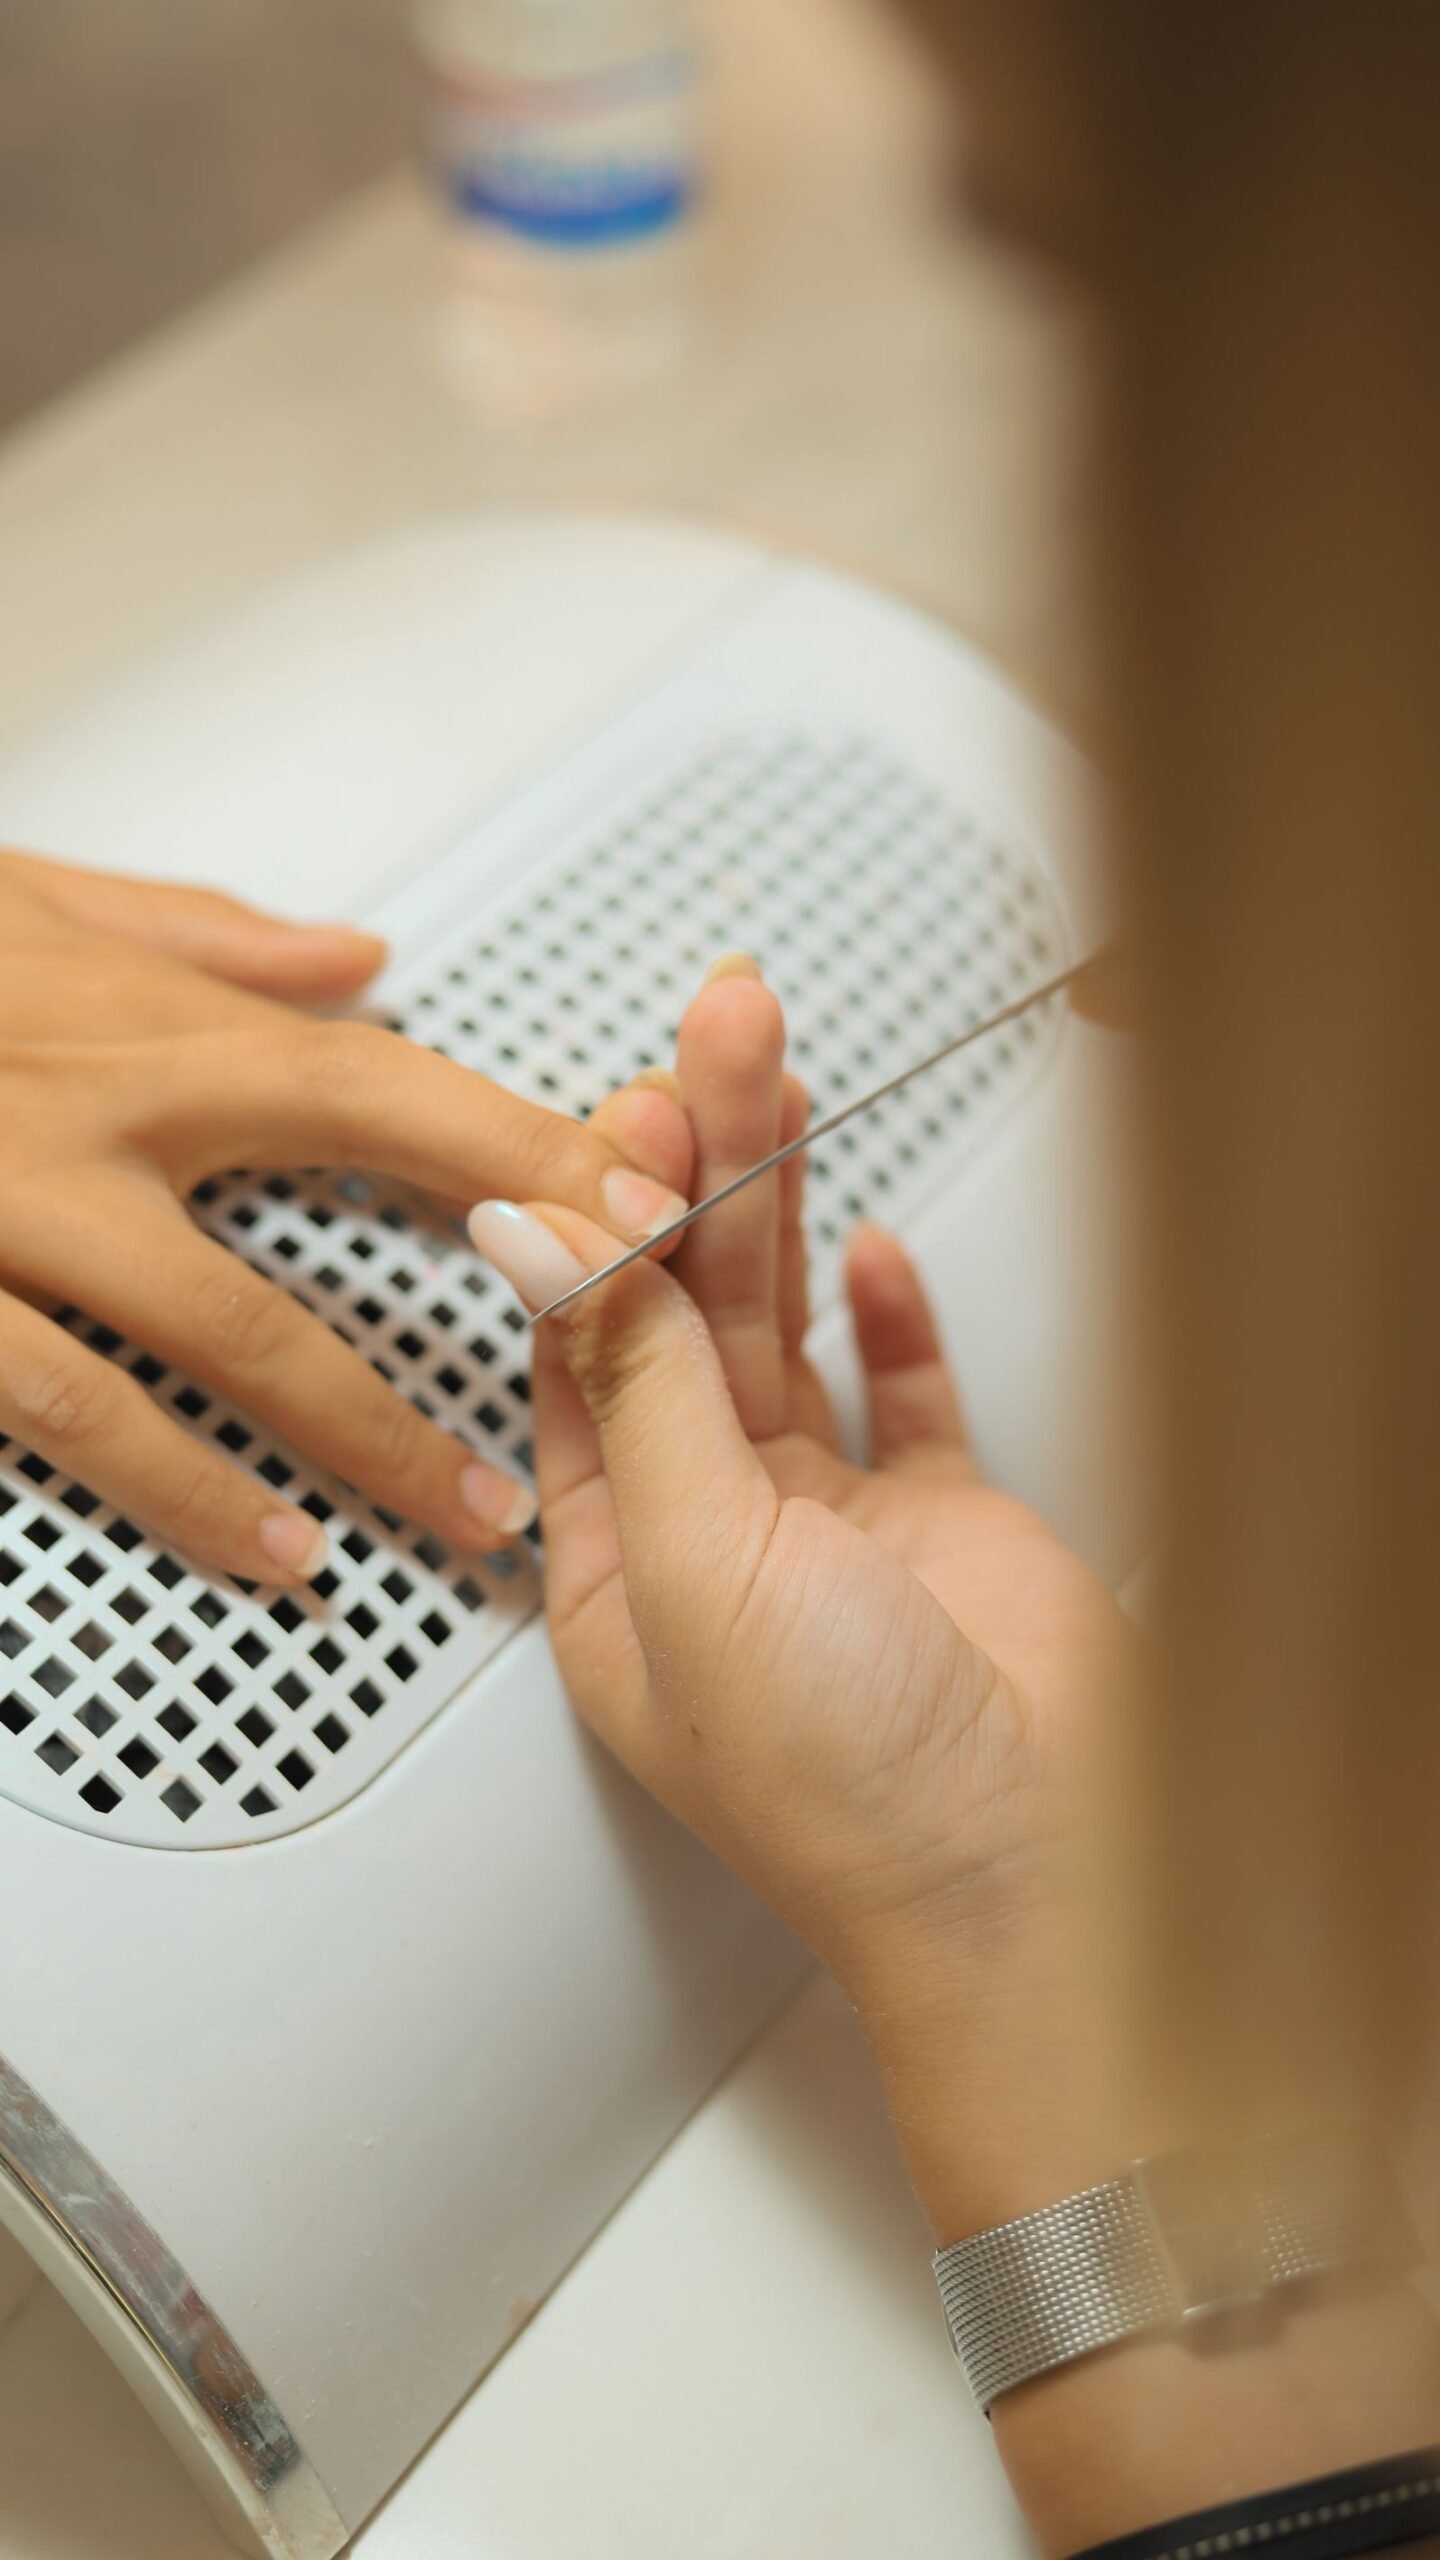
milky white chrome nails almond
Milky white chrome nails in an almond shape are the manicure equivalent of glazed porcelain: soft, luminous, and quietly luxurious. The look layers a sheer milky white base with a fine chrome powder that gives the nail a pearlescent, lit-from-within glow — more elegant than stark white, more interesting than plain nude, and flattering on literally every skin tone. The almond shape elongates the fingers and gives the chrome finish room to catch the light, which is why this combination has become a bridal and everyday favourite alike, season after season. Unlike bolder trends that date quickly, milky chrome has the staying power of a classic with just enough modern edge. In this guide you will find twenty ideas covering the classic application, French-tip and aura variations, matte options, salon terminology, DIY chrome techniques, cost comparisons, and the aftercare that keeps your milky chrome pristine for weeks.
What Are Milky White Chrome Nails?
The manicure starts with a sheer milky white gel base — not opaque white, but a translucent, soft-focus white that lets a hint of the natural nail show through. Over this, a finely milled chrome powder (usually pearl or white chrome) is burnished into the tacky gel layer, creating a reflective, glazed finish that shifts subtly as your hand moves. A no-wipe top coat seals everything in. The result is neither matte nor metallic in the traditional sense; it is a pearlescent glow that reads as expensive and clean. Unlike bold chrome colours, milky white chrome suits every skin tone and dress code, which explains its staying power. The almond shape completes the look, giving the light a long, elegant surface to travel across.
Why the Almond Shape Works Best
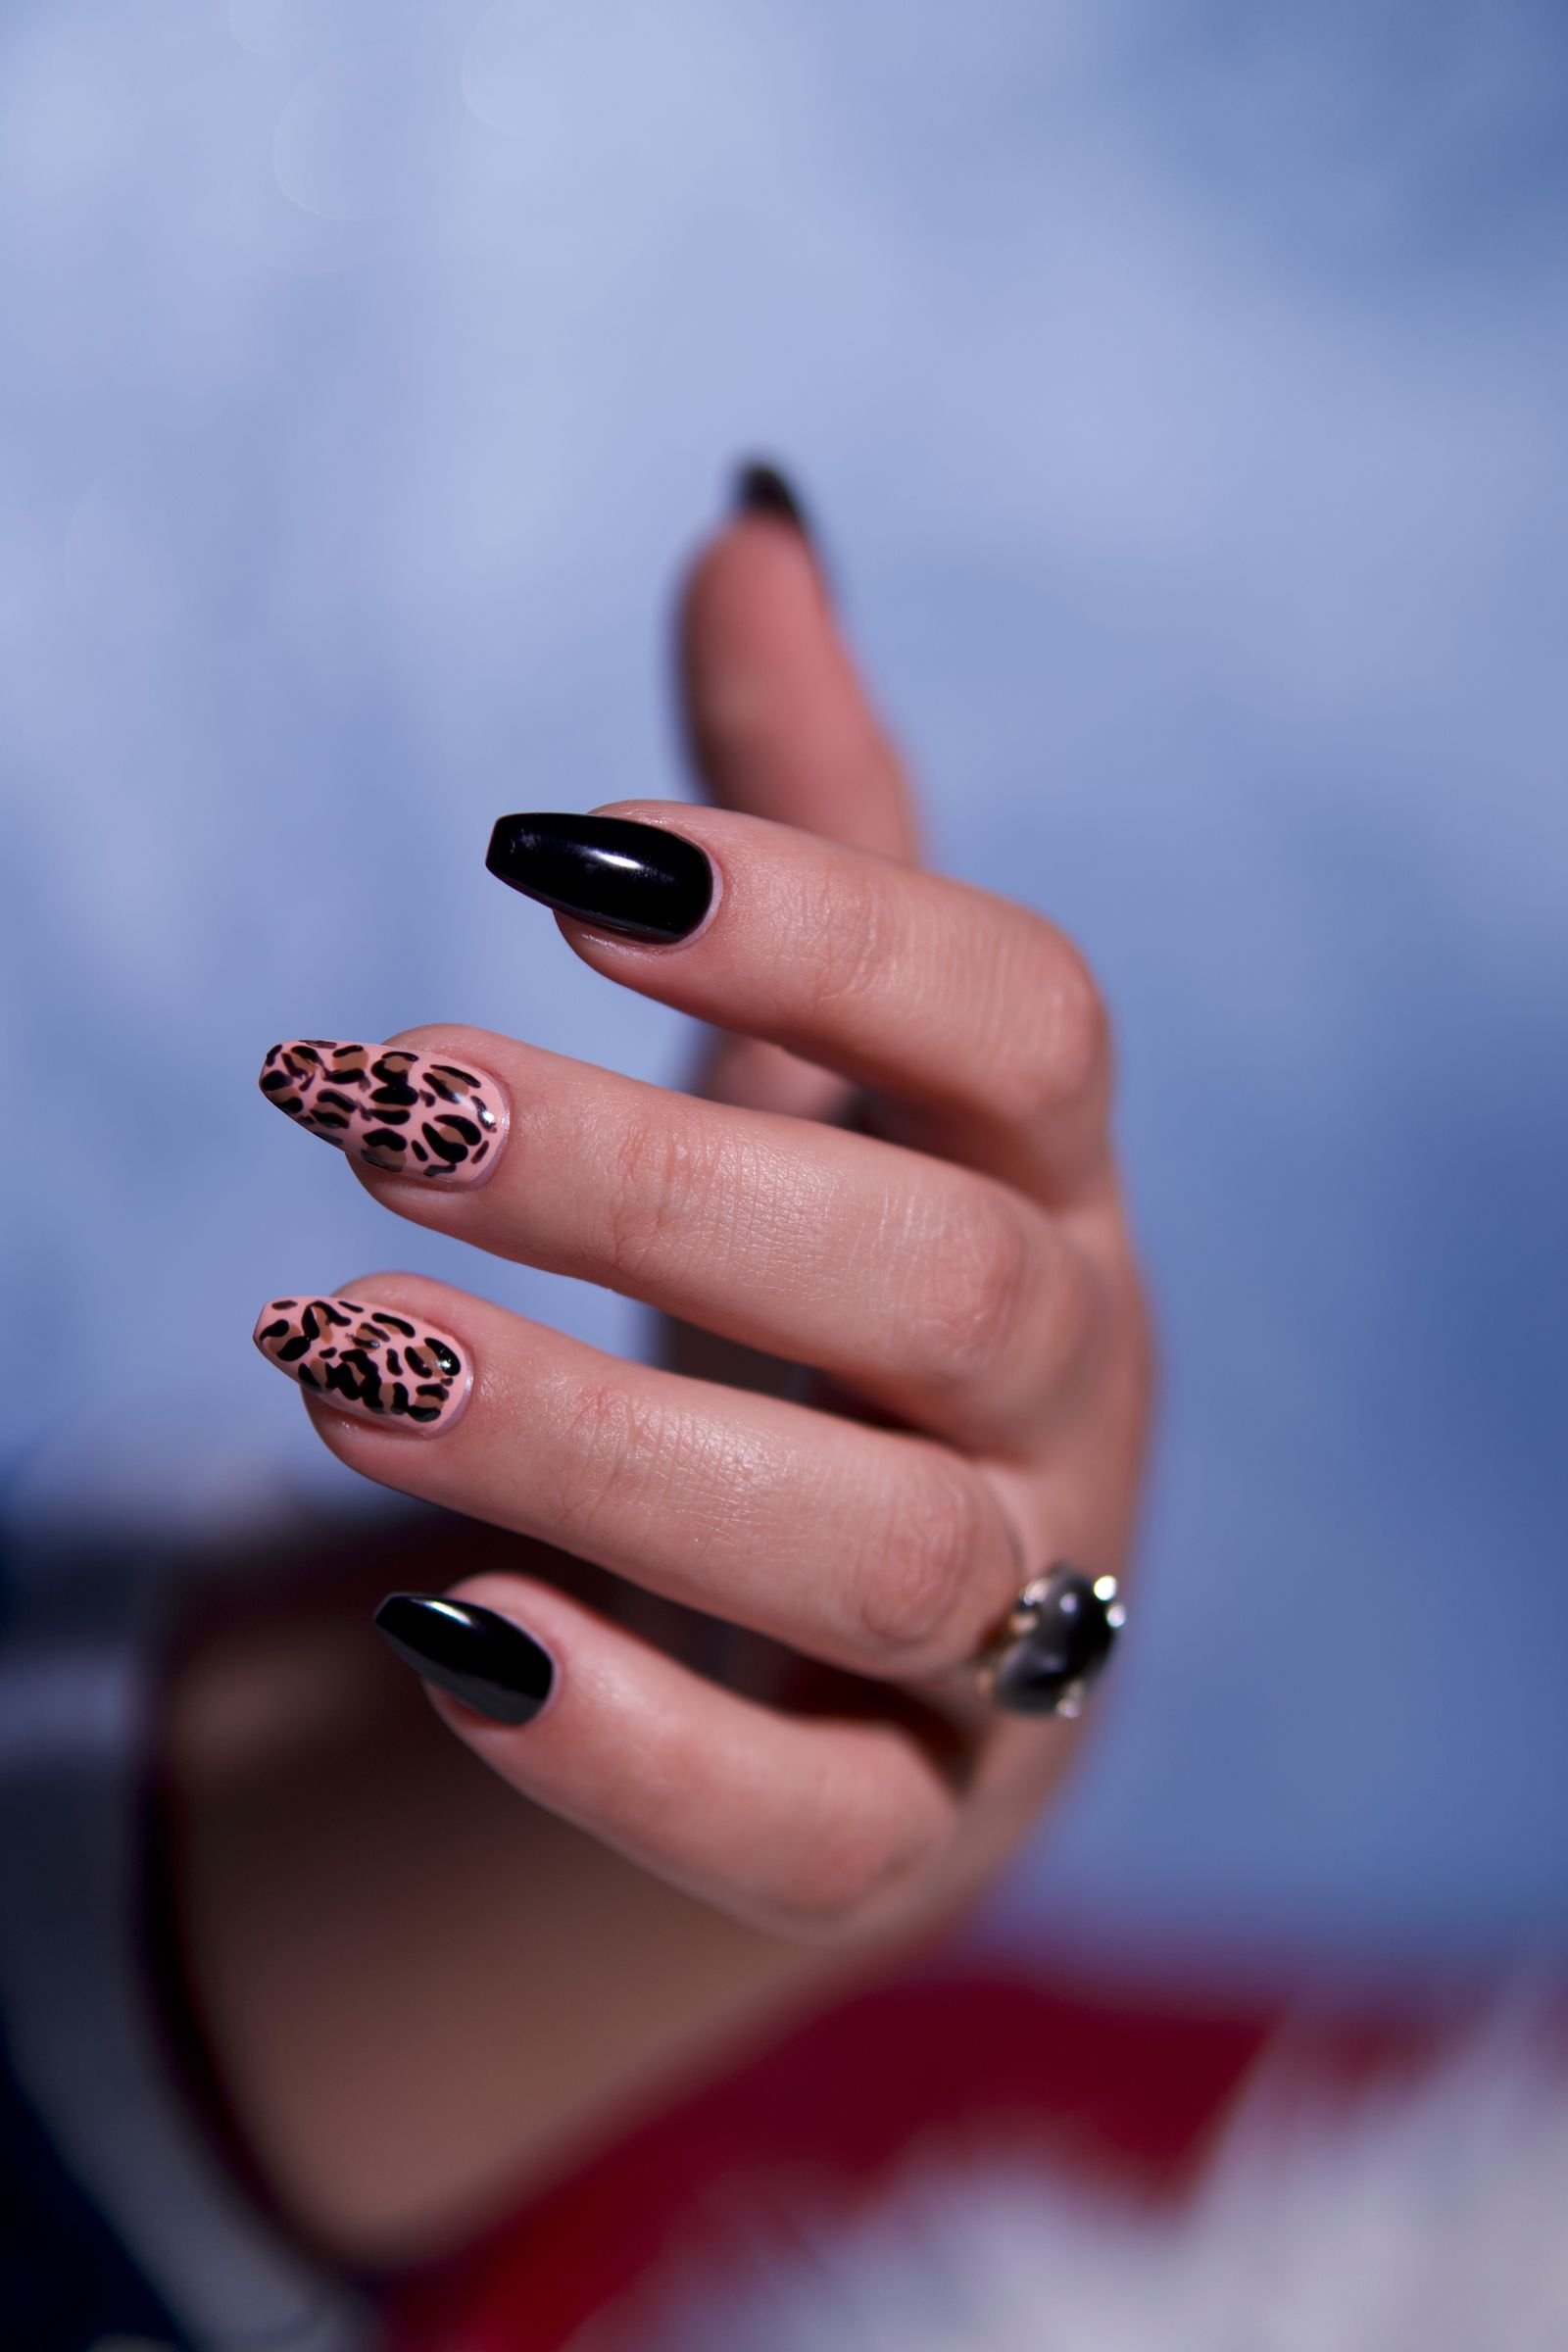
Almond nails — gently tapered with a softly rounded tip — are the ideal canvas for milky chrome. The elongated shape gives the chrome powder a larger reflective surface, so the pearlescent effect appears more dramatic than it would on short square nails. Almond also slims the fingers visually, making hands look graceful in photos, which matters for brides and anyone whose hands are often on camera. The shape is practical too: without sharp corners, almond nails are less prone to catching and chipping than square or coffin shapes. If your natural nails are short, almond can be sculpted with gel extensions; on medium-length natural nails, simply filing the sides into a taper achieves the silhouette. Ask your technician to keep the apex (highest point) centred for strength.
If you are growing out short nails, ask for a soft, rounded almond rather than a sharp point; the gentler taper is stronger and less prone to breaking while length builds.

The Classic Salon Application, Step by Step
Knowing the professional process helps you judge quality — and replicate it at home. The technician preps the nail, applies a sheer milky white gel base (often two thin coats for even coverage), and cures it. While the inhibition layer is still tacky, white or pearl chrome powder is rubbed over the surface with a silicone tool or eyeshadow applicator until the glazed effect appears. Excess powder is dusted away, and a no-wipe gel top coat is applied and cured to seal the chrome. Some technicians sandwich the chrome between two top coats for extra durability. The whole service takes about an hour on natural nails, longer with extensions. Watch for even powder application: patchy chrome usually means the base was over- or under-cured before burnishing.
Milky Chrome French Tips
Combining milky chrome with a French tip creates a modern heirloom manicure. There are two approaches: a sheer milky base with chrome burnished only over the white tip, or a full milky chrome nail with a crisp white tip painted over the top. The first is subtler and very bridal; the second is bolder and more fashion-forward. Micro-French tips — a hairline of white at the very edge — look especially refined with the glazed finish. For a twist, try the chrome on the tip and a matte milky base, which creates beautiful texture contrast. This design suits all nail lengths and is one of the most requested variations at salons. It also grows out gracefully, as the tip placement draws the eye away from the cuticle area.
Aura and Ombré Chrome Effects
Aura nails — a soft wash of colour blooming at the centre of the nail — become ethereal under milky chrome. A pale pink or lavender aura airbrushed over the milky base, then sealed with chrome powder, creates a dreamy, opalescent effect that shifts between white and pastel. The ombré version blends milky white at the cuticle into a brighter white or soft pink at the tip before chroming, giving dimension to the glaze. Both techniques require an airbrush or careful sponge work, so they are best left to experienced technicians. The result is more artistic than classic milky chrome and photographs beautifully. These variations are perfect for spring weddings, baby showers, and anyone who finds plain milky chrome a touch too minimal.
Aura chrome looks most expensive when the central colour is kept whisper-soft; heavy saturation under reflective powder can turn dreamy into garish very quickly.

Bridal Milky Chrome: The Wedding-Day Manicure
Milky white chrome has become a leading bridal nail choice, and it is easy to see why: it is polished without competing with the ring, elegant in photographs, and suits every dress style from minimalist slip to ballgown. For weddings, ask for a slightly more opaque milky base so the nails read cleanly in professional photos, and consider almond or oval shapes in a medium length that looks refined holding a bouquet. Schedule the appointment one to two days before the wedding so the manicure is fresh but any minor imperfections can be fixed. A matching pedicure in the same finish ties the look together. If you want a personal touch, add a single tiny pearl or crystal accent on each ring finger — understated and timeless.
DIY Milky Chrome Nails at Home
A home kit can achieve convincing milky chrome with practice. You will need a milky white gel polish, white or pearl chrome powder, a no-wipe top coat, and a UV/LED lamp. Prep nails thoroughly — push back cuticles, buff lightly, and dehydrate. Apply two thin coats of milky white, curing each fully. The critical step: apply top coat, cure for only about thirty seconds (it should still be slightly tacky), then immediately rub the chrome powder over the surface with firm, even pressure. Dust off excess, then seal with another layer of top coat cured fully. The most common failure is over-curing before burnishing, which prevents the powder from adhering. Work one hand at a time and expect your first attempt to take around ninety minutes.
Chrome Powder Types: Pearl, White and Aurora
Not all chrome powders give the same result over milky white. Pearl chrome is the classic choice: a fine white powder that creates the signature glazed-donut glow. White chrome is slightly more opaque and reflective, giving a brighter, almost metallic finish — choose it if you want more drama. Aurora chrome contains iridescent particles that shift between pink, blue, and lavender over the milky base, creating a unicorn-like effect that is playful and eye-catching. For the timeless milky look, pearl is the safest bet; aurora suits those who want something more distinctive. Buy from reputable nail brands rather than generic craft powders, as cosmetic-grade powders are milled finer and apply more evenly. A small jar lasts dozens of manicures.
When buying powder online, look for reviews with photos on milky bases specifically; some powders appear white in the jar but flash blue or pink once on the nail.
What to Ask for at the Salon
Use precise language to get exactly what you want. Ask for “milky white gel base with pearl chrome powder, almond shape” — showing a reference photo is even better, as “milky” means different opacities to different technicians. Specify how sheer you want the base: “sheer, my nail showing through” versus “more opaque, full coverage.” If you want variations, name them: “chrome French tip,” “aura with chrome,” or “matte milky base with chrome tip.” Ask whether the chrome is sealed between two top coats, which improves wear. Confirm the removal process and cost upfront — chrome sealed under gel needs proper soaking, not peeling. A good technician will show you the powder options before starting, so you can choose between pearl, white, and aurora finishes.

Matte Milky Chrome Variations
A matte top coat over milky chrome produces a fascinating soft-focus effect: the pearlescence remains visible as a gentle sheen, but the high gloss is replaced by a velvety, porcelain-like finish. This variation feels more modern and understated, and it is less prone to showing fingerprints and smudges than glossy chrome. Try matte on all nails for a cohesive look, or mix matte and glossy accent nails for subtle contrast. Note that matte top coats can dull slightly with daily wear; refreshing them with an alcohol wipe restores the finish. Matte milky chrome pairs beautifully with minimalist jewellery and neutral wardrobes, giving an effortlessly polished impression that works brilliantly in professional environments.

Adding Delicate Nail Art Over Chrome
Milky chrome is a beautiful base for minimal nail art. Fine white linework — tiny stars, dots, or abstract swirls — adds interest without overwhelming the glaze. Small pearls, micro-crystals, or gold foil flakes placed sparingly create a luxurious accent, particularly on ring fingers. Pressed-flower decals under a layer of top coat look romantic over the pearlescent base. The rule is restraint: the chrome itself is the feature, so art should whisper rather than shout. Keep designs to one or two accent nails per hand for the most elegant result. Always seal art under top coat, and be aware that raised embellishments can catch on fabric — flat designs wear best for everyday life.
Keep embellishments flat wherever possible — tiny pearls half-embedded in top coat survive daily life far better than raised crystals that catch on everything.
Milky Chrome on Short Nails
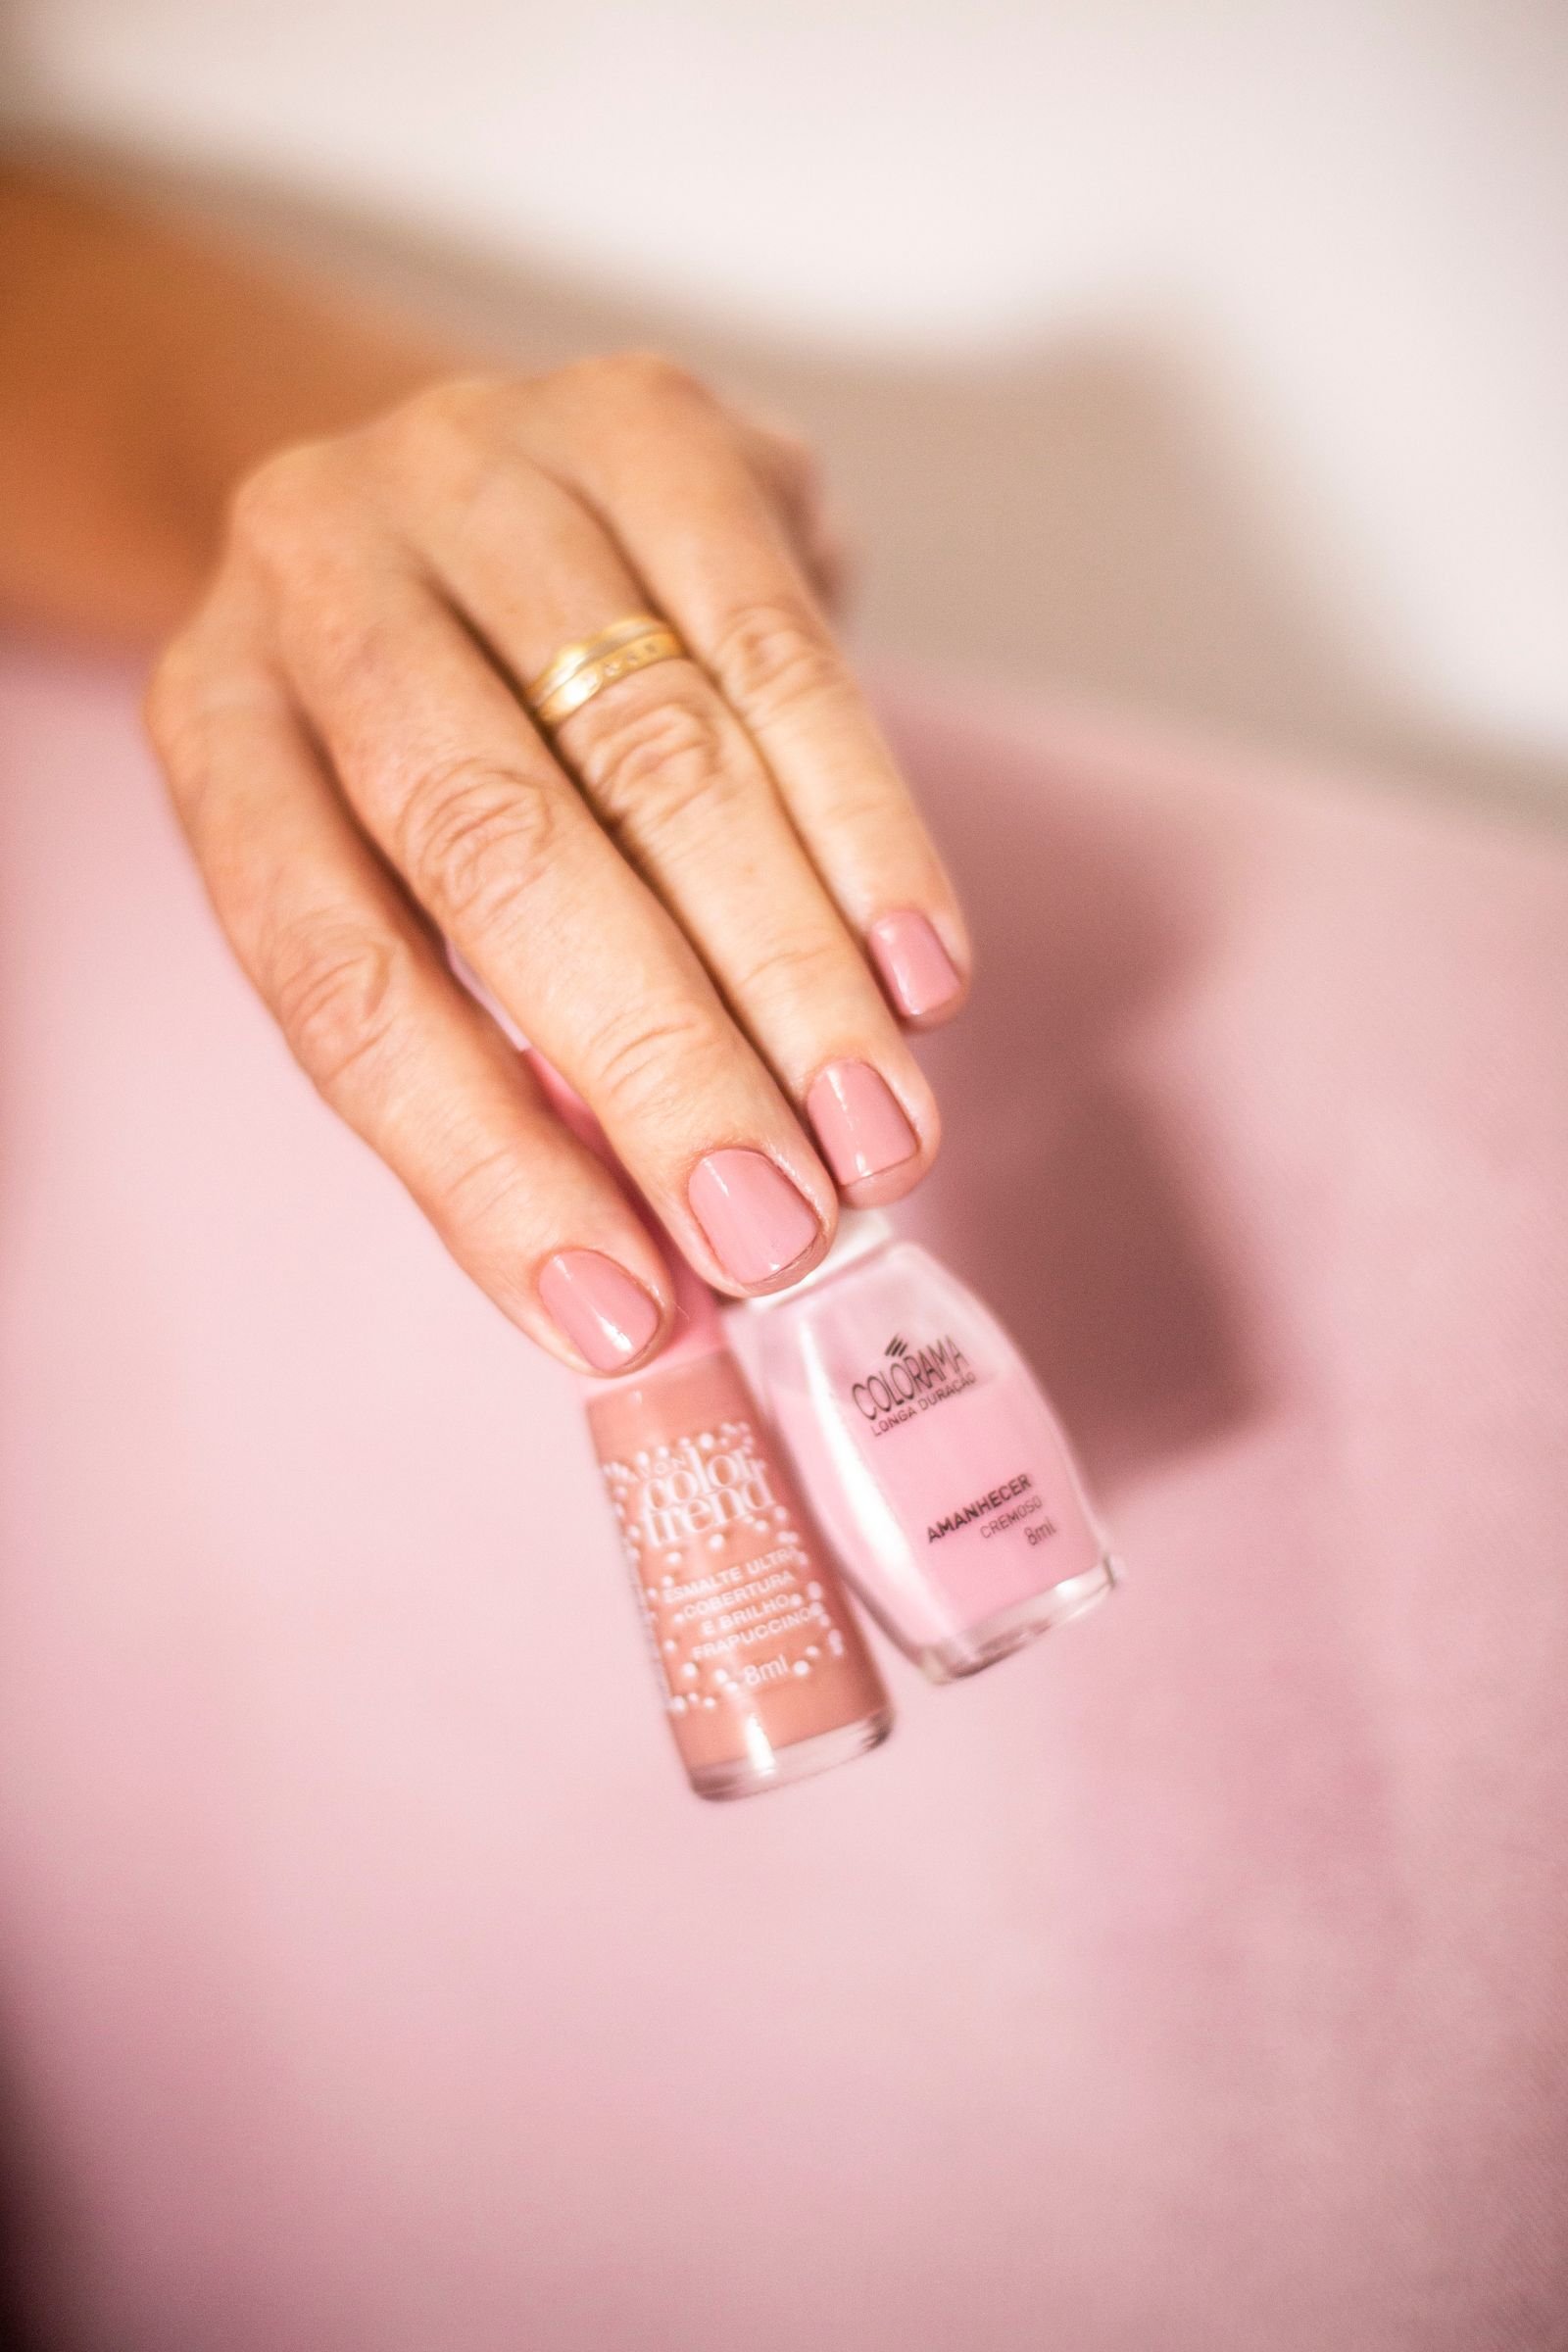
Short nails wear milky chrome beautifully — the glaze makes even a short nail bed look polished and intentional. On shorter lengths, choose a slightly more opaque milky base so the free edge does not show through unevenly, and keep the almond shape soft and rounded rather than sharply tapered, which can look stubby when short. The reflective finish actually makes short nails appear longer by drawing light along the nail. This is the most practical version of the trend: typing, childcare, and hands-on work are all easier, and maintenance is minimal. Short milky chrome is also an excellent choice for job interviews and conservative workplaces, where it reads as immaculate grooming rather than a fashion statement.
Seasonal Styling: From Winter to Summer
Milky white chrome adapts to every season with small tweaks. In winter, it echoes snow and frost — pair it with cosy knits and silver jewellery for a cohesive cold-weather look. Spring calls for the aura variation in pale pink or lilac, mirroring blossom season. Summer is the time for a brighter white chrome and slightly longer almond shapes that catch the sunlight; it looks stunning against tanned skin and pairs perfectly with holiday whites and linens. Autumn suits a warmer take: layer the chrome over a sheer beige-milk base for a latte-like warmth. The core manicure stays the same year-round, so seasonal updates can be as simple as changing your ring stack or wardrobe palette around it.
How Long Does It Last?
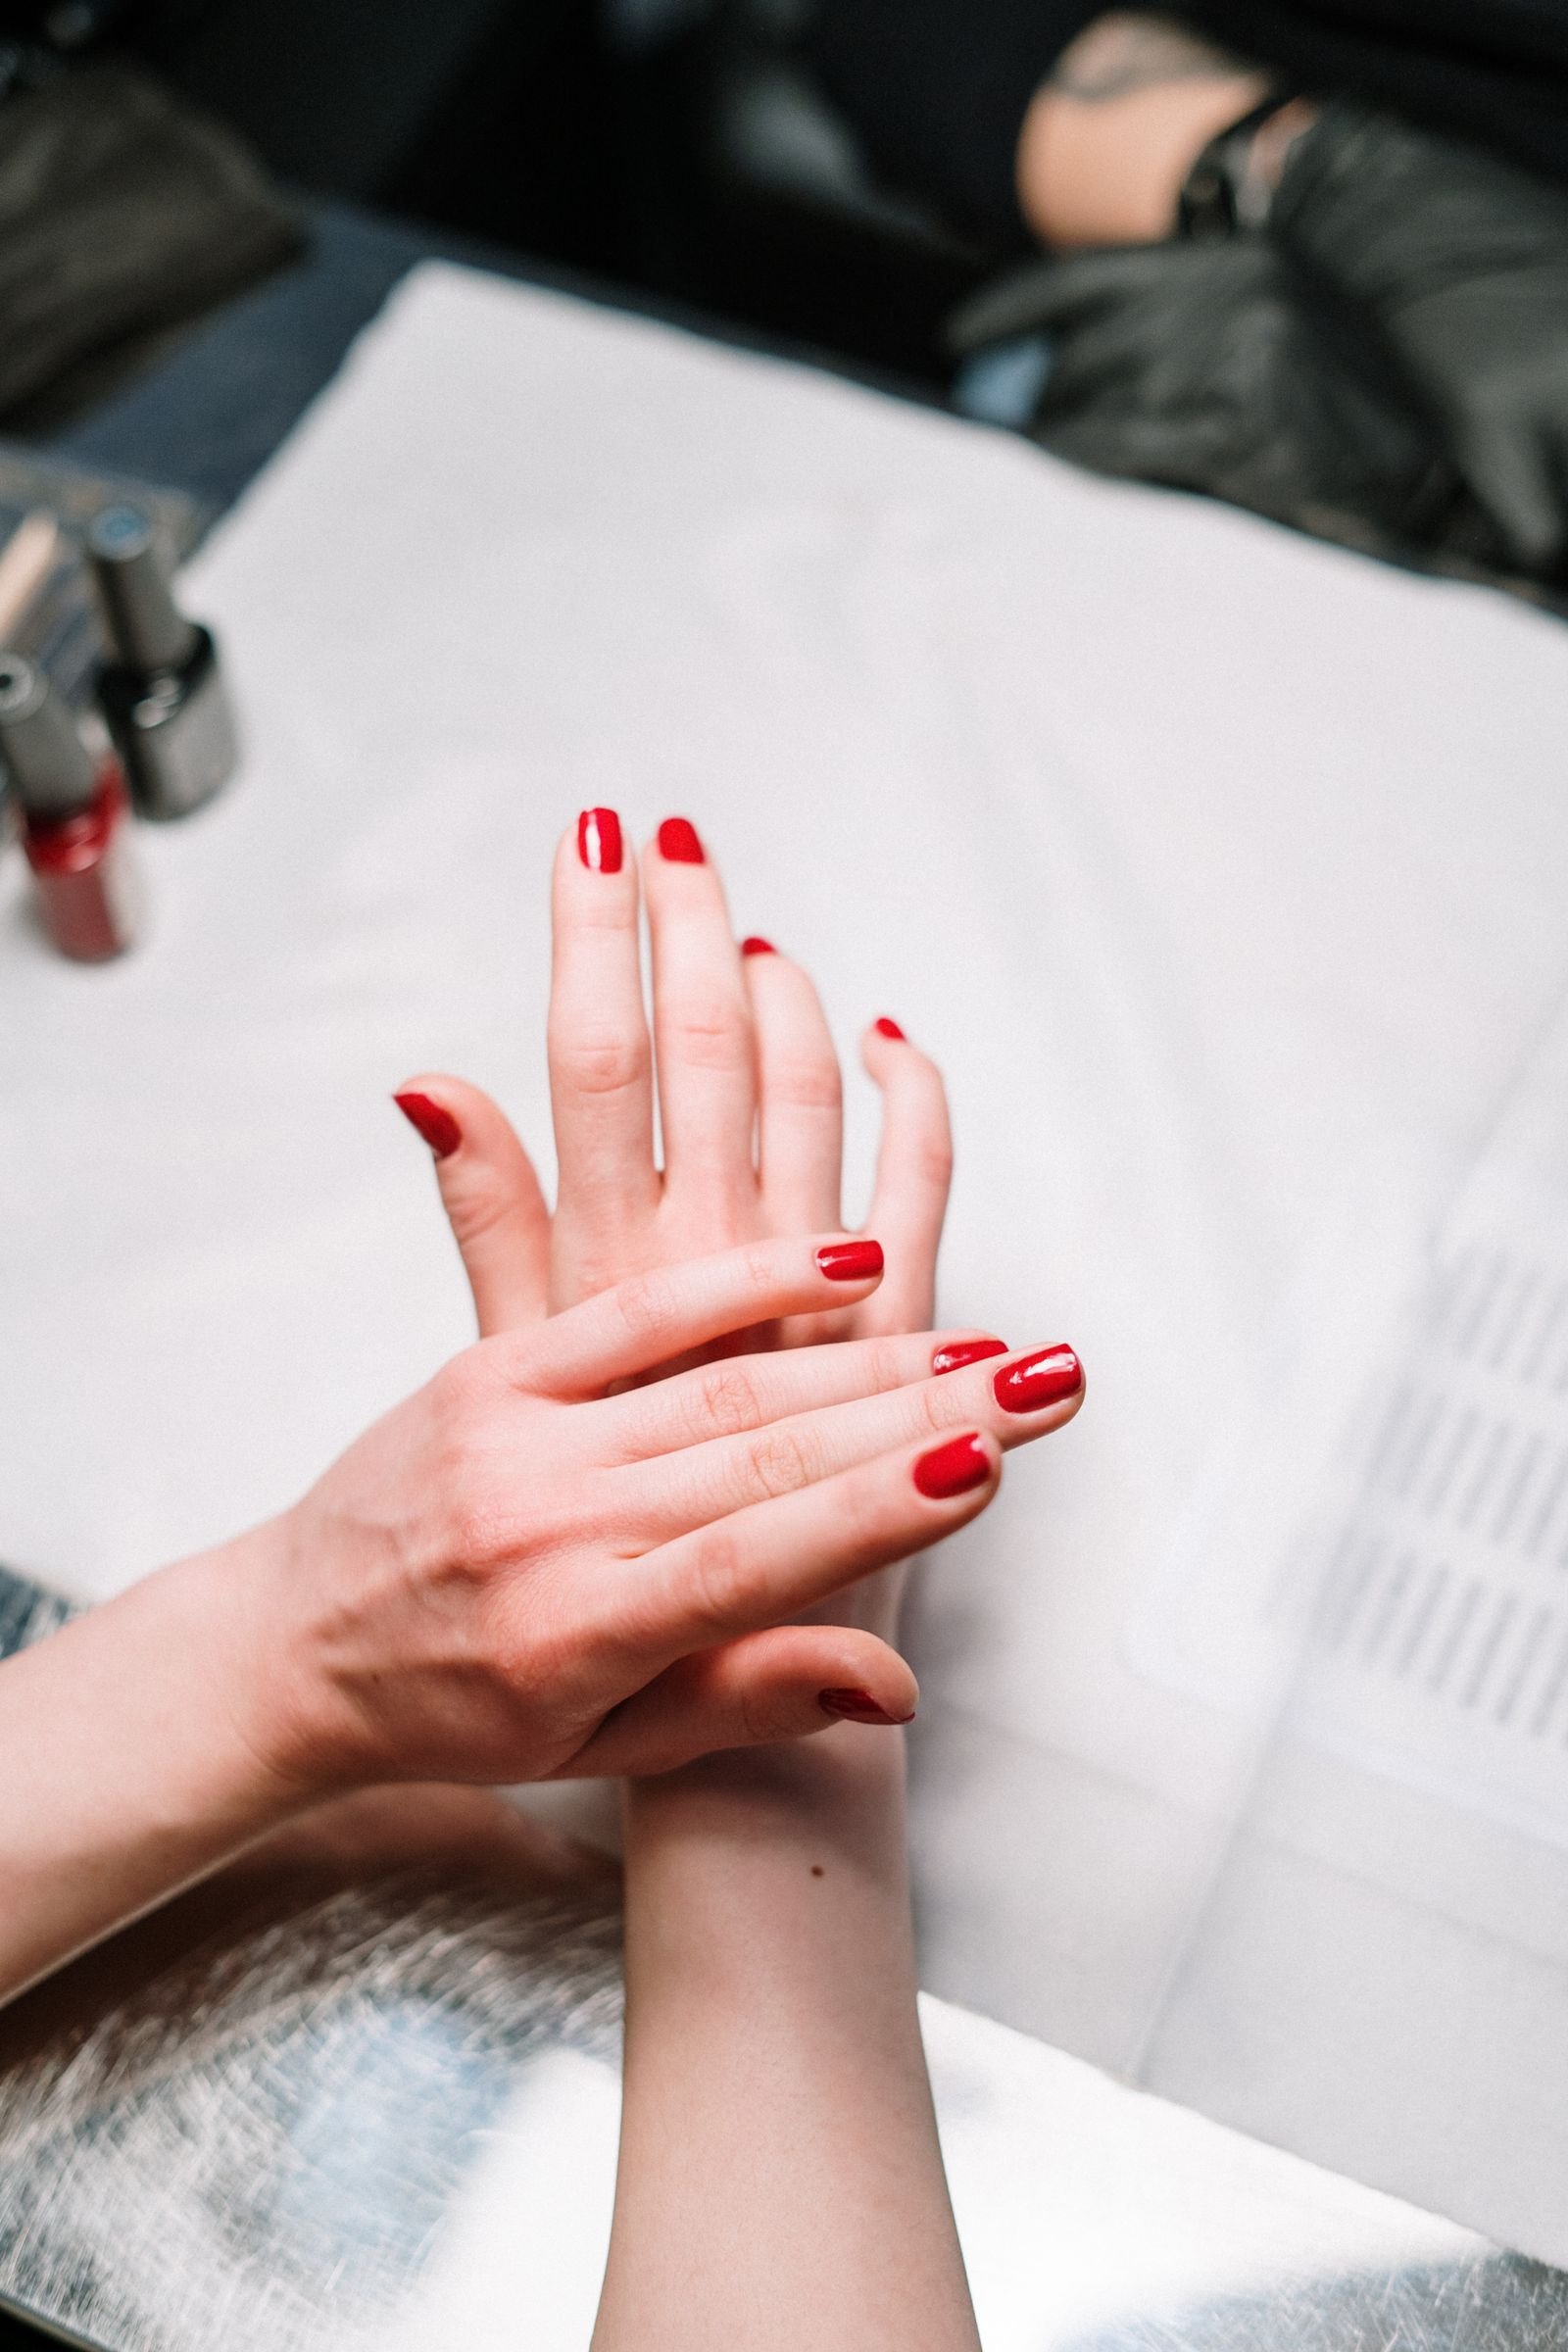
A professionally applied milky chrome gel manicure typically lasts two to three weeks, with the chrome effect itself remaining intact for the full wear — it is sealed under top coat, so it cannot rub off. What limits longevity is the usual gel wear: growth at the cuticle, minor edge wear, and occasional chips on active hands. Almond shapes in medium length tend to wear best, as very long nails experience more leverage stress. To maximise wear, wear gloves for cleaning, avoid prolonged hot water soaking, and apply cuticle oil daily to prevent lifting. If you notice the chrome looking dull after a week, a wipe with alcohol followed by a thin layer of clear top coat (cured if gel, air-dried if regular) revives the shine instantly.
Carry a small bottle of cuticle oil in your handbag; a quick application before photographs or events keeps the whole manicure looking freshly done.
Aftercare for a Flawless Finish
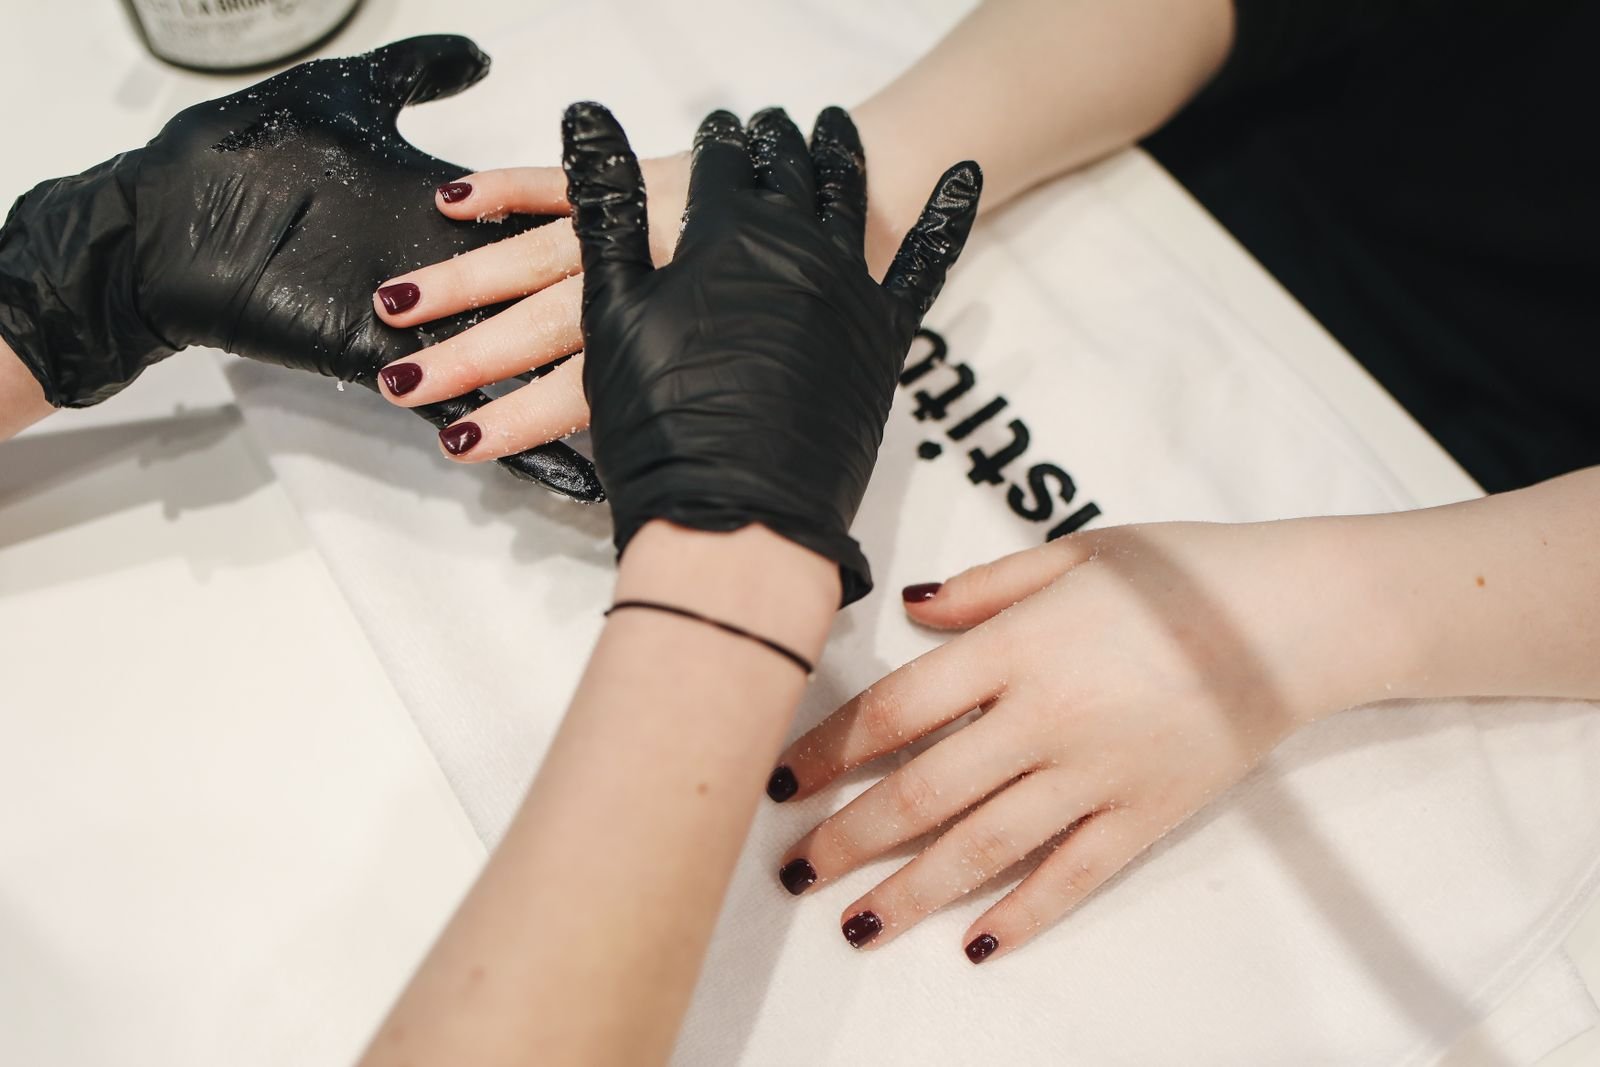
Daily habits determine how fresh your milky chrome looks in week three. Moisturise cuticles with oil every evening — dry cuticles make even a perfect manicure look tired. Wear rubber gloves for dishes and cleaning; detergents dull the top coat and can cause lifting at the edges. Be cautious with tinted products like turmeric, hair dye, and self-tan, which can stain the porous top coat layer slightly — if staining occurs, a gentle buff with a fine file followed by top coat usually fixes it. Avoid using nails as tools for opening tins or scraping stickers. Keep a small file handy to smooth any snags immediately before they become chips. With these habits, the pearlescent glow stays mirror-fresh until your next appointment.
Removal Without Damage
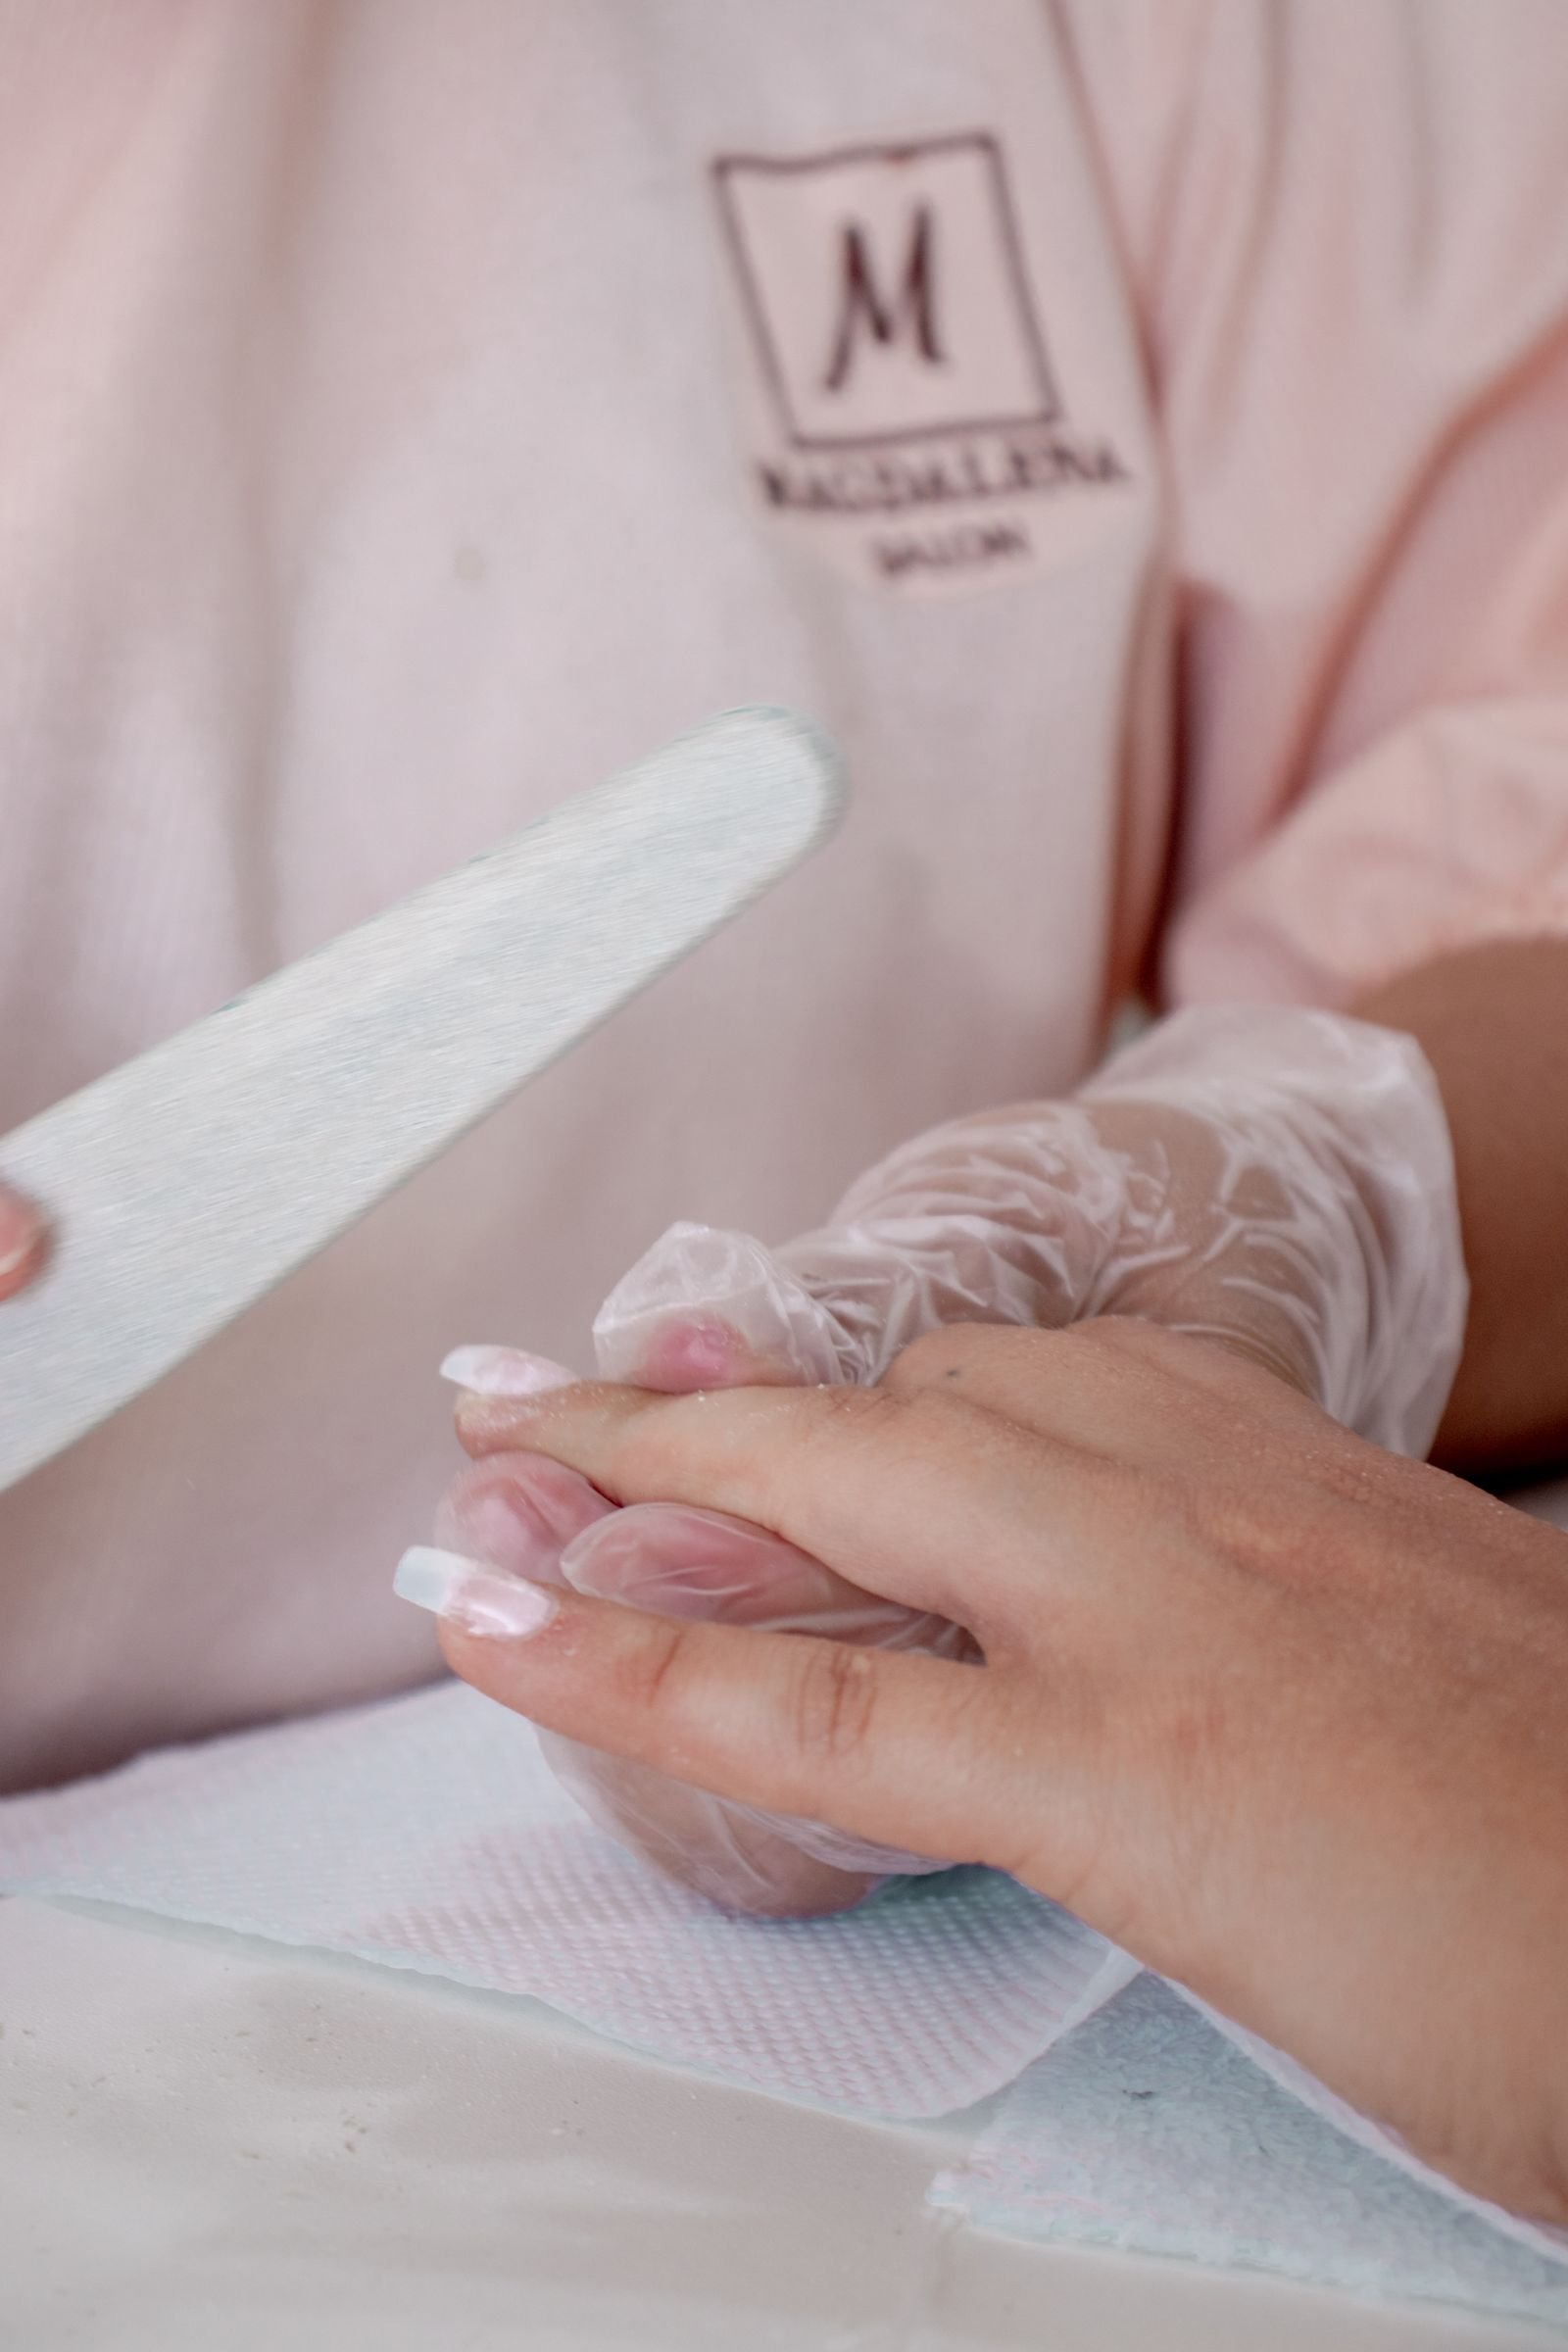
Chrome sealed under gel must be soaked off, never peeled. The technician files through the top coat to break the seal, then wraps each nail in acetone-soaked cotton and foil for ten to fifteen minutes. The softened gel is then gently pushed away with an orangewood stick. Because chrome powder sits between gel layers, removal takes slightly longer than a standard gel manicure — do not rush it. Peeling chrome gel off pulls up layers of the natural nail, causing the thinning and peeling people wrongly blame on gel itself. After removal, apply cuticle oil and consider a strengthening base coat if you are immediately reapplying. Healthy nails can wear milky chrome continuously with correct removal between sets.
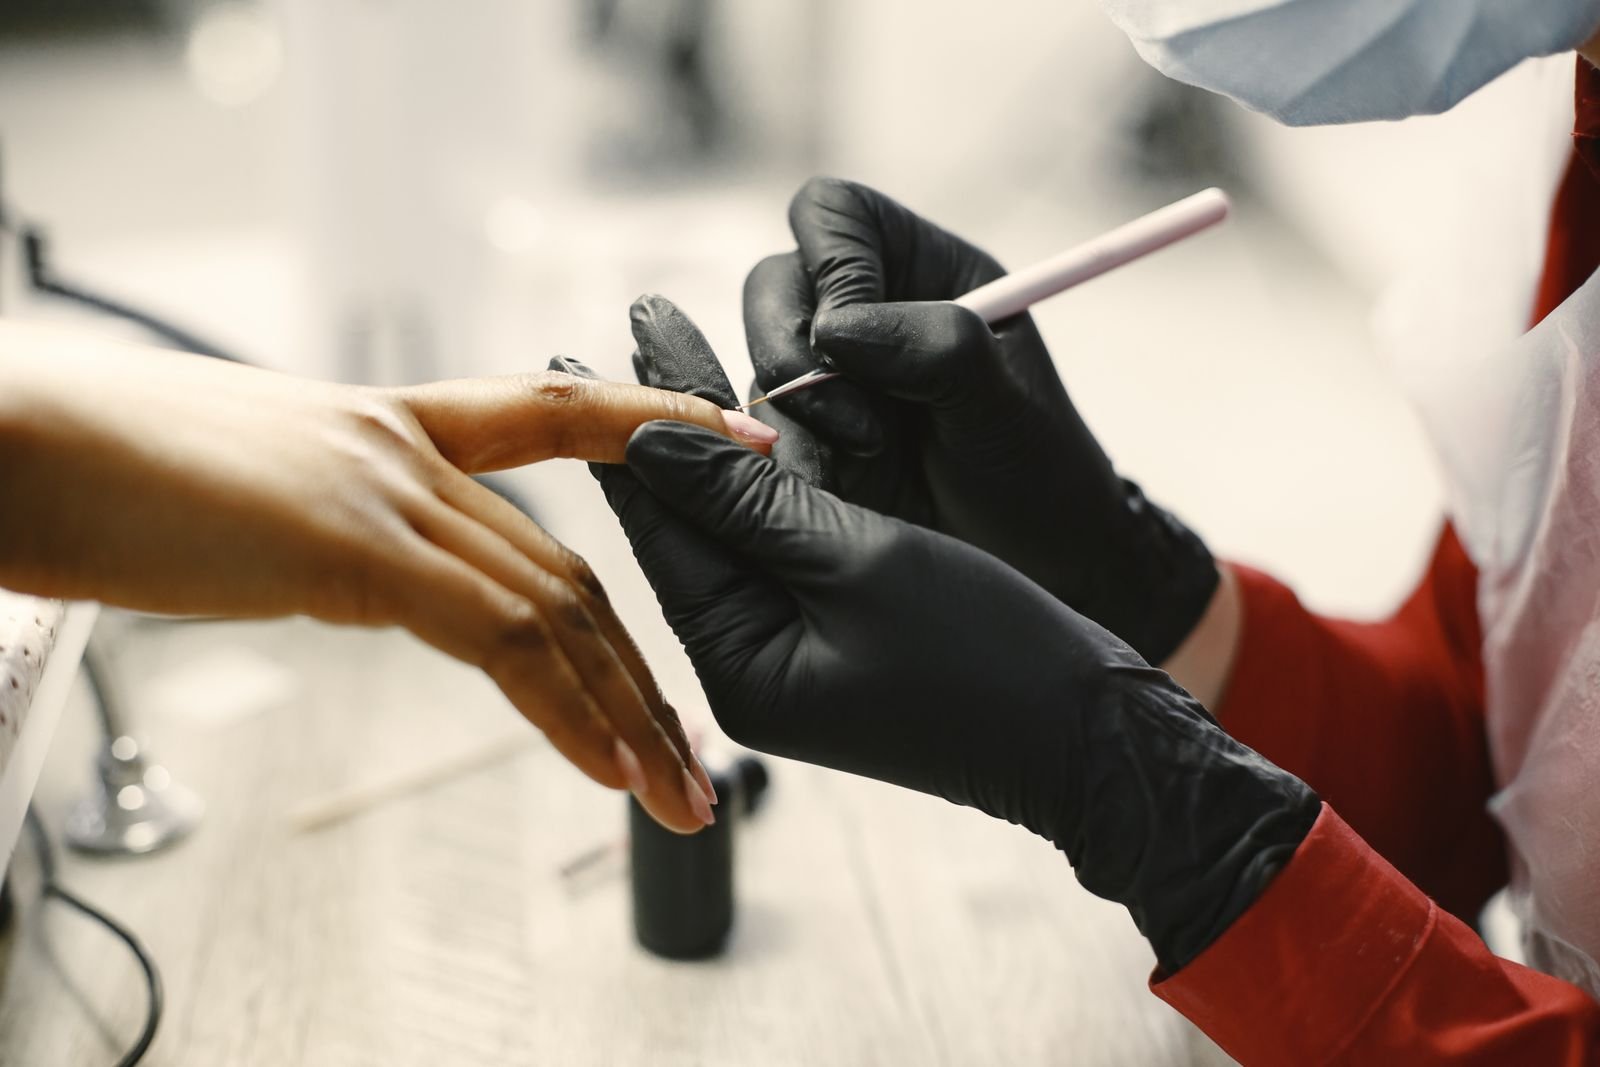
Cost Guide: Salon vs DIY
At a salon, milky chrome on natural nails typically costs the same as a standard gel manicure plus a chrome add-on fee — expect roughly £35 to £60 depending on your area, with extensions adding £20 to £40 more. Intricate variations like aura chrome or hand-painted art increase the price. The DIY route requires an initial investment: a UV/LED lamp (£20–£40), milky gel polish (£8–£12), chrome powder (£5–£10), and top and base coats. After that setup, each home manicure costs only pennies in product. The trade-off is time and the learning curve — your first attempts will take over an hour and may be imperfect. Many enthusiasts get the shape professionally done, then maintain the chrome at home between salon visits.
If your chrome looks streaky, the usual culprit is uneven pressure during burnishing; switch to small circular motions with consistent, firm pressure instead.
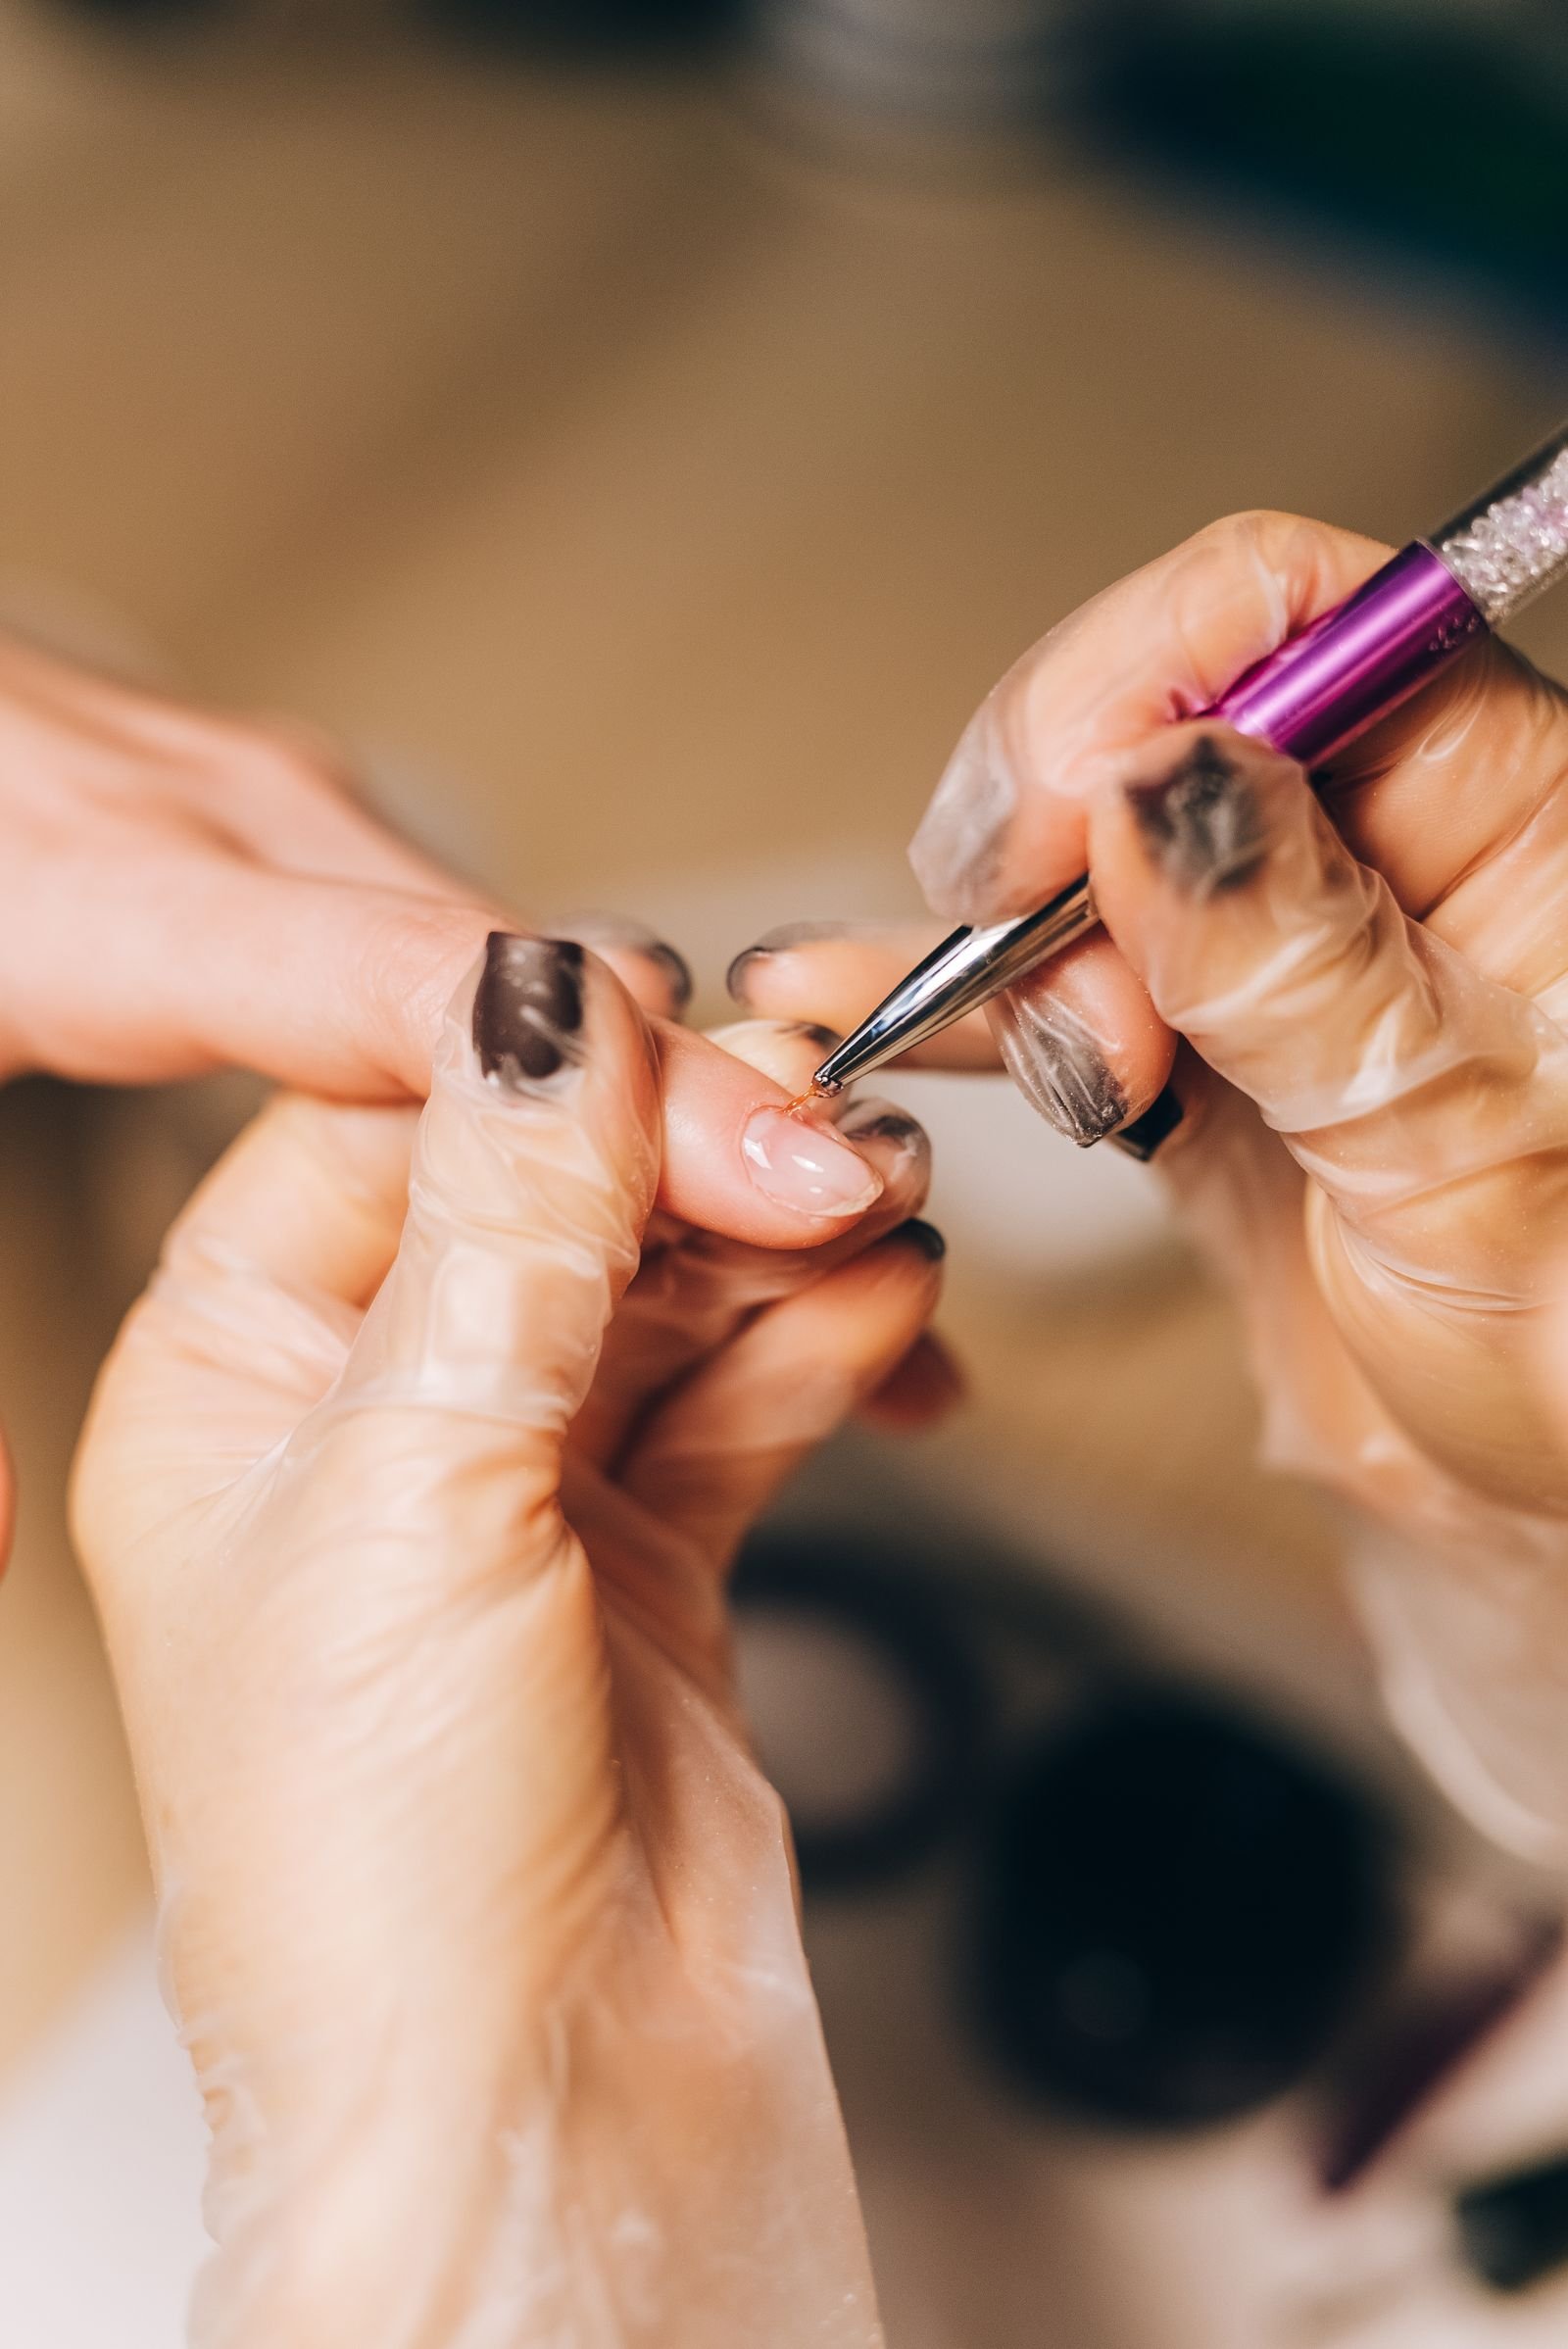
Common Mistakes to Avoid
The number one mistake is over-curing the layer before burnishing the chrome — if the surface is fully dry, the powder has nothing to grip and the effect looks patchy. Under-curing is equally bad, causing the powder to clump. Follow your lamp’s timing precisely. Applying the milky base too thickly leads to uneven curing and a lumpy finish; two thin coats always beat one thick one. Using craft-grade chrome powder instead of cosmetic nail powder gives a gritty, uneven glaze. Skipping the final sealing top coat means the chrome rubs off within days. Finally, choosing a fully opaque white base instead of a sheer milky one loses the translucent depth that defines the trend — if your nails look like correction fluid, the base is too opaque.
Pairing with Jewellery and Outfits
Milky chrome nails are the ultimate neutral accessory — they go with everything, but a few pairings elevate them further. Silver and white gold jewellery echo the cool pearlescence perfectly; rose gold adds warmth that complements the milky softness. Minimalist rings look especially good, as the glazed nails provide enough visual interest. Wardrobe-wise, the manicure shines against crisp whites, soft greys, and pastels, and provides elegant contrast against black. For brides, it harmonises with ivory and champagne fabrics. Avoid pairing with very warm, orangey tones if your chrome leans cool-white, as the contrast can make the nails look stark. Overall, think of milky chrome as the handbag of manicures: quiet, versatile, and always appropriate.
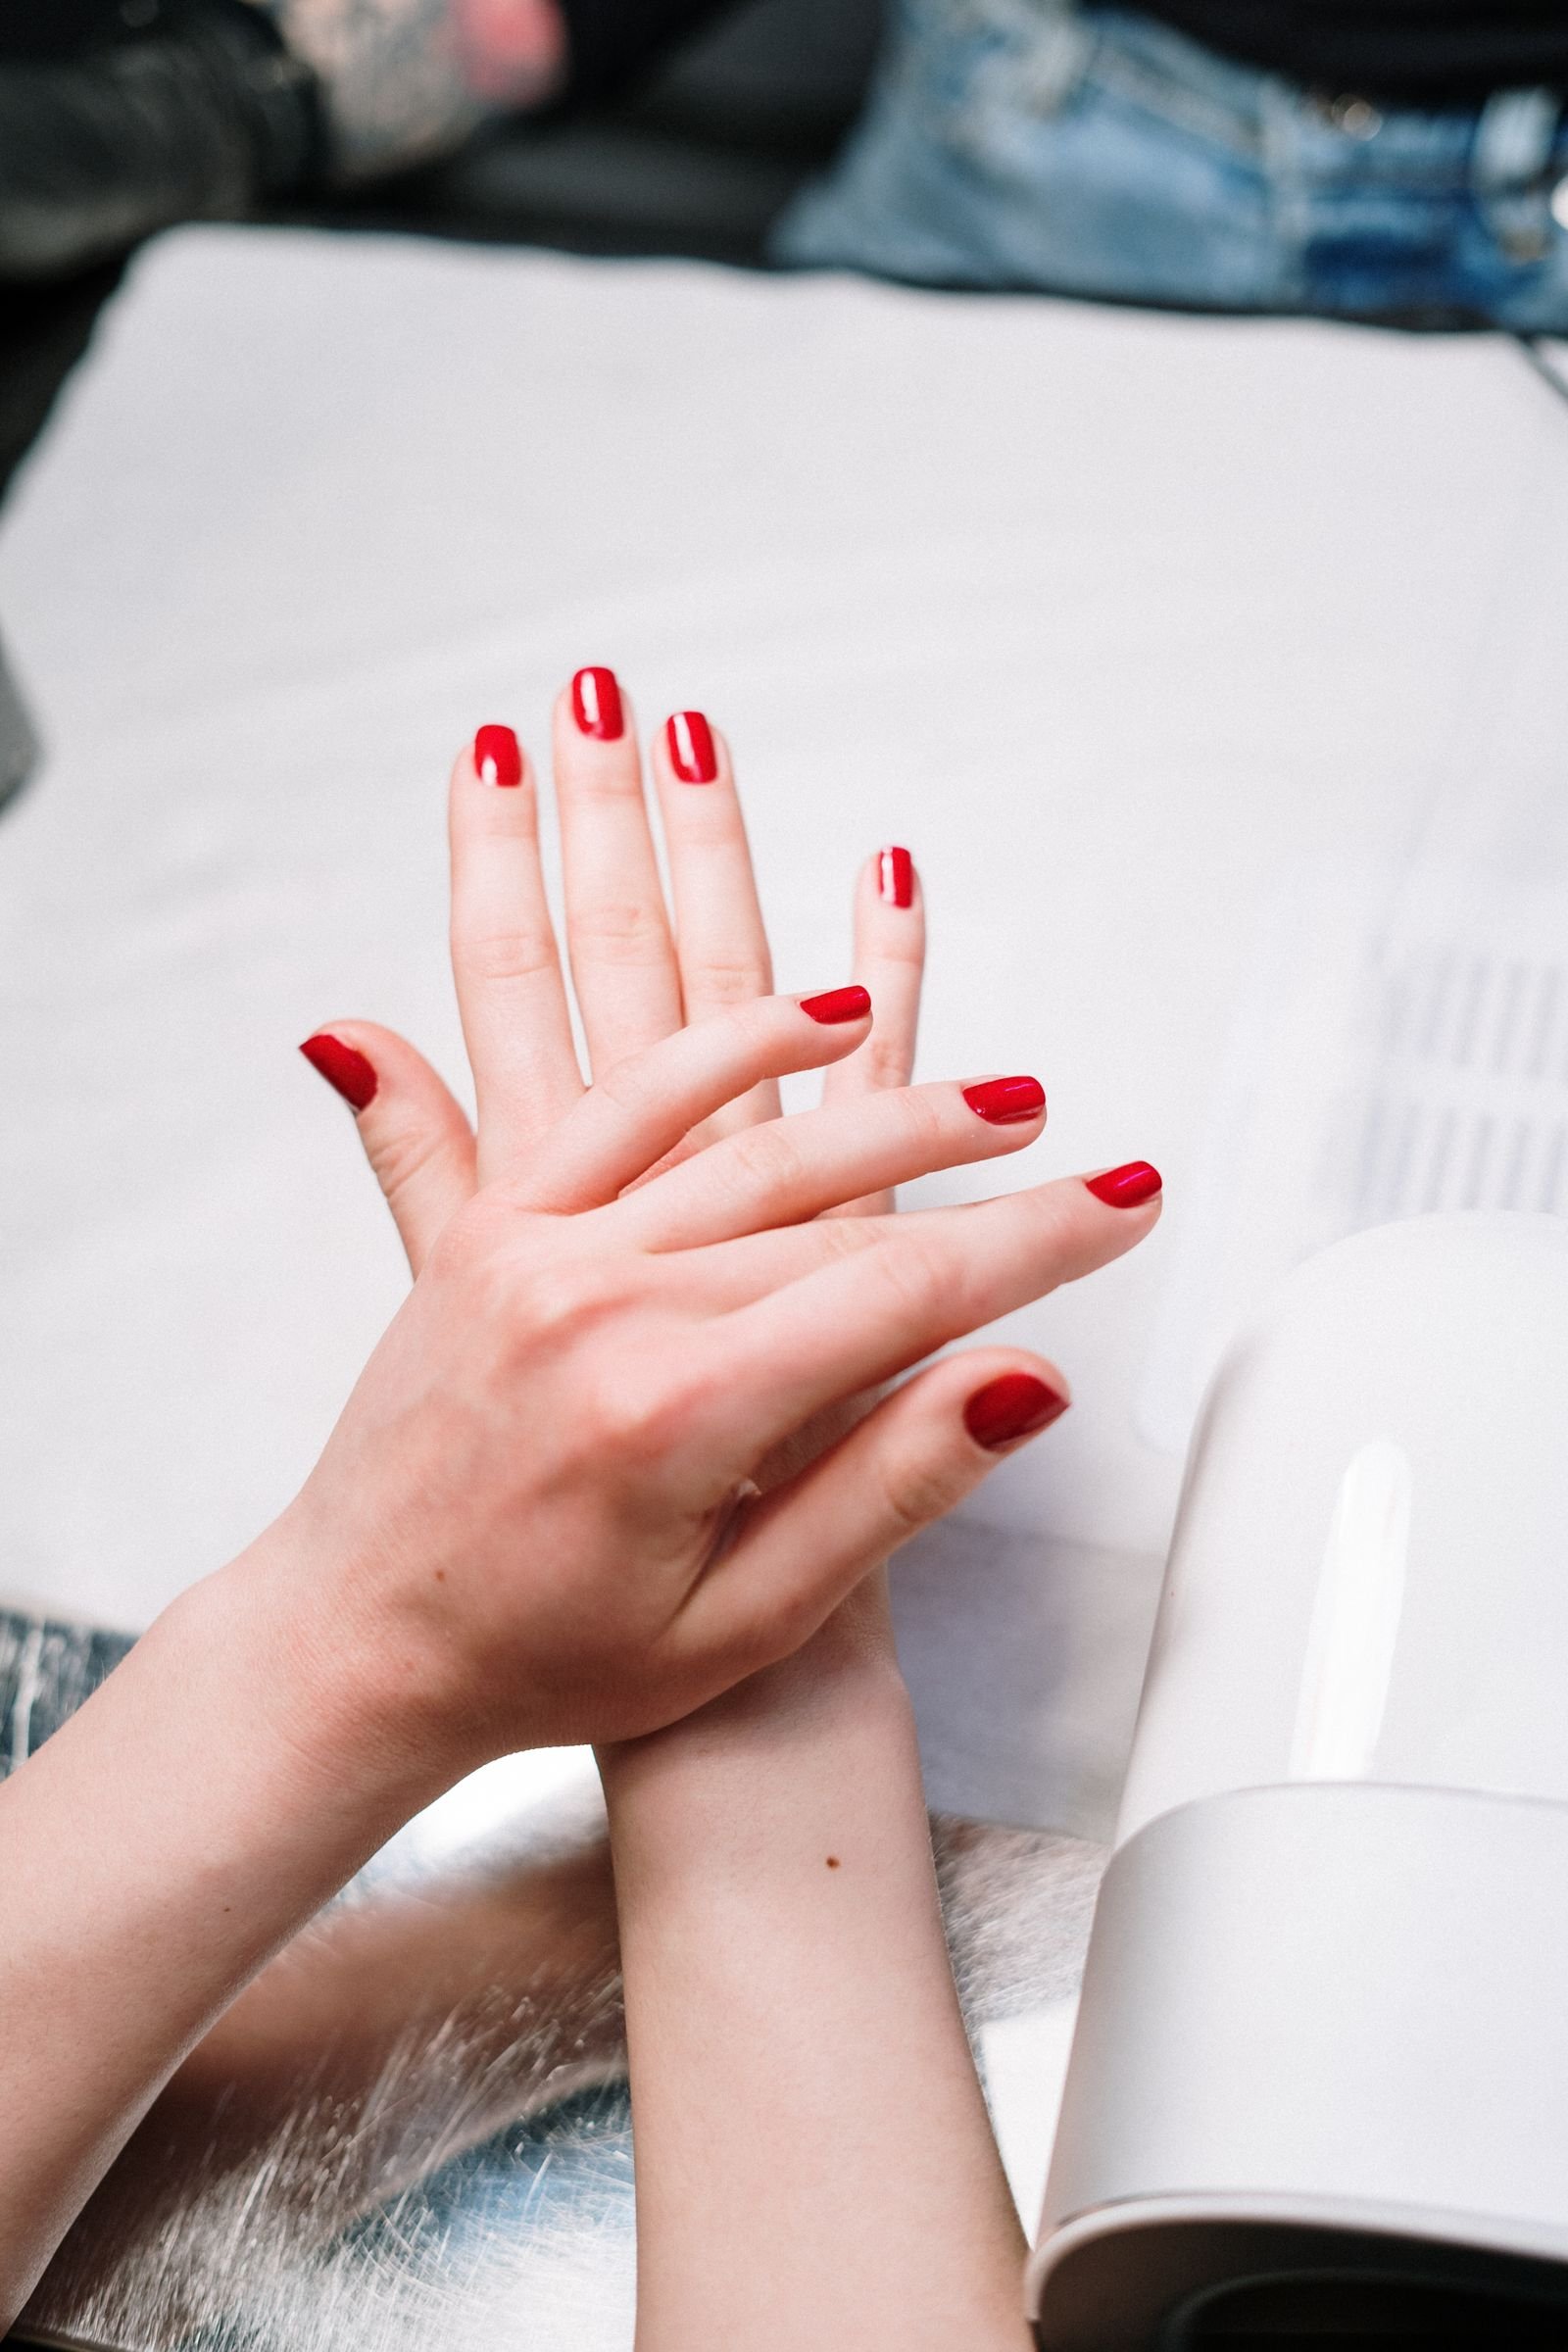
Skin Tone Guide
One of milky chrome’s strengths is its universality, but small adjustments perfect it for each complexion. Fair skin looks luminous with the classic sheer milky base — avoid overly opaque white, which can look harsh against pale hands. Medium and olive skin tones glow with a slightly warmer milky base, leaning toward a creamy rather than blue-white. Deep skin tones carry milky chrome spectacularly; the contrast is striking, and a brighter white chrome powder maximises the glow. If your undertone is warm, ask for a pearl chrome with a hint of warmth rather than an icy white. Cool undertones suit the classic blue-white pearl. When in doubt, your technician can test the powder on one nail before committing to the full set.
When choosing between pearl and aurora finishes, consider your jewellery: classic pearl suits gold and silver minimalism, while aurora loves playful, colourful ring stacks.

Milky white chrome nails in an almond shape have earned their classic status by being everything a great manicure should be: flattering, versatile, and quietly eye-catching. Whether you book the salon for a bridal set, try the aura variation for spring, experiment with matte textures, or master the burnishing technique at home, the pearlescent glow rewards the effort many times over. Keep the base sheer, cure carefully before burnishing, seal the chrome properly, and maintain with daily cuticle oil — and your glazed, porcelain-perfect nails will carry you elegantly through every season and every occasion.

I am Talha Sikandar, a professional writer with a passion for general blogging. With years of experience in content writing and research, I founded Meaniingly.com to deliver well-researched, informative, and user-friendly articles on diverse topics.