
Gingerbread nails ideas
Gingerbread nails are warm, cosy and full of Christmas charm, inspired by gingerbread houses, spiced biscuits and snowy icing. The palette of rich browns, creams and soft whites feels like winter baking, while tiny gingerbread people, houses and snowflakes add playful detail. It is a festive manicure that feels both nostalgic and stylish.
This guide shares twenty gingerbread nails ideas, from simple brown and cream manicures to detailed gingerbread houses, icing swirls and cosy sweater patterns. Each idea includes easy tips for a neat, sweet result at home or in the salon. Choose one favourite, or mix a few designs for a full gingerbread village on your nails.
Classic Gingerbread Brown Manicure

A classic gingerbread brown manicure is the simplest way to wear the theme, with a rich, warm brown that recalls freshly baked biscuits. Choose a medium to deep brown with a warm undertone, apply two thin coats over a base coat, and finish with a glossy top coat. The result is cosy, polished and easy to wear.
Brown pairs beautifully with cream knitwear, gold jewellery and winter whites, making it a versatile Christmas shade. Use a base coat always, as dark browns can stain the natural nail. A single cream accent nail adds a touch of icing-like contrast.
Gingerbread brown looks richer with a glossy top coat, which deepens the warm tone like a freshly baked biscuit. A matte finish, by contrast, gives a softer, more rustic biscuit appearance.
Brown polish should be stored upright and shaken gently before use, as pigment settles in dark shades. Rolling the bottle gives a smoother, streak-free application.
Gingerbread People Accents

Tiny gingerbread people are the most charming detail of this theme, painted as simple shapes with white icing dots. Paint a brown base, then use a fine brush or dotting tool to add a small person shape, with white dots for buttons and a smile. Keep the figure simple: charm comes from simplicity, not perfection.
Place gingerbread people on one accent nail per hand, with the remaining nails in brown, cream or burgundy. Seal with two coats of top coat to protect the tiny details. Stickers are a lovely shortcut that look just as sweet under a glossy finish.
Gingerbread people are easiest with a dotting tool for heads, buttons and smiles, rather than a brush. Dots give a charming, cookie-like simplicity that suits the theme perfectly.
Gingerbread people look cuter with mismatched button colours, such as red and green dots, rather than uniform white. Small colour surprises add handmade charm.
Gingerbread House Nail Art
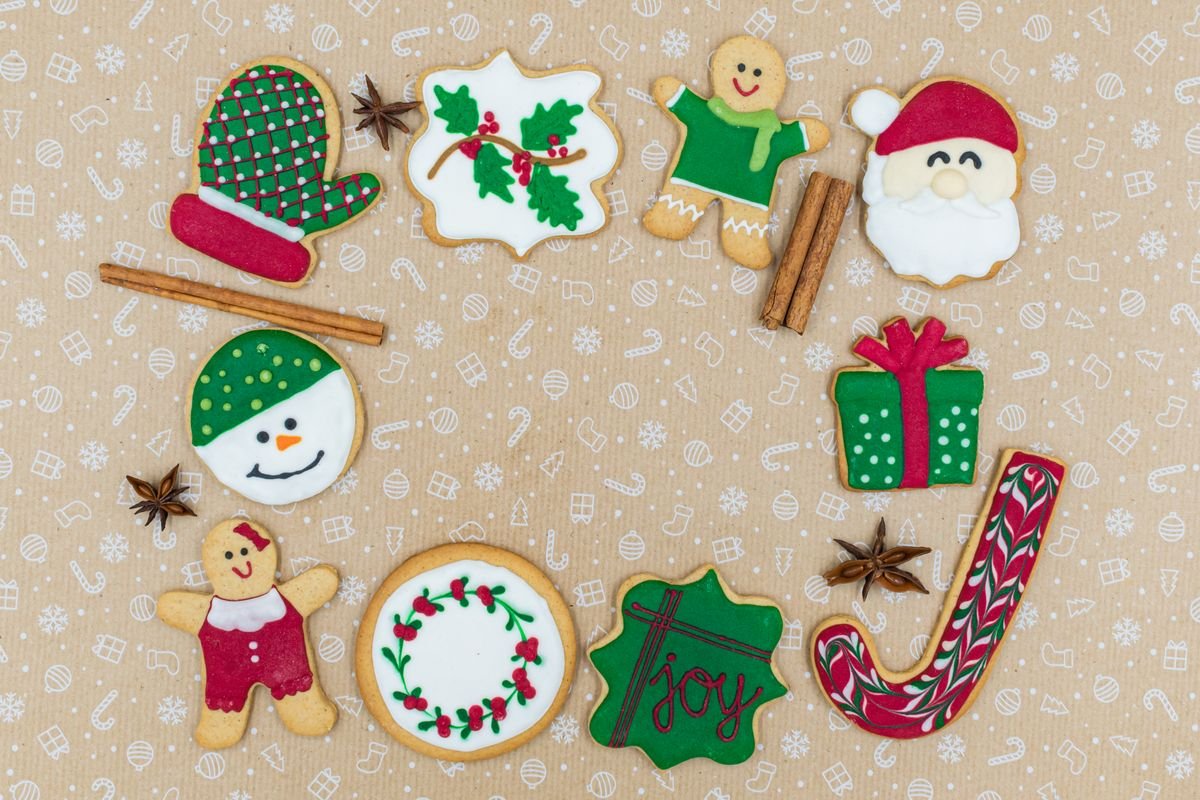
A tiny gingerbread house on an accent nail is a delightful Christmas scene, complete with a snowy roof and candy details. Paint the accent nail brown, add a cream roofline and door, then dot on colourful candy details with a dotting tool. Keep the house small and centred so it reads clearly.
This design suits medium and long nails best, where there is room for detail, but a mini house on a short nail can look just as charming. Pair the house nail with solid brown, cream and red companions. Seal everything well with top coat.
Gingerbread houses should be painted on the largest nail, usually the thumb or big toenail for pedicures, where details fit comfortably. Keep the house centred and symmetrical for a clear silhouette.
Houses benefit from a tiny door and window outlines in cream, which make the shape read instantly as a house. Without a door, the design can look like a plain triangle.
White Icing Swirl Designs
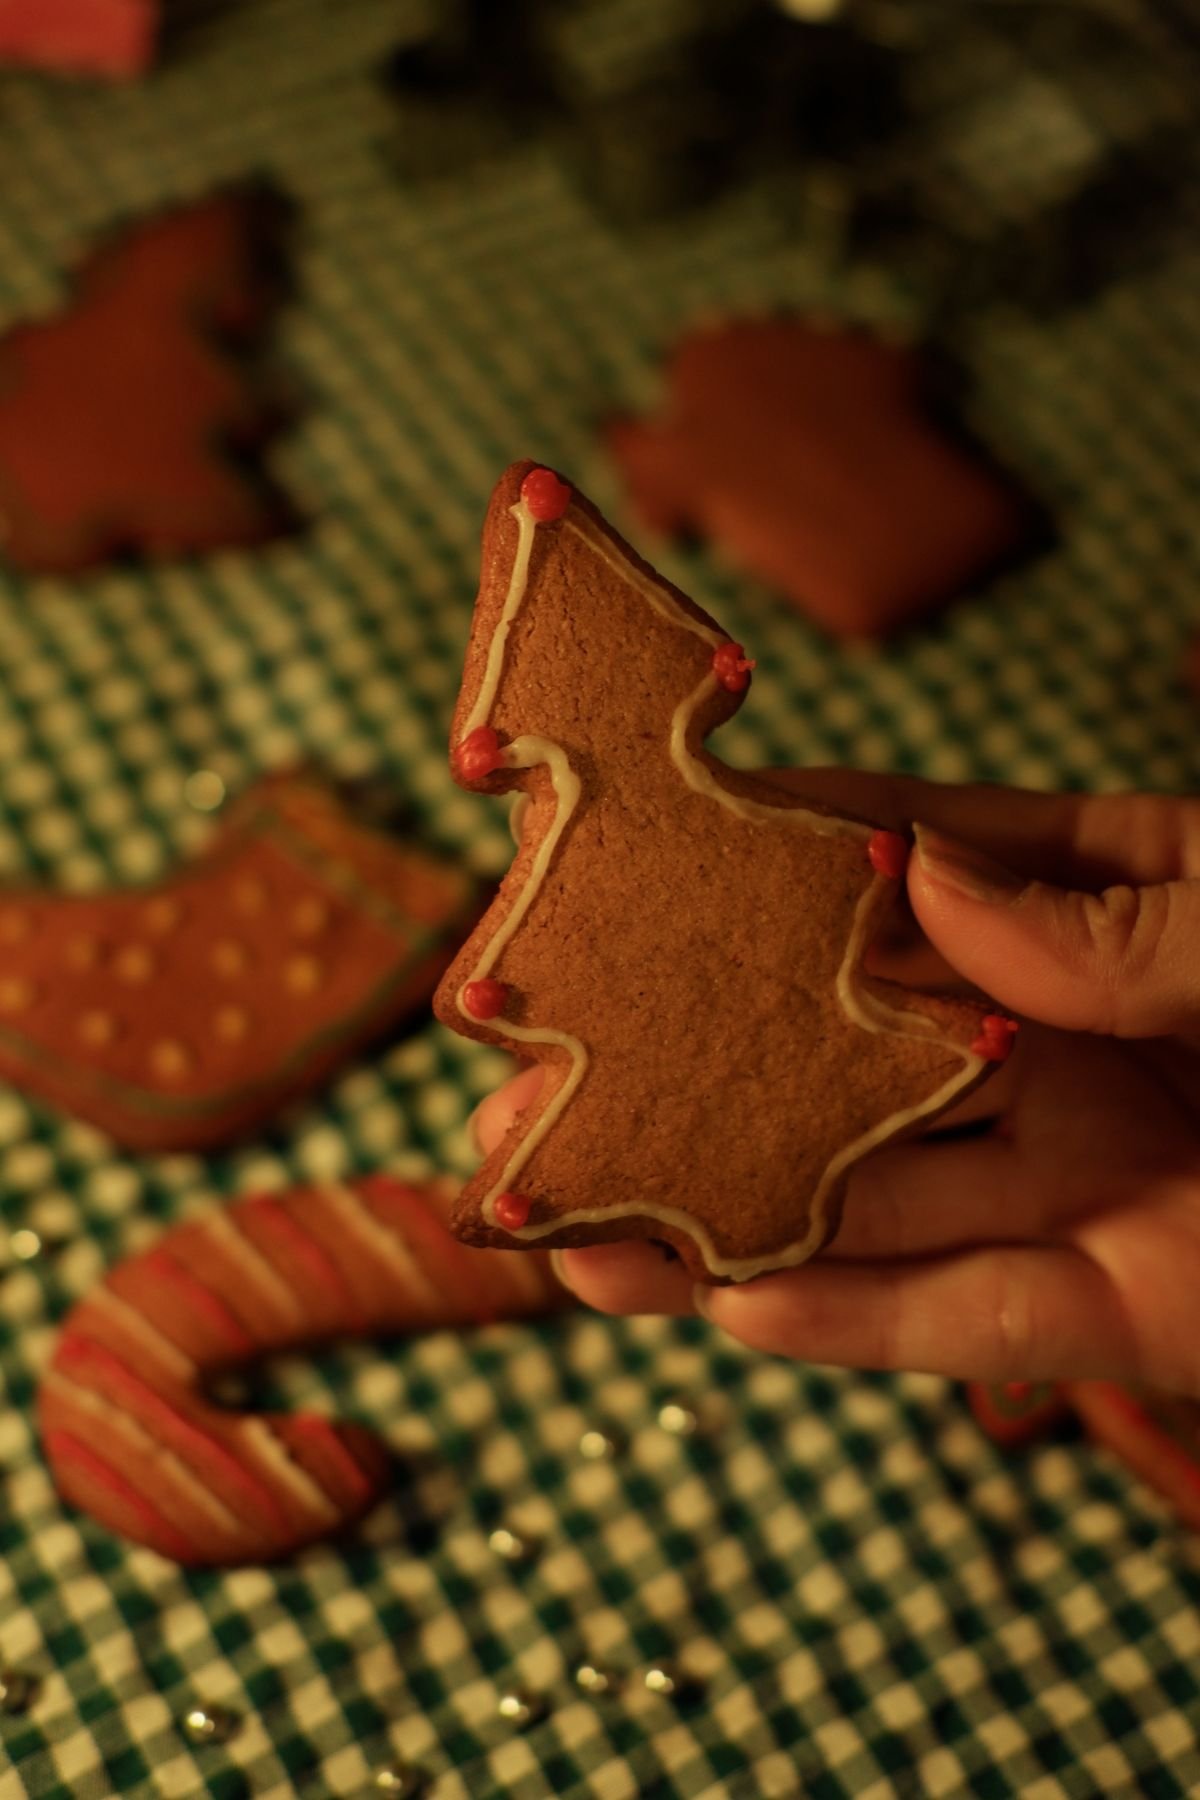
White icing swirls mimic piped icing on gingerbread biscuits, with delicate curves and dots over a brown base. Use a fine brush or nail art pen to draw loose swirls, borders and dots, keeping the lines flowing rather than rigid. The effect is sweet, elegant and surprisingly easy.
Icing designs look wonderful on almond and oval shapes, where curves follow the nail. For a calmer version, add icing details to just the thumbs and ring fingers. A glossy top coat makes the white look like fresh, wet icing.
Icing swirls look best when the white polish is slightly thick, so it holds its shape rather than running. Use a fine brush and work slowly, letting each swirl dry briefly.
Icing swirls can be practised on paper first, to build confidence with curves before painting nails. Paper practice helps beginners achieve flowing, not shaky, lines.
Brown and Cream Combination
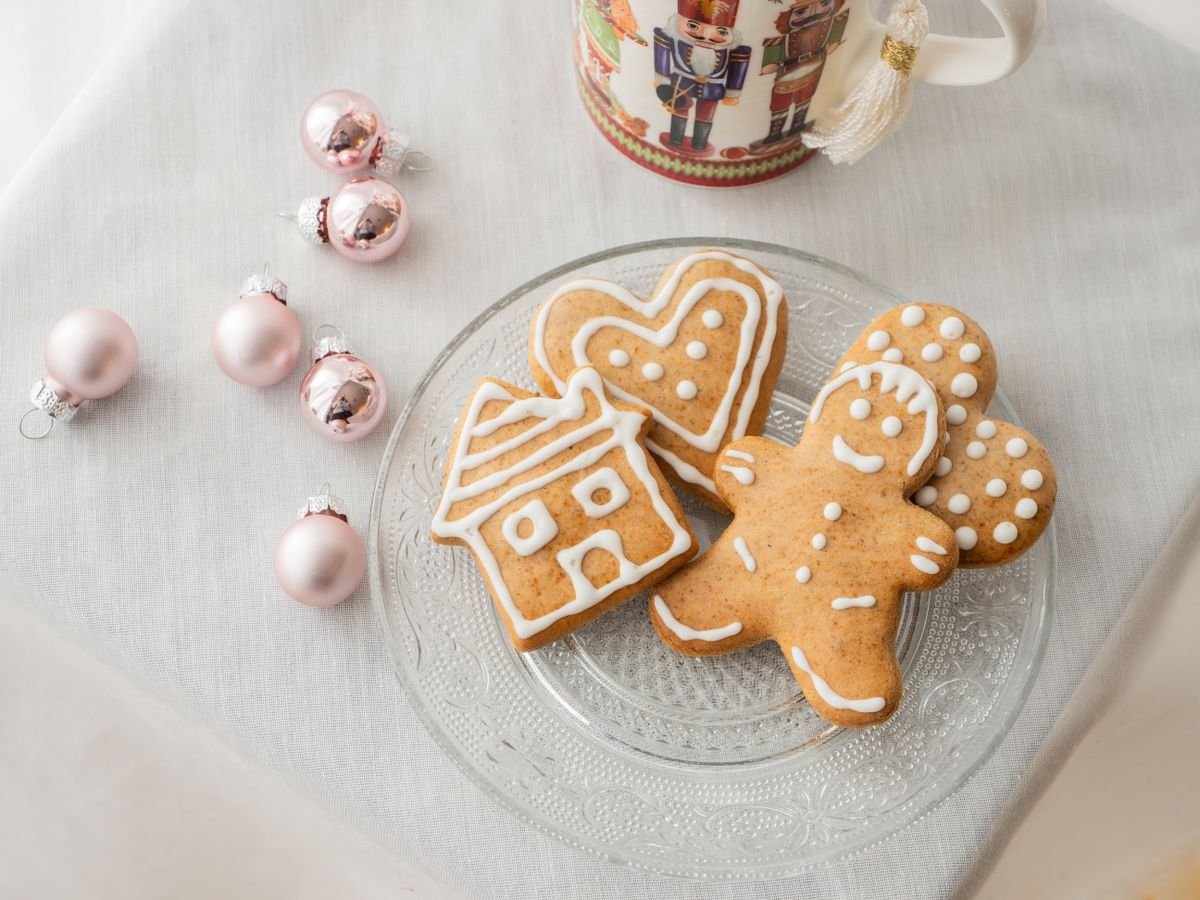
Brown and cream together are the essential gingerbread palette, warm and comforting without being dark or heavy. Alternate brown and cream nails, or paint a brown base with a cream French tip, for a look that recalls biscuits and icing. The contrast is soft, seasonal and easy to wear.
This combination suits all nail lengths and pairs with almost every winter outfit. Keep the finish glossy for a fresh-baked look, or try matte cream for a softer, biscuit-like effect. Clean cuticle lines keep the two-tone design looking polished.
Brown and cream nails look coordinated when the cream shade has a warm undertone, matching the brown rather than contrasting starkly. Warm cream feels like icing, cool white can feel harsh.
Cream nails yellow less if you use a stain-blocking base coat and avoid dark foods without gloves. A fresh top coat also protects cream from discolouration.
Cosy Sweater Gingerbread Nails
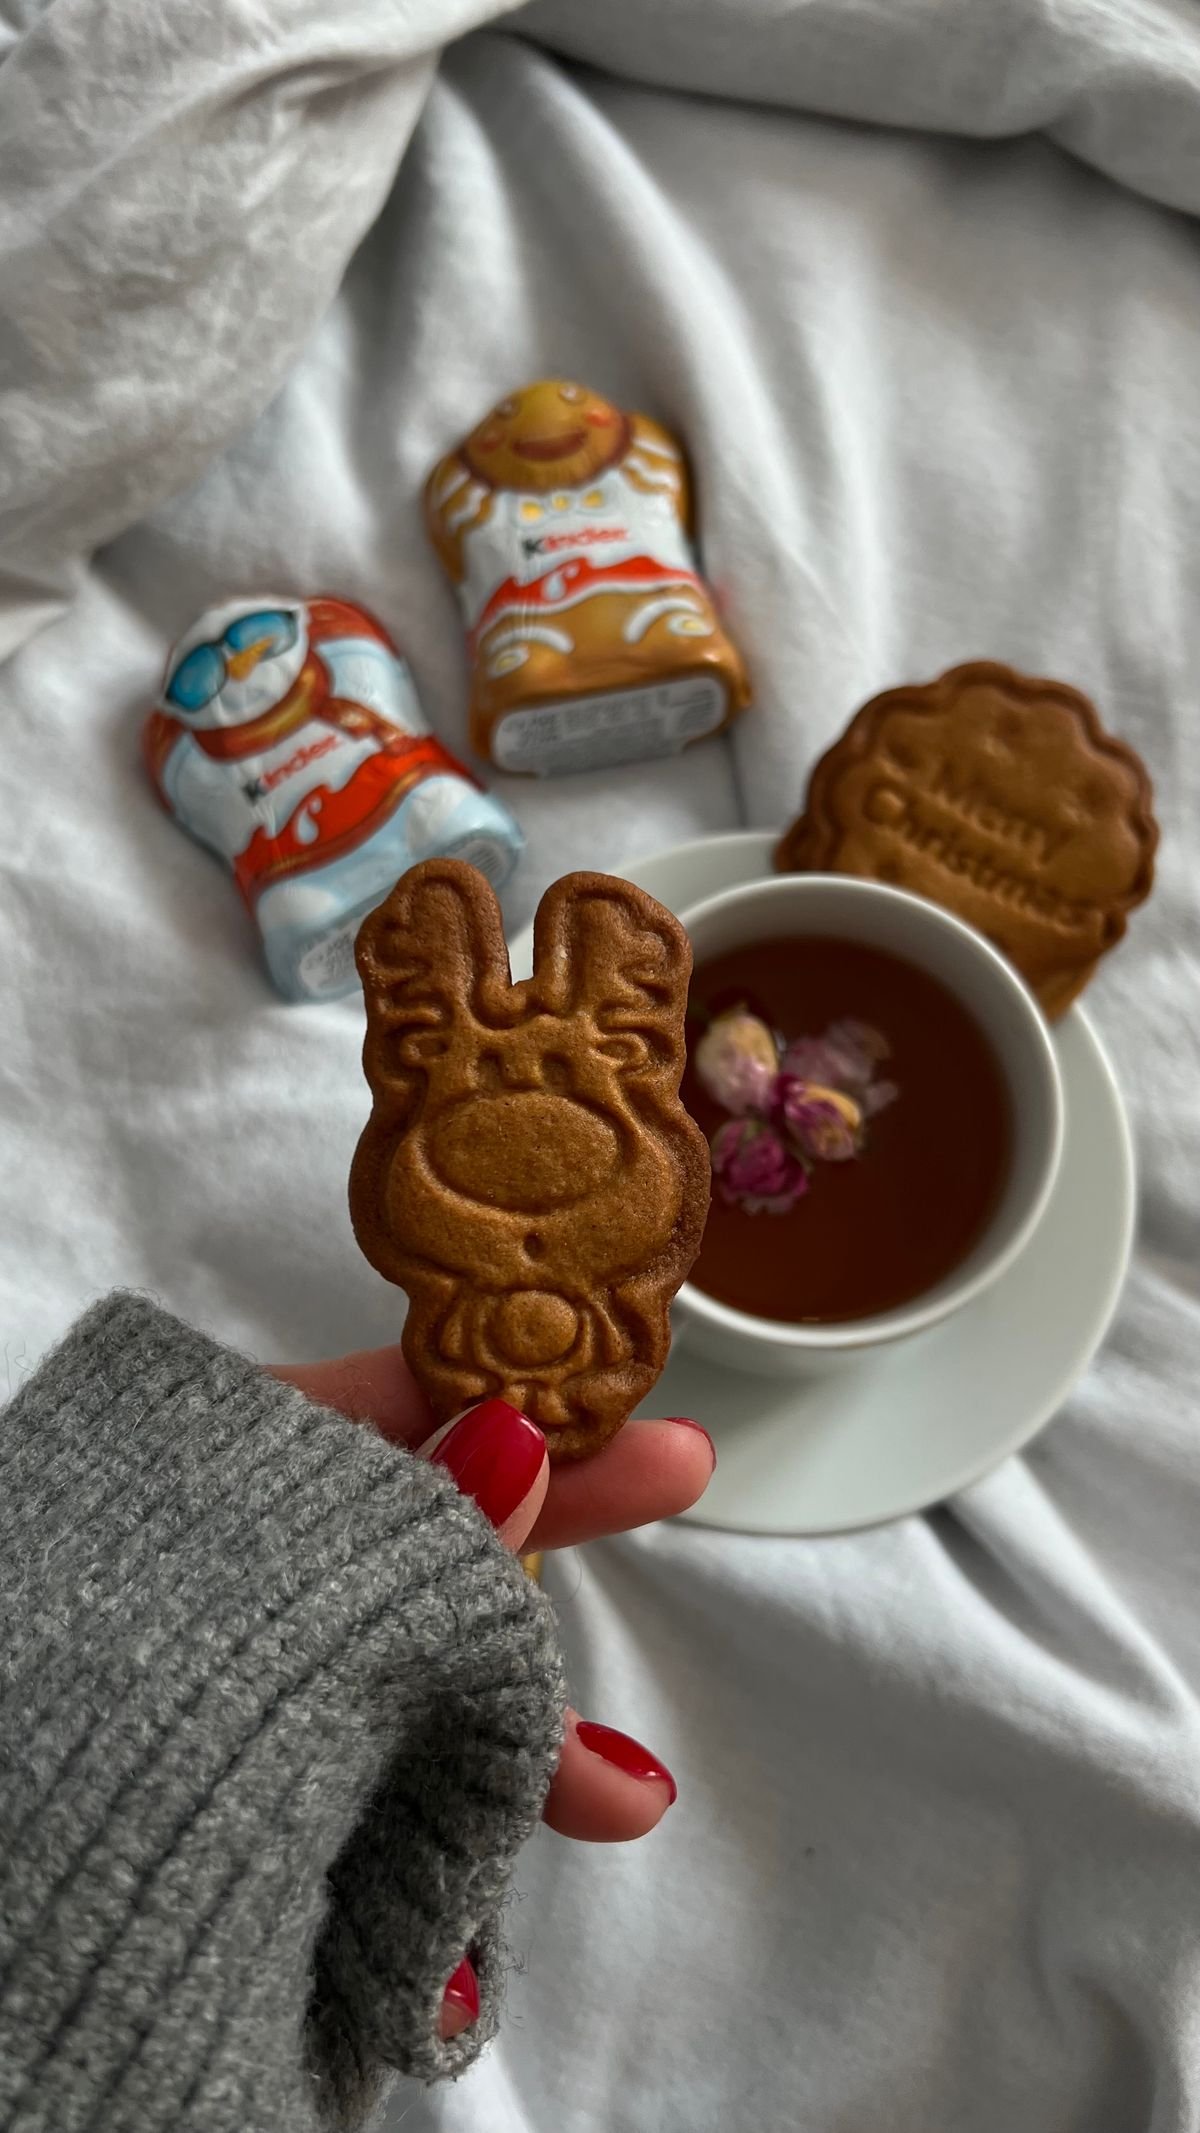
Sweater pattern nails in gingerbread browns feel made for Christmas, mimicking knitted cables in polish. Paint nails in a warm brown or cream, then draw cable-like vertical lines and tiny dots in a contrasting shade. Layering the pattern polish slightly thicker creates a raised, knitted effect.
A matte top coat gives sweater nails a soft, fabric-like finish, perfect for cosy winter days. This design suits short nails particularly well and looks lovely with chunky knitwear. Keep the pattern to a few nails if you prefer a subtler look.
Sweater gingerbread nails benefit from a matte top coat, which mimics knitted wool better than gloss. Add a glossy accent nail for contrast if the matte set feels too flat.
Sweater patterns should be painted with polish that is not too thin, otherwise lines spread and lose definition. Use polish straight from the bottle, not thinned.
Gold and Gingerbread Sparkle
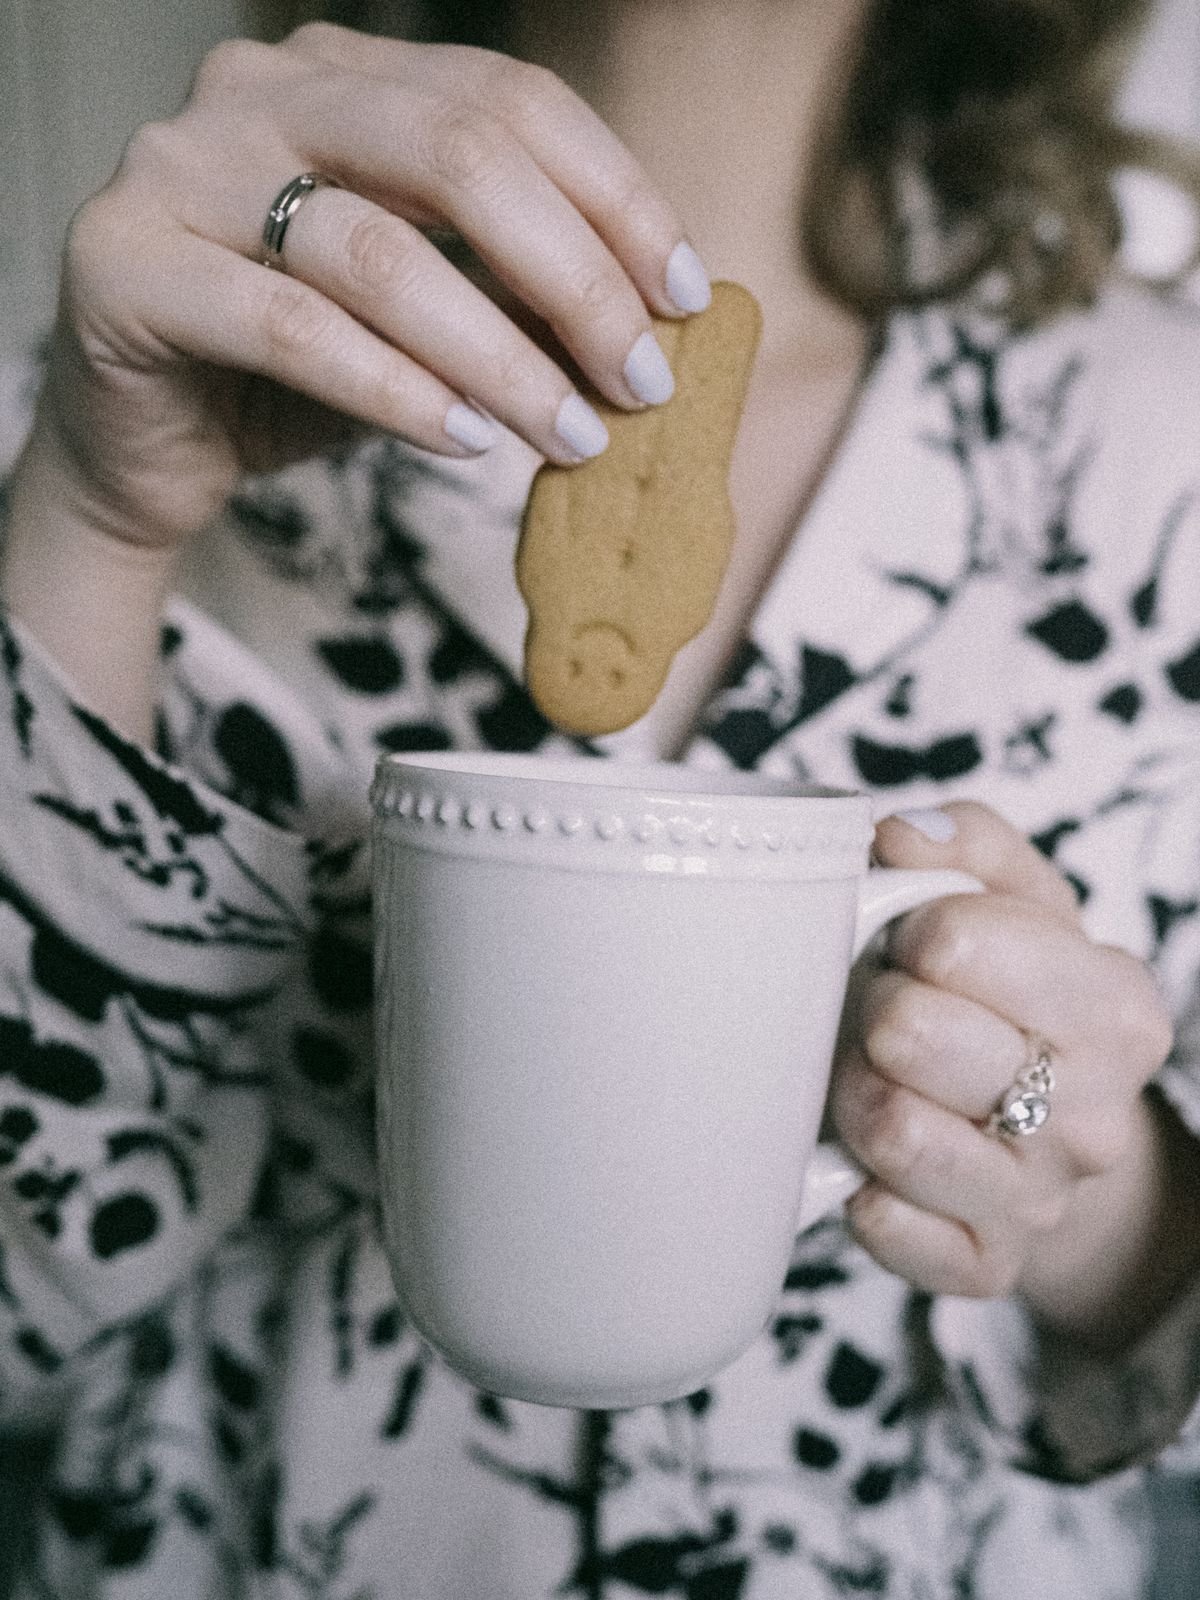
Gold accents add festive sparkle to gingerbread nails, like sugar crystals catching the light. Try a gold glitter accent nail alongside brown, a thin gold line at the cuticle, or a dusting of fine gold shimmer over a brown base. The warmth of gold complements brown perfectly.
Keep gold details delicate so the cosy gingerbread theme stays at the centre. Gold pairs naturally with brown, cream and burgundy, and it suits evening events beautifully. Seal with top coat to keep the sparkle smooth and long-lasting.
Gold glitter over brown should be fine, not chunky, to echo sugar crystals rather than party glitter. A fine gold shimmer top coat gives the most realistic sugared effect.
Gold accents on gingerbread should be placed near the cuticle, where they catch light when hands move. Gold at the tips can chip faster and look worn quickly.
Red and Gingerbread Mix
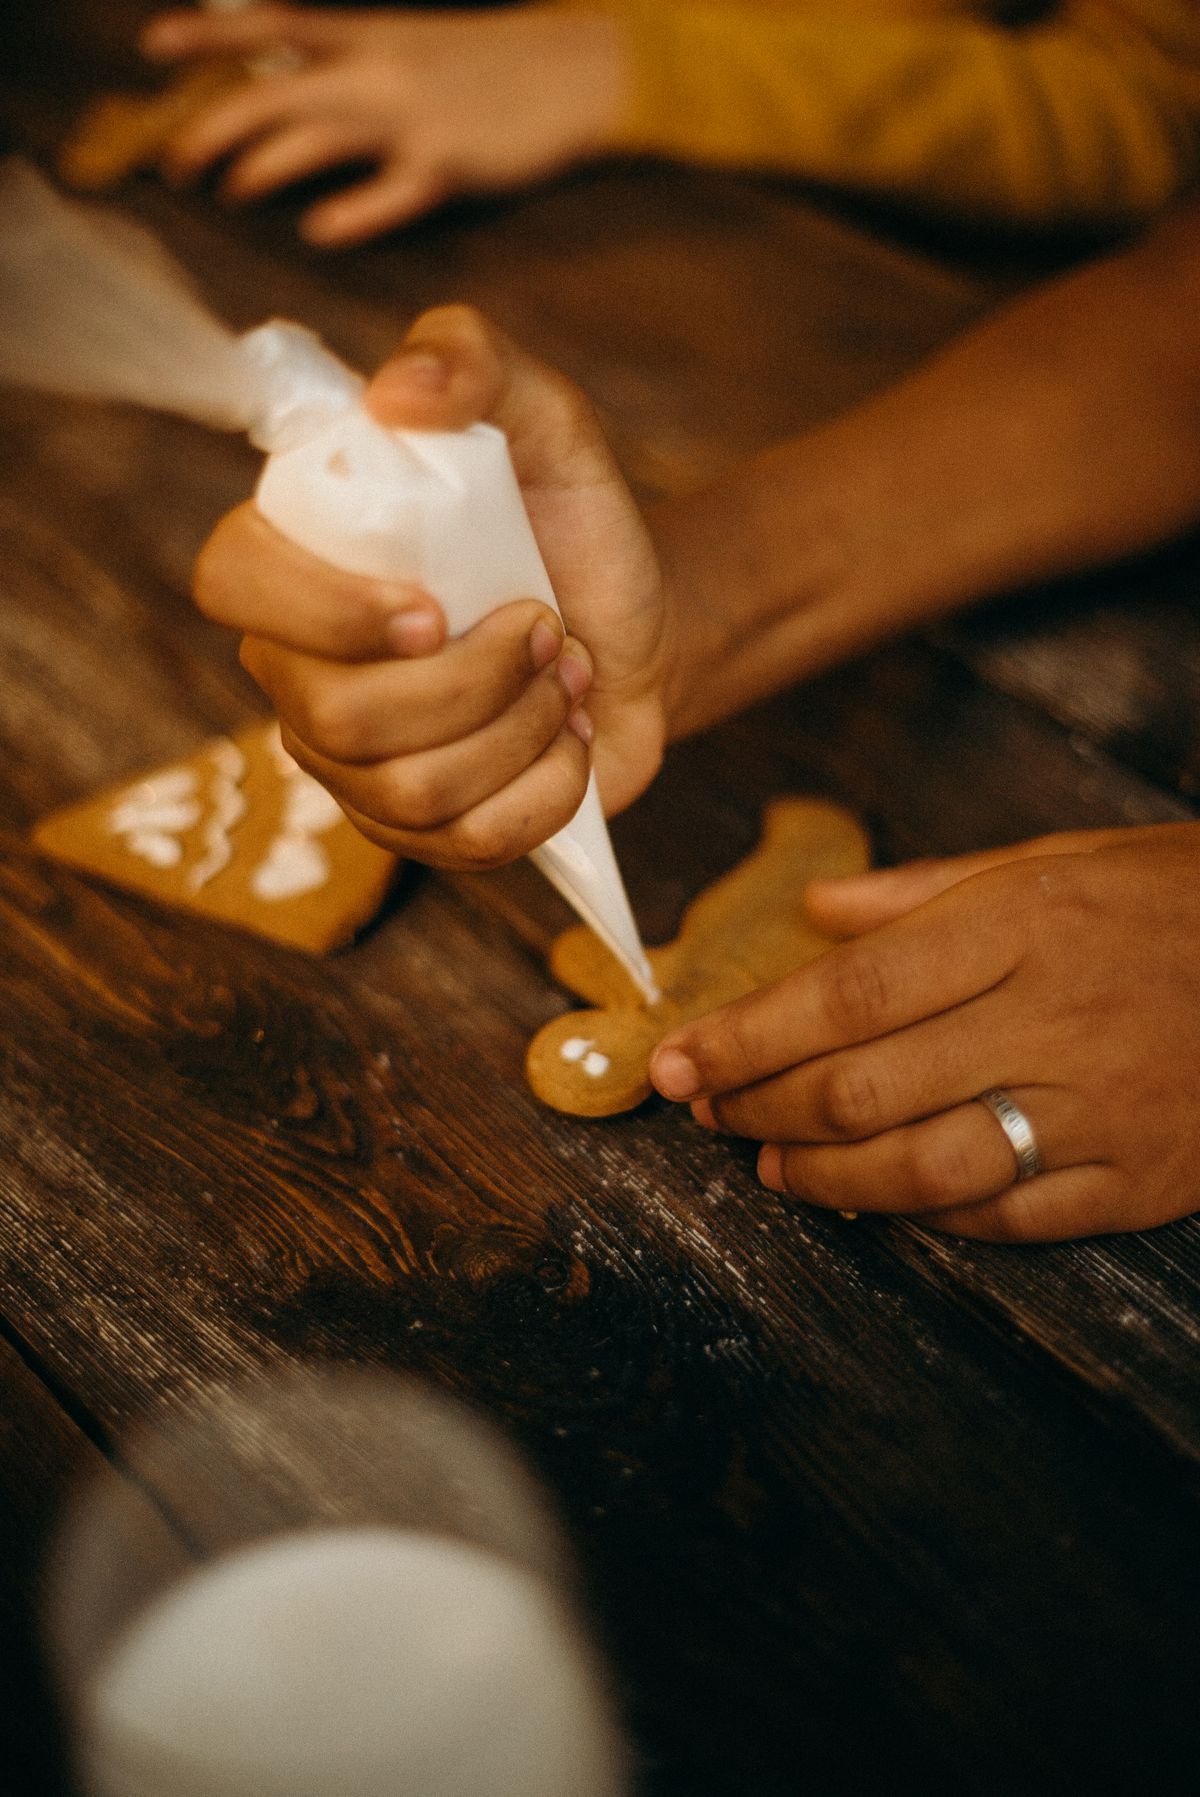
Red and gingerbread brown together create a classic Christmas palette, warm and joyful. Paint most nails in rich brown, then add red accent nails or red candy dots on a gingerbread design. The red recalls holly berries, bows and festive wrapping, balancing the cosy brown.
This mix works well on all nail lengths and pairs with traditional Christmas outfits. Keep the red accents simple, perhaps one nail per hand, so the look stays balanced. A glossy finish unifies the brown and red into one festive set.
Red accents with gingerbread should be a deep, warm red, matching the cosy palette, rather than a bright cherry red. Deep red recalls holly and festive ribbon beautifully.
Red and brown together look best when red is used sparingly, such as on one nail per hand. Too much red can overpower the cosy brown theme.
Matte Gingerbread Finish

Matte gingerbread nails look like real biscuits, soft, warm and velvety rather than shiny. Apply a brown or caramel shade, then finish with a matte top coat instead of gloss. The muted finish makes the colour look richer and more like baked gingerbread.
For contrast, keep most nails matte and leave one glossy accent, or add glossy white icing details over a matte brown base. Matte polish shows oils more easily, so avoid hand cream directly on nails. The biscuit-like effect is cosy and modern.
Matte gingerbread nails show fingerprints more easily, so handle nails carefully for an hour after matte top coat. A fresh matte layer mid-week restores the velvety finish.
Matte nails benefit from a matte top coat refresh every three days, as daily wear slowly adds shine. A quick refresh restores the biscuit-like finish.
Gingerbread French Tips

Gingerbread French tips replace white tips with warm brown or cream, for a seasonal twist on a classic manicure. Paint a sheer nude base, then add brown tips using a thin brush or guides, keeping the smile line neat and even. The result is elegant, cosy and easy to wear.
Cream tips over a brown base offer the reverse version, like icing on a biscuit. This style flatters short and medium nails, and it grows out more gracefully than a solid dark shade. Seal with top coat to protect the tips from chipping.
Gingerbread French tips look best with a warm brown tip and a sheer nude base, rather than a stark white base. The warm combination feels like biscuit and icing.
Short Gingerbread Nails
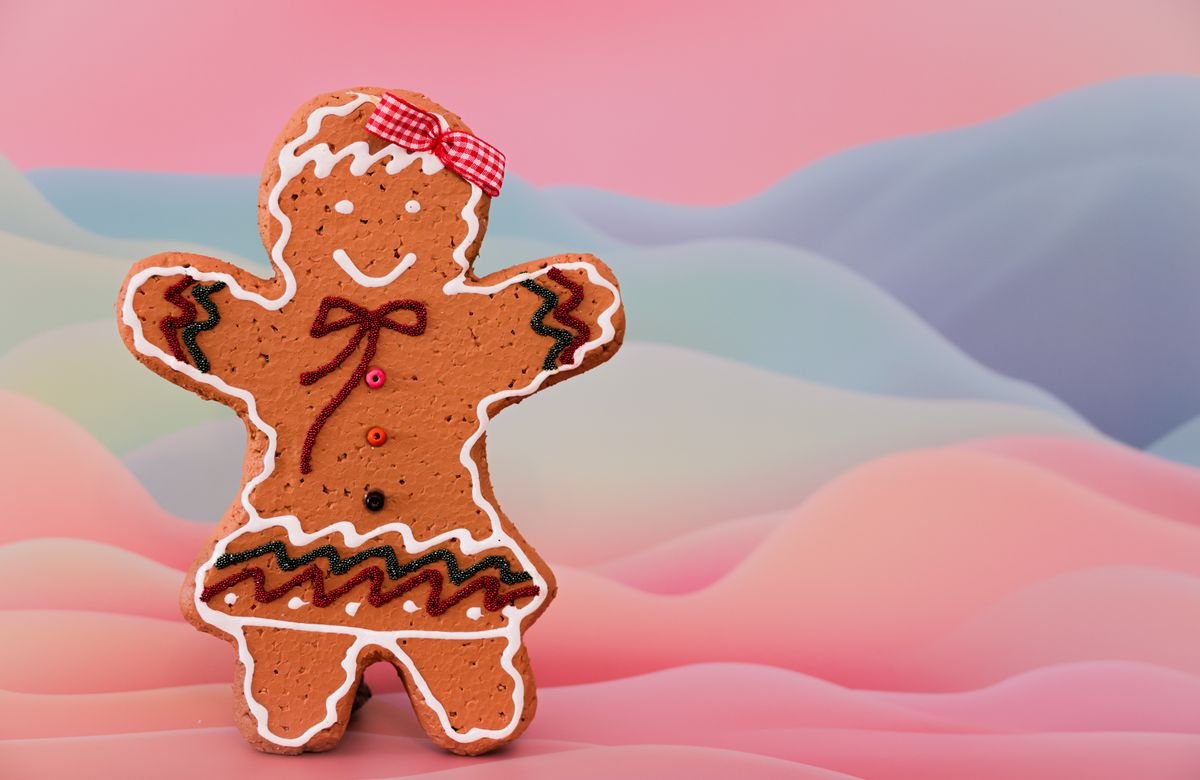
Short gingerbread nails look especially sweet, as simple brown shades and tiny details suit a smaller nail perfectly. Choose solid browns, cream accents or one tiny gingerbread person per hand, avoiding overly detailed art that crowds the nail. Simple designs keep short nails looking neat and intentional.
Keep short nails shaped evenly, tidy cuticles, and apply a glossy or matte top coat for a finished look. Short gingerbread nails are practical for baking, wrapping and everyday life, so you can enjoy the festive season without worrying about breakage.
Short gingerbread nails suit a single tiny detail, such as a white dot border, rather than a full house scene. Small details keep short nails looking neat and intentional.
Long Almond Gingerbread Shapes
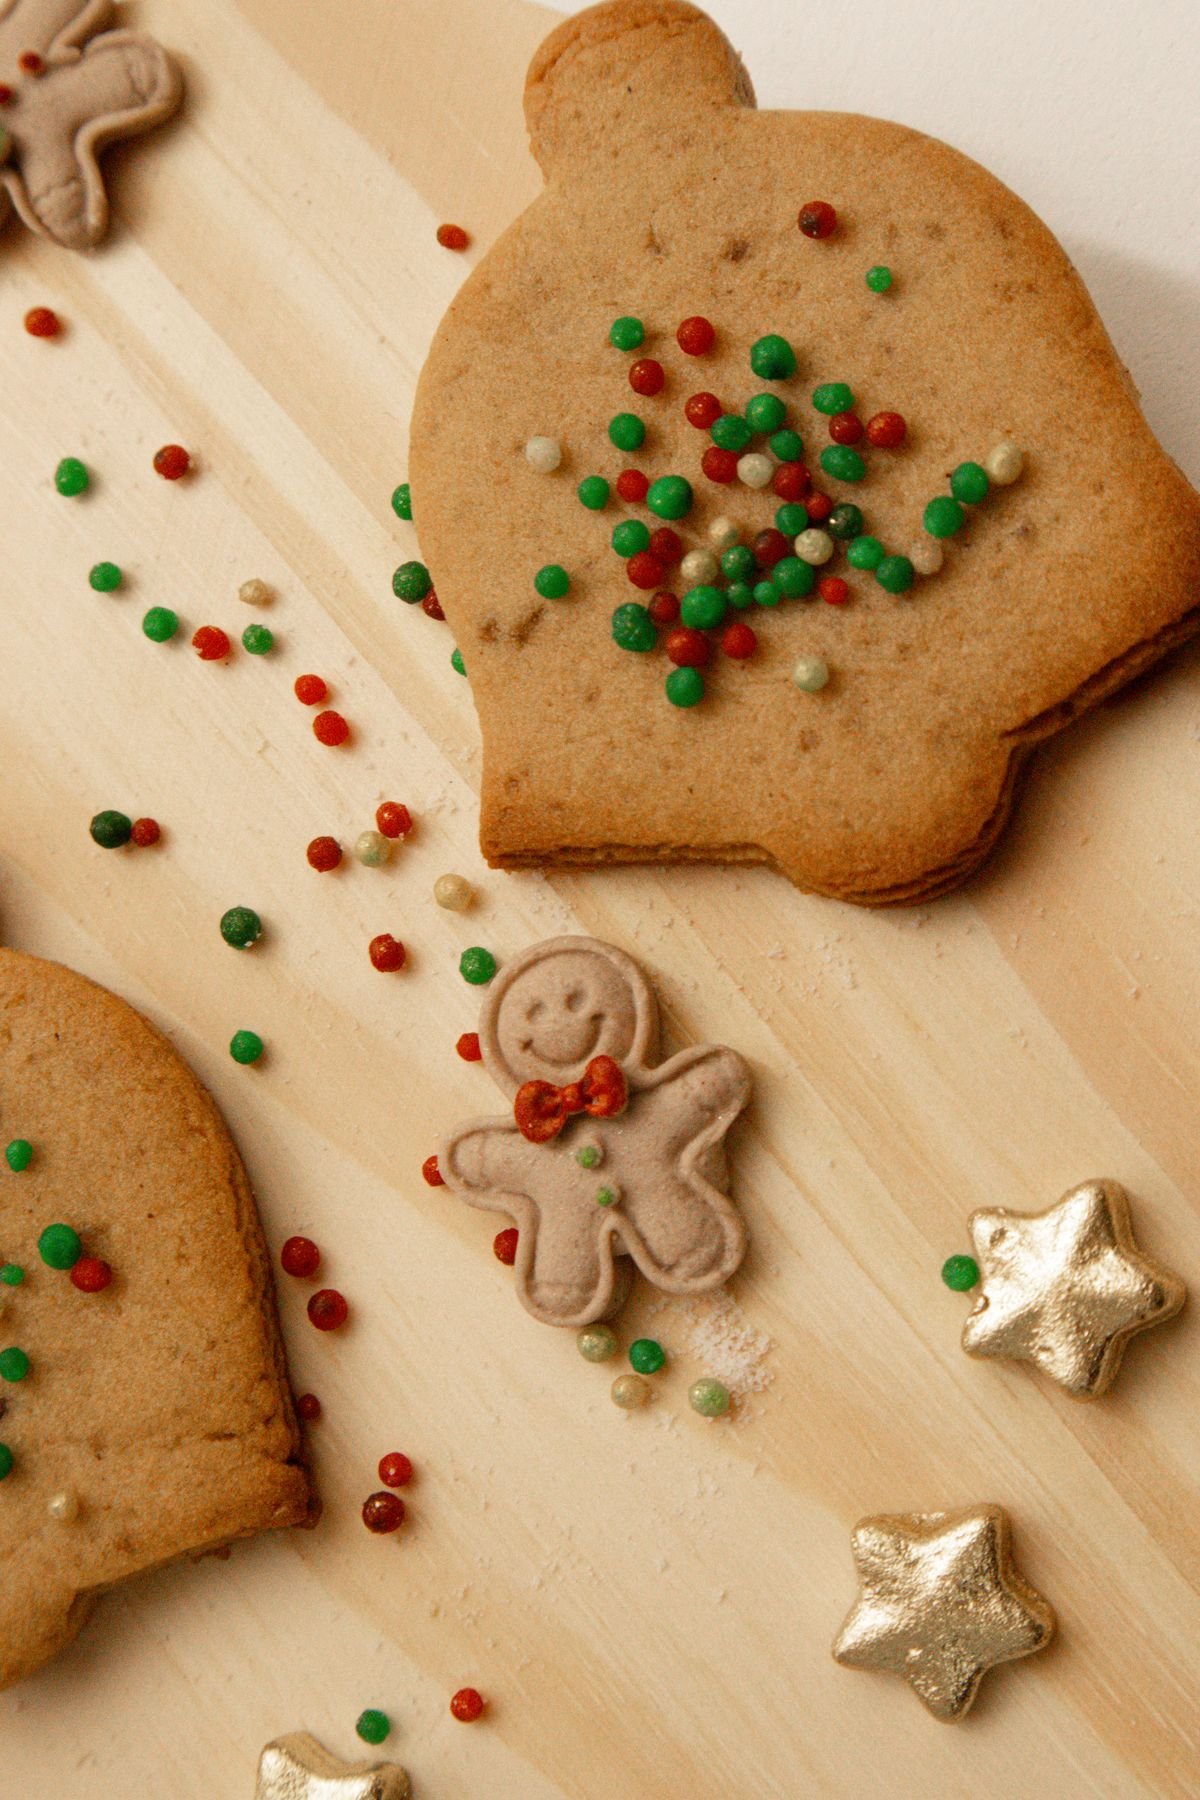
Long almond nails give gingerbread designs room to shine, with space for houses, people and icing swirls. This shape suits detailed art beautifully, and the tapered tip flatters the hands. Keep the length moderate if you will be baking or wrapping, since very long nails chip more easily.
File in one direction to maintain the almond shape, and strengthen with a hardener under polish. Almond gingerbread nails pair beautifully with rings and cosy knitwear. Choose a glossy finish to make the icing details look fresh and sweet.
Almond gingerbread nails can carry a house on one nail and simple icing dots on the rest, balancing detail with simplicity. Too many detailed nails can look crowded, even on long nails.
Snowy Gingerbread Nails
Snowy gingerbread nails combine warm browns with soft whites and fine glitter, like a gingerbread village after snowfall. Paint most nails brown, add white snowflake or icing details on accents, and dust fine white glitter over wet top coat for a snowy effect. The contrast is magical and festive.
Keep snow details light and airy, so the warm brown remains the star. Snowy gingerbread nails pair beautifully with winter whites and silver jewellery. A glossy top coat seals the glitter and keeps the snowy finish smooth.
Snowy gingerbread nails should use fine white glitter, not chunky snowflake glitter, for a realistic snowfall effect. Dust glitter over wet top coat, then seal gently.
Gingerbread and Peppermint Mix
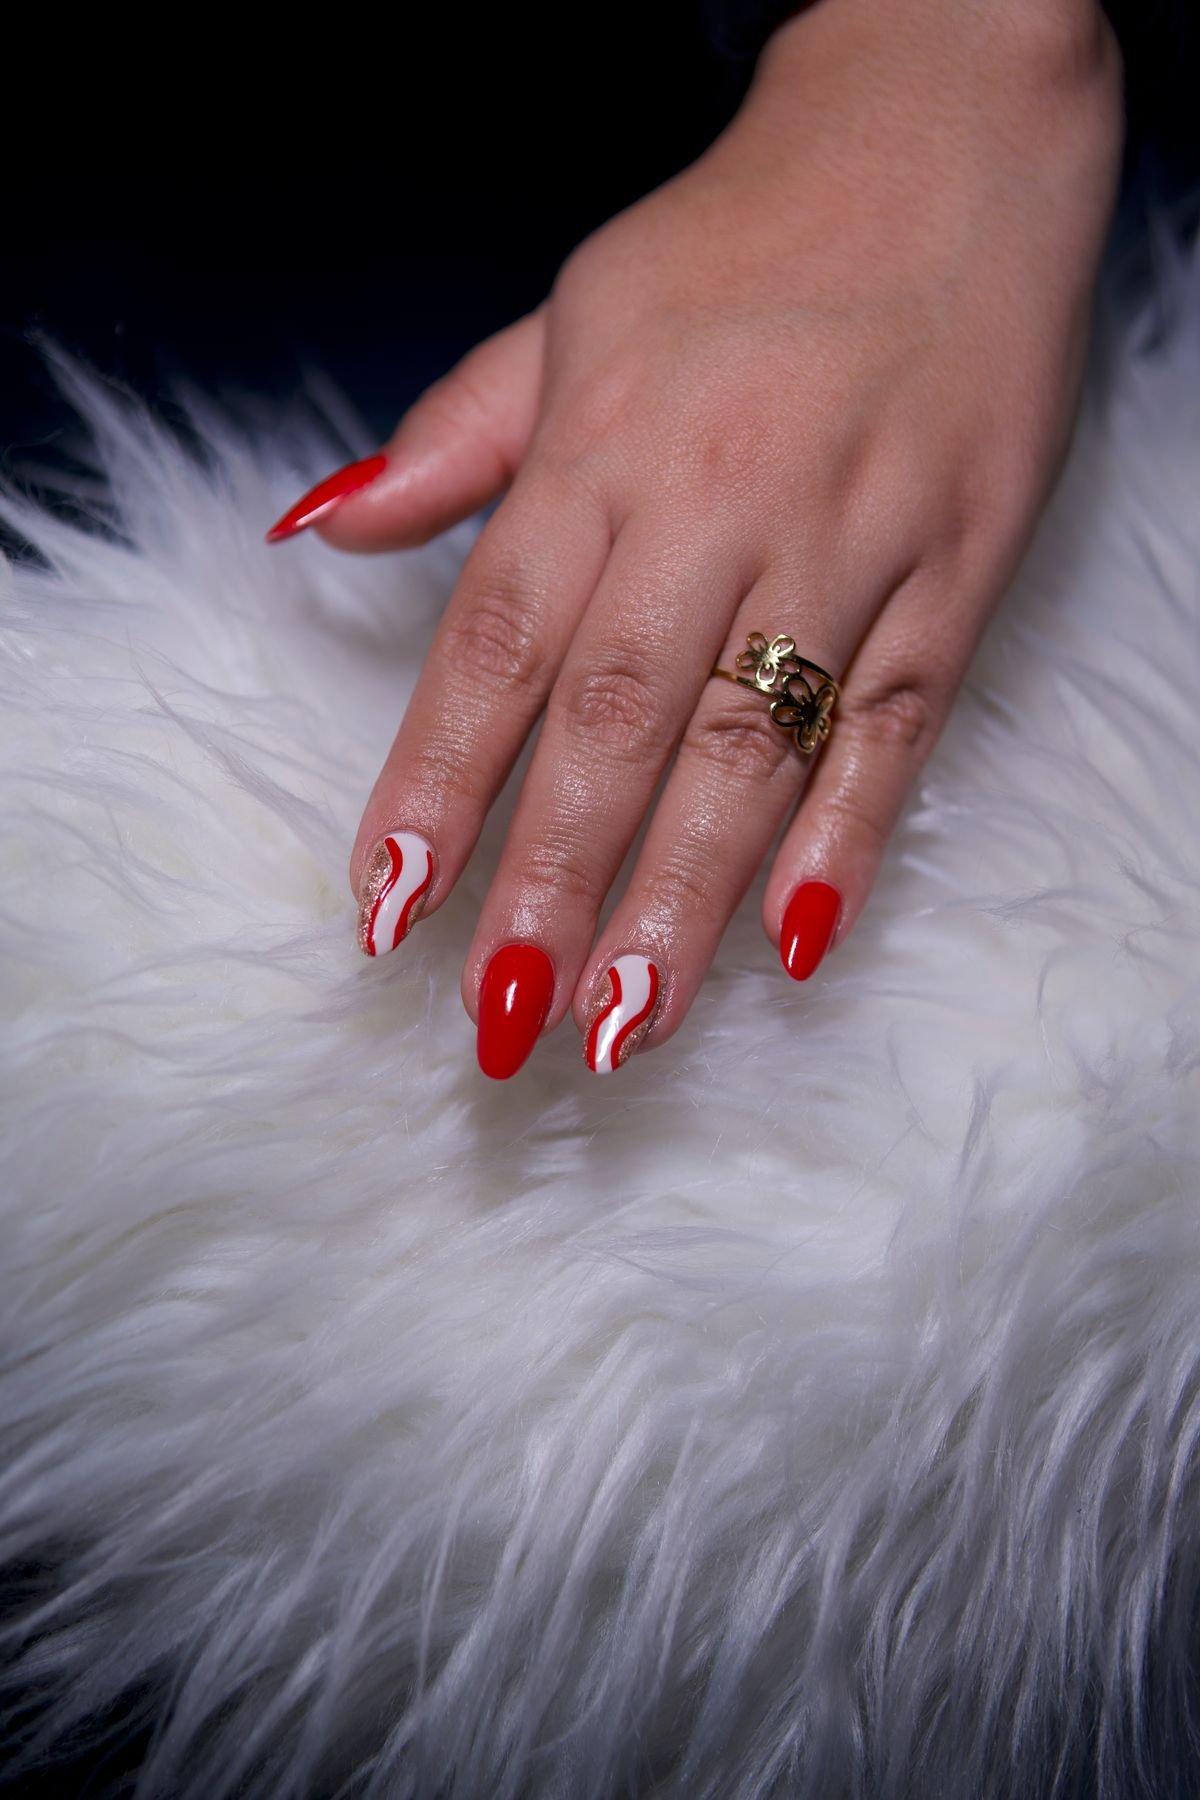
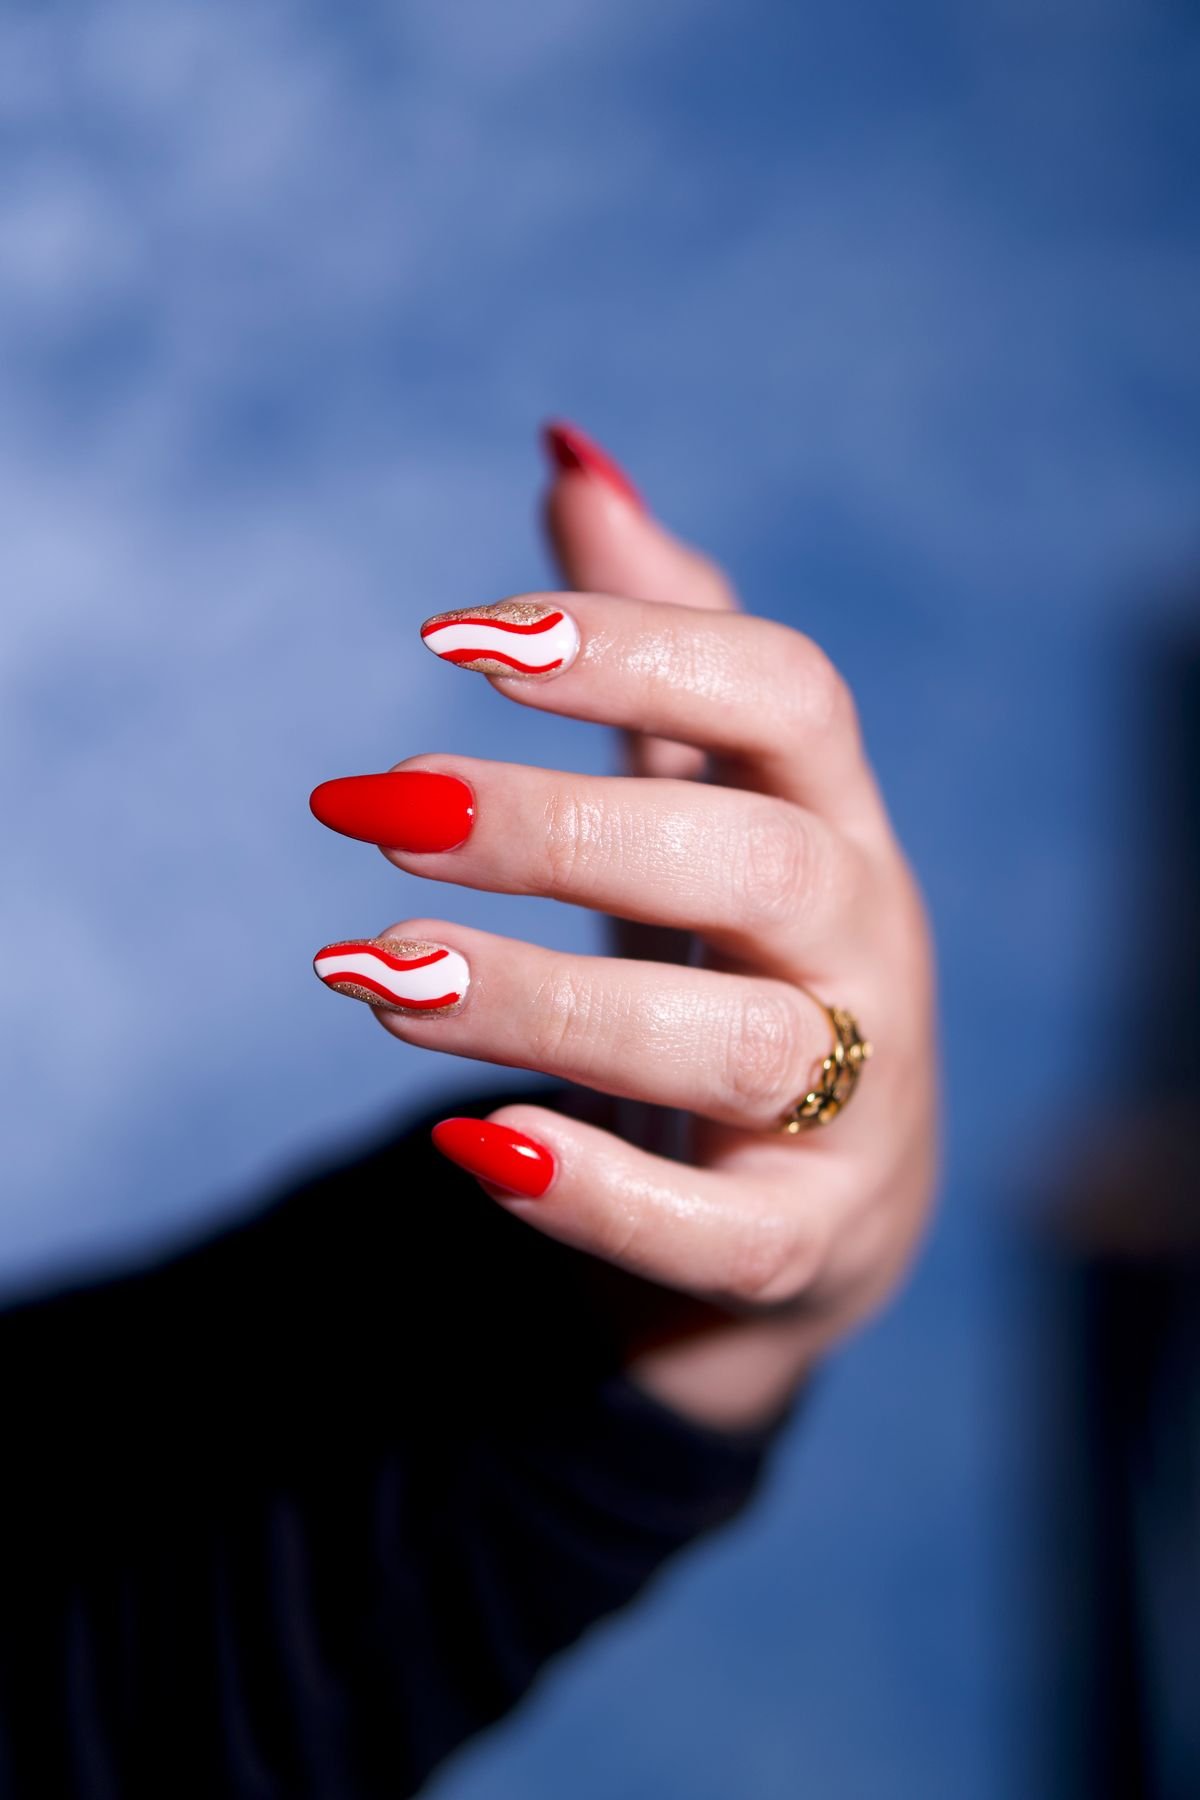
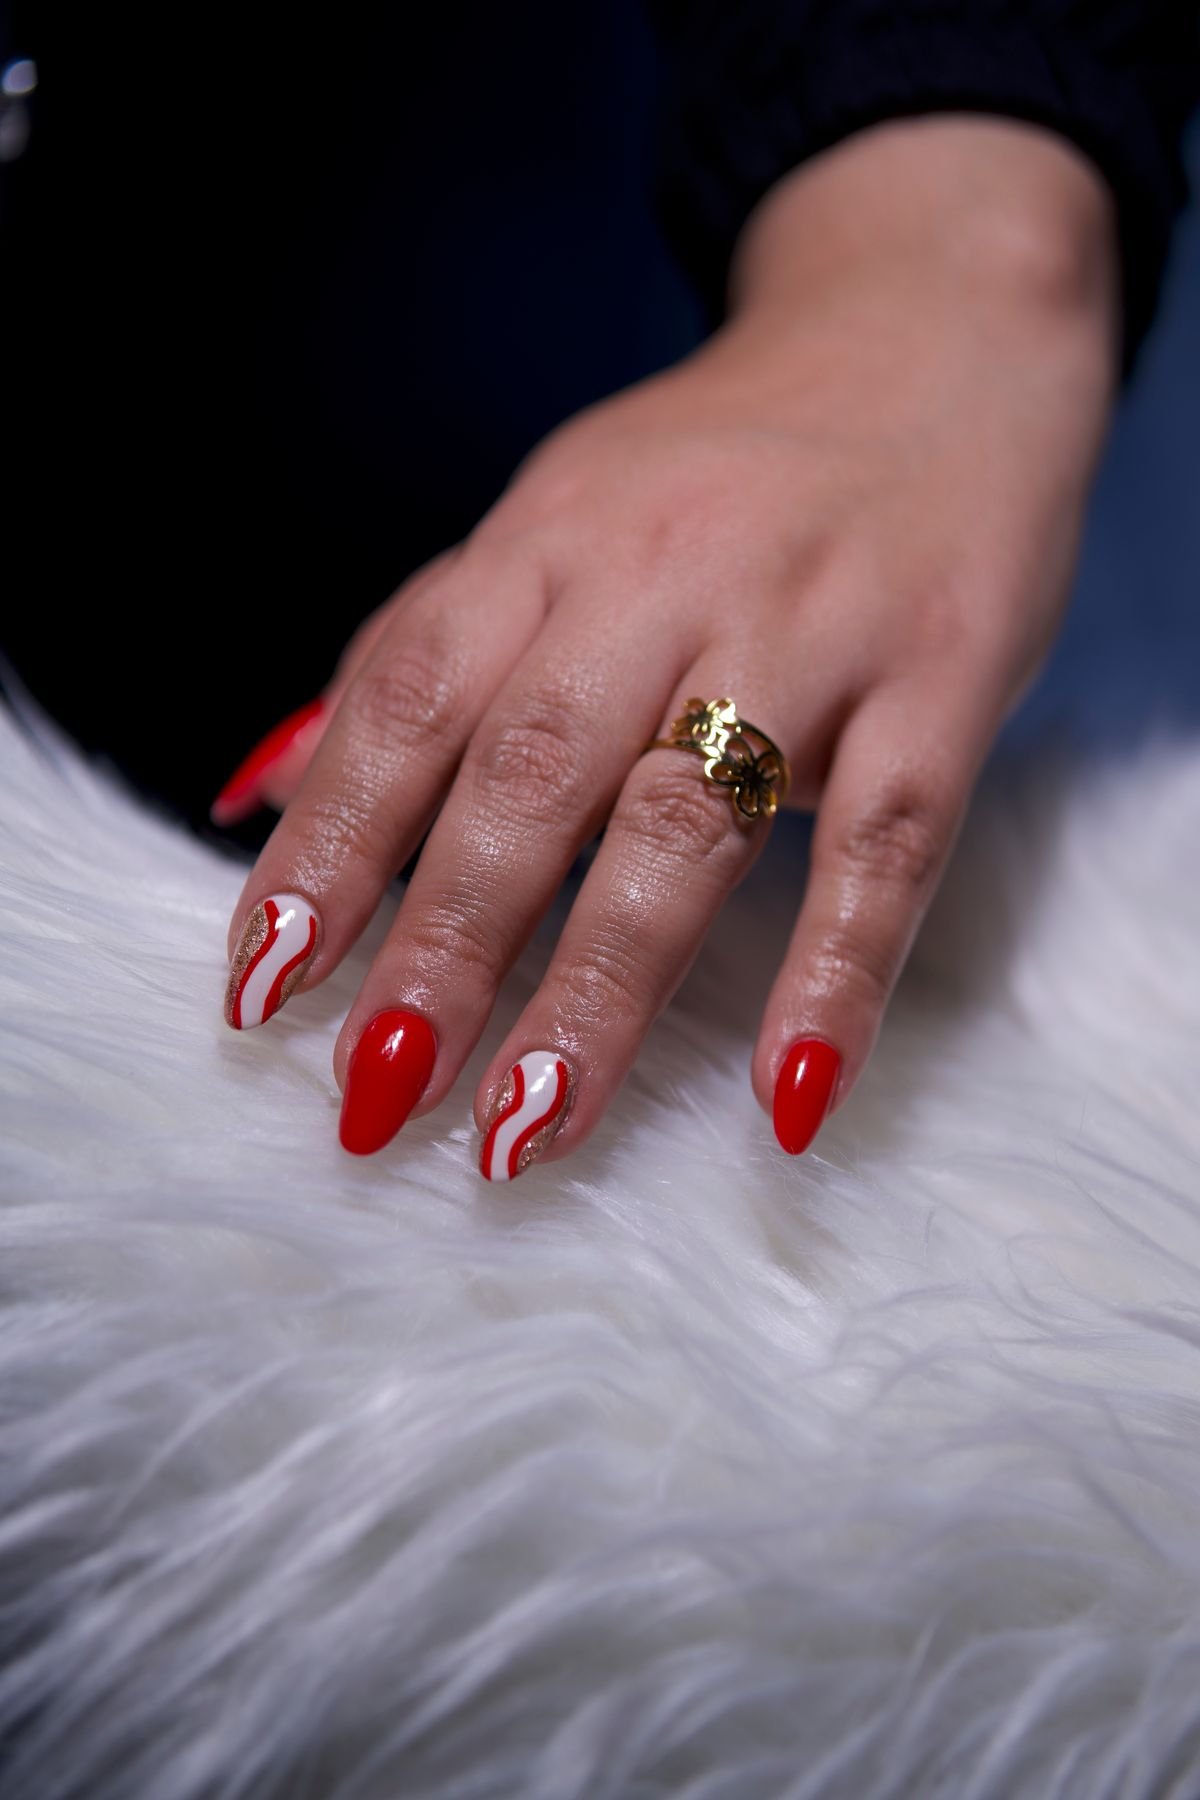
Gingerbread brown paired with peppermint stripes creates a sweetshop Christmas manicure, warm and fresh at once. Paint gingerbread designs on some nails and candy cane stripes on others, or combine a brown base with a peppermint accent nail. The mix feels joyful and balanced.
Keep the palette to brown, cream, red and white so the two themes blend harmoniously. A glossy top coat unifies the set. This mixed design is perfect if you love both gingerbread and candy cane styles and cannot choose between them.
Peppermint and gingerbread together need a shared palette of brown, cream, red and white to feel cohesive. Avoid adding extra colours, which can make the mixed set look random.
Cinnamon Spice Tones
Cinnamon spice tones, from warm caramel to deep spice brown, capture the scent and colour of gingerbread baking. Try a gradient of spice shades across your nails, or alternate caramel and chocolate tones for a tonal, sophisticated look. These warm shades flatter many skin tones.
Spice tones pair naturally with cream, gold and burgundy, and they suit both casual and formal Christmas outfits. Apply two thin coats for even coverage, and finish with gloss or matte according to your mood. This is gingerbread style without any detailed art.
Cinnamon tones vary from light caramel to deep spice, so test shades on one nail before committing to a full set. The right cinnamon shade should flatter your skin tone warmly.
Gingerbread Nail Stickers

Gingerbread nail stickers are the quickest route to detailed designs, ideal if freehand painting feels tricky. Apply stickers over a brown or cream base, smooth out air bubbles, and seal with two coats of top coat. Tiny houses, people and snowflakes look neat and professional in minutes.
Stickers also allow more detailed scenes than most people can paint by hand. Choose stickers that fit your nail width, trim carefully, and always seal the edges well. This is a great option for a last-minute party manicure or for painting with children.
Stickers for gingerbread designs should be sealed with two top coats, as raised sticker edges lift easily in daily wear. Pay special attention to sealing the free edge.
Gingerbread Ombre Nails

Gingerbread ombre blends brown into cream for a soft, baked gradient, like the edge of a biscuit. Use a makeup sponge to dab brown and cream polish onto the nail, building layers until the blend looks smooth. A top coat blurs the transition beautifully.
Ombre is forgiving for beginners, because the blended finish hides small imperfections. Try it on all nails for a warm, tonal look, or on accent nails alongside solid brown. A touch of gold shimmer over the gradient adds festive sparkle.
Gingerbread ombre should blend brown into cream gradually, using a sponge and building thin layers. A top coat after each sponge layer helps the gradient look smooth.
Gingerbread Nails for Baking Days

Gingerbread nails are the perfect companion for Christmas baking days, matching the biscuits coming out of the oven. Choose a practical short length and a durable shade, with simple details that will survive flour, washing up and decorating. Gloves for cleaning help protect the manicure between baking sessions.
Keep designs simple on baking days, perhaps solid brown with one icing accent, and save detailed houses for party days. Short, well-sealed nails are both practical and festive. Your manicure becomes part of the baking tradition.
Baking day nails should be short and well-sealed, as flour and water test polish constantly. Wear gloves for washing up, and reapply top coat after baking sessions.
Gingerbread Nails for Parties

For Christmas parties, gingerbread nails can go bolder, with gold glitter, detailed houses and glossy finishes that catch the light. Choose a high-shine top coat, add a glitter accent nail, and pair the manicure with simple jewellery so the nails become the statement. Detailed designs photograph beautifully.
Schedule your party manicure close to the event for a fresh finish, and carry top coat for quick repairs. If you prefer a quieter party look, keep detailed art to accent nails and wear solid brown elsewhere. Either way, gingerbread nails guarantee festive warmth.
Party gingerbread nails look best with a high-gloss finish, which makes icing details look fresh and sweet. Photograph nails in natural light to show the warm brown tones accurately.
Caring for Gingerbread Nails

Caring for gingerbread nails through December means protecting brown polish and tiny details from chips and wear. Wear gloves for washing up, moisturise cuticles daily, and reapply top coat every two days to seal the design. Avoid using nails as tools to open packages.
When the holidays end, remove polish gently by soaking rather than peeling, especially if you used stickers or glitter. Follow with cuticle oil and a strengthening base coat to leave nails healthy. Your nails will be ready for a fresh start in January.
Gingerbread nails should be removed gently, especially if glitter or stickers were used, by soaking rather than peeling. Follow with cuticle oil to restore moisture after December wear.
Choosing a gingerbread design starts with how much detail you want. A simple brown manicure captures the warmth of the theme with no art at all, while houses and people add storytelling charm. Think about your events, too: baking days suit simple designs, parties suit detailed ones.
Preparation matters more than artistic talent for neat gingerbread nails. Shape nails evenly, apply a base coat, and use thin coats with drying time between layers. Stickers, dotting tools and fine brushes are all helpful tools, and they allow even beginners to create sweet, recognisable designs.
If you visit a salon, bring a reference picture and discuss the design before painting begins. A good technician will advise on durability, especially for detailed art, and on a length that suits your routine. Book early in December, as festive appointments fill quickly.
Above all, gingerbread nails should feel warm and joyful, like the smell of baking on a winter afternoon. Choose a design that makes you smile, enjoy seeing it as you hold a warm drink or wrap gifts, and let your manicure add a little cosy Christmas magic to every day.

I am Talha Sikandar, a professional writer with a passion for general blogging. With years of experience in content writing and research, I founded Meaniingly.com to deliver well-researched, informative, and user-friendly articles on diverse topics.